
Home » August 18, 2026

A deck can be more than a place for a few chairs and a grill. With the right mix of furniture, plants, colors, and

A living room with too many doors, an awkward corner, or a fireplace competing with the TV can make furniture placement feel like a puzzle. I’ve found that these spaces often need a different approach, not more furniture. A narrow
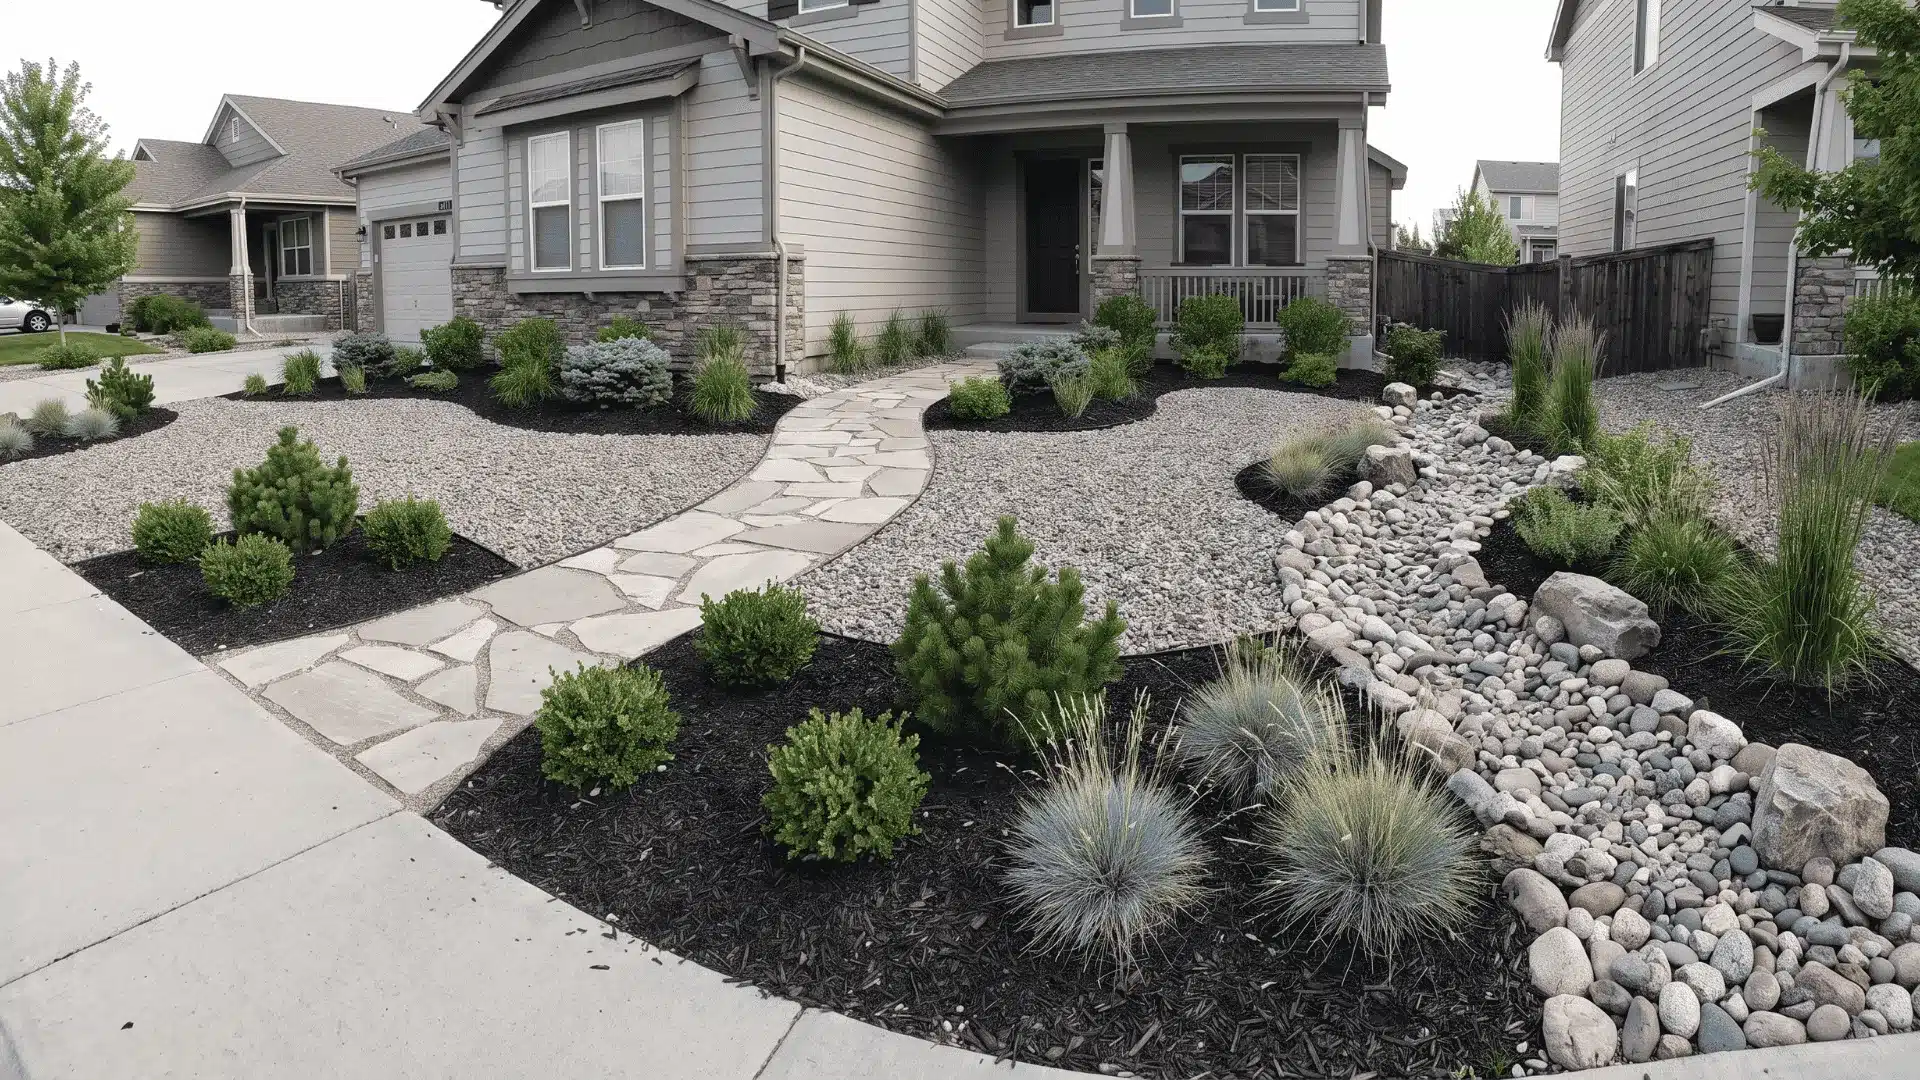
A front yard can look great without becoming a weekend job. I used to think a neat yard meant more grass, more trimming, and more time with a hose. But the right plants, ground covers, stones, and simple hardscaping can cut down on much of that work, and pairing these choices with broader garden landscaping ideas can help the whole property feel connected. Low-maintenance front yard landscaping is really about making choices that fit your climate, soil, sunlight, and available time. You can still have color, texture, and curb appeal without filling every corner with plants that need constant care. From drought-tolerant shrubs to gravel paths, small changes can make the whole yard easier to manage. What Actually Makes a Front Yard Low Maintenance? A low-maintenance front yard starts with choices that reduce repeated work. Cutting back on lawn in areas that are difficult to mow can save time, water, and effort. Choose plants that suit your local climate, soil type, sunlight, and moisture levels so they can grow well without extra care. Good drainage also matters, especially before adding pavers, gravel, or other hardscaping. Water should drain or soak into the soil properly instead of collecting around plants or beneath hardscape. Finally, use clear edges between grass, planting beds, gravel, and walkways. Defined borders help keep materials in place and make routine cleanup, mowing, and trimming easier. Low-Maintenance Front Yard Landscaping Ideas A low-maintenance front yard doesn’t have to look plain. The right mix of plants, hardscaping, and simple design choices can reduce the need for watering, mowing, pruning, and weeding while still giving your home great curb appeal. 1. Replace Grass With Decorative Gravel A gravel front yard removes one of the biggest maintenance jobs, mowing. It also reduces watering and works well in dry climates where keeping […]
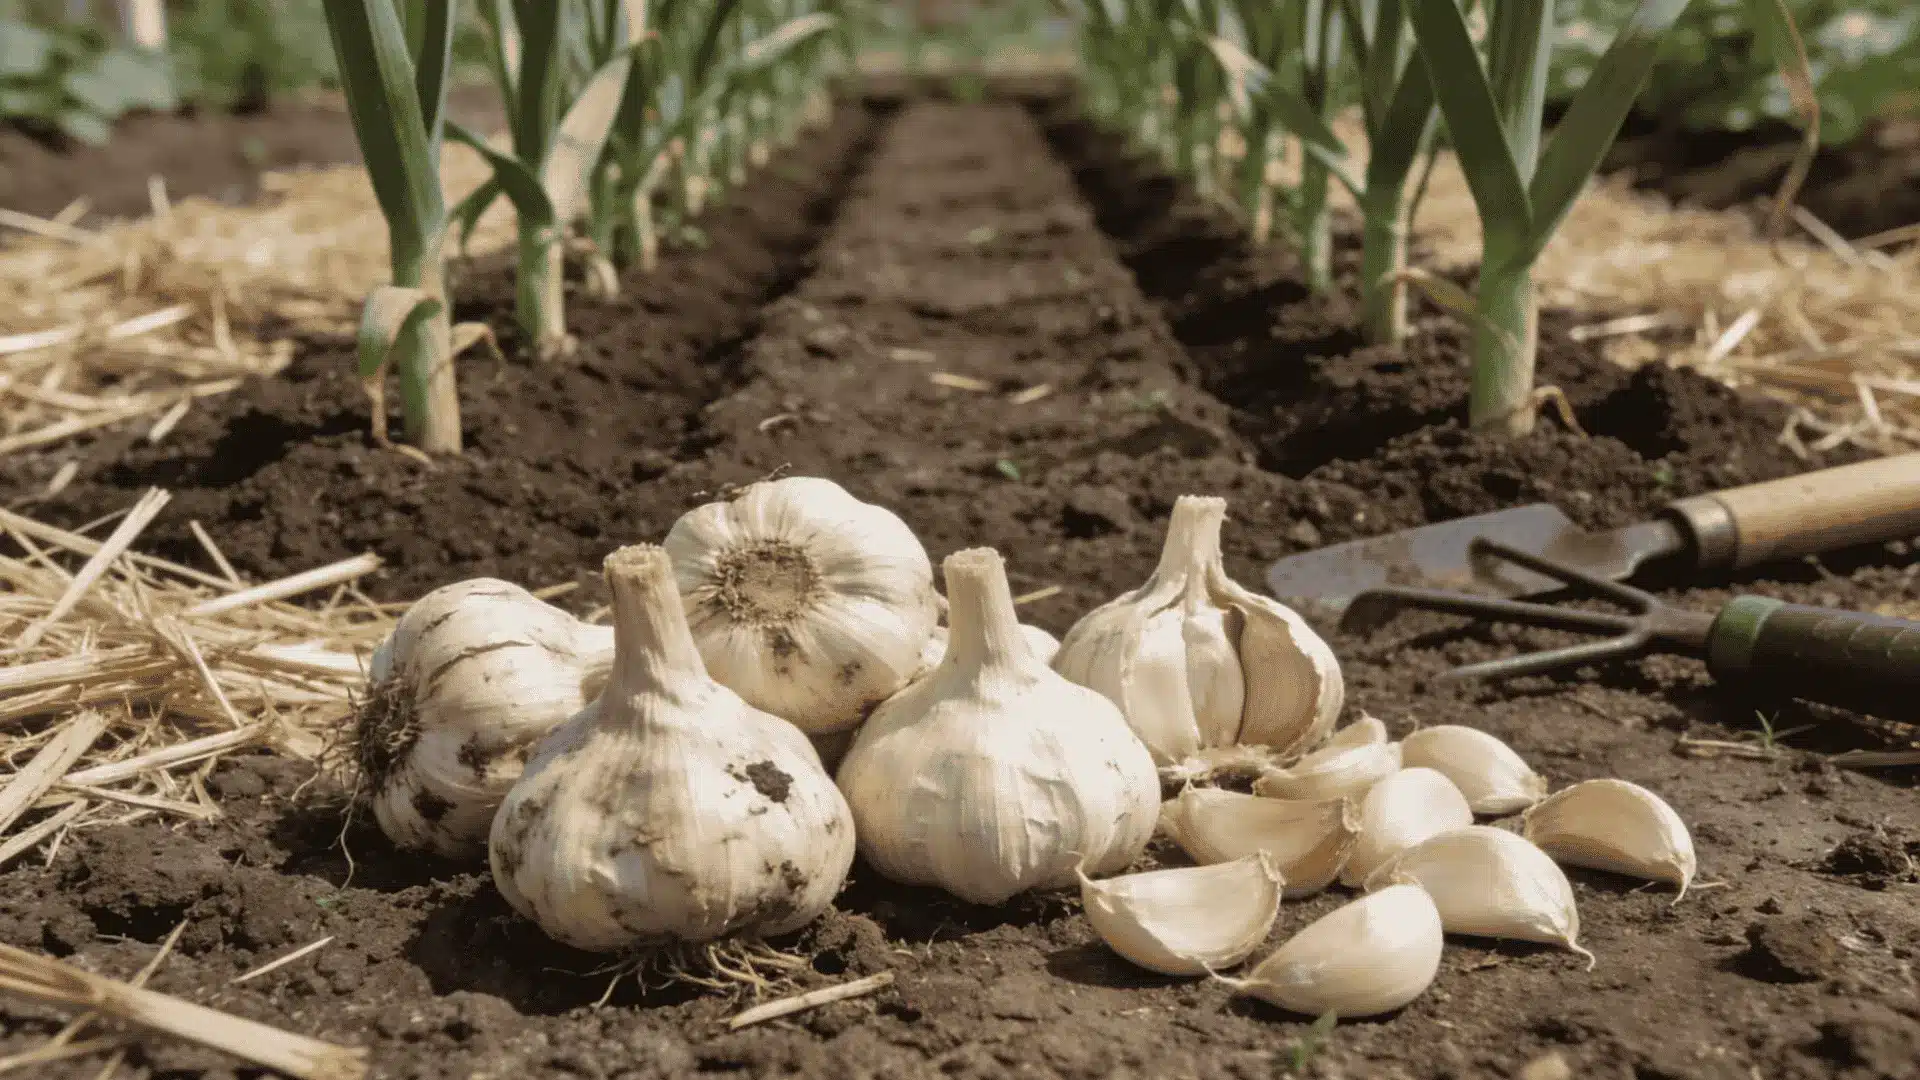
Learning how to plant garlic is one of the most rewarding things you can do in a home garden. It’s cheap, simple, and the payoff shows up fast. Garlic isn’t like other crops you’re used to. It runs on its own clock, needs real cold to do its job, and rewards anyone who respects that timing. The variety you pick, the clove you choose, and the timing you follow all shape what ends up in your hands. I’ll walk you through all of it, from picking the right clove to pulling a perfectly cured bulb. When Should You Plant Garlic? Plant garlic in the fall, sometime between September and November. That gives roots time to settle in before the ground freezes. I’ve pushed planting into December once, out of laziness. The bulbs came in undersized, and that mistake taught me to respect the calendar. Garlic isn’t like most vegetables. It needs a real cold spell, called vernalization, before it can form proper bulbs. Skip that cold period, and you get small, undivided heads that aren’t worth pulling. Here’s what actually happens underground during that cold stretch: Roots grow quietly through fall and winter As spring days lengthen, the plant shifts energy into leaves That leaf growth eventually feeds back down into the bulb Each stage depends on the one before it. Rush the roots, and the leaves never catch up later. The sweet spot is 4 to 6 weeks before your first hard frost. That window gives cloves enough time to root before the cold shuts growth down. Miss that window and the plant falls behind fast. Here’s what timing failures actually look like: Cloves planted too late go dormant before roots can anchor Under-rooted plants start spring behind, and usually stay behind Late-planted garlic is more vulnerable to heaving, […]
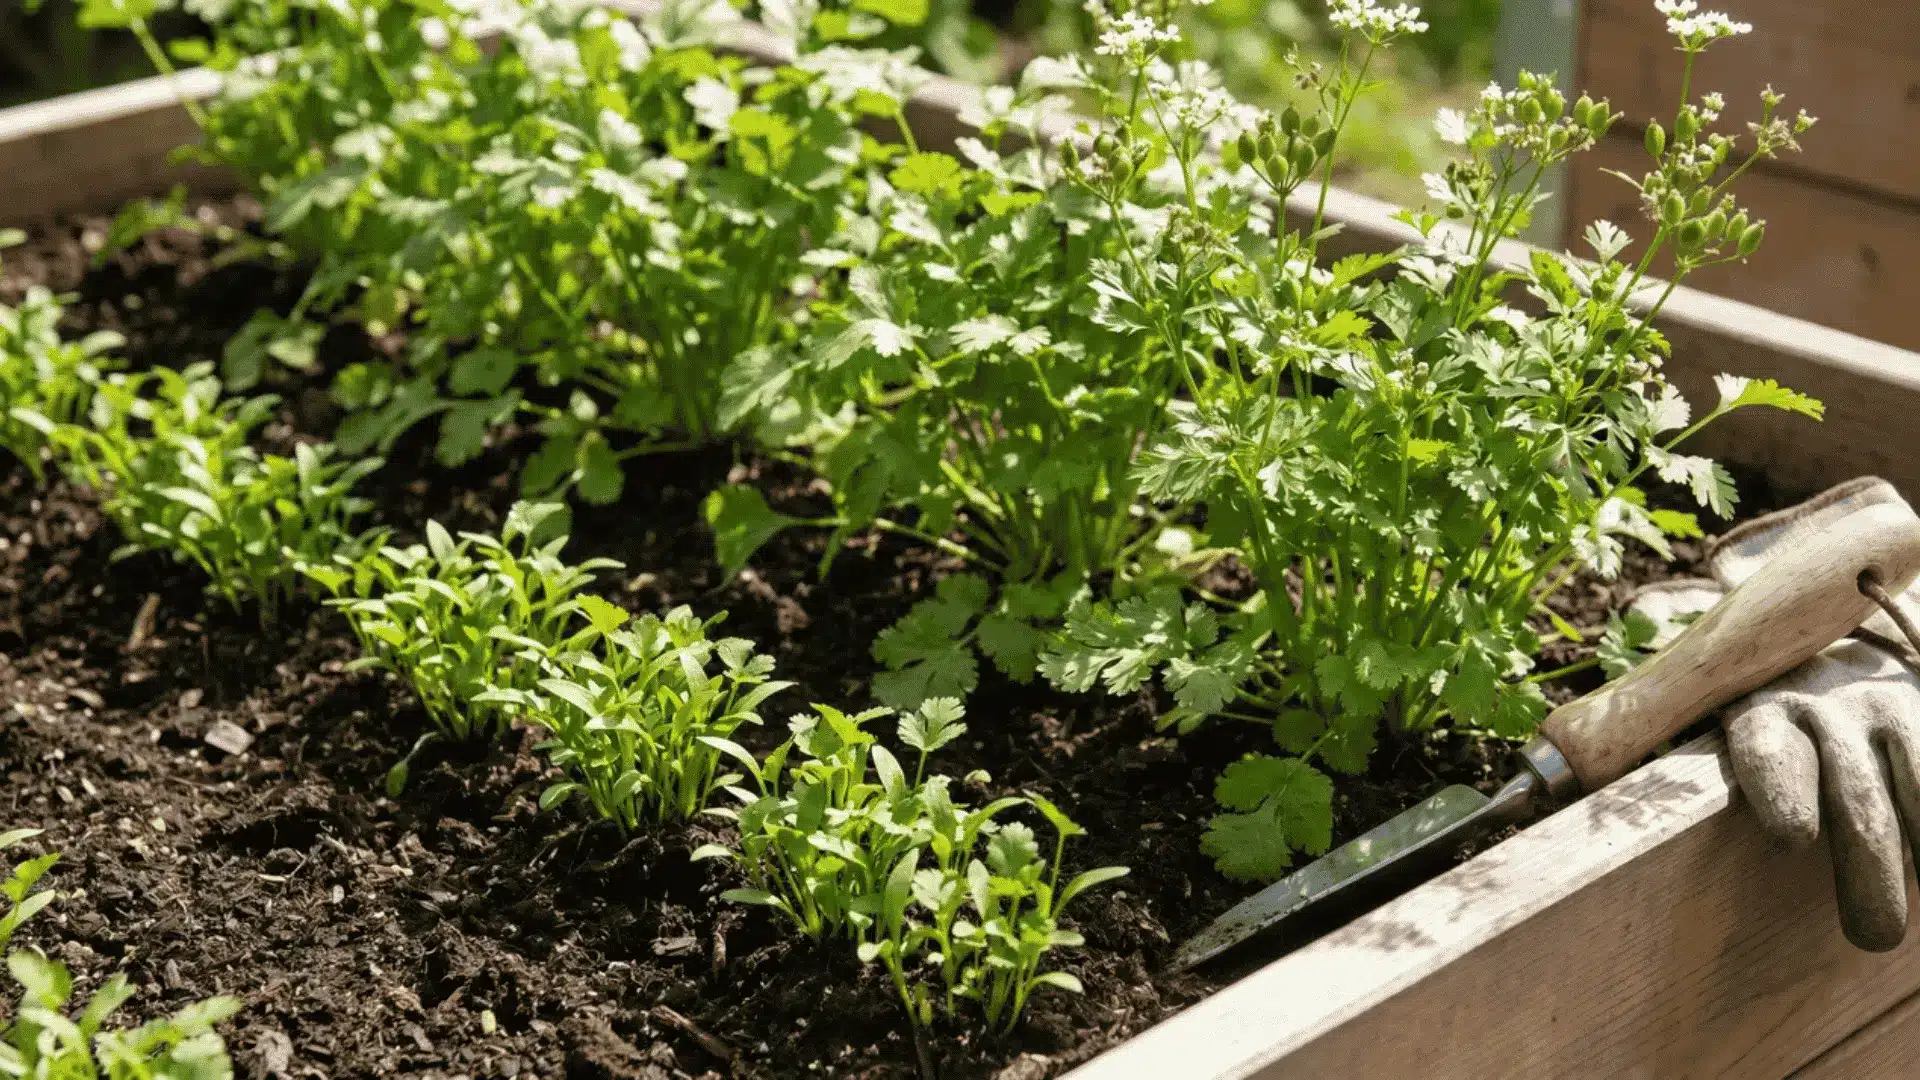
Growing cilantro sounds simple, until it bolts before you get a single harvest. I’ve watched this happen to careful gardeners more than casual ones. Timing trips people up more than skill ever does. Cilantro is a cool-season herb with a narrow productive window. Miss it, and the plant goes straight to seed before your first cut. Most failures come down to three things: planting too late, watering wrong, or harvesting wrong. None of these are hard to fix once you see why they happen. Here’s everything you need: planting windows, bolt prevention, harvesting technique, and fixes for both garden beds and containers. When Should You Plant Cilantro? Cilantro needs cool soil, not cool air. Plant when soil temperature sits between 50–85°F. Soil can hit 85°F while the air still feels mild. Use a soil thermometer, not the weather app. Spring vs. Fall Planting Both seasons work, but only if you hit the right window. Spring planting works if you catch the soil while it’s still cool. Here’s what that looks like: Start 60 days before your last frost date Keep soil cool and just workable Best in zones 6 and below, where summers stay mild longer That window closes fast once summer heat arrives, so getting this stage right matters more than any other step. Fall planting gives you a longer runway, especially south of zone 6. Here’s the setup: Start 6–8 weeks before your first frost Soil is already cooling, which cilantro loves The main reliable window for zones 7+, since spring soil warms too fast there In zones 7 and up, spring soil crosses 85°F within weeks of the last frost. Fall is where you’ll get a real harvest. If soil hits 85°F even two weeks after germination, the plant skips leaf production and bolts straight to seed. […]
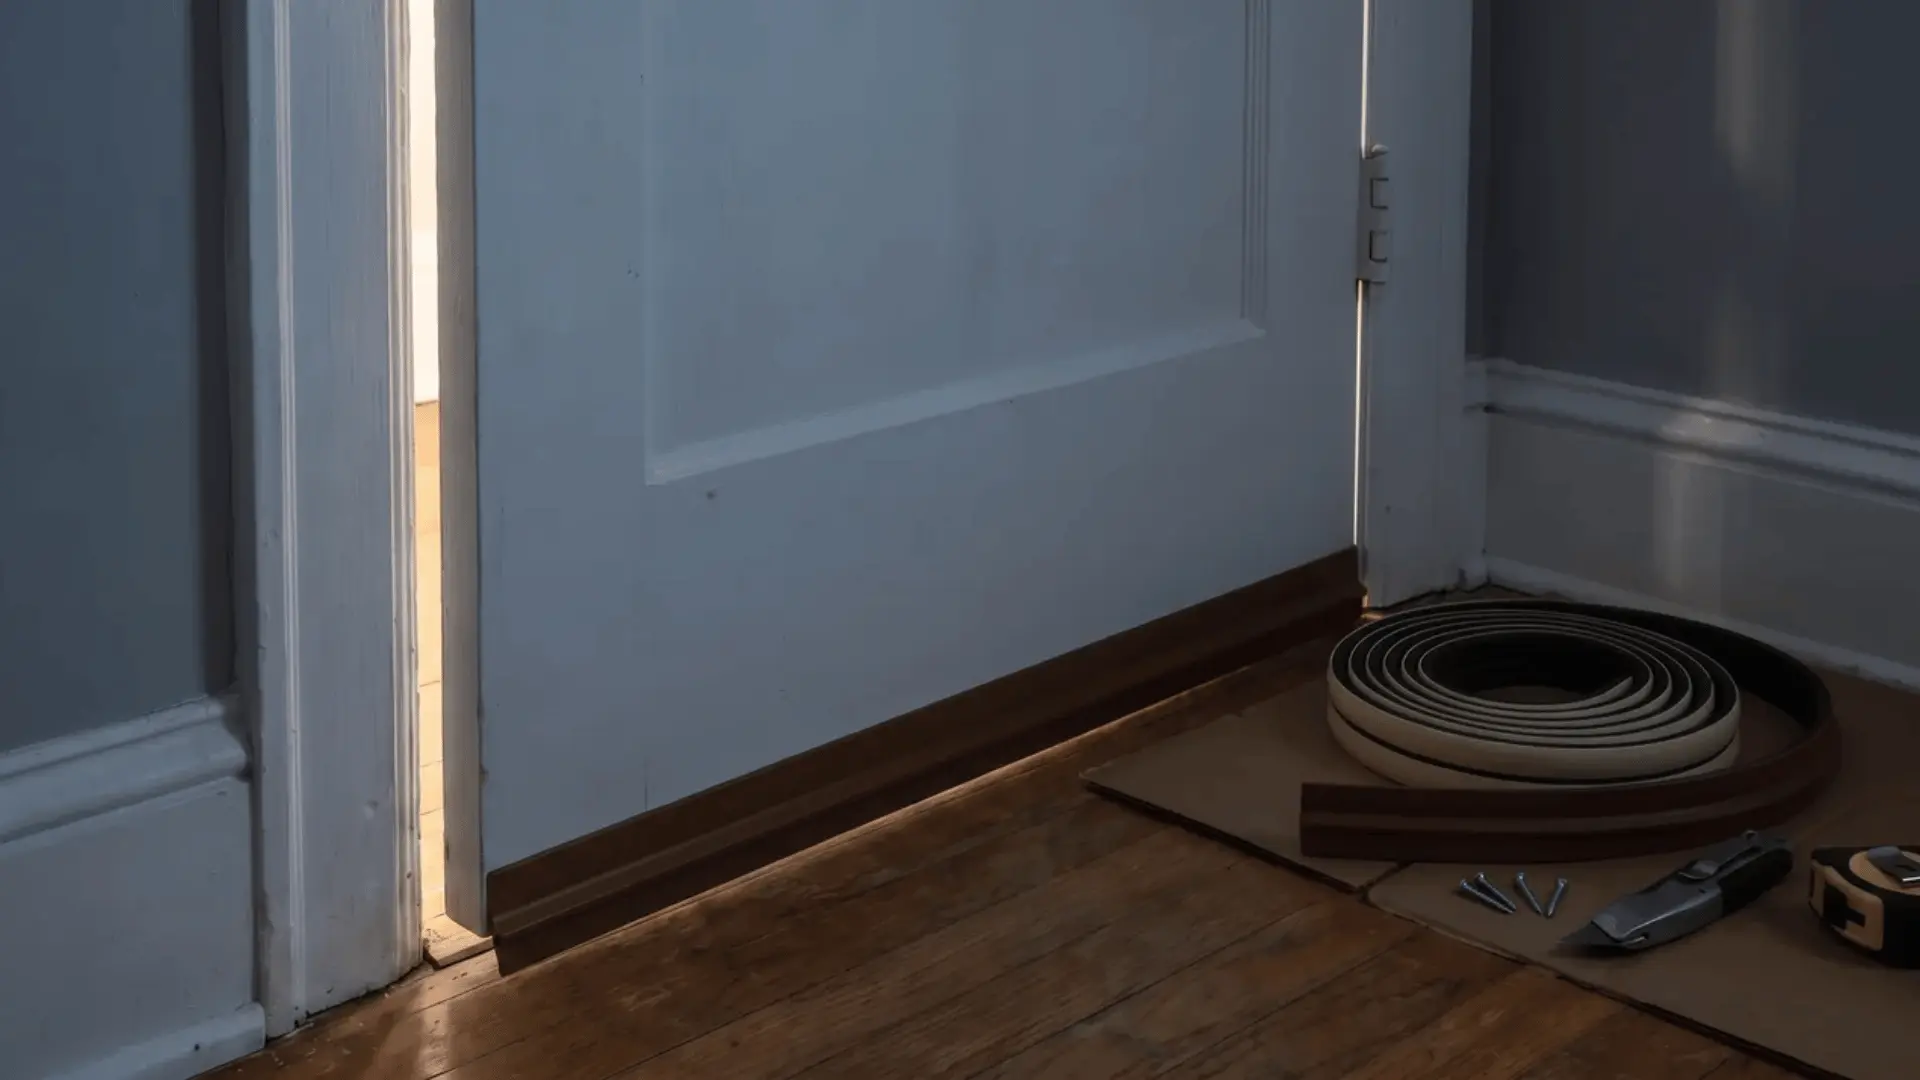
Noise from the hallway, TV, traffic, or a busy home can make a quiet room feel anything but quiet. A thin door and small gaps around the frame can let more sound through than you might expect. I’ve found that the biggest improvements often come from simple fixes rather than expensive equipment. Learning how to soundproof a door starts with finding those weak spots and sealing them properly. From door sweeps and weatherstripping to renter-friendly options, there are several ways to cut down unwanted noise. The right approach depends on your door, the gaps around it, and how much noise you need to reduce. Why Do Doors Leak Sound? Many interior doors have lightweight or hollow-core construction, which provides less sound isolation than a heavier solid-core door. Gaps around the door can make the problem worse by giving sound an easy path through the doorway. Sound can travel through the air and through solid materials like the door as vibrations, so both the door itself and its seal affect how much noise gets through. Hollow-core doors are less effective at blocking sound because they have less mass than solid-core doors. Even small gaps around the sides, top, or bottom can allow noticeable noise through. That is why sealing these openings is one of the most important first steps when soundproofing a door. How to Soundproof a Door: Step-by-Step Learn how to soundproof a door by sealing gaps, adding a door sweep, and improving insulation around the frame to cut down noise in a simple, effective way. Tools and Materials You don’t need many specialized tools to soundproof a door. Most of the work involves measuring, cutting, cleaning, and installing seals around the door. Tool or Material Purpose Door Sweep Seals the gap beneath the door to reduce sound leakage Screwdriver […]

Get the latest home decor tips, DIY ideas, and design inspiration delivered straight to your inbox.





