

Learning how to plant garlic is one of the most rewarding things you can do in a home garden. It’s cheap, simple, and the payoff shows up fast.
Garlic isn’t like other crops you’re used to. It runs on its own clock, needs real cold to do its job, and rewards anyone who respects that timing.
The variety you pick, the clove you choose, and the timing you follow all shape what ends up in your hands.
I’ll walk you through all of it, from picking the right clove to pulling a perfectly cured bulb.
When Should You Plant Garlic?
Plant garlic in the fall, sometime between September and November. That gives roots time to settle in before the ground freezes.
I’ve pushed planting into December once, out of laziness. The bulbs came in undersized, and that mistake taught me to respect the calendar.
Garlic isn’t like most vegetables. It needs a real cold spell, called vernalization, before it can form proper bulbs.
Skip that cold period, and you get small, undivided heads that aren’t worth pulling.
Here’s what actually happens underground during that cold stretch:
- Roots grow quietly through fall and winter
- As spring days lengthen, the plant shifts energy into leaves
- That leaf growth eventually feeds back down into the bulb
Each stage depends on the one before it. Rush the roots, and the leaves never catch up later.
The sweet spot is 4 to 6 weeks before your first hard frost. That window gives cloves enough time to root before the cold shuts growth down.
Miss that window and the plant falls behind fast. Here’s what timing failures actually look like:
- Cloves planted too late go dormant before roots can anchor
- Under-rooted plants start spring behind, and usually stay behind
- Late-planted garlic is more vulnerable to heaving, where freeze-thaw cycles shove cloves out of the soil
None of these problems fix themselves once spring arrives. The damage is already done underground.
Not sure when your first frost hits? Check the USDA Plant Hardiness Zone Map for your region.
It’ll show your zone and help you count backward from your average first frost date.
A thicker mulch layer helps protect late-planted garlic from heaving. It won’t replace good timing, though.
Spring planting works in zones 8 and warmer, or as a backup if you missed fall. Just expect smaller bulbs, since the cold cycle won’t be complete.
Selecting and Preparing Your Cloves
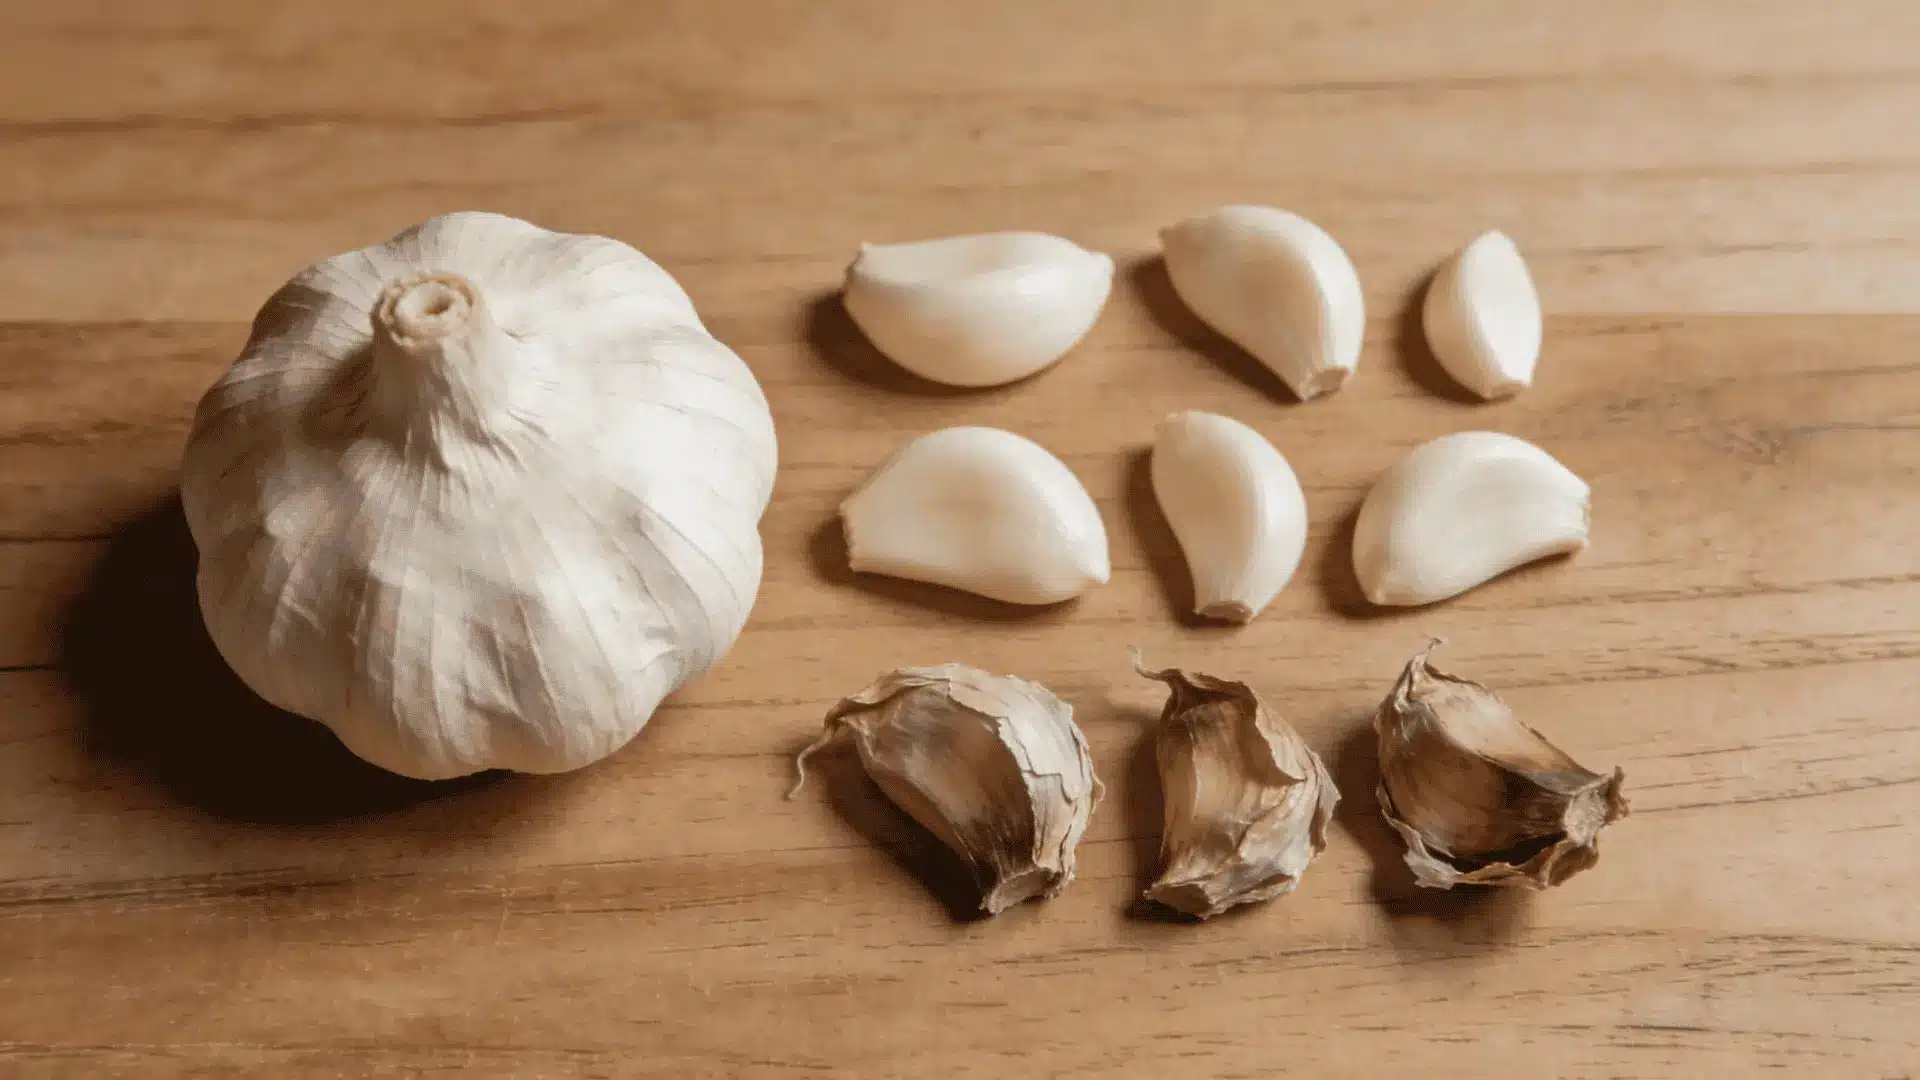
Yes, you can grow garlic from a single clove. That’s exactly how it’s done, and each clove you pick determines what you’ll harvest.
Think of a clove as a stored packet of energy. Bigger cloves carry more carbohydrates, which fuels stronger early growth and a bigger leaf canopy.
Small center cloves don’t carry enough fuel to recover, no matter how good your soil or timing is. Bury a clove too deep, and it burns that stored energy just reaching sunlight.
Store-bought cloves work fine, though certified seed garlic lowers your risk of disease. If you’re using grocery bulbs, choose organic, since they’re less likely to be treated to stop sprouting.
Here’s what to skip when you’re picking cloves:
- Small cloves from the center of the bulb
- Soft, spongy, or damaged cloves
- Any clove with visible mold or discoloration
Starting with the right cloves stacks the odds in your favor before anything touches the soil. Once you know what to avoid, the next call is which type of garlic to grow, and how to prep it.
Hardneck vs. Softneck: What to Choose?
Both types grow well in home gardens, but they suit different needs. Here’s the quick breakdown:
- Hardneck: Stronger flavor, fewer but larger cloves, and a scape you can harvest in late spring. Rocambole, Porcelain, and Purple Stripe are common varieties. Best for flavor-focused growers in colder climates.
- Softneck: Milder flavor, more cloves per head, up to 20, and it stores for up to a year. This is what you usually see in grocery stores. Best for beginners in warmer climates.
If you’re just starting out, softneck forgives more mistakes. Want better flavor and a bonus scape harvest? Go hardneck.
How to Prep Cloves Before Planting?
Prep only takes a few minutes, but it’s worth doing right. Here’s the routine:
- Separate cloves the day of planting: Break the head apart too early, and the cloves dry out
- Remove the loose, papery outer wrapper: Leave the tight inner skin alone, since it protects the clove
- Orient the pointy end up: That’s where the shoot emerges; plant it sideways and you waste energy correcting course
- Optional soak: Some growers soak cloves for a few hours in a diluted liquid fertilizer before planting for an early boost. It’s not a proven step, more a low-risk experiment for gardeners who like to tinker
Skipping any of these steps is one of the most common reasons a garlic crop underperforms from the start.
How to Plant Garlic? Soil, Spacing, and Depth
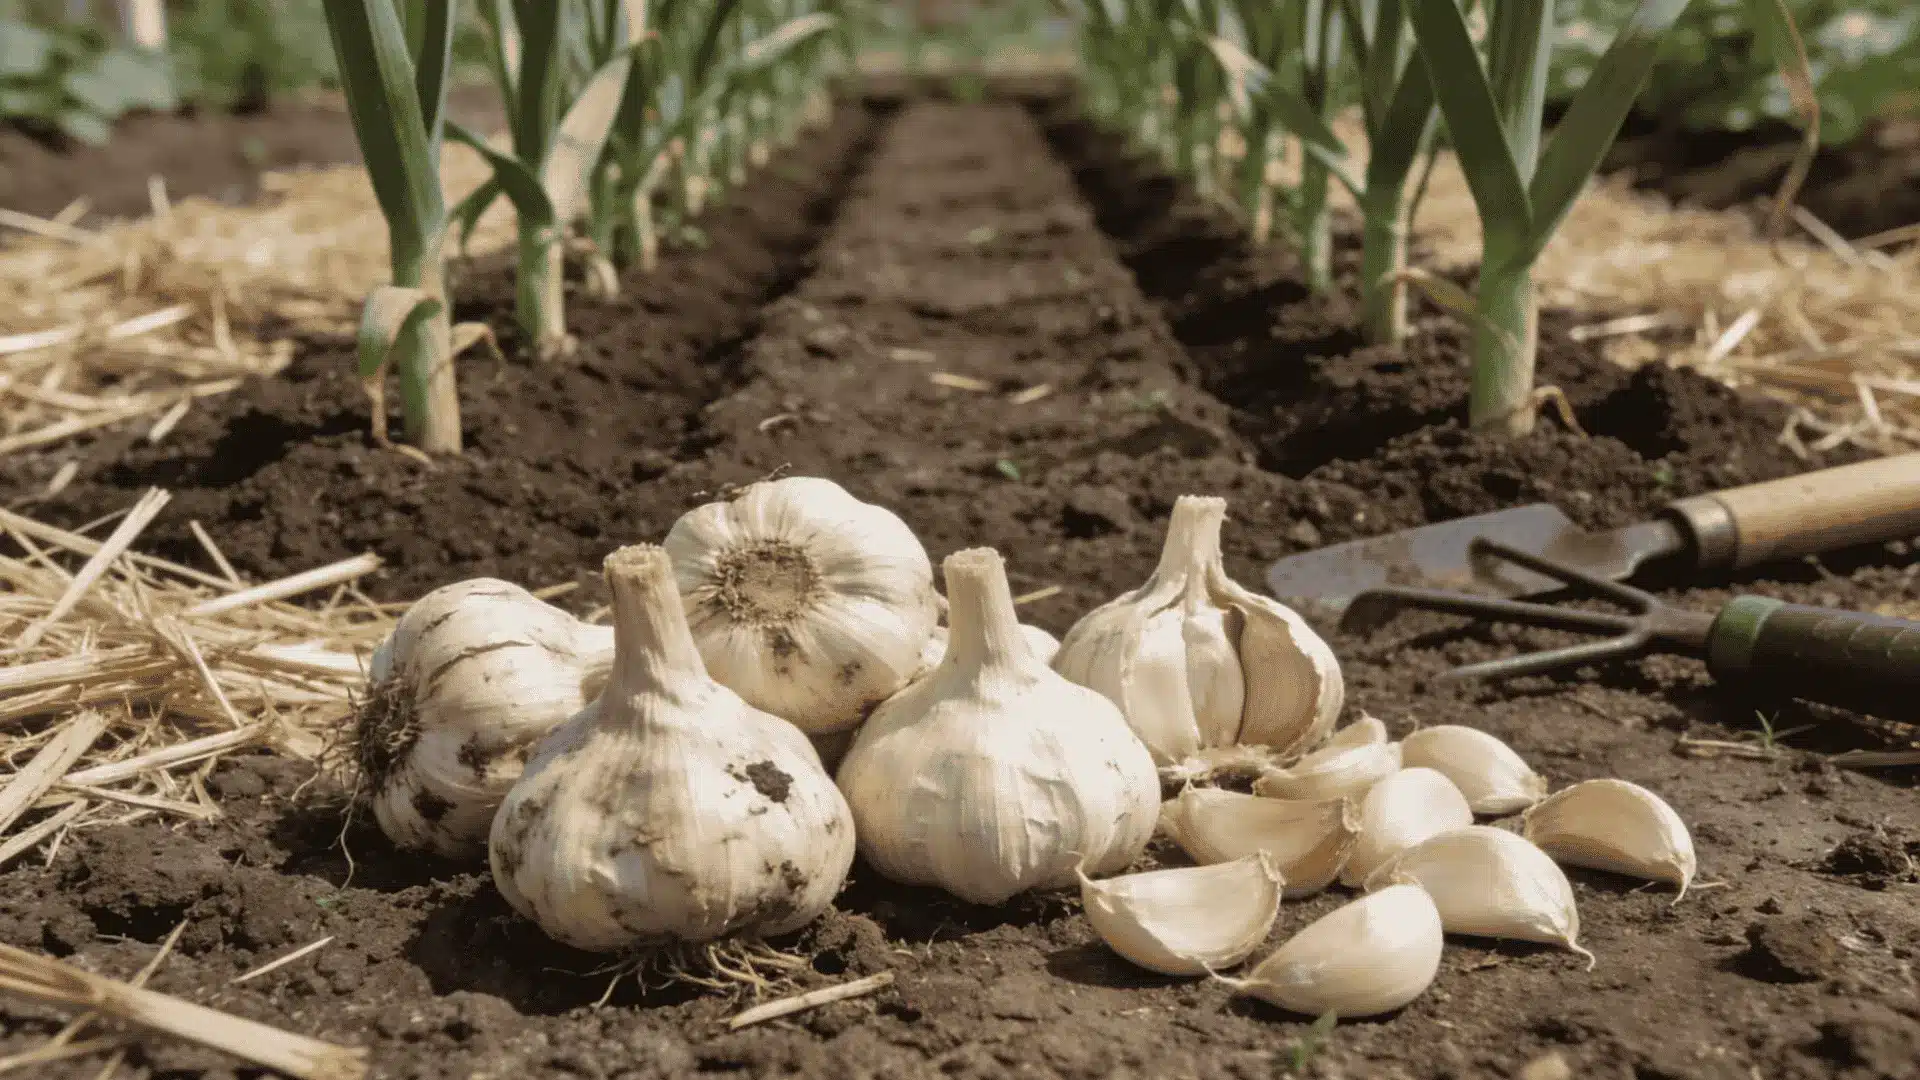
Plant garlic in loose, well-draining soil, about 2 inches deep, pointy end facing up. Get those three things right, and you’re most of the way there.
Most early failures trace back to soil, not weather or pests. Waterlogged or compacted ground stops roots from establishing in fall, and spring care can’t undo that.
Here’s how to get the soil, depth, and spacing right, step by step.
1. Soil Preparation
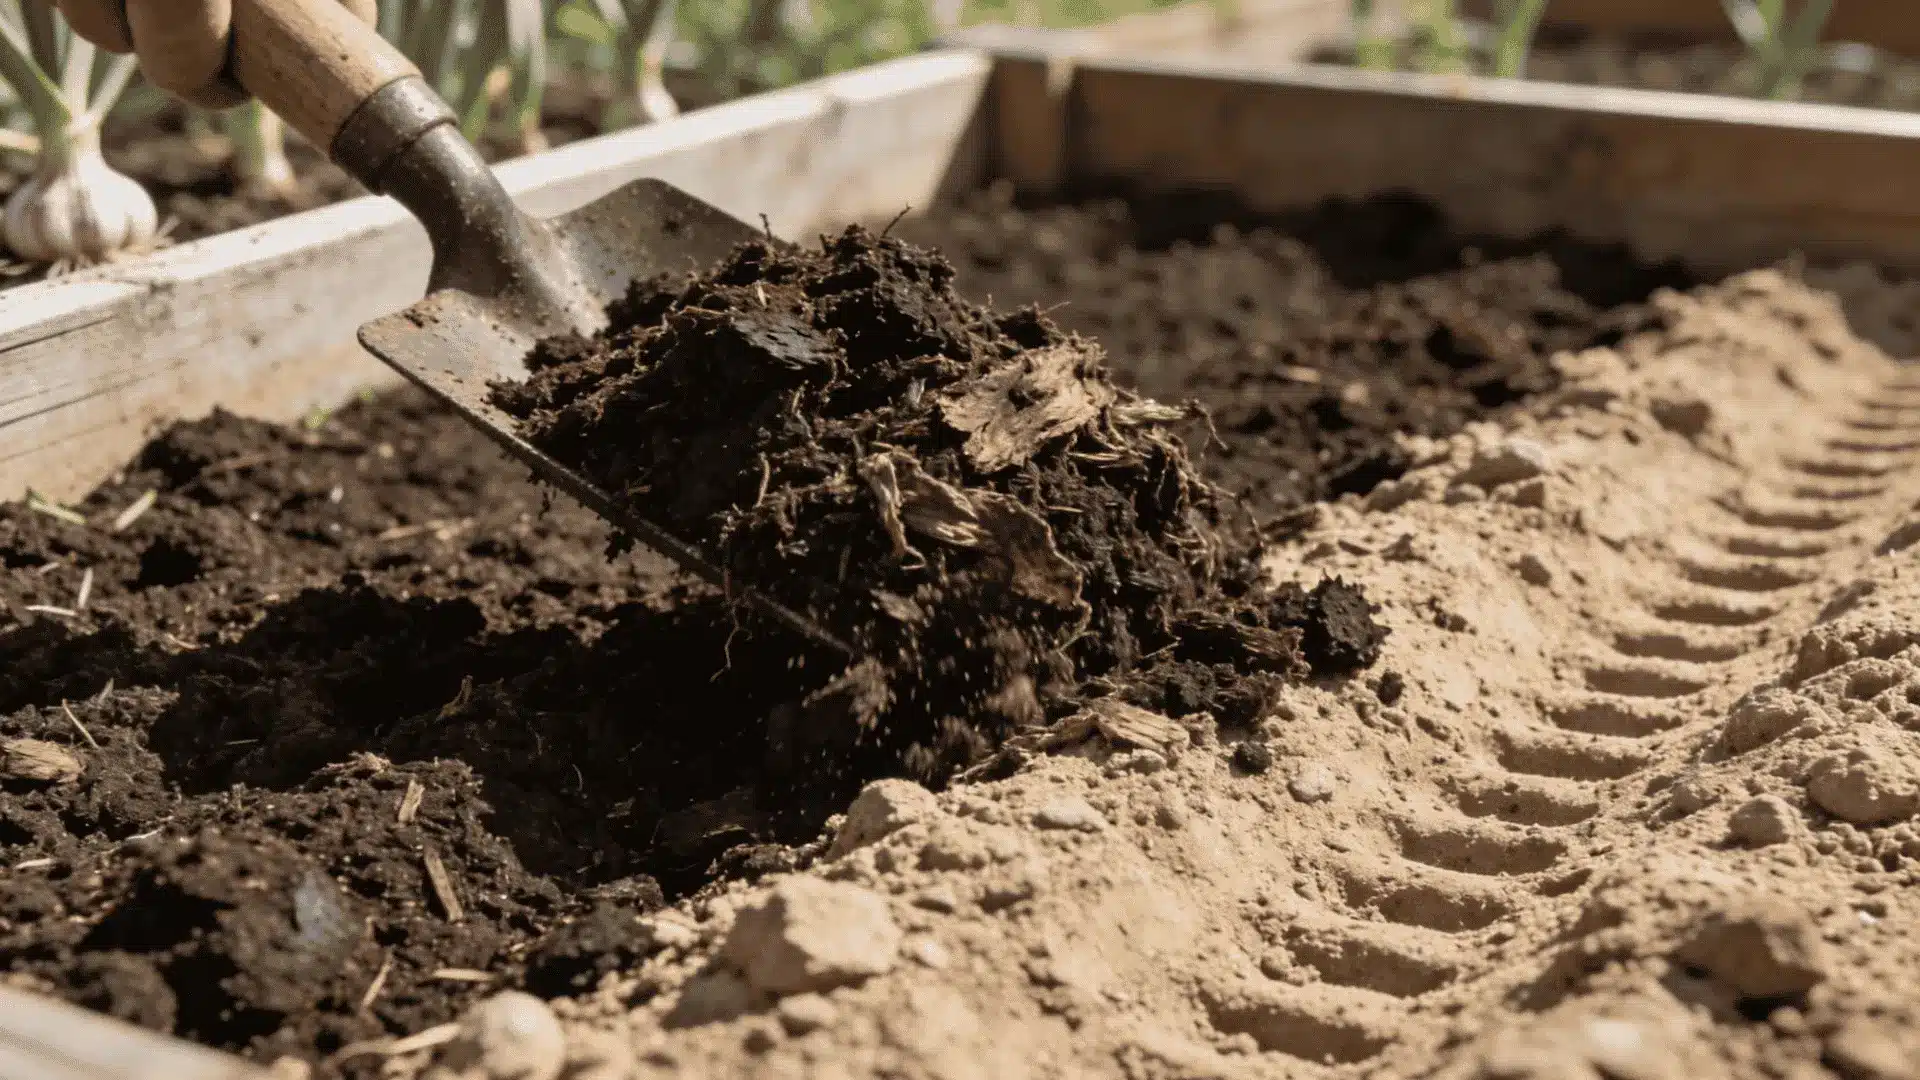
Good soil does most of the work before a single clove goes into the ground. Here’s what to get right:
- Amend with compost or aged manure: Garlic is a moderate feeder and benefits from organic matter worked into the top 8 to 10 inches
- Ensure good drainage: Heavy clay holds too much moisture and invites rot before roots can establish
- Avoid recent allium sites: Don’t plant where onions, leeks, or garlic grew in the last 2 to 3 years, since disease and pests carry over in soil
- Consider raised beds: If your garden drains poorly, a raised bed filled with loose amended soil solves that cleanly
Soil prep takes an hour at most, but it sets up everything that follows. Don’t skip it.
3. Planting Depth and Spacing
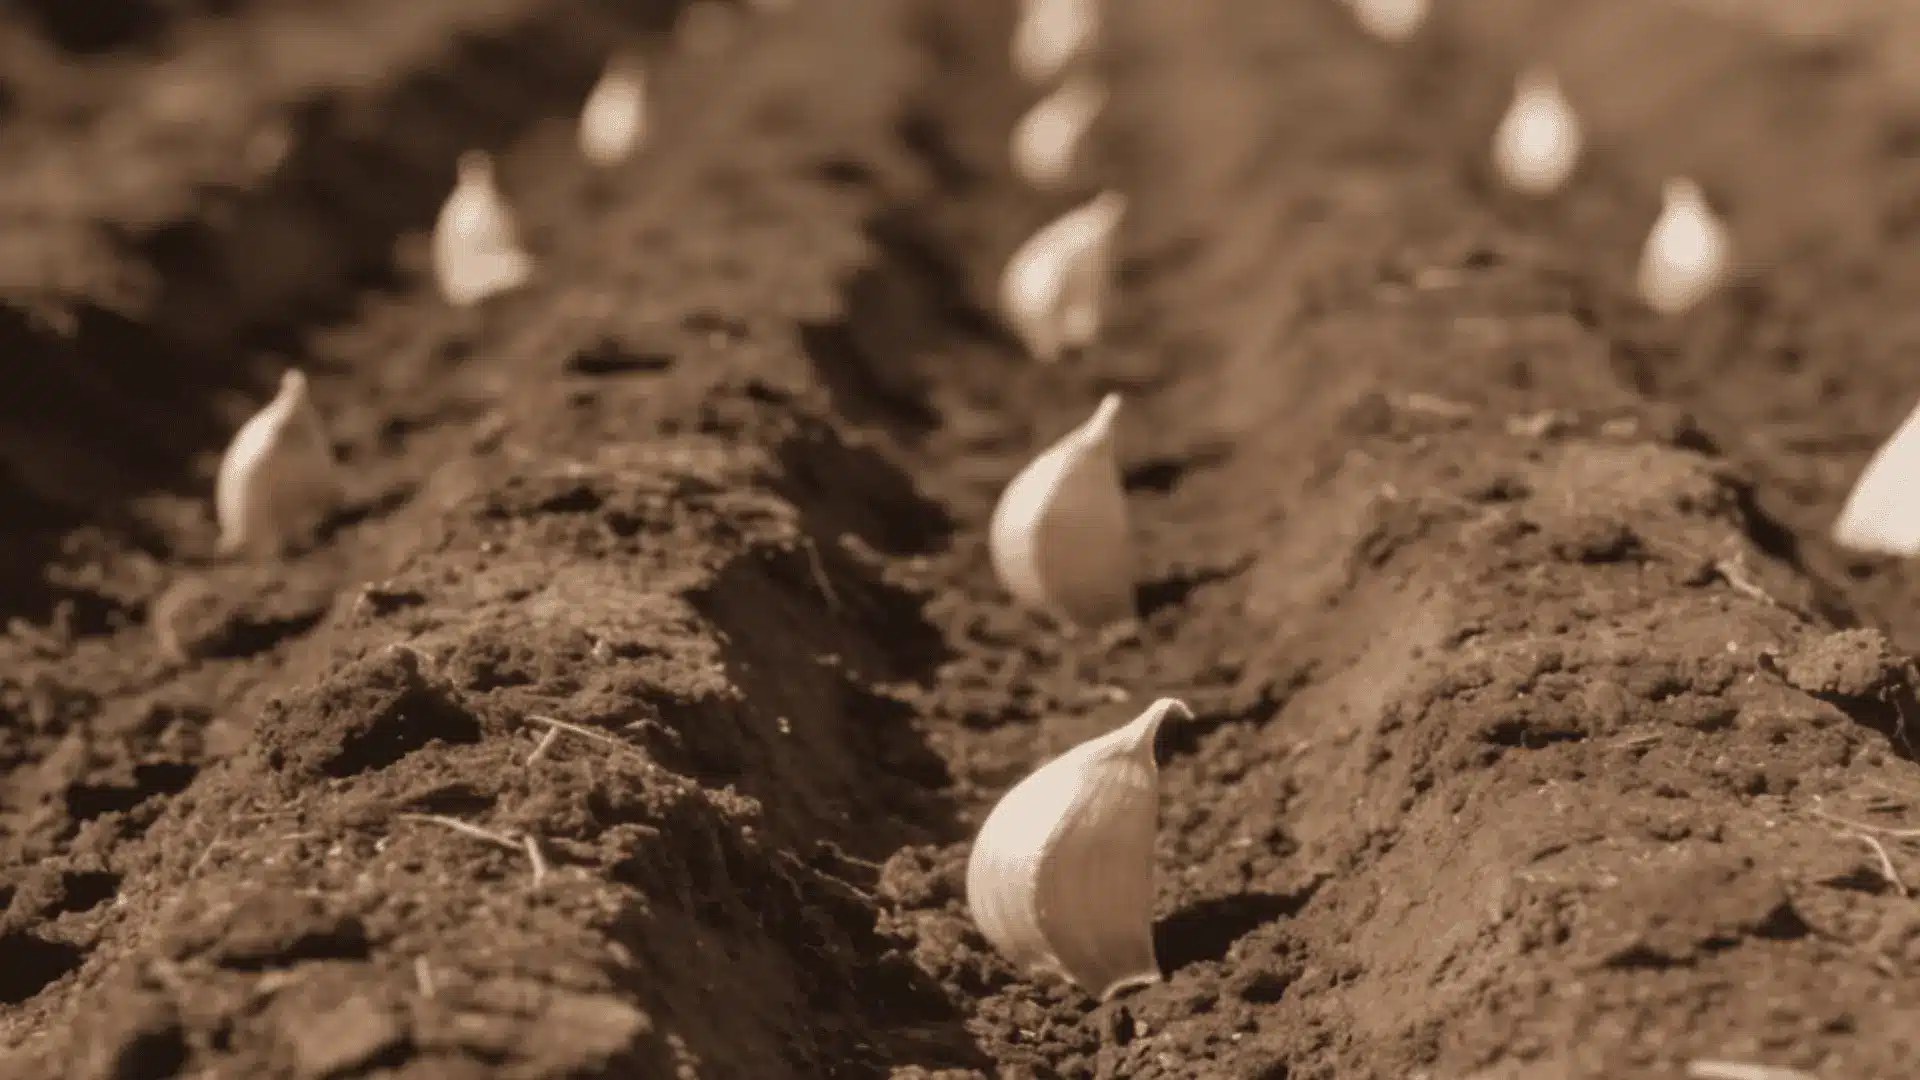
Once your soil is ready, the planting itself is simple. Follow these steps:
- Plant 2 inches deep: Deeper than 2.5 inches forces the clove to burn stored energy just reaching the surface
- Space cloves 4 to 6 inches apart: Garlic has shallow roots that compete hard for nutrients, so tight spacing hurts everyone
- Keep rows 12 inches apart: That gives each plant enough root space and makes weeding easier come spring
- Point the flat end down, pointy end up: Plant it sideways and it’s not fatal, but the clove wastes energy correcting course, and emergence gets delayed
Get the depth and spacing right, and every clove has what it needs to root through fall and take off in spring.
Caring for Garlic Through Winter and Spring
After planting, garlic needs mulch, steady spring watering, and weed control to reach its full potential. Most of your yield gets decided in this window.
A lot of beginners assume garlic takes care of itself once it’s in the ground. It mostly does through winter, but spring is where the real decisions happen.
Here’s what to handle at each stage, from mulching through scape removal:
Mulching After Planting
Mulch goes on right after planting, before the ground freezes. Here’s what to do and why it matters:
- Apply 4 to 6 inches of straw or dry leaves: This thickness insulates the soil and keeps temperatures stable through winter
- Protect against heaving: Heaving is when freeze-thaw cycles push cloves up and partly out of the soil. Mulch dampens those swings and keeps cloves in place
- Suppress early weeds: A thick mulch layer blocks weed germination before spring growth kicks in
Mulching takes minutes but protects months of work, especially if your winters run cold.
Spring Watering and Weed Control
Once shoots break through in spring, consistent care keeps growth on track. Keep these in mind:
- Water about 1 inch per week: Garlic needs steady moisture through spring and into early summer as bulbs develop
- Side-dress with nitrogen once leaves emerge: A light application of blood meal or a balanced fertilizer near the base pushes stronger leaf growth, and bigger leaves mean more energy banked into the bulb
- Stop watering 2 to 3 weeks before harvest: This lets the outer skin dry and harden, which matters for storage life
- Don’t overwater: Soggy spring soil is one of the fastest ways to lose bulbs to rot before they finish forming
- Keep the bed weed-free: Garlic has shallow roots and can’t compete, so even moderate weed pressure cuts into yield
Stay on top of watering, feeding, and weeds through spring, and your garlic does the rest.
Removing the Scape (Hardneck Only)
If you’re growing hardneck garlic, you’ll see a curling green stalk show up in late spring. That’s the scape. Here’s what to do:
- Cut it off once it curls: At this stage, the plant is trying to flower and set seed, which pulls energy away from the bulb
- Removing it redirects energy downward: Growers who track results side by side often see bulb size increase by 20% or more when scapes are removed promptly
- Don’t toss them: Scapes are edible with a mild garlic flavor, so use them in stir-fries, pesto, or anywhere you’d use green onions
One small cut in late spring gives your bulbs a real size boost.
How to Harvest and Cure Garlic?
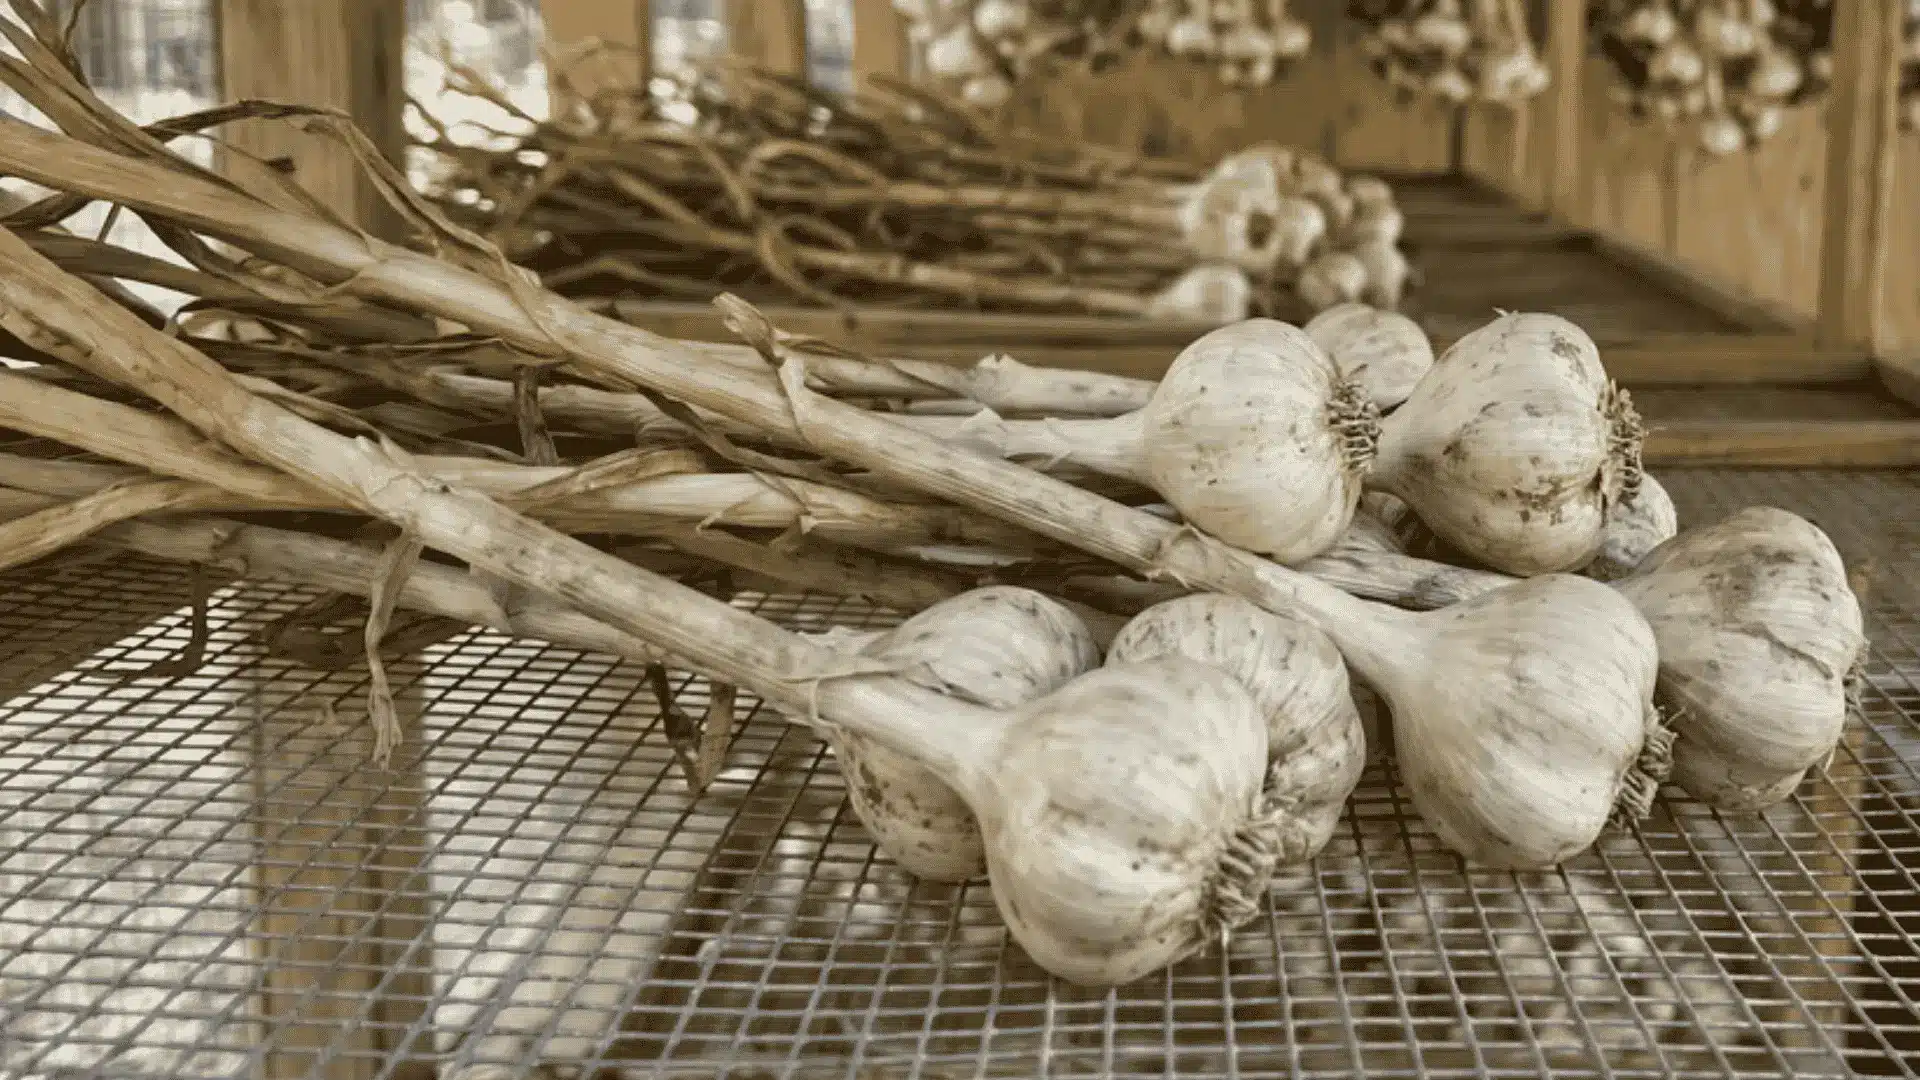
Harvest timing makes or breaks everything you’ve built over the past several months. Most beginners go by the calendar, but the plant gives you a better signal.
Here’s how to read that signal, then cure your harvest so it actually stores:
When to Harvest? The Leaf Count Method
Harvest garlic when 4 to 5 green leaves remain on the plant. Each green leaf corresponds to one intact wrapper layer protecting the bulb.
That’s your real signal, not the date on a calendar. Here’s why it works:
- 4 to 5 green leaves remaining: Enough wrapper layers to protect the bulb through curing and storage
- Too early, at 6 to 7 green leaves: Skin is too thin and won’t hold up, so bulbs won’t store well
- Too late, at 1 to 2 green leaves: Wrappers have broken down, and cloves may have already split apart
Once you know your count, digging is the easy part.
Don’t pull garlic by the stem, since it snaps easily and damages the bulb. Instead:
- Push a garden fork into the soil 3 to 4 inches from the plant
- Loosen the soil in a circle around the bulb
- Lift gently from below and ease the bulb out
Check the first bulb before you dig the whole bed. If the wrappers look intact and the cloves are well-formed, you’re good to go.
How to Cure and Store Garlic?
Freshly dug garlic isn’t ready to store yet. Curing is what makes it last.
Hang bulbs or lay them in a single layer in a dry, shaded, well-ventilated space for 3 to 4 weeks.
During this time, moisture inside the bulb moves outward through the stem. Skip this step, and trapped moisture can turn into mold during storage.
Here’s what to do once curing is done:
- Trim the stems to about an inch once fully dry
- Brush off loose dirt, and don’t wash the bulbs
- Store in a cool, dry spot with good airflow; mesh bags or open crates work well
- Softneck varieties store for 6 to 12 months under good conditions
- Hardneck varieties store for 4 to 6 months, so use these first
Cure it right, and your harvest carries you through most of the year.
Conclusion
Growing garlic isn’t complicated, but it rewards attention. Every step, from clove selection to curing, plays a direct role in what you harvest.
Clove size drives yield, timing drives root strength, and the leaf count tells you exactly when to dig.
Those aren’t small details. They’re the difference between garlic that stores all year and a harvest that disappoints by December.
You’ve got what you need to plant garlic successfully this season. Pick your variety, prep your soil, and get those cloves in the ground this fall.
Frequently Asked Questions
Can I reuse garlic from my own harvest for next year’s planting?
Yes. Save your largest, healthiest bulbs from this year’s harvest, and use the biggest cloves for planting. Quality holds across generations if you select carefully.
How many garlic bulbs can I expect from one clove?
Each clove produces one full bulb with multiple cloves inside. Yield depends on clove size, soil quality, and care, and larger cloves consistently produce larger bulbs.
Does garlic need fertilizer during the growing season?
Yes. A light nitrogen feed in early spring supports leaf growth, which feeds bulb development. Compost worked into the soil at planting usually covers the rest.
Can garlic grow in containers or pots?
Yes, garlic grows well in deep containers, at least 8 inches. Use a well-draining potting mix, keep moisture consistent, and give the pot 6 or more hours of sunlight.