
Home » DIY Guides

Sticky residue from labels, stickers, tape, or glue can turn a small cleanup into a frustrating job. The biggest mistake is treating every surface

Easy DIY projects are a great way to refresh your home without spending a lot or taking on a stressful renovation. A small update, like painting a wall, replacing cabinet hardware, adding shelf liner, or framing a mirror, can make
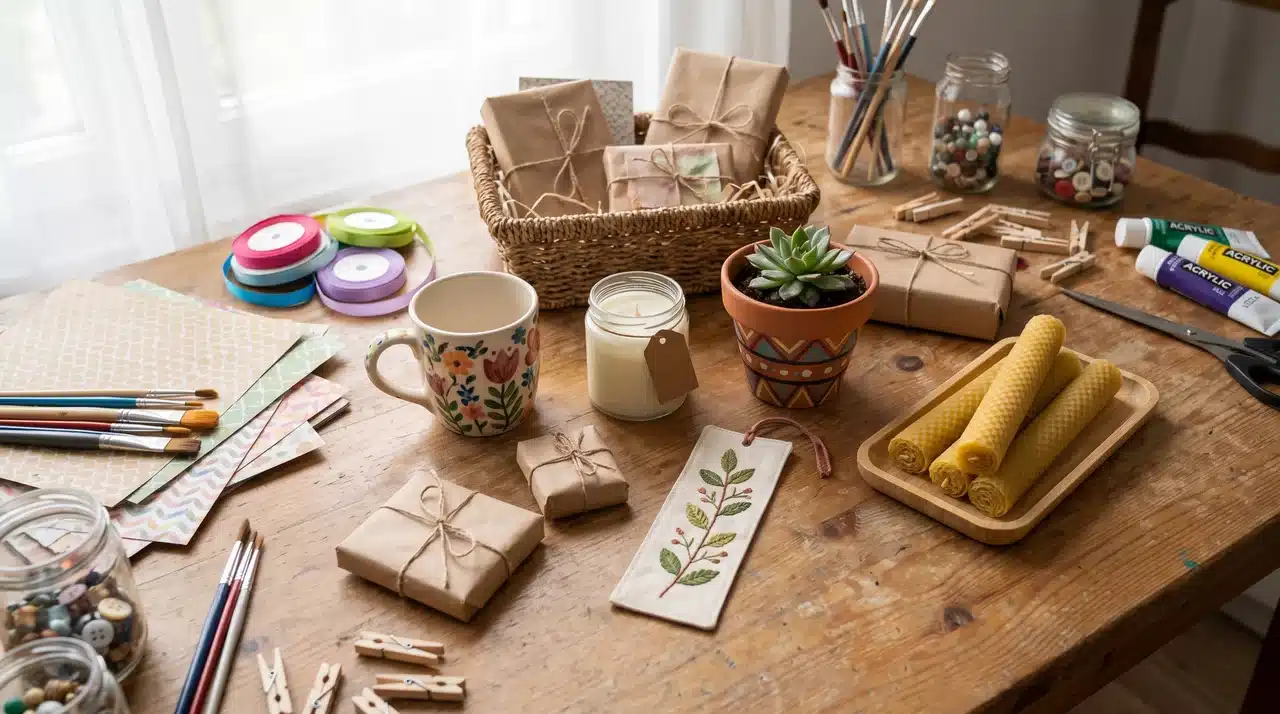
Store-bought gifts are easy, but they rarely feel personal. DIY gift ideas solve that problem without asking for hours of extra work or advanced craft skills. A candle poured in an evening, a mug painted at the kitchen table, or a jar filled with handwritten notes can say more than something pulled off a shelf. What makes a homemade gift land well has less to do with difficulty and more to do with fit. The right project matches the person, the moment, and the time you actually have to give. Here is where to start when picking one. How to Choose the Right DIY Gift? A great DIY gift starts with the person receiving it. Think about their hobbies, daily habits, favorite colors, and the things they already use or enjoy. The best handmade gifts usually solve a small need, preserve a memory, or add a personal detail that store-bought options cannot offer. A simple item with the right customization can feel more meaningful than an expensive present. I have watched plenty of gift givers overthink this step. The projects that land best are almost never the fanciest ones; they are the ones that show you paid attention to what someone actually likes. Whether you are making something for a birthday, holiday, friend, family member, or last-minute occasion, picking a gift that matches the recipient will make the final result feel more thoughtful. Homemade gifts have also become more common as budgets tighten. A recent Deloitte gift survey found that 45 percent of holiday shoppers planned to give DIY gifts, a sign that handmade presents are now a mainstream choice, not a fallback. Easy DIY Gift Ideas You do not need advanced craft skills to make something thoughtful. These simple DIY gift ideas use basic materials, easy techniques, and just […]
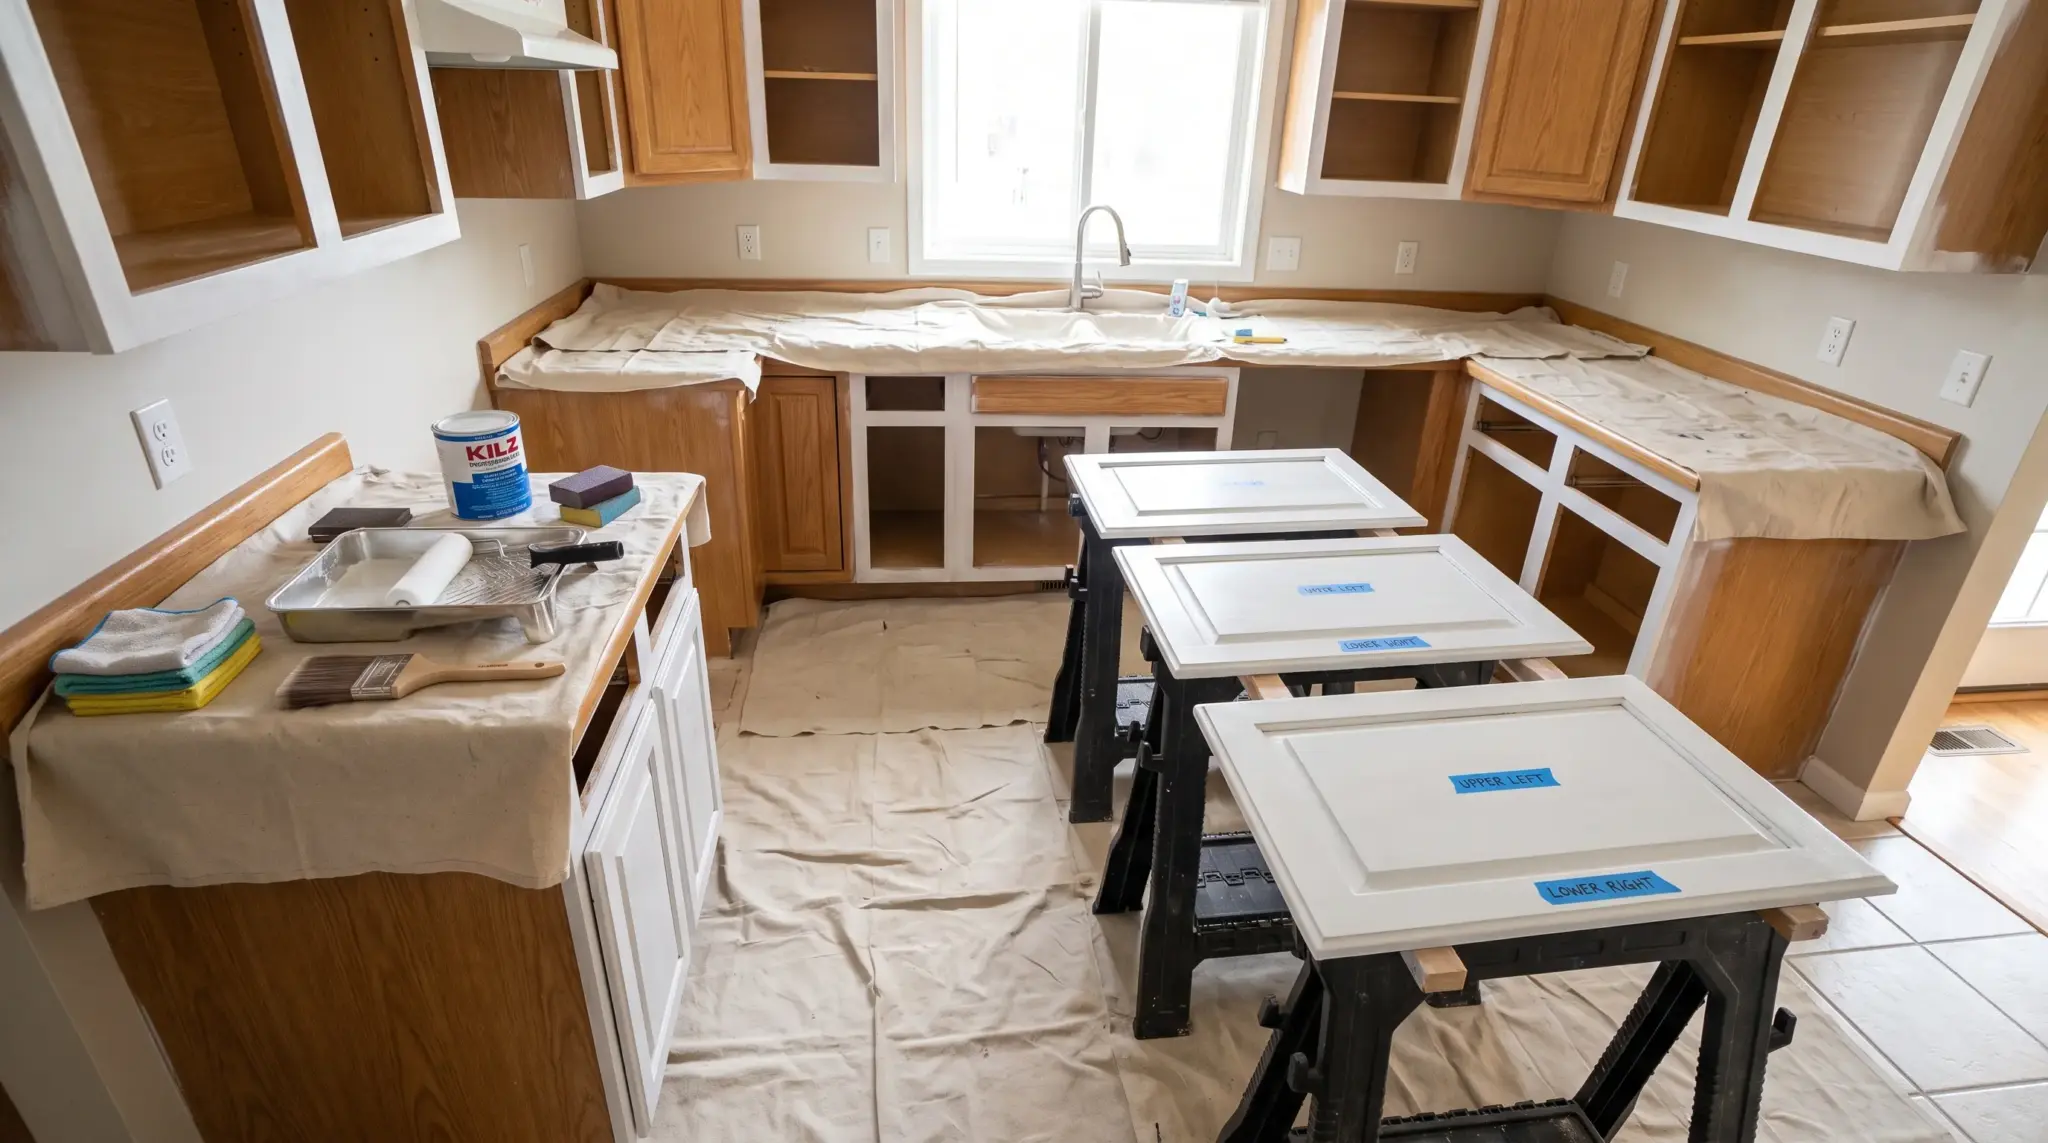
Painting kitchen cabinets can change the whole room without the cost of replacing them. If the doors look worn, dated, or dull, a fresh finish can make the kitchen feel cleaner and more updated. Learning how to paint kitchen cabinets is not difficult, but the result depends on preparation. Grease, dust, glossy finishes, and rushed drying time can all ruin the final look. That is why cleaning, sanding, priming, and curing matter just as much as the paint color. I will walk you through the tools, steps, paint choices, and mistakes to avoid so your cabinets look smooth and hold up to daily use. Why Cabinet Prep Matters More than the Paint You Pick? A lasting cabinet finish begins with the surface underneath, not the price printed on the paint can. Even premium cabinet paint cannot bond properly through grease, dust, or a glossy old finish. Kitchen cabinets collect cooking oil, fingerprints, food residue, and cleaning-product buildup over time. These layers may be difficult to see, but they can prevent primer from gripping the surface evenly. This matters even more if you are weighing paint against a full swap, since what it costs to paint cabinets usually runs far below the price of replacement. Cleaning removes residue, while light sanding creates the slightly rough texture that bonding primer needs. Primer then seals stains and gives the cabinet paint a stable base for daily use. Skipping any of these steps can cause peeling, bubbling, uneven coverage, or visible brush marks within months. Careful preparation takes longer, but it determines how smooth the cabinets look and how well the finish lasts. Tools and Materials You Will Need Gather everything before removing the first door. Having the right supplies nearby prevents interruptions once cleaning, priming, and painting begin. Item Why You Need It […]

A humidifier that suddenly mists less, hums louder, or smells a little off usually hasn’t broken. It is coated in mineral scale you cannot see from the outside. That hidden buildup is the real reason so many units get replaced years before they need to be. Knowing how to descale humidifier parts the right way stops that slow decline before it reaches the transducer or heating element. The process itself is simple once you know which solution fits your humidifier type and how long to let it soak. Here is why that buildup matters more than it looks like it does. Why Descaling Your Humidifier is Important Humidifier descaling matters because minerals from tap water quietly accumulate inside the tank, base, and water pathways over time. The more you run it, and the harder your water, the faster that happens. What makes buildup easy to miss is where it starts. It usually forms as a thin white layer around the tank or base before spreading into water channels and internal components you cannot easily see. Over time, that scale restricts water flow, reduces mist output, and puts extra load on parts like the heating element and transducer. Mineral deposits on their own are not harmful to breathe. The bigger concern is that scale creates rough, porous surfaces inside the unit, where bacteria and mold take hold far more easily than on clean plastic. The EPA lists scale as a breeding ground for microorganisms in its own humidifier care guidance. How to Descale a Cool Mist Humidifier: Step-by-Step How to clean a humidifier with vinegar for a cold mist variant involves some crucial steps that are listed below: Tools and Materials Used Microfiber cloths Bottle brush Old toothbrush Pipe cleaner Scrub sponge or scrub pad White vinegar Dish soap Drying rack […]

A door lock that sticks or refuses to turn can turn a five-second task into a frustrating standoff every time you leave the house. The good news is that learning how to replace a door lock does not require a locksmith, special training, or a toolbox full of gear. Most swaps come down to two numbers and a handful of screws. Get those measurements right, and the rest of the job follows a clear, repeatable order that any homeowner can finish in an afternoon. Before you pick up a screwdriver, though, it helps to know when doing it yourself actually makes sense. DIY vs. Locksmith: What to Consider First Most people can swap a standard doorknob without professional help. It takes under 30 minutes with just a Phillips head screwdriver, and no special skills are required. The parts cost you the same either way. What you save by doing it yourself is the labor charge, which is often more than the cost of the lock itself. There are exceptions. If your door has a mortise lock, a bore hole that does not match standard door dimensions, or damage around the latch plate, the job gets more involved. Those situations may be worth calling a locksmith. For a standard residential lockset or deadbolt, though, this is one of the more straightforward home repairs you can do. How to Replace a Door Lock Step-By-Step? With the right replacement lock in hand, the installation follows a straightforward sequence. Work through each step in order, and the job stays simple. Step 0(a): What to Check Before You Buy Two measurements decide whether a replacement lock fits your door: backset and bore diameter. Backset: The distance from the door edge to the center of the hole. Measure it with a tape, from the edge to the hole’s […]
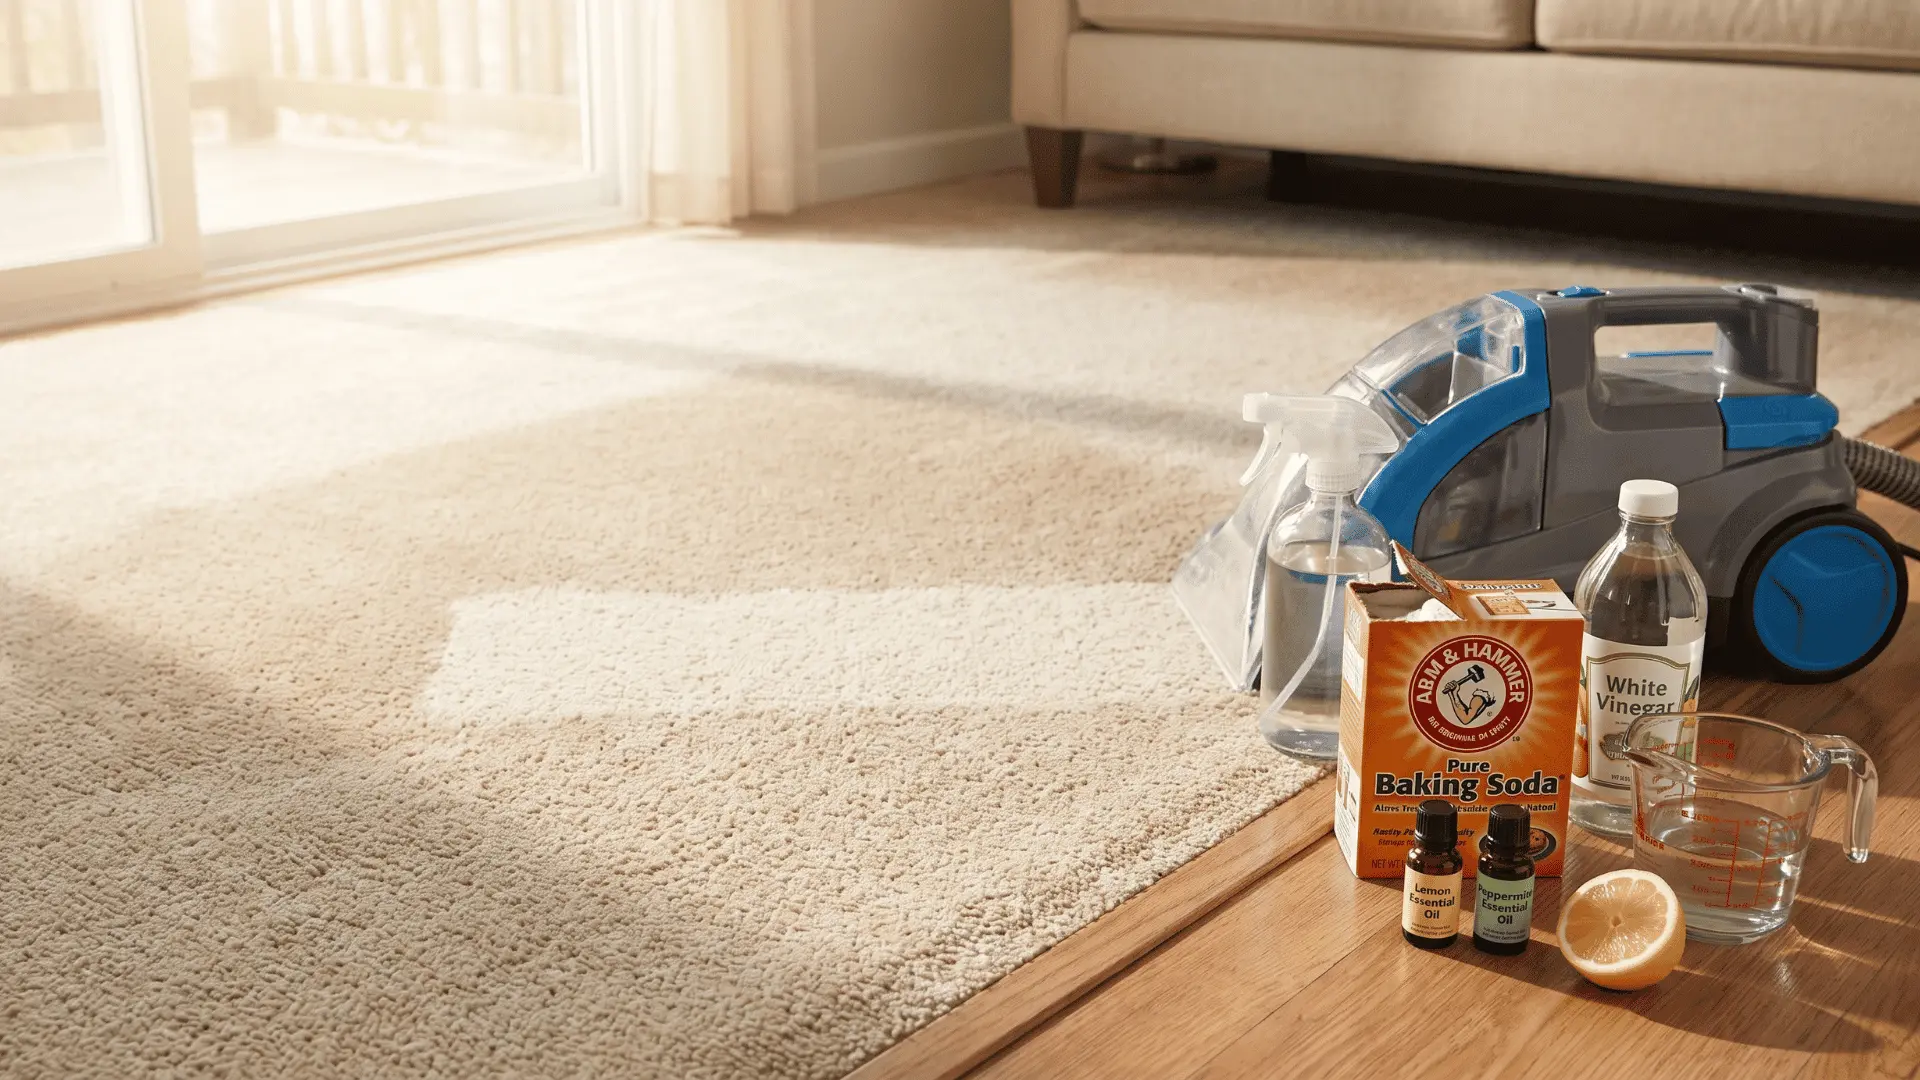
Finding the right DIY carpet cleaner isn’t about choosing the strongest mix. It’s about matching the formula to the stain type, carpet, and cleaning method used. Using the wrong solution can leave residue, spread the stain further, or even damage carpet fibers. Small formulation changes can significantly affect the final cleaning result. The chemistry is simple, but still important. Ingredient balance, dilution level, and application method all influence how effectively a stain lifts from carpet fibers. There is no single best option. The right choice depends on concentration needs, dwell time, and whether rinsing or machine extraction is required for proper cleaning. Which DIY Carpet Cleaner Formula Do You Need? The right formula depends on what you’re cleaning and how you’re cleaning it. Pick the one that best matches your situation before mixing anything to make an ideal homemade rug cleaner. Machine Cleaning: 1 gallon hot water, ½ cup white vinegar, 1 tablespoon dish soap, ¼ cup oxygen bleach. Fully dissolve the oxygen bleach before adding it to the reservoir. Spot Cleaning: 1 cup warm water, 1 cup white vinegar, 1 teaspoon dish soap. Use exactly 1 teaspoon of soap; more leaves residue that re-soils the carpet faster. Pet and Organic Stains: 1 cup warm water, ¼ cup 3% hydrogen peroxide, 1 teaspoon dish soap. Patch test first since peroxide can lighten some carpet dyes. If the stain came from a spill in the kitchen rather than a pet accident, our stain removal guide covers fabric-specific fixes too. Dry Deodorizer: 1 cup baking soda, ½ cup cornstarch, 5 to 10 drops essential oil. Leave overnight, then vacuum. For freshening between cleans, not stain removal. Each ingredient carries its own job. Vinegar loosens dirt and cuts odor, dish soap breaks up grime, and peroxide or oxygen bleach gets into stain compounds that soap […]
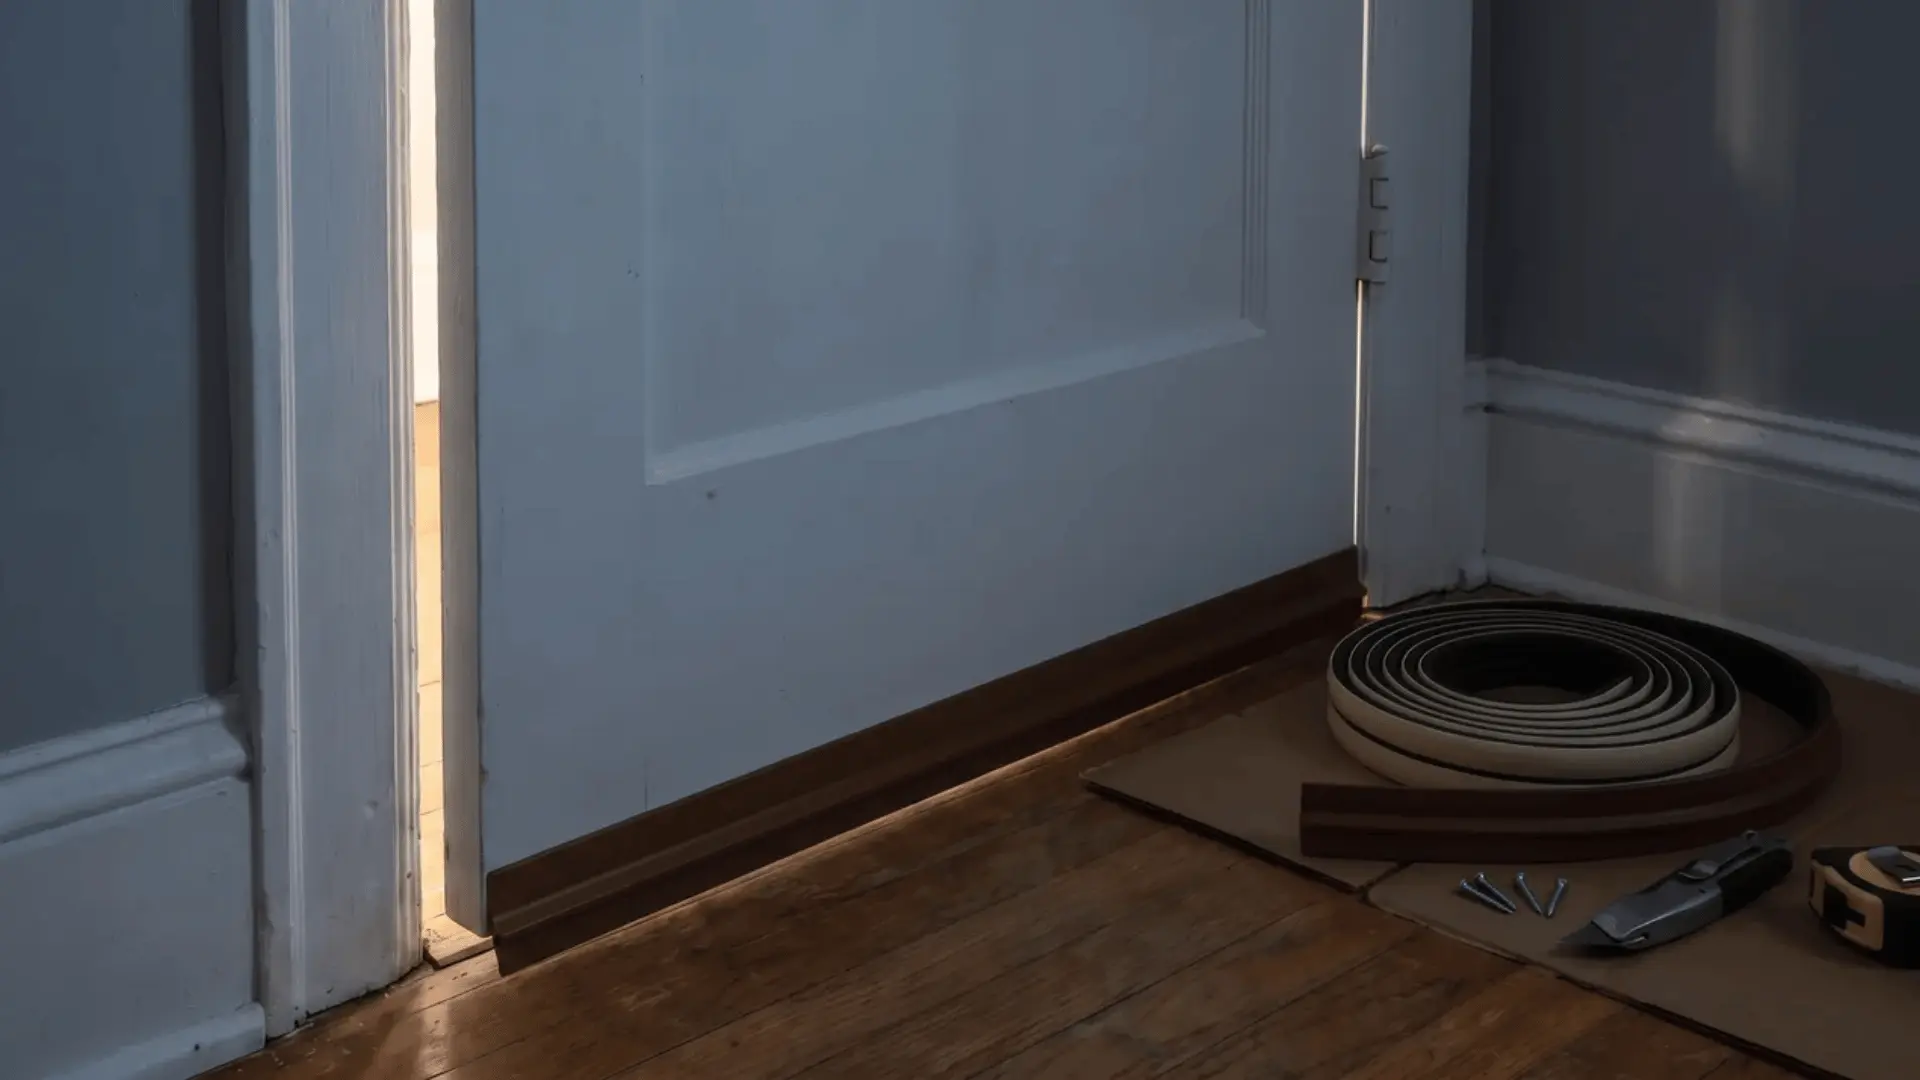
Noise from the hallway, TV, traffic, or a busy home can make a quiet room feel anything but quiet. A thin door and small gaps around the frame can let more sound through than you might expect. I’ve found that the biggest improvements often come from simple fixes rather than expensive equipment. Learning how to soundproof a door starts with finding those weak spots and sealing them properly. From door sweeps and weatherstripping to renter-friendly options, there are several ways to cut down unwanted noise. The right approach depends on your door, the gaps around it, and how much noise you need to reduce. Why Do Doors Leak Sound? Many interior doors have lightweight or hollow-core construction, which provides less sound isolation than a heavier solid-core door. Gaps around the door can make the problem worse by giving sound an easy path through the doorway. Sound can travel through the air and through solid materials like the door as vibrations, so both the door itself and its seal affect how much noise gets through. Hollow-core doors are less effective at blocking sound because they have less mass than solid-core doors. Even small gaps around the sides, top, or bottom can allow noticeable noise through. That is why sealing these openings is one of the most important first steps when soundproofing a door. How to Soundproof a Door: Step-by-Step Learn how to soundproof a door by sealing gaps, adding a door sweep, and improving insulation around the frame to cut down noise in a simple, effective way. Tools and Materials You don’t need many specialized tools to soundproof a door. Most of the work involves measuring, cutting, cleaning, and installing seals around the door. Tool or Material Purpose Door Sweep Seals the gap beneath the door to reduce sound leakage Screwdriver […]

Get the latest home decor tips, DIY ideas, and design inspiration delivered straight to your inbox.





