

Thinking about building an outdoor kitchen, or wondering if it’s just one of those ideas that looks great online but feels hard to start?
Maybe the picture of warm evenings, good food, and friends mixes with thoughts about cost, permits, and finding the right spot.
I put this guide together to give a calm, simple look at whether an outdoor kitchen fits everyday life, with light notes on planning, steps, and layout ideas. Let’s get started!
Is Building an Outdoor Kitchen Right for You?
Building an outdoor kitchen isn’t a simple weekend project. It affects your space, budget, and free time, so it’s important to see if it fits your life before you start.
It can make your yard more useful, let you cook and eat outside, and improve the look of your home. But even a basic setup can be costly, and you must plan for weather, cleaning, long-term maintenance, and local rules for gas, water, and electricity.
If the benefits align with how you live and you’re comfortable with the cost and upkeep, it’s worth it; if not, consider a smaller plan or wait.
Key Considerations:
- Space: You need a flat, safe spot with room to cook and move around. The grill should be away from doors, windows, and railings.
- Budget: Set a clear budget range and assume the final cost will end up a bit higher than your first estimate.
- Skills: You should be able to measure, cut, drill, and follow basic plans. Being willing to learn and follow instructions is important.
- Time: A DIY outdoor kitchen usually takes several weekends. If you’re new to this kind of project, expect it to take longer.
Overall, if you have enough space, a workable budget, basic skills, and free time, building an outdoor kitchen is realistic. If not, consider a simpler design, a kit, or some professional help.
Planning & Designing Your Outdoor Kitchen
Planning your outdoor kitchen first will save you time, money, and stress later. Use this section to decide where it should go, what it should include, and how you will build it:
1. Picking the Right Spot
- Keep it near the indoor kitchen, but not so close that smoke hits walls or doors.
- Use a level, an easy-to-access area, and clear paths.
- Check wind, sun, and privacy so smoke, glare, and neighbors aren’t an issue.
2. Choosing Layout & Key Features
- Layout: Straight (small), L-shape (medium), U-shape or island (large).
- Must-haves: Grill + prep counter + basic storage.
- Keep a simple flow: cook zone, prep zone, seating nearby but out of the way.
3. Permits, Safety & Build Method
- You may need permits for gas, power, water, or a roof/structure. Always check local rules.
- Use outdoor-rated gas, electrical, and non-combustible materials around the grill.
- Build options: Wood frame (cheapest), metal or block (more durable), or modular kits (fastest).
4. Choosing Your Build Method
| Method | Skill / Tools | Best For |
|---|---|---|
| Wood frame | Beginner–intermediate carpentry | Simple builds; freestanding grills in mild areas |
| Metal stud frame | Intermediate: cutting metal studs | Built-in grills; humid or wet climates |
| Cinder block | Intermediate–advanced masonry | Long-term, very solid builds |
| Poured concrete | Advanced: form and finish concrete | Simple, fixed layouts needing max strength |
| Modular / RTA kits | Beginner; basic hand tools | Fast builds, rentals, or “not forever” homes |
Note: Wood frames are usually the least expensive in terms of material cost. Metal studs and block builds sit in the middle, while poured concrete and modular kits often cost more upfront but can offer longer life or a faster build.
With these planning steps done, you know where the kitchen goes, how it’s built, and who does which tasks. Now you can move on to building the base, frame, and finishes step by step.
Build an Outdoor Kitchen: Step-by-Step Process
Here’s what you’ll need before starting the step-by-step build.
Tools and Materials:
- Cinder blocks
- Masonry cement (white or regular)
- Sand
- Plywood sheets and strips (for covers and forms)
- Rebar
- Rebar ties
- Concrete sealer
- Grill
- Fridge
- Tape measure
- Level
- Chalk line
- Saw (for cutting plywood)
- Drill/driver and screws
- Jigsaw (if you’re adding a sink)
- Wheelbarrow (for mixing concrete)
- Shovel
- Trowels
- Tool for cutting rebar (rebar cutter, grinder, or hacksaw rated for metal)
- Safety gear: gloves, eye protection, dust mask
Once you have these tools and materials ready, you can start building the outdoor kitchen step by step. Begin with planning and layout first so the base, countertops, and appliances all fit correctly:
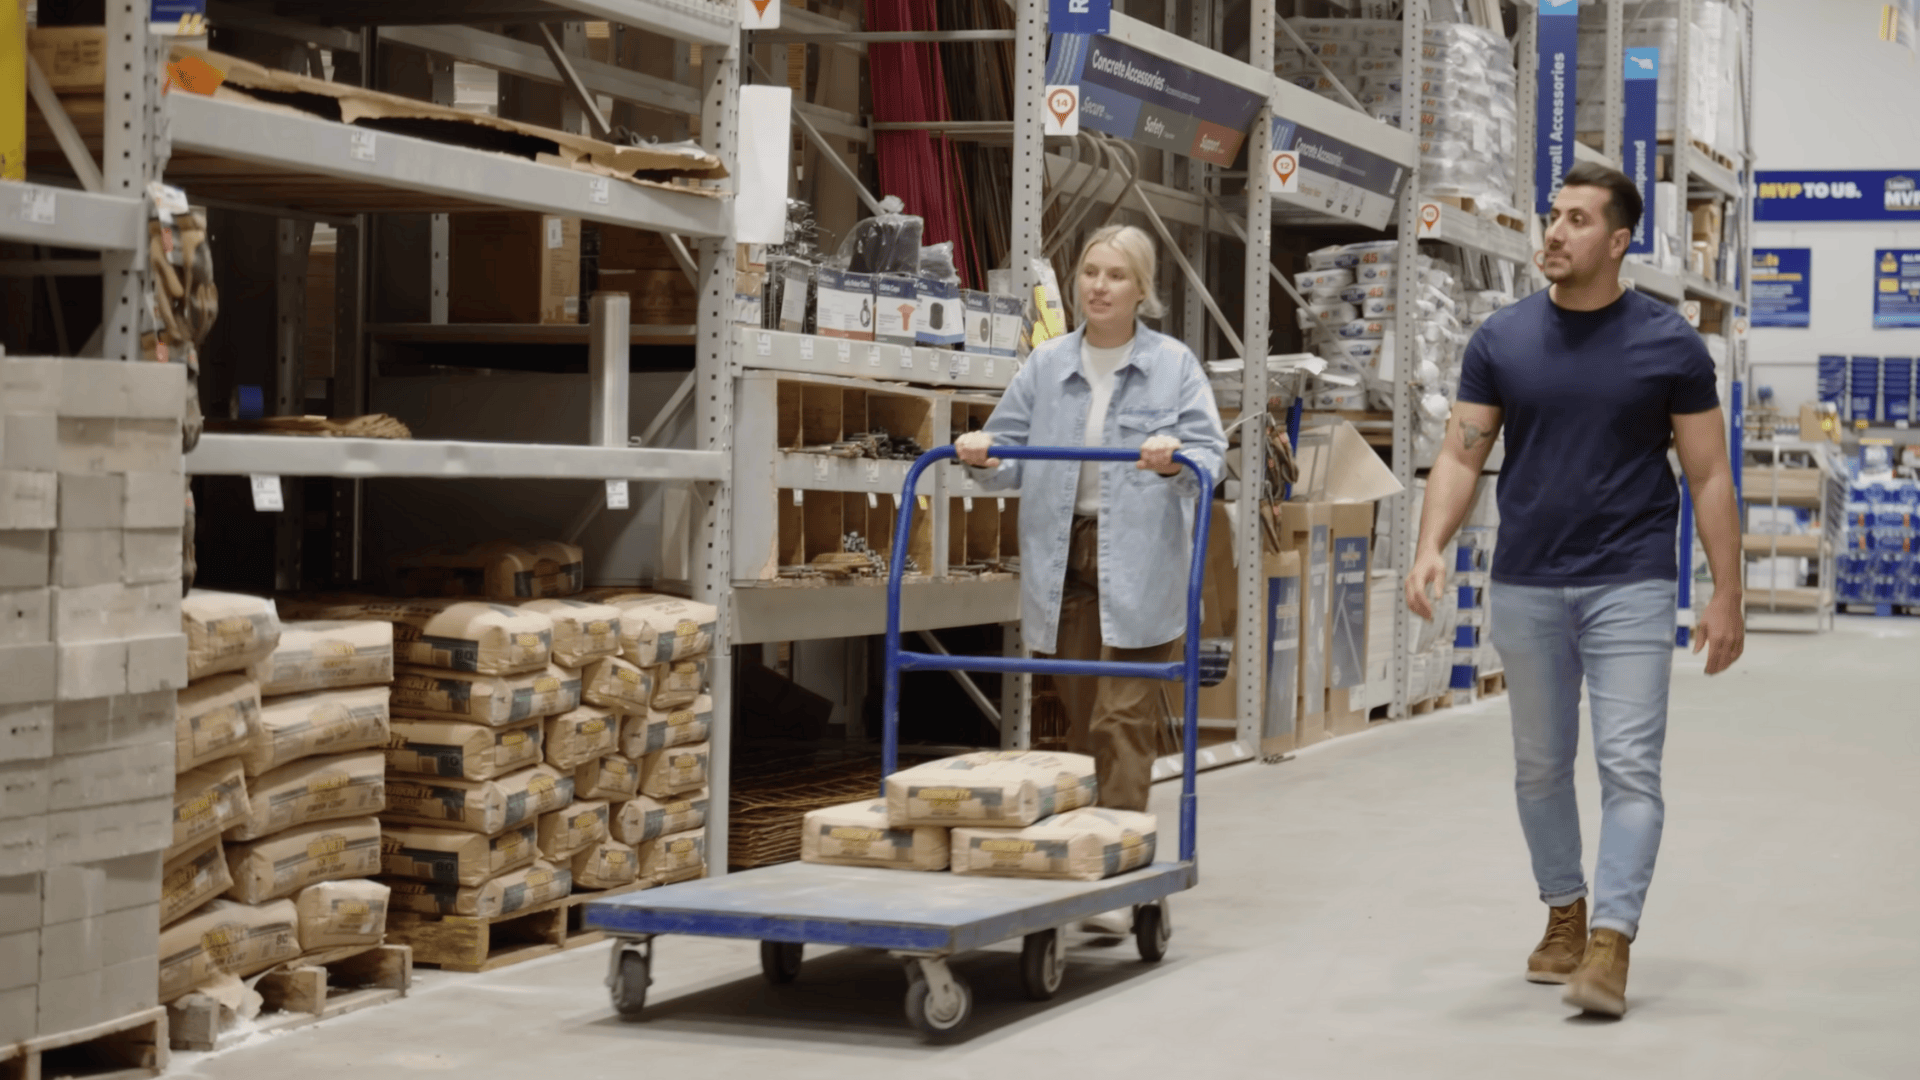
Decide where the outdoor kitchen will go and how big it should be. Sketch a simple layout with counters, grill, fridge, and storage.
Choose your base material (like cinder blocks) and countertop type (like concrete). List the main appliances you want and set a basic budget so you know what you can buy and what you can DIY.
Step 2: Build the Base with Cinder Blocks
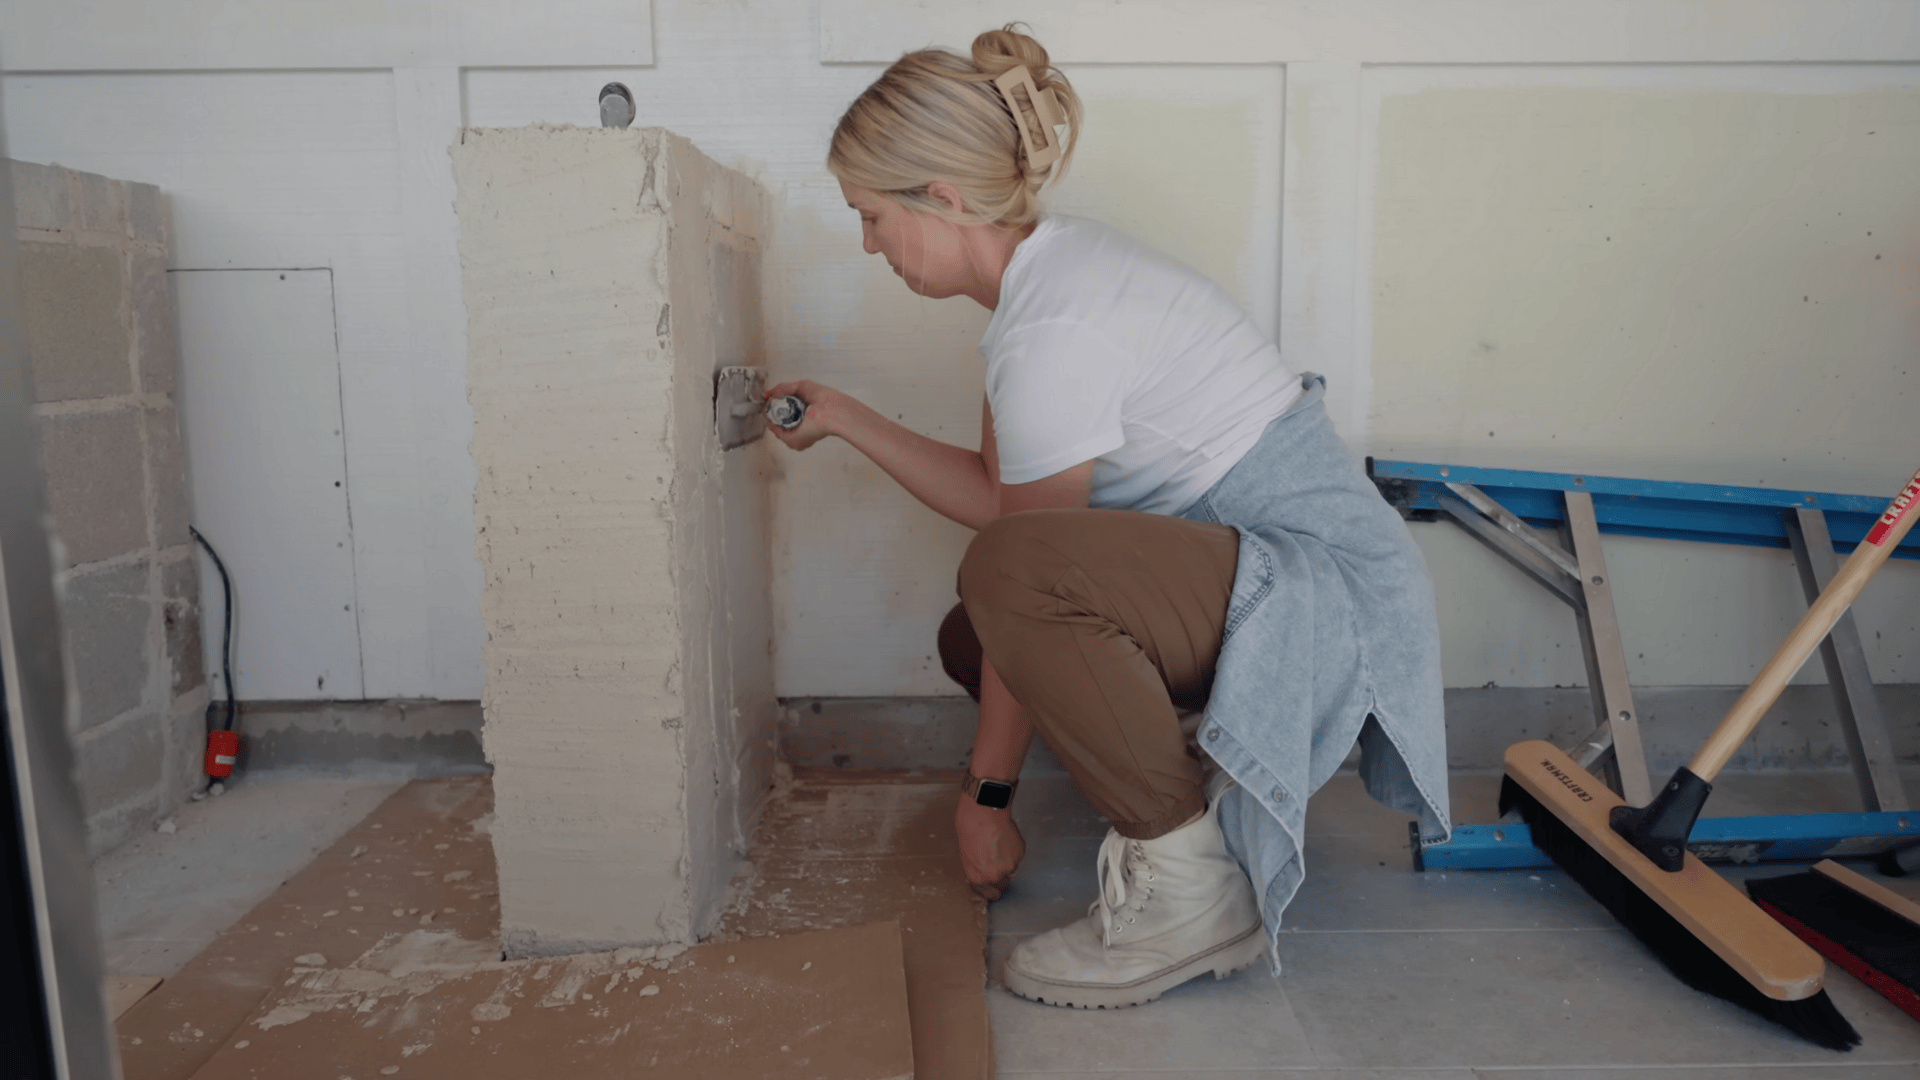
Mark the kitchen shape on the ground using chalk lines. Measure and mark openings for the grill, fridge, and cabinets.
Stack cinder blocks to form the base walls, leaving gaps for appliances. Use masonry cement between the blocks to hold them together and smooth the surfaces.
Check the top of the base with a level so it is flat for the countertops.
Step 3: Frame the Concrete Countertops
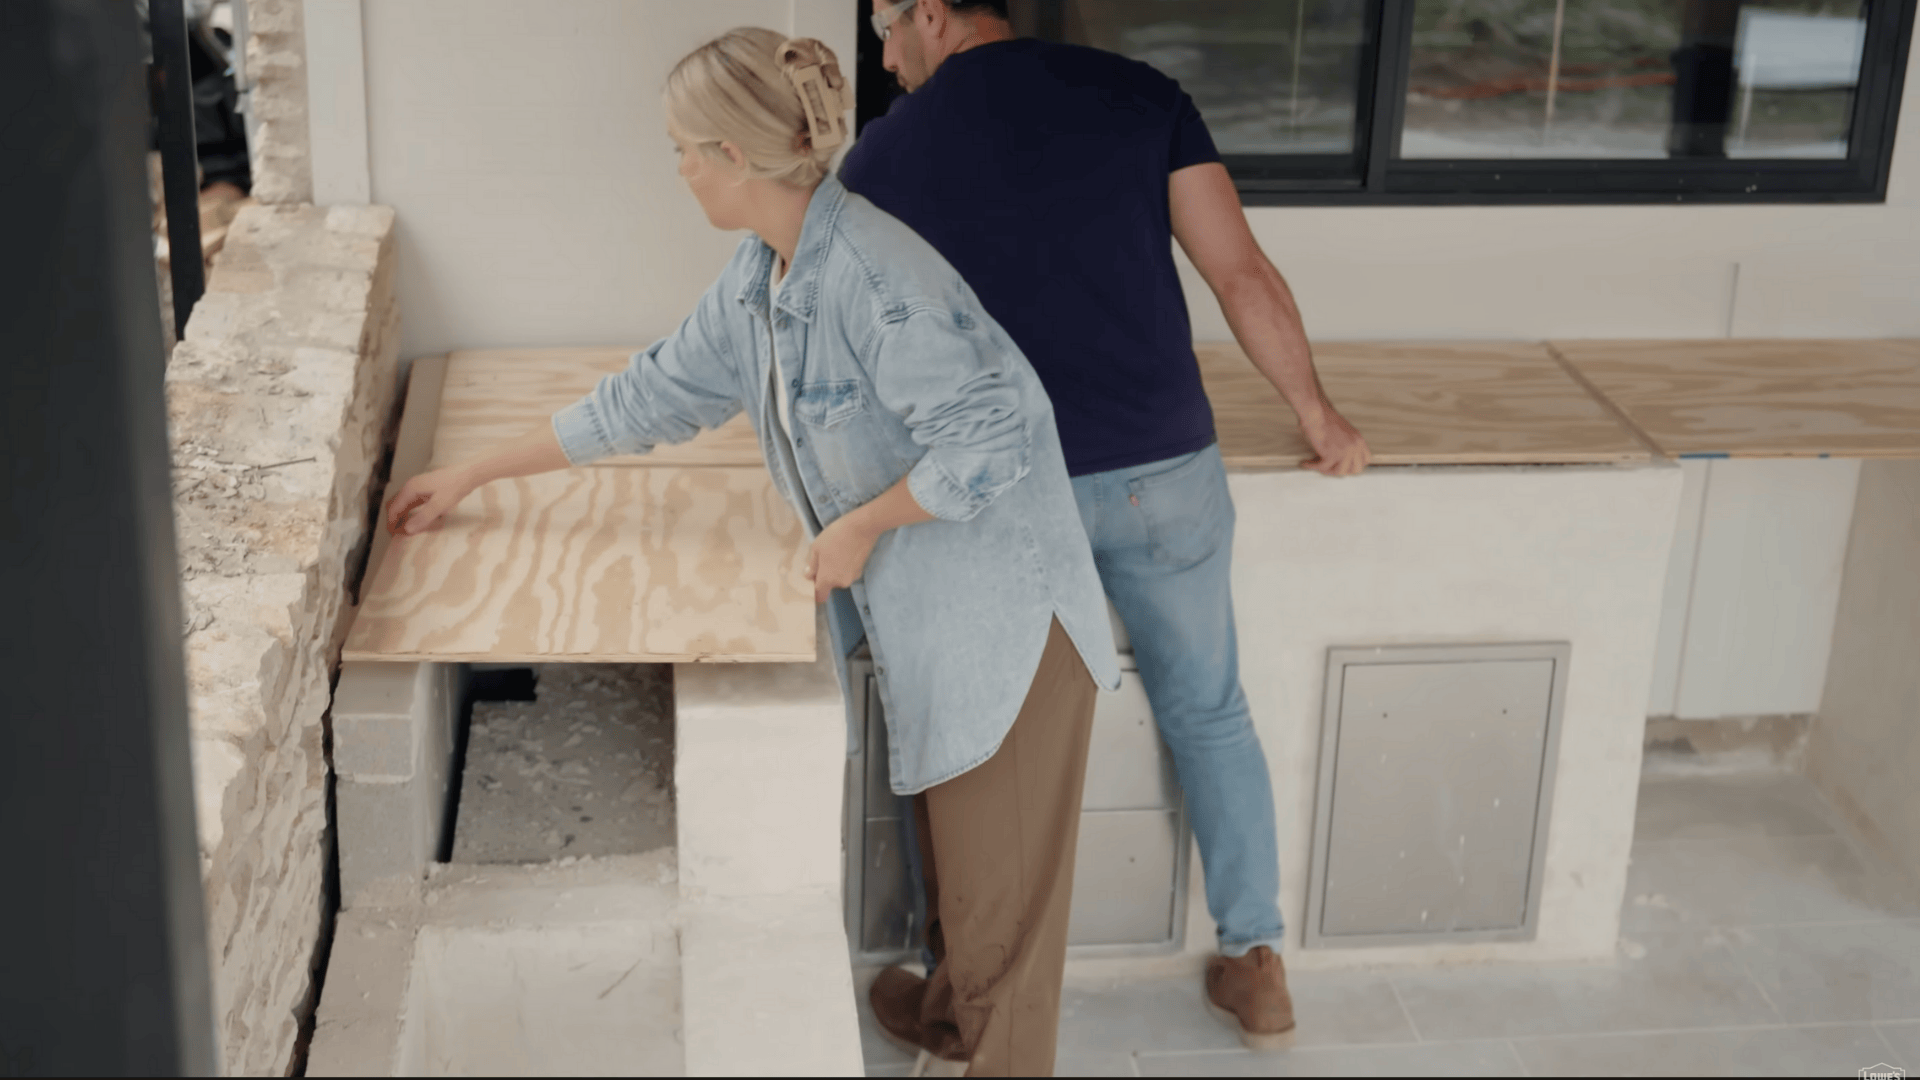
Cover open areas on top of the base with plywood so the concrete has something to sit on. Screw narrow strips of plywood around the edges to create forms at the desired thickness for the countertop.
Make sure these strips are level. If you are adding a sink, cut an opening in the plywood and build a small frame so the sink lip lines up with the finished countertop height.
Step 4: Add Rebar Reinforcement
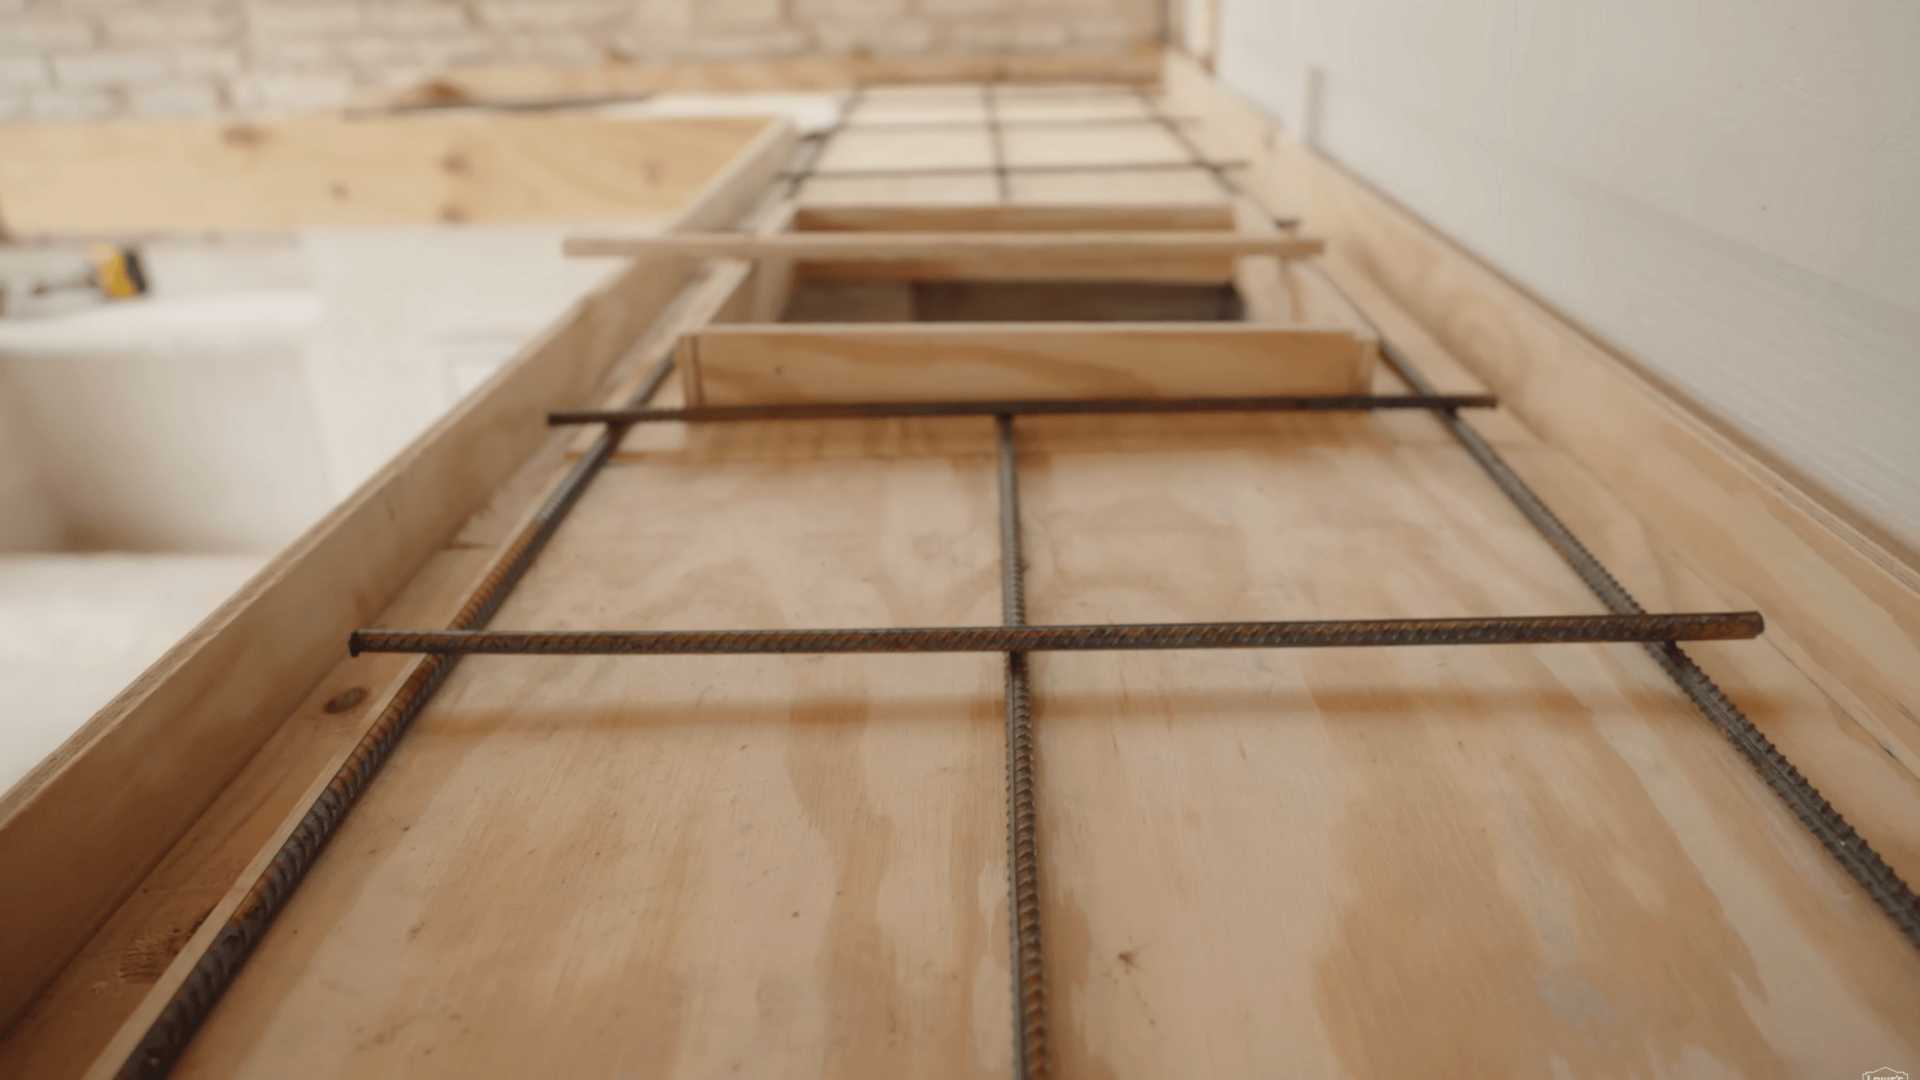
Cut rebar to run almost the full length of the countertop and lay it inside the forms, stopping a few centimeters from the edges.
Add shorter pieces across the long bars to form a grid. Tie the crossing points with rebar ties to keep the grid in place.
Position the rebar roughly in the center of the slab thickness, not touching the plywood or the top surface.
Step 5: Mix, Pour, and Finish the Concrete
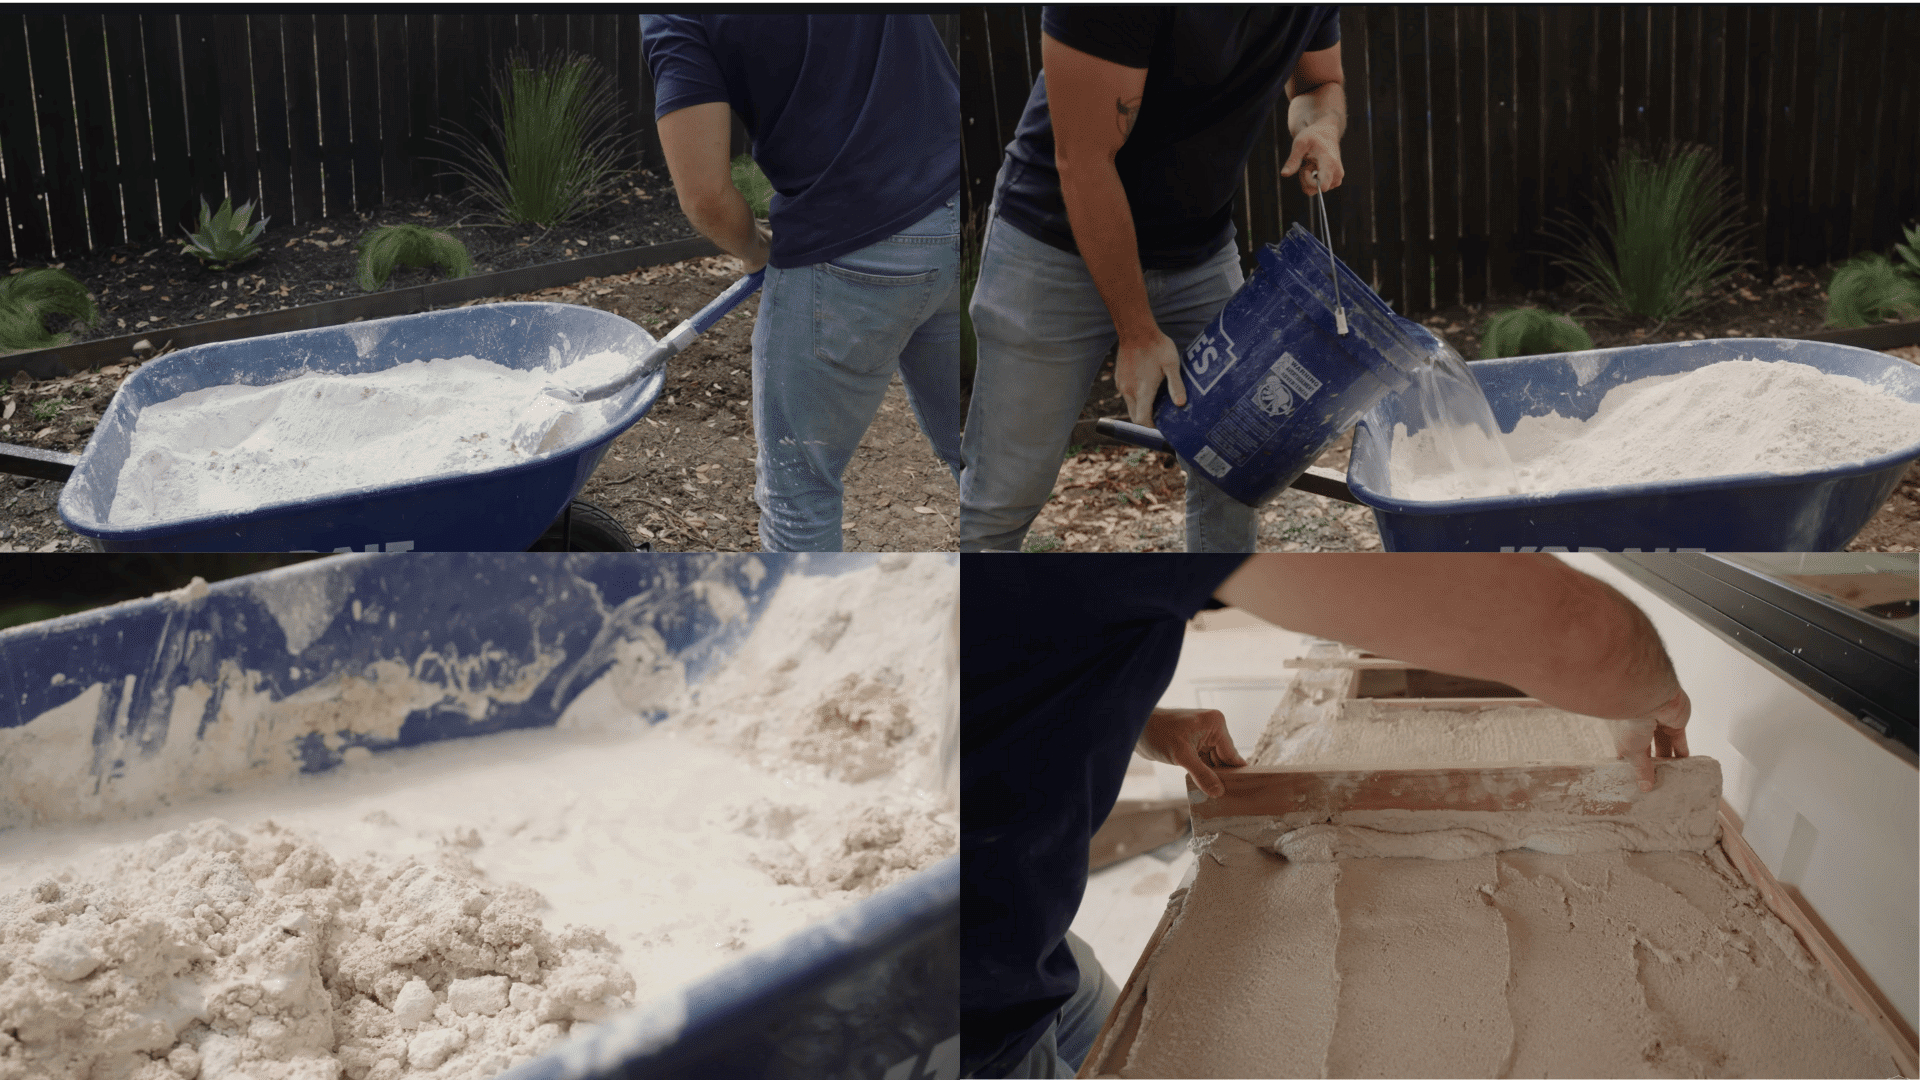
Mix sand and masonry cement (or your chosen mix) with water until it is thick but pourable. Pour the concrete into the forms and spread it into the corners and along the edges.
Use a straight board to level the surface by dragging it across the top of the forms. Tap the sides of the forms to help air bubbles rise.
Let the concrete set for about 24 hours, then remove the wood forms to expose the finished edges.
Step 6: Seal the Countertops and Add Final Touches
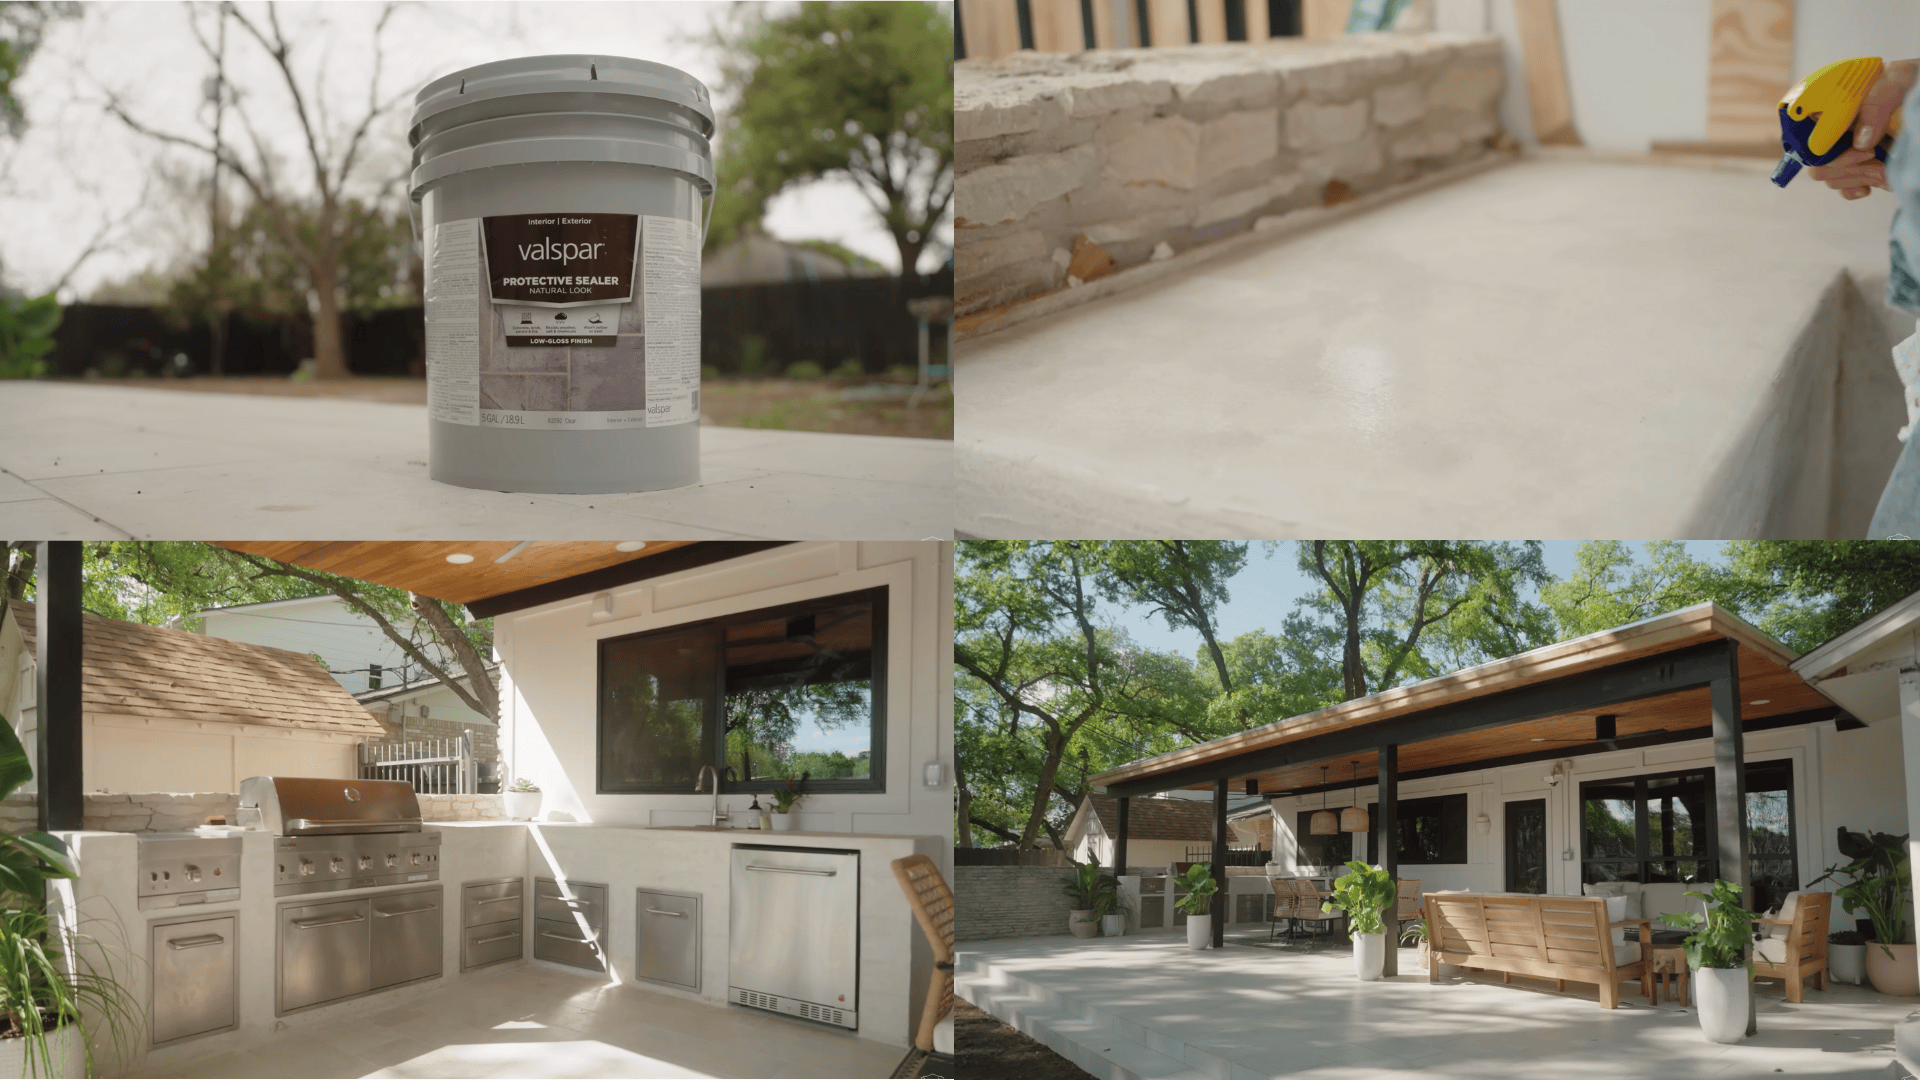
Spray concrete sealer on the countertops, let it sit as directed, then wipe off any extra. This helps protect against stains and moisture.
Install the grill, fridge, and cabinets into the openings in the base. Add any side tables, plants, and simple decor to finish the outdoor kitchen and make it ready for use.
For a full walk-through of the project, watch the step-by-step video from this build. Seeing each step done on the @lowes ‘s channel, it will make it easier to follow along when you start your own outdoor kitchen:
Outdoor Kitchen Cost Breakdown: DIY vs. Pro
Trying to budget an outdoor kitchen can feel confusing, especially when prices swing from affordable to “is that even real?” so quickly. A lot depends on materials, size, and how much work you’re willing to take on yourself.
| Approach | What it looks like | Typical cost range (USA) | Best for |
|---|---|---|---|
| Mostly DIY | You design, build the frame, and do countertops and finishes. Pros only handle required gas/electrical/plumbing, or you skip most utilities. | $1,500 – $8,000 for basic to modest setups | Tight budgets, small straight or L-shaped kitchens, and handy homeowners. |
| DIY + Pros | You do layout, framing, and some masonry/finishes. Licensed trades run gas, power, and water, and may help with tricky concrete or stone work. | $8,000 – $20,000 for mid-range outdoor kitchens | Mid-range L or U-shaped builds with built-in grill, fridge, and better finishes. |
| Mostly Pro | Pros design and build the structure, run all utilities, install appliances, and finish with stone or high-end tops. You mainly choose style and gear. | $20,000 – $50,000+ for large or luxury custom builds | High-end spaces, complex layouts, multiple appliances, or turnkey projects. |
Actual numbers will change with your location, materials, and appliance choices. Before you commit, price out your own layout and get at least one estimate from a local pro.
How to Save Money Without Ruining the Project
Saving money on an outdoor kitchen doesn’t mean building something flimsy or cutting corners on safety. It just means being smart about where you spend and where you hold back:
- Use your existing patio or slab instead of pouring a new one if it’s flat and in good shape.
- Keep the layout small and simple (straight run or short L) instead of a big U-shape.
- Limit appliances at first: start with a good grill and some counter space, then add a fridge or sink later.
- Choose simple, durable finishes like plain concrete tops or painted/rendered block instead of full stone everywhere.
- DIY the frame, masonry, and finishes if you’re comfortable, and hire pros only for gas, electrical, and plumbing.
- Use a freestanding grill in a surround instead of a costly built-in grill head.
These choices keep your outdoor kitchen solid, safe, and useful without draining your budget. Think of it as building the basics now and leaving room to upgrade when time and money allow.
Outdoor Kitchen Designs to Help Inspire You
Outdoor kitchen ideas can help you see what’s possible in your own space before you start building. Use these examples to pick a layout and style that matches your yard, budget, and how you like to cook:
1. Simple Straight-Run Kitchen Against a Wall
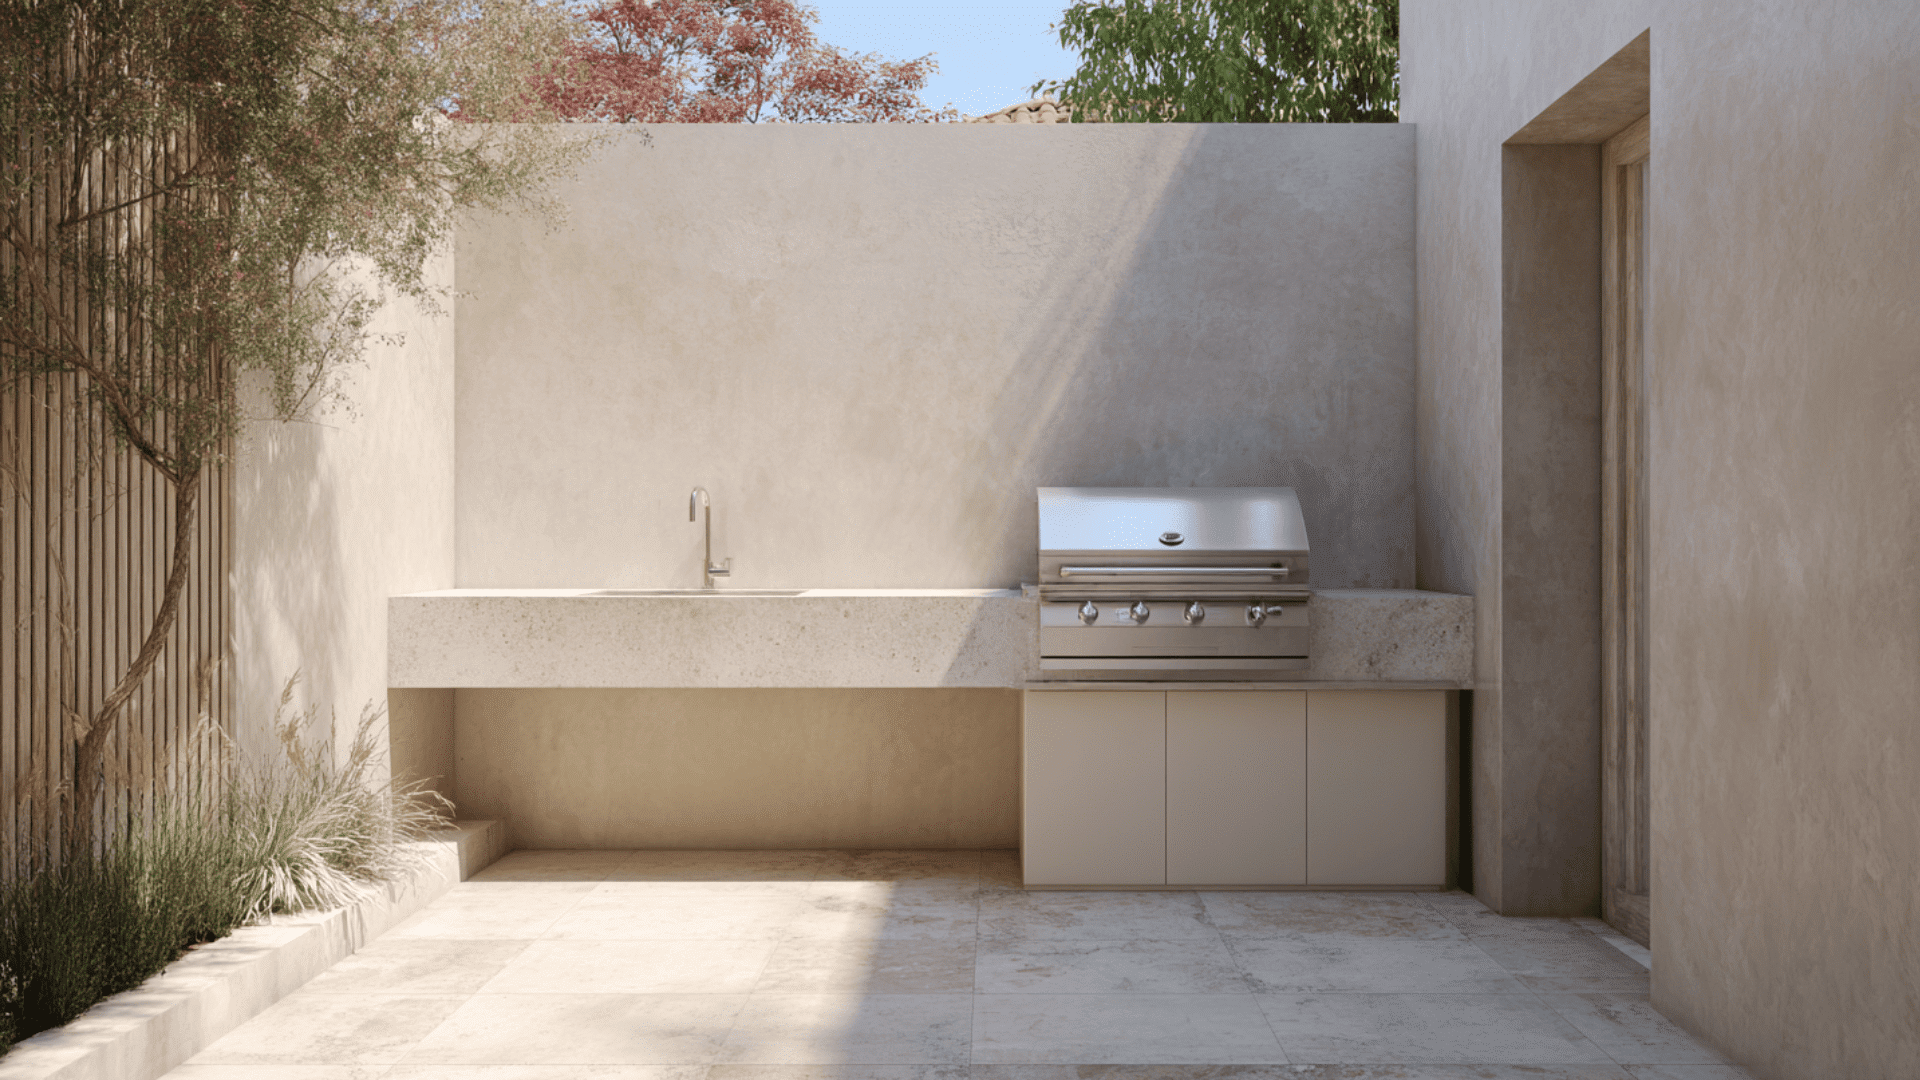
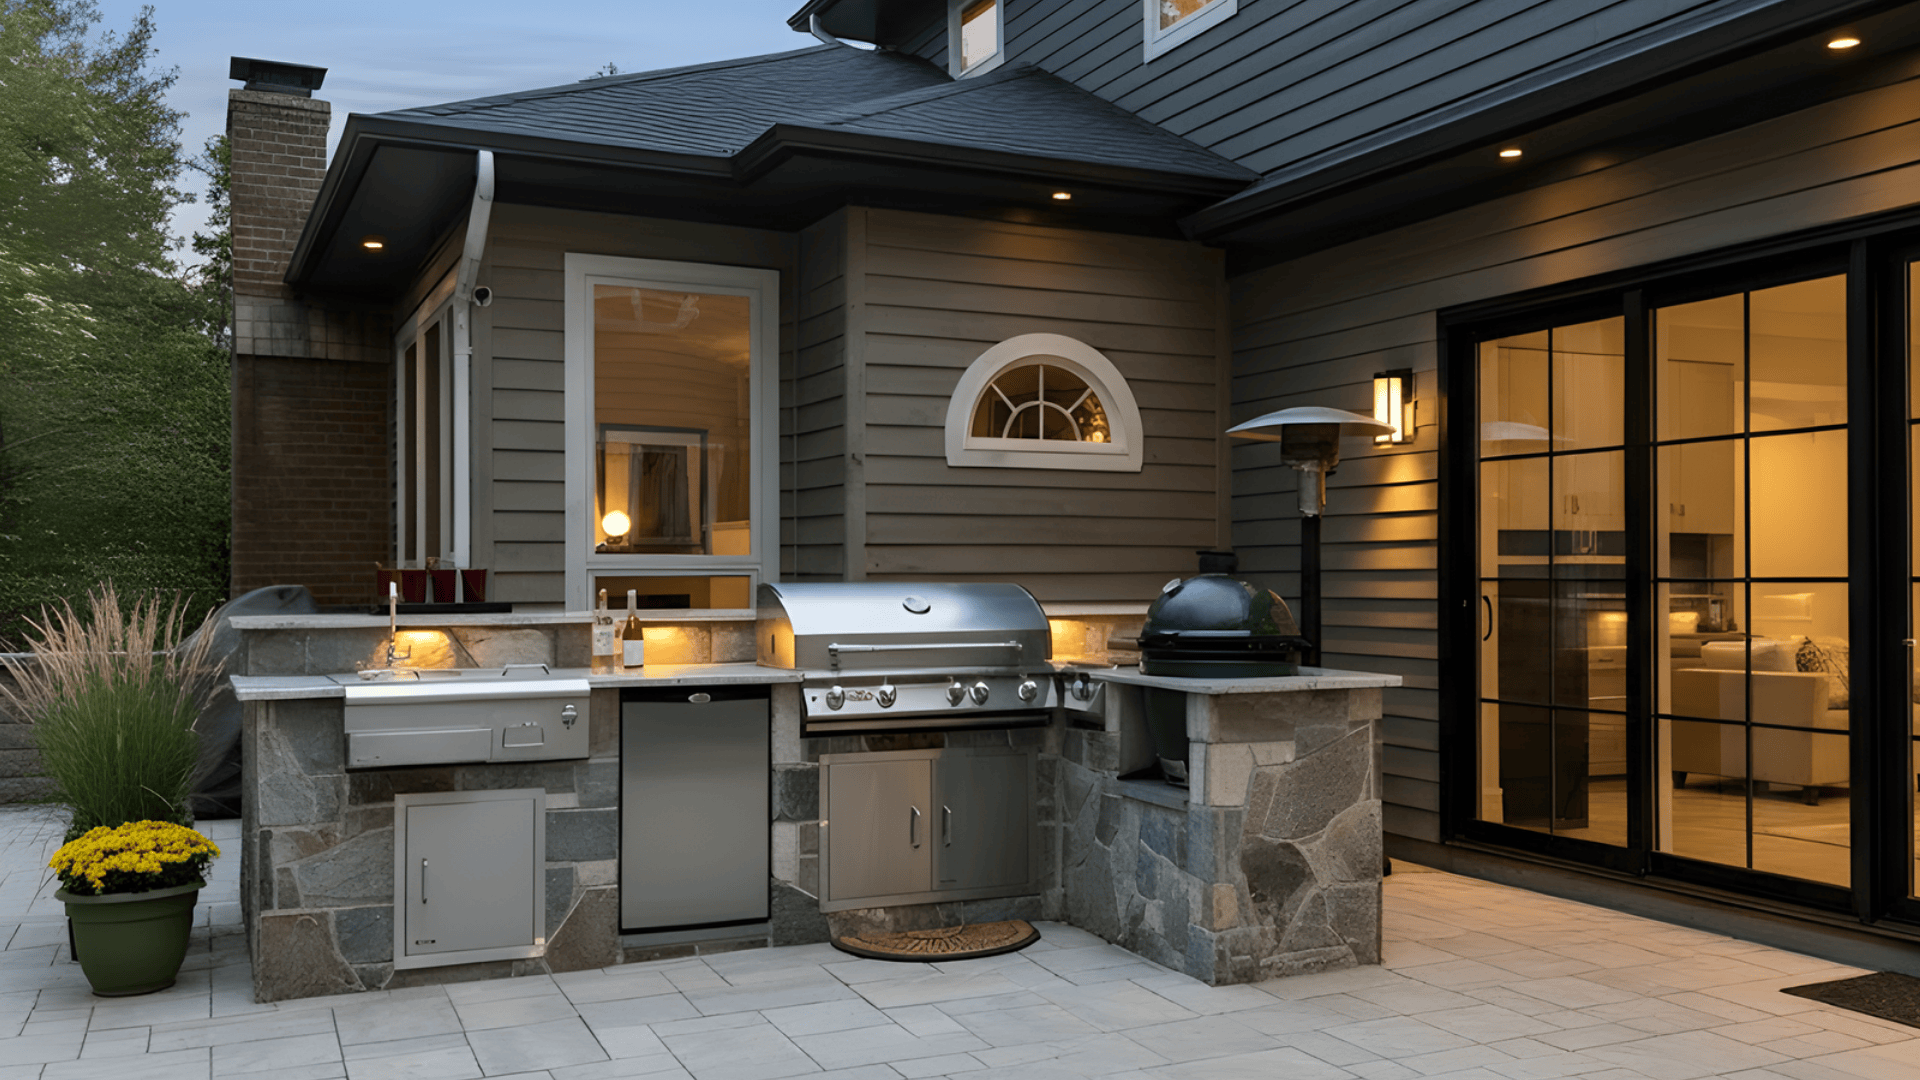
This idea is a single counter built along one wall or fence. It usually includes a grill, some prep counter space, and basic storage or access doors underneath.
It’s great for small patios, balconies, or narrow yards. A straight run keeps costs lower, is easier to build, and still gives you a clear, usable cooking area.
2. L-Shaped Kitchen with Separate Prep Zone
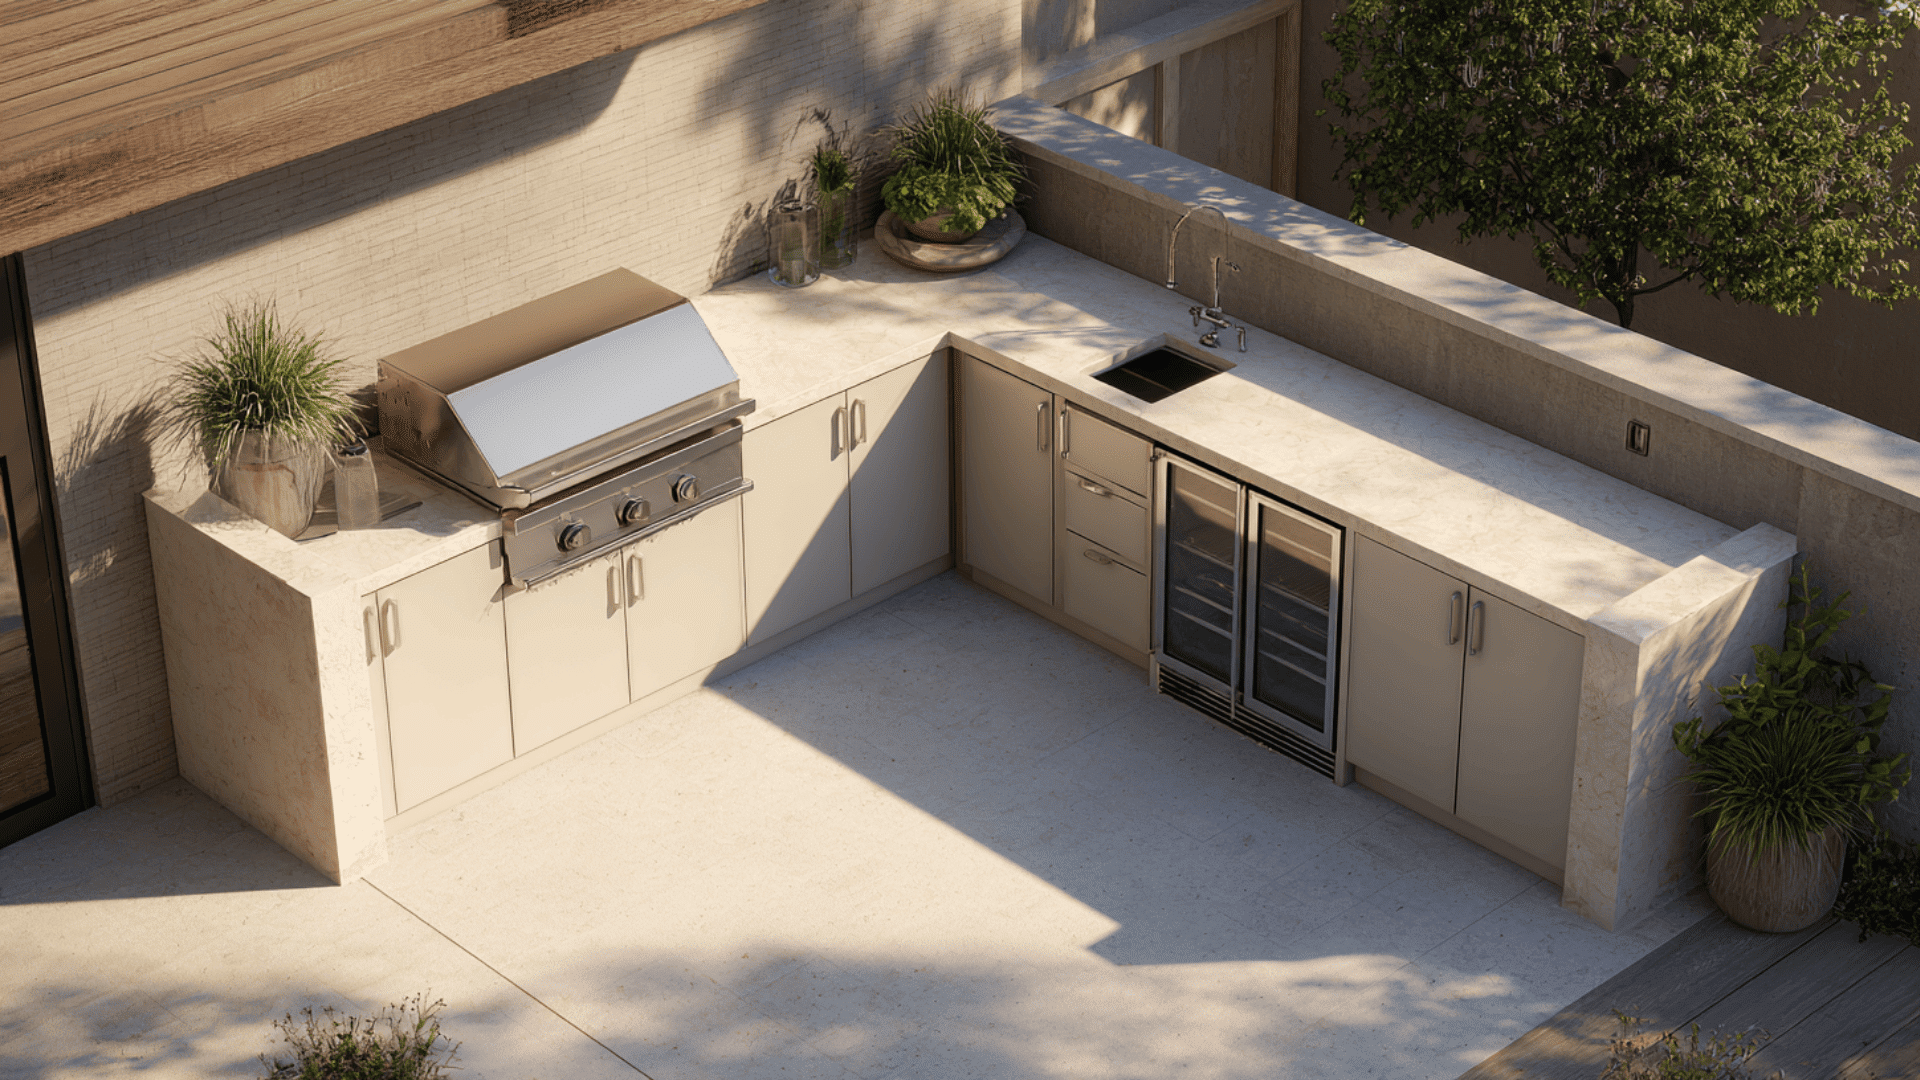
An L-shaped layout gives you two connected sides: one for cooking and one for prep or storage. You can place the grill on the short leg and use the long leg for a sink, fridge, or extra counter space.
This design fits well in medium-sized backyards. It keeps the cooking zone organized and leaves room for guests or a dining table nearby.
3. Modular or Ready-to-Assemble Outdoor Kitchen
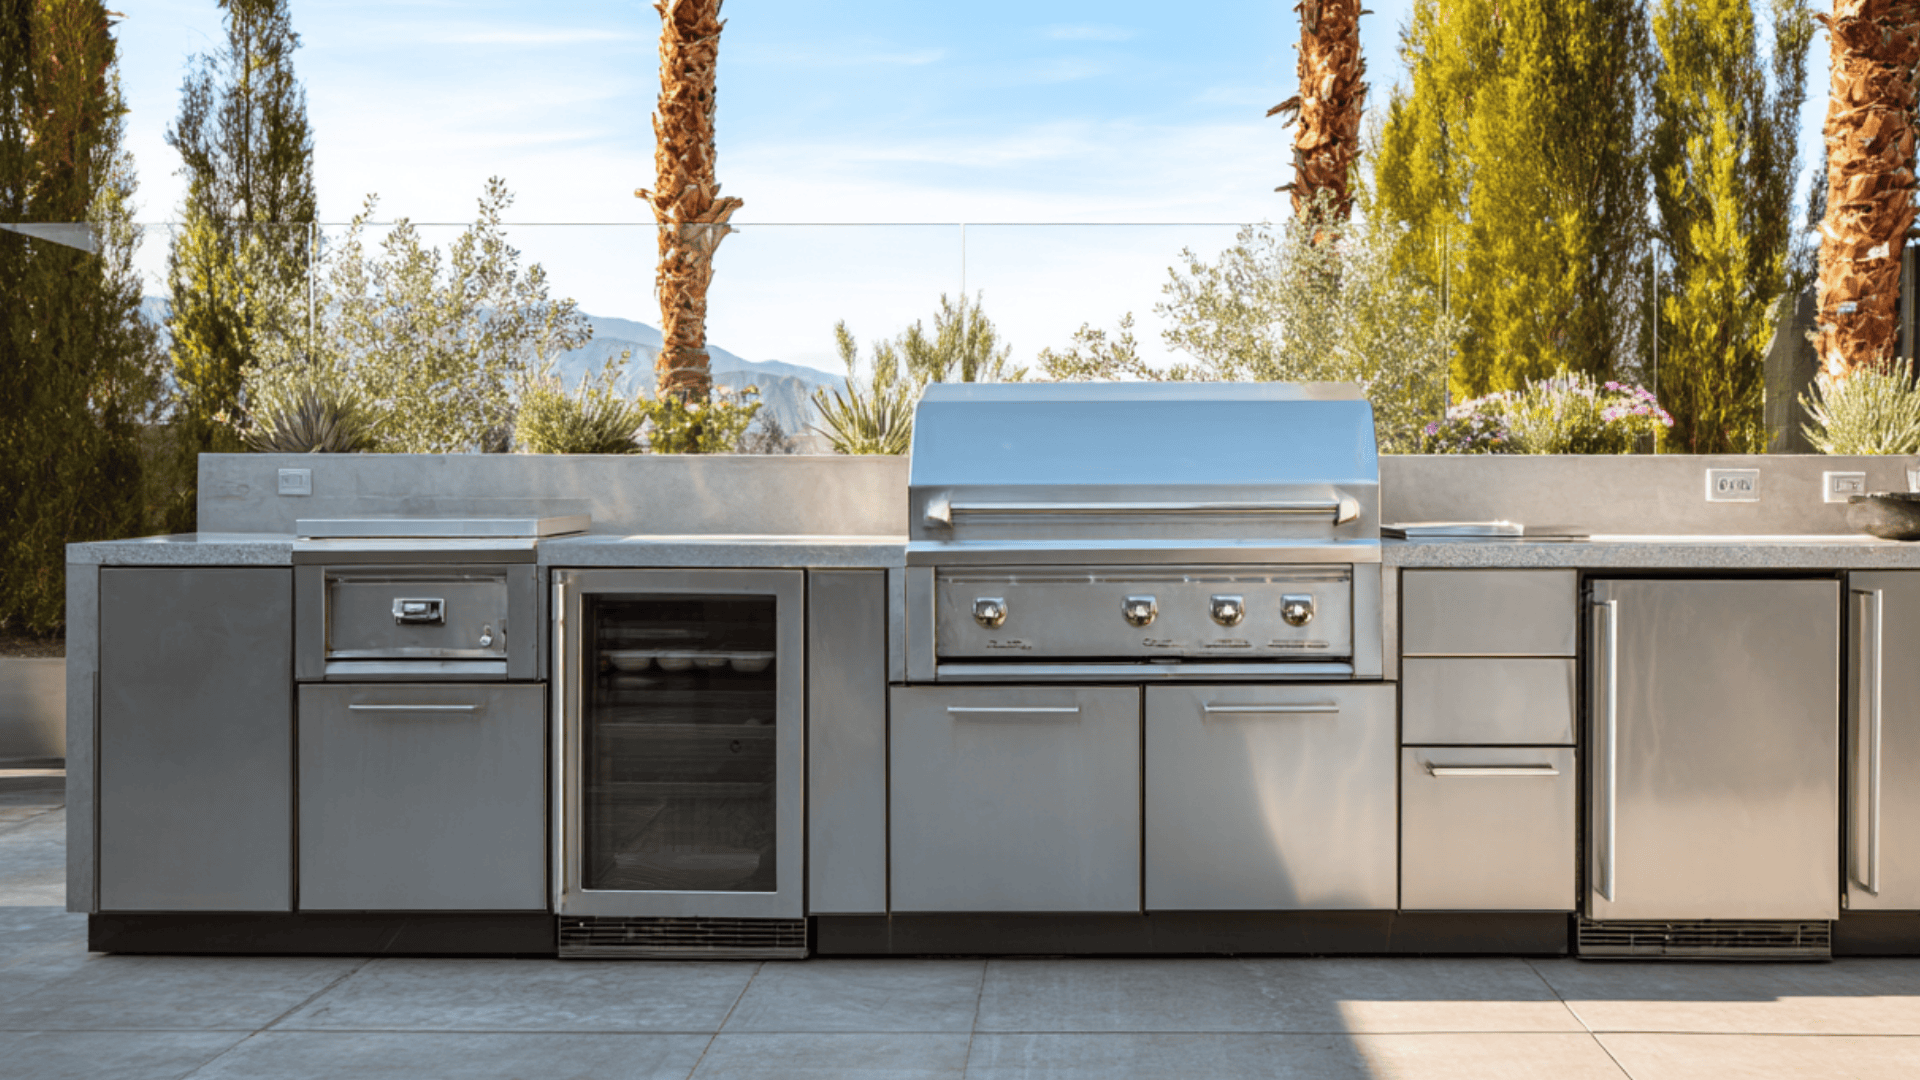
A modular kitchen uses pre-made units that connect together, such as a grill module, fridge module, and storage module. You place them on a solid patio or slab and bolt them in.
This approach is faster than building from scratch and needs fewer tools. It suits people who want a clean, professional look and a known layout without a full custom project.
4. Grill and Prep Station with Freestanding Units
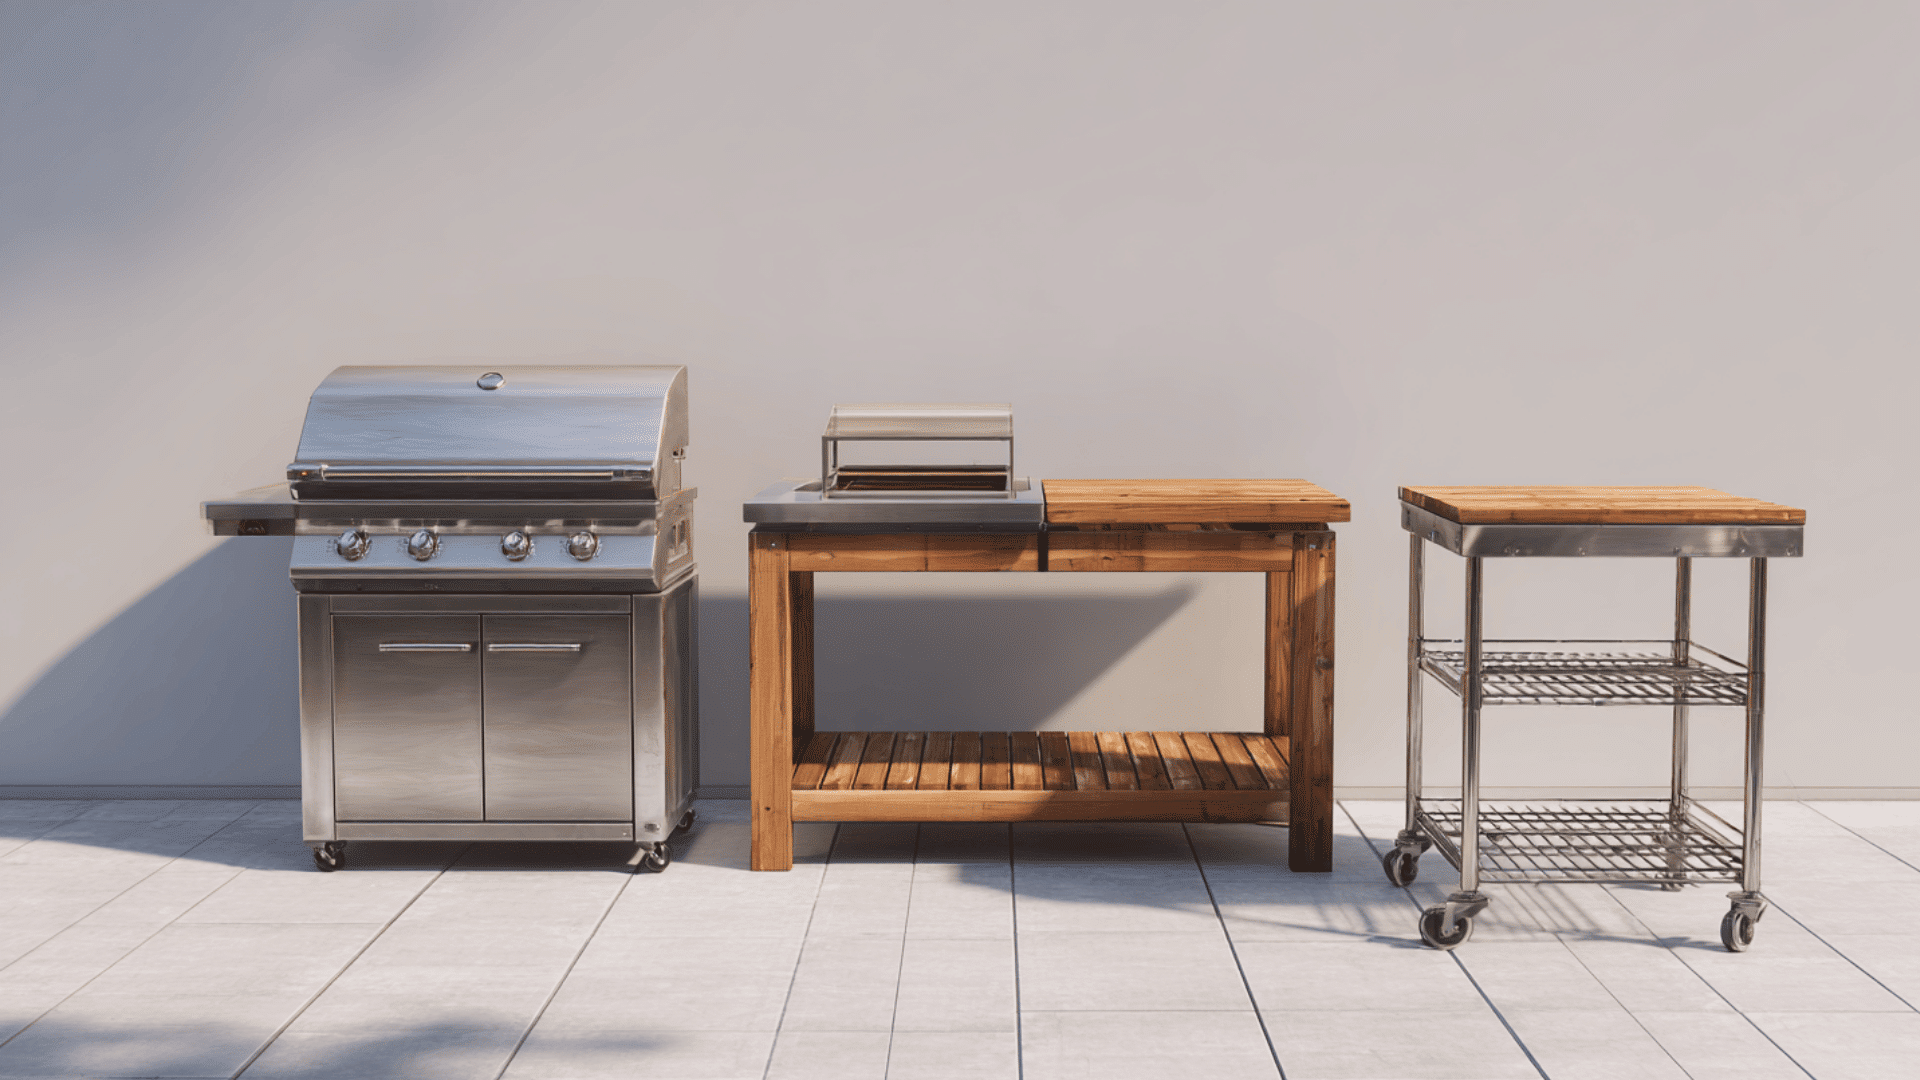
You skip full built-ins and instead use a freestanding grill, a prep table, and maybe a rolling cart or storage cabinet. You can move or rearrange pieces as needed.
It’s ideal for renters or anyone who might change homes or layouts later. It costs less than masonry work but still gives a real outdoor cooking station.
5. Outdoor Kitchen with Bar Seating and Shade
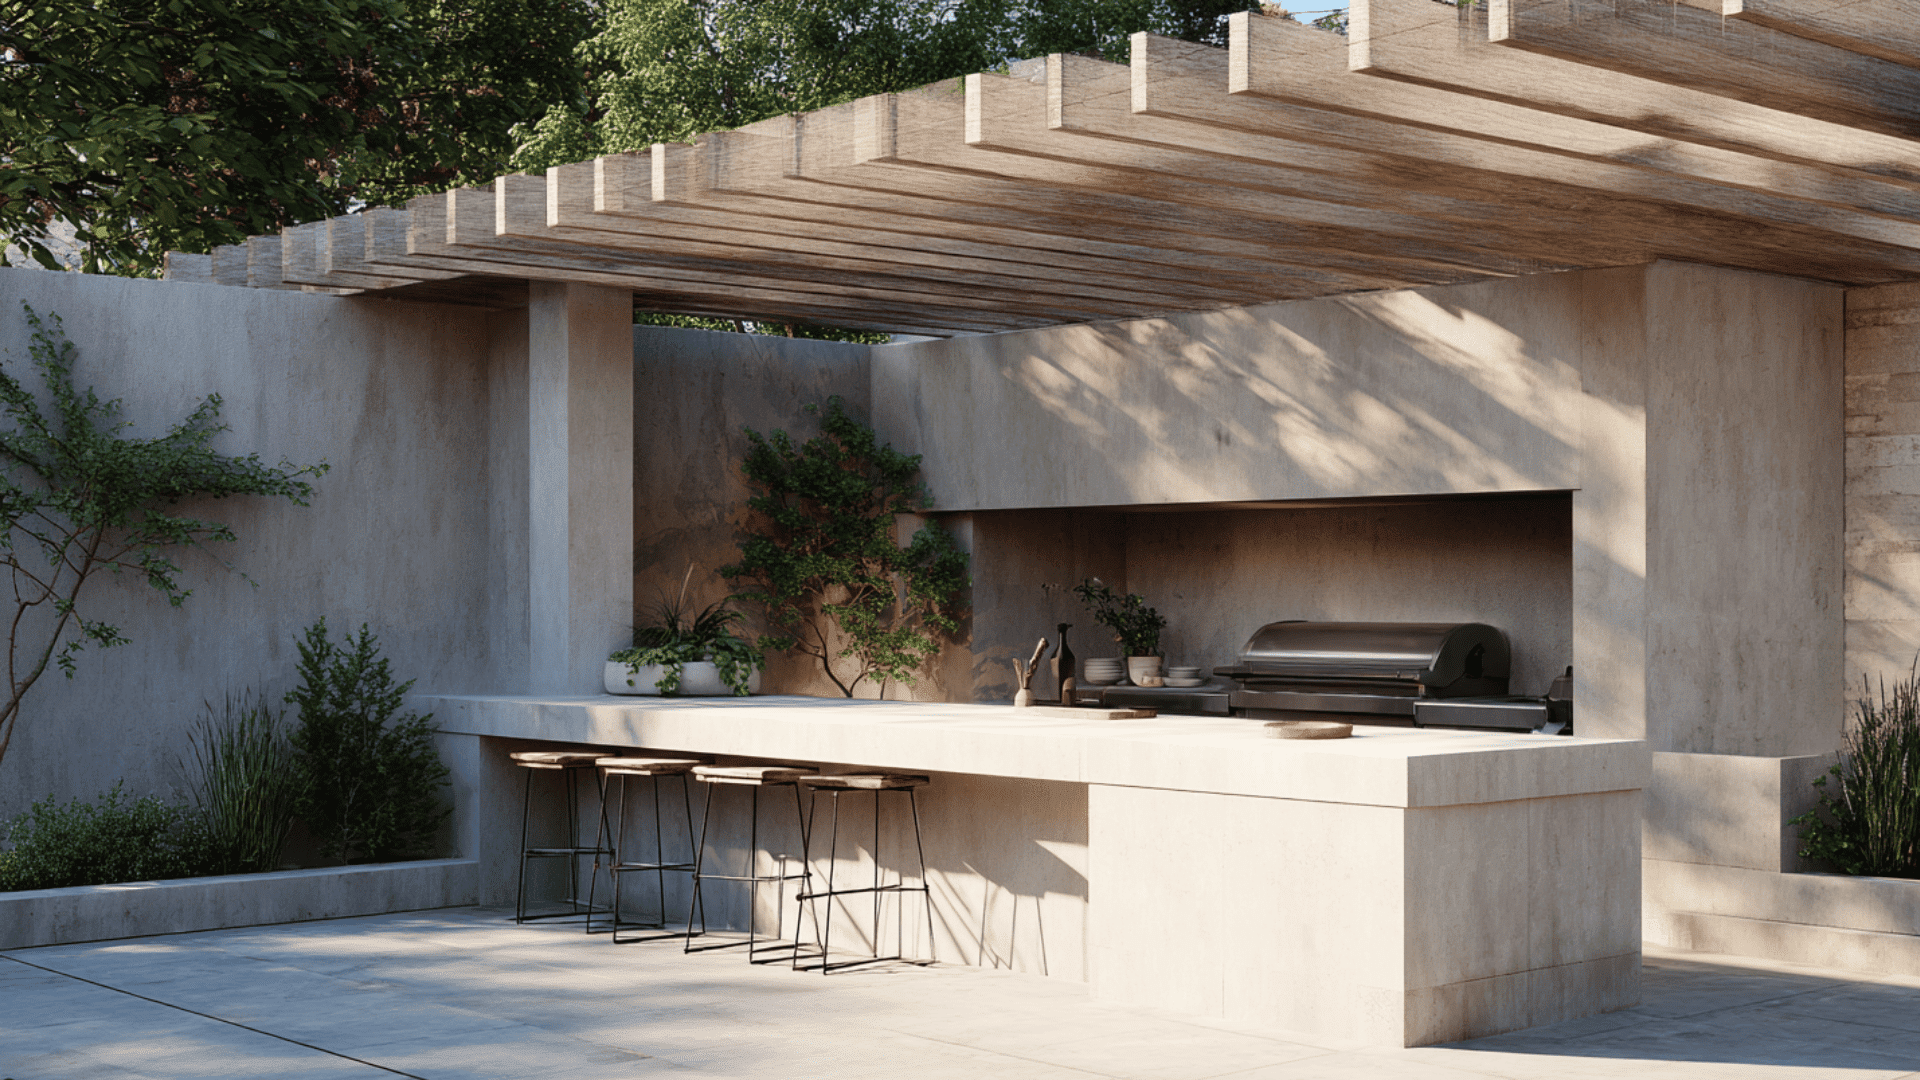
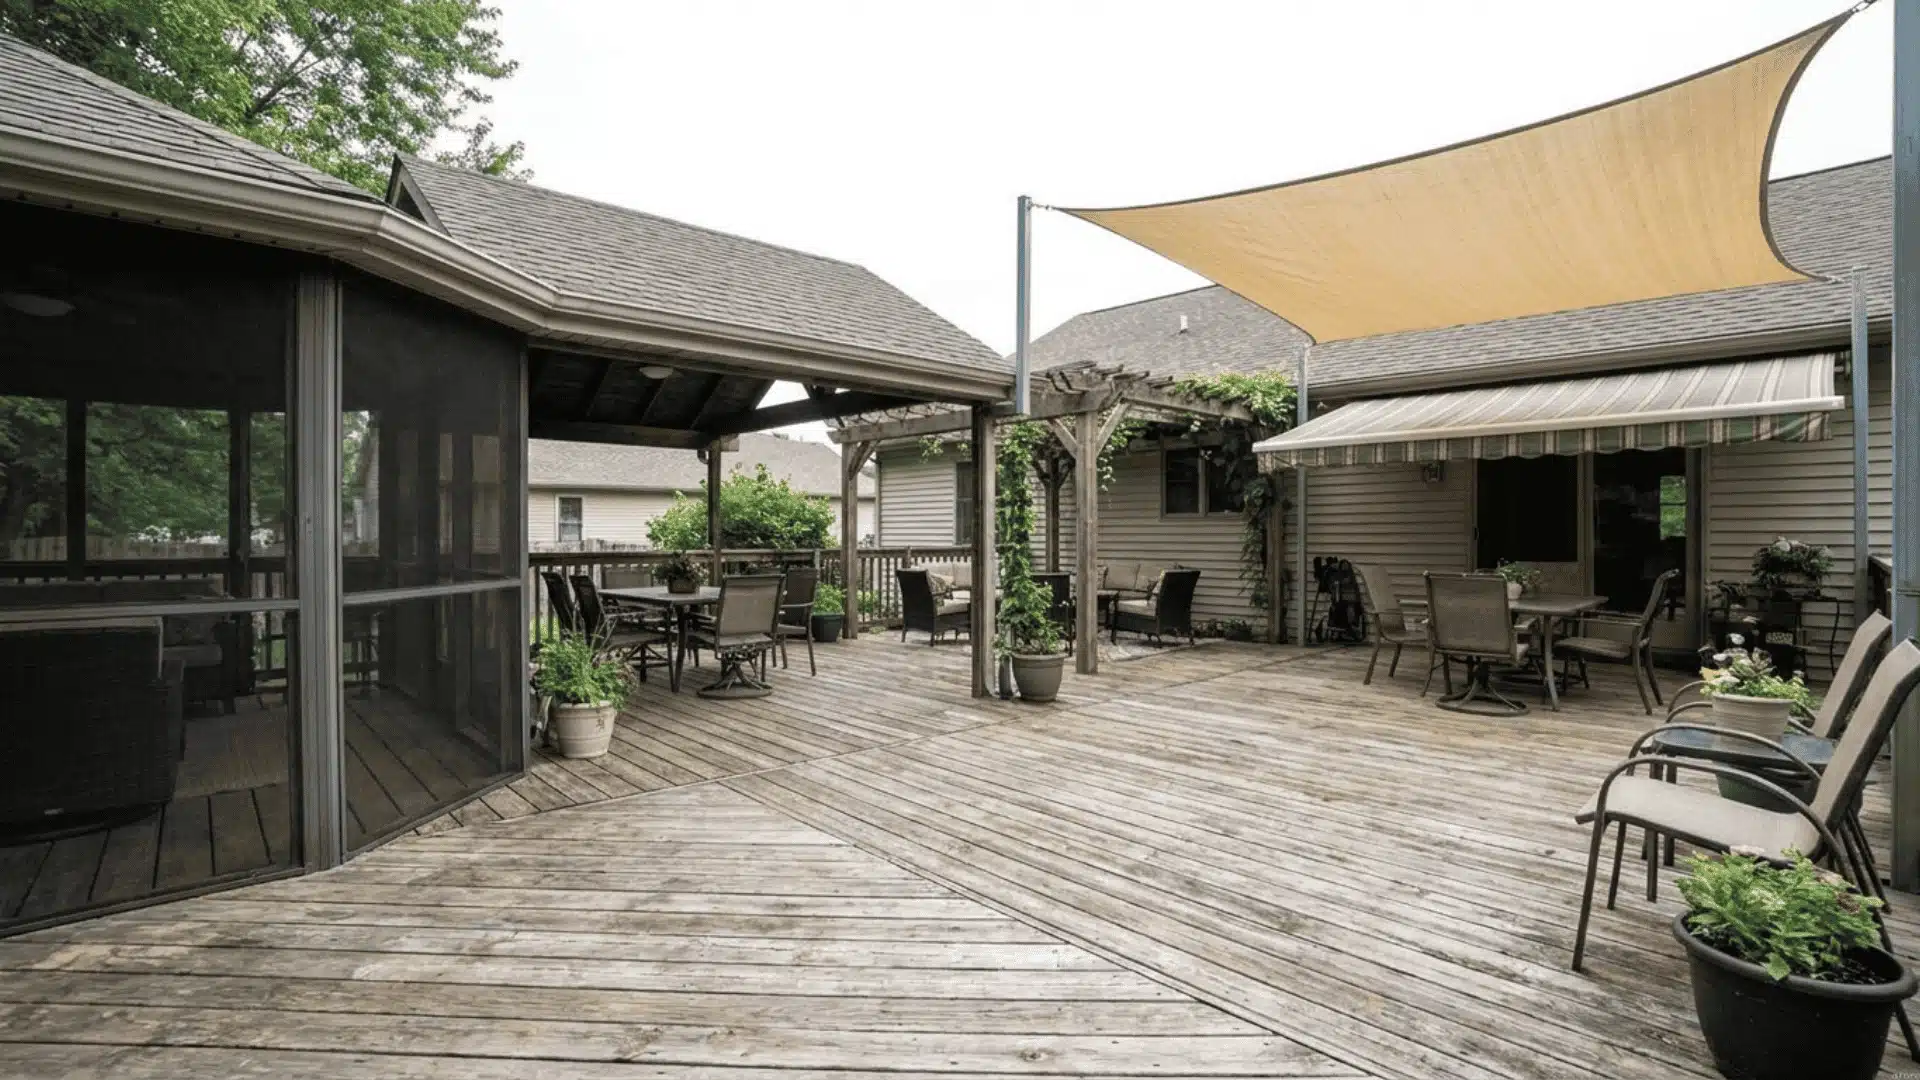
Here, you build a counter with an extended bar ledge so people can sit on stools while you cook. The kitchen sits under a pergola, awning, or simple shade sail.
The grill and prep area face the guests, so it’s easy to talk while cooking. This design is great for hosting, as it combines a cooking area, eating space, and shade in one spot.
Common Mistakes to Avoid
Common mistakes can make an outdoor kitchen less safe, harder to use, and more expensive than it needs to be. Use this checklist to spot problems in your plan before you start building:
- Too little counter space: Plan enough counter space for raw food, tools, and cooked dishes, with at least one clear landing zone beside the grill.
- Grill in the wrong spot (smoke + clearances): Keep the grill away from doors, windows, seating, siding, and eaves, and follow clearance rules so smoke and heat don’t hit people or the house.
- No shade or weather plan: Add a pergola, shade sail, or umbrella so the cooking and seating area stays usable in the sun and heat.
- No venting or GFCI safety: Include vent openings in built-in grill bases, and use outdoor-rated GFCI outlets near water and in outdoor areas.
- Underestimating utility and finish costs: Get early estimates for gas, electricity, plumbing, and finishes like stone, tile, and doors to ensure they fit your budget.
If you avoid these layout, safety, and budget errors, your outdoor kitchen will be safer, easier to cook in, and more likely to stay on budget.
Final Thoughts
If you’re still here, you’re clearly serious about building an outdoor kitchen, and honestly, that already puts you ahead of most people who only daydream about it.
You’ve taken the time to understand what this project means for your space, budget, skills, and safety, so you’re not walking into it blind or guessing your way through store runs.
From here, your next step is simple: pick a layout, set a realistic budget, and decide what you’ll DIY versus hire out.
Come back to this guide as you plan, and let it keep you grounded, safe, and confident as your outdoor kitchen slowly turns from sketch into the place where you actually cook and hang out!