
Home » DIY Guides » Page 2

Sticky residue from labels, stickers, tape, or glue can turn a small cleanup into a frustrating job. The biggest mistake is treating every surface

Easy DIY projects are a great way to refresh your home without spending a lot or taking on a stressful renovation. A small update, like painting a wall, replacing cabinet hardware, adding shelf liner, or framing a mirror, can make
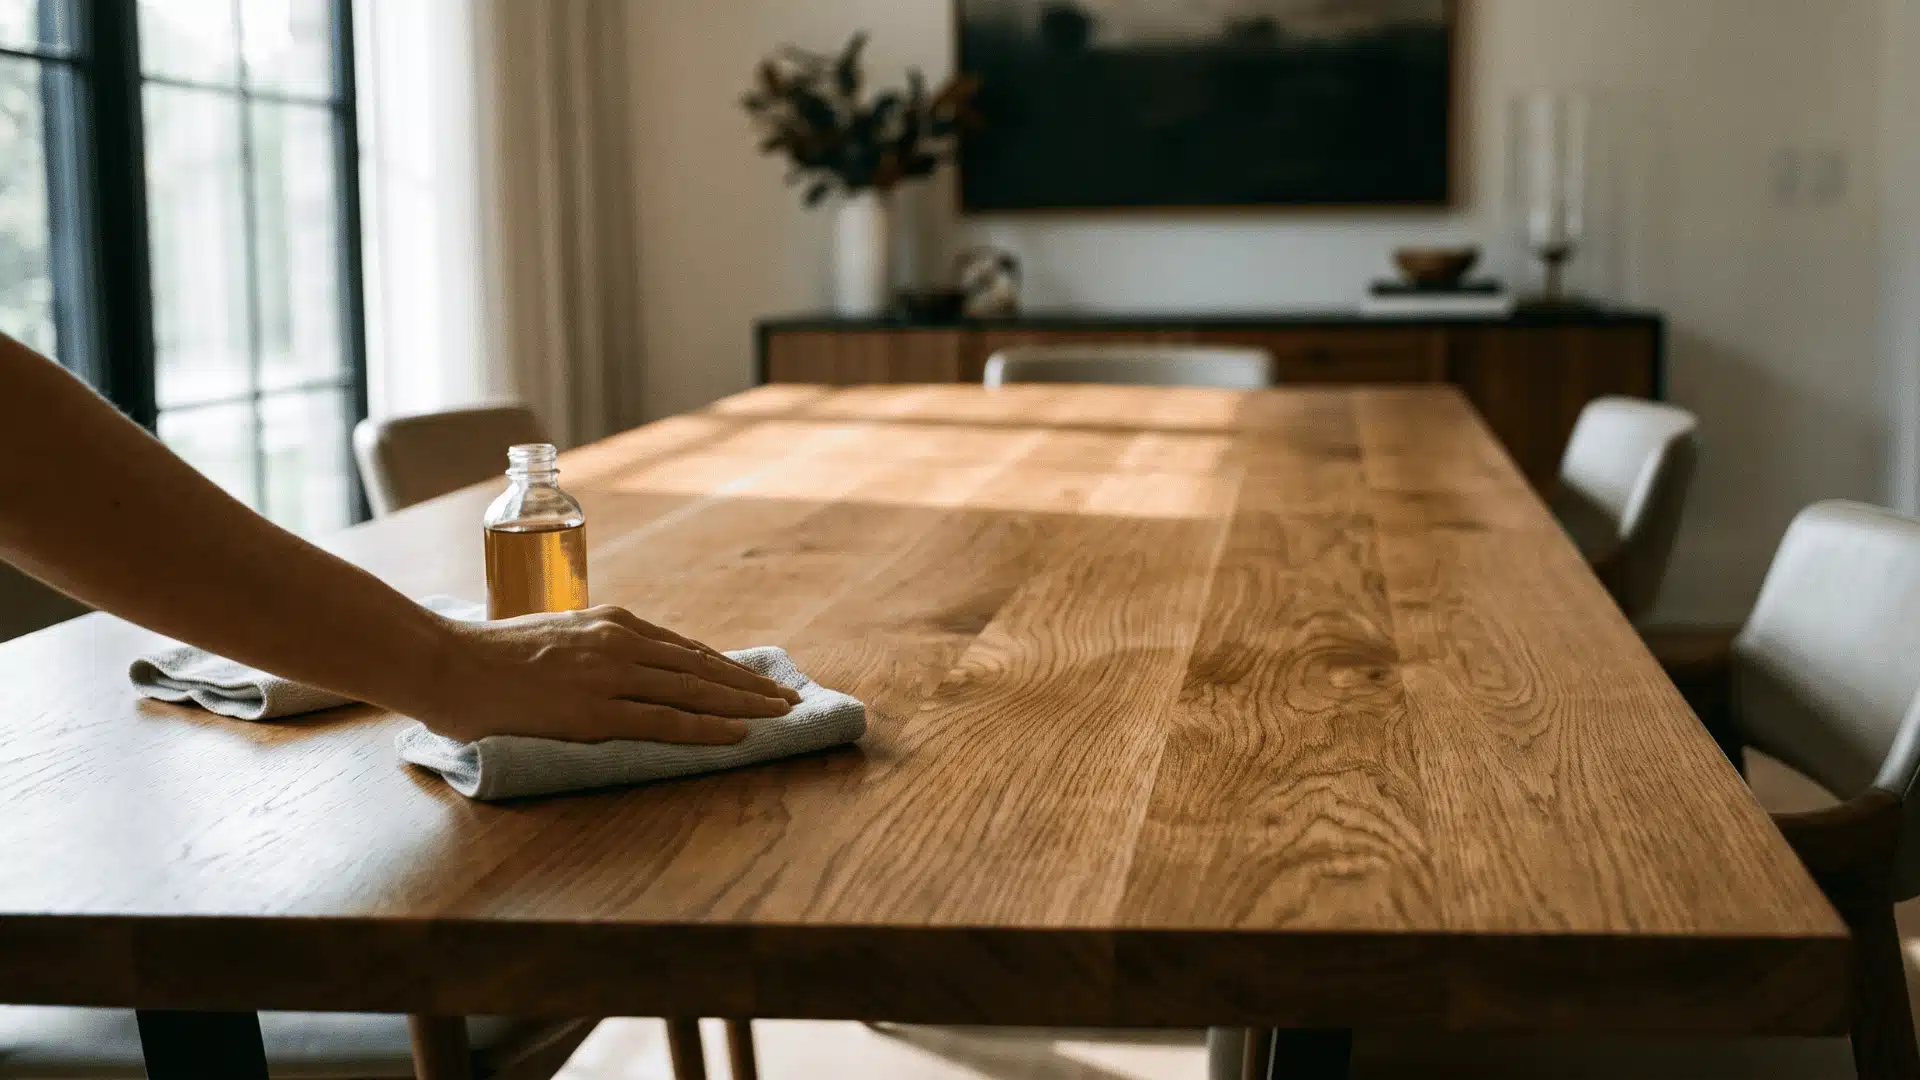
If you’ve ever polished a wooden table only to have it look dull again a day later, you’re not alone. Most of the time, the polish isn’t the problem. It’s everything that happens before and after it goes on. I’ve seen people blame the product when the real issue was skipping a quick clean, using too much polish, or not buffing it properly. Those small details make a much bigger difference than most people expect. The good news is that getting a smooth, even finish doesn’t take special skills or expensive products. A few simple steps can help bring back the shine, avoid sticky buildup, and even improve the look of light scratches and water rings while you’re already working. Let’s start with the part that makes the biggest difference What You Need Before You Start Polishing? A good diy wood polish routine starts with a clean surface, not the product itself. If you apply polish over dust or grime, those tiny particles can get rubbed into the wood, leaving fine scratches and a dull, uneven finish. I have watched plenty of beginners in my workshops blame the polish when the real problem was skipping the cleaning step. Start by wiping the surface with a dry microfiber cloth to remove loose dust. Then use a second microfiber cloth that’s lightly dampened with warm water and a drop of mild dish soap. Wring it out well so it’s only slightly damp. Wipe the furniture, then dry it right away with a clean cloth. Let the wood dry completely before applying polish. Even a little leftover moisture can get trapped under the polish and leave behind a cloudy finish. How to Polish Wood Furniture with Wax? Wax polish is one of the easier ways to refresh dry-looking wood. It does not need […]
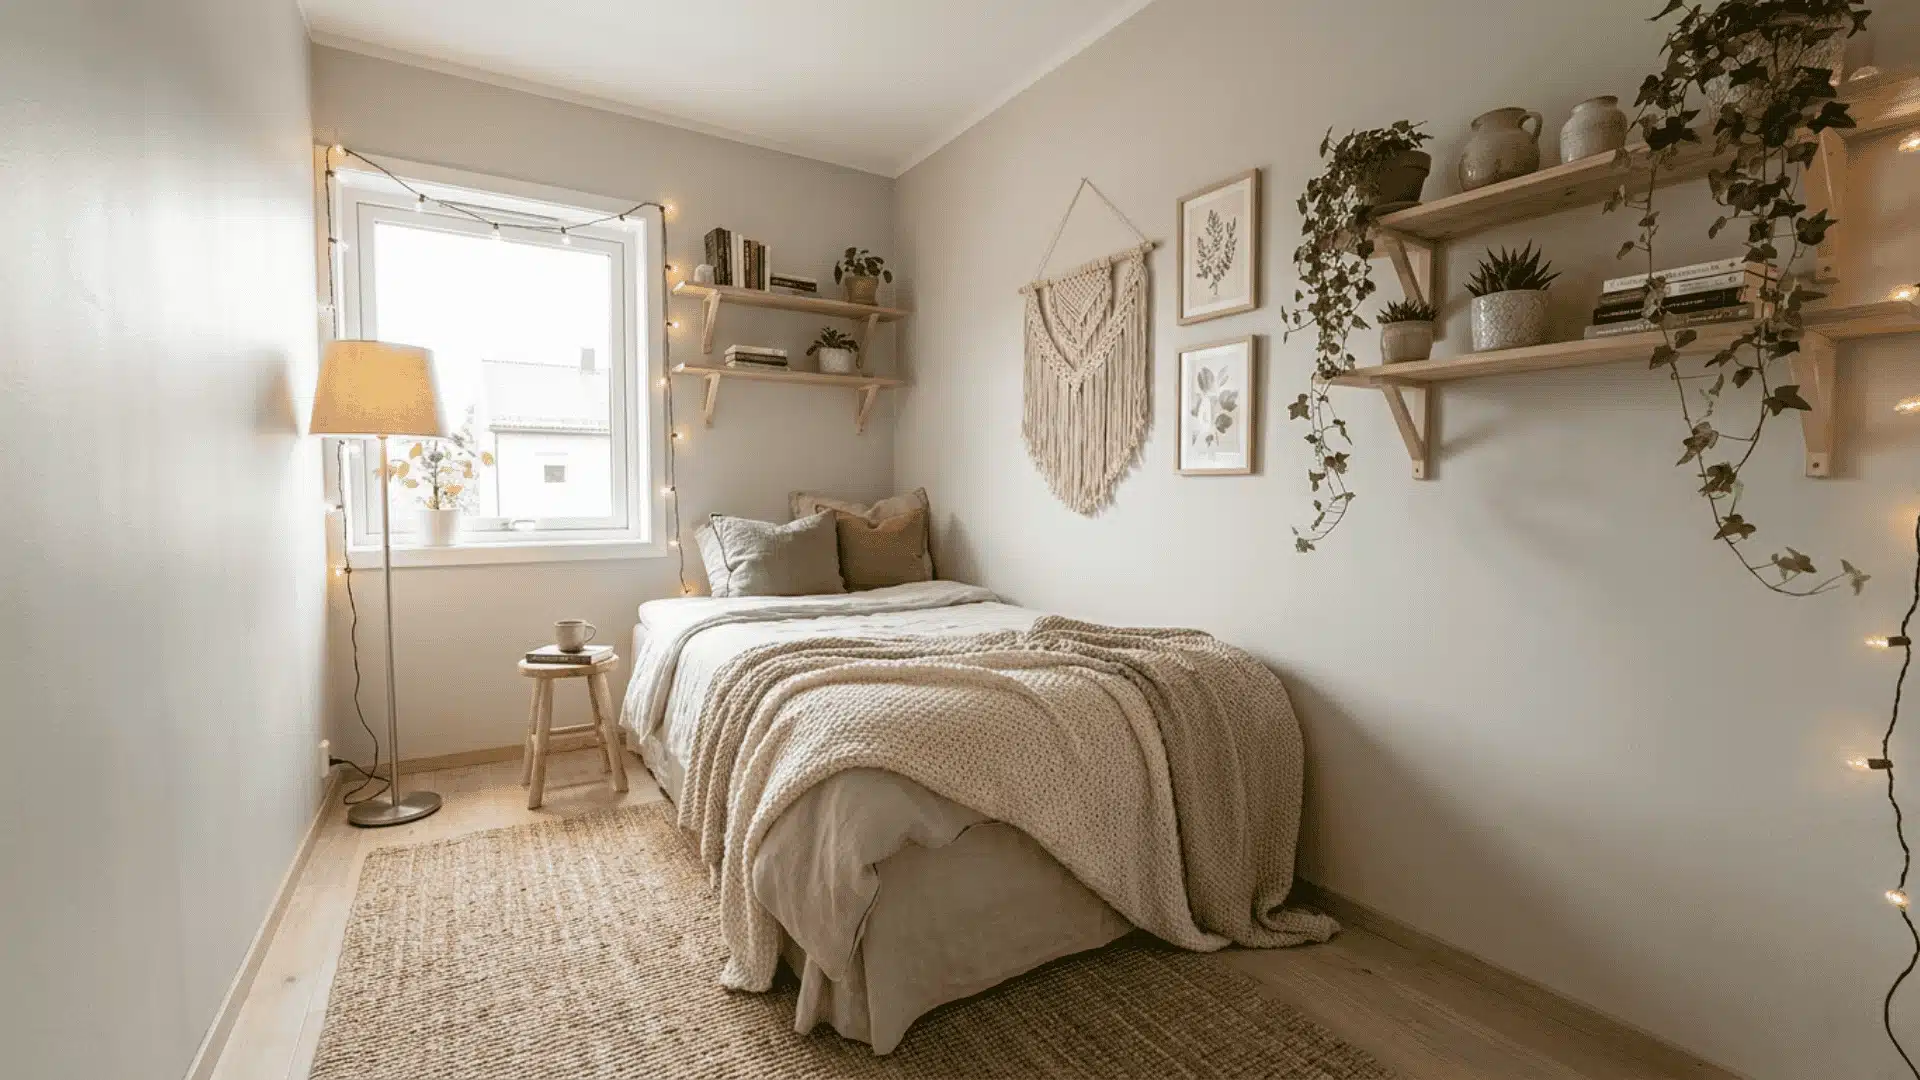
Small bedrooms come with real limitations, but they don’t have to feel that way. The right approach turns every constraint into an opportunity worth using. Layout, lighting, storage, and decor each play a distinct role in how spacious a room feels. Whether it’s your own space or you’re exploring small guest bedroom ideas, none of this requires major spending or structural changes. Here you’ll find practical, cost-effective strategies that work entirely within the space already available. Every tip is designed to create a bigger, calmer, and more personal bedroom. Whether starting from scratch or simply refreshing an existing setup, small changes deliver the most impact. A better bedroom is always closer than it appears. Why Small Bedroom & Small Guest Bedroom Layouts Fail Before You Move Furniture? Small bedrooms don’t fail because they’re too small. They fail because people place furniture before mapping the room’s fixed parts. Every small bedroom has three things that can’t move: The door The windows The closet These decide what layout will actually work. The door needs space to swing, which can take up 6–12 square feet. If the bed’s too close, the door can’t fully open, making the room feel cramped. Windows control natural light. Placing a bed in front blocks light, making the wall behind it the brightest area, which throws off the room’s balance. Closets require clearance. Sliding doors need almost no space, but hinged doors need 2–3 feet of open space. Furniture shouldn’t block that clearance to avoid problems. Map these three areas first. Once you do, many layout ideas will stop making sense right away. The remaining options are the ones that will actually fit and feel comfortable. Where to Place the Bed in Any Small Bedroom Layout: The Decision That Shapes Everything Else The bed is the biggest piece […]
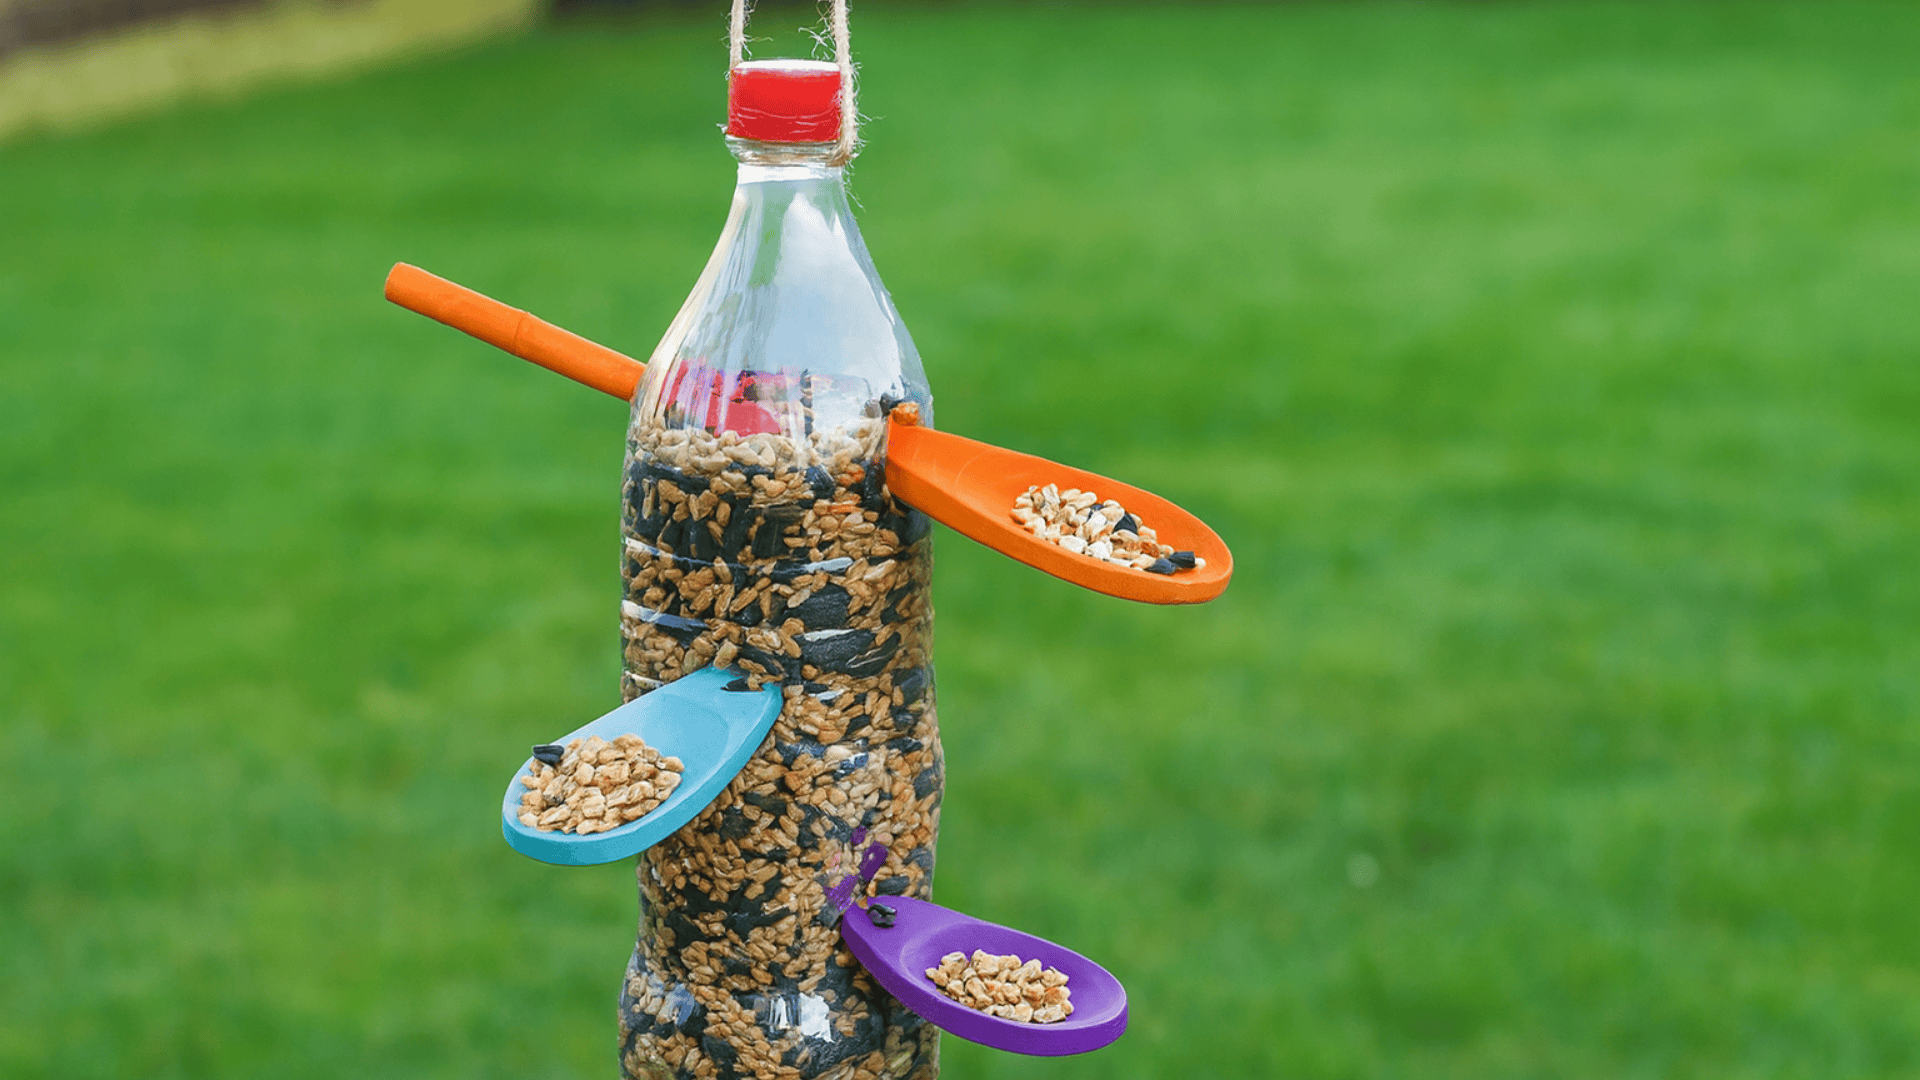
Making your own DIY bird feeder is a simple way to connect with nature while giving back to it. Even a small feeder can turn a quiet backyard or balcony into a lively gathering spot for birds. It’s more than just a craft; it’s a sustainable habit that helps reduce waste and supports wildlife, especially when food is scarce. Today, I’ll walk you through an easy step-by-step guide to make one using a plastic bottle, share other creative ideas made from everyday materials, and give you practical tips to keep them safe and clean. Why Make a Homemade Bird Feeder Making a DIY bird feeder is a simple way to support local wildlife and reduce household waste at the same time. It helps birds find food, especially during harsh seasons, while giving you a chance to reuse everyday materials like bottles or cups instead of throwing them away. It’s also a peaceful and mindful activity that brings you closer to nature. Watching birds visit something you made by hand can be relaxing, rewarding, and a fun project to share with your family. How to Make a Bird Feeder: Step-by-Step Guide Making a bird feeder from a plastic bottle is one of the easiest and most eco-friendly ways to bring birds to your garden. It’s quick to build, requires minimal materials, and is perfect for beginners or school projects. Materials Required 1 clean plastic bottle with a cap 2 wooden spoons or sticks for perches Cutter or scissors String for hanging Birdseed Step 1: Prepare the Bottle Clean the plastic bottle thoroughly and remove any labels. Make sure it’s completely dry before starting. This prevents mold or bacteria from forming inside. Keep the bottle cap aside; you’ll need it after filling. Choose a bottle that’s sturdy enough to hold seeds and […]
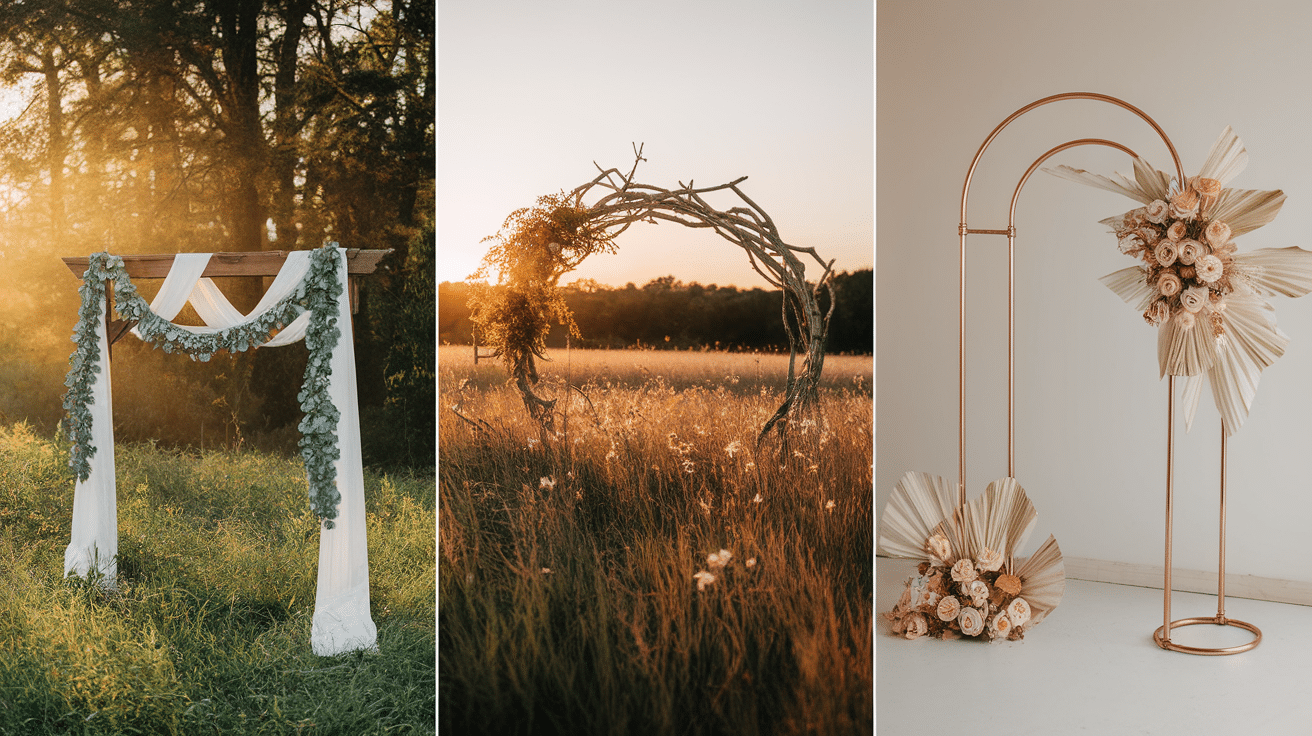
A wedding arch sets the stage for your ceremony, and making one yourself can be both affordable and rewarding. With a bit of creativity, you can design a personalized backdrop that fits your theme perfectly. From rustic wood to soft fabric or modern shapes, a DIY wedding arch gives your celebration a unique, meaningful touch. It’s not just a decoration, it’s a symbol of your style and love story. This blog covers simple, budget-friendly ideas that help you plan, build, and decorate an arch that looks beautiful, and you’ll feel confident creating something special that adds warmth to your special day. Cheap DIY Wedding Arch Ideas You can create a stunning wedding arch without spending much. With simple materials and a little creativity, these ideas make your ceremony backdrop beautiful, personal, and budget-friendly. 1. Wooden Pallet Arch A wooden pallet arch gives a rustic and sturdy look, perfect for outdoor or barn weddings. You can use two or three old pallets, sand them for smoothness, and attach them together using nails or brackets. Decorate with draped fabric, greenery, or string lights. The texture of raw wood adds warmth and makes a great photo backdrop without spending much. 2. PVC Pipe Flower Arch This arch is lightweight, inexpensive, and great for floral designs. Cut PVC pipes to your desired height, connect them with elbow joints, and cover the frame with chicken wire. Fill the spaces with faux or real flowers. You can paint the pipes white or gold to match your theme. It’s simple to move, weather-resistant, and ideal for backyard weddings. 3. Bamboo Stick Arch A bamboo stick arch brings a natural, tropical touch to your wedding setup. Gather long bamboo poles and tie them together with twine to form a frame. Decorate it with palm leaves, flowers, or fabric […]

Have you ever looked at your window and wondered what all those parts are called or how they work together? I’ve been there too, and it can feel confusing until you see everything clearly in one place. That’s why I created this simple guide to help you understand every part of your window without any complicated terms. I’ll break down the basics of a window frame so you can see how the main pieces work together. Whether you’re comparing window types or just trying to learn the names, this blog will help you understand your windows clearly. Understanding Window Anatomy Window anatomy explains how different pieces come together to support movement, comfort, and protection. Each part contributes to how the window performs and how well it handles daily use. The overall structure is built to stay steady through changing weather and regular opening or closing. This helps the window hold its shape, stay aligned, and remain dependable throughout its life. The glass is placed to bring in natural light while keeping indoor temperatures balanced. When all elements work as one, the window feels complete, reliable, and easy to use. Key Components of a Window A window has several important parts, and understanding these basics makes it easier to see how the whole unit works. WindowFrame Parts These parts make up the outer structure of the window and keep the whole unit steady. They hold the sash, glass, and trim in place and help the window work well over time. 1. Head The head sits at the top of the frame and supports the window from above. It helps keep the frame straight so the sash can move smoothly. A strong head also reduces gaps around the top edge. This helps the window stay sealed and comfortable in every season. 2. […]
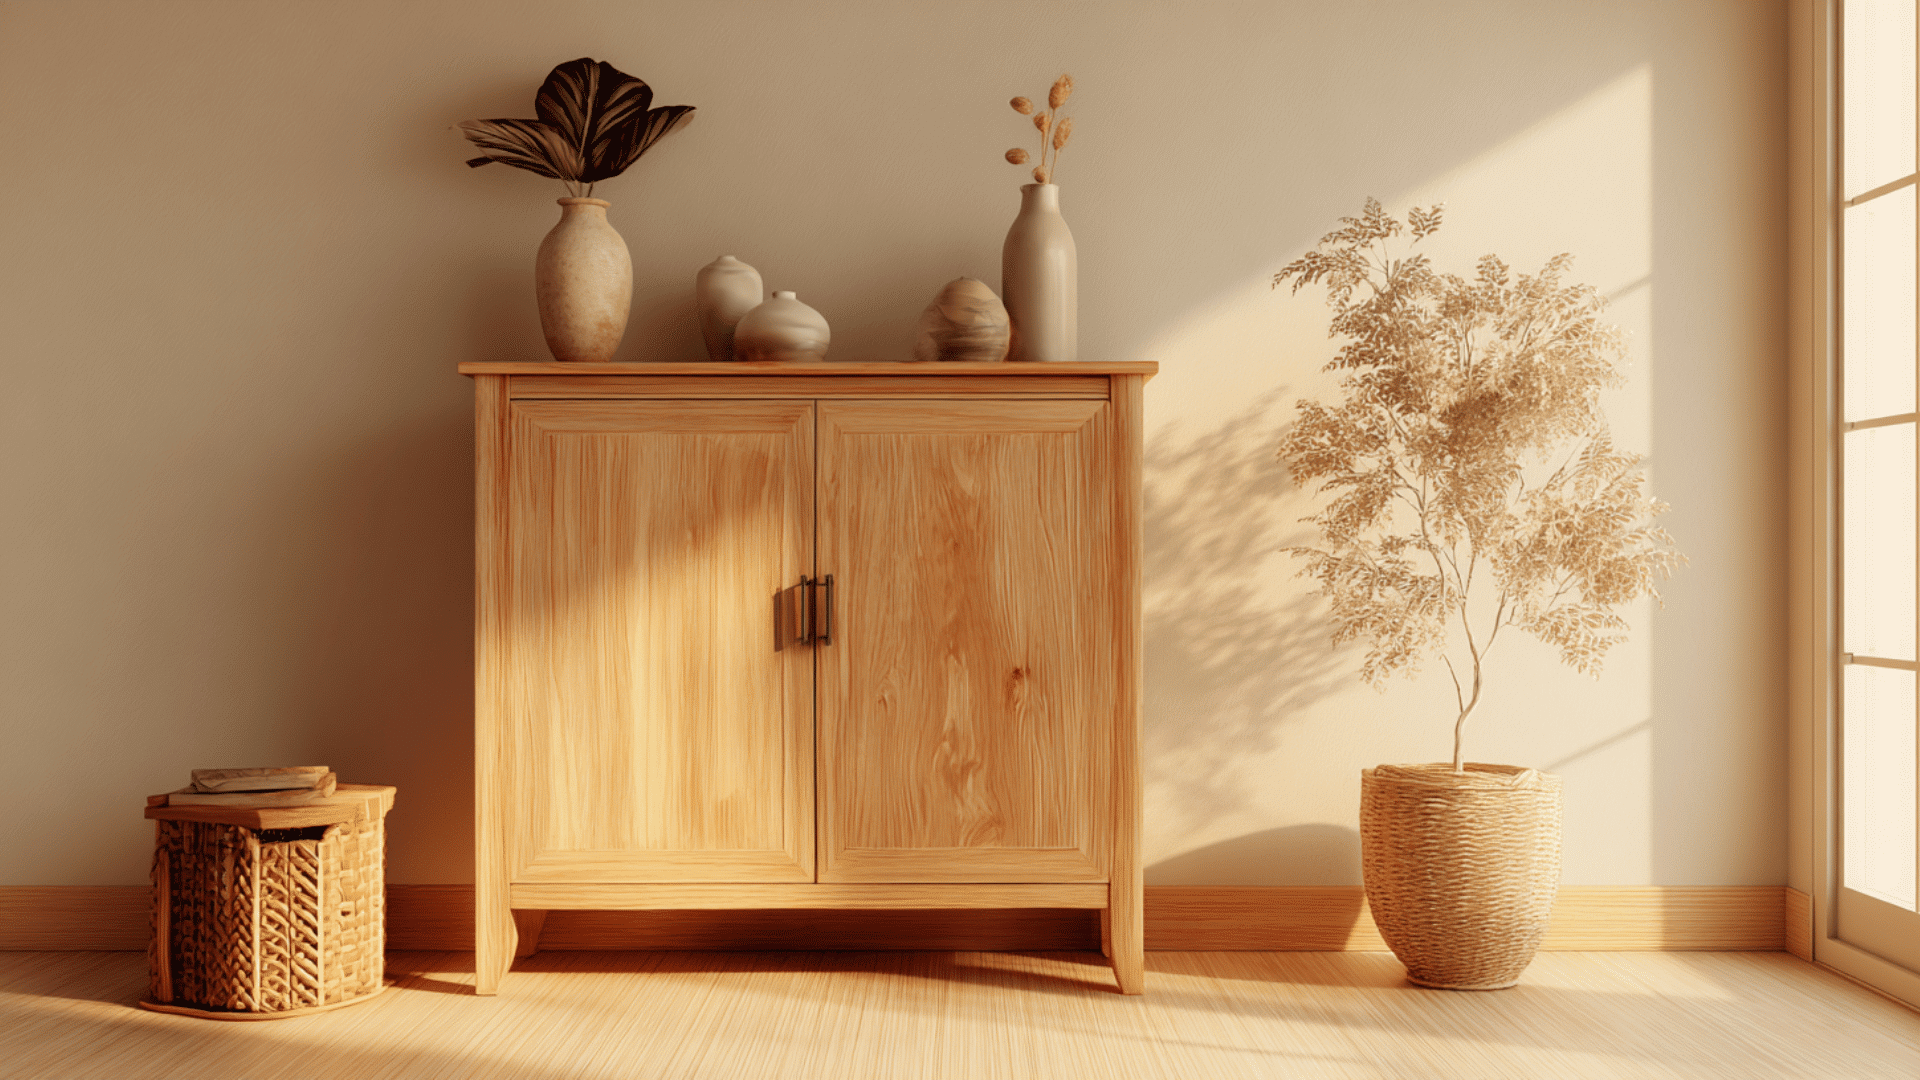
Cabinet making looks complicated at first, but it becomes much easier when you see the process broken into simple steps. I know how confusing it feels in the beginning, and that’s why I wanted to make this guide easy to follow. In this blog, I’ll show you how to build a solid cabinet using clear instructions and beginner-friendly methods. By the end, you’ll feel confident enough to build a cabinet that actually fits your space and your needs. So take a breath, grab your tools, and let’s build this together. Why Build Your Own Cabinet Building your own cabinet is one of the most practical parts of cabinet making. You get useful storage and real hands-on practice in a single project. It often costs less than buying a similar cabinet from a store. You’re paying for wood and hardware, not for labour or branding. You also control the exact size and layout. Your cabinet can fit awkward spaces that standard pieces never match well. And it’s genuinely satisfying. Every time you use it, you’re using something you designed, cut, and built yourself. How to Build a Cabinet: Step by Step Building a cabinet seems tricky, but it becomes simple when you break it into clear steps. Tools & Materials 3/4″ plywood (carcass, stretchers, toe kicks) 1/4″ plywood (backs, drawer bottoms) 5/8″ Baltic birch plywood (drawer boxes) 1/2″ plywood (door and drawer panels) Hard maple (face frame, door frame, drawer fronts) Poplar (optional if painting) Track saw or circular saw with a straight-edge guide Table saw Band saw (or jigsaw with a square as an alternative) Router (or table saw used with multiple passes for cutting grooves) Pocket hole jig + pocket screws Wood glue Clamps Brad nailer Crosscut sled (or miter saw alternative) Scrap plywood spacers True Position–style drawer pull […]

Get the latest home decor tips, DIY ideas, and design inspiration delivered straight to your inbox.





