


If you’ve ever polished a wooden table only to have it look dull again a day later, you’re not alone. Most of the time, the polish isn’t the problem. It’s everything that happens before and after it goes on.
I’ve seen people blame the product when the real issue was skipping a quick clean, using too much polish, or not buffing it properly.
Those small details make a much bigger difference than most people expect. The good news is that getting a smooth, even finish doesn’t take special skills or expensive products.
A few simple steps can help bring back the shine, avoid sticky buildup, and even improve the look of light scratches and water rings while you’re already working.
Let’s start with the part that makes the biggest difference
What You Need Before You Start Polishing?
A good diy wood polish routine starts with a clean surface, not the product itself.
If you apply polish over dust or grime, those tiny particles can get rubbed into the wood, leaving fine scratches and a dull, uneven finish.
I have watched plenty of beginners in my workshops blame the polish when the real problem was skipping the cleaning step.
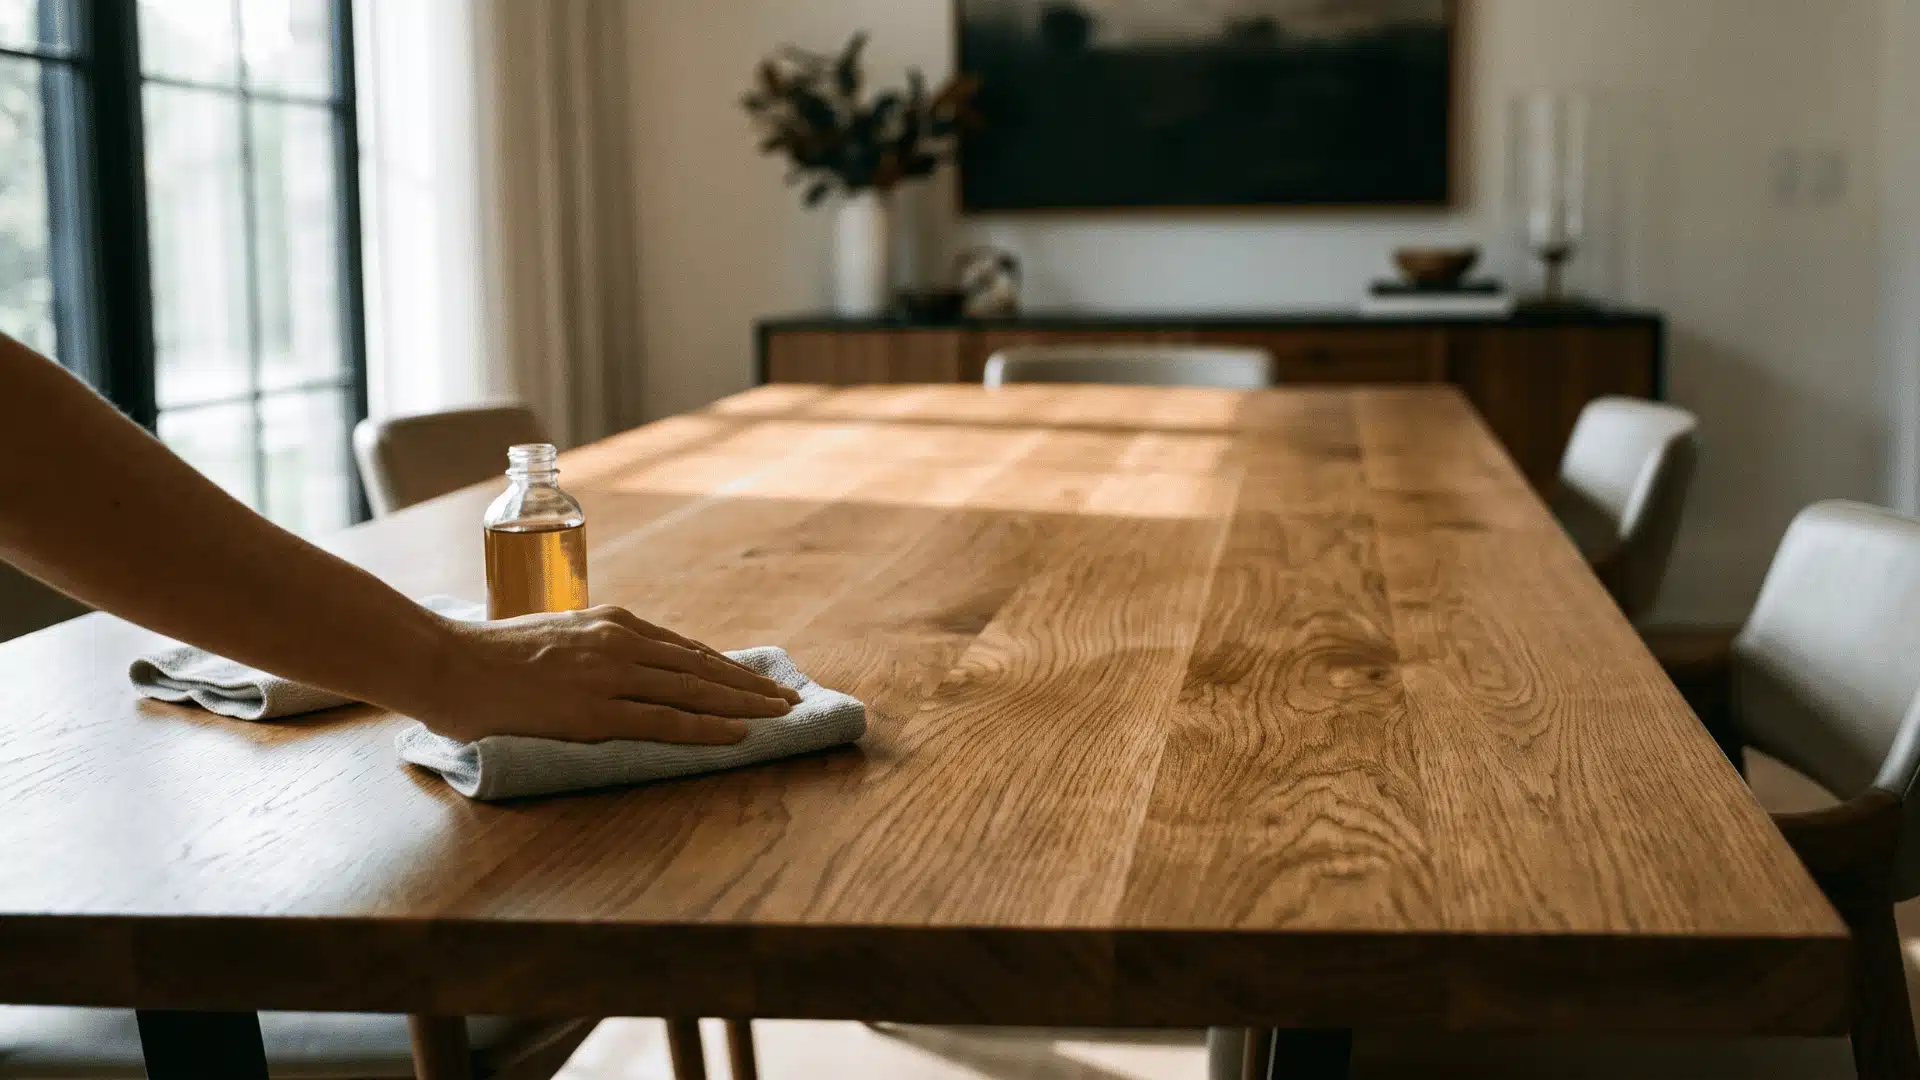
Start by wiping the surface with a dry microfiber cloth to remove loose dust.
Then use a second microfiber cloth that’s lightly dampened with warm water and a drop of mild dish soap. Wring it out well so it’s only slightly damp.
Wipe the furniture, then dry it right away with a clean cloth. Let the wood dry completely before applying polish. Even a little leftover moisture can get trapped under the polish and leave behind a cloudy finish.
How to Polish Wood Furniture with Wax?
Wax polish is one of the easier ways to refresh dry-looking wood. It does not need heavy prep, but the surface still needs to be clean before you start.
The goal is simple: clean the wood, apply the wax evenly, then buff it until the surface feels smooth and looks richer.
Step 0: Gather Tools and Materials You’ll Need
Have everything ready before you start. Good prep is what keeps the final result clean, not the polish itself.
- Microfiber cloths: at least 3-4 clean pieces
- Applicator: a soft lint-free cloth or stockinette for applying wax
- Cleaner: a wood-safe cleaner or mild dish soap
- Warm water: for light cleaning
- Wood wax polish: paste wax preferred
- Dry soft cloth: for buffing
- Optional, shelled walnut: for light scratches
- Optional, non-gel toothpaste: for water rings
- Optional, olive oil and pumice powder: for stubborn marks
Step 1: Clean the Surface First
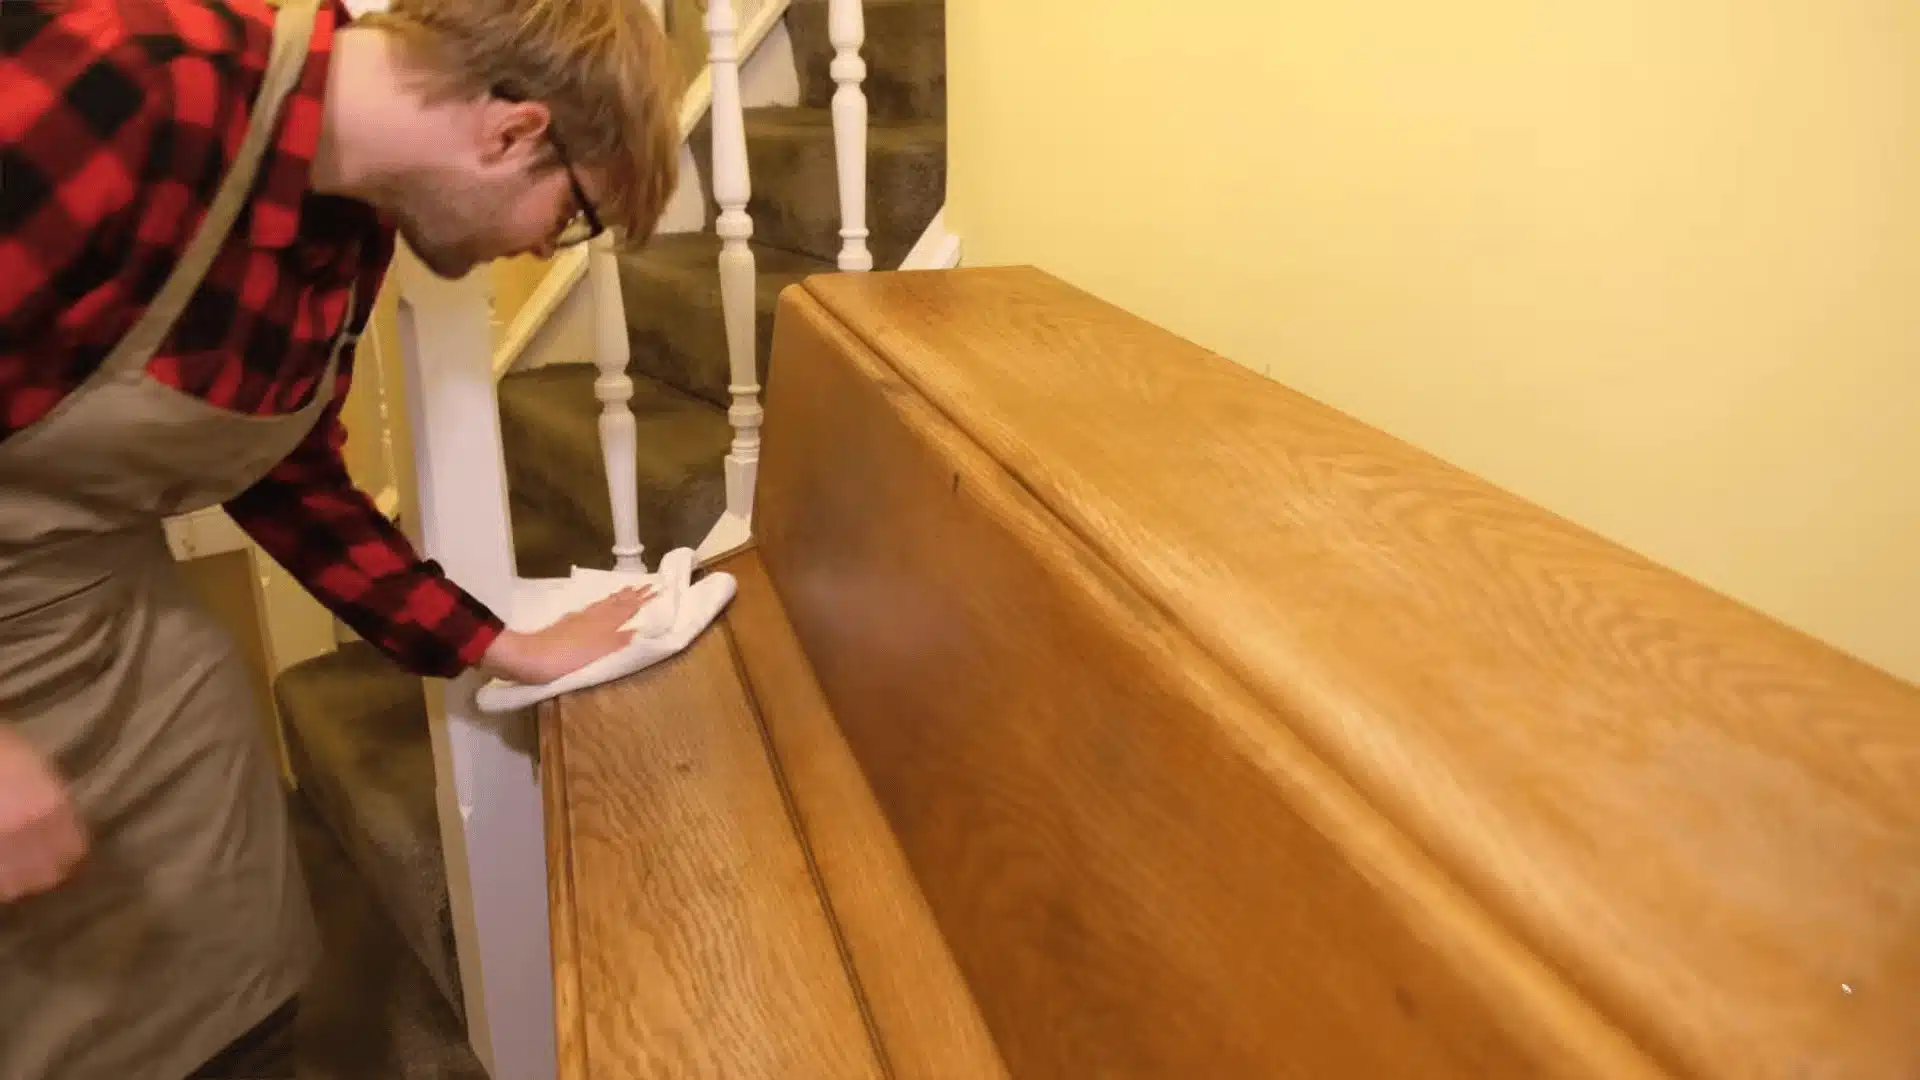
Start by giving the wood a proper clean. Dust, grease, or old residue can keep the wax from sitting evenly, so don’t skip this part.
Lightly mist a cloth with a gentle wood-safe cleaner, then wipe the whole surface. Keep the cloth damp, not wet. Let the wood dry before adding wax.
Step 2: Load Wax onto a Soft Cloth
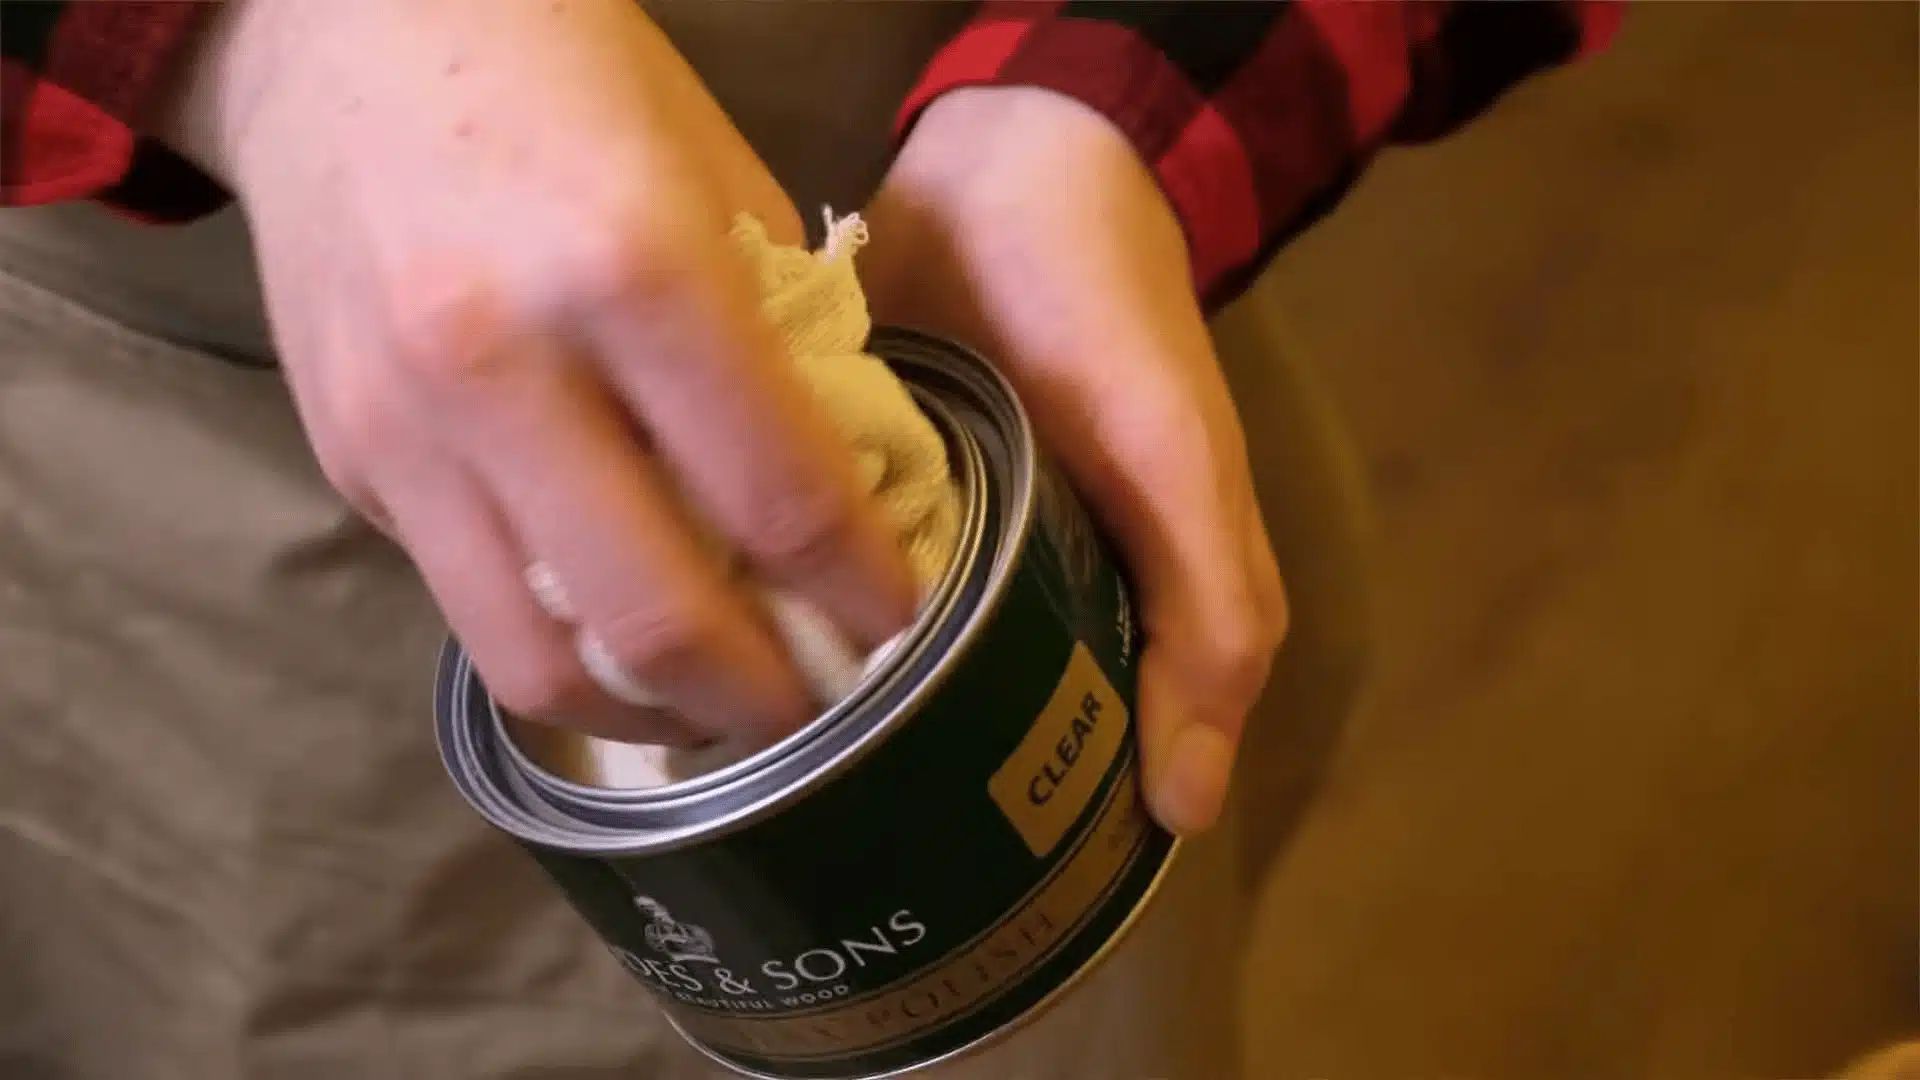
Use a soft cloth, stockinette, or lint-free applicator to pick up the wax. A flexible cloth works well because it holds the wax and spreads it smoothly.
You do not need to be too careful with the first load. If you apply a little too much, you can even it out later during buffing.
Step 3: Work the Wax into the Wood
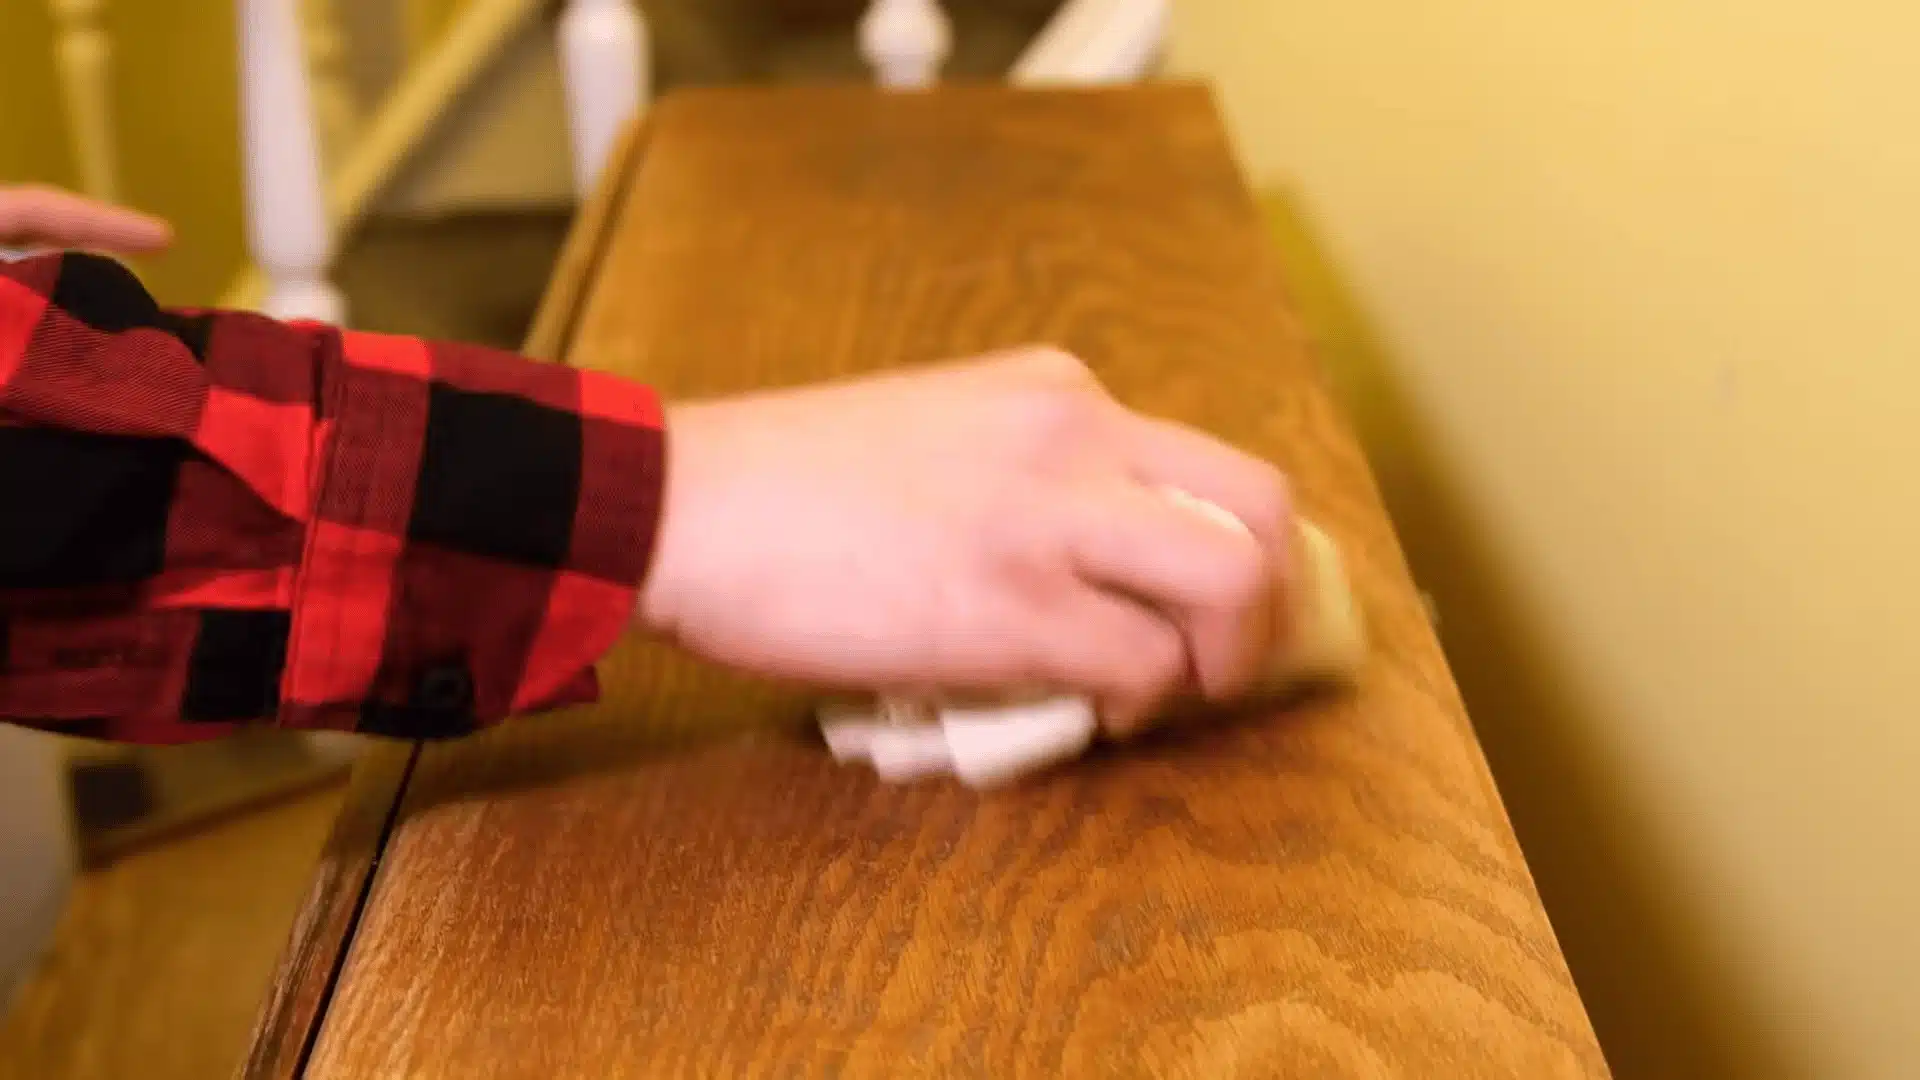
Rub the wax into the wood using different motions. Go in circles, then move with the grain, across the grain, and back again.
Wood grain does not always absorb evenly, so changing direction helps the wax reach more of the surface. You should start seeing the dry look turn darker and richer.
Wood grain does not always absorb evenly, and this varies even more across different wood species, so changing direction helps the wax reach more of the surface.
Step 4: Spread out Any Heavy Areas
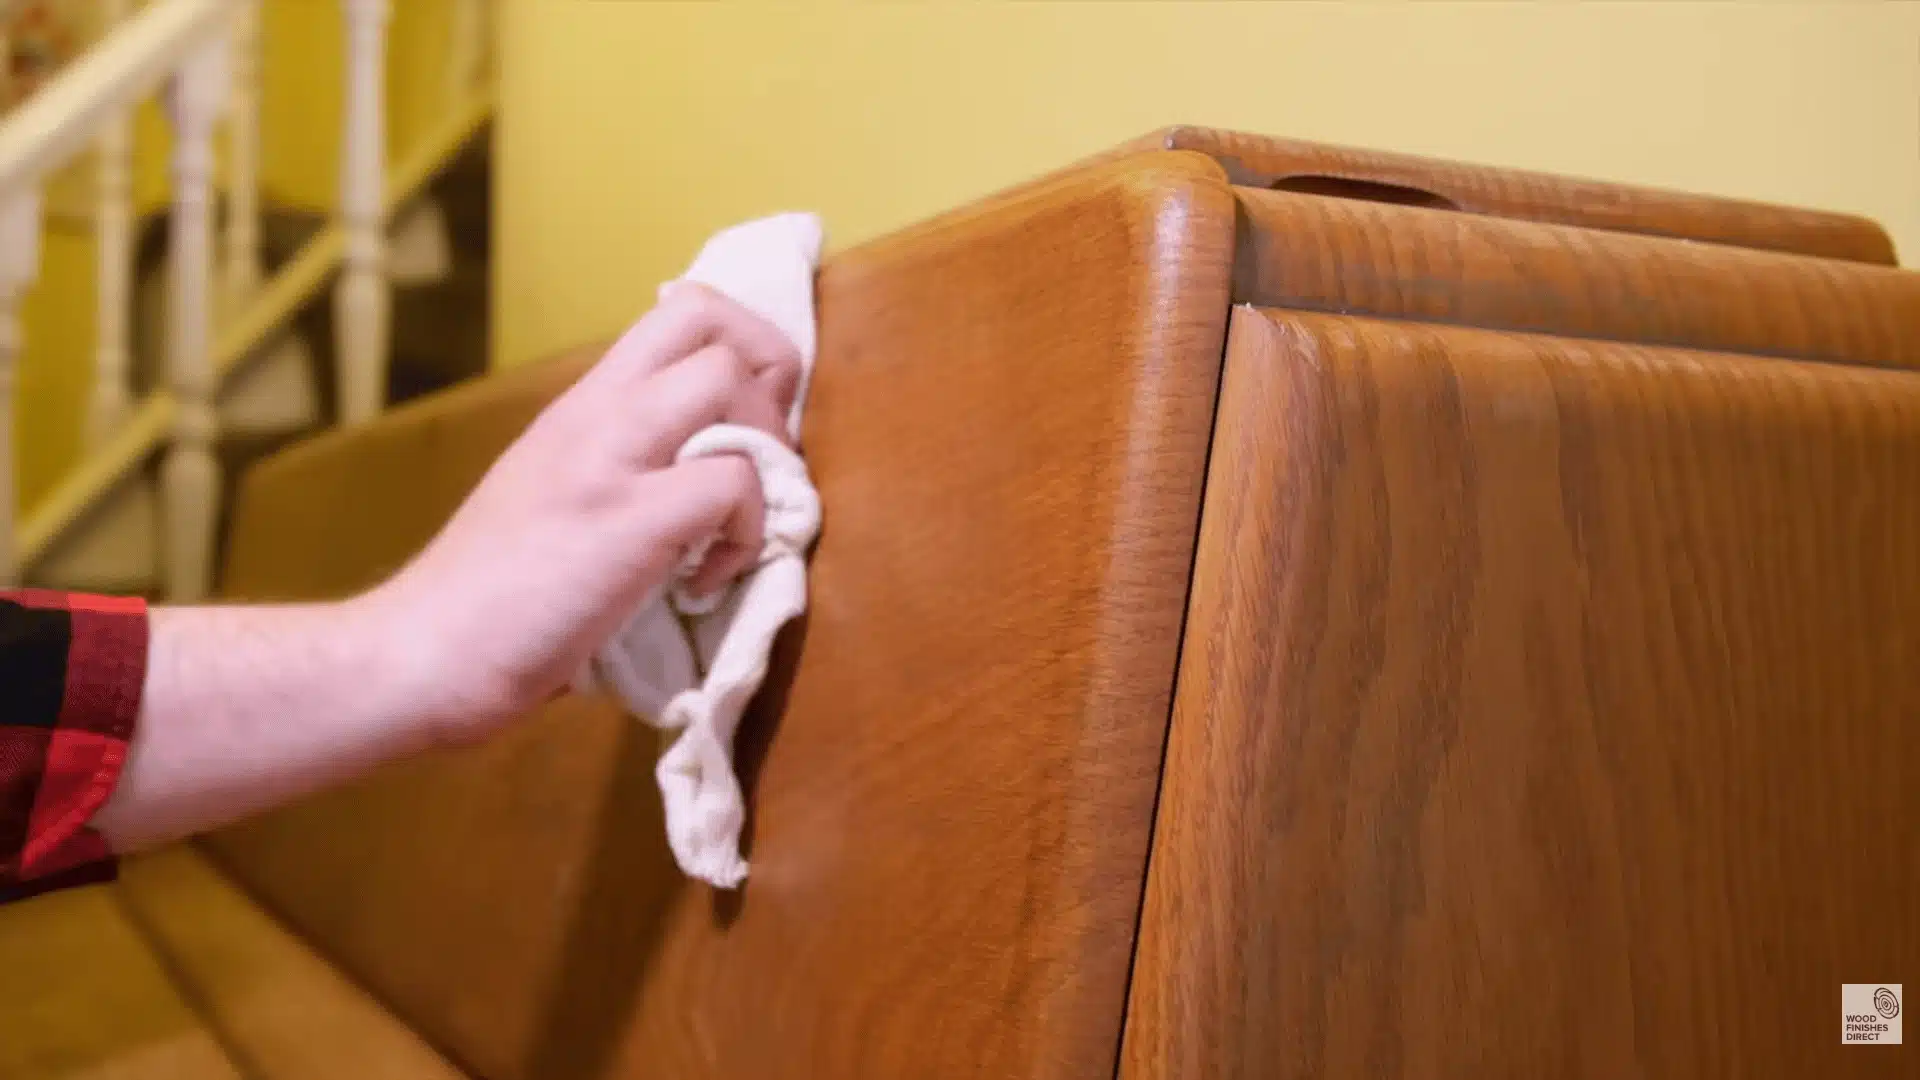
If one spot has too much wax, do not panic. Use a clean, dry part of your cloth and drag the extra wax across the surface.
This helps thin out thick patches and keeps the coat even instead of building up in one spot.
Step 5: Buff the Wax with a Cloth
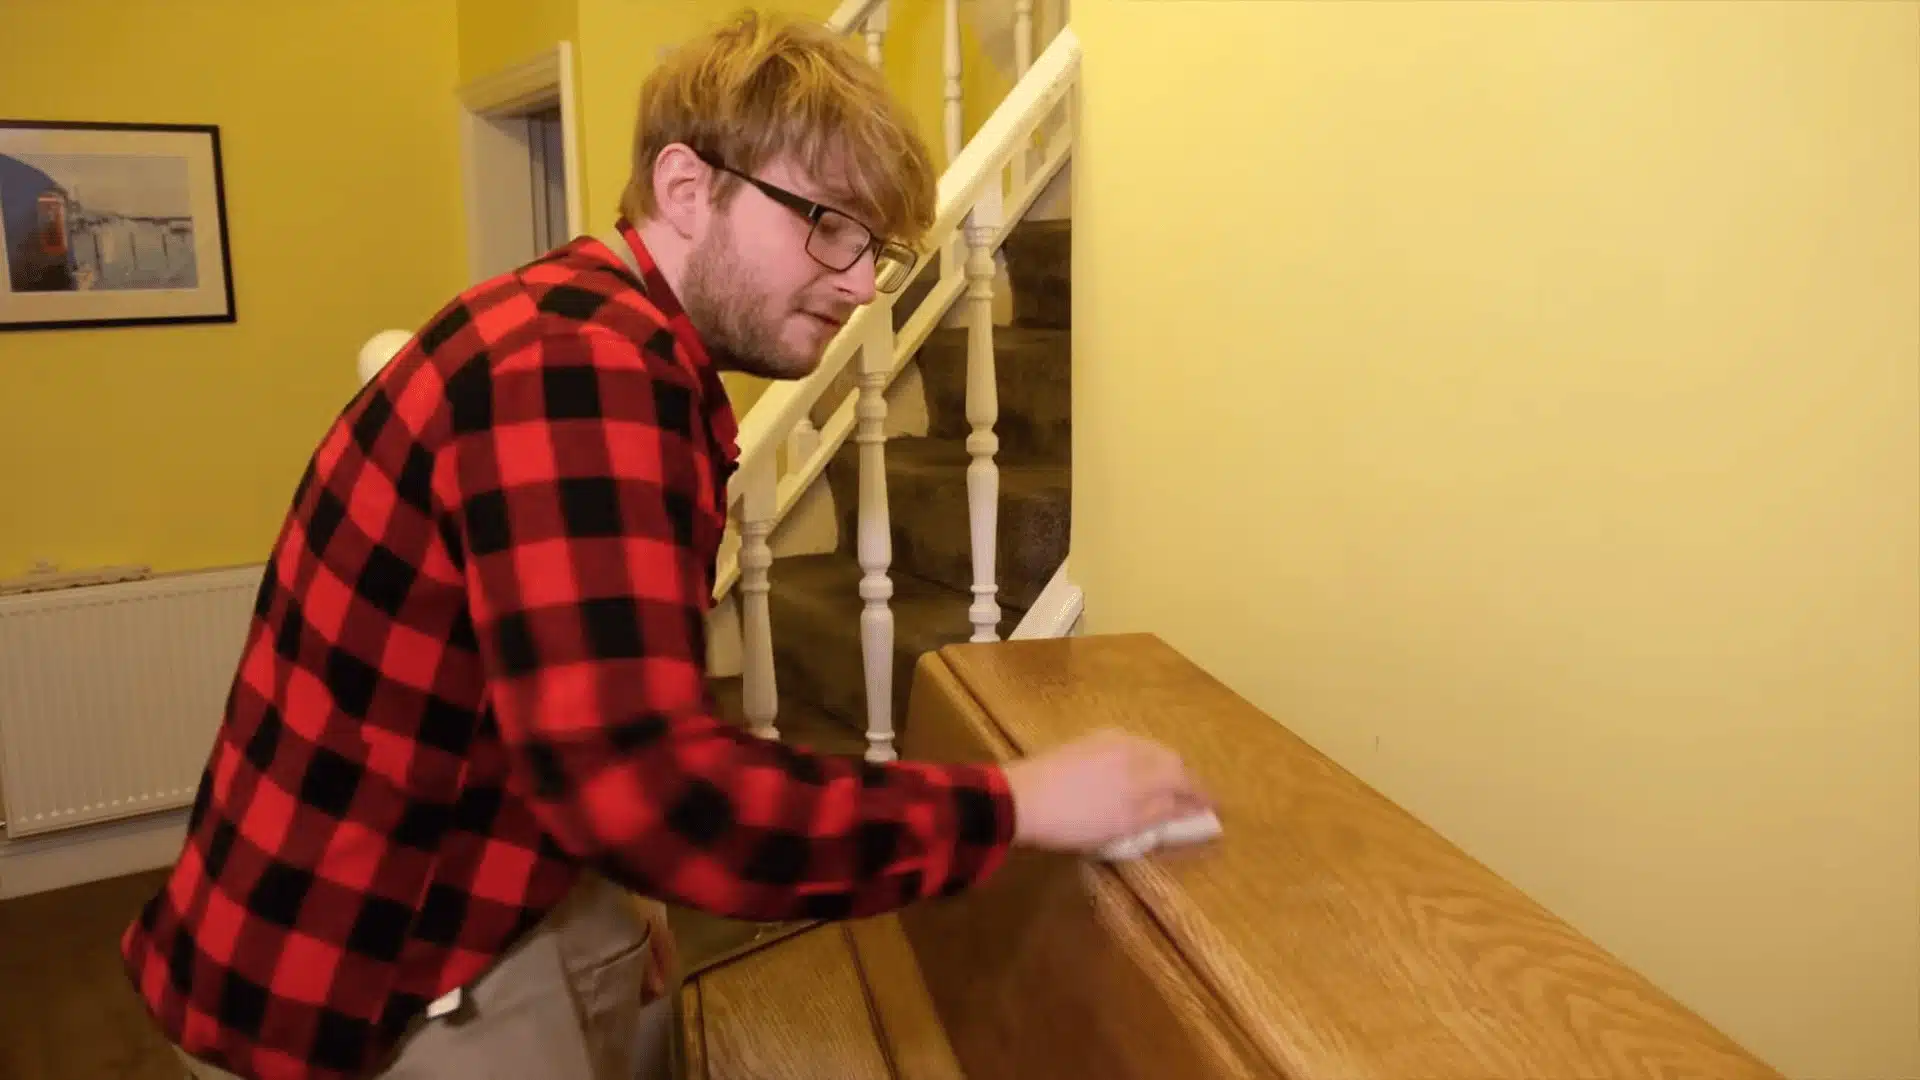
Once the wax is on, switch to a clean microfiber cloth. Buff the surface using firm circular motions to smooth everything out.
The surface may feel slightly tacky at first. Keep buffing the same area, and it should start to feel smoother. More buffing usually gives you more shine.
Step 6: Check the Finish
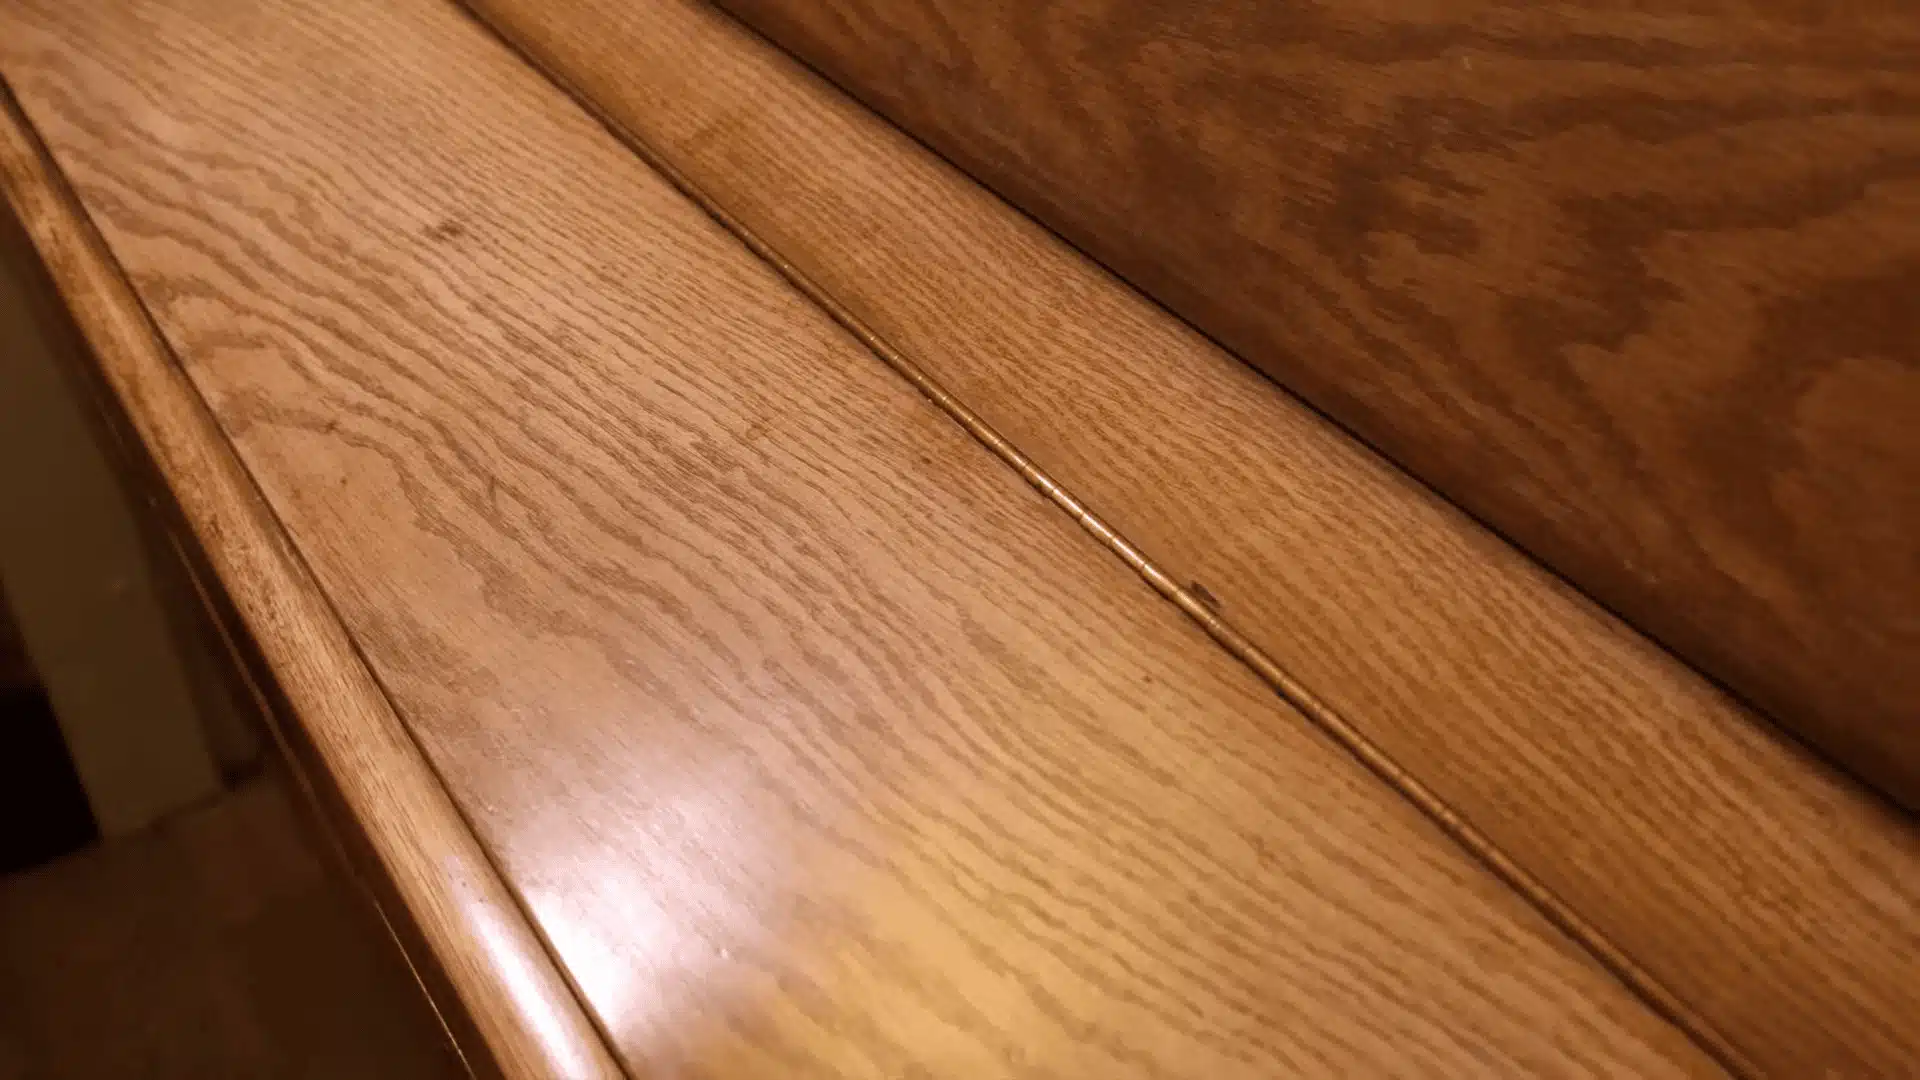
After buffing, look at the wood from different angles. The finish should look even, darker, and less dry than before.
If any areas still feel sticky, buff them again with a clean cloth. Once the surface feels smooth, your wax polish is done.
Wax polishing is simple, but the small details matter. A clean surface, even application, and patient buffing are what give the wood that smooth, cared-for finish.
For a complete walkthrough of the process, check out the video tutorial below:
Fixing Minor Damage as Part of Your Polish Routine
Polishing is a good time to address minor surface damage. The wood is clean, you’re already working across the whole piece, and small fixes take minutes when you’re already set up.
These are cosmetic treatments for surface-level marks. They won’t repair damage that has broken through the finish; that’s a different job entirely.
Scratches
If you’d rather skip store-bought products, this diy wood polish trick uses one ingredient you probably already have.
For light scratches on dark wood, rub a shelled walnut directly over the mark. The natural oils can help blend the scratch into the surrounding finish, making it much less noticeable.
This trick only works for surface scratches.
If your fingernail catches in the mark, it’s probably too deep for a walnut, and a wood filler or touch-up marker will give you better results.
Water Rings
White water rings usually sit in the finish instead of soaking into the wood, which is why they’re often easier to remove than people expect.
I’ve had good results using a small amount of non-gel toothpaste on a soft cloth and gently buffing the spot for a minute or two.
If the ring is still there, mix one drop of olive oil with a small pinch of pumice powder and buff the area lightly. Go slowly and check your progress as you work.
Use a light touch with either method so you polish the finish rather than wear it down.
Quick Tips for Better Results
A few simple habits make polishing easier and help the finish last longer indoors. If a piece lives outside, treat it differently since outdoor wood furniture deals with sun and rain that indoor pieces never see.
The habits below are easy to follow and can save you from common mistakes.
- Dust regularly: so dirt doesn’t scratch the finish
- Test first: try any new polish on a hidden spot before using it on the full piece
- Use microfiber cloths: instead of rough fabrics
- Apply thin coats: instead of one heavy layer
- Watch placement: keep furniture away from direct sunlight and heat where possible
- Replace cloths: swap them out once they get dirty or saturated
These small habits take very little time but help keep wood looking clean, smooth, and well maintained between polishing sessions.
Conclusion
Learning how to polish wood furniture well really comes down to order: clean first, apply thin coats, then buff until the wood feels smooth to the touch.
Wax takes a little more patience than a spray-on product, but the deeper shine and longer-lasting protection make the extra step worth it.
While you’re already working on a piece, take a minute to rub out a light scratch with a walnut or lift a water ring with a dab of toothpaste.
Small fixes like these take almost no time when the wood is already clean, and you’re already mid-project.
Try it this week and see how the wood responds, and don’t forget to tell us the results in the comments below.
Frequently Asked Questions
How often should I polish wood furniture?
For furniture you use regularly, polish it every one to three months. Furniture that’s rarely used can last longer. If the surface still looks dull after dusting, it’s time to polish.
Is wax polish better than liquid polish for wood furniture?
It depends on the furniture. Paste wax lasts longer and protects high-use pieces better. Liquid polish is quicker to apply and works well for routine maintenance on furniture that’s already in good condition.
Can I use Dawn dish soap to clean wood furniture before polishing?
Yes. Mix one drop of Dawn dish soap with warm water and use a well-wrung microfiber cloth. Wipe the surface, then dry it immediately. Leaving moisture on the wood can cause watermarks or a cloudy finish.
What causes wood furniture to look dull even after polishing?
The most common cause is silicone buildup from repeated use of certain commercial polishes. Silicone forms a thin film on top of the finish that thickens with each application, and it hides the wood grain under a cloudy, plastic-like haze. Remove it with a proper wax remover, then switch to a silicone-free wax or polish going forward.