


Cabinet making looks complicated at first, but it becomes much easier when you see the process broken into simple steps.
I know how confusing it feels in the beginning, and that’s why I wanted to make this guide easy to follow.
In this blog, I’ll show you how to build a solid cabinet using clear instructions and beginner-friendly methods.
By the end, you’ll feel confident enough to build a cabinet that actually fits your space and your needs. So take a breath, grab your tools, and let’s build this together.
Why Build Your Own Cabinet
Building your own cabinet is one of the most practical parts of cabinet making. You get useful storage and real hands-on practice in a single project.
It often costs less than buying a similar cabinet from a store. You’re paying for wood and hardware, not for labour or branding.
You also control the exact size and layout. Your cabinet can fit awkward spaces that standard pieces never match well.
And it’s genuinely satisfying. Every time you use it, you’re using something you designed, cut, and built yourself.
How to Build a Cabinet: Step by Step
Building a cabinet seems tricky, but it becomes simple when you break it into clear steps.
Tools & Materials
- 3/4″ plywood (carcass, stretchers, toe kicks)
- 1/4″ plywood (backs, drawer bottoms)
- 5/8″ Baltic birch plywood (drawer boxes)
- 1/2″ plywood (door and drawer panels)
- Hard maple (face frame, door frame, drawer fronts)
- Poplar (optional if painting)
- Track saw or circular saw with a straight-edge guide
- Table saw
- Band saw (or jigsaw with a square as an alternative)
- Router (or table saw used with multiple passes for cutting grooves)
- Pocket hole jig + pocket screws
- Wood glue
- Clamps
- Brad nailer
- Crosscut sled (or miter saw alternative)
- Scrap plywood spacers
- True Position–style drawer pull jig
- Hinge drilling jig with depth-stop bit
- Self-centering drill bit
- Sandpaper (120 and 180 grit)
Step 1: Break Down the Plywood
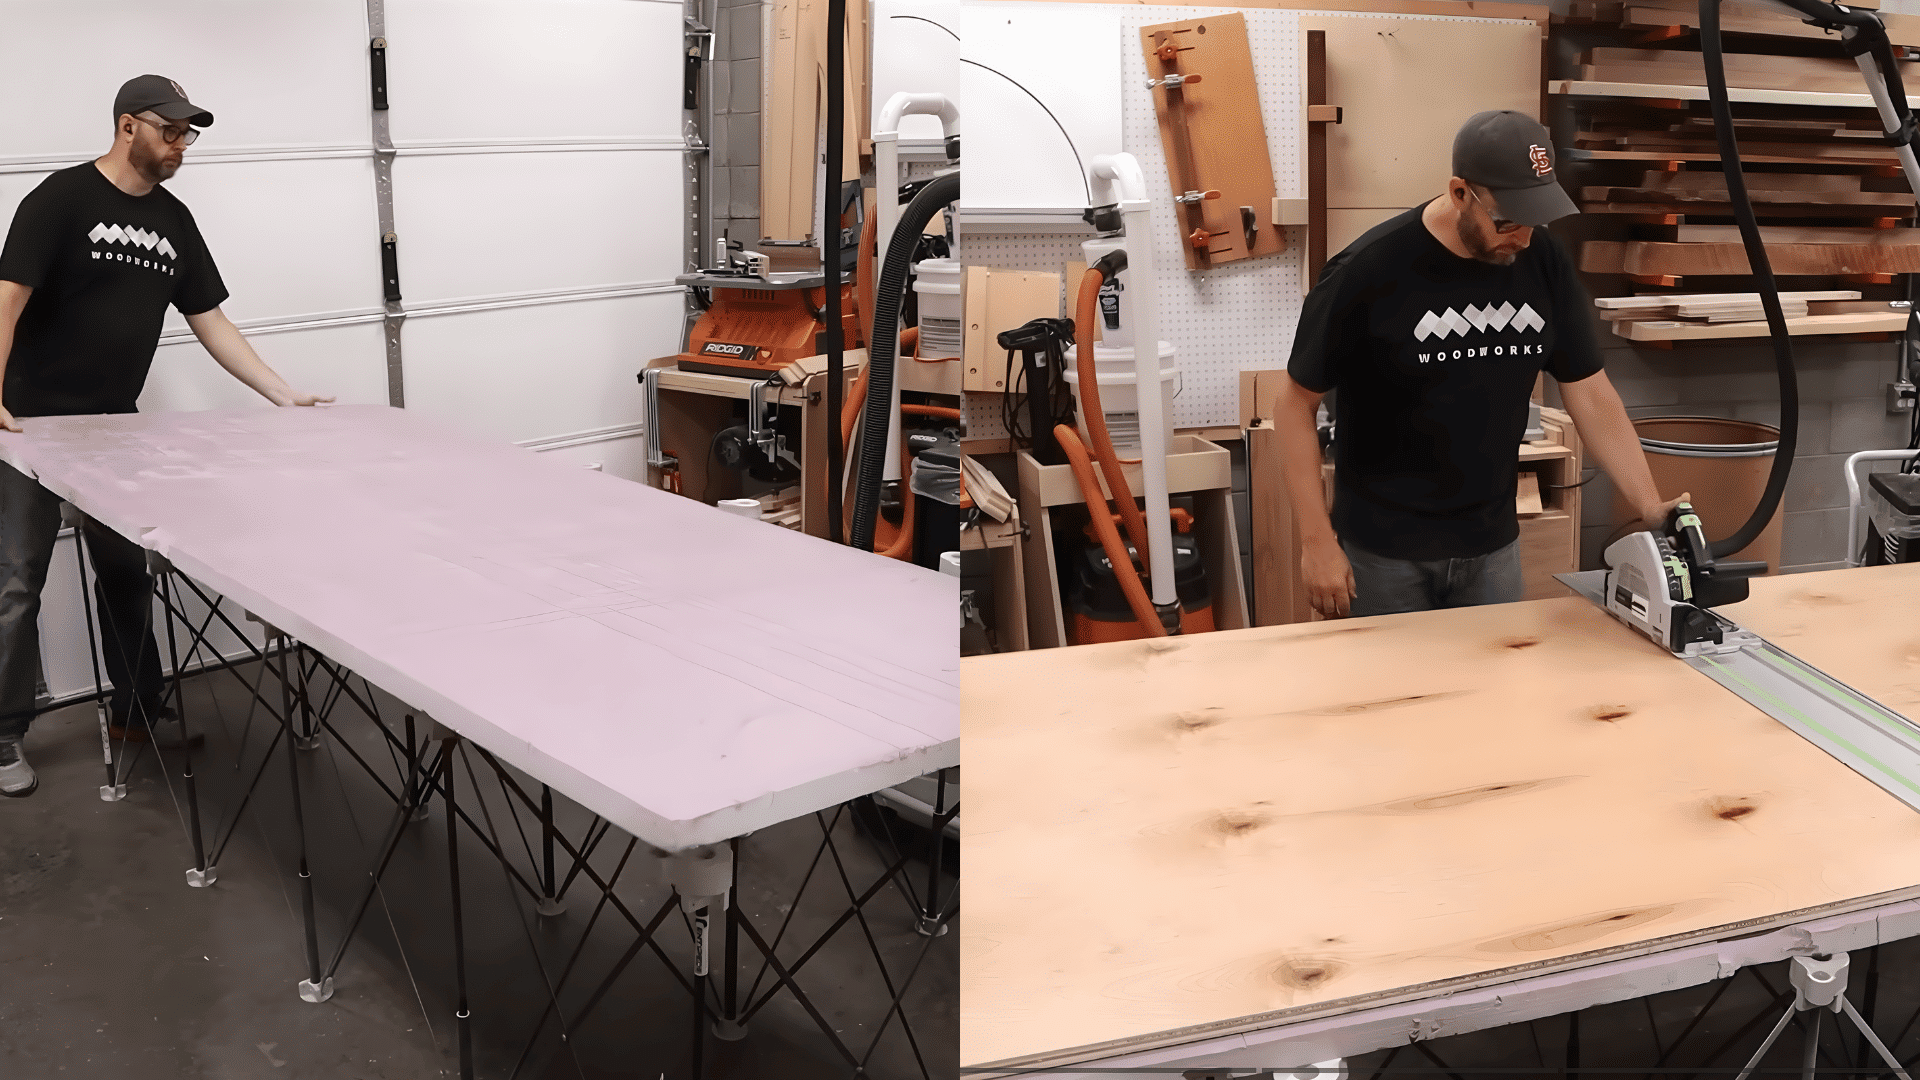
Start by placing your plywood on a centipede stand with a sheet of foam on top. This gives you a flat, comfortable surface to work on and makes cutting large sheets much easier.
Use a track saw or circular saw with a straight edge to cut the big sheets into manageable pieces. Once they’re sized down, move them to the table saw to clean up the edges and cut them to their final dimensions.
Step 2: Cut Stretchers, Toe Kicks, and Toe Kick Notches
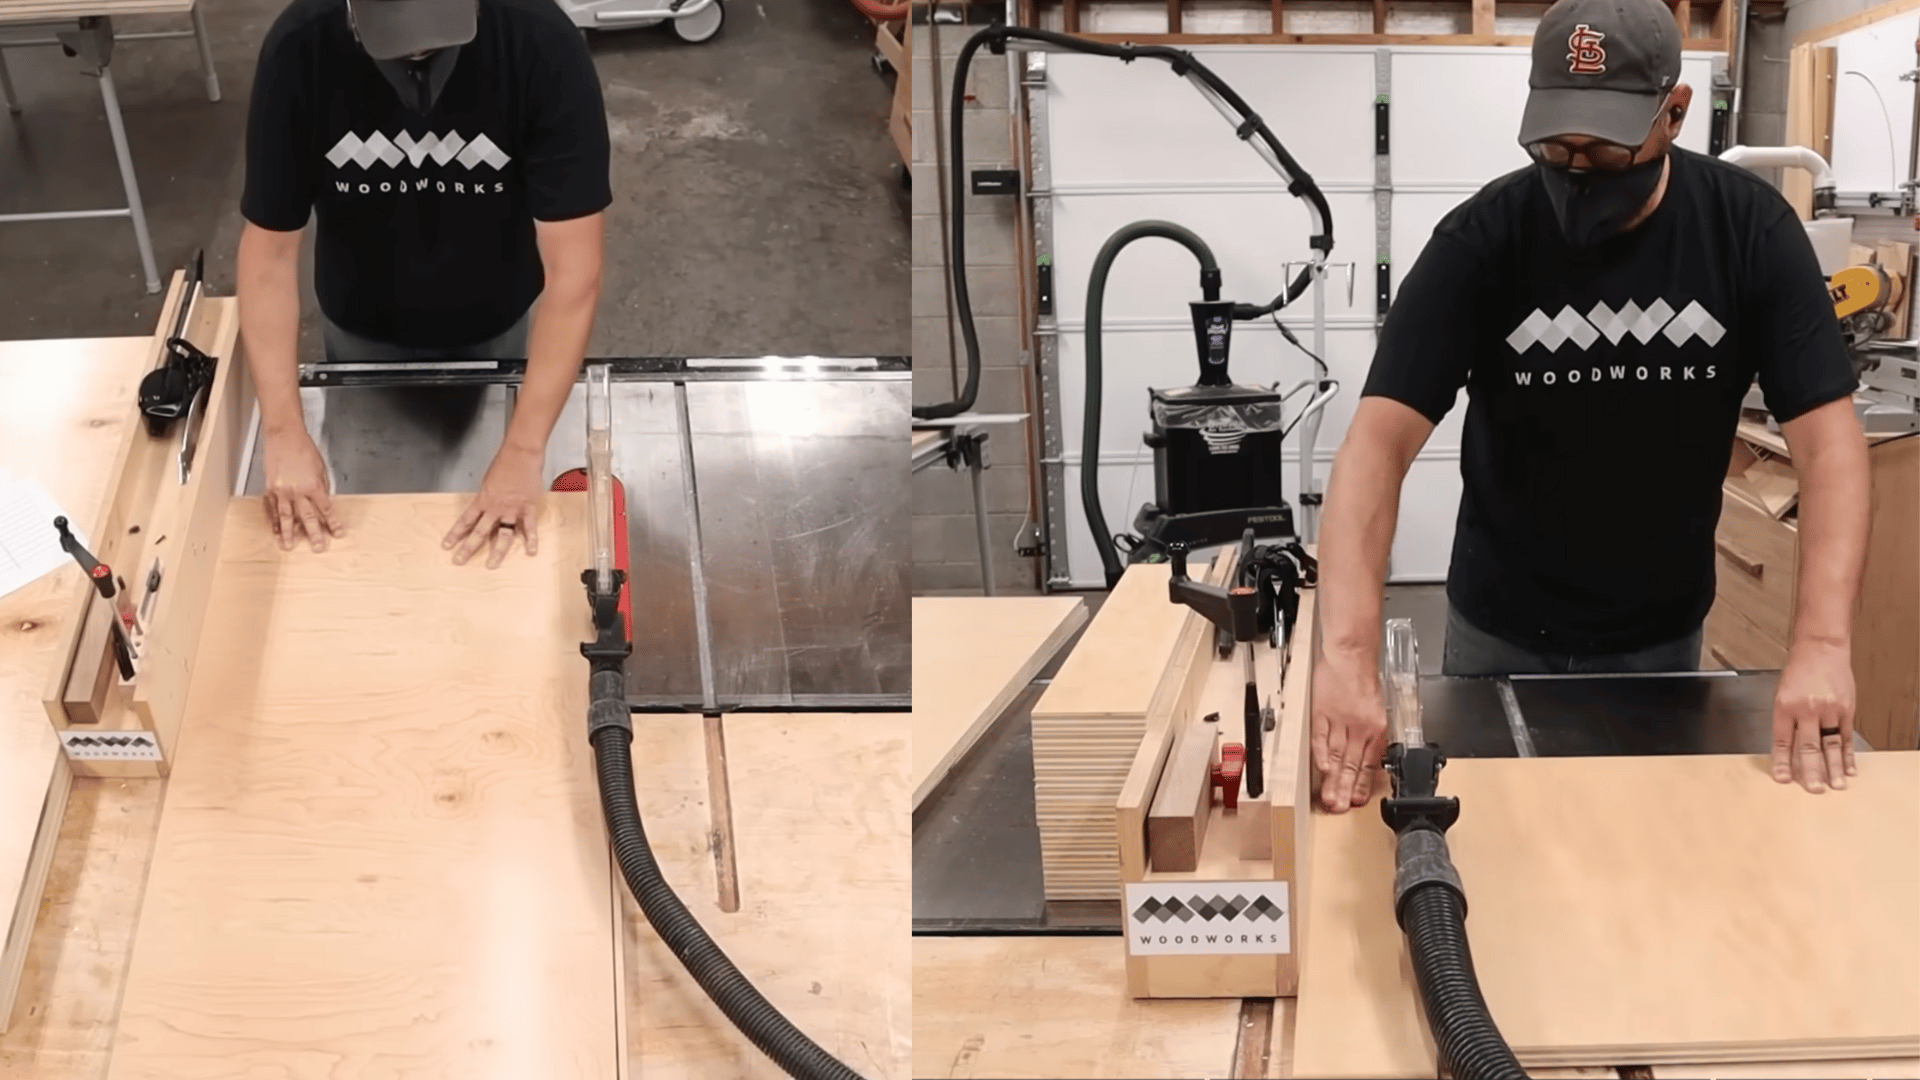
Rip long strips for stretchers and toe kicks from your 3/4″ plywood. Once the strips are ready, mark the bottom corners of your cabinet sides so you know where the toe kick notch will be.
Cut the notches with a band saw using a stop block for accuracy, or use a jigsaw with a square if you don’t have a band saw. This creates the space your cabinet needs to sit above the floor comfortably.
Step 3: Cut Grooves for the Bottom and Back Panels
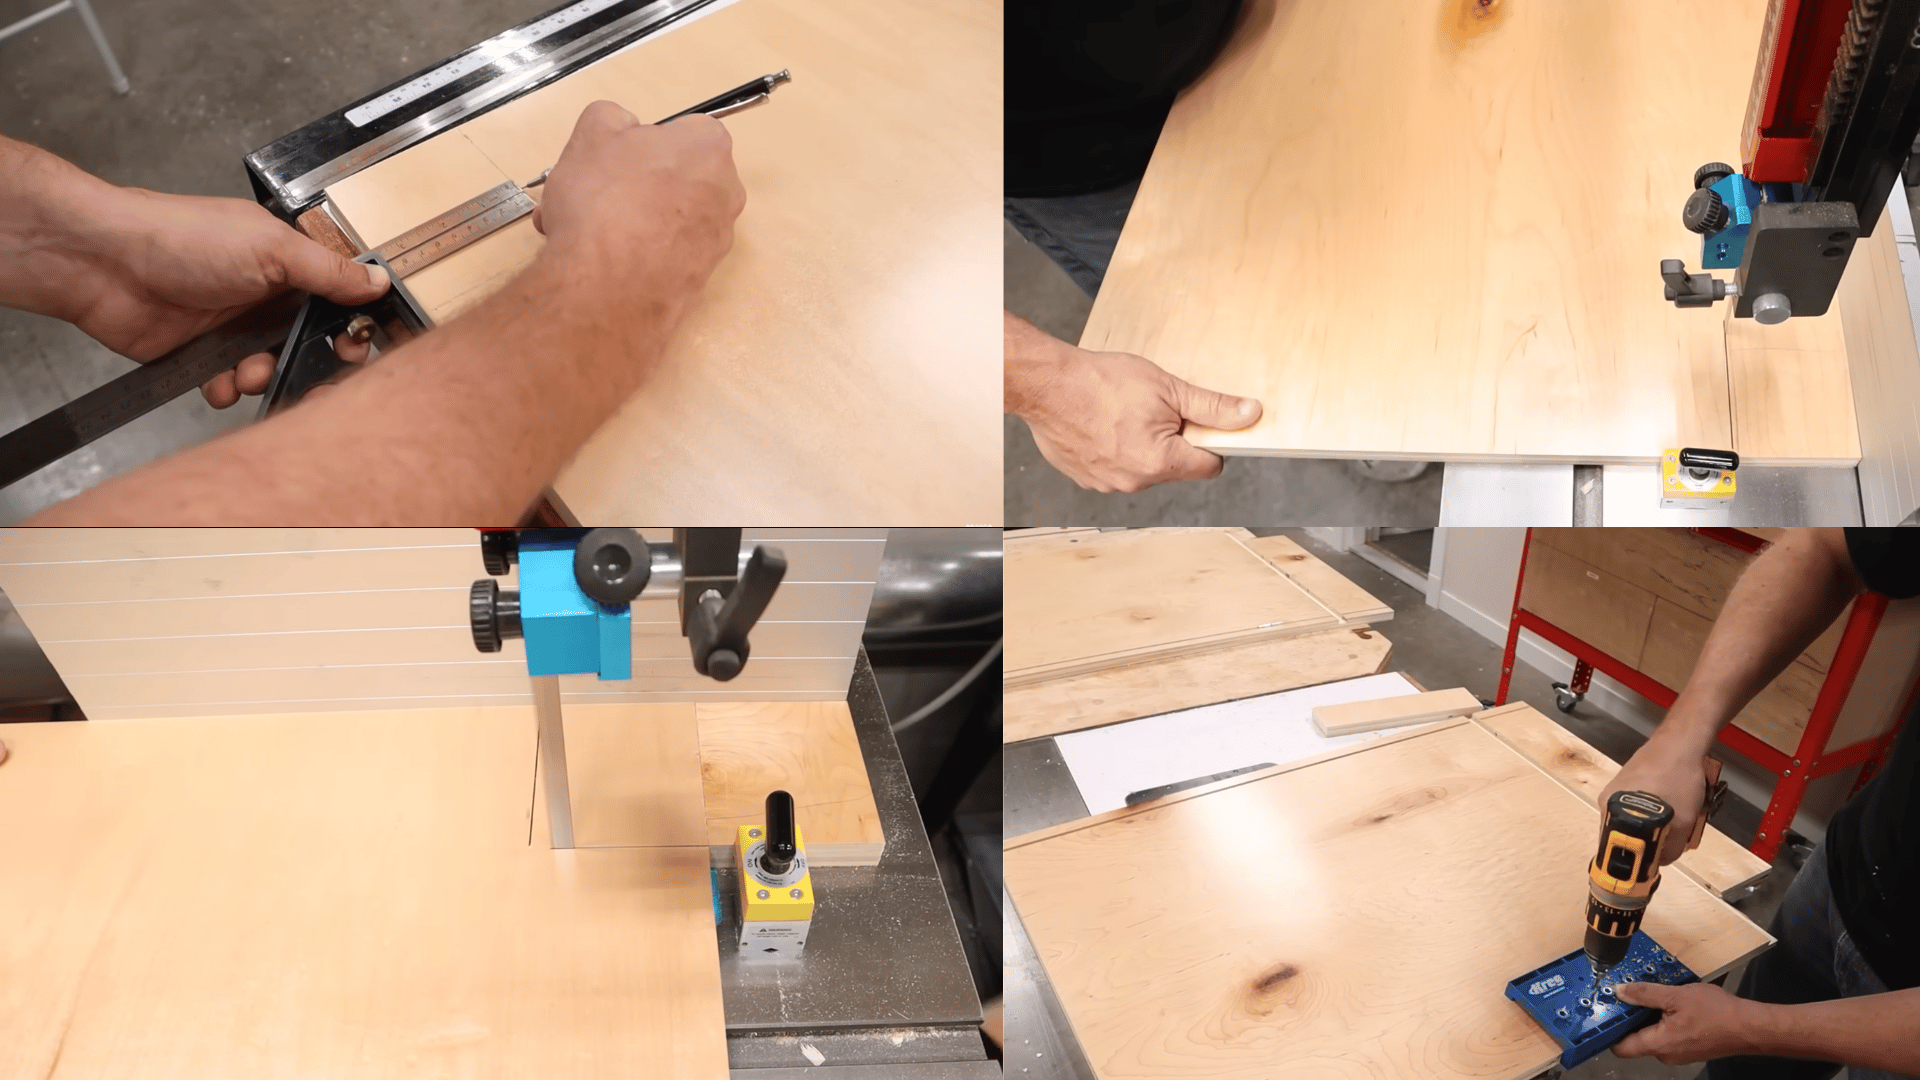
Mark your cabinet sides so you don’t accidentally cut a groove on the wrong face. Then use your router or table saw to cut a groove for the bottom panel and a second groove along the back for the rear panel.
Using the toe kick or stretcher as a spacing guide makes it easy to set the exact position. Drill the shelf pin holes now while the parts are flat because it’s much harder to do after the cabinet is assembled.
Step 4: Assemble the Carcass With Pocket Screws
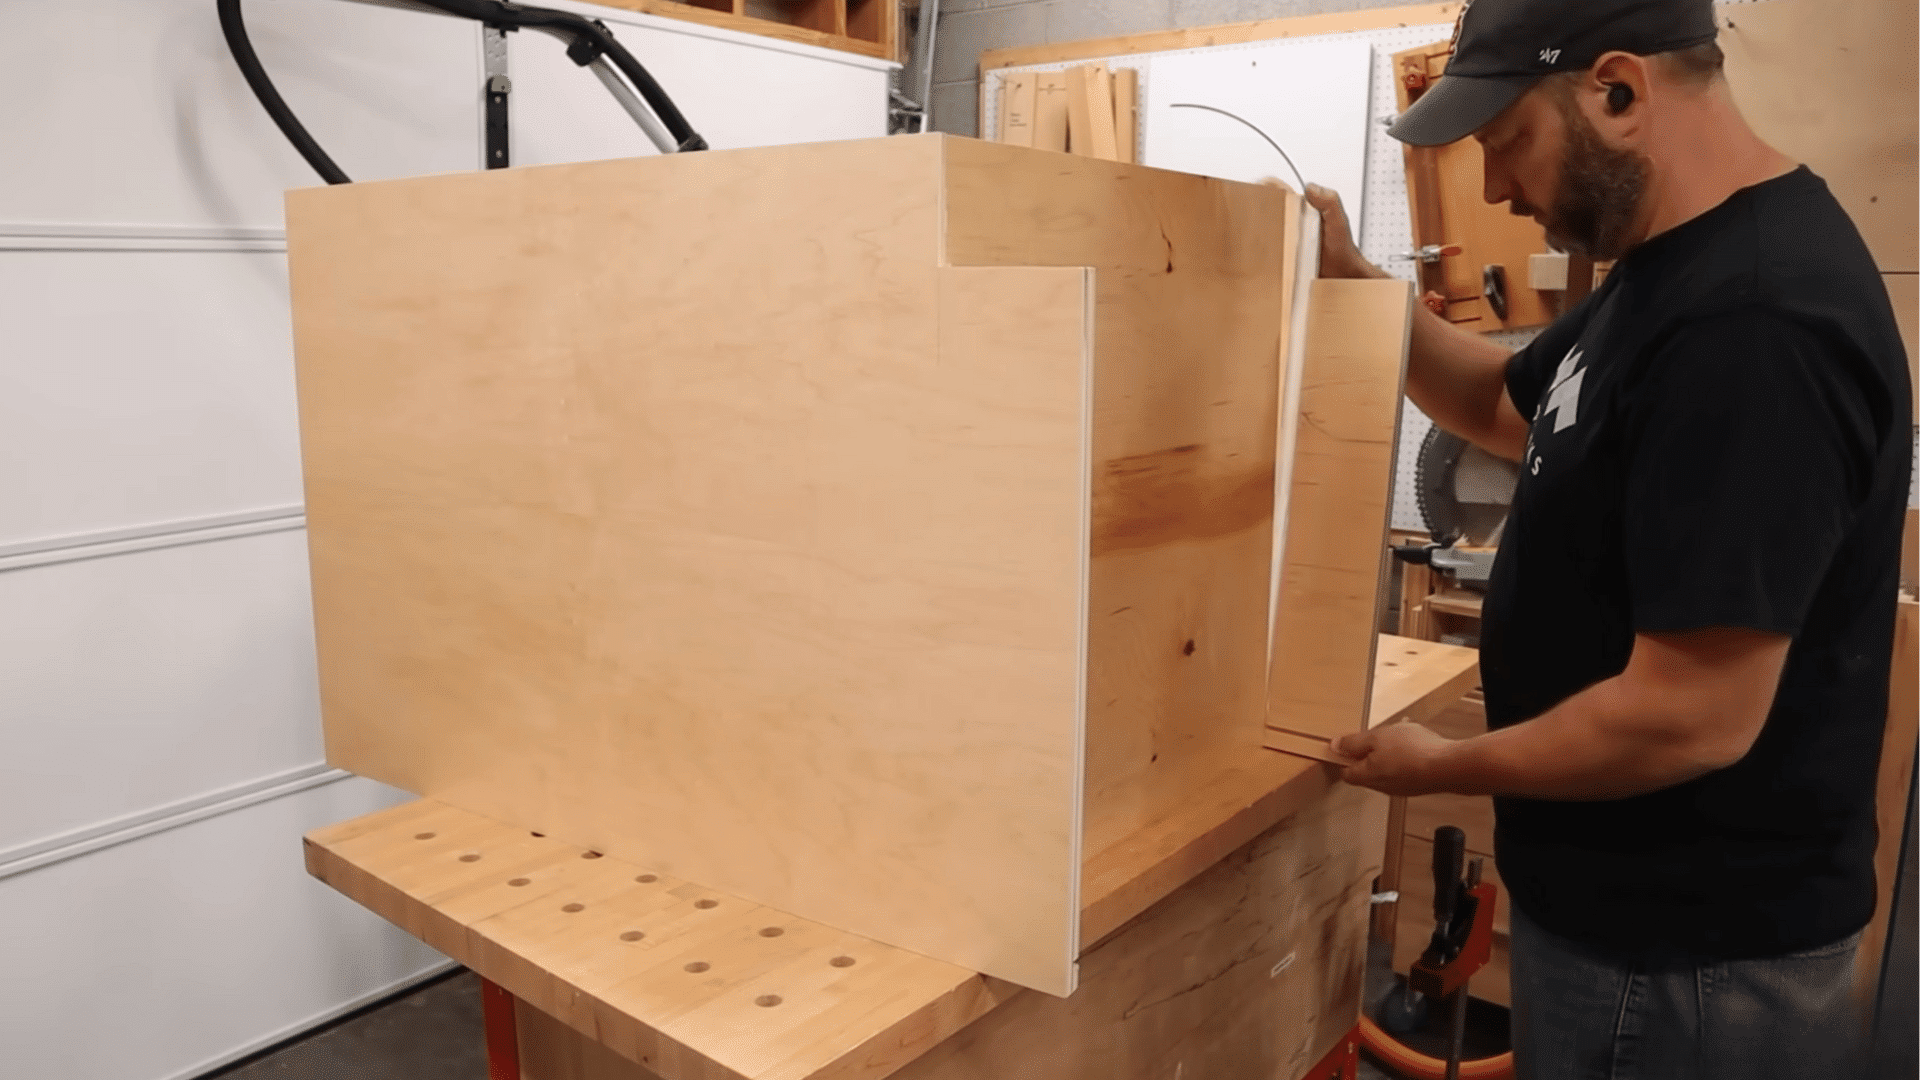
Add glue only to the groove that holds the bottom panel, then slide the panel in place on both sides and clamp it together. This forms the starting shape of your cabinet box.
Attach the stretchers with pocket screws, flip the cabinet, add the drawer divider, and finally fix the toe kick in place. Slide the back panel into its groove and nail it to the stretcher to lock everything square.
Step 5: Add Drawer Dividers and Join Cabinets
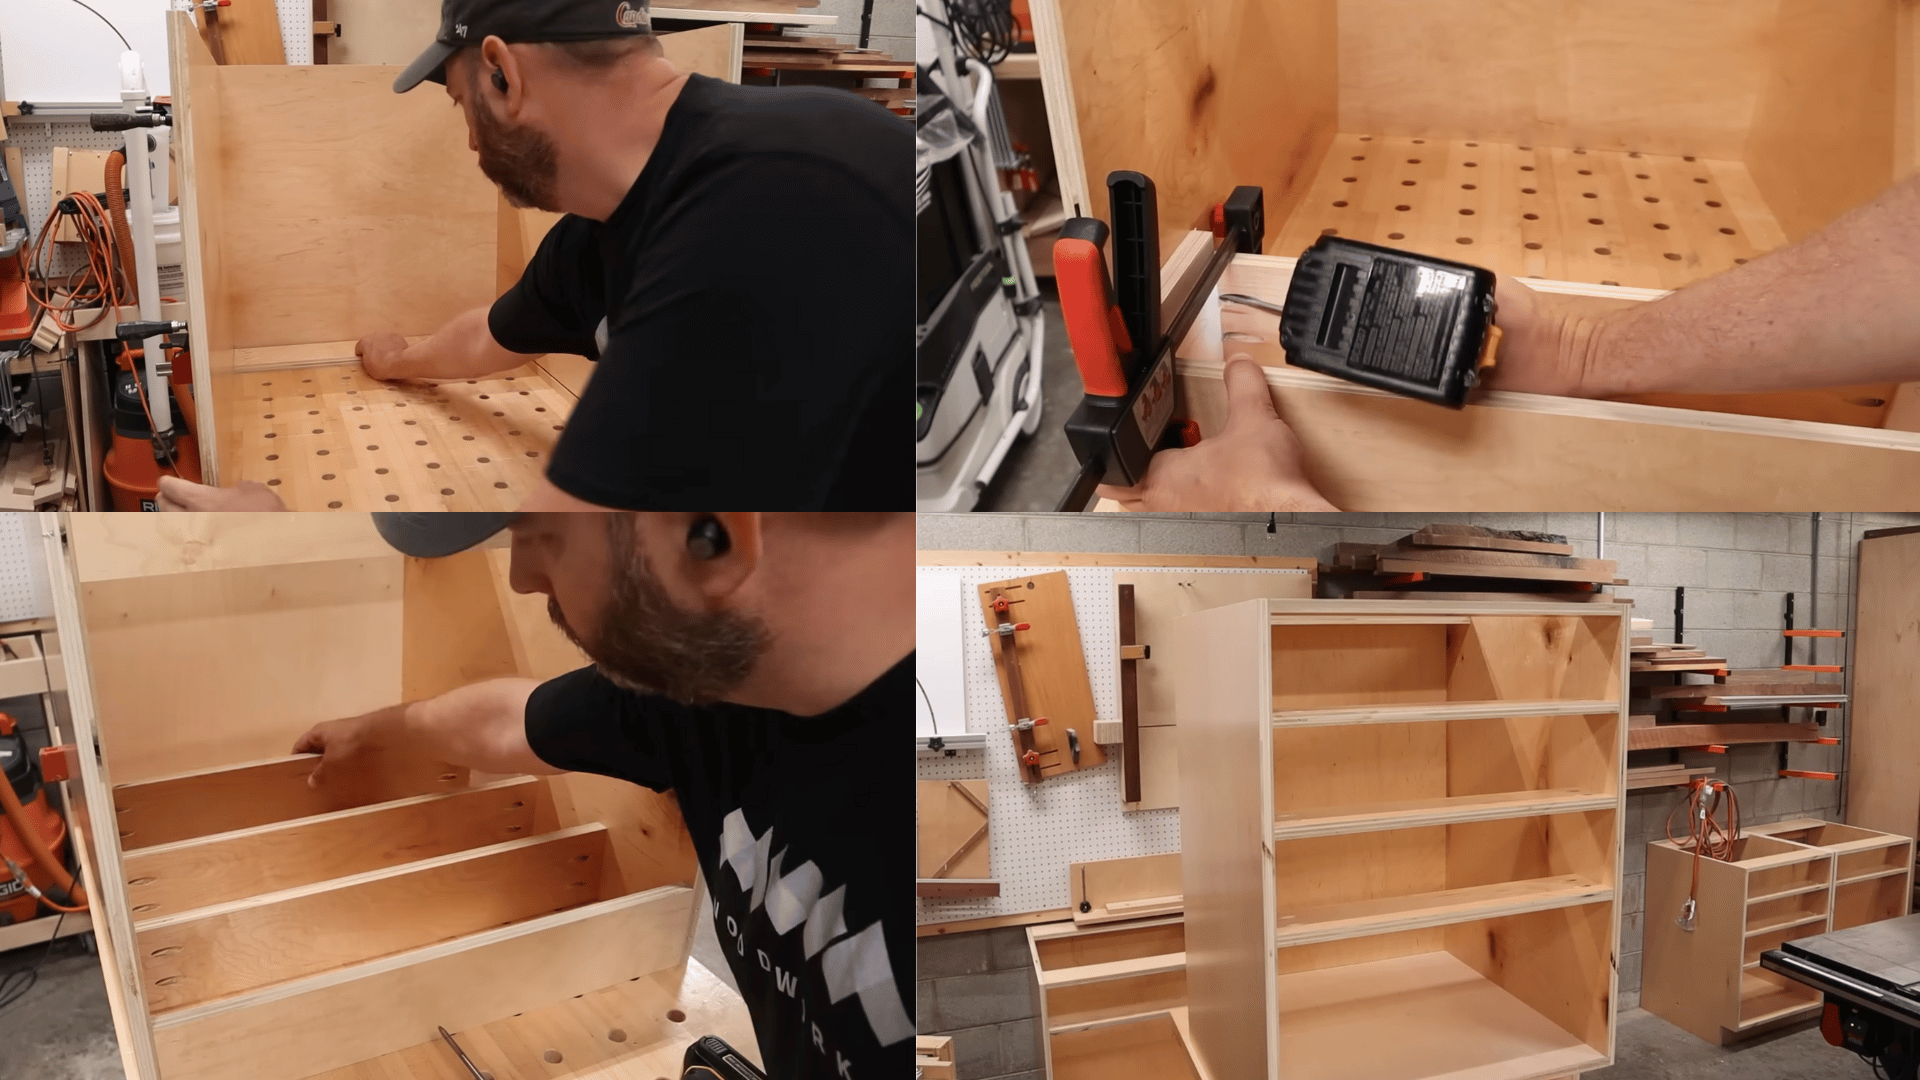
If you want extra drawers, add more dividers using the same scrap spacer method. This keeps everything perfectly lined up so your drawers slide smoothly later.
To create a larger storage unit, clamp two cabinets together and drive screws from inside one of the boxes. Once joined, you can cover both with a single wide face frame for a clean, connected look.
Step 6: Build and Install the Face Frame
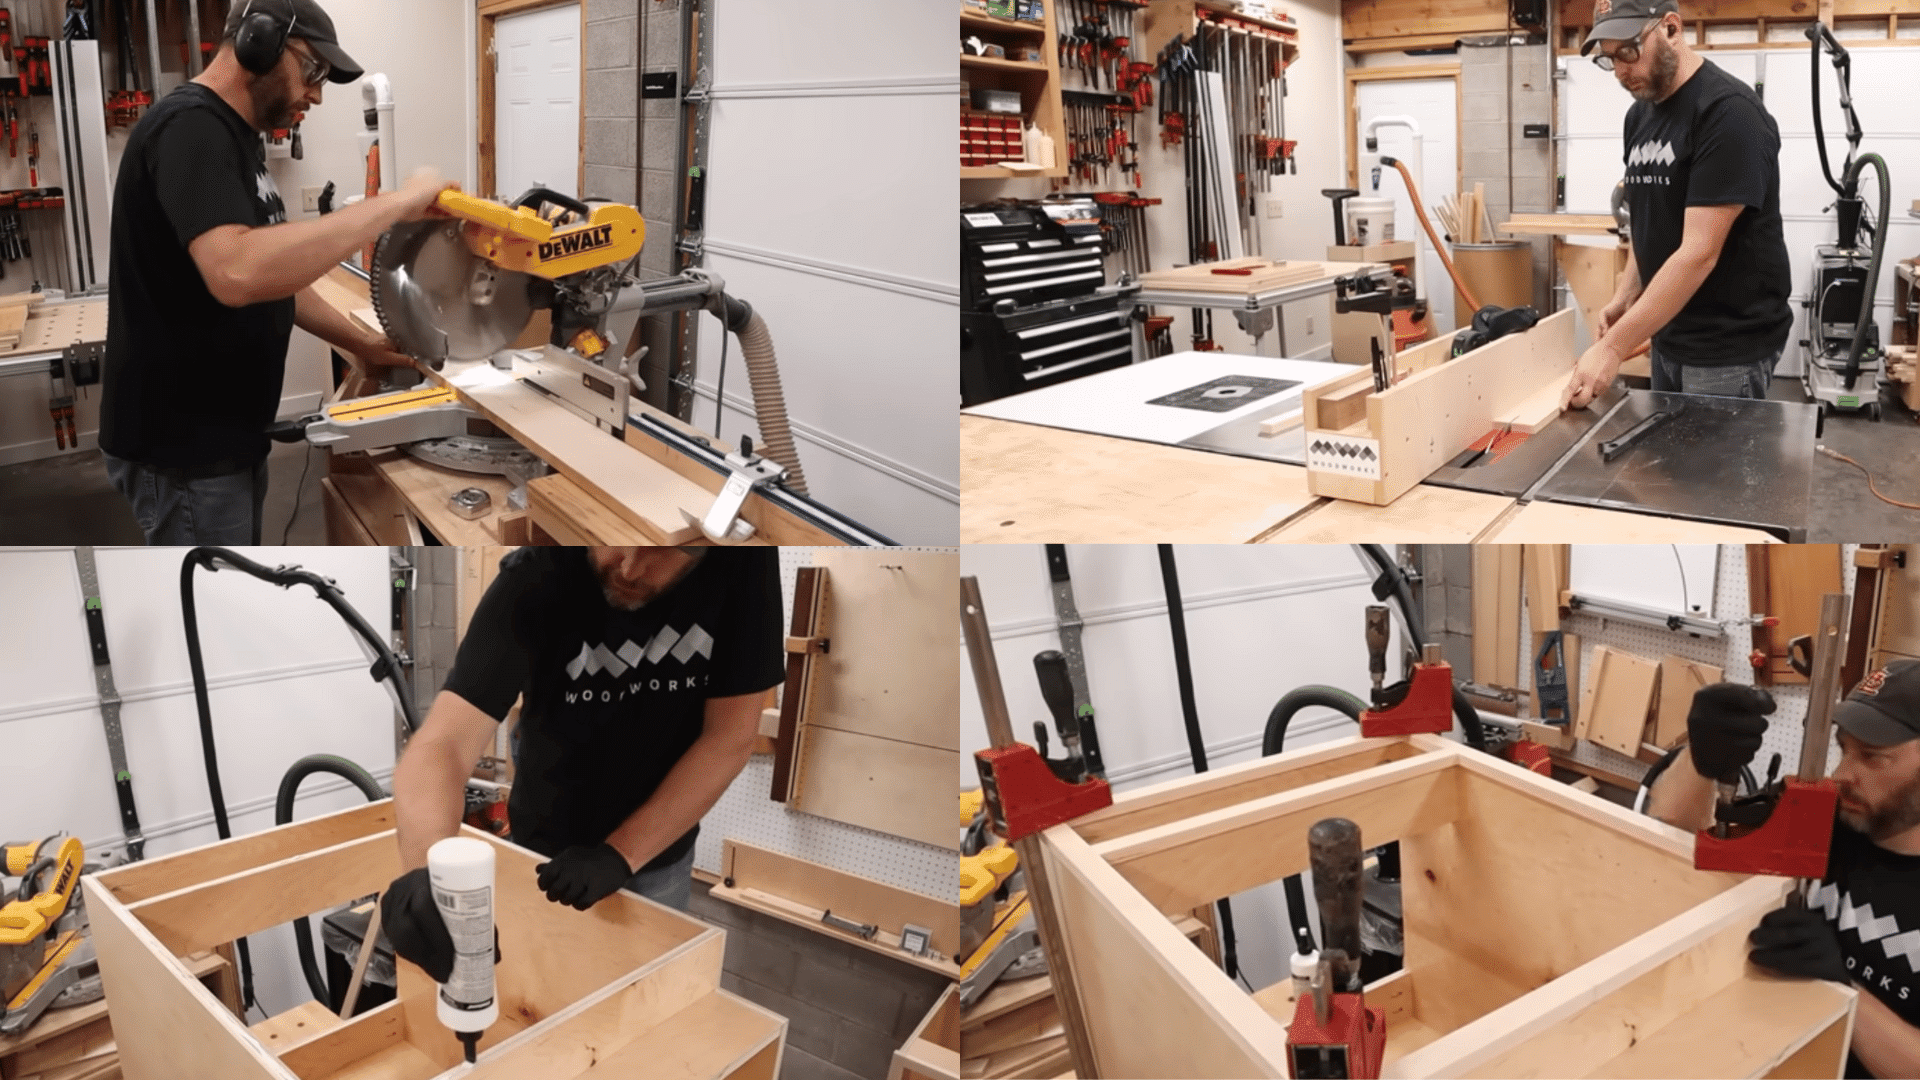
Cut your maple pieces, joint one edge straight, and rip them to the widths shown in the video. Use your crosscut sled or miter saw to cut everything to length so the face frame fits tightly.
Assemble the frame with pocket screws and clamps, then sand it smooth to remove marks and glue squeeze-out. Glue and clamp the frame onto the cabinet to give it a clean, finished front.
Step 7: Build the Drawer Boxes

Cut all four sides of each drawer from 5/8″ Baltic birch plywood. Then cut a 1/4″ groove around the inside to hold the drawer bottom.
Shorten the drawer back so the bottom can slide in from behind, and assemble the drawer with pocket screws. Slide the bottom into the grooves and secure it for a tight, strong drawer box.
Step 8: Install Drawer Slides
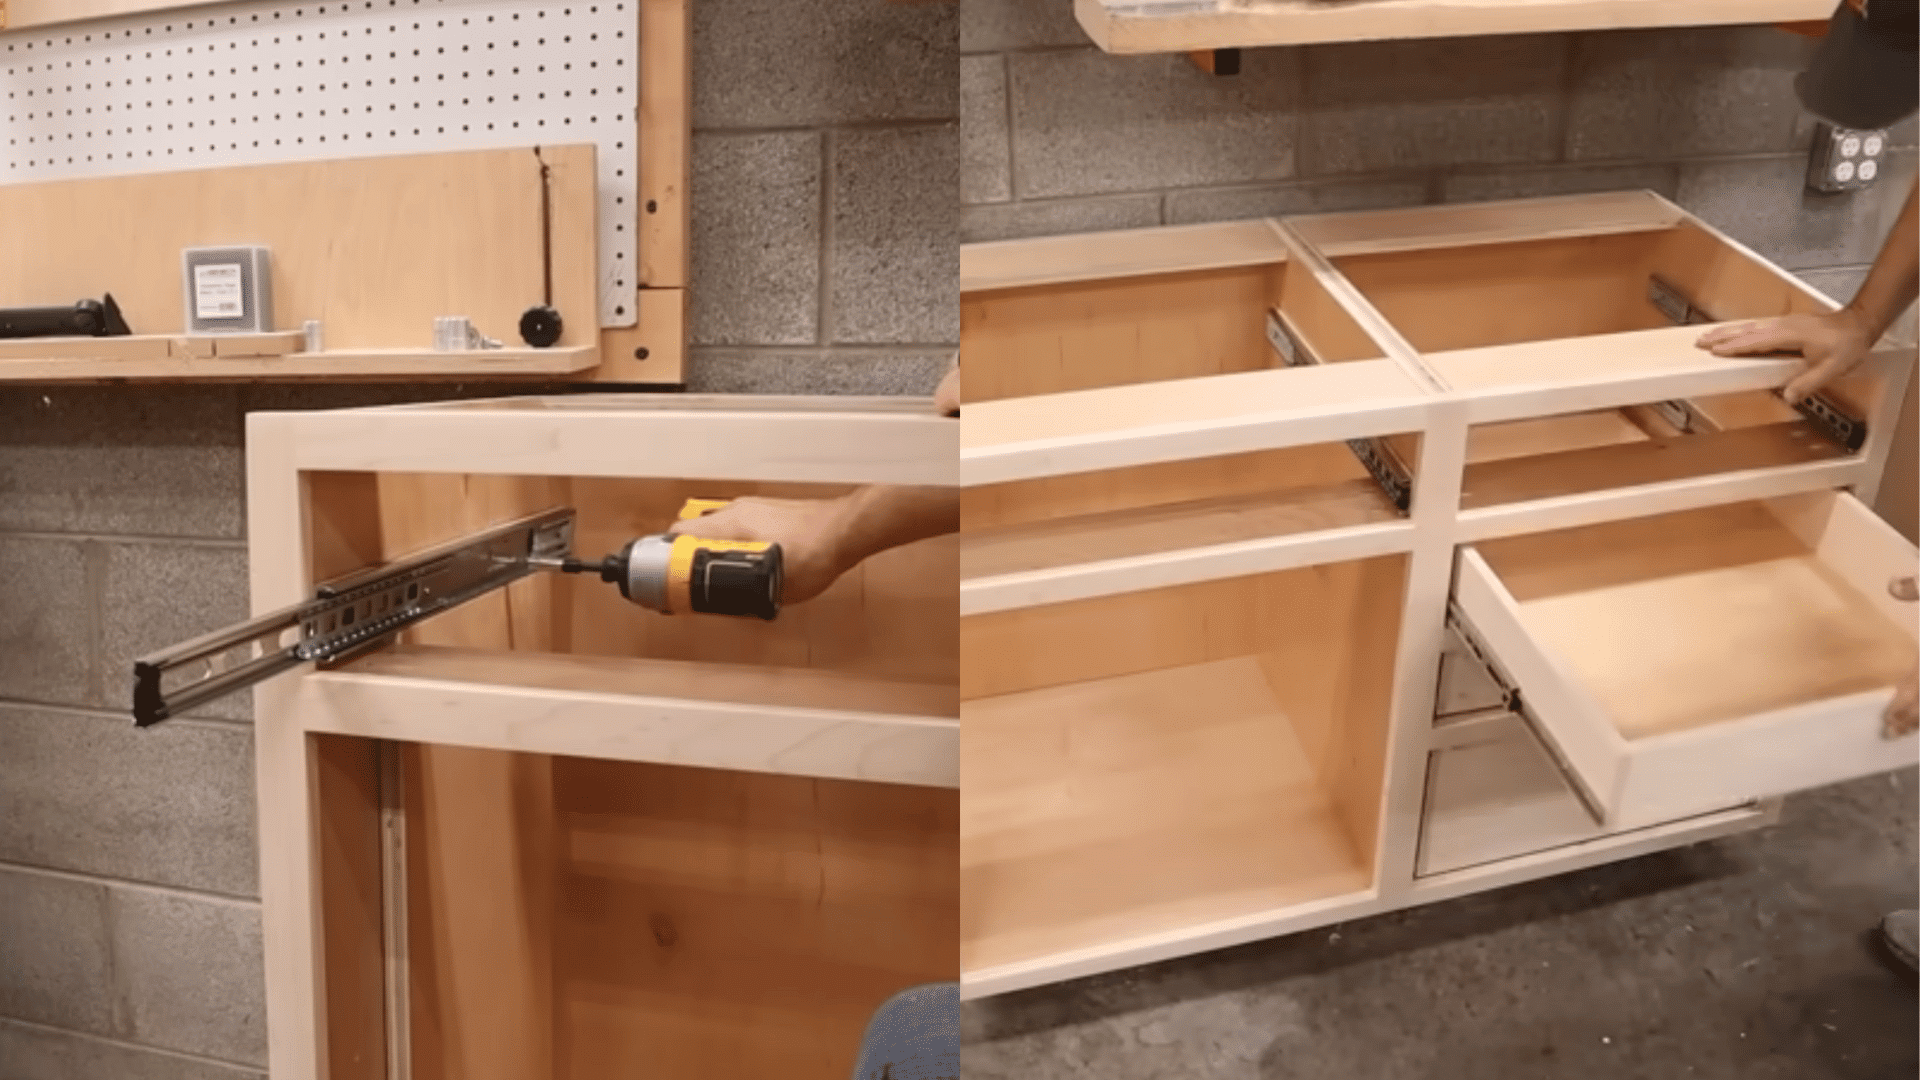
Line up the drawer slide with the bottom of the drawer while resting both on a flat surface. Attach the slide halves to the drawer, remove the cabinet-side piece, and set it aside.
Use scrap plywood cut to the correct height as a support inside the cabinet. Rest the slide on the spacer, screw it in place, and repeat for each level before popping the drawers into position.
Step 9: Build Doors and Drawer Fronts
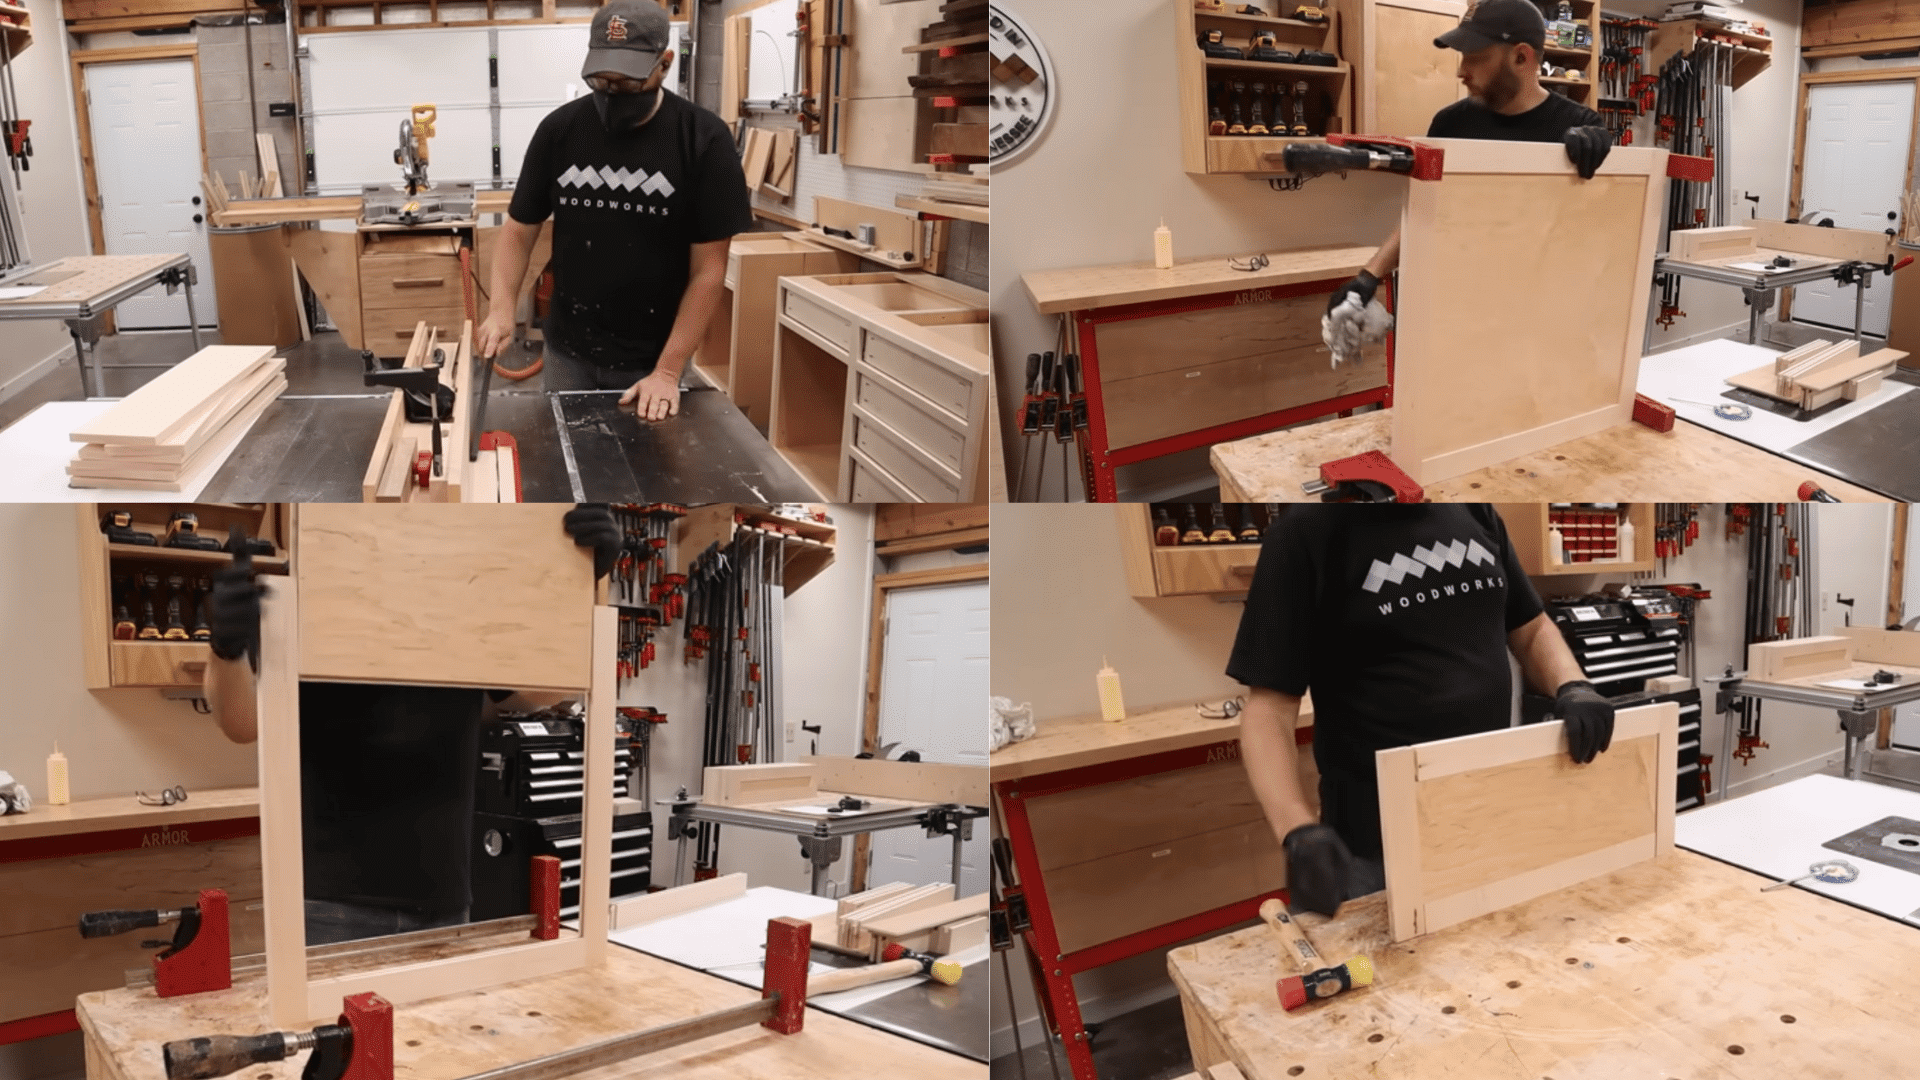
Cut maple frame pieces and add a groove down every piece to hold the center panel. Then, cut tenons on the top and bottom rails using a tenoning jig at the table saw.
Rabbet your 1/2″ plywood panels so they fit into the grooves, glue the tenons, slide the panel in, and clamp the frame together. Sand each door and drawer front smooth after the glue dries.
Step 10: Install Hinges, Pulls, Doors, and Drawer Fronts

Use the pull jig to drill clean, accurate holes for your hardware. Drill hinge cups with the hinge jig and pre-drill screw holes with the self-centering bit so nothing shifts.
Set a scrap spacer on the bottom of the face frame using double-sided tape and rest the door on top to get the perfect height. Attach drawer fronts by temporarily screwing through the pull holes, then secure them from the inside.
These steps are taken directly from the cabinet-building tutorial by @MWAWoodworks, so you can follow the same process with accuracy.
Common Beginner Mistakes in Cabinet Making
- Rushing measurements: Skipping clear marks or flipping parts by accident leads to pieces that don’t match. Slow, double-checked lines prevent most sizing issues.
- Cabinet not square: If the box rocks or corners don’t meet, the diagonals aren’t equal. Adjust clamps and screws until both measurements match.
- Uneven drawers or doors: Misaligned hardware causes crooked gaps and sticky movement. Spacers and small screw adjustments fix it quickly.
- Rough or uneven finishes: Skipping sanding or hurrying through it leaves sharp edges and blotchy surfaces. A light pass with fine grit makes everything cleaner.
- Overtightening screws: Turning screws too hard can strip plywood or shift joints. Snug, controlled pressure keeps parts aligned.
- Ignoring part labels: Unmarked sides or edges make assembly confusing. Clear labels keep the build organized from start to finish.
Each mistake is easy to correct and teaches you something useful for your next cabinet.
Conclusion
Building a cabinet is much easier when you follow each step with a clear plan and a little patience. You now know how the parts come together and how to keep the process simple from start to finish.
You’ve seen how the cuts, joinery, and hardware all work together to create a strong, useful cabinet. With these basics in place, you’re ready to take on a project that feels achievable, not overwhelming.
Now it’s your turn to get started. Pick your plywood, sketch your layout, and begin building your first cabinet today.