
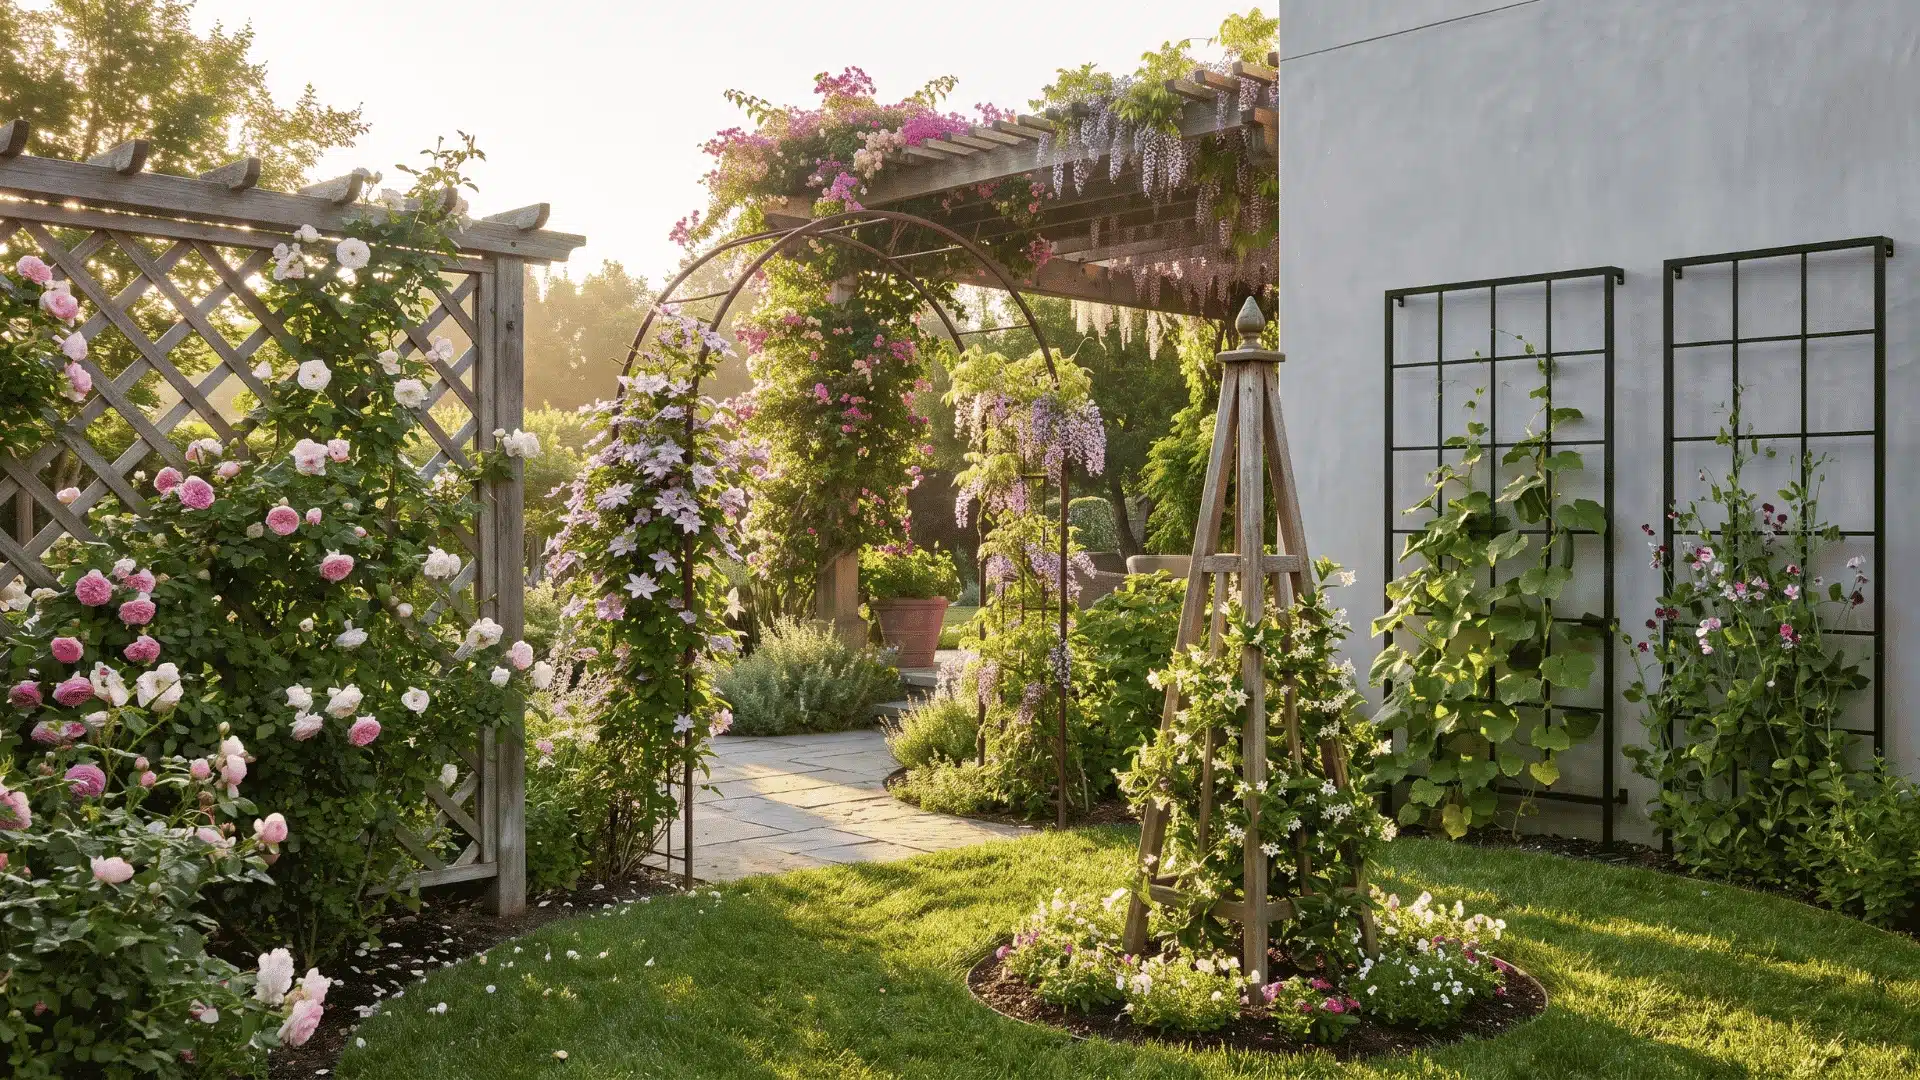
Easy DIY projects are a great way to refresh your home without spending a lot or taking on a stressful renovation.
A small update, like painting a wall, replacing cabinet hardware, adding shelf liner, or framing a mirror, can make a room feel cleaner and more finished.
You do not need advanced skills to get started. You just need the right project, basic tools, and enough time to do the prep properly.
Start with something that fits your budget, your space, and your comfort level.
These ideas are simple enough for beginners but useful enough to make a real difference around the house.
Benefits of DIY Home Improvement
DIY home improvement means fixing, updating, or building parts of your home yourself. Most people start with simple projects that only need basic tools.
The appeal comes down to a few real advantages. Here’s what draws most homeowners toward DIY over hiring out:
- Lower costs: Skipping labor charges makes small upgrades far more affordable.
- Simple room updates: Painting walls or swapping cabinet hardware can transform a space without a major renovation.
- Useful home skills: Learning to caulk, patch holes, or mount shelves makes future repairs easier.
- More control: You choose the materials, schedule, and design instead of coordinating with a contractor.
These benefits explain why DIY has stayed popular even as material costs rise. It gives you a real say in how your home looks and feels.
Cost is also the biggest reason projects get put off in the first place.
Recent homeowner survey data found that budget concerns were the top reason 42% of surveyed homeowners held off on starting a home improvement project, which is exactly the gap that low-cost DIY updates can fill.
Some jobs still need a professional. Electrical wiring, gas lines, major plumbing, and structural changes require licensed work for safety and code compliance.
Easy DIY Projects to Try
These easy DIY projects offer practical ways to update, organize, and improve different areas of your home without requiring advanced skills or expensive tools.
1. Paint an Accent Wall
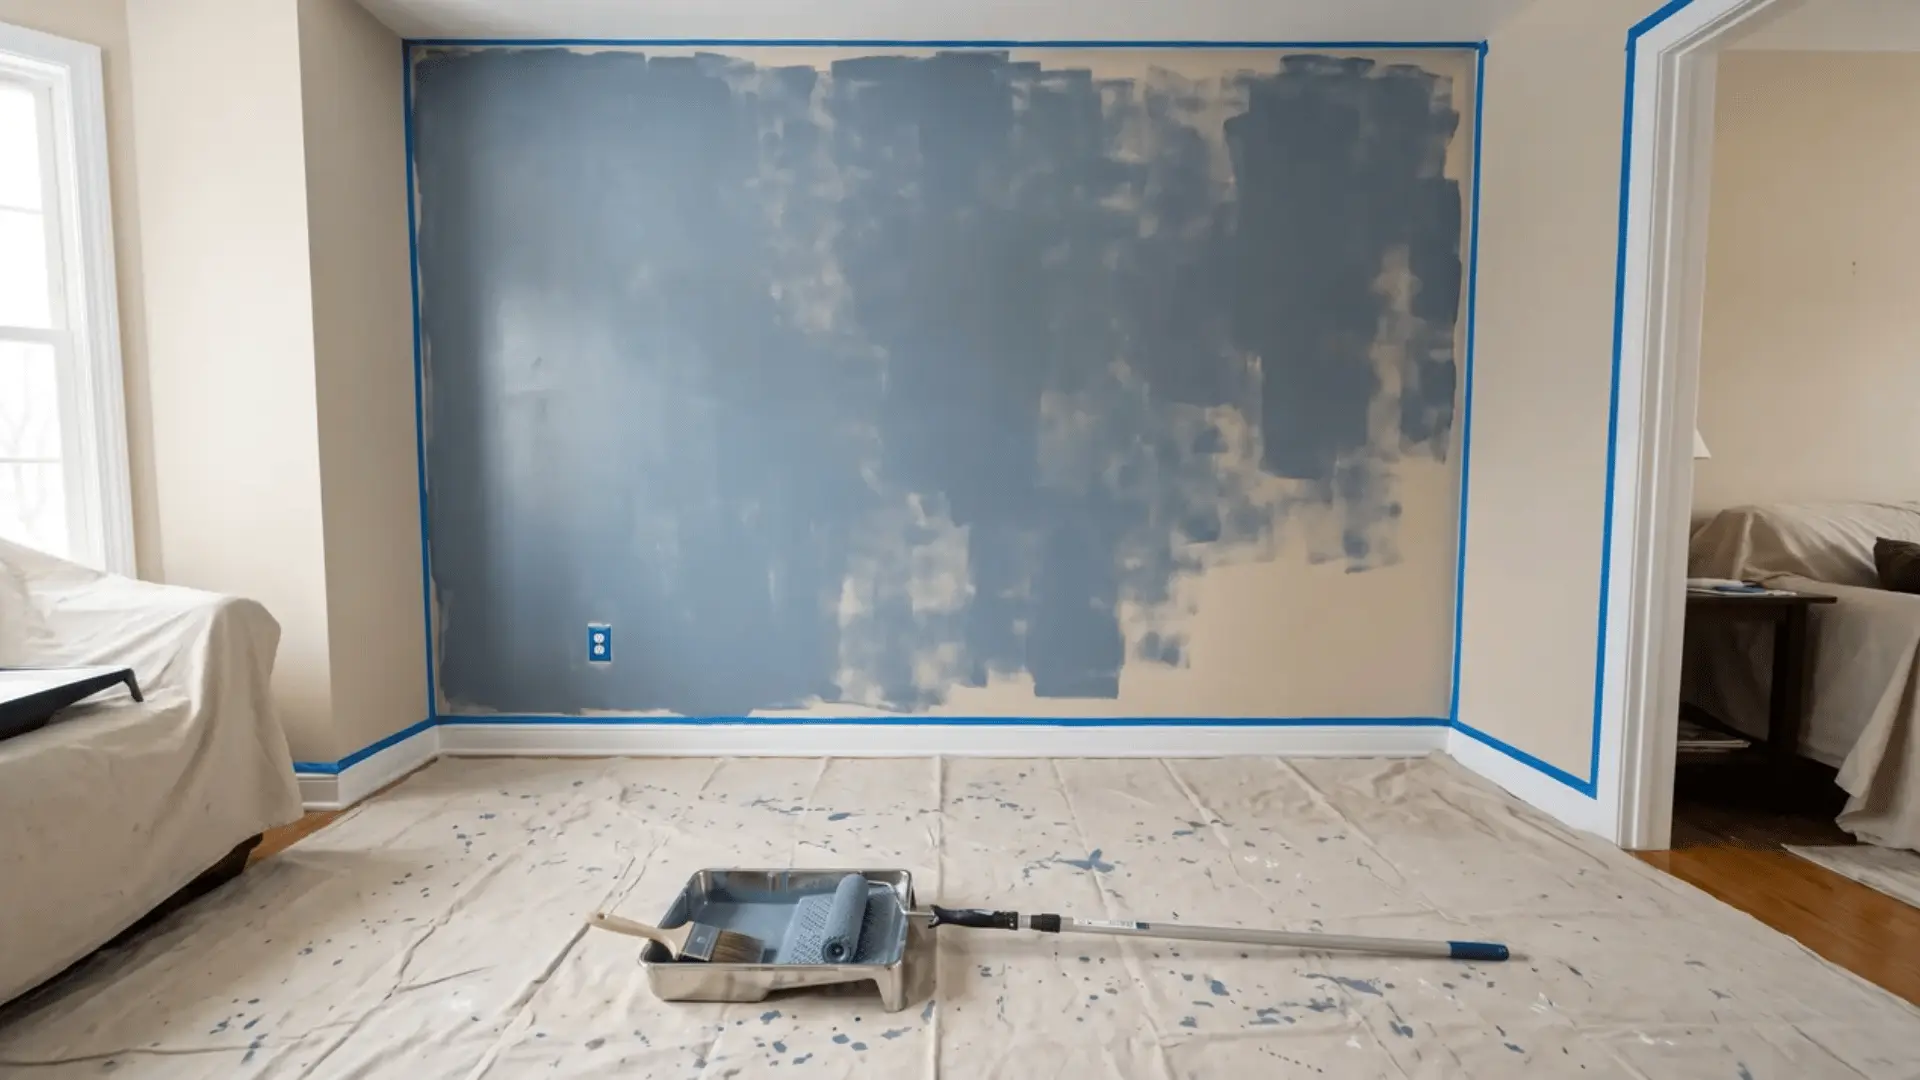
Painting an accent wall is one of the quickest ways to change a room without repainting everything. Choose a wall that naturally draws attention, then use a contrasting or deeper color for definition.
Cost: $30–$60 | Time: 3–4 hours | Difficulty: Easy
What You Need:
- Interior paint
- Painter’s tape
- Paint roller
- Angled brush
- Paint tray
- Drop cloth
How to Do:
- Move furniture away from the wall and protect the floor with a drop cloth.
- Clean the wall and patch any visible holes or dents.
- Tape around trim, outlets, switches, and adjoining walls.
- Cut in around the edges with a brush.
- Roll on two thin coats, allowing proper drying time between them.
- Remove the tape while the final coat is still slightly wet.
2. Add Peel-and-Stick Wallpaper
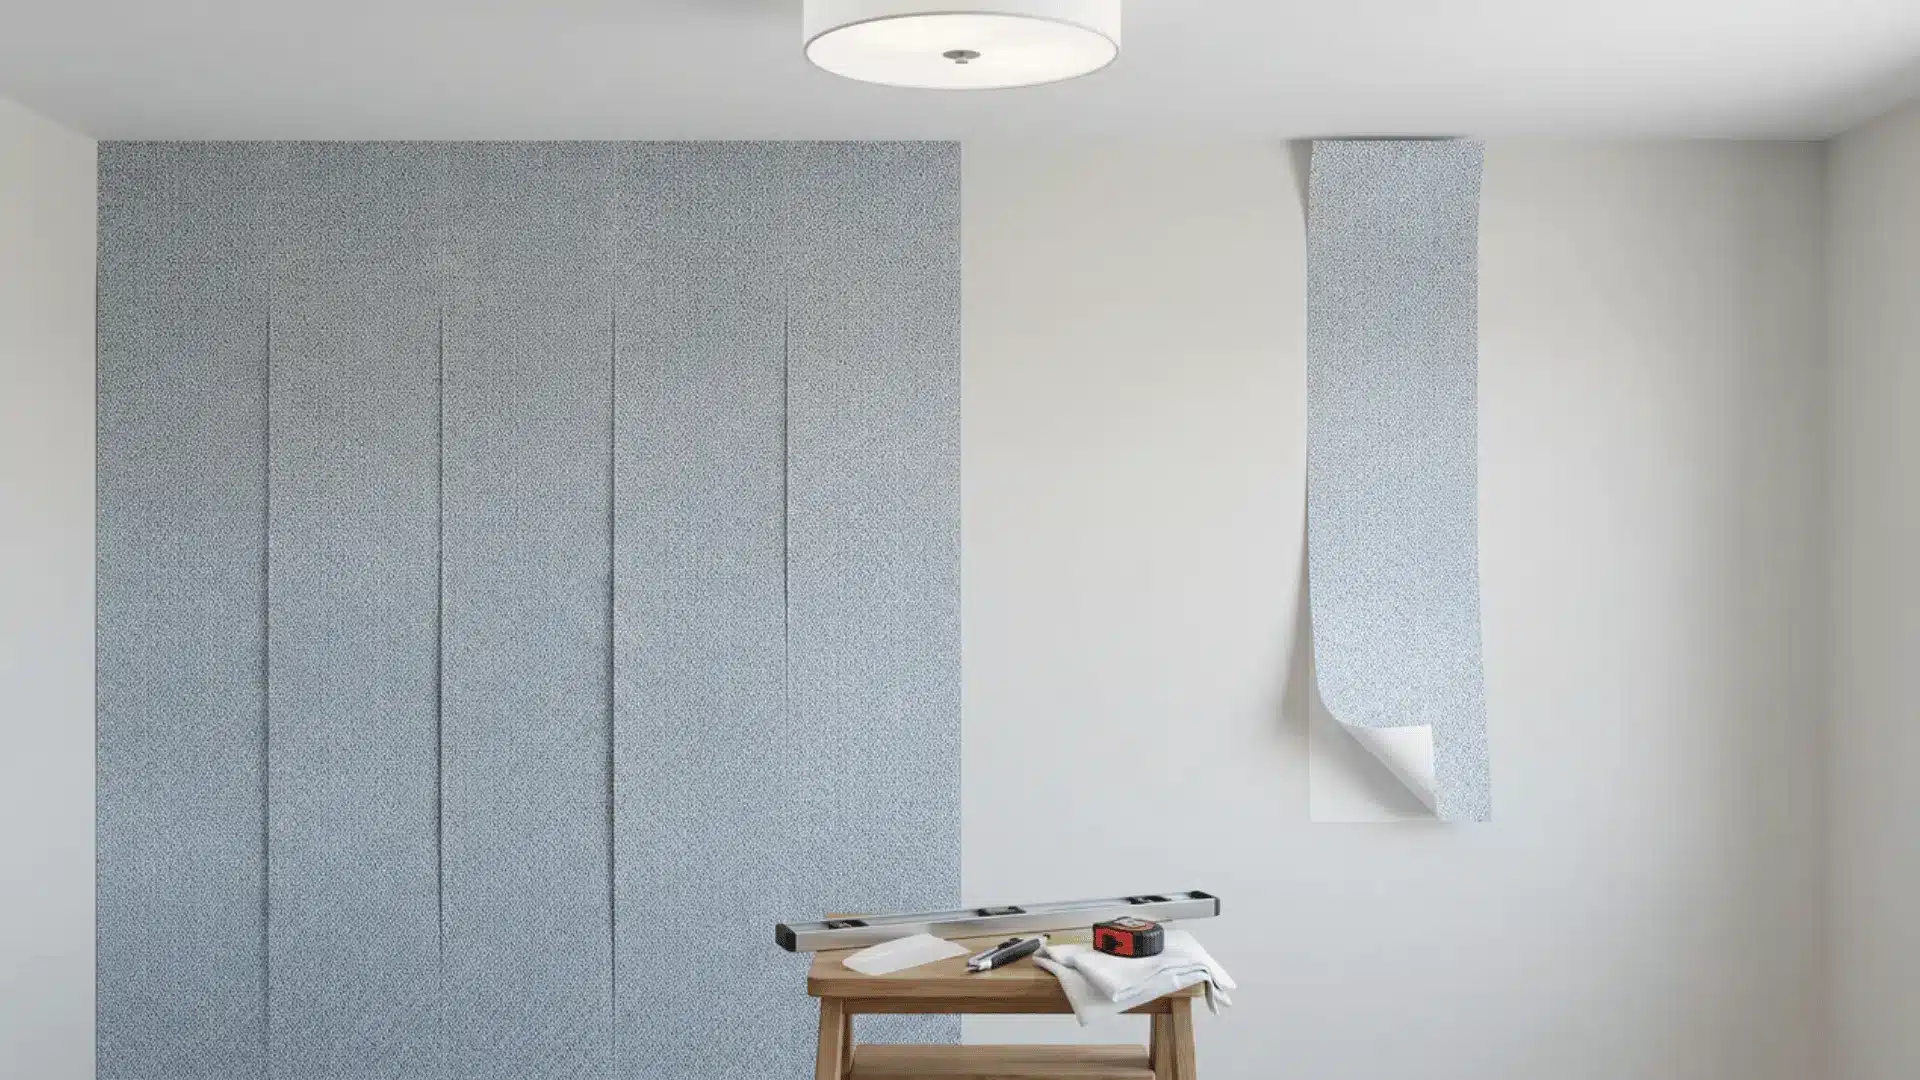
Peel-and-stick wallpaper adds pattern or color without the commitment of traditional wallpaper. It works best on smooth, clean walls and can be a practical choice for bedrooms, offices, or small feature areas.
Cost: $40–$80 | Time: 2–3 hours | Difficulty: Easy
What You Need:
- Peel-and-stick wallpaper
- Measuring tape
- Level
- Smoothing tool
- Utility knife
- Clean cloth
How to Do:
- Wipe the wall clean and allow it to dry completely.
- Measure the wall and cut each wallpaper strip slightly longer than needed.
- Use a level to position the first strip straight.
- Peel away the backing gradually while pressing the wallpaper onto the wall.
- Smooth bubbles outward as you work.
- Trim excess material along the ceiling, baseboard, and edges.
3. Install a Peel-and-Stick Backsplash
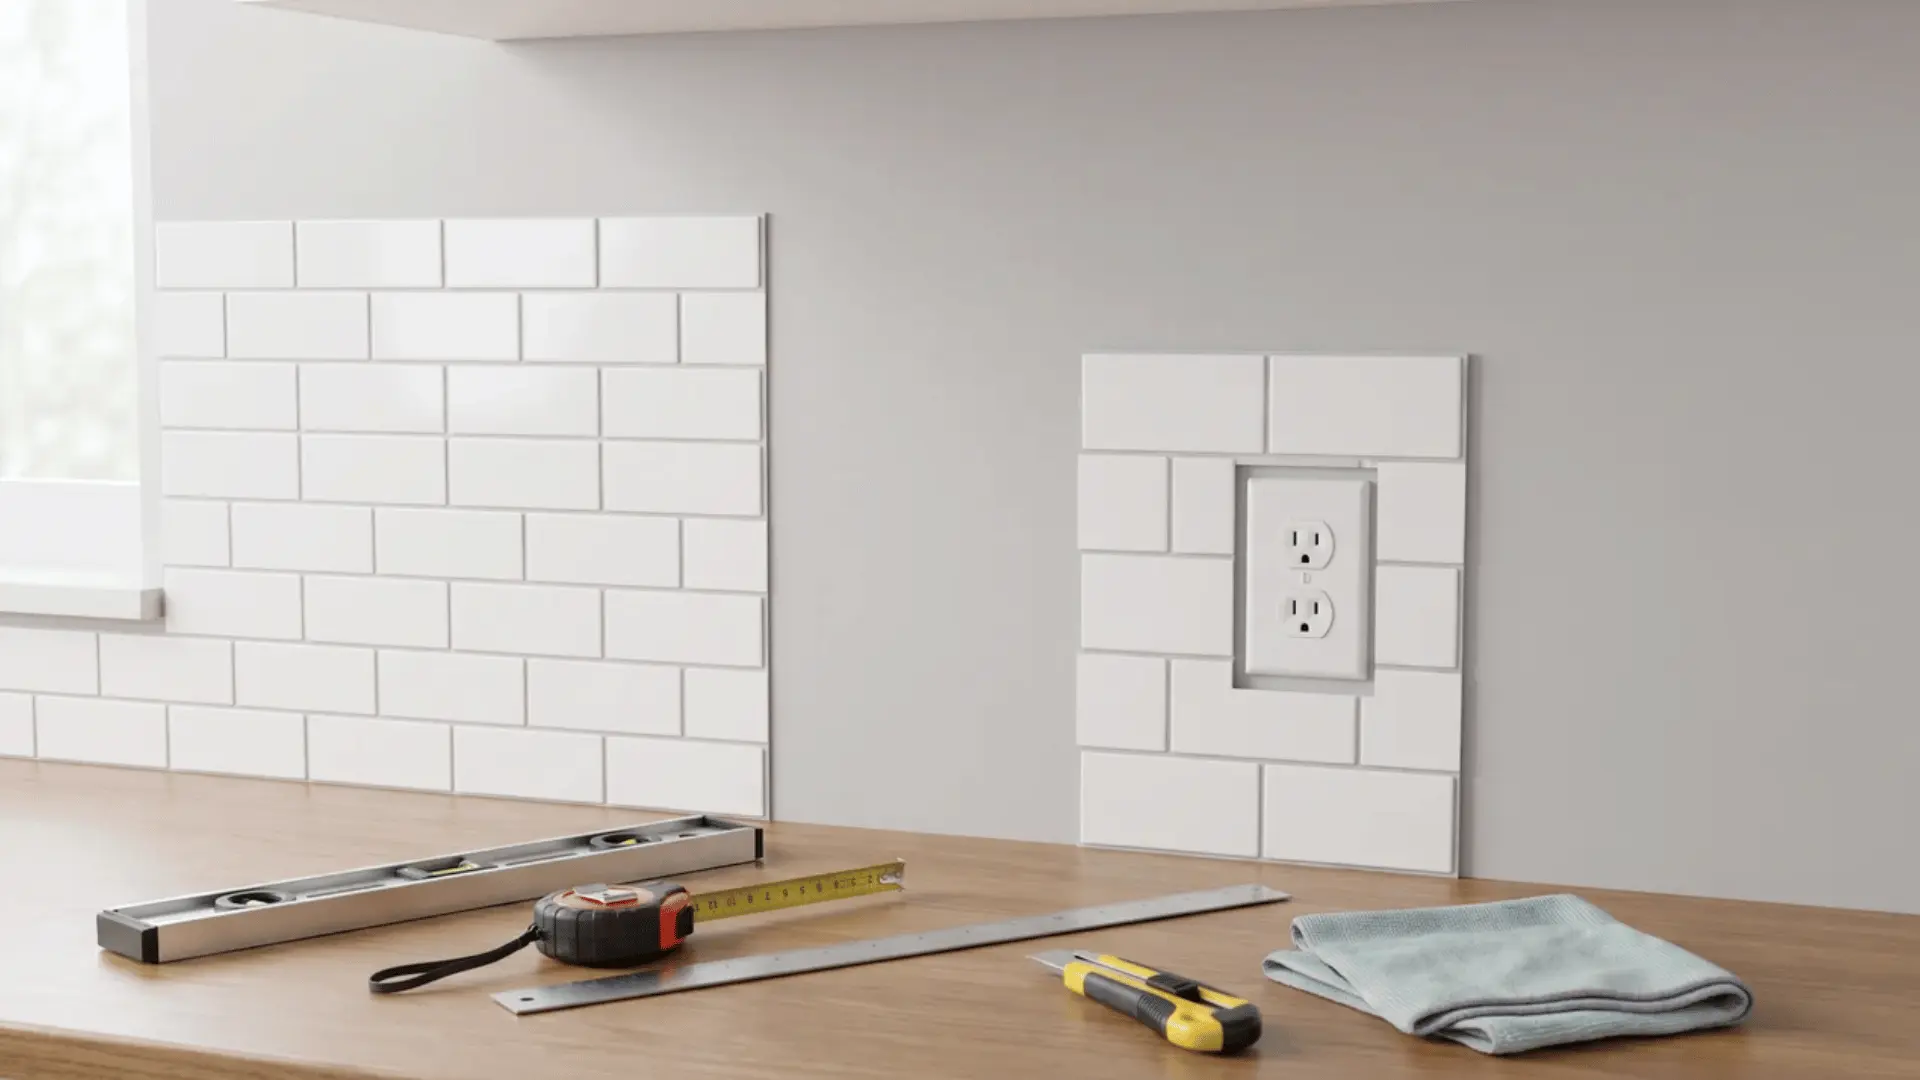
A peel-and-stick backsplash can refresh a kitchen or bathroom without mortar, grout, or specialized tile tools. Careful measuring and straight placement matter most because the adhesive can become difficult to reposition.
Cost: $50–$100 | Time: 3–4 hours | Difficulty: Easy
What You Need:
- Peel-and-stick tile sheets
- Measuring tape
- Level
- Utility knife
- Straightedge
- Cleaning cloth
How to Do:
- Clean grease, dust, and moisture from the wall.
- Measure the backsplash area and plan where each sheet will sit.
- Cut sheets carefully around outlets, corners, and edges.
- Start from one corner and align the first sheet using a level.
- Press each sheet firmly into place while matching the pattern.
- Smooth the entire surface to improve adhesion.
4. Replace Cabinet Knobs and Pulls
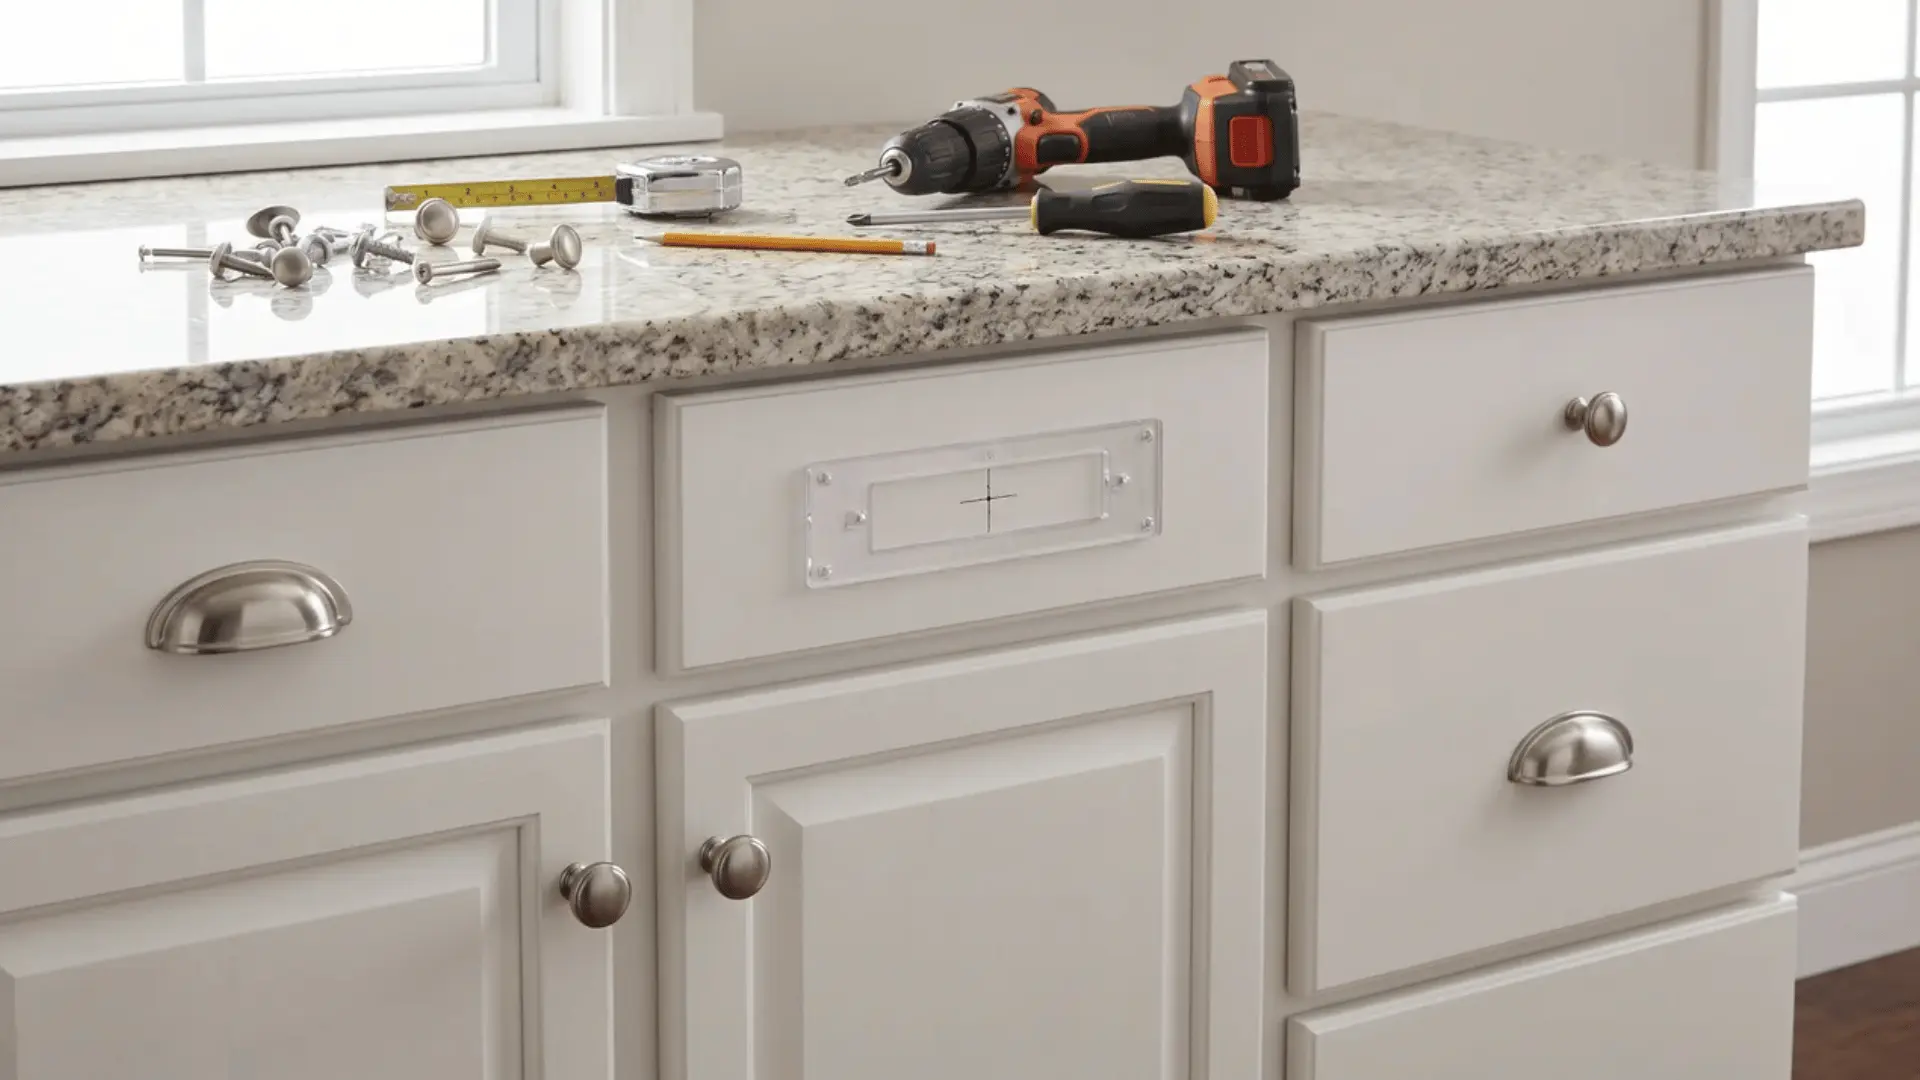
Replacing cabinet hardware gives kitchens, bathrooms, and built-ins a noticeable update with very little work.
Choosing hardware that matches existing hole spacing makes installation easier and prevents unnecessary drilling, and this cabinet hardware placement guide walks through how to check that spacing before you buy.
Cost: $20–$50 | Time: 1–2 hours | Difficulty: Easy
What You Need:
- New knobs or pulls
- Screwdriver
- Measuring tape
- Hardware template
- Drill, if needed
- Pencil
How to Do:
- Remove the existing knobs or pulls with a screwdriver.
- Measure the distance between existing screw holes.
- Choose hardware that matches the spacing when possible.
- Use a template to mark new holes if the spacing differs.
- Drill the new holes carefully from the front.
- Attach and tighten each piece without overtightening the screws.
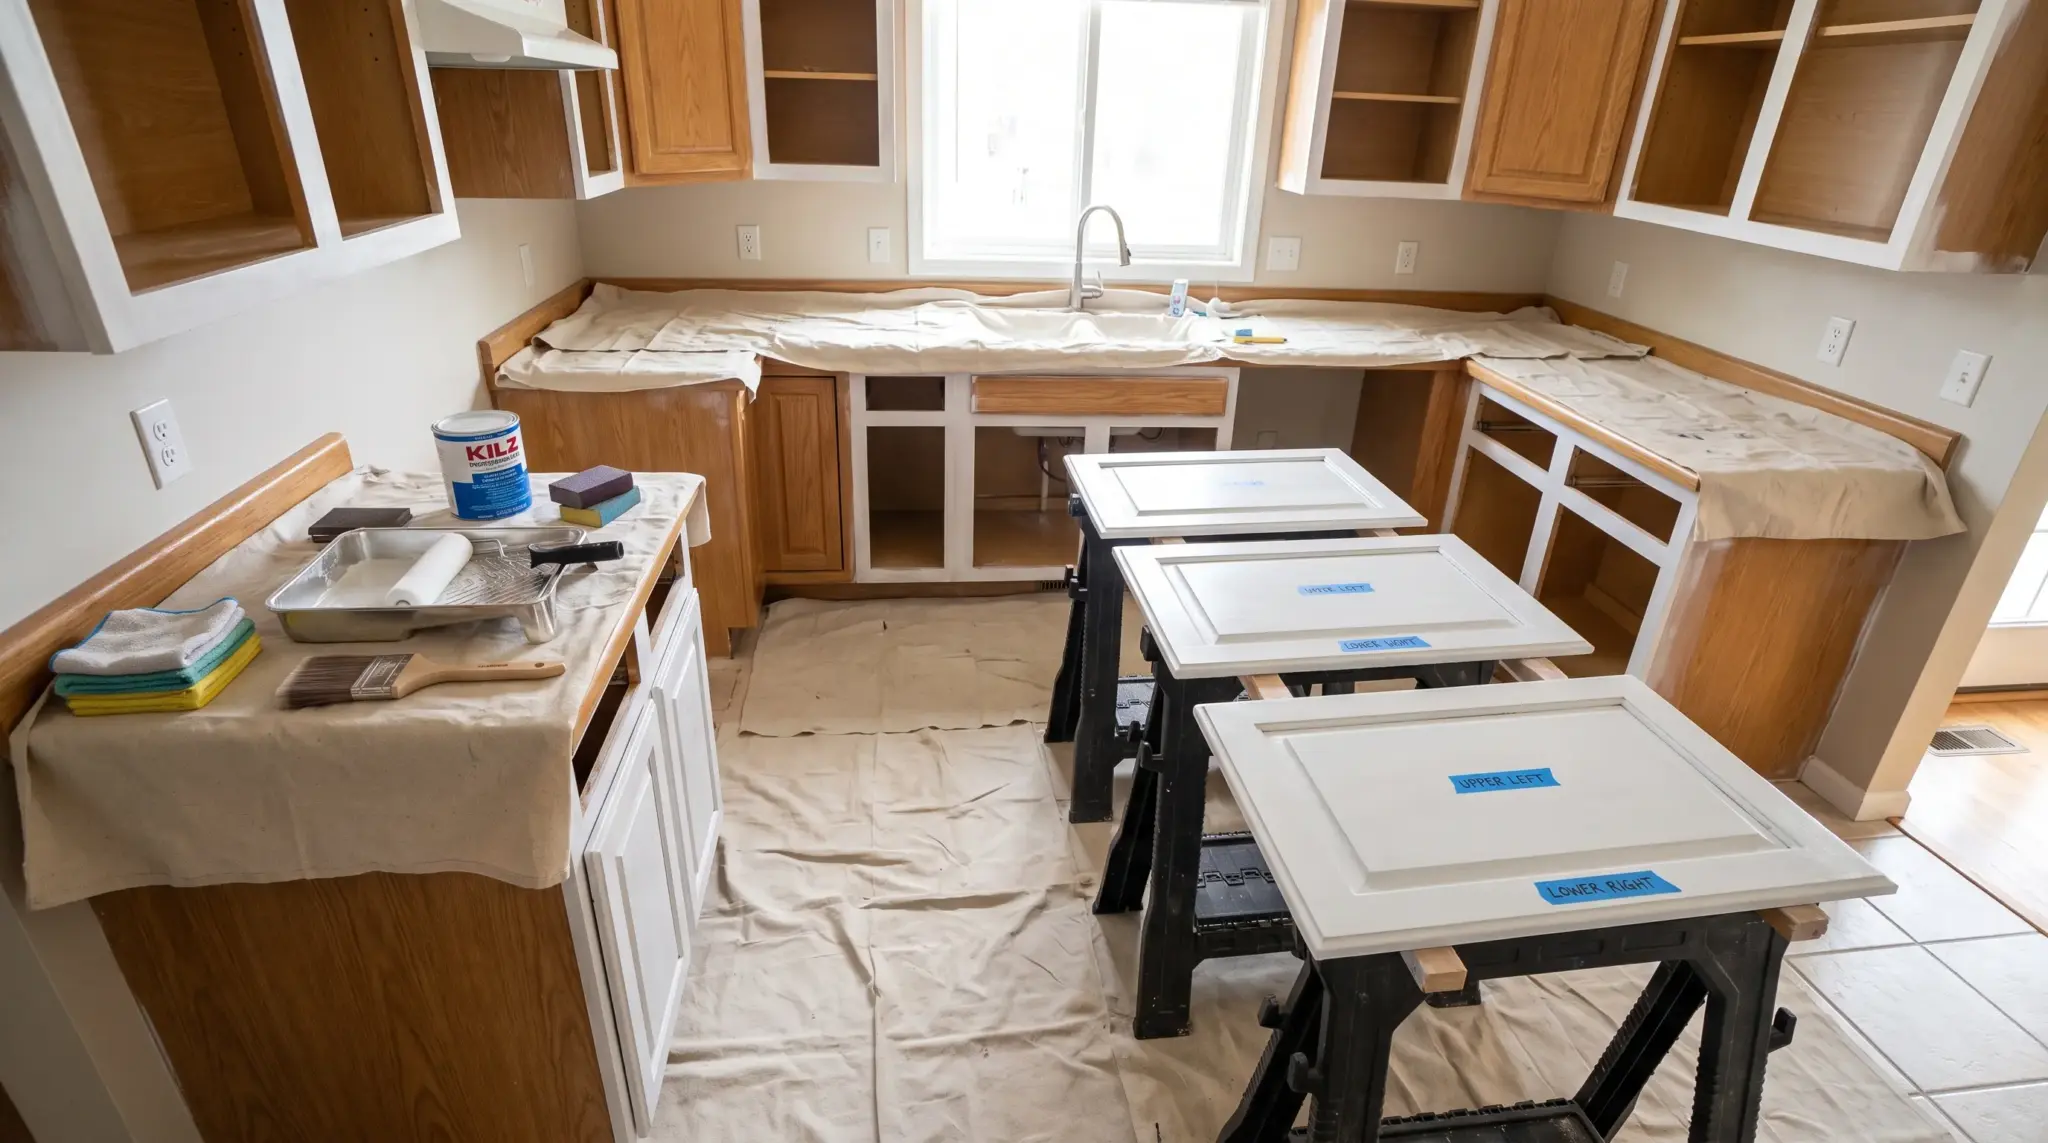
5. Paint a Bathroom Vanity
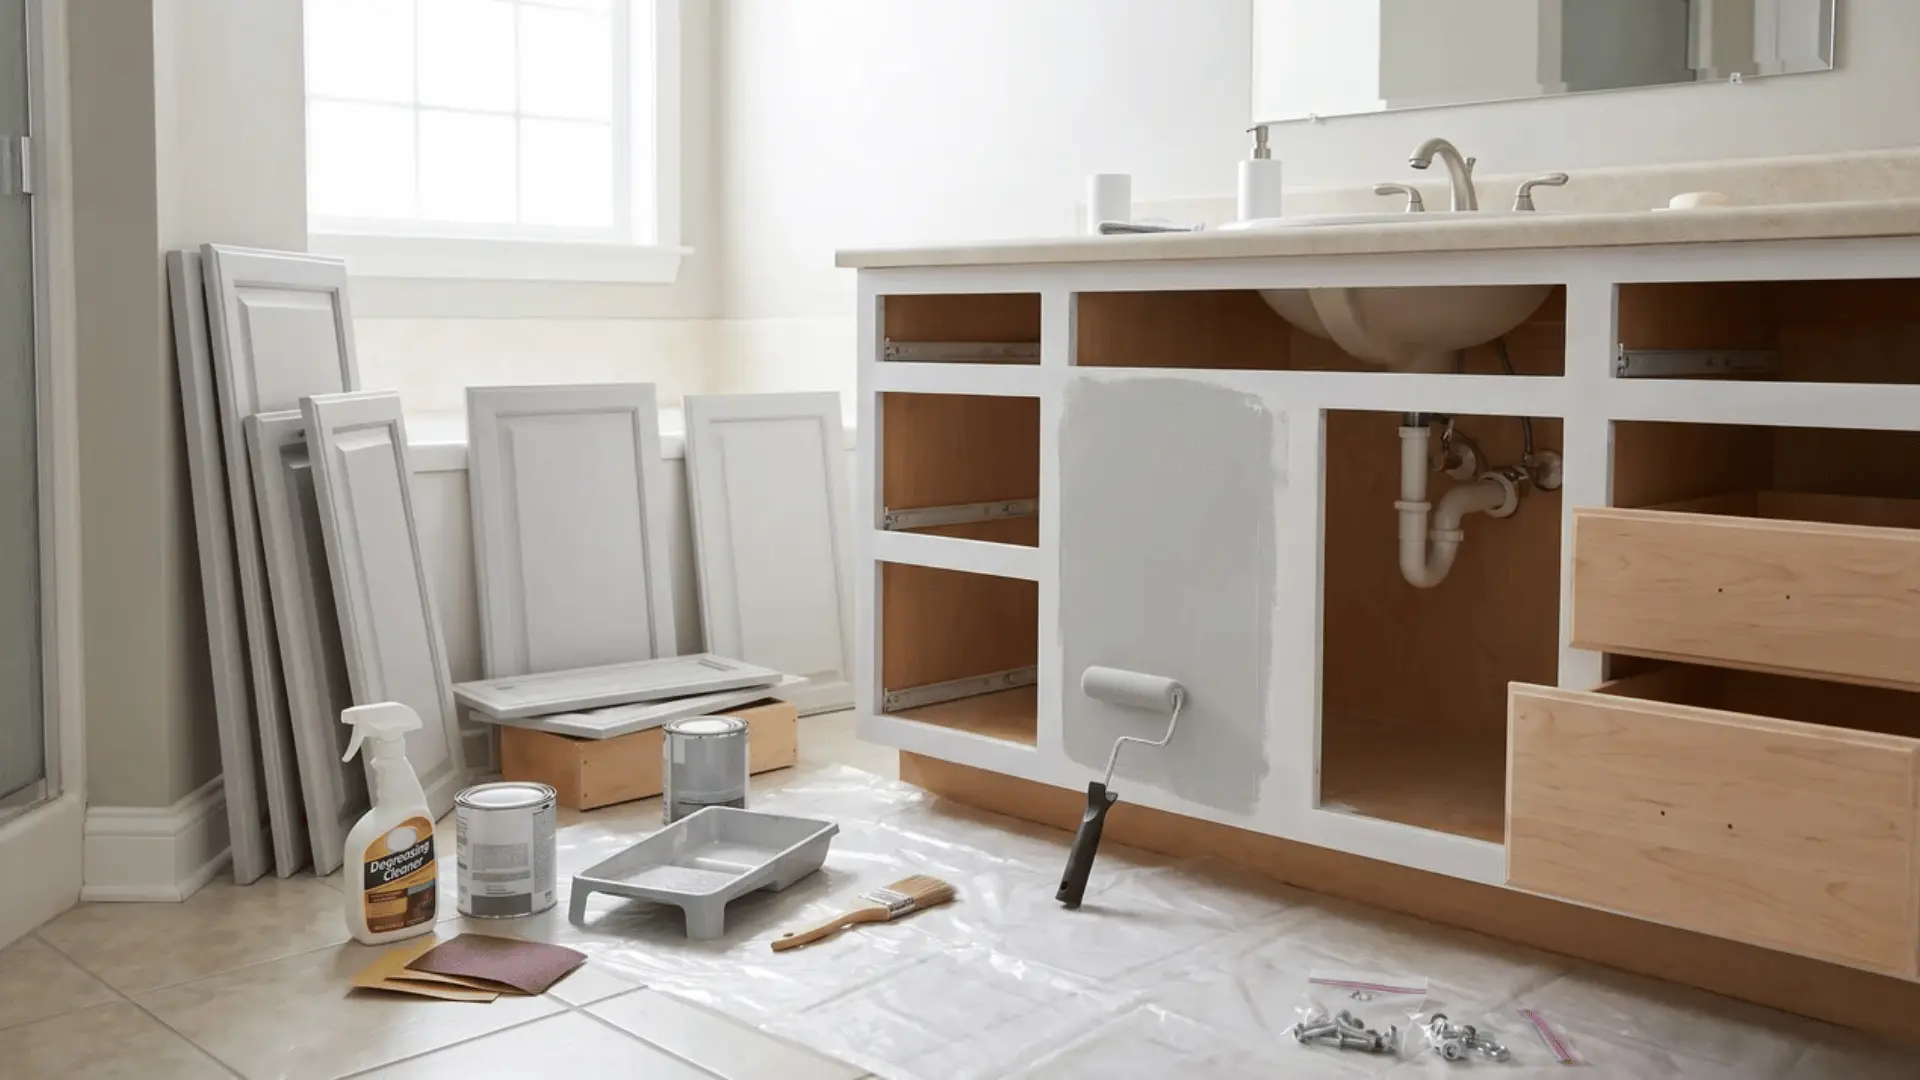
Painting a bathroom vanity can update an older cabinet without replacing it. Proper cleaning, sanding, and curing are especially important because bathroom surfaces regularly face moisture, splashes, and frequent daily use.
Cost: $30–$50 | Time: 1–2 days | Difficulty: Moderate
What You Need:
- Degreasing cleaner
- Sandpaper
- Primer
- Cabinet paint
- Foam roller
- Paintbrush
How to Do:
- Remove the doors, drawers, knobs, and pulls.
- Clean every surface thoroughly to remove soap residue and grease.
- Sand lightly and wipe away all dust.
- Apply a suitable bonding primer and let it dry.
- Add two thin coats of cabinet paint.
- Allow the finish to cure before reinstalling hardware and using the vanity.
6. Frame a Builder-Grade Bathroom Mirror
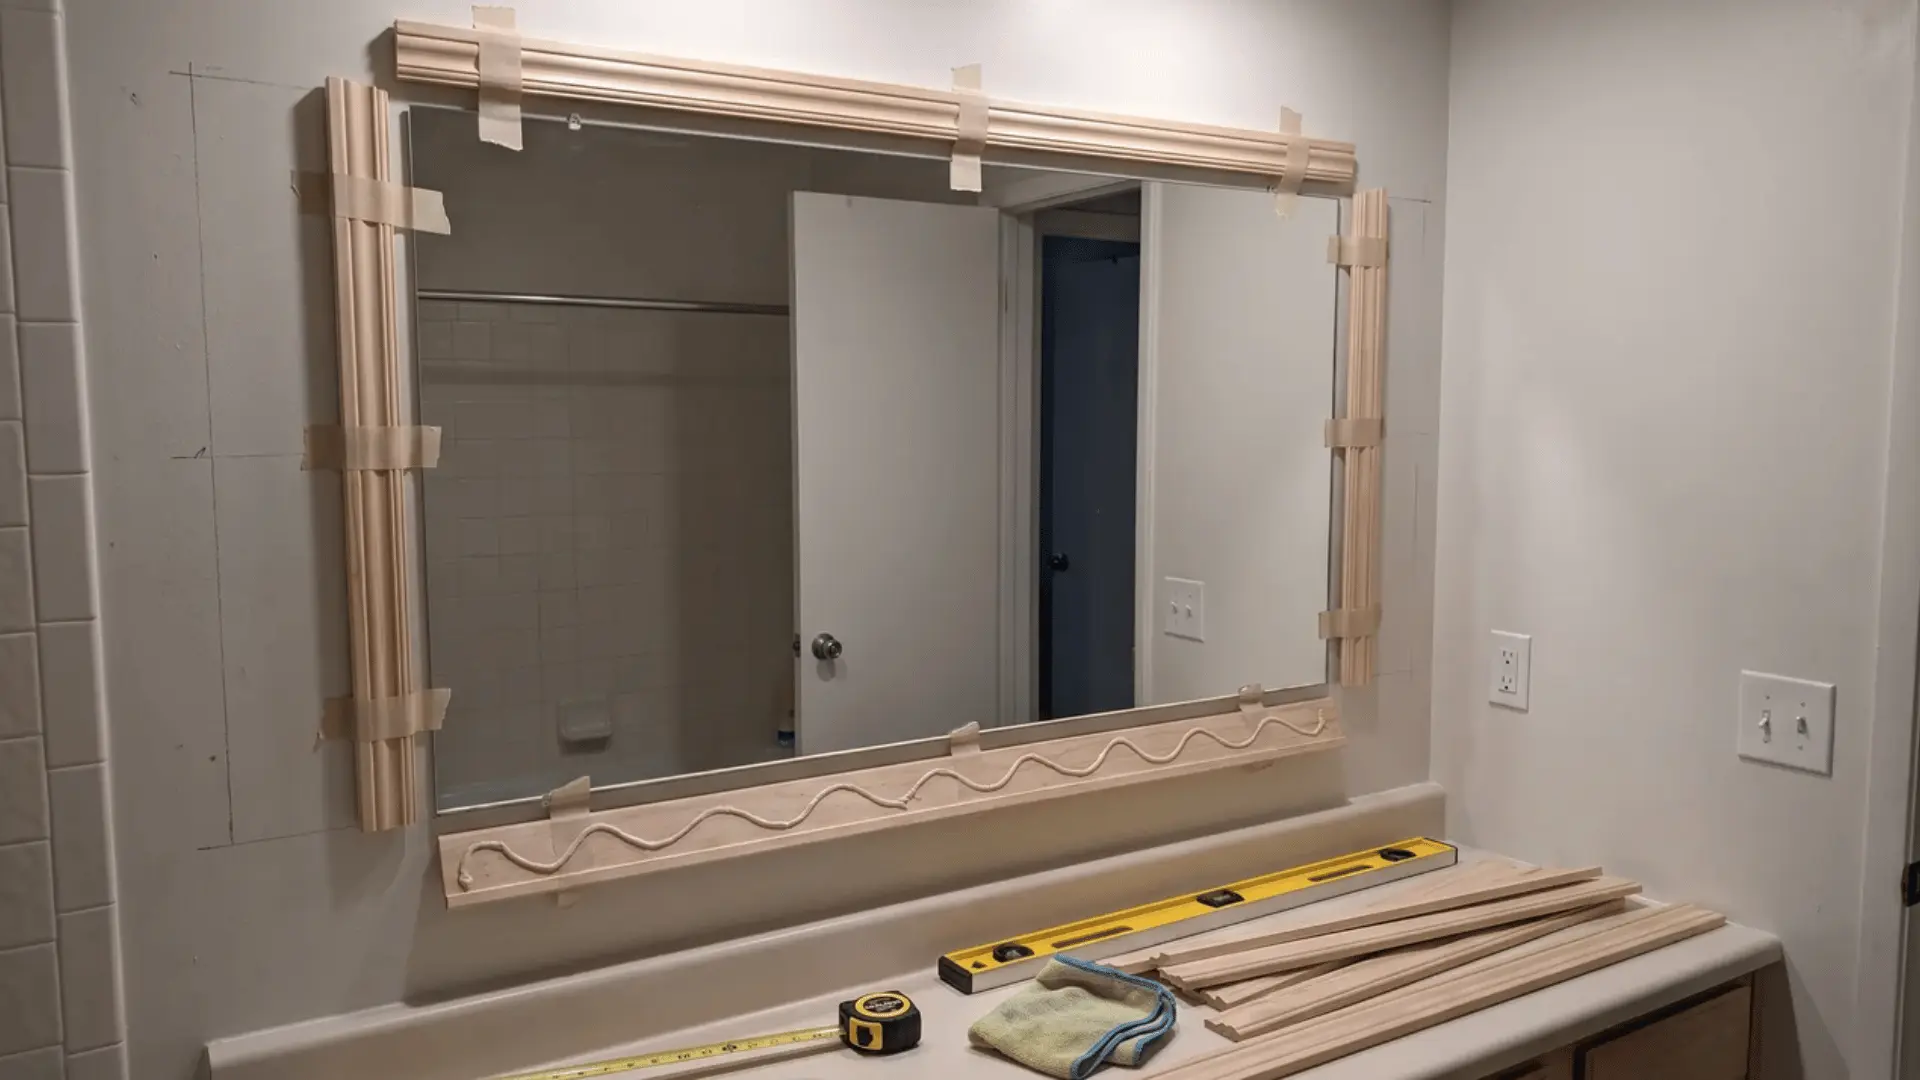
Adding a simple frame can make a plain builder-grade mirror look more finished without replacing the glass.
Precut molding kits simplify the job, and this bathroom mirror framing guide breaks down a few kit options, while accurate measurements help the corners meet cleanly.
Cost: $40–$70 | Time: 2–3 hours | Difficulty: Moderate
What You Need:
- Mirror molding or frame kit
- Measuring tape
- Level
- Mirror-safe adhesive
- Miter box or saw
- Clean cloth
How to Do:
- Measure the mirror’s width and height carefully.
- Cut each molding piece to the required length.
- Dry-fit the frame around the mirror before attaching anything.
- Apply mirror-safe adhesive to the back of each piece.
- Position the pieces evenly and check them with a level.
- Hold or secure them until the adhesive sets.
7. Refresh a Countertop With Contact Paper
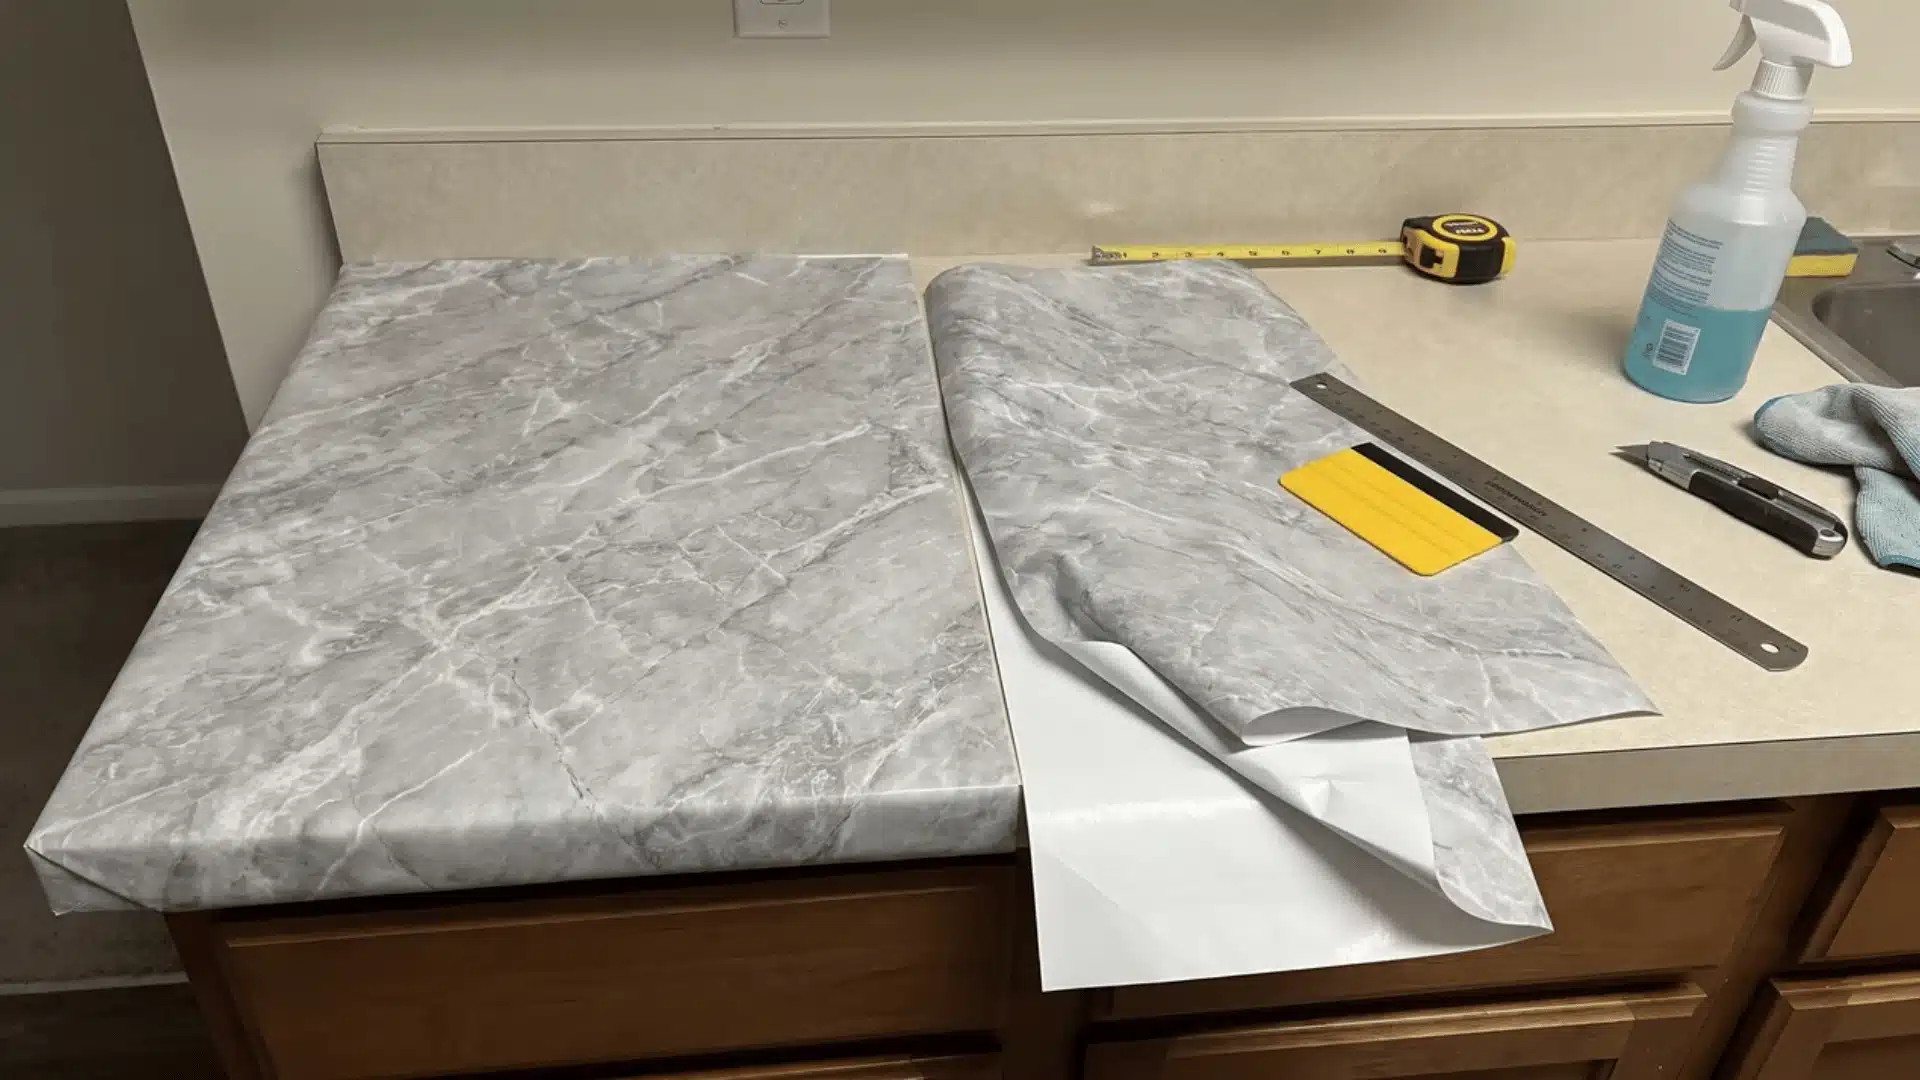
Contact paper offers an inexpensive way to change the look of a countertop without removing it.
The smoothest results come from careful surface preparation, gradual application, and extra attention around corners and seams.
Cost: $20–$40 | Time: 2–3 hours | Difficulty: Easy
What You Need:
- Contact paper
- Measuring tape
- Utility knife
- Squeegee
- Straightedge
- Cleaning solution
How to Do:
- Clean the countertop thoroughly and let it dry.
- Measure each section and cut the contact paper slightly oversized.
- Peel back only a few inches of backing to begin.
- Press the paper down gradually while smoothing outward.
- Wrap or trim carefully around corners and edges.
- Remove excess material with a sharp utility knife.
8. Paint Your Front Door
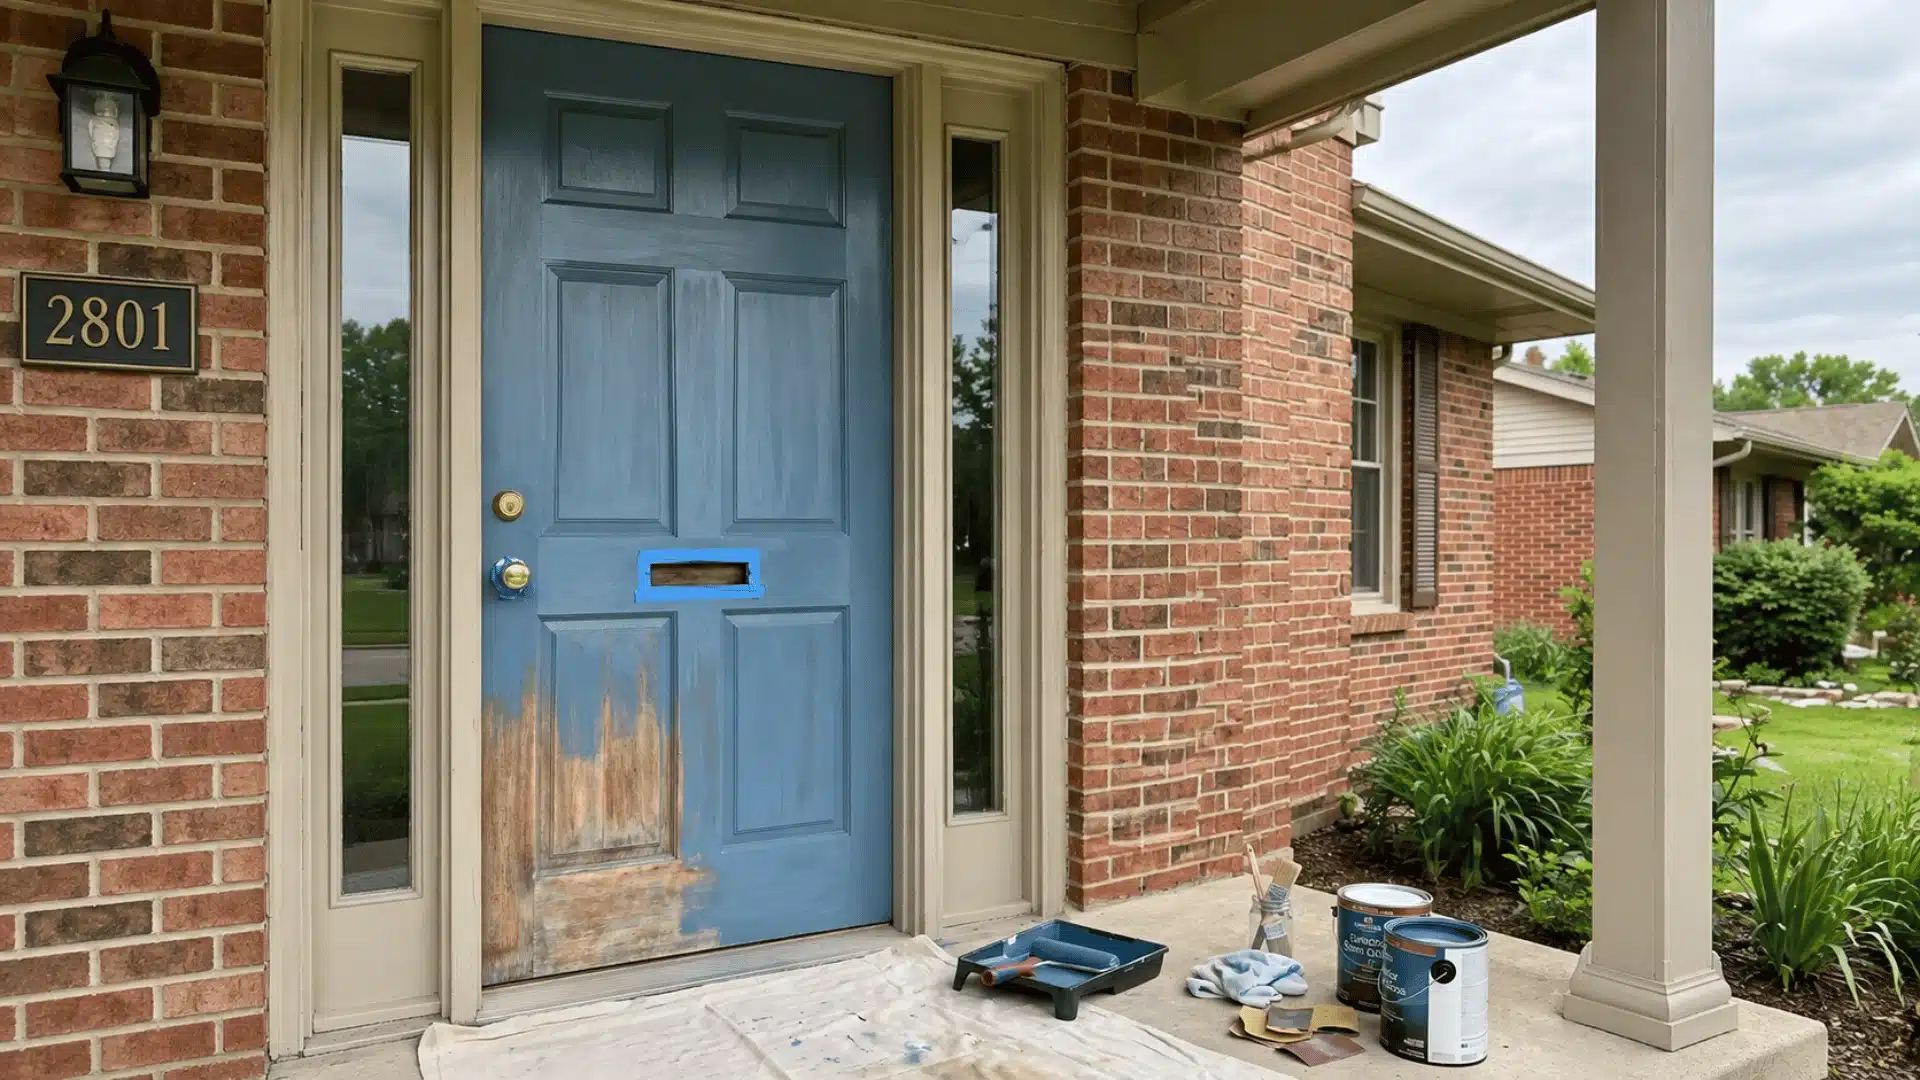
A freshly painted front door can noticeably improve your home’s entrance without changing the surrounding exterior.
Use paint made for outdoor conditions and prepare the surface properly so the new finish lasts longer.
Cost: $25–$45 | Time: 1 day | Difficulty: Easy
What You Need:
- Exterior door paint
- Sandpaper
- Painter’s tape
- Paintbrush
- Small roller
- Cleaning cloth
How to Do:
- Remove or tape around the handle, lock, and other hardware.
- Clean the door and lightly sand glossy or rough areas.
- Wipe away all sanding dust.
- Apply primer if the existing finish or material requires it.
- Apply two thin coats of exterior paint.
- Let the door dry fully before closing it tightly or replacing hardware.
9. Create a Simple Gallery Wall
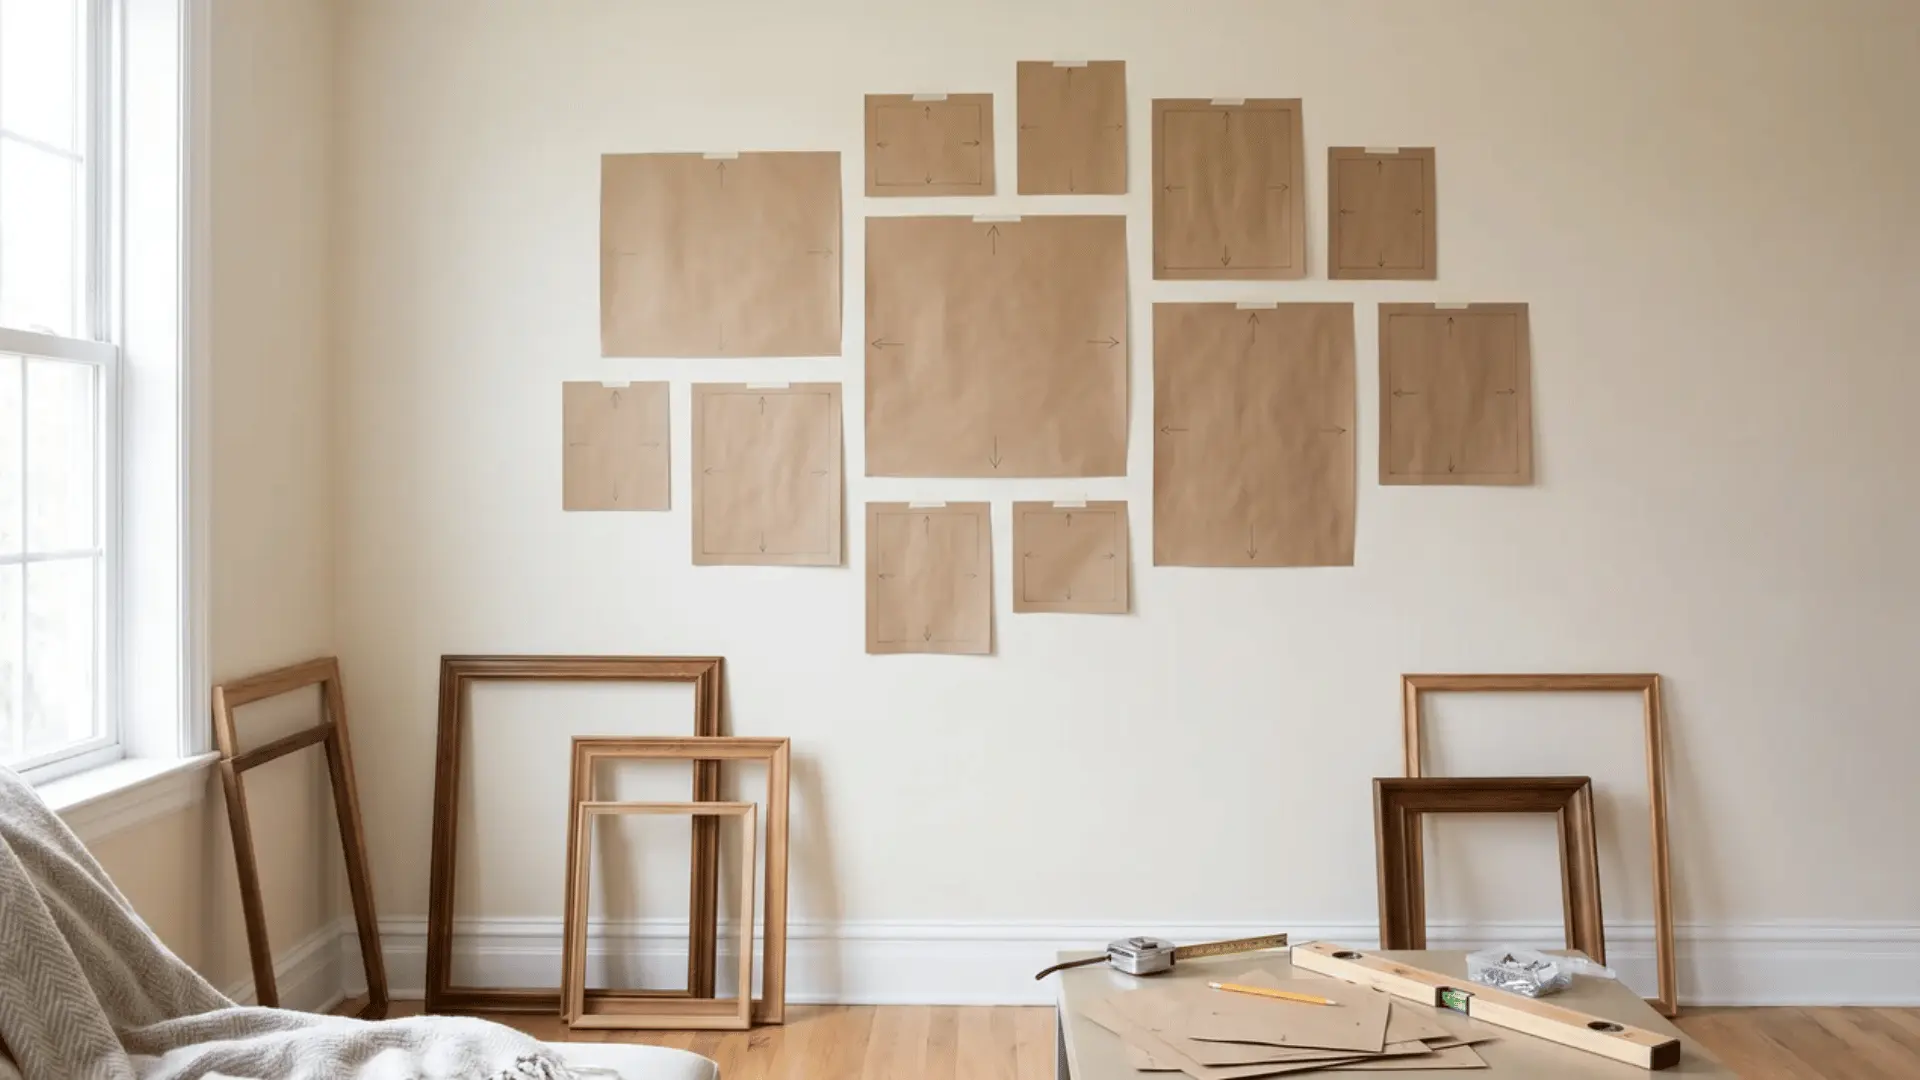
A gallery wall can turn an empty surface into a personalized focal point using artwork, photographs, or prints.
Planning the arrangement with paper templates first helps maintain spacing and reduces unnecessary nail holes.
Cost: $30–$70 | Time: 2–3 hours | Difficulty: Easy
What You Need:
- Frames
- Picture hooks
- Measuring tape
- Level
- Pencil
- Paper and tape
How to Do:
- Arrange the frames on the floor until the grouping feels balanced.
- Trace each frame onto paper and cut out the templates.
- Tape the templates to the wall in the planned arrangement.
- Check spacing and adjust the layout as needed.
- Mark each hook position before removing the paper.
- Install the hooks and hang the frames level.
10. Add Picture Frame Molding
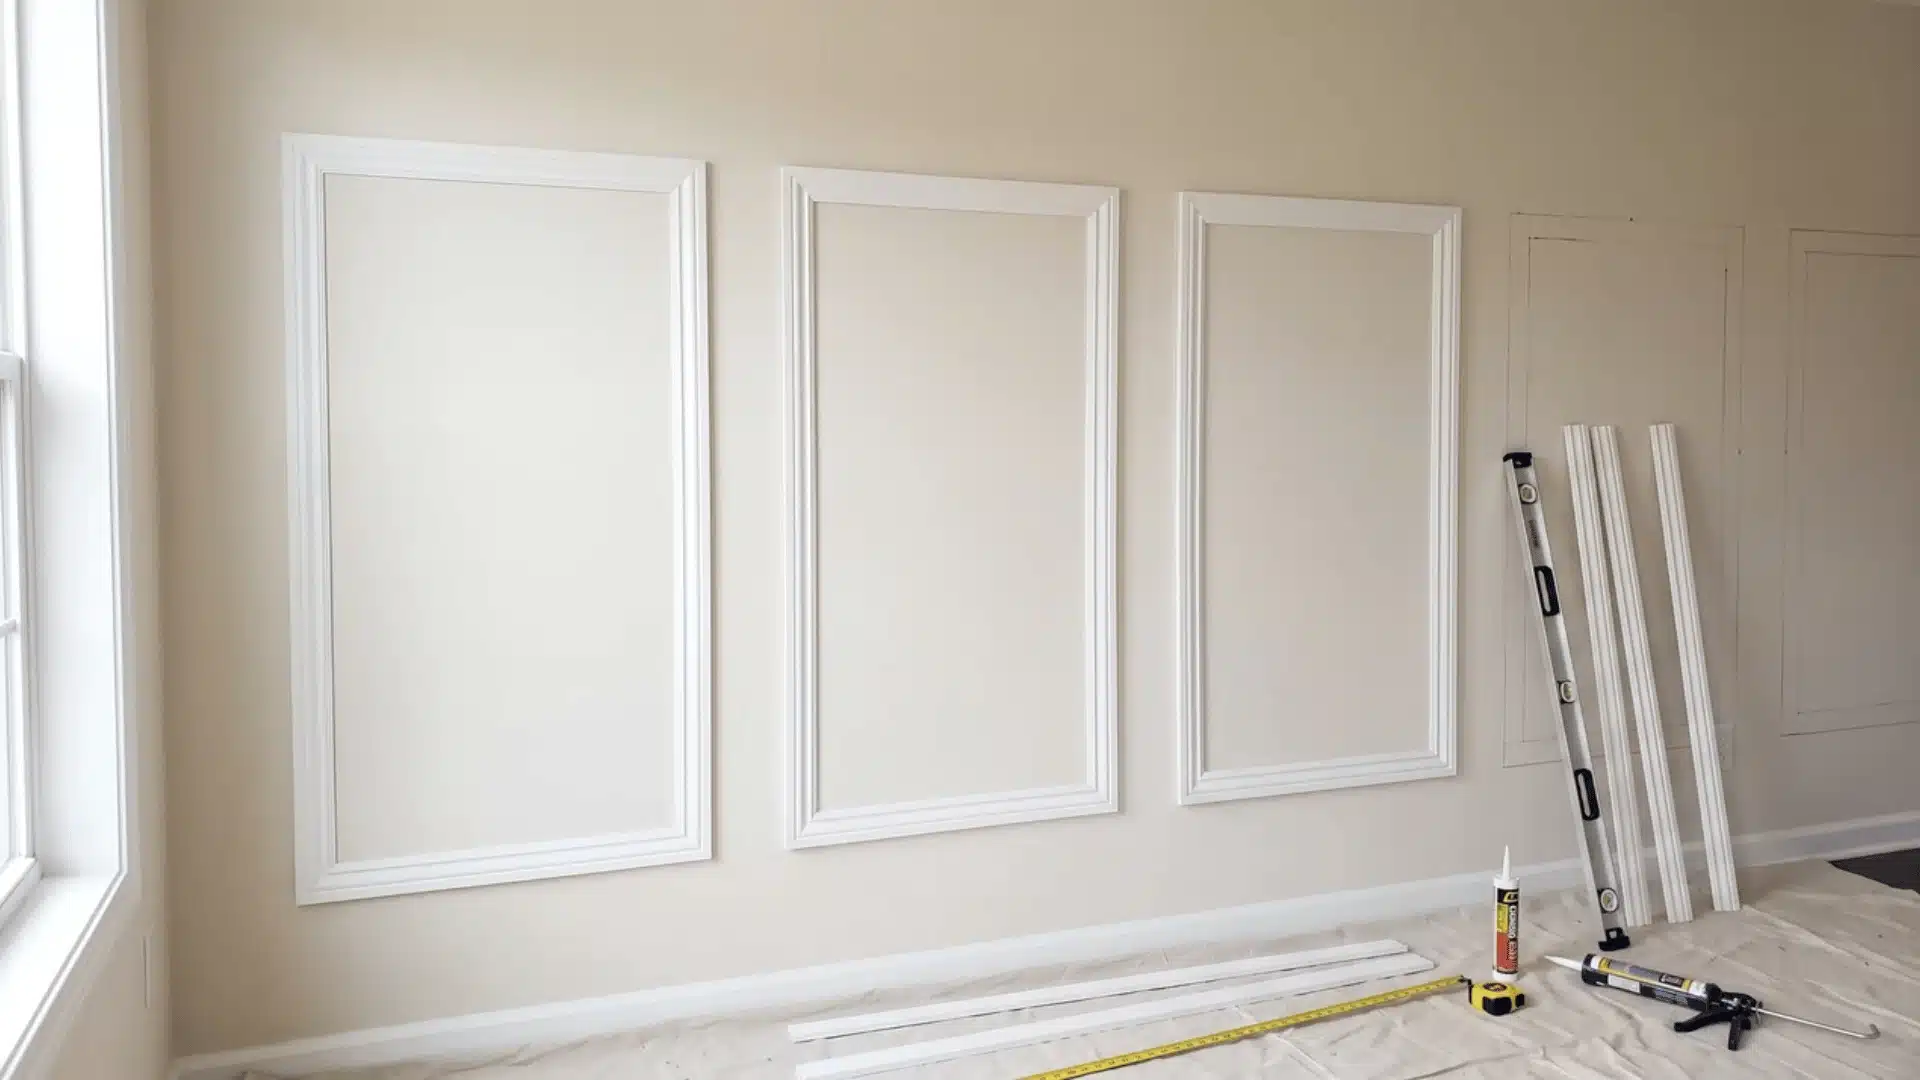
Picture frame molding adds architectural detail to otherwise plain walls and works especially well in living rooms, dining rooms, and hallways.
Even spacing and accurate angled cuts make the finished installation look intentional.
Cost: $60–$120 | Time: 1 day | Difficulty: Moderate
What You Need:
- Molding strips
- Measuring tape
- Level
- Miter saw or miter box
- Construction adhesive
- Caulk
How to Do:
- Measure the wall and decide the size and spacing of each frame.
- Mark the layout lightly with a pencil and level.
- Cut molding pieces with 45-degree corners.
- Attach each piece with adhesive and finishing nails if needed.
- Fill gaps and nail holes with caulk or filler.
- Sand lightly and paint the molding once everything dries.
11. Install a Floating Shelf
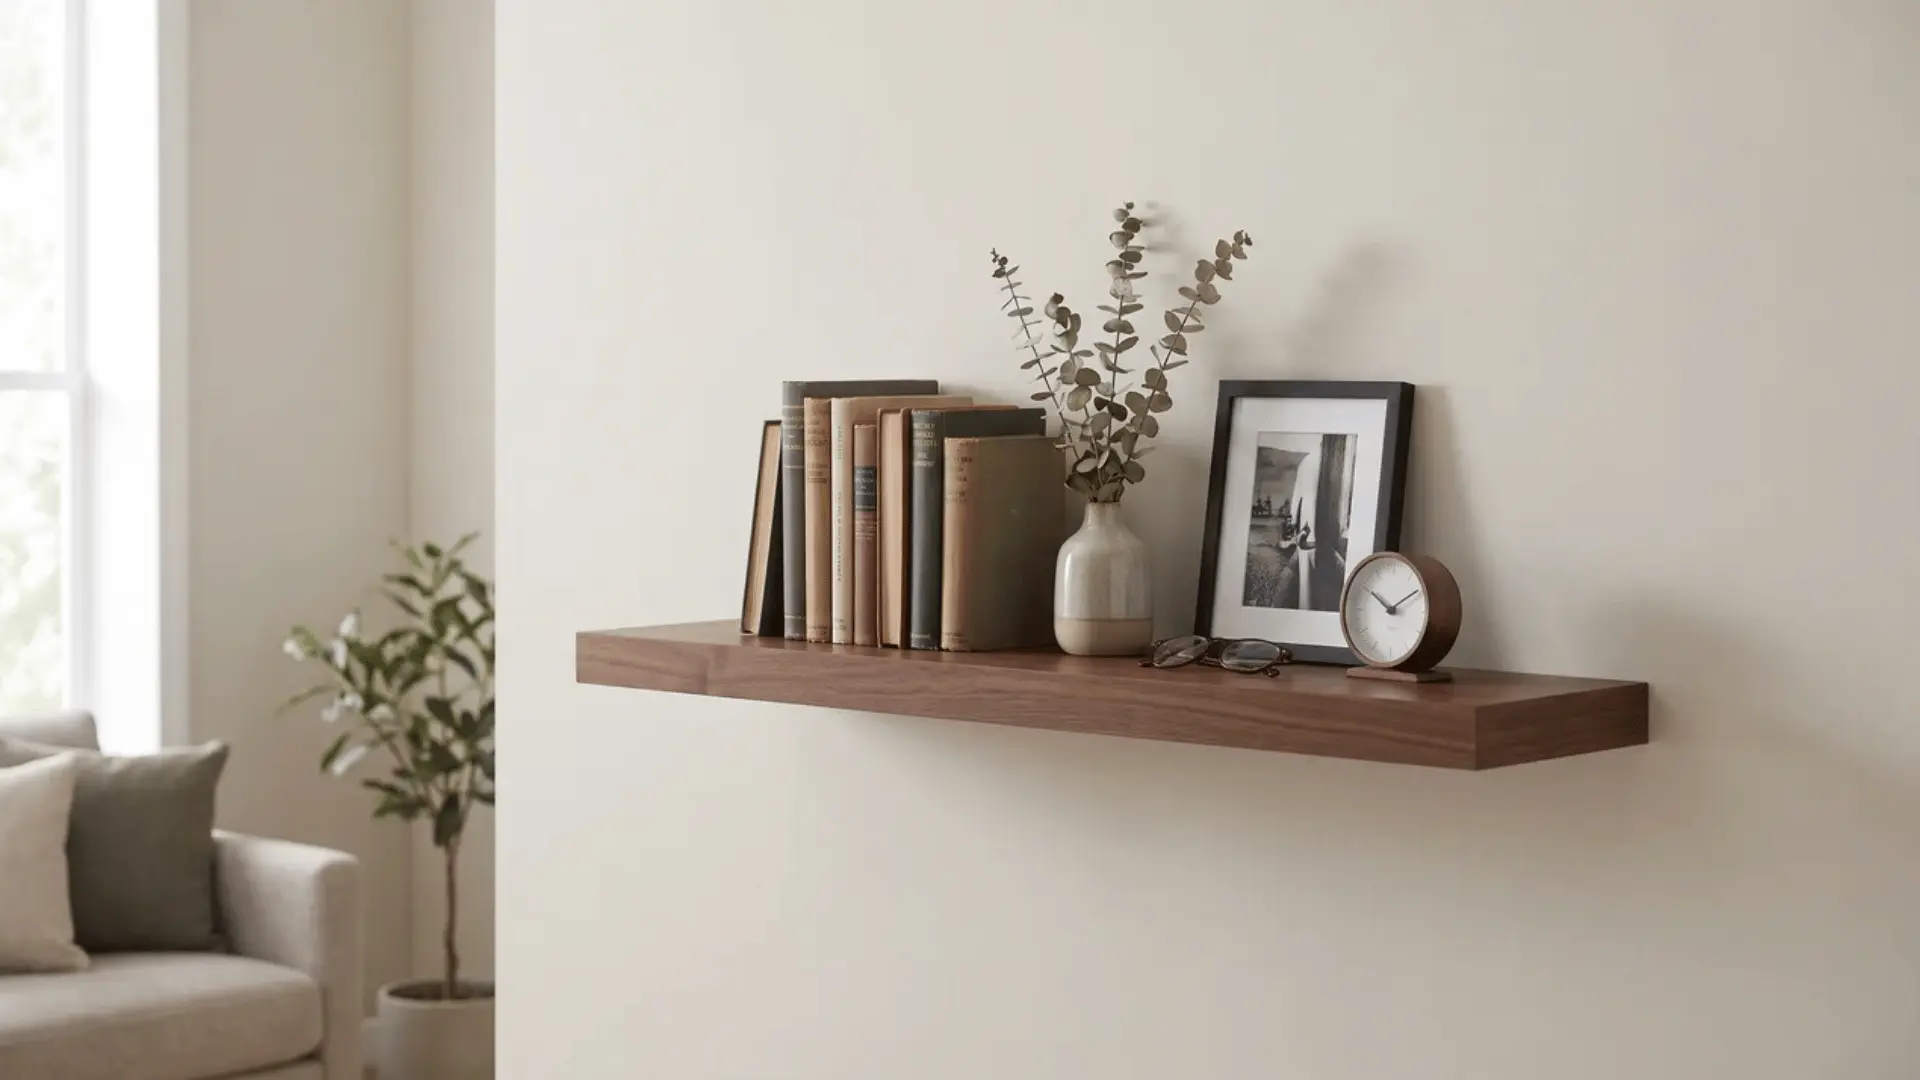
Floating shelves provide useful storage without bulky brackets showing underneath.
They work well for books, decor, or small everyday items, but secure mounting is important if the shelf will carry heavier objects.
Cost: $25–$60 | Time: 1–2 hours | Difficulty: Easy
What You Need:
- Floating shelf kit
- Stud finder
- Level
- Drill
- Screws
- Pencil
How to Do:
- Decide where the shelf should sit and mark its height.
- Locate wall studs with a stud finder.
- Hold the mounting bracket in place and check it with a level.
- Drill pilot holes and secure the bracket firmly.
- Slide or attach the shelf onto the mounting hardware.
- Test its stability before adding heavier items.
12. Make No-Sew Window Treatments
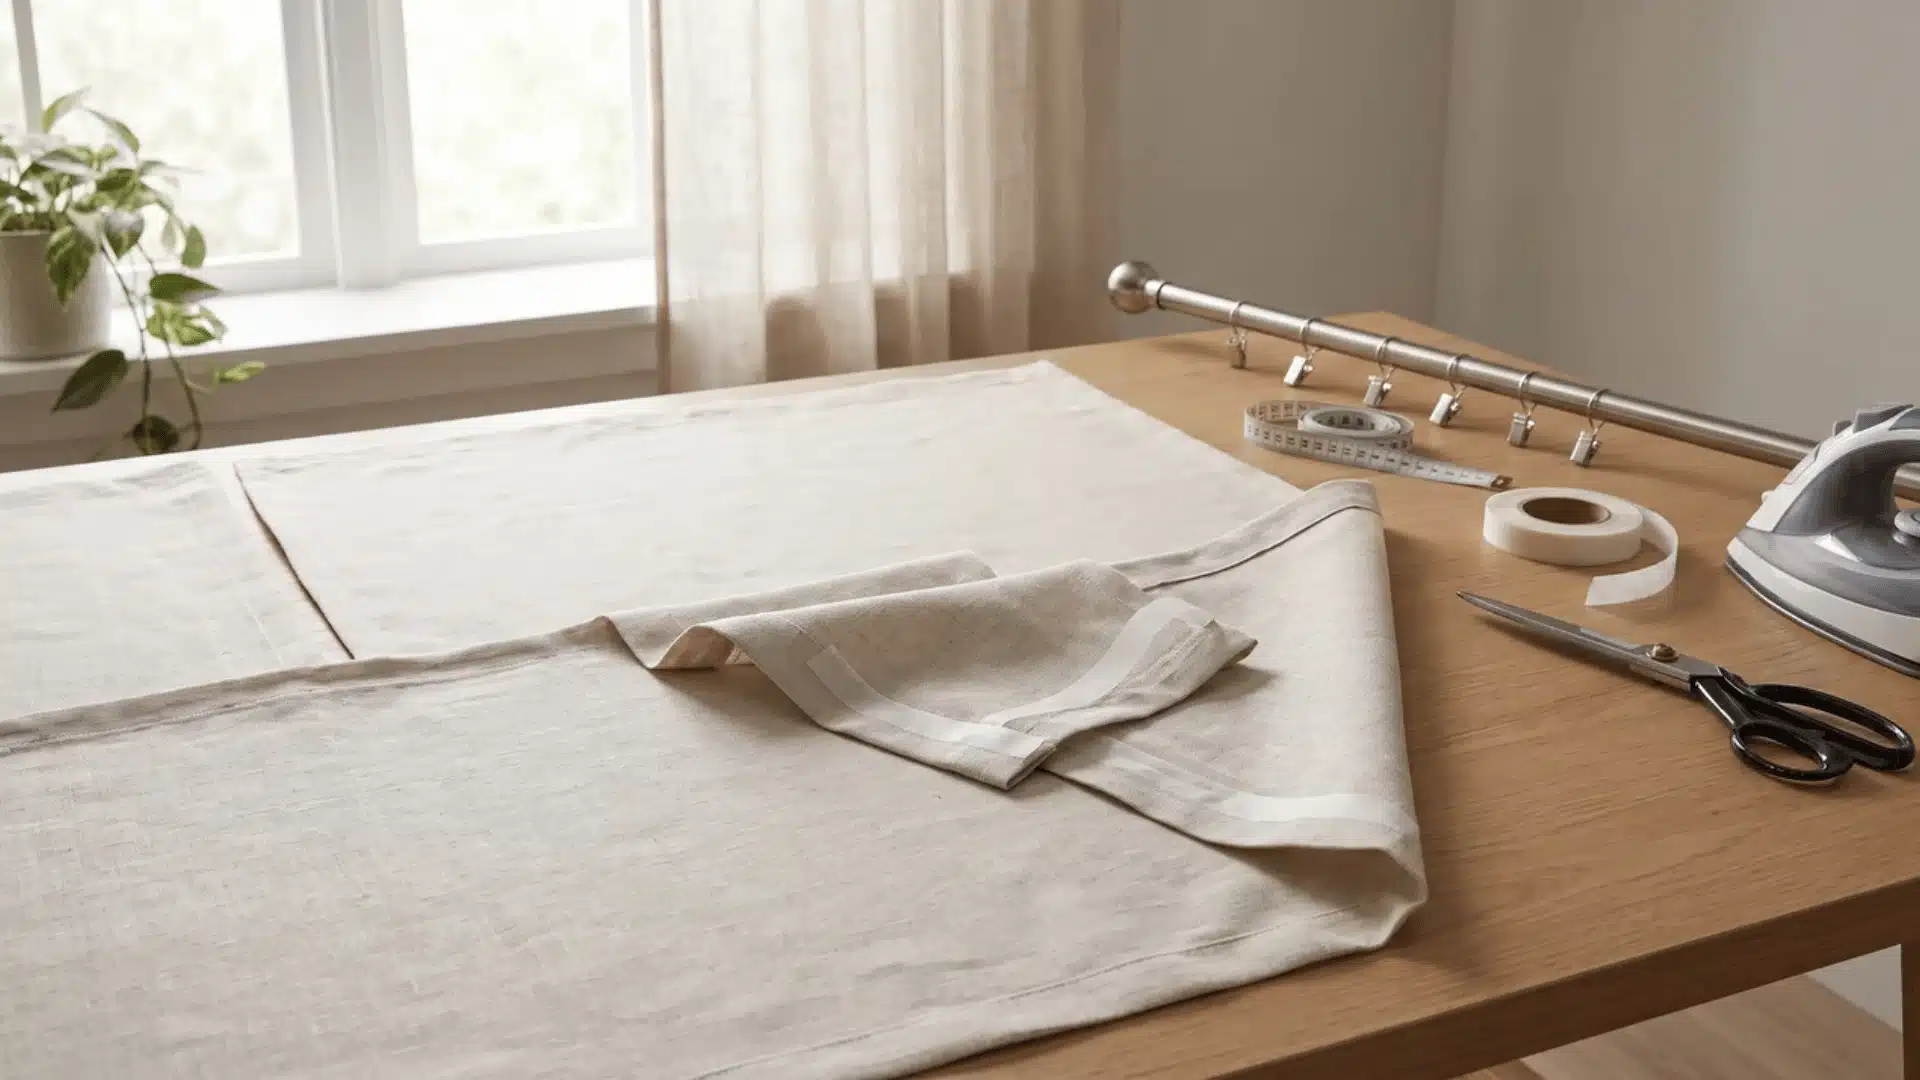
No-sew window treatments let you add fabric, privacy, or color without using a sewing machine.
Hemming tape or fabric adhesive creates finished edges, making this project manageable even with limited crafting experience.
Cost: $20–$40 | Time: 1–2 hours | Difficulty: Easy
What You Need:
- Fabric
- Measuring tape
- Fabric scissors
- Hemming tape or fabric glue
- Iron, if required
- Curtain rod and clips
How to Do:
- Measure the window and decide how long the finished panels should be.
- Cut the fabric with extra material for the hems.
- Fold the raw edges inward evenly.
- Secure each fold with hemming tape or fabric adhesive.
- Allow the adhesive to set completely.
- Attach the finished panels to the curtain rod and hang them.
13. Make a Wooden Bathtub Tray
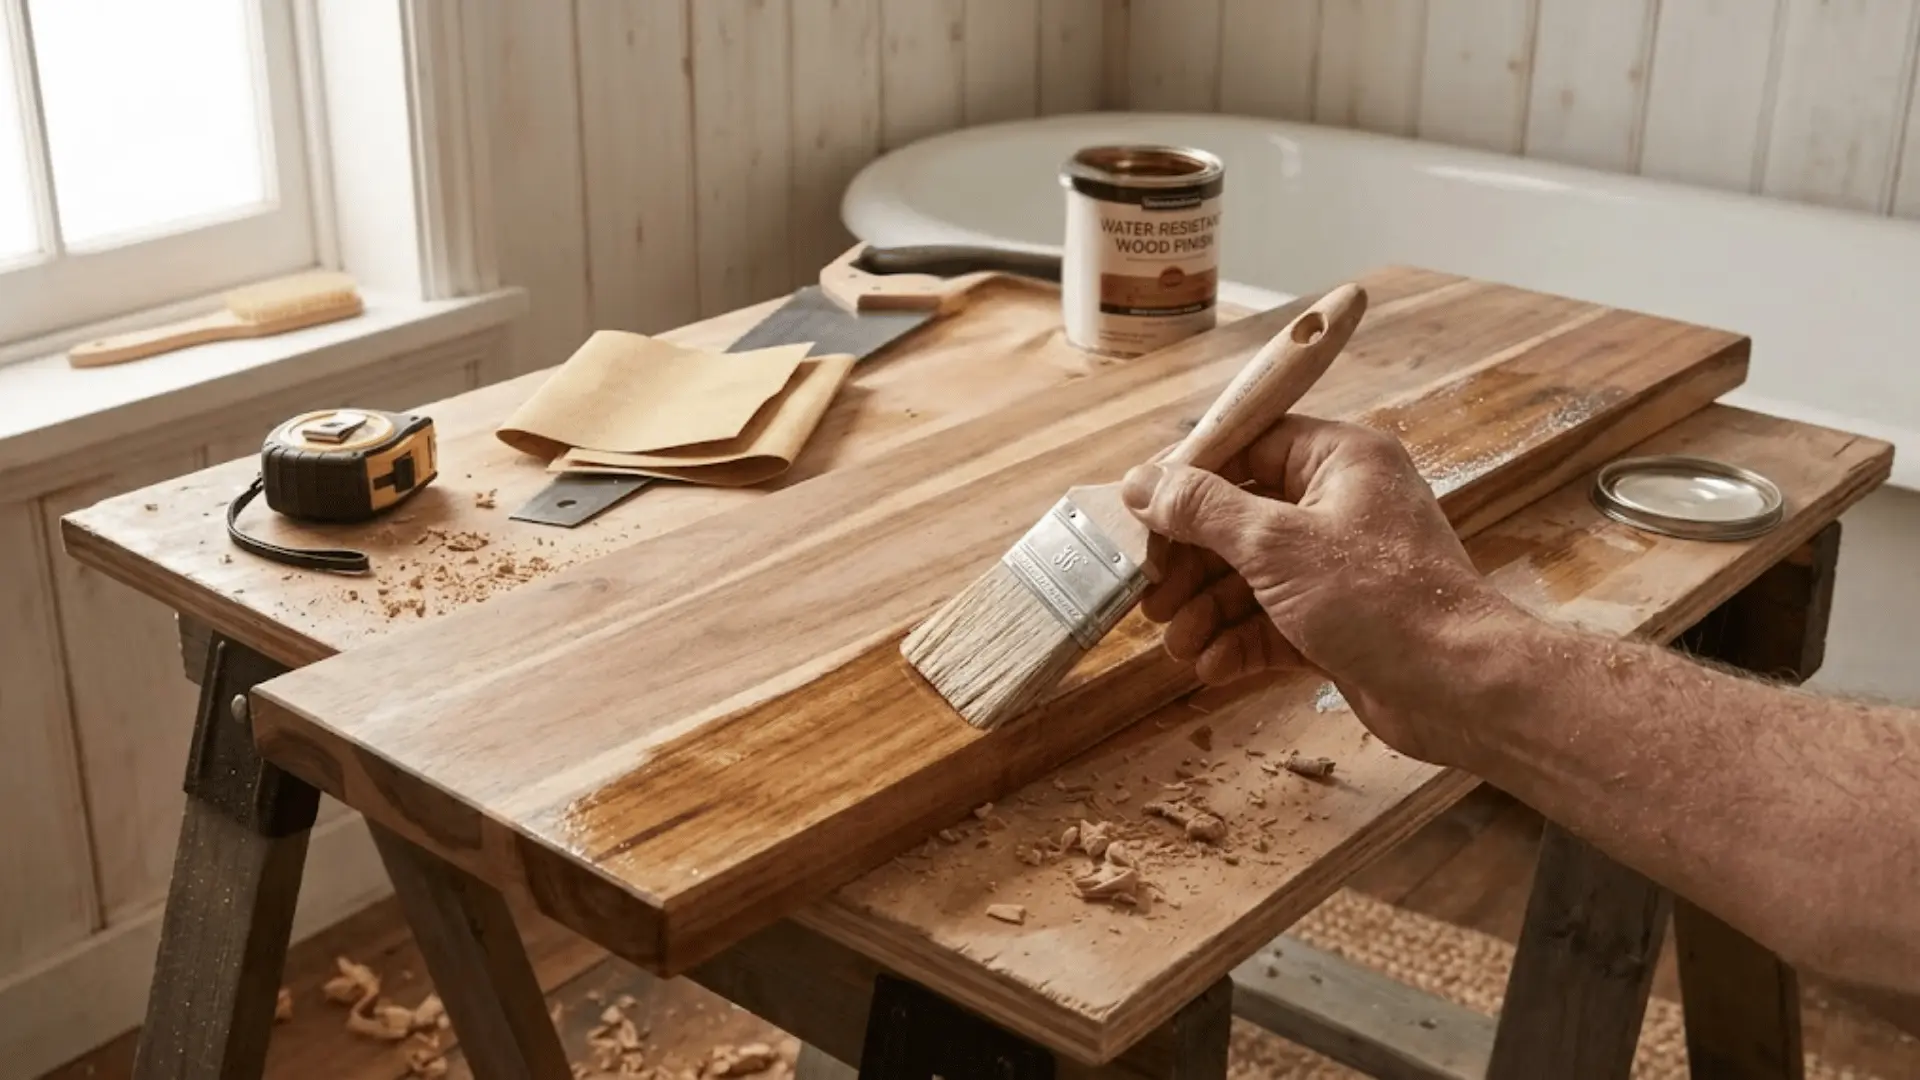
A wooden bathtub tray provides a simple surface for a book, drink, candle, or bath essentials.
Water-resistant wood and a durable finish are important because the tray will regularly encounter moisture and splashes.
Cost: $30–$50 | Time: 2–3 hours | Difficulty: Moderate
What You Need:
- Wood board
- Measuring tape
- Saw
- Sandpaper
- Water-resistant wood finish
- Paintbrush
How to Do:
- Measure the bathtub from one outer edge to the other.
- Cut the board with enough length to rest securely across both sides.
- Sand the top, bottom, corners, and edges until smooth.
- Wipe away all sanding dust.
- Apply a water-resistant finish to every surface.
- Let the finish cure completely before placing the tray over the tub.
14. Create a DIY Dry-Erase Board
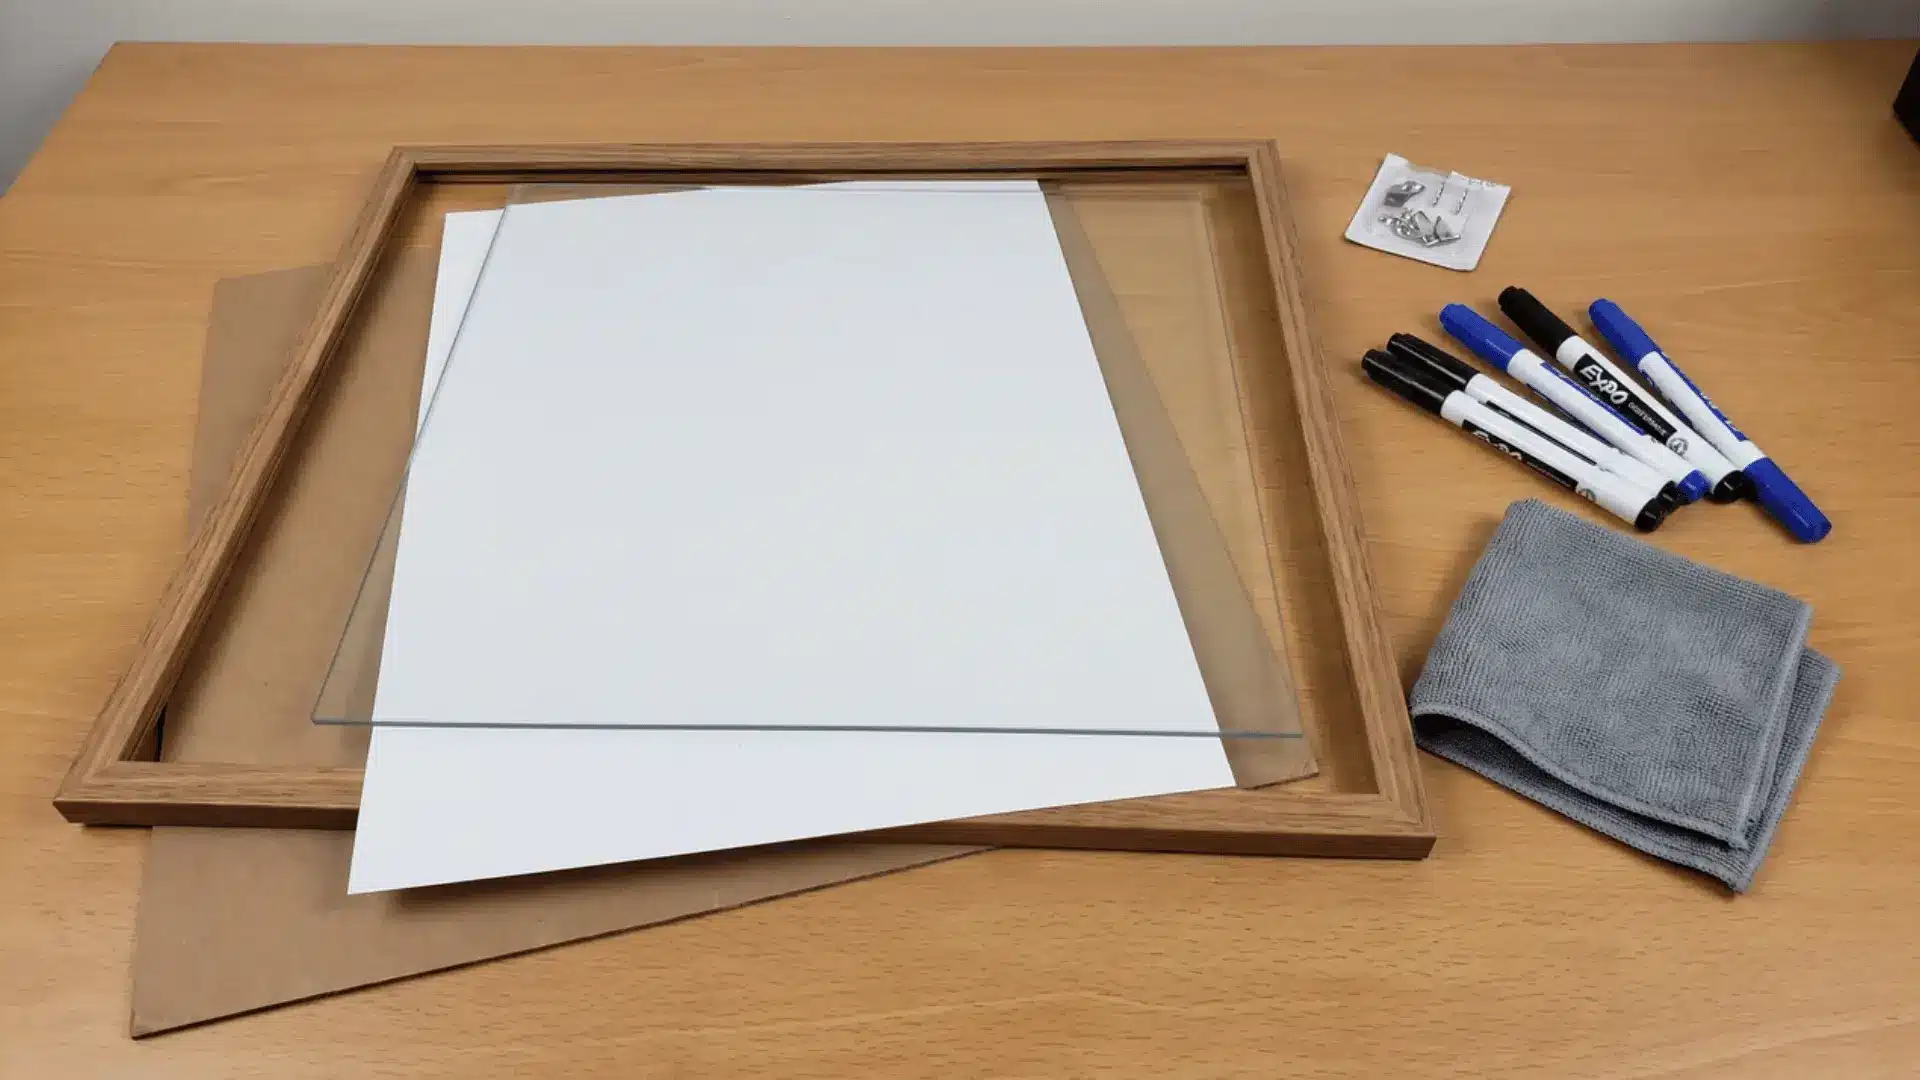
A homemade dry-erase board can provide a reusable space for notes, schedules, shopping lists, or reminders.
A picture frame makes the project simple because its glass or acrylic surface can already accept markers.
Cost: $15–$30 | Time: 1 hour | Difficulty: Easy
What You Need:
- Picture frame
- Glass or acrylic insert
- Plain paper or decorative backing
- Dry-erase markers
- Cleaning cloth
- Wall hooks, if needed
How to Do:
- Remove the backing and insert from the picture frame.
- Clean both sides of the glass or acrylic.
- Place plain or lightly patterned paper behind the clear insert.
- Reassemble the frame securely.
- Test a dry-erase marker on a small section.
- Place the board on a desk or hang it on the wall.
15. Make an Entryway Boot Tray
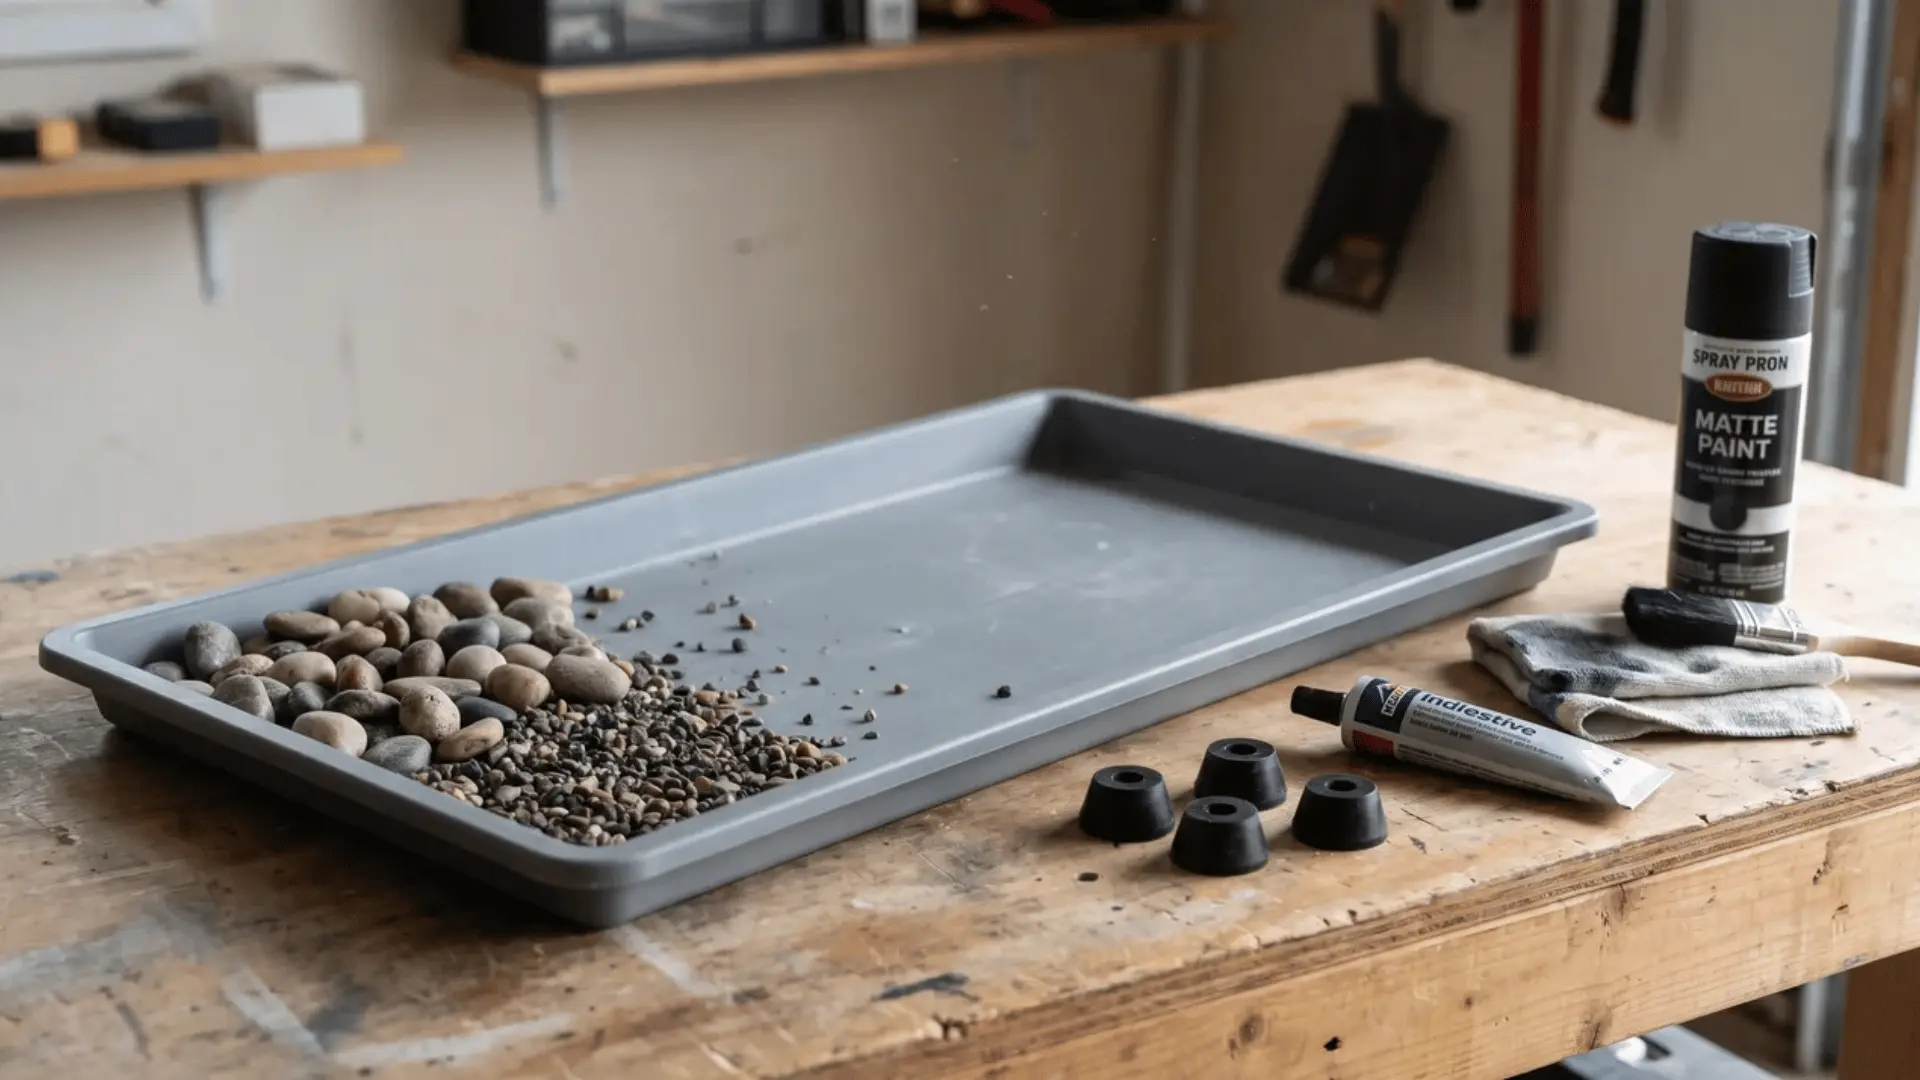
An entryway boot tray keeps wet shoes, dirt, and mud from spreading across nearby floors.
You can create a simple version from a shallow tray and customize its appearance to suit your entryway.
Cost: $10–$25 | Time: 1 hour | Difficulty: Easy
What You Need:
- Shallow metal or plastic tray
- Cleaning cloth
- Spray paint, optional
- Rubber feet
- Adhesive
- Small stones, optional
How to Do:
- Clean and dry the tray completely.
- Lightly prepare the surface if your chosen paint requires it.
- Apply several light coats of spray paint if desired.
- Let the finish dry and cure fully.
- Attach rubber feet underneath to protect the floor.
- Add small stones for drainage if you regularly store wet footwear.
16. Add Decorative Shelf Liner
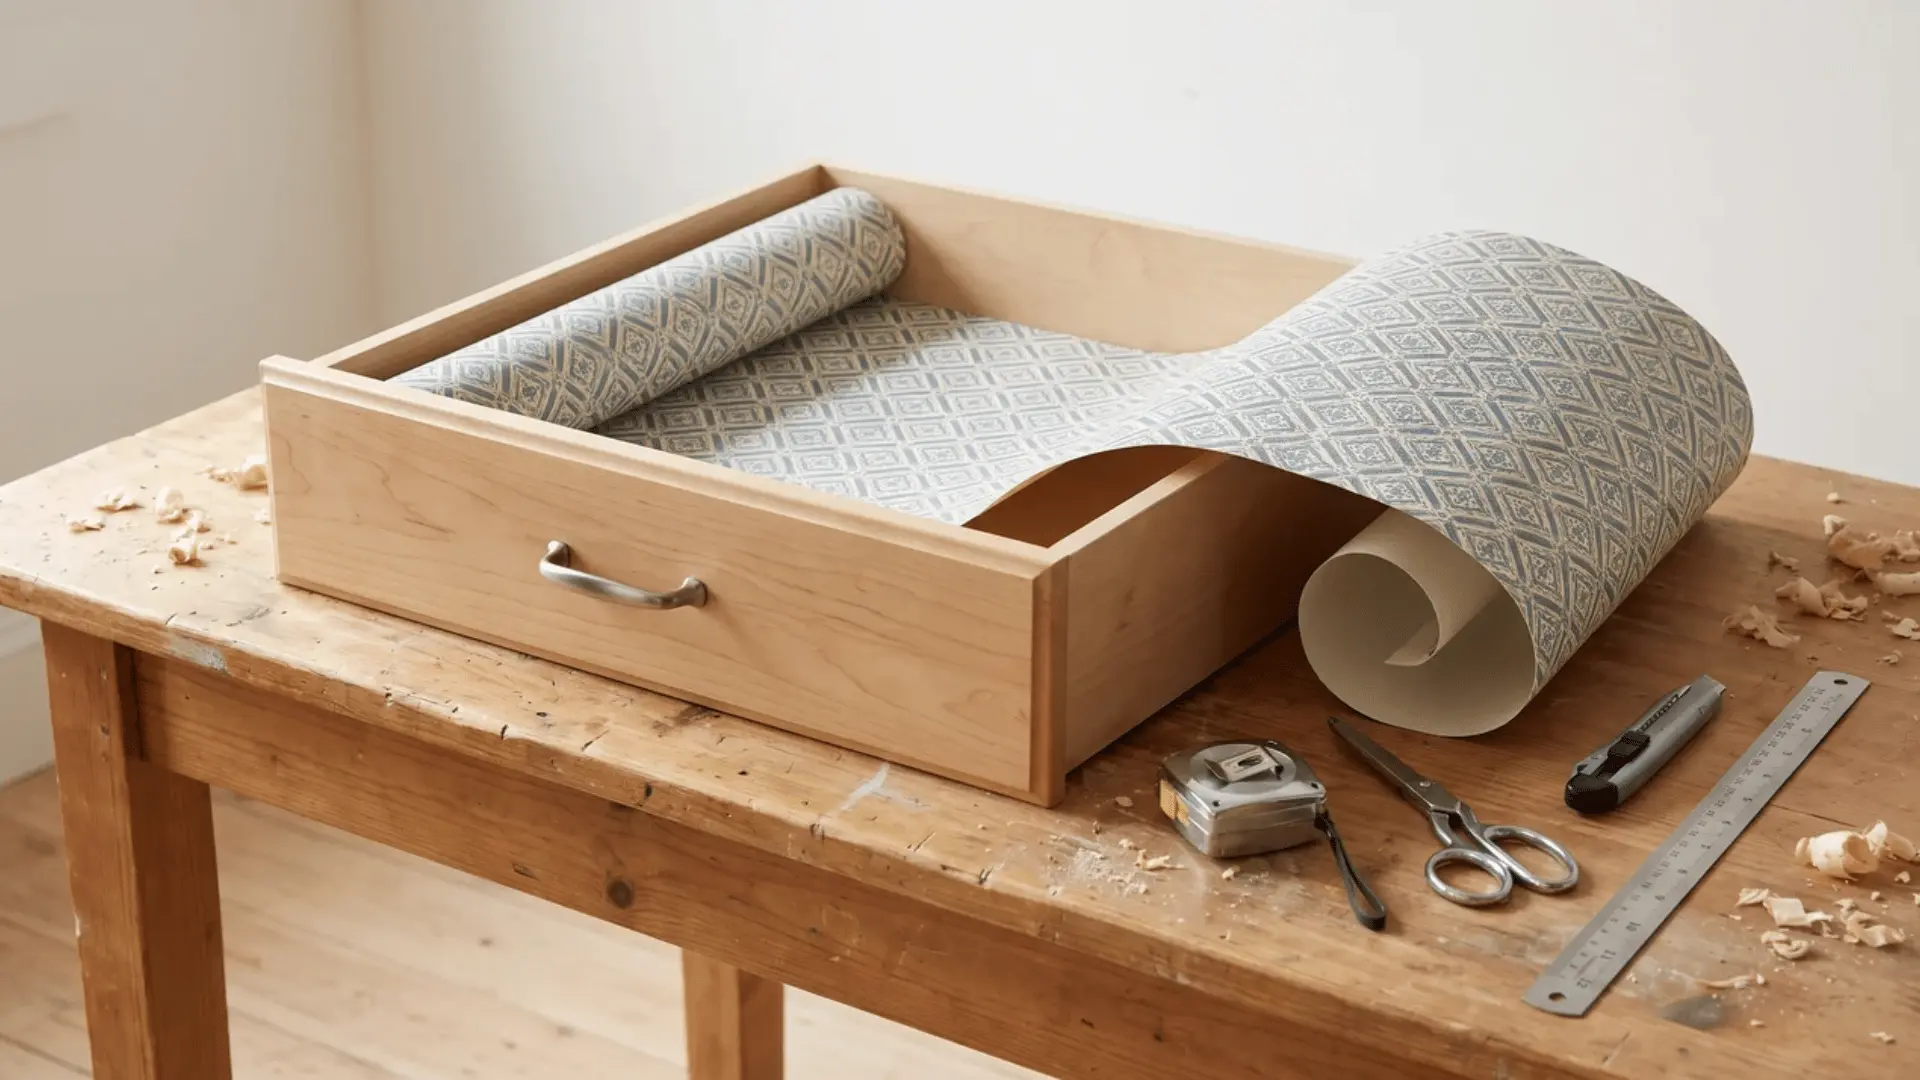
Decorative shelf liner can protect cabinet surfaces while adding color or pattern inside drawers, closets, and cupboards. The project needs only careful measuring and trimming, making it one of the simplest updates available.
Cost: $10–$20 | Time: 1 hour | Difficulty: Easy
What You Need:
- Shelf liner
- Measuring tape
- Scissors
- Utility knife
- Straightedge
- Cleaning cloth
How to Do:
- Remove everything from the shelf or drawer.
- Clean the surface and let it dry completely.
- Measure the width and depth of the area.
- Cut the liner slightly larger than the measurements.
- Position and smooth the liner from one side to the other.
- Trim excess material along the edges for a neat fit.
17. Install Hooks for Extra Storage
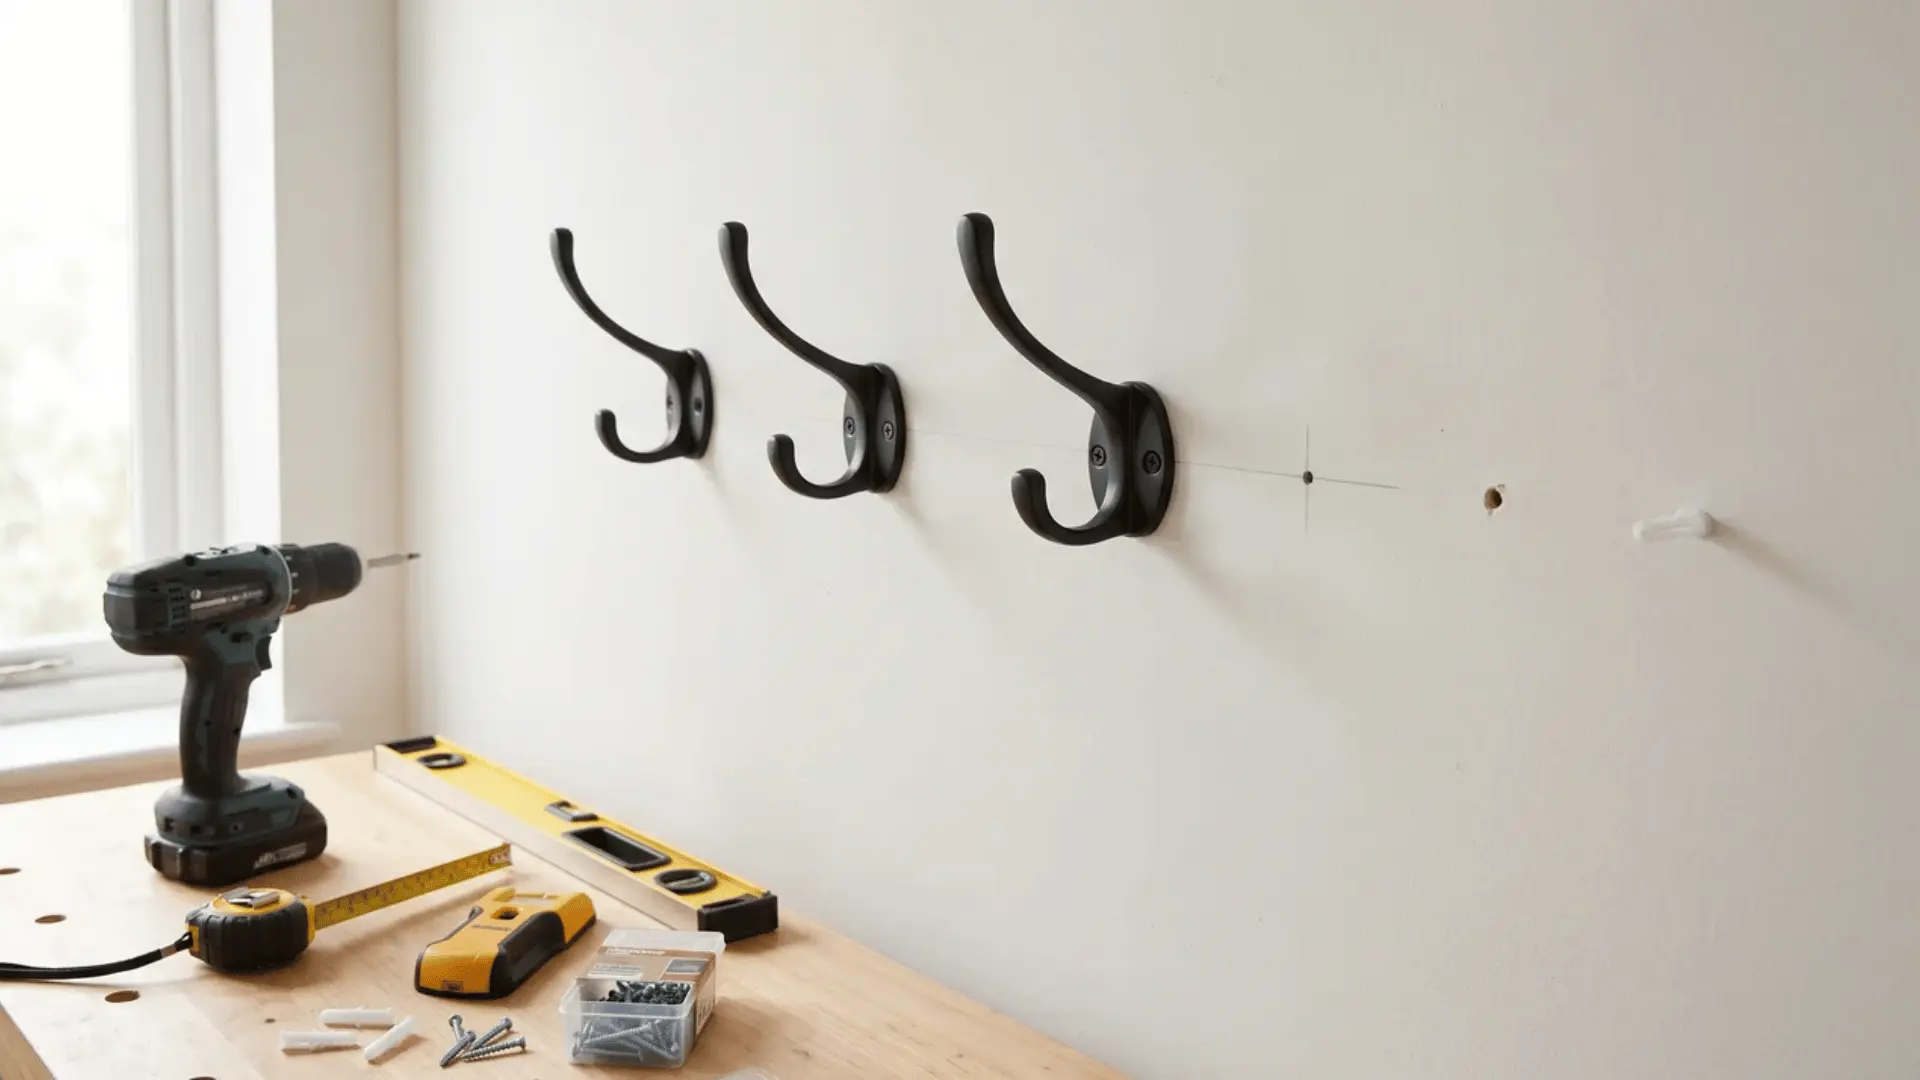
Wall hooks can create useful storage in entryways, kitchens, bathrooms, closets, and utility rooms.
Choosing suitable anchors and spacing the hooks evenly helps them stay secure while keeping frequently used items easy to reach.
Cost: $15–$35 | Time: 1 hour | Difficulty: Easy
What You Need:
- Wall hooks
- Stud finder
- Level
- Measuring tape
- Drill
- Screws or wall anchors
How to Do:
- Decide what the hooks will hold and choose an appropriate height.
- Measure and mark each hook position evenly.
- Use a level to make sure the row stays straight.
- Locate studs or install suitable drywall anchors.
- Drill pilot holes and attach each hook securely.
- Test the hooks before placing heavier items on them.
18. Upcycle a Small Side Table
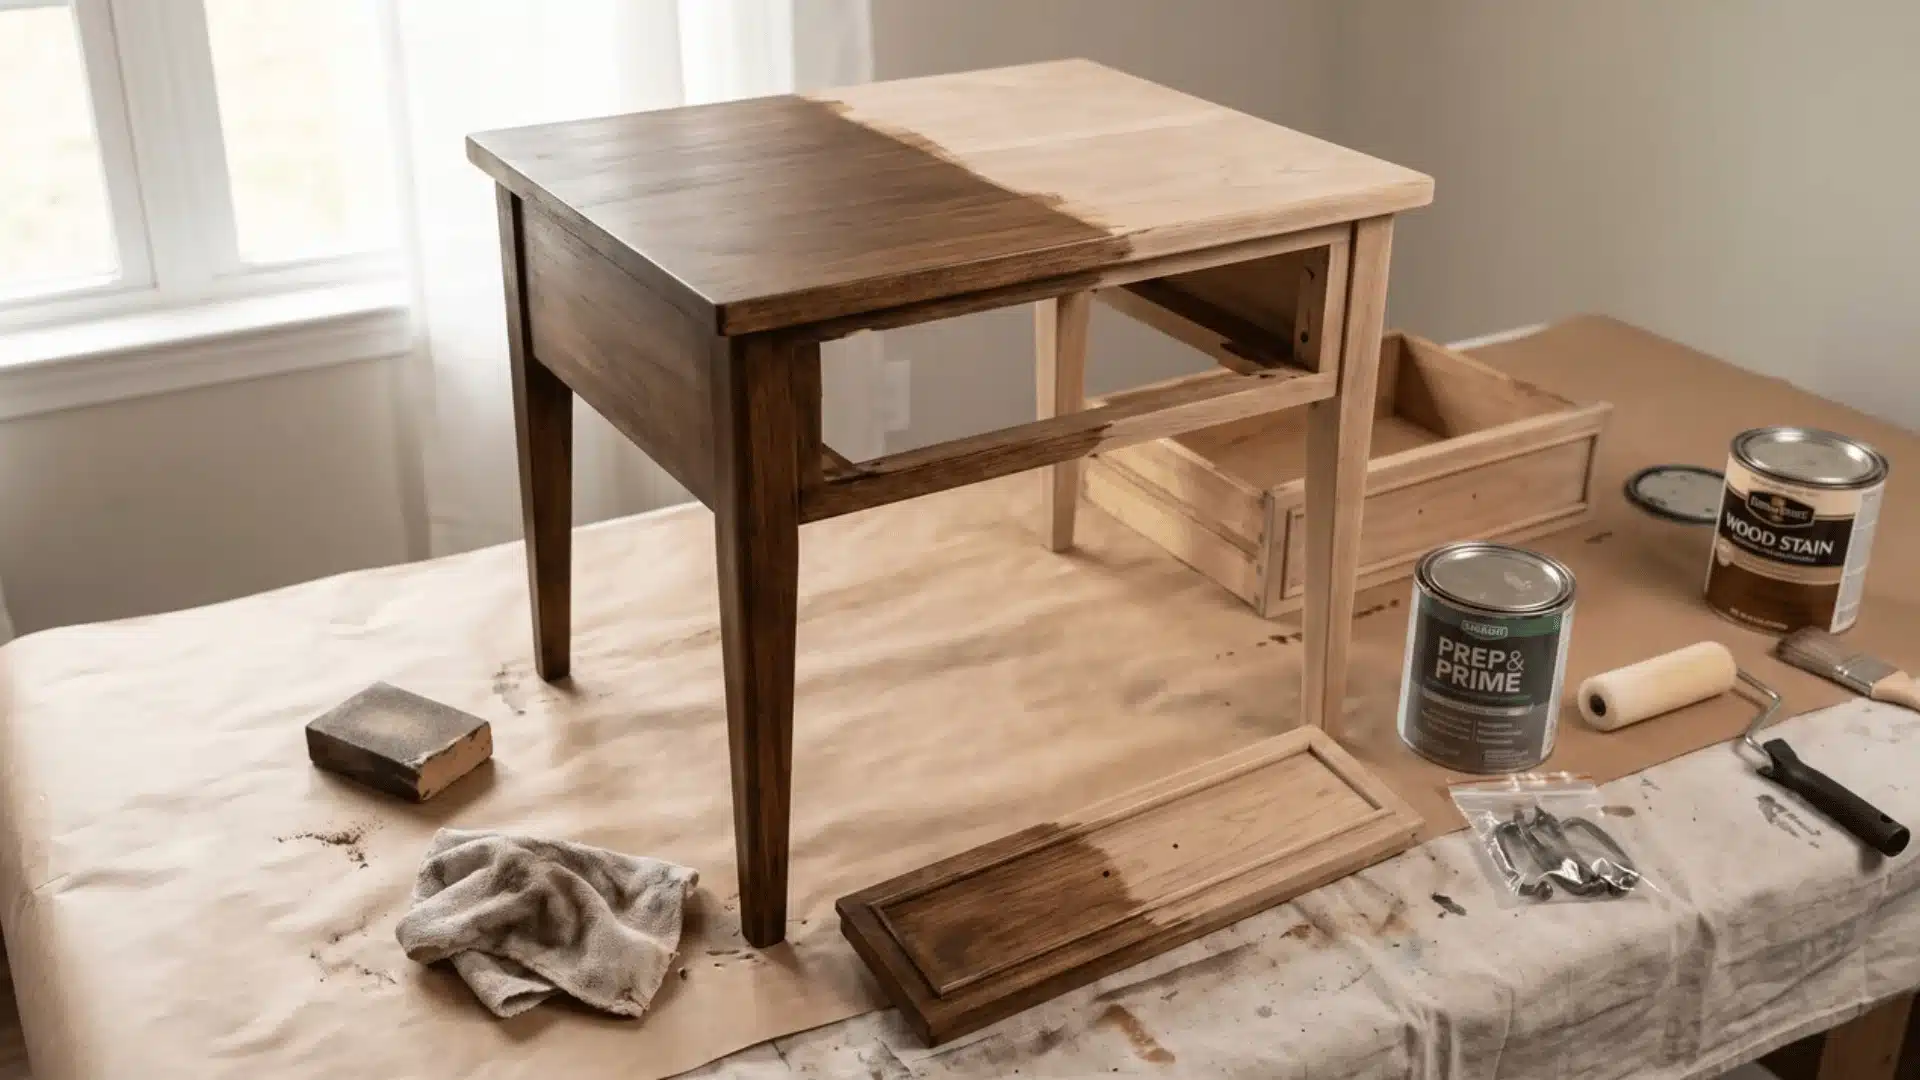
Upcycling an older side table can give worn furniture a completely different look while keeping it out of the trash.
Paint, stain, updated hardware, and a few upcycled furniture ideas can handle most cosmetic damage or dated finishes.
Cost: $20–$50 | Time: 1–2 days | Difficulty: Moderate
What You Need:
- Sandpaper
- Cleaning cloth
- Primer
- Paint or wood stain
- Paintbrush or foam roller
- New hardware, optional
How to Do:
- Remove drawers, knobs, handles, and other detachable pieces.
- Clean the table to remove dirt and grease.
- Sand the existing finish until the surface feels smooth.
- Apply primer if you plan to paint the table.
- Add thin coats of paint or stain and allow proper drying.
- Reattach the hardware or replace it with updated pieces.
19. Make a Wooden Book or Tablet Stand
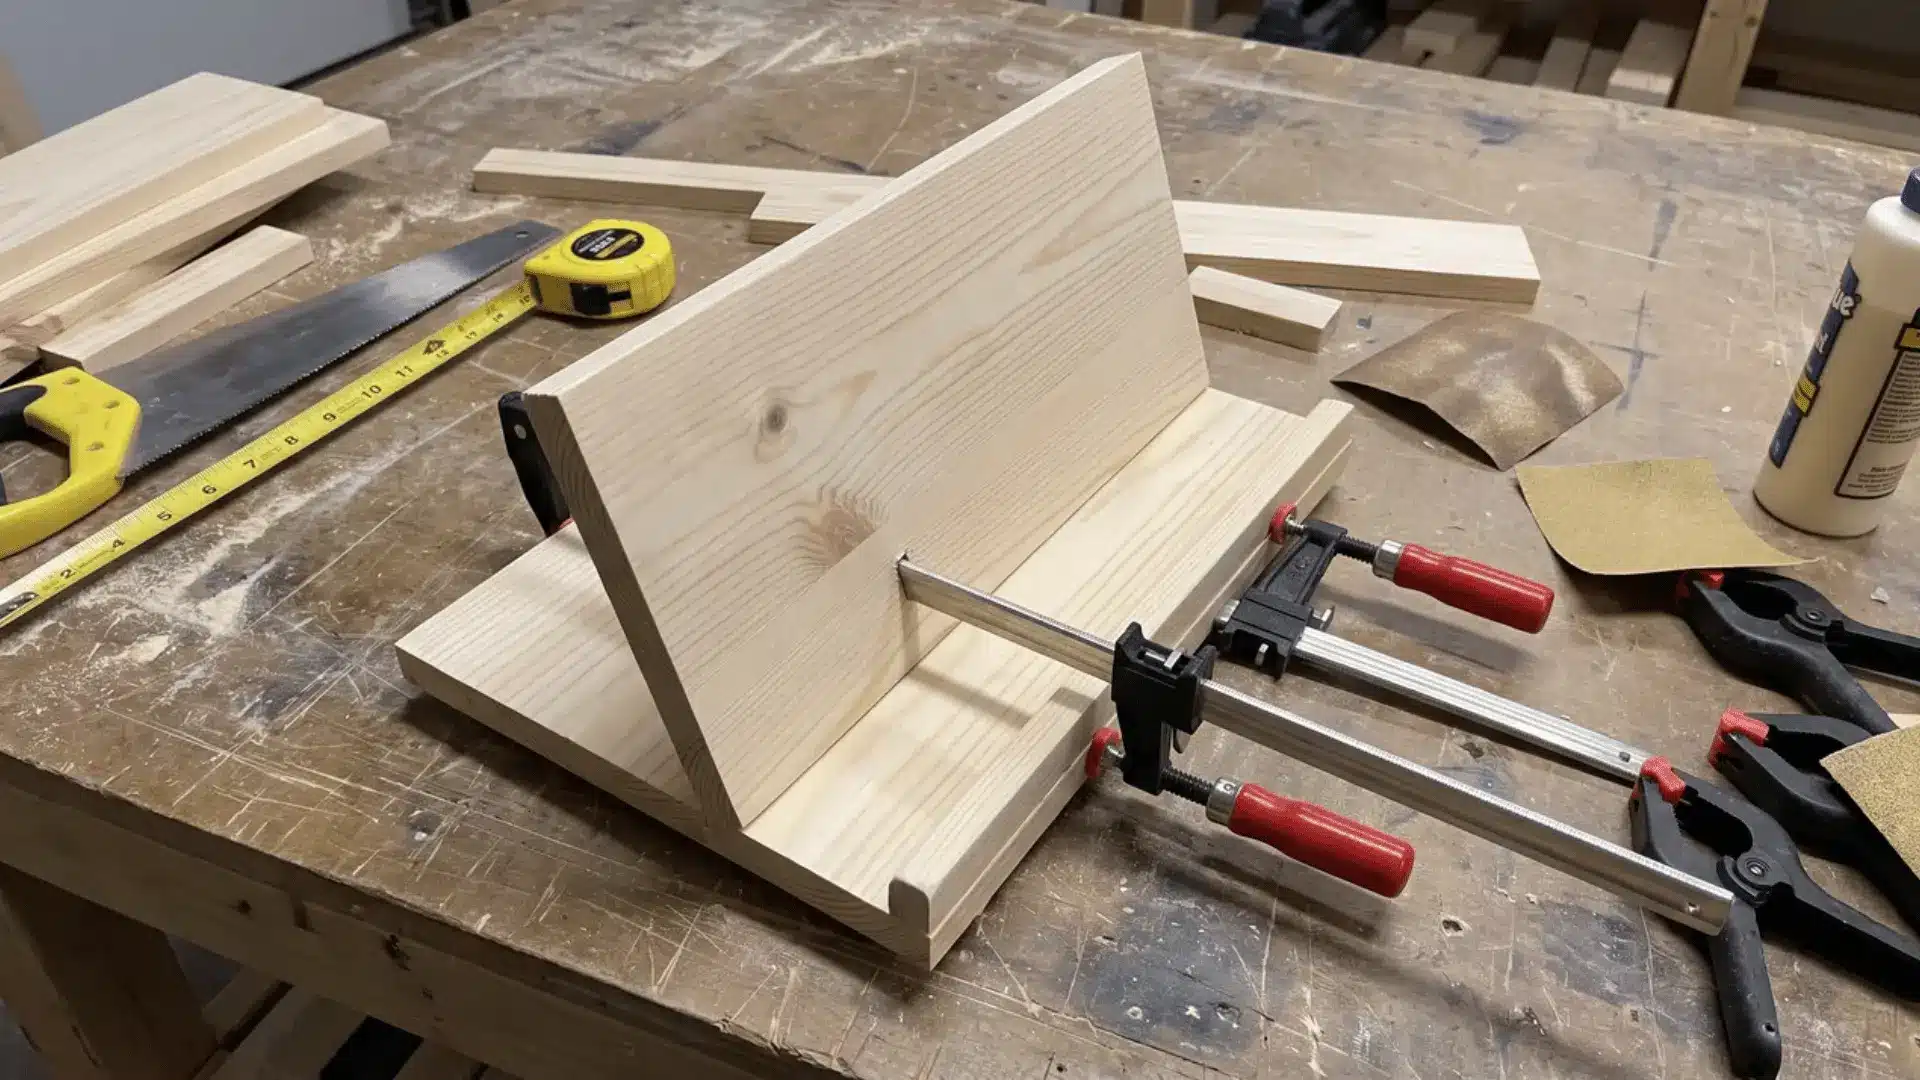
A simple wooden stand keeps cookbooks, tablets, or reading material upright while leaving your hands free.
The project uses only a few wood pieces, making it a manageable introduction to basic cutting and assembly.
Cost: $15–$30 | Time: 2–3 hours | Difficulty: Moderate
What You Need:
- Wood board
- Measuring tape
- Saw
- Sandpaper
- Wood glue
- Clamps
How to Do:
- Measure and cut a base, angled back support, and narrow front ledge.
- Sand every cut edge until smooth.
- Position the backing at a comfortable viewing angle.
- Glue the backing securely to the base.
- Attach the small ledge along the front edge.
- Clamp the pieces until the glue dries completely.
20. Refresh Old Planters With Paint
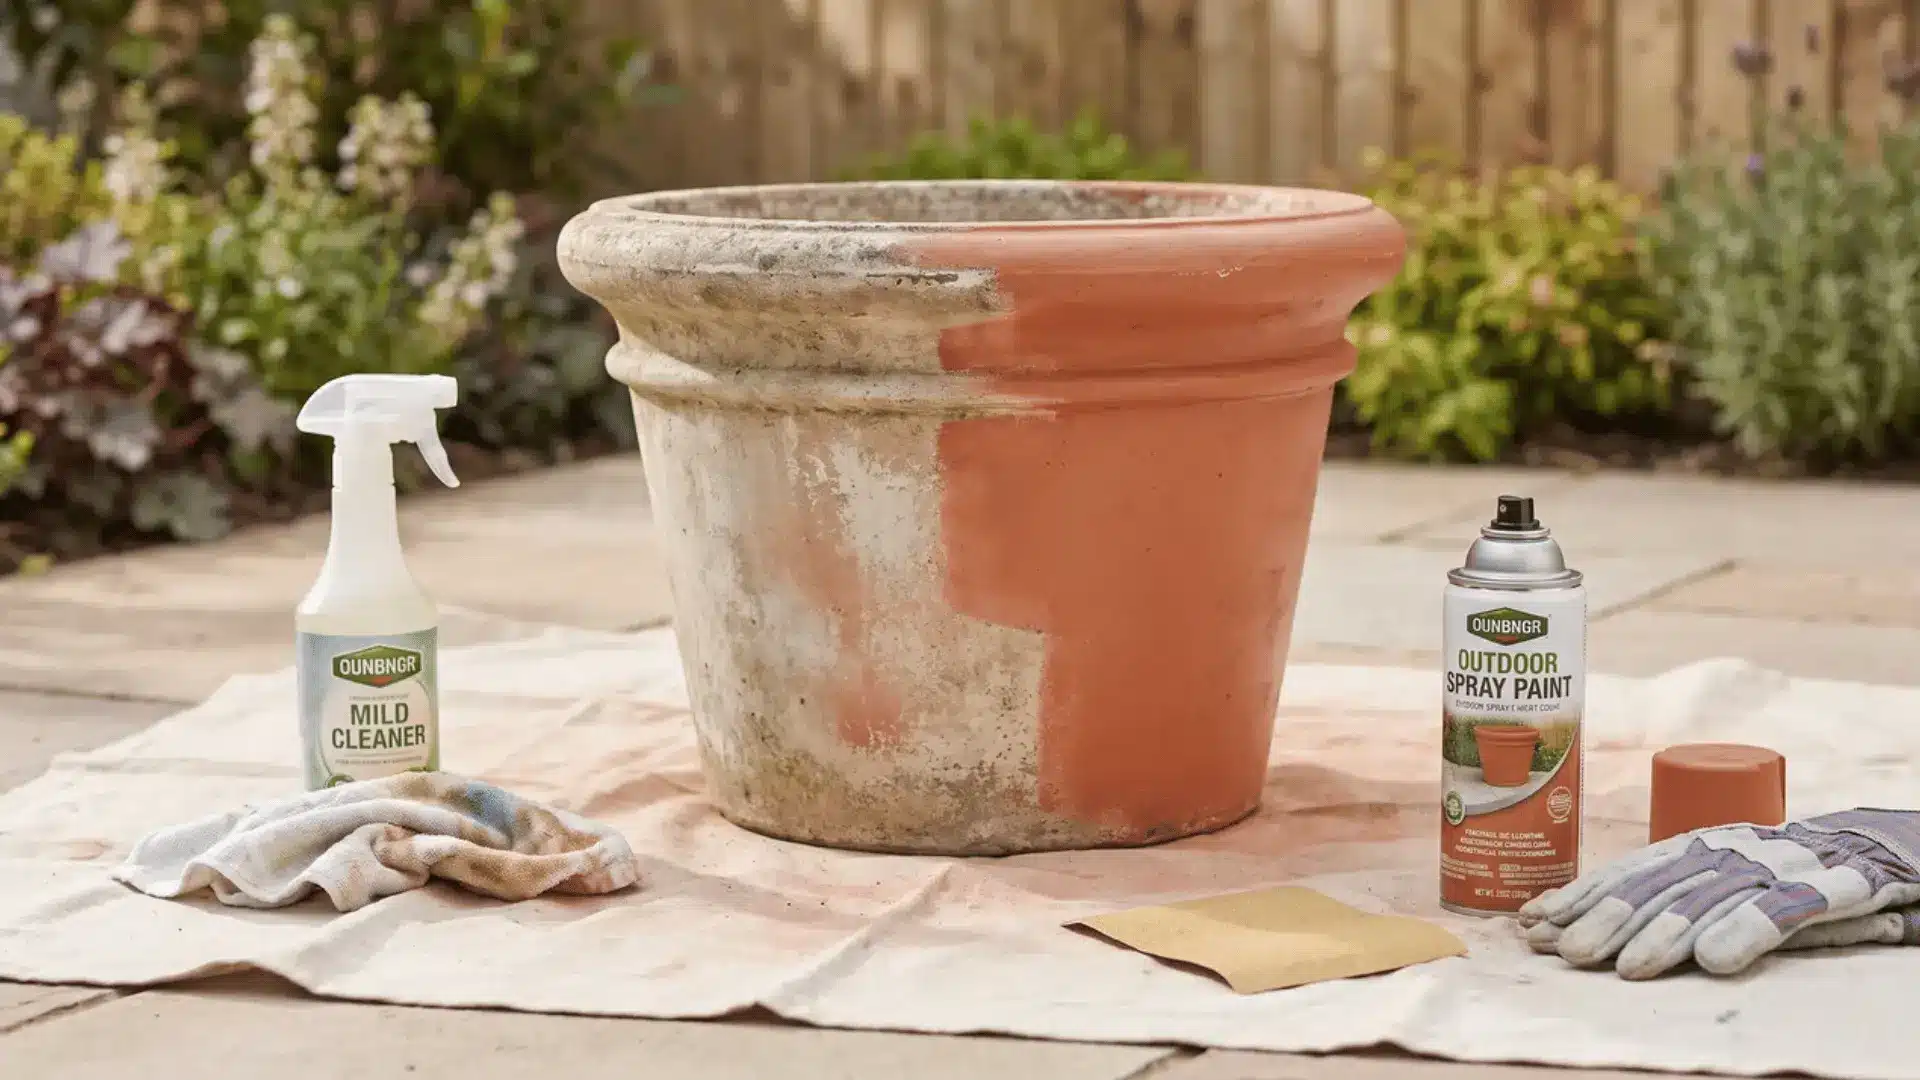
Painting old planters can bring faded or mismatched containers back into use without replacing them.
The right preparation and outdoor-rated paint help the finish handle sunlight, water, and regular exposure to changing weather.
Cost: $10–$25 | Time: 1–2 hours | Difficulty: Easy
What You Need:
- Outdoor spray paint
- Mild cleaner
- Cleaning cloth
- Fine-grit sandpaper
- Drop cloth
- Protective gloves
How to Do:
- Empty the planter and wash away dirt or residue.
- Allow it to dry completely before painting.
- Lightly sand plastic or glossy surfaces if needed.
- Place the planter on a protected work surface outdoors.
- Apply two or more thin, even coats of outdoor paint.
- Let the paint cure fully before adding soil and plants.
21. Recaulk Around a Sink or Backsplash
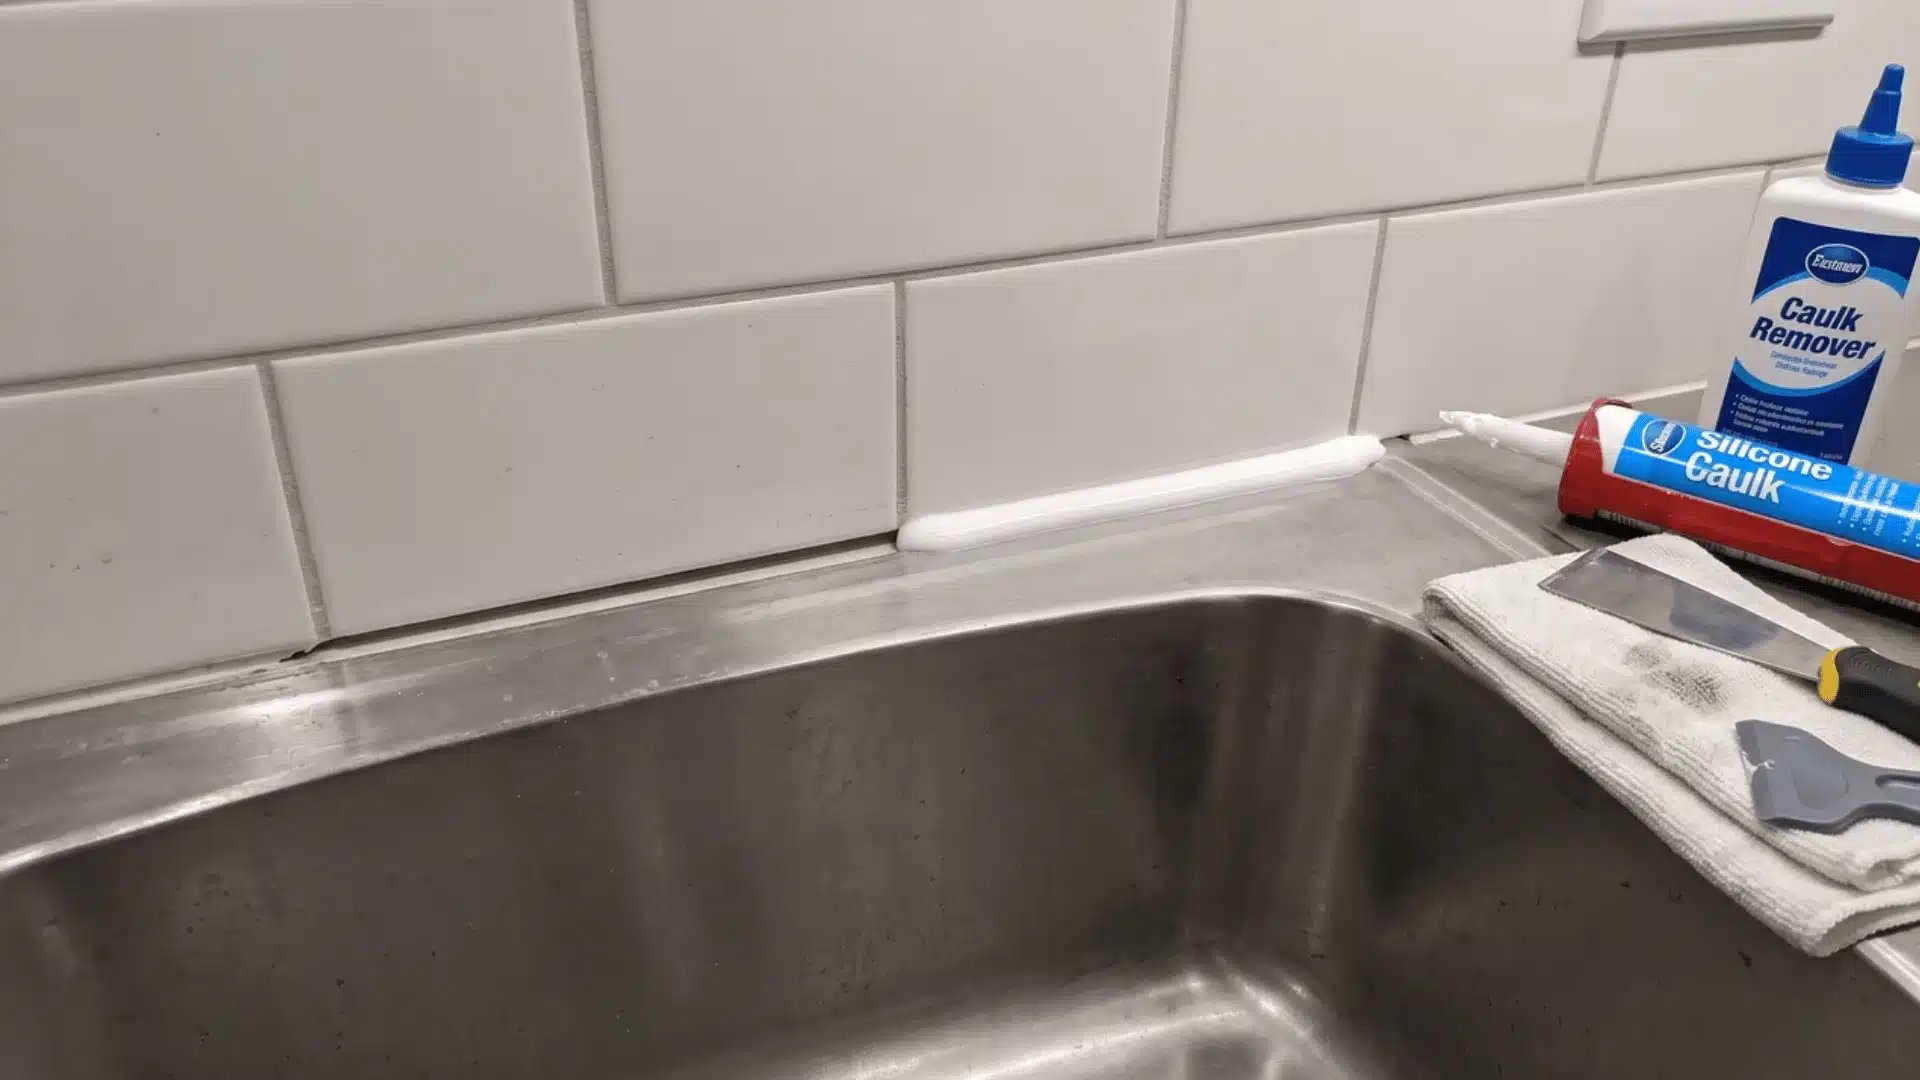
Replacing damaged caulk can improve appearance while helping keep water from entering gaps around sinks and backsplashes.
Removing the old material completely is important because fresh silicone needs a clean surface for proper adhesion.
Cost: $10–$20 | Time: 1–2 hours | Difficulty: Moderate
What You Need:
- Caulk remover
- Scraper
- Silicone caulk
- Caulk gun
- Cleaning cloth
- Caulk finishing tool
How to Do:
- Cut and remove all loose or damaged old caulk.
- Scrape away remaining residue without damaging nearby surfaces.
- Clean the joint thoroughly and let it dry.
- Apply a thin, continuous bead of silicone caulk.
- Smooth the bead with a finishing tool or damp finger.
- Allow the caulk to cure before exposing the area to water.
Common Mistakes to Avoid With DIY Projects
Even easy DIY projects can go wrong in small ways. These mistakes turn a simple weekend job into a repeat trip to the hardware store.
- Skipping prep work: Cleaning, sanding, or taping before you start isn’t optional. Skipping it is why paint peels and adhesives fail early.
- Measuring wrong: A quick guess instead of an actual measurement leads to gaps, crooked lines, and wasted materials. Measure twice before you cut or drill anything.
- Using the wrong adhesive or fastener: Not every glue or screw works for every surface. Check what the material actually needs before you commit to it.
- Rushing dry or cure time: Paint, caulk, and adhesive all need real time to set. Touching them too soon undoes the work you just did.
- Taking on more than your skill level: Some jobs need real experience, especially anything involving wiring or structural changes. Know when to stop and call someone.
Most of these come down to patience, not skill. Slow down at the start, and the rest of the project goes a lot smoother.
Conclusion
Easy DIY projects work best when they match your time, budget, tools, and skill level. You do not have to repaint a whole room or rebuild furniture to make your home feel better.
A new cabinet pull, fresh caulk line, painted planter, floating shelf, or peel-and-stick update can still create a noticeable change.
The key is to prep carefully, measure twice, use the right materials, and give paint, glue, or caulk enough time to dry.
Start with one small project you can finish confidently, then build from there.
Which DIY project are you trying first this weekend? Share your pick in the comments.
Frequently Asked Questions
What is the Easiest DIY Project for Beginners?
Replacing cabinet knobs or refreshing old planters with paint are the easiest places to start. Both take under two hours, need only a screwdriver or a can of spray paint, and are hard to mess up badly, which makes them a good confidence-building first project before moving on to anything with drying or curing time.
What DIY Projects Can I Do without Power Tools?
No-sew window treatments, decorative shelf liner, a gallery wall, and an entryway boot tray all skip power tools entirely. Scissors, a level, and a measuring tape cover most of what you need, which makes these good picks for renters or anyone without a drill or a full toolbox on hand.
What DIY Projects Can I Do for Under $50?
Most easy DIY projects on this list fall under that budget, including peel-and-stick backsplash, cabinet hardware swaps, entryway trays, floating shelves, and planter refreshes. Paint and small hardware usually make up the highest cost, so buying only what one project needs, instead of a whole kit, keeps spending closer to the low end.
Which DIY Projects are Renter-Friendly?
Peel-and-stick wallpaper, decorative shelf liner, removable adhesive hooks, and a framed dry-erase board won’t damage walls or violate most leases. Skip anything involving drilling, permanent paint, or built-in molding, and check your lease terms first if you’re unsure whether a specific project counts as a modification.
When Should I Hire a Professional Instead of DIY?
Call a professional for anything involving electrical wiring, gas lines, load-bearing walls, or major plumbing. These jobs carry real safety risks, often require permits your city enforces strictly, and licensed work protects you if something goes wrong later, which is worth the added cost on projects like these.