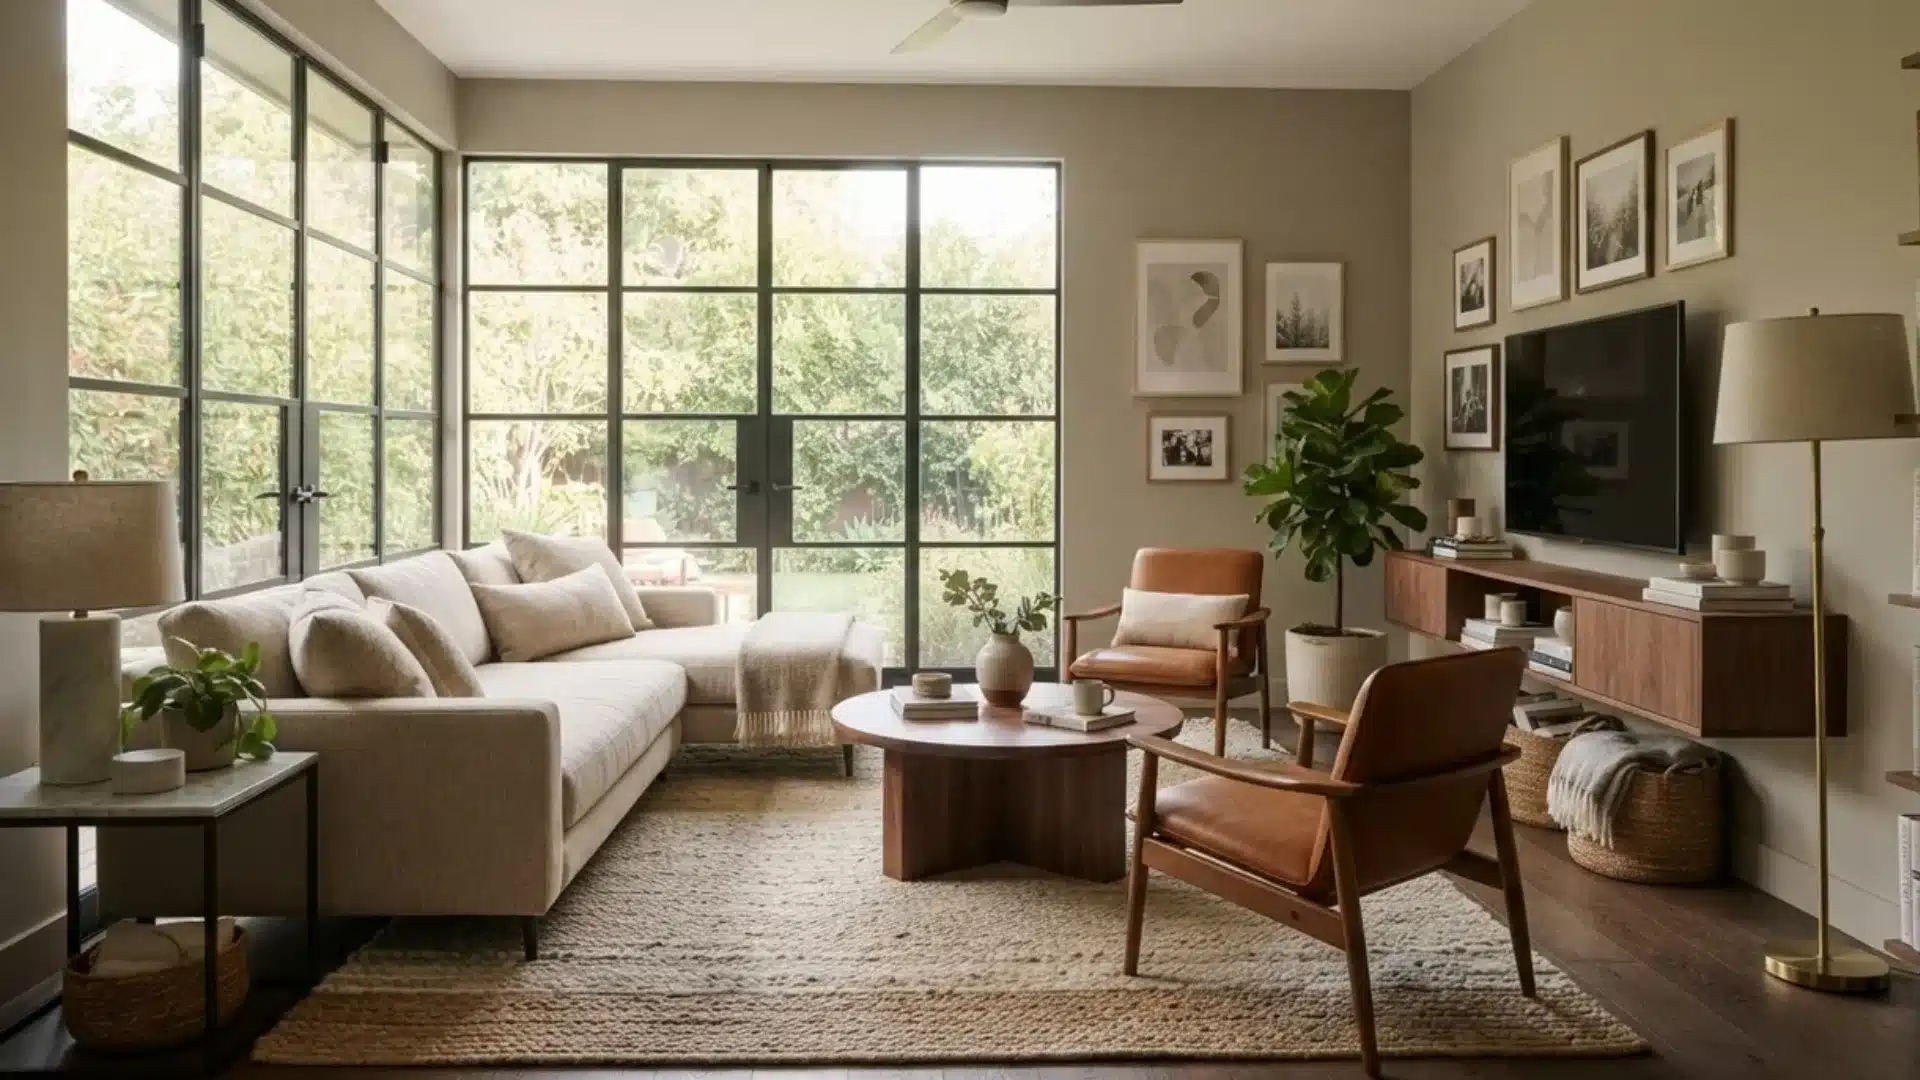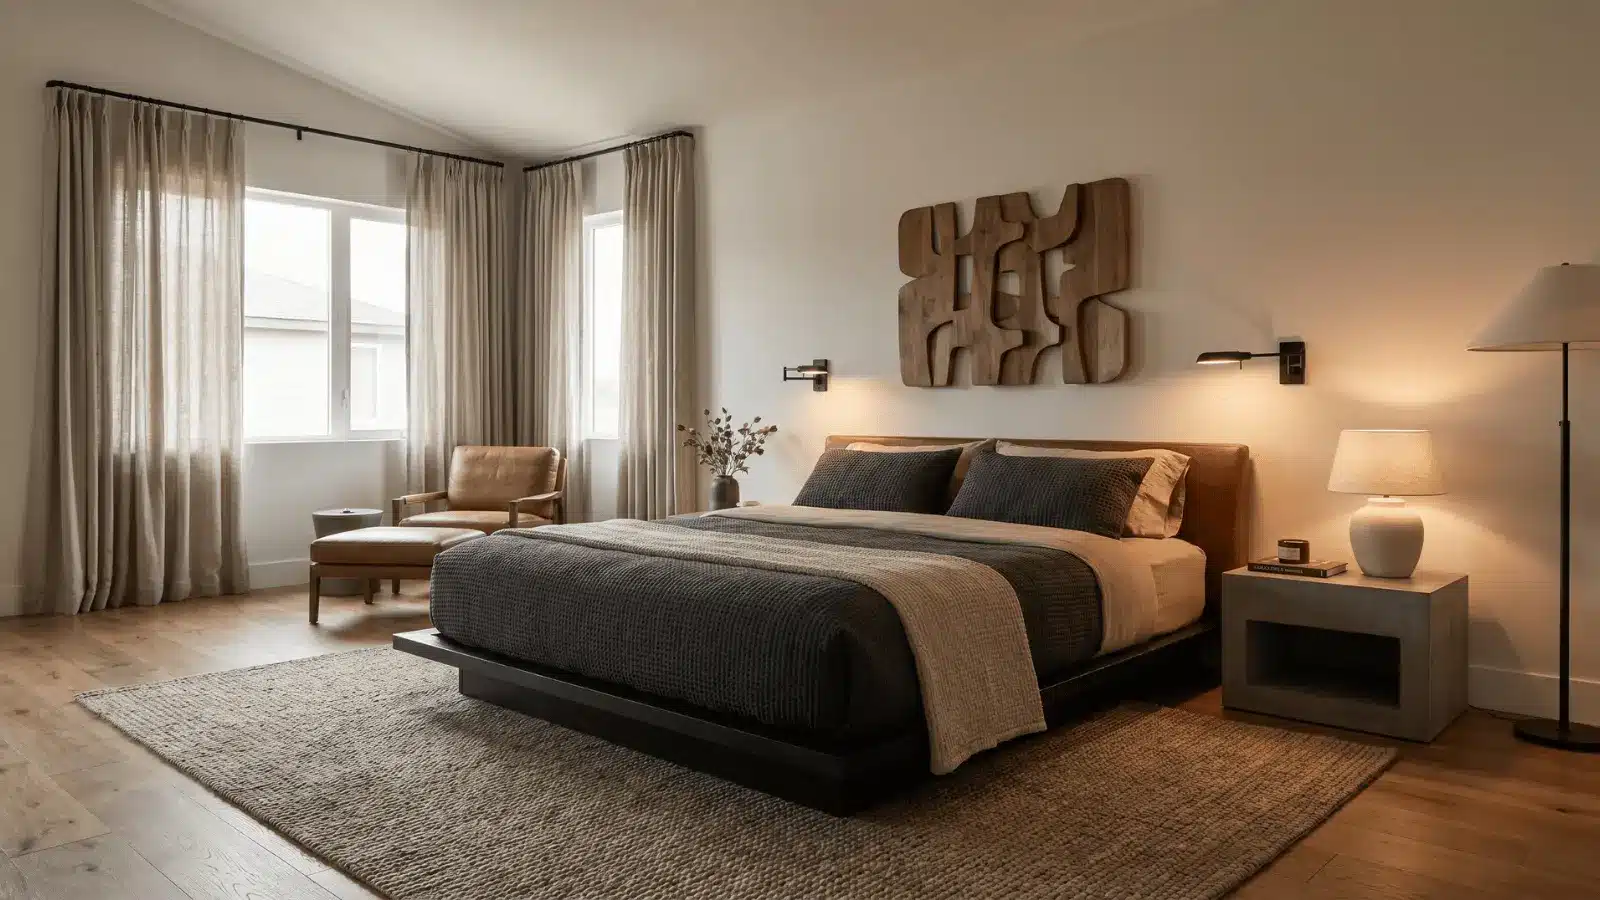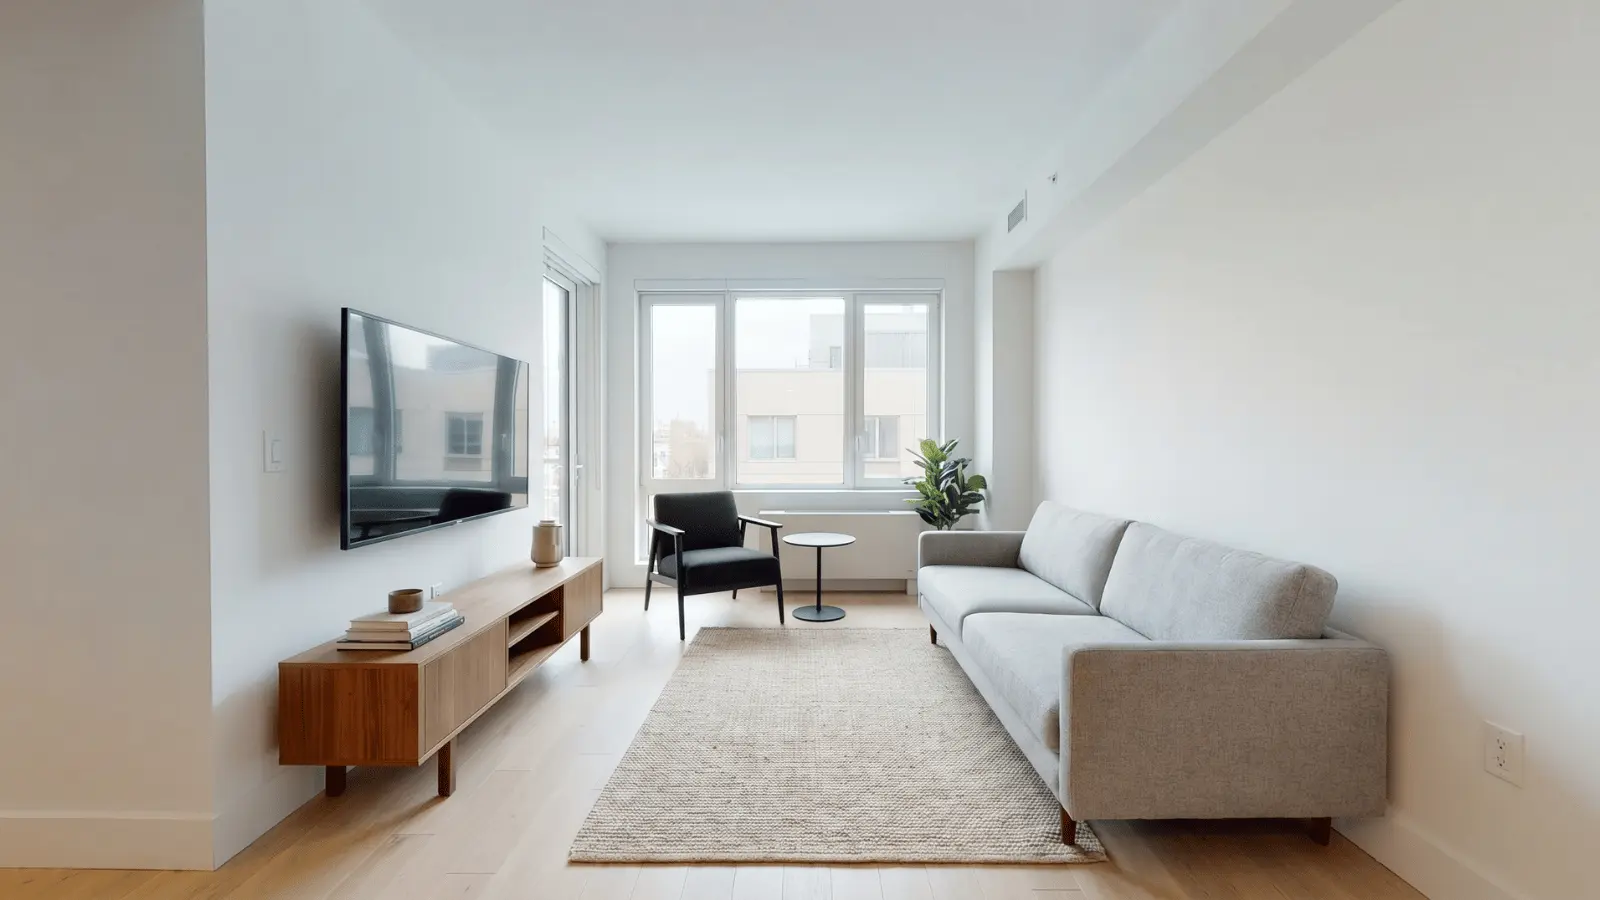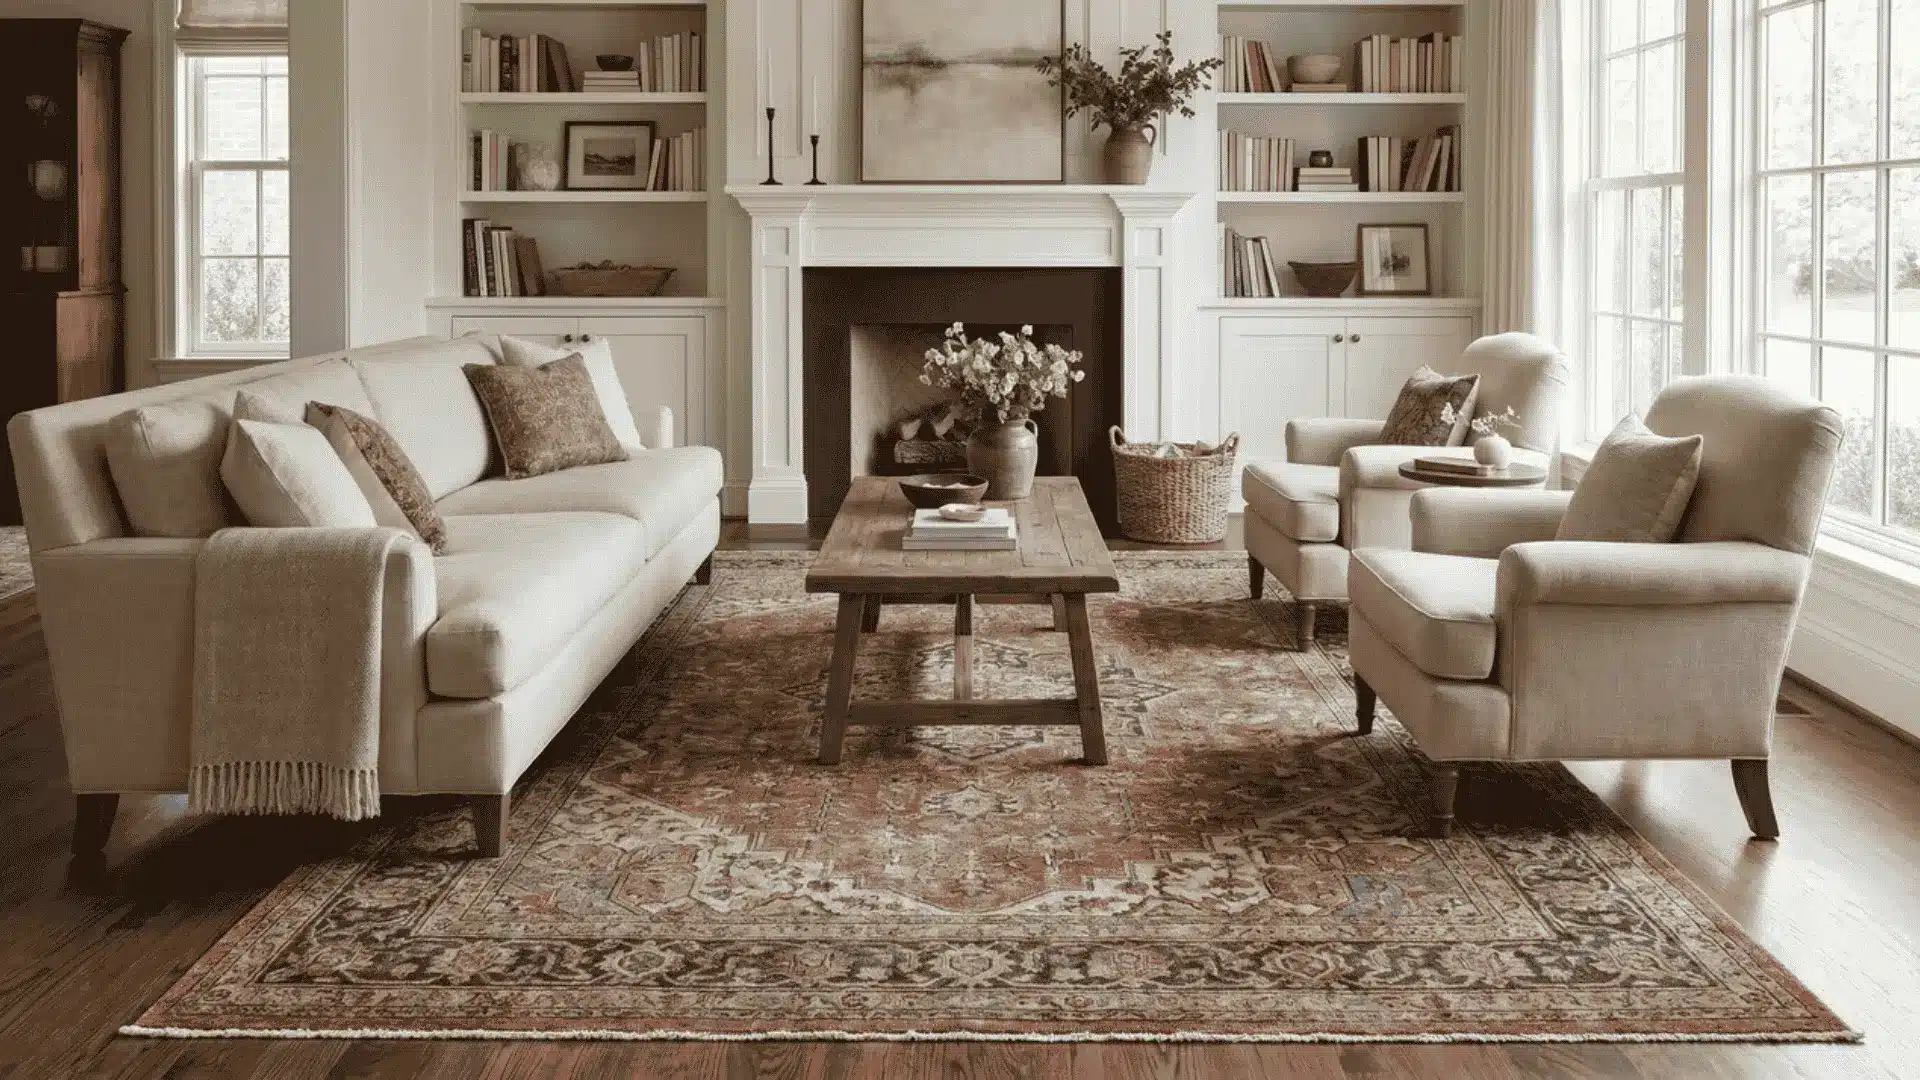



A well-decorated home reflects personal taste rather than off-the-shelf choices. This is a key reason why DIY home decor has gained consistent attention among owners and renters alike.
Basic materials, a clear plan, and some hands-on effort are often all that is required to improve a room’s overall feel. No formal design training is necessary to achieve good results.
Minor updates, such as painting a wall, building a shelf, or reworking a piece of furniture, can noticeably change how a space looks and functions.
This blog presents practical projects spanning multiple room types, design styles, and experience levels to give readers a solid starting point.
Creative DIY Home Decor for Your Space
These dIY home decor projects cover a range of skill levels, room types, and budgets, giving readers a solid starting point for any area of the home.
1. Painted Arch Accent Wall
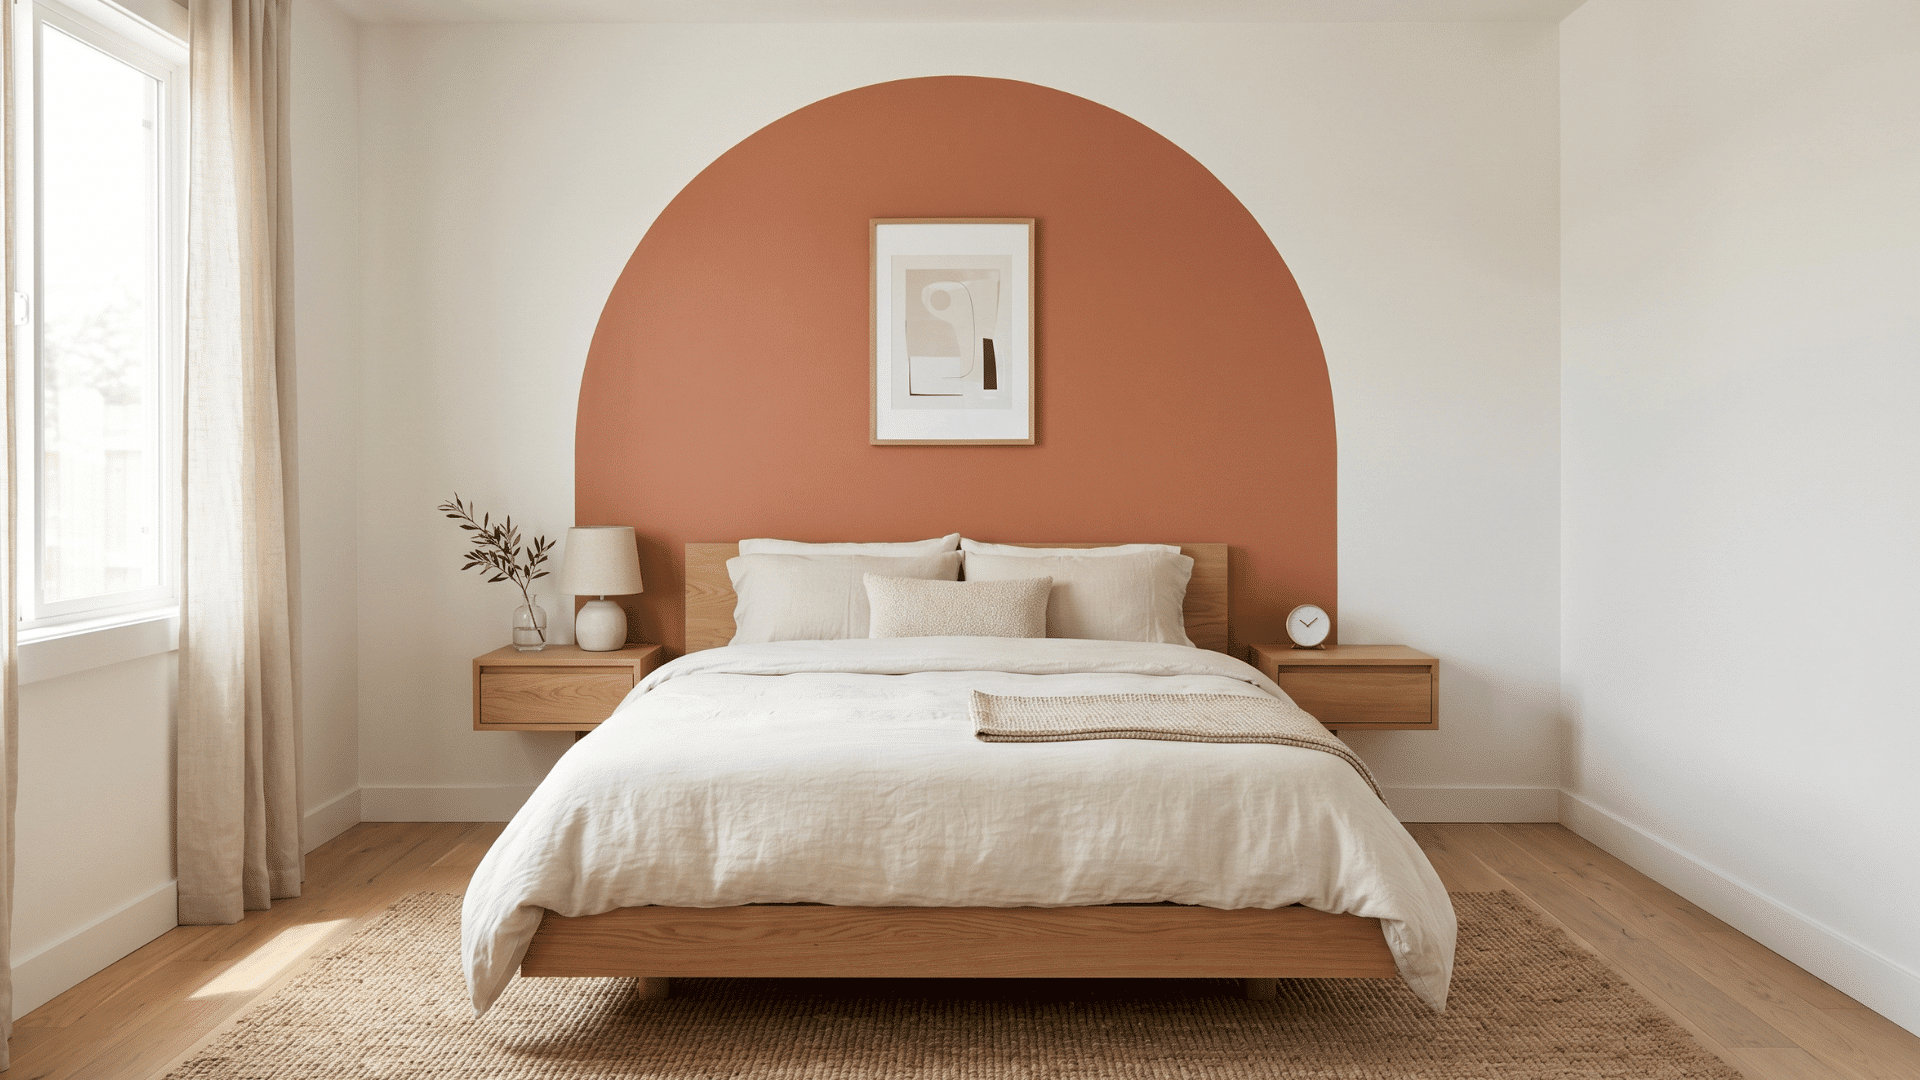
A painted arch accent wall creates a strong focal point in any room using paint and basic masking tools, with no permanent wall changes required.
How to Make:
- Mark the center point of the wall and use a string and pencil to draw a large arch outline
- Apply painter’s tape carefully along the pencil line to create a clean, defined edge
- Fill the arch shape with two even coats of paint using a foam roller
- Use a small brush to cut in along the tape line and correct any uneven areas
- Peel the tape off slowly once the final coat is completely dry for a sharp finish
2. Floating Wooden Corner Shelves
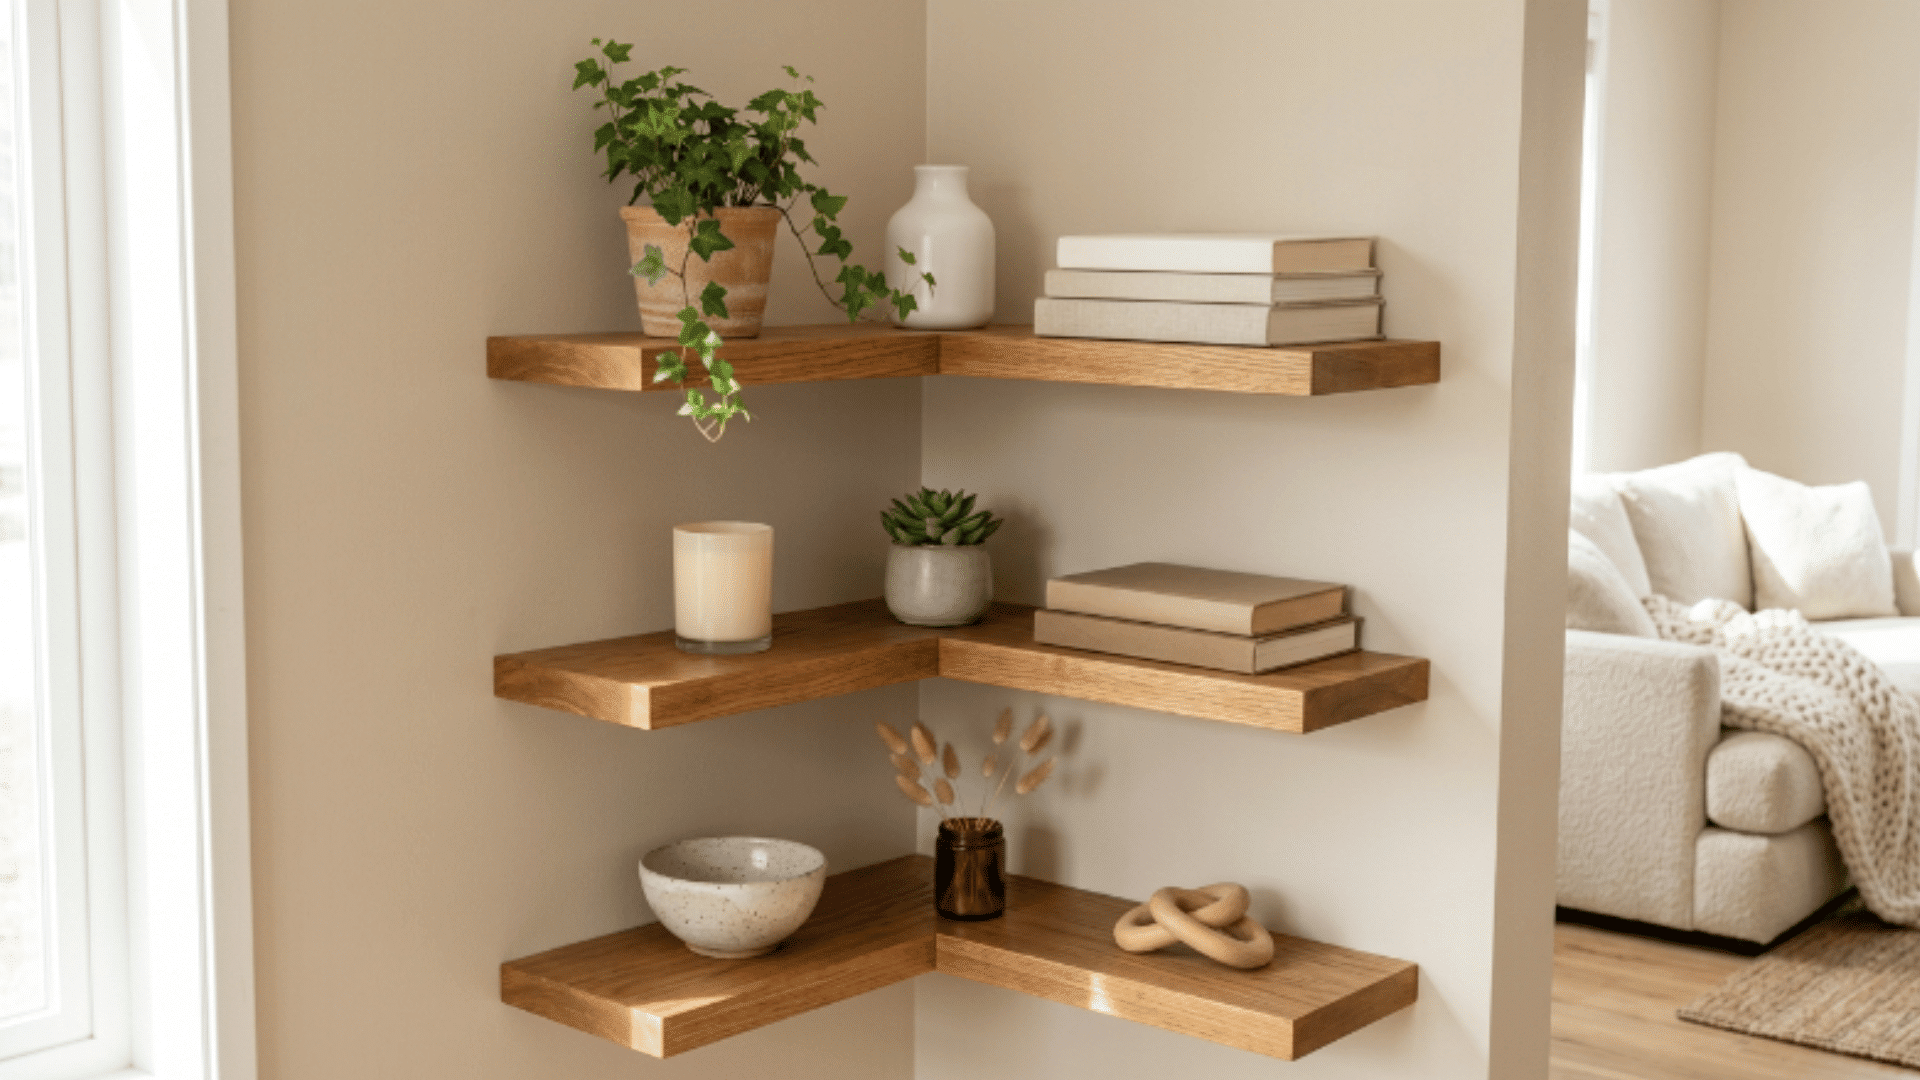
Floating wooden corner shelves make use of unused corner wall space and provide an open display surface without the bulk of a standard shelving unit.
How to Make:
- Cut wood planks to the required corner dimensions and sand all surfaces smooth
- Mark bracket positions on the wall at the desired height using a level
- Drill into wall studs or use anchors and fix the brackets firmly in place
- Set the wood planks onto the brackets and secure from beneath with screws
- Apply stain or paint before placing books, plants, or decor items on top
3. DIY Coffee Bar Station
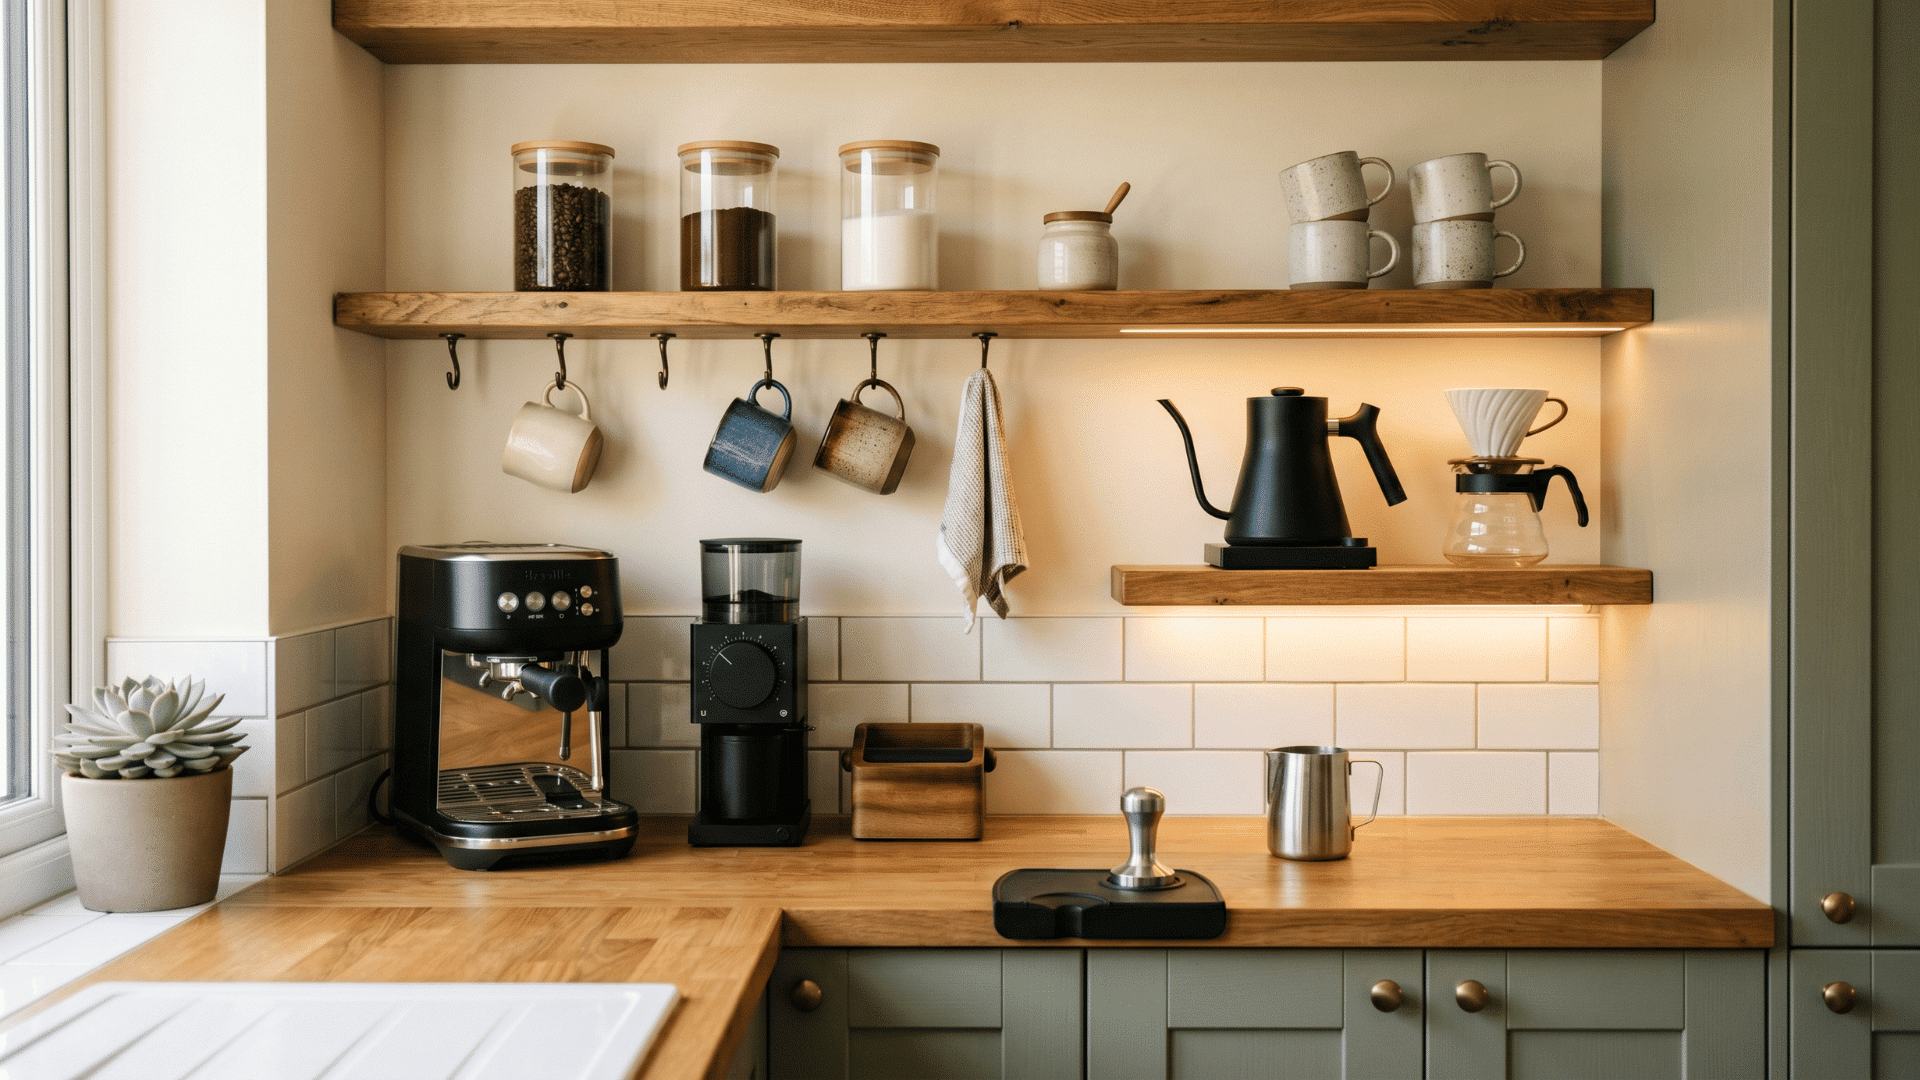
A DIY coffee bar station is a practical diy home decor update that organizes all coffee-making supplies in one dedicated spot, turning an unused countertop corner or shelf unit into a tidy beverage area.
How to Make:
- Choose a countertop corner, cart, or shelf unit as the base for the station
- Line the shelf surface with contact paper for a clean and easy-to-wipe finish
- Place a large tray to group the coffee maker, mugs, and canisters together neatly
- Add small baskets for pods, sugar sachets, and stirring supplies
- Hang a few hooks underneath a shelf to hold mugs by their handles
4. Rustic Ladder Blanket Holder
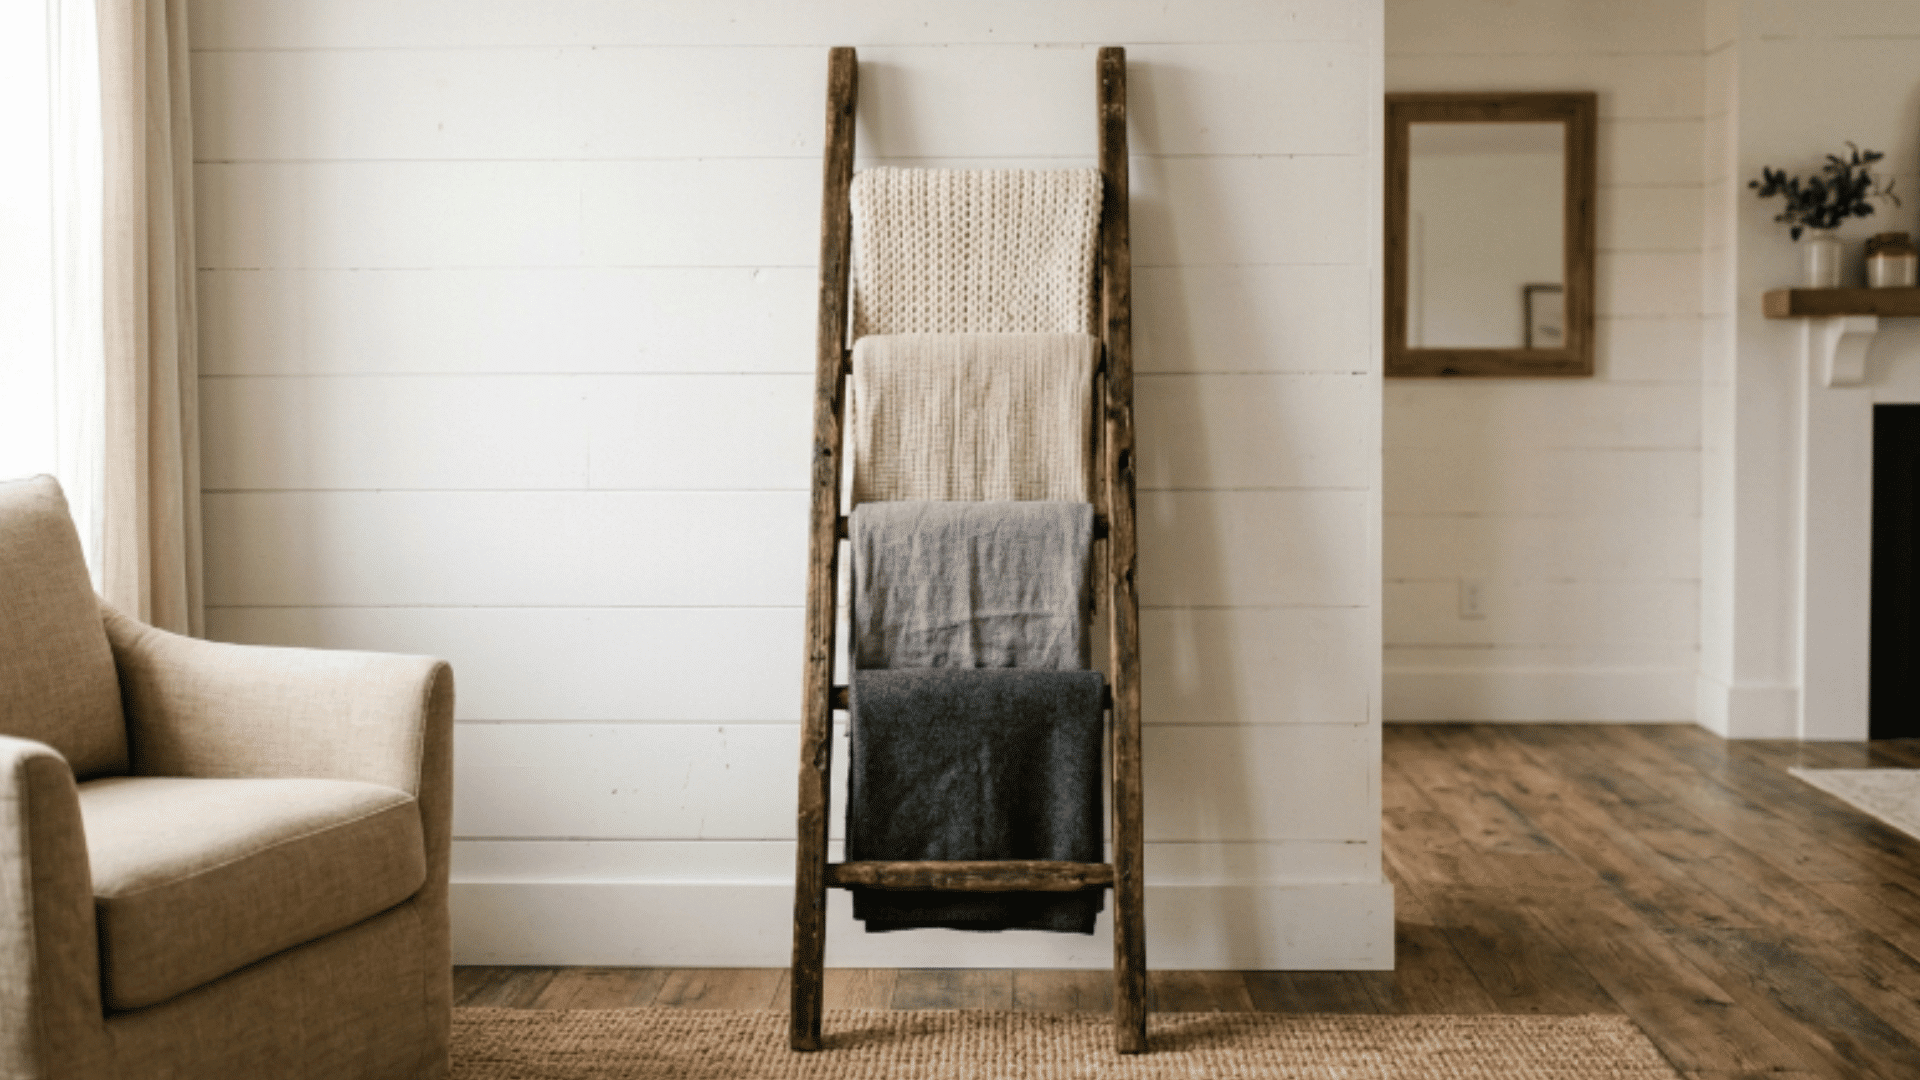
A rustic ladder blanket holder leans against a wall and provides a simple open-rung display rack for folded blankets, throws, and decorative textiles without requiring any wall fixings.
How to Make:
- Cut two equal-length side poles and several shorter rungs at consistent widths
- Sand all cut pieces thoroughly to remove rough edges and splinters
- Drill pilot holes into the side poles and attach each rung securely with screws
- Apply a coat of wood stain in the desired finish and allow to dry fully
- Lean the completed ladder against a wall and drape folded blankets over each rung
5. Textured Canvas Wall Art
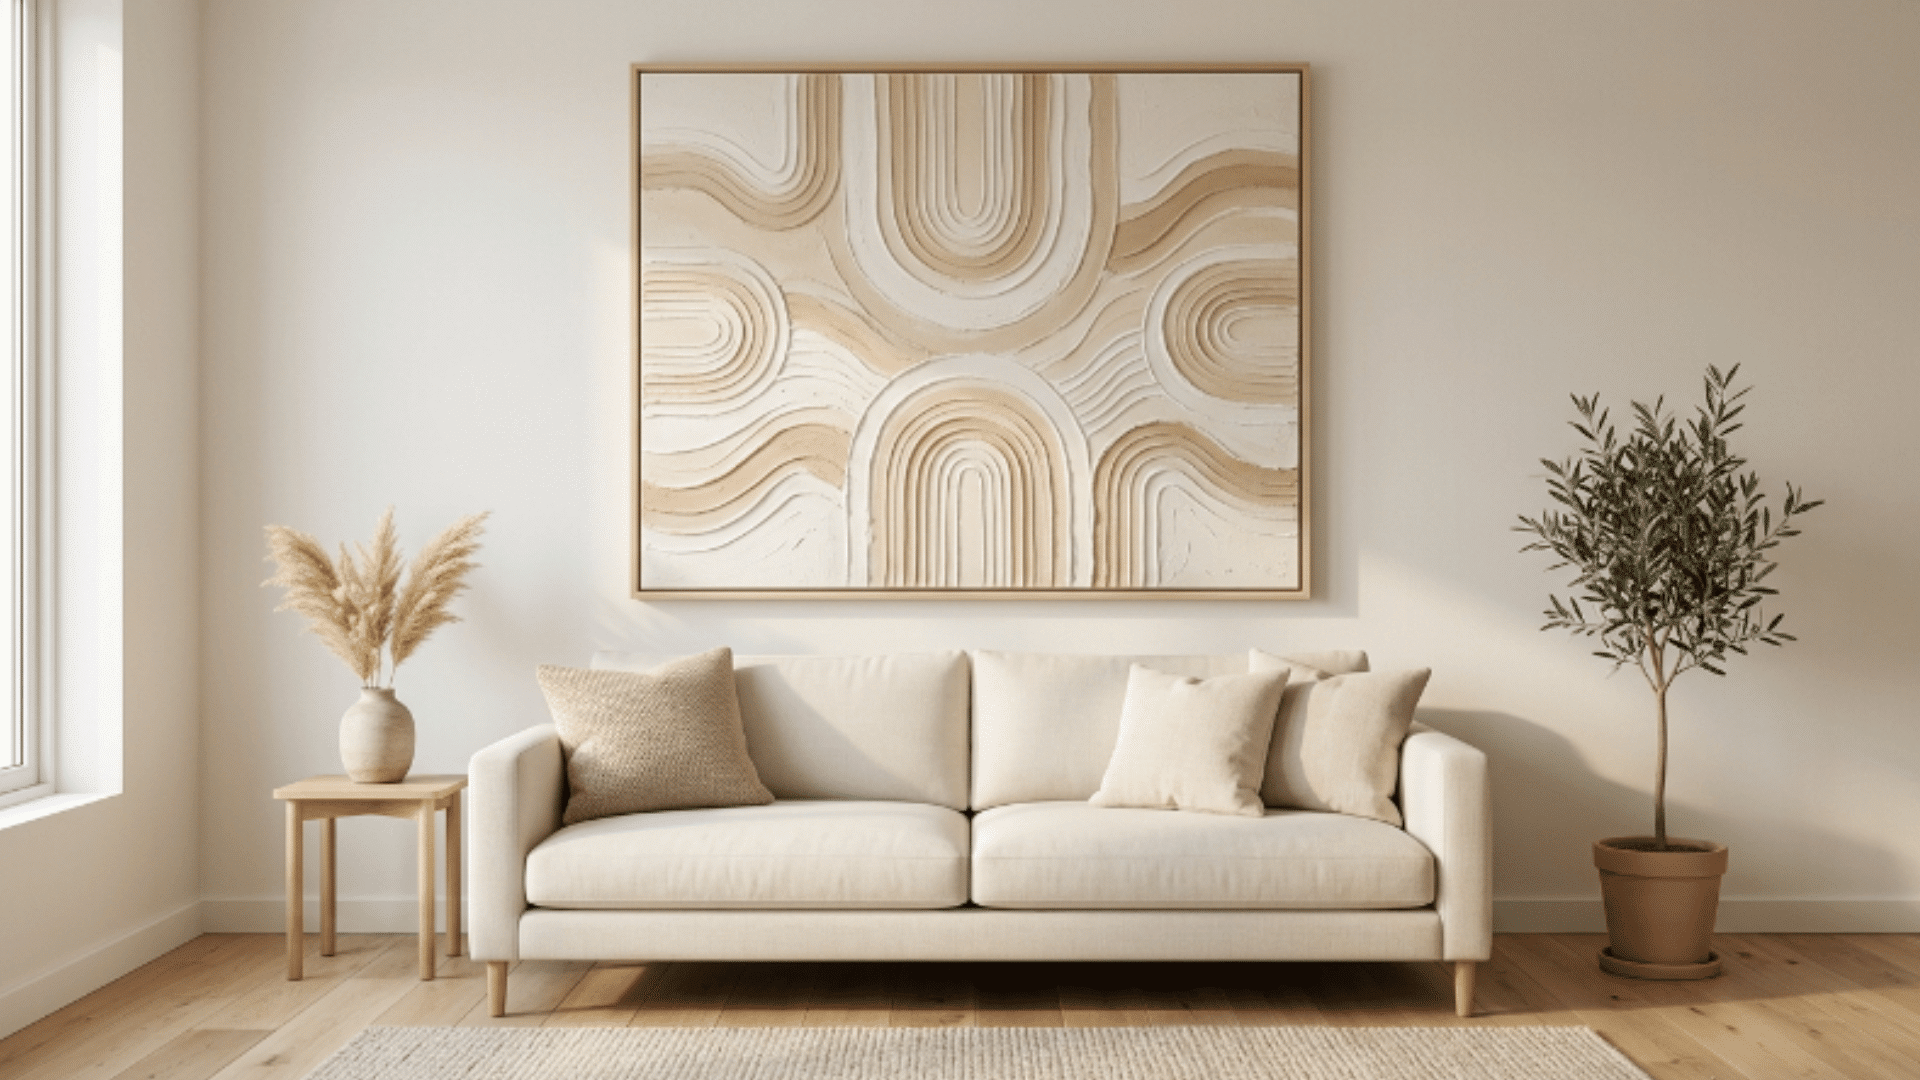
Textured canvas wall art uses layered paint and sculpting paste to create a raised surface design that adds visual depth and a handmade quality to any wall.
How to Make:
- Apply a base coat of acrylic paint across the canvas and allow it to dry completely
- Use a palette knife to spread texture paste across the surface in a chosen pattern
- Build up layers in different directions to create depth and surface variation
- Apply one or two coats of acrylic paint over the dried textured surface
- Seal the finished piece with a thin layer of varnish to protect the raised texture
6. Boho Rope Mirror Frame
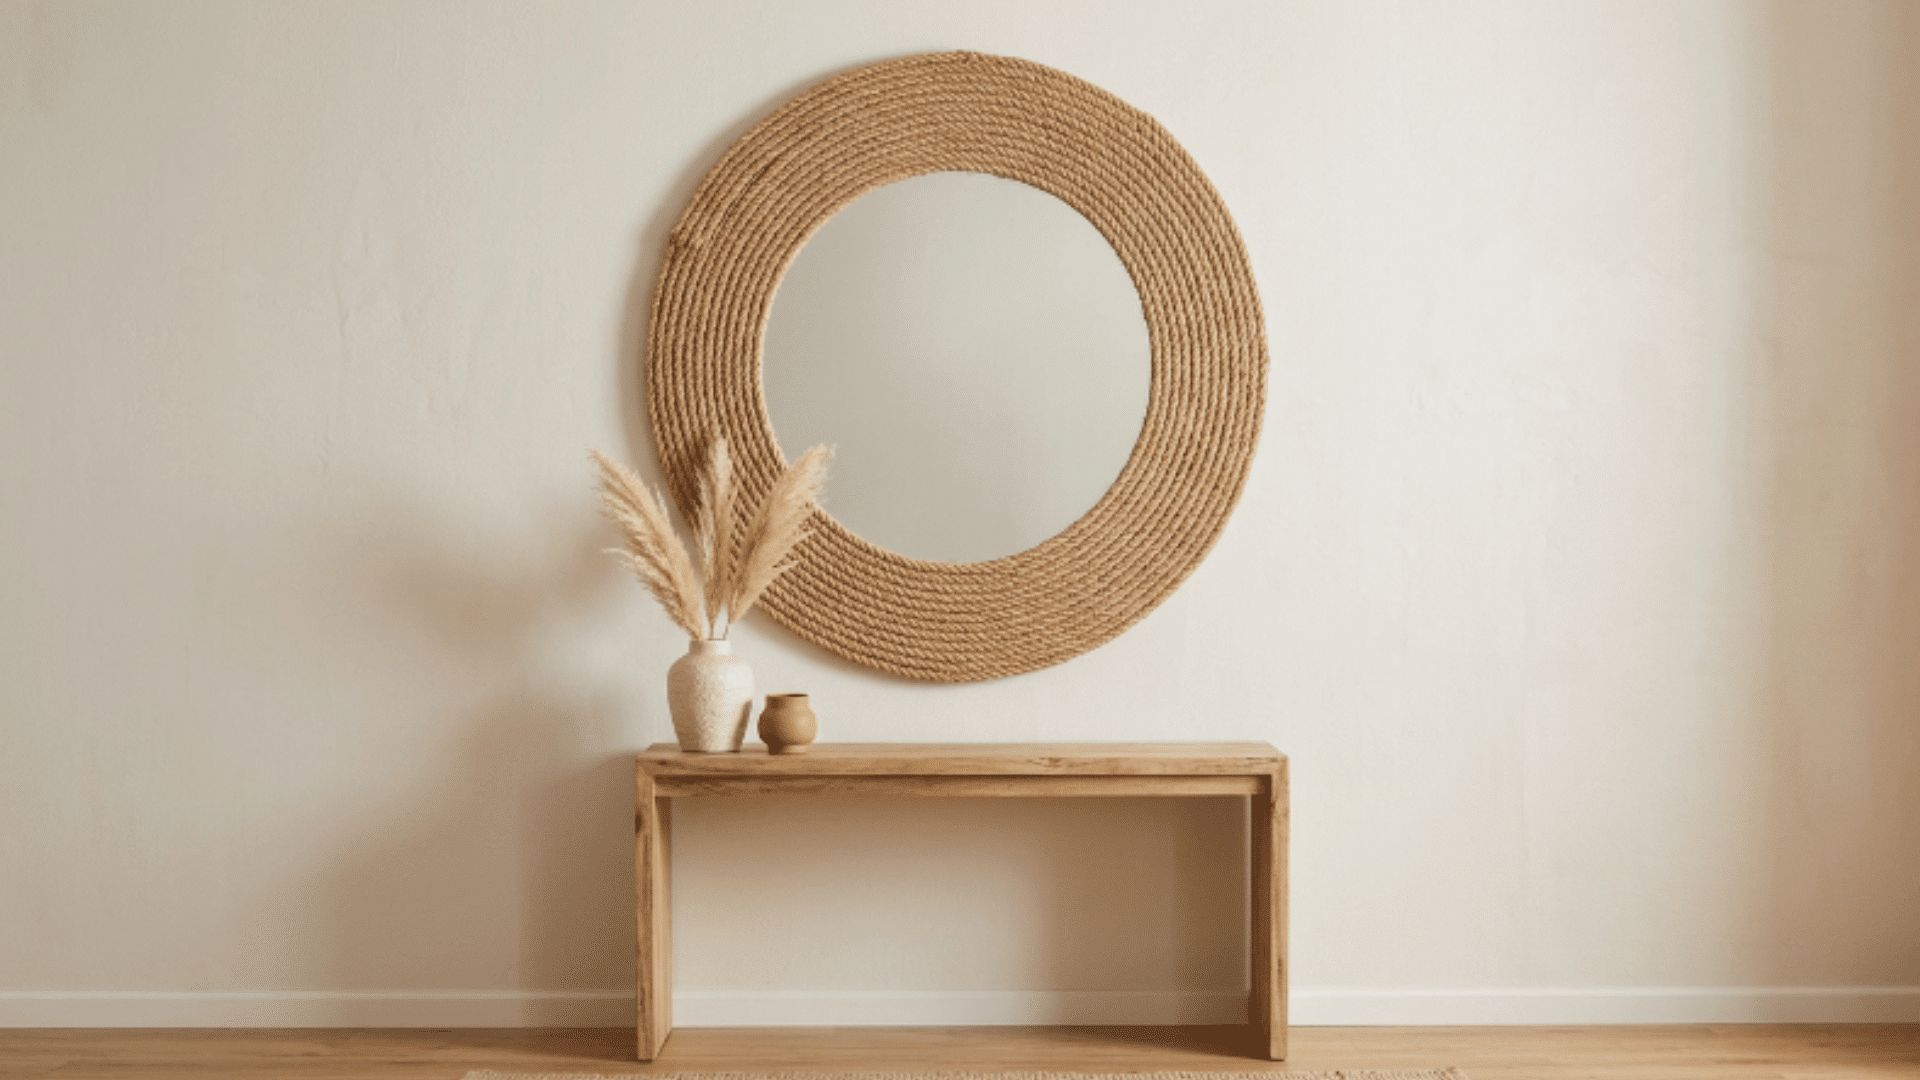
A boho rope mirror frame wraps a plain round mirror in layered natural rope, creating a textured, handcrafted wall piece that suits neutral and earthy interior color palettes.
How to Make:
- Apply a line of hot glue around the outer edge of the mirror frame to begin
- Press the rope firmly into the glue and continue wrapping in tight, even circles
- Work outward layer by layer, gluing each row securely before moving to the next
- Trim the rope end cleanly and press it flat against the final glued row
- Attach hanging hardware to the back and mount the mirror on the wall
7. DIY Tiled Kitchen Backsplash
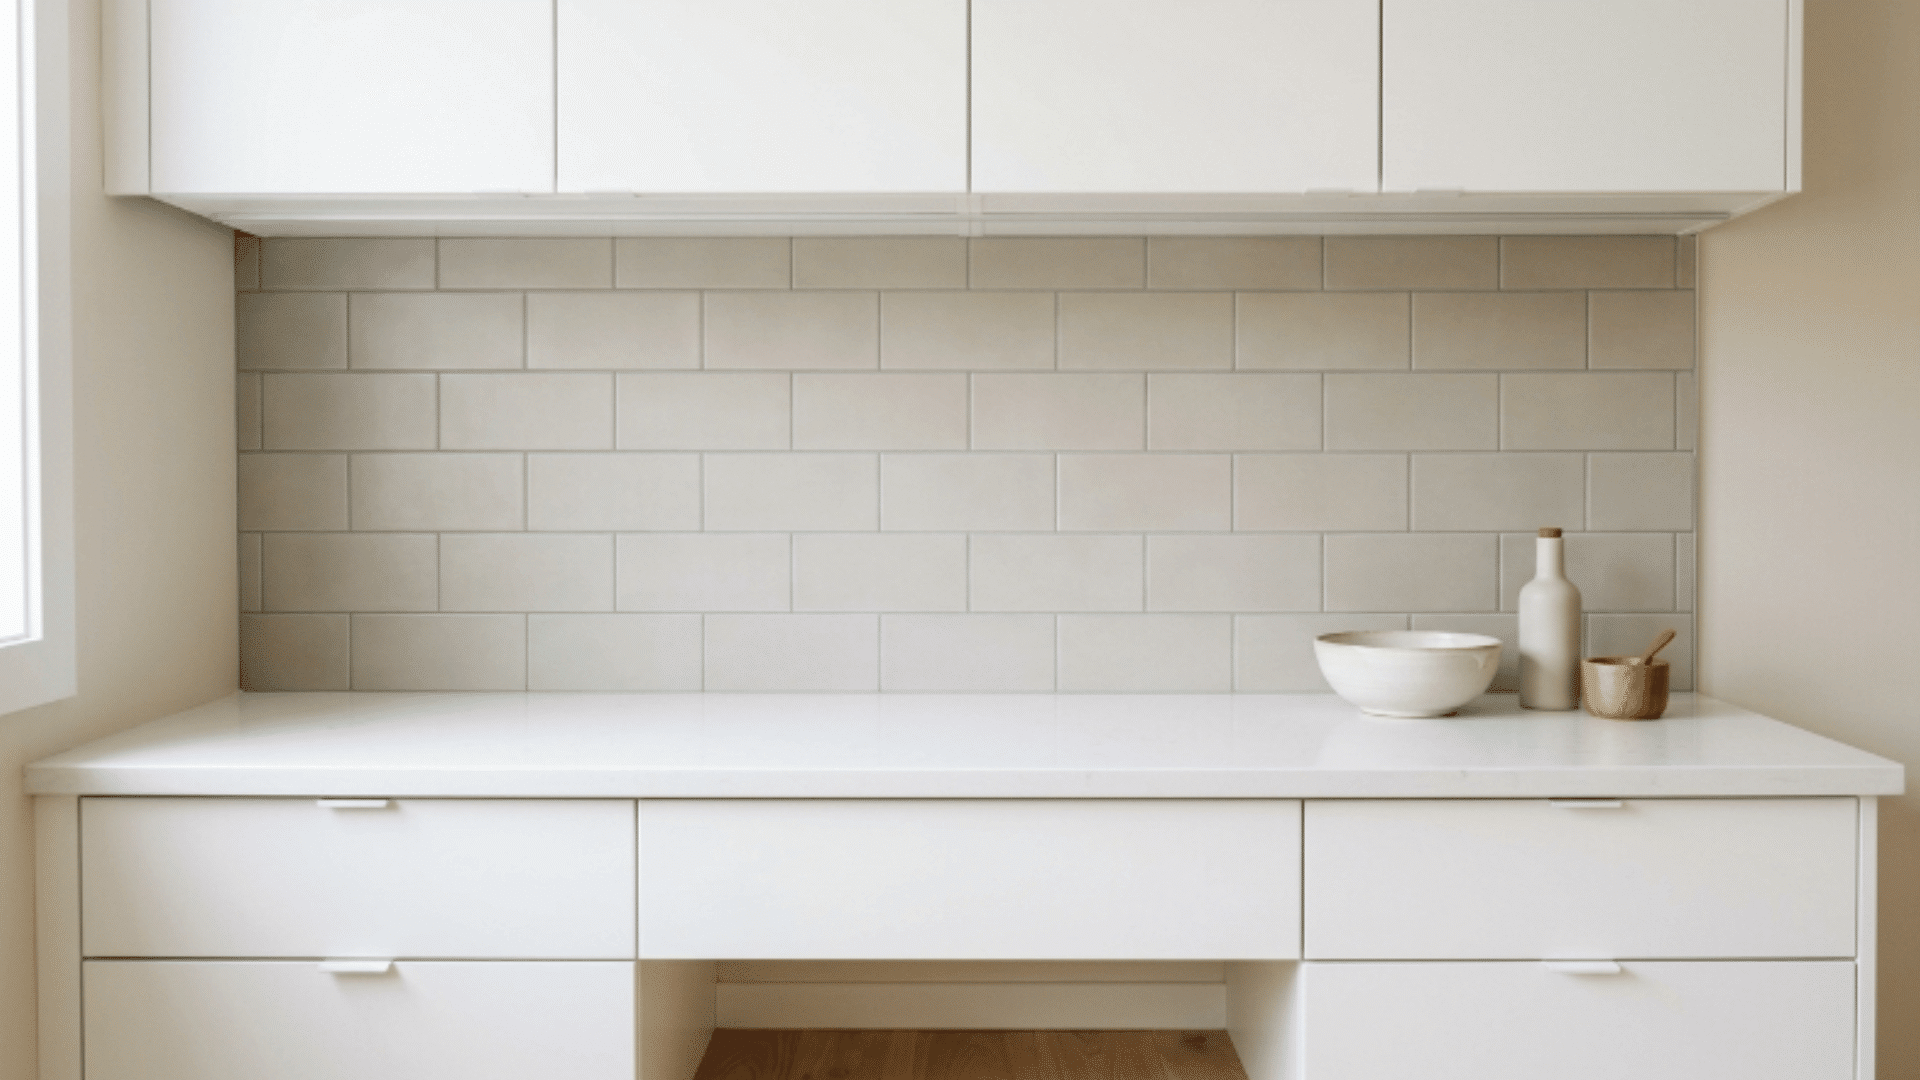
A tiled kitchen backsplash is one of the most rewarding diy home decor upgrades, covering the wall between the countertop and upper cabinets with tile for a finished, easy-to-clean surface.
How to Make:
- Clean and dry the backsplash wall surface completely before starting any work
- Mark a level horizontal guideline along the bottom edge of the area to be tiled
- Apply tile adhesive with a notched trowel and press each tile firmly into position
- Use tile spacers to keep grout lines even and consistent across all rows
- Apply grout between the tiles once the adhesive has set, and wipe clean with a damp sponge
8. Linen Roman Shades
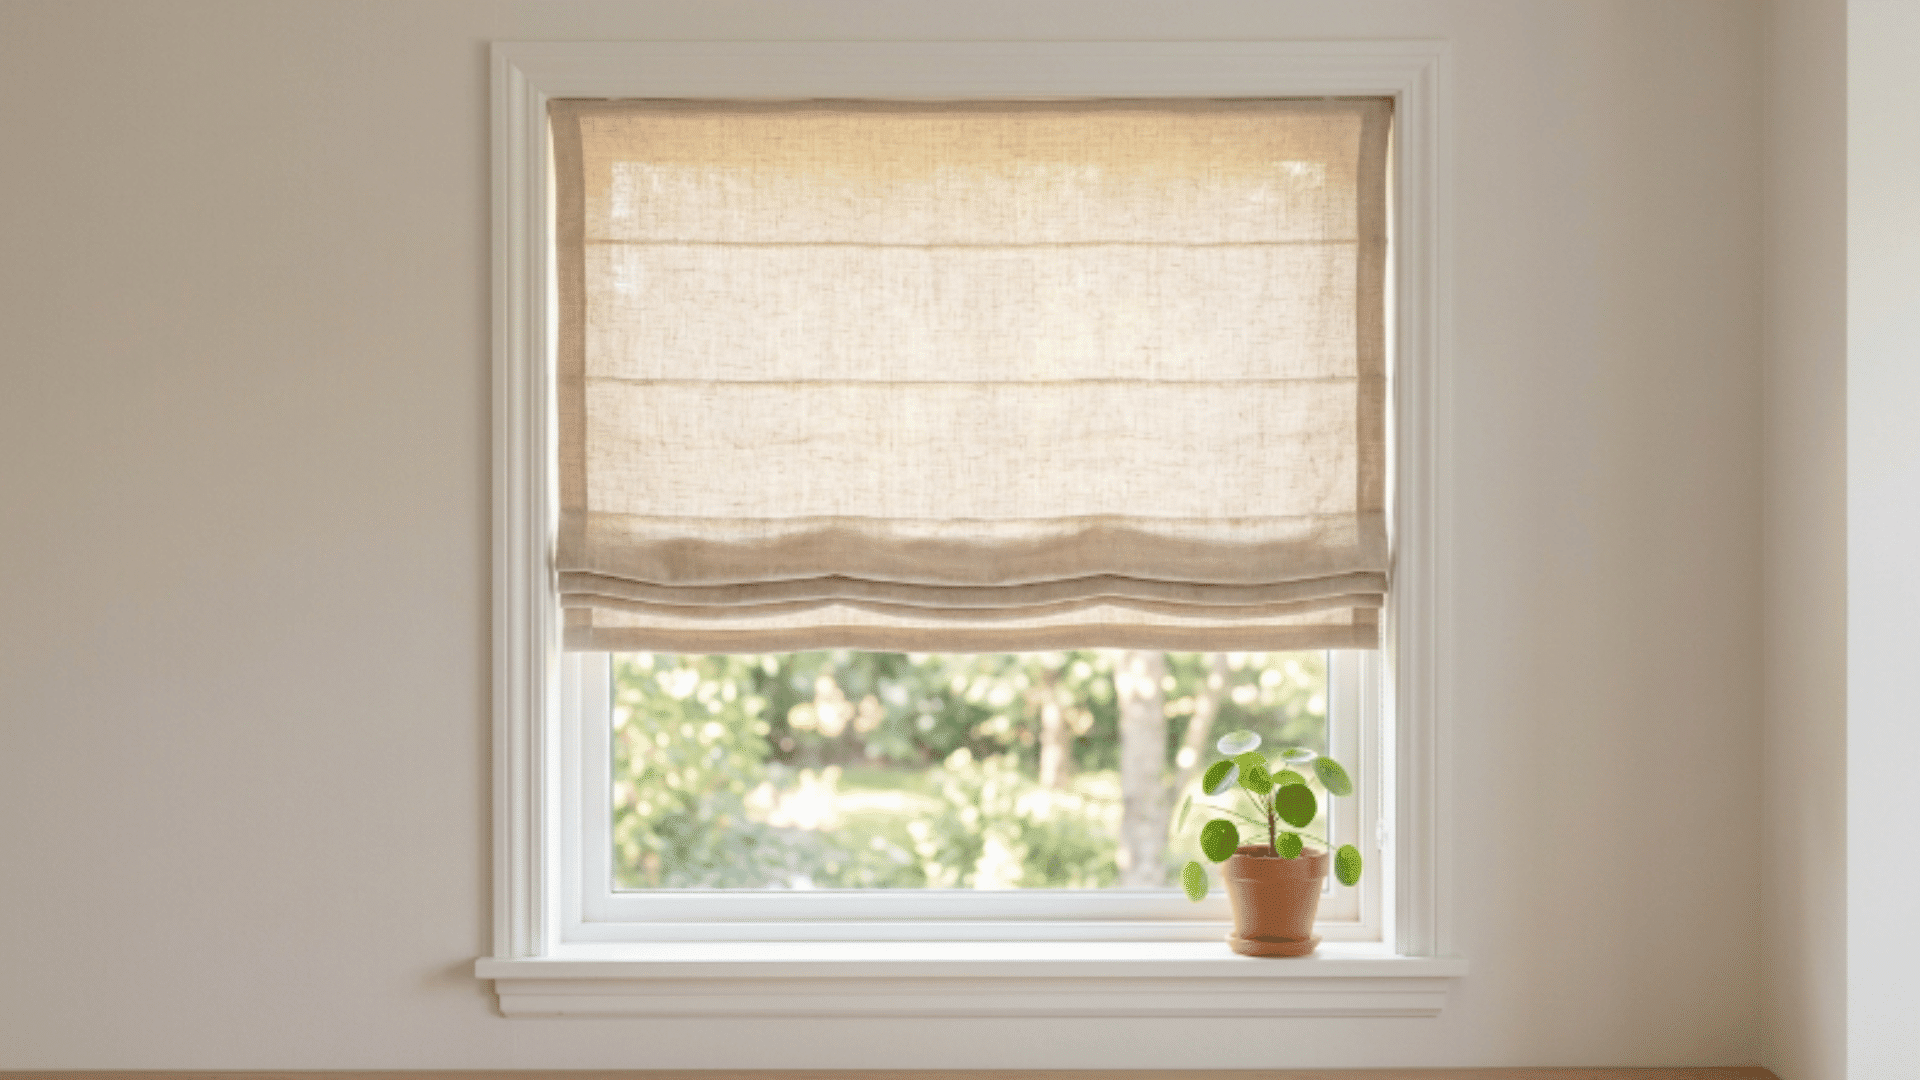
A linen Roman shade provides a structured window covering that folds neatly when raised and works well in rooms that require soft, natural light filtering without heavy curtain panels.
How to Make:
- Measure the window and cut linen fabric to the correct width and drop length
- Sew a hem along both side edges and along the bottom of the fabric panel
- Stitch horizontal channels at even intervals across the back of the panel for the dowels
- Thread rings along each channel row and run cord vertically through all rings
- Staple the top edge of the fabric to a mounting board and fix it above the window frame
9. DIY Indoor Plant Wall
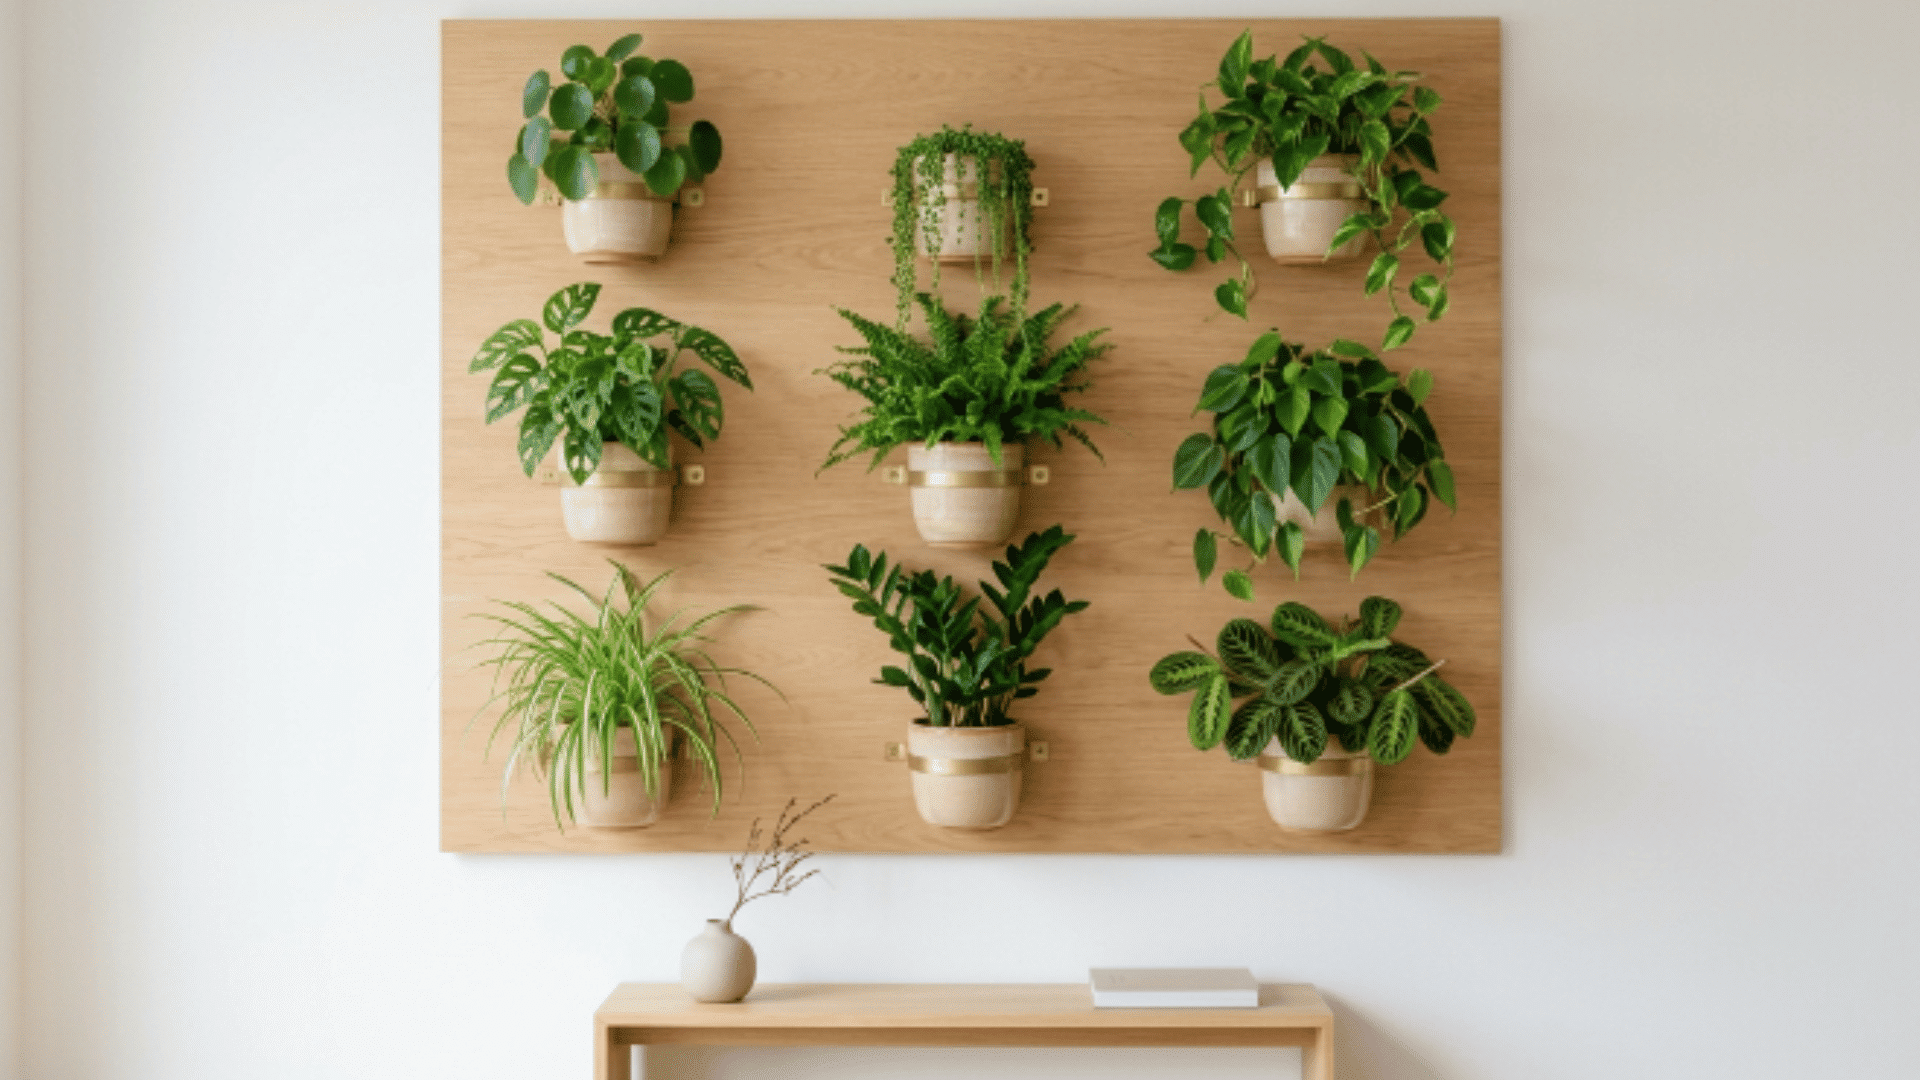
A DIY indoor plant wall mounts multiple small planters directly onto a vertical board, creating a layered green display that works well in living rooms, kitchens, and entryways.
How to Make:
- Mount a flat wooden board or pallet panel securely onto the wall using appropriate anchors
- Attach small planter brackets or hooks in a grid layout across the board surface
- Set small plastic pots into each holder and fill with appropriate potting soil
- Plant low-maintenance varieties such as pothos, ferns, or succulents in each pot
- Water carefully to avoid runoff and check each plant regularly for condition and growth
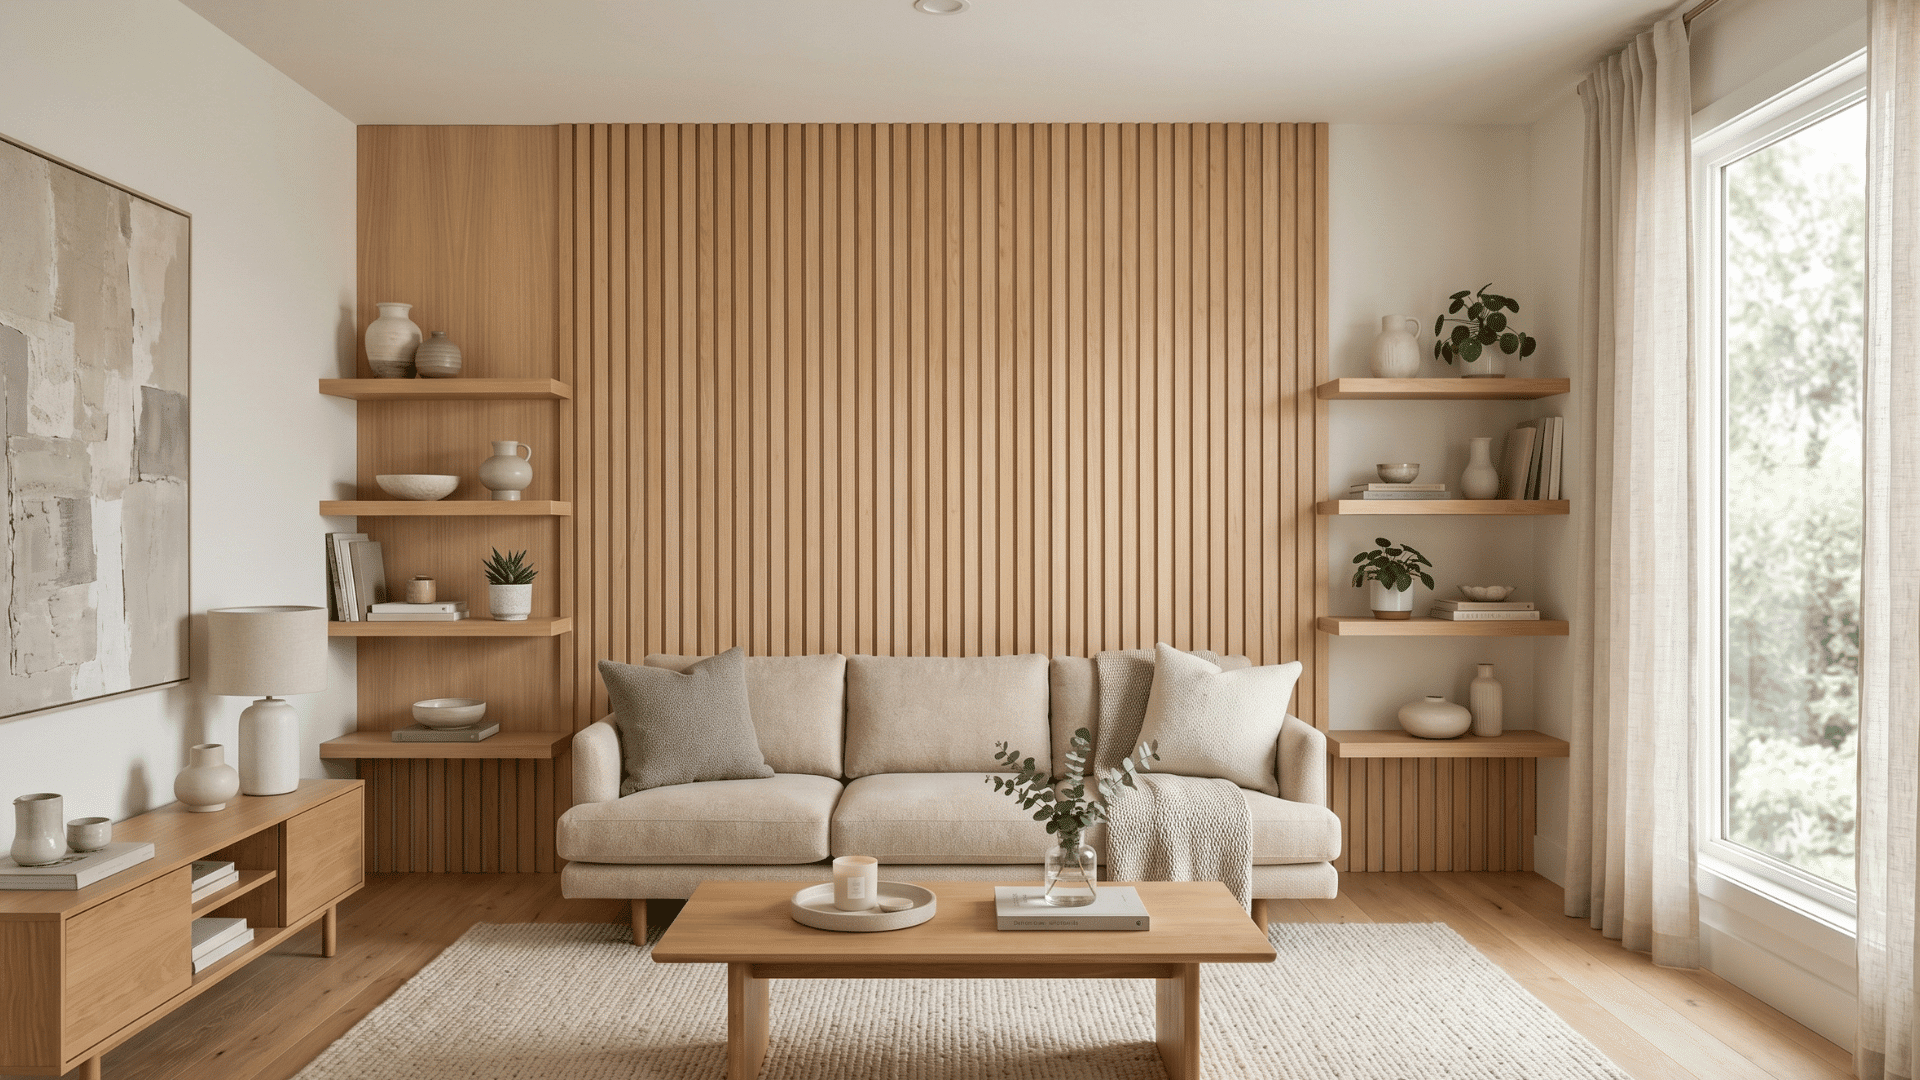
10. Wood Slat Feature Wall
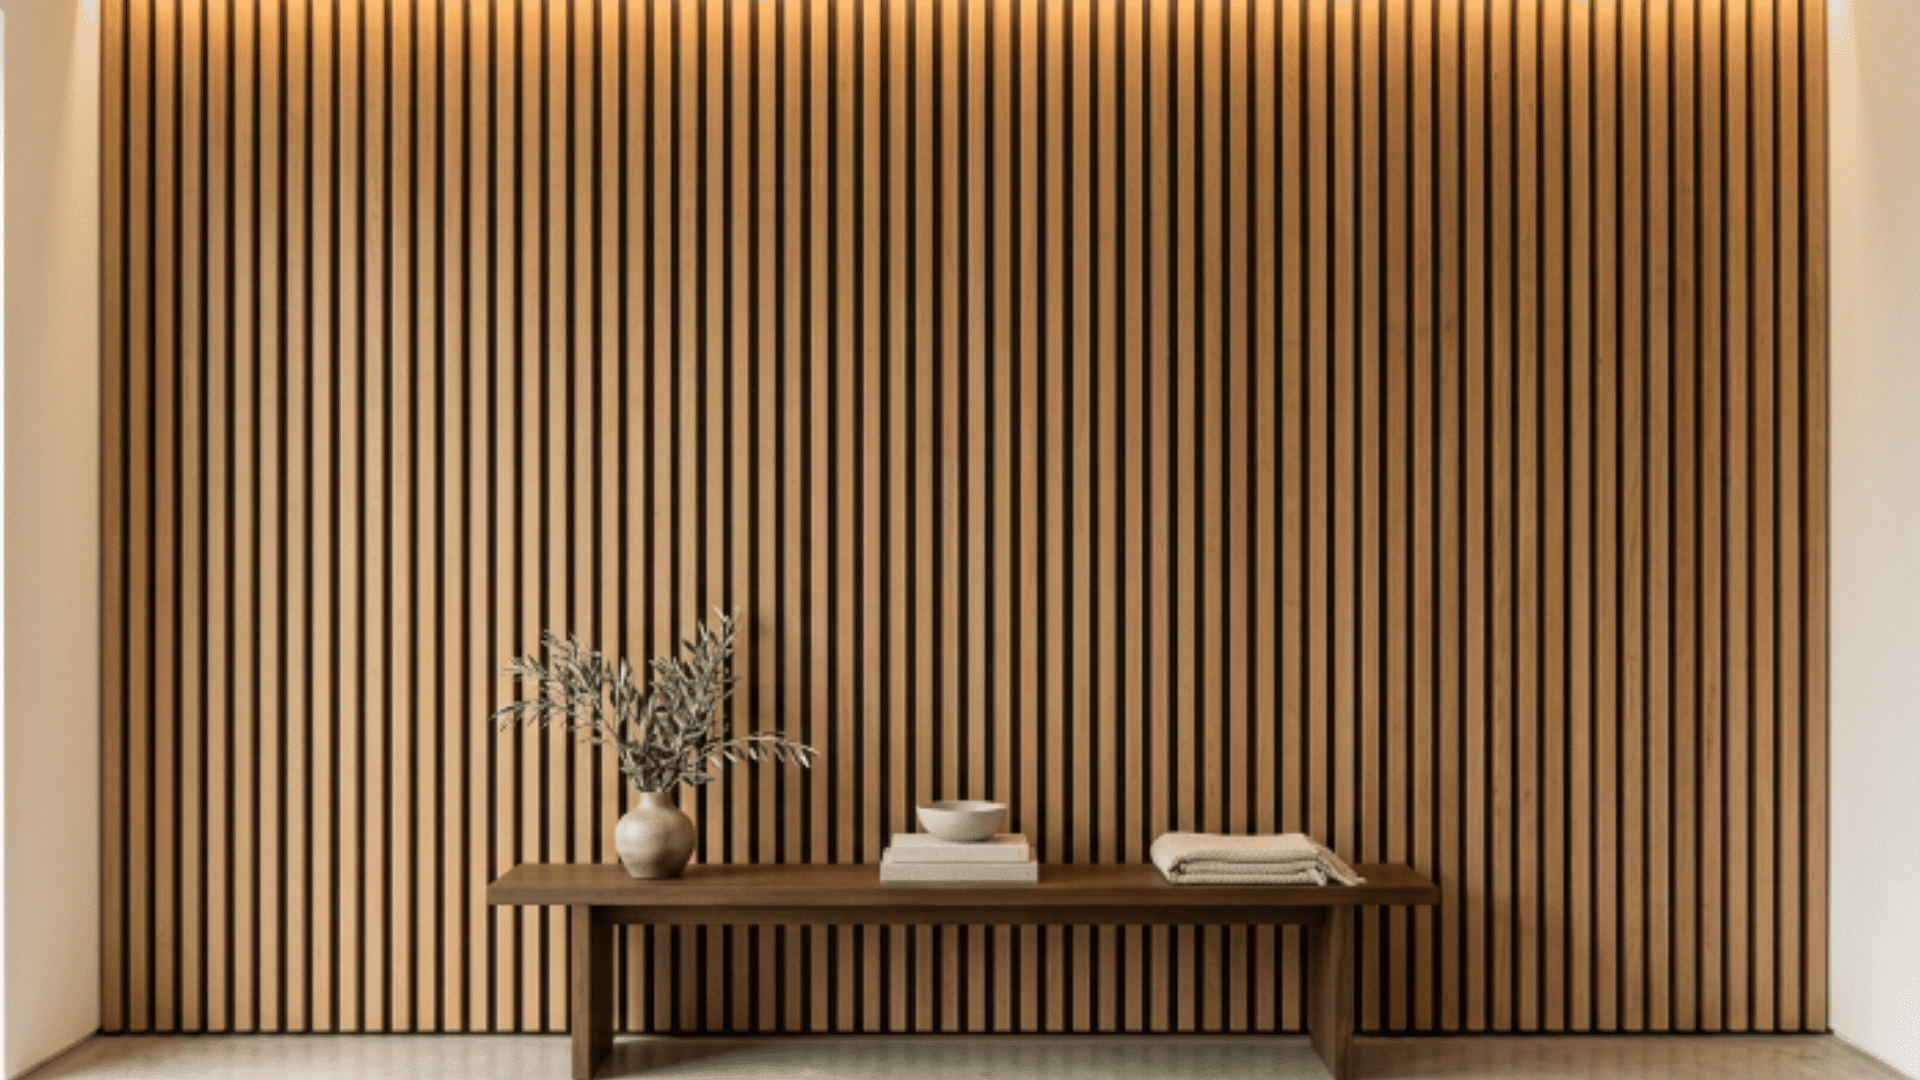
A wood-slat feature wall lines a full wall with evenly spaced vertical timber strips, creating a structured, textured finish that adds architectural interest to the room.
How to Make:
- Measure the wall and cut all timber slats to the same length with clean, square ends
- Sand each slat smooth and apply the chosen stain or paint before installation begins
- Mark evenly spaced vertical lines across the wall using a level as a guide
- Attach each slat using construction adhesive and finishing nails for a secure hold
- Use a spacer block between each slat to maintain consistent gaps across the full wall
11. Mason Jar Bathroom Organizer
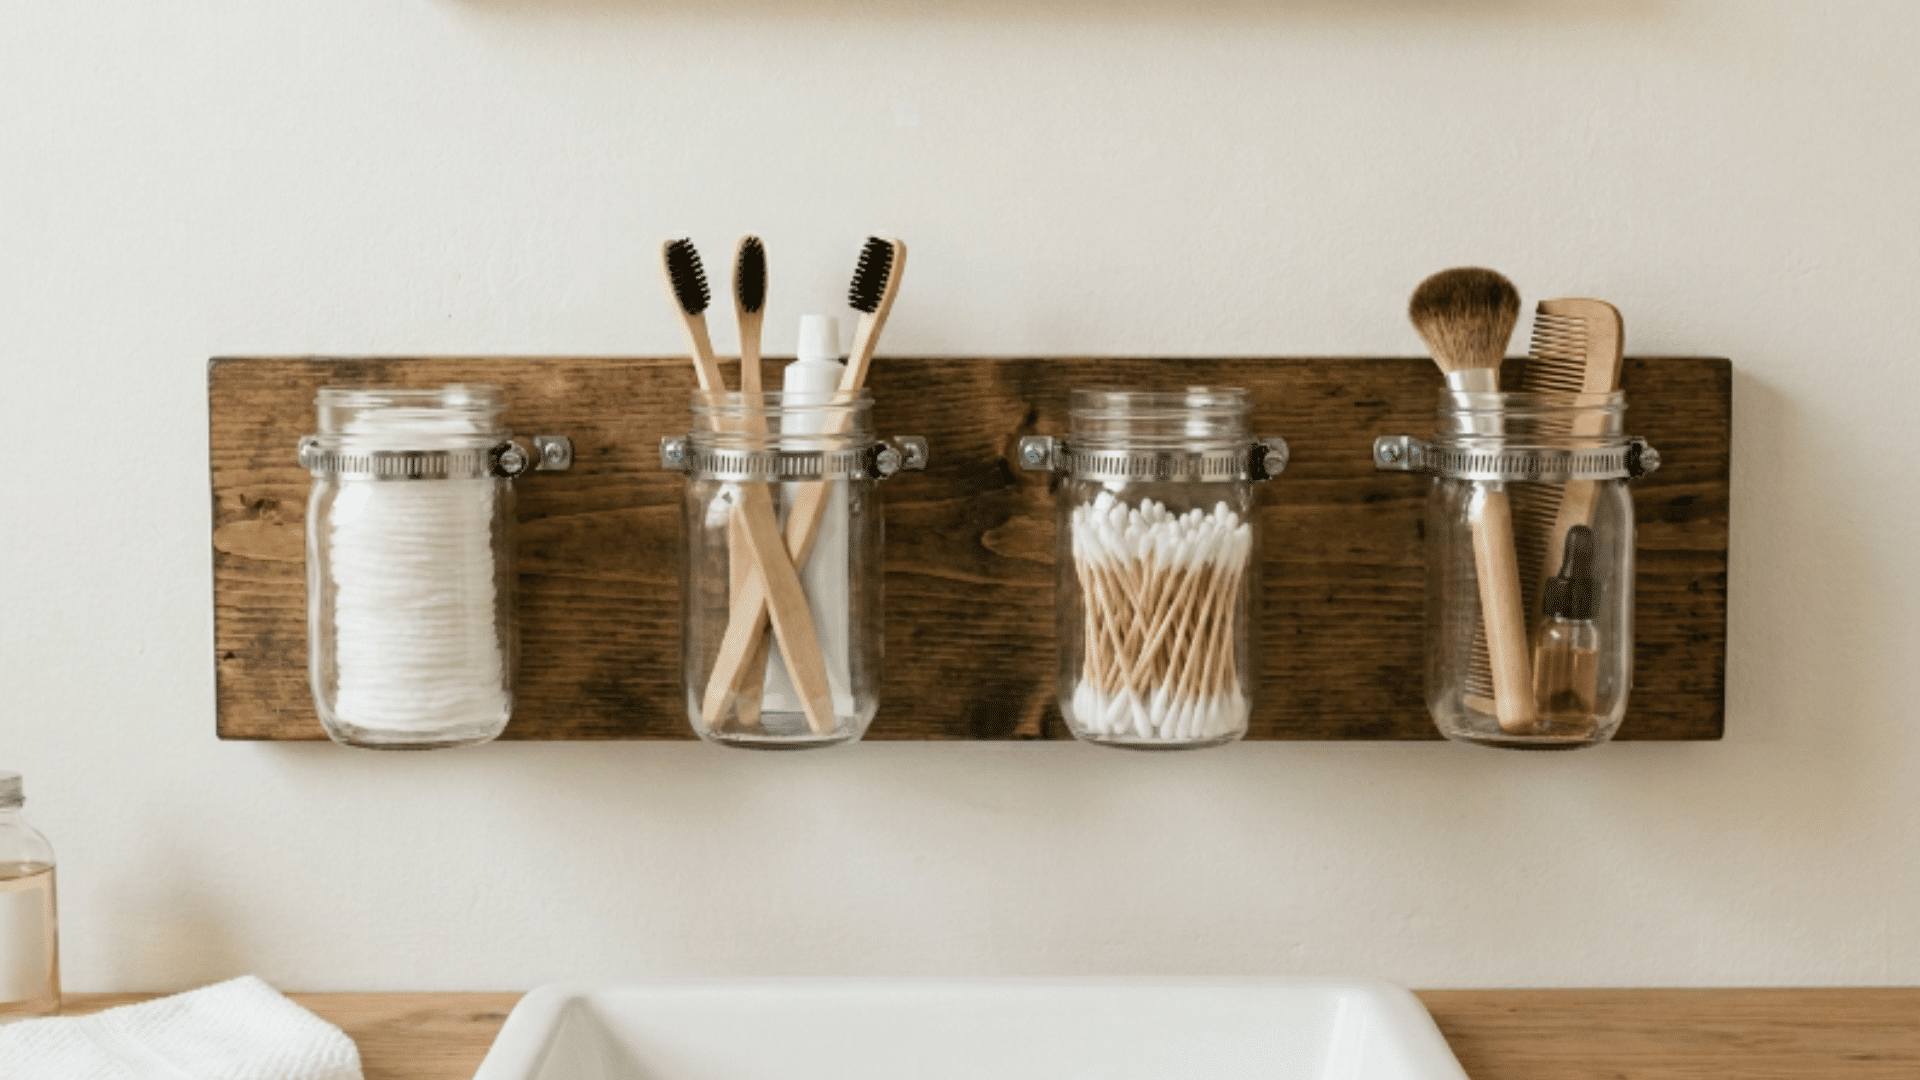
A mason jar bathroom organizer mounts several glass jars to a wooden board, holding toothbrushes, cotton rounds, and other small bathroom essentials neatly on the wall, within easy reach.
How to Make:
- Sand and paint or stain the wooden board in the chosen finish, and allow it to dry fully
- Position the hose clamps evenly along the board and mark each screw hole location
- Drill pilot holes and fix the clamps firmly to the board at all marked points
- Slide a mason jar into each clamp and tighten so the jars hold without any shifting
- Mount the board on the bathroom wall with anchors and fill each jar with supplies
12. DIY Reading Nook Bench
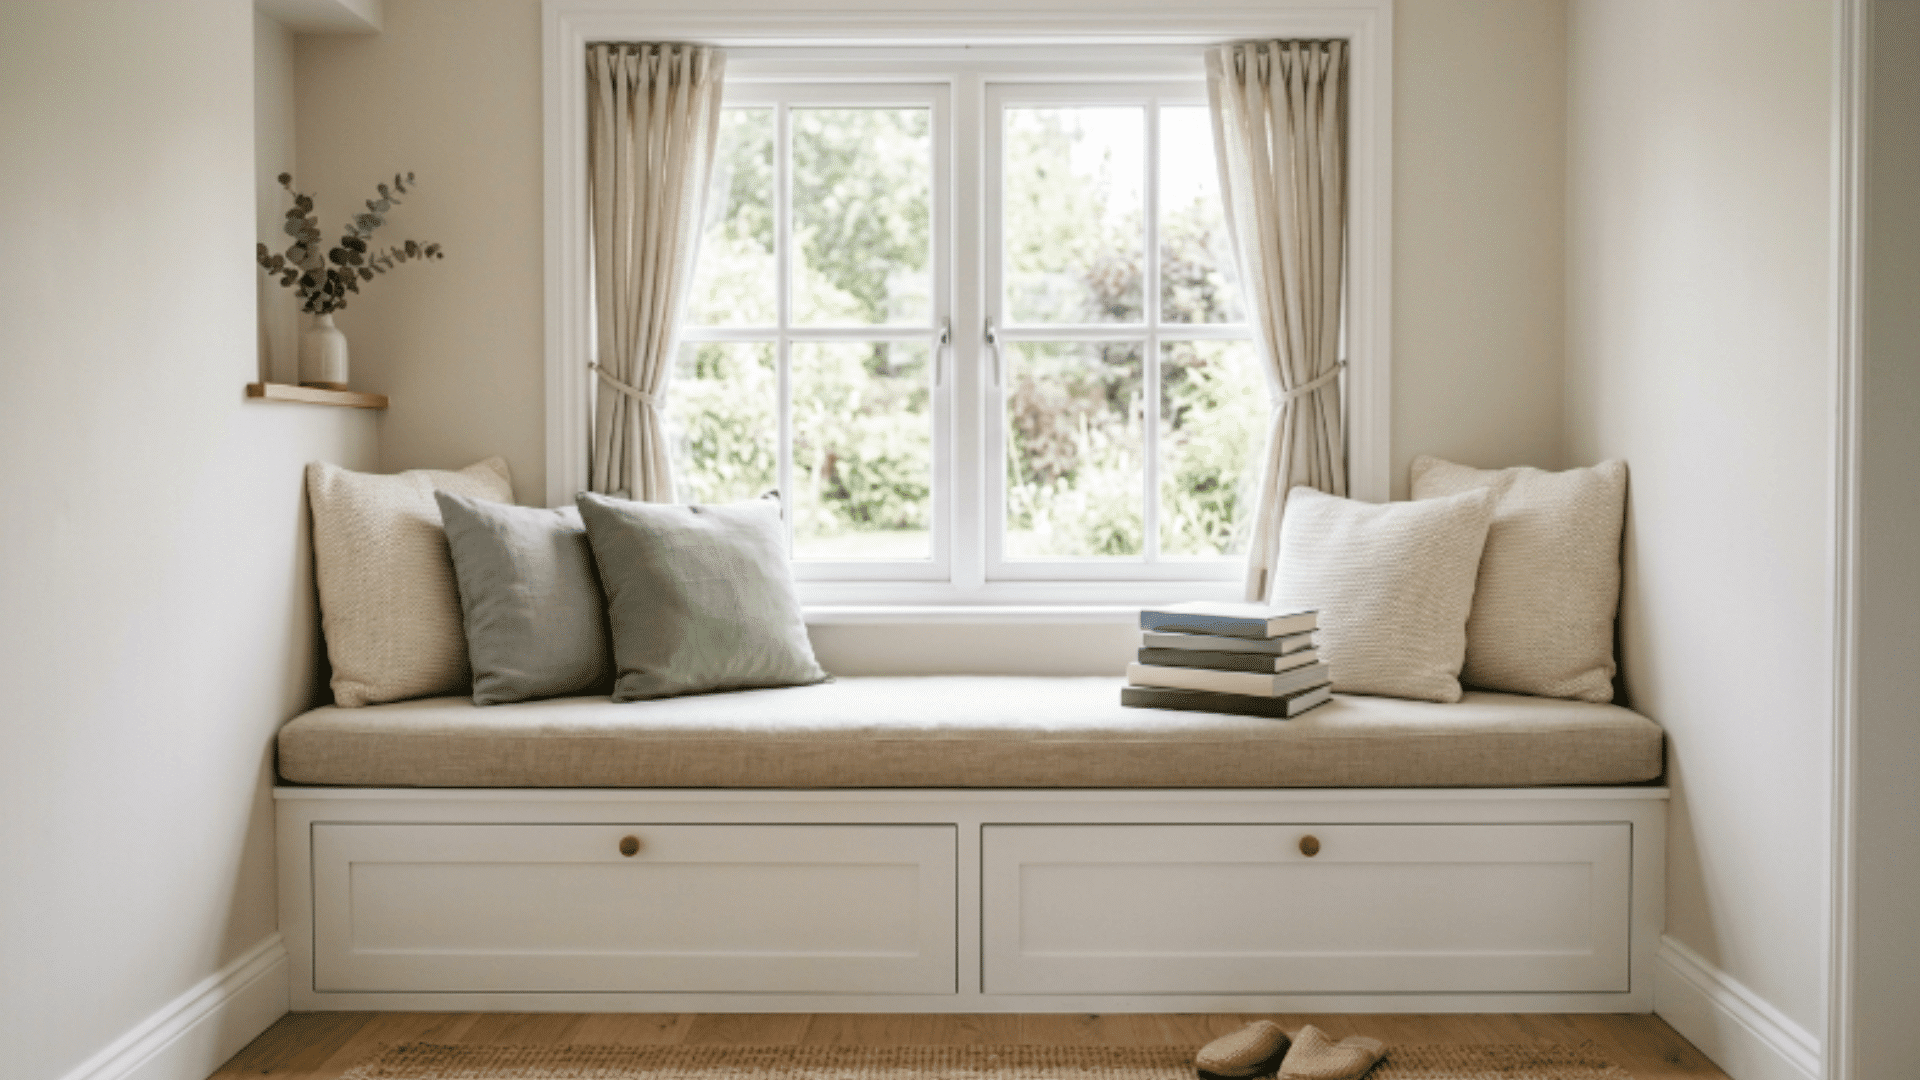
A DIY reading nook bench fits under a window or into an alcove and provides a low, cushioned seating surface that doubles as a diy home decor storage solution with space built.
How to Make:
- Build a rectangular plywood box at the correct seat height and sand all outer edges smooth
- Cut a top seat panel and attach it with piano hinges to allow storage access from above
- Sand and paint the full box base to match the existing room color or wall trim
- Cut foam padding to the seat size and wrap it firmly in the chosen upholstery fabric
- Staple the fabric to the underside of the seat panel and set it in place on top
13. Handmade Clay Candle Holders
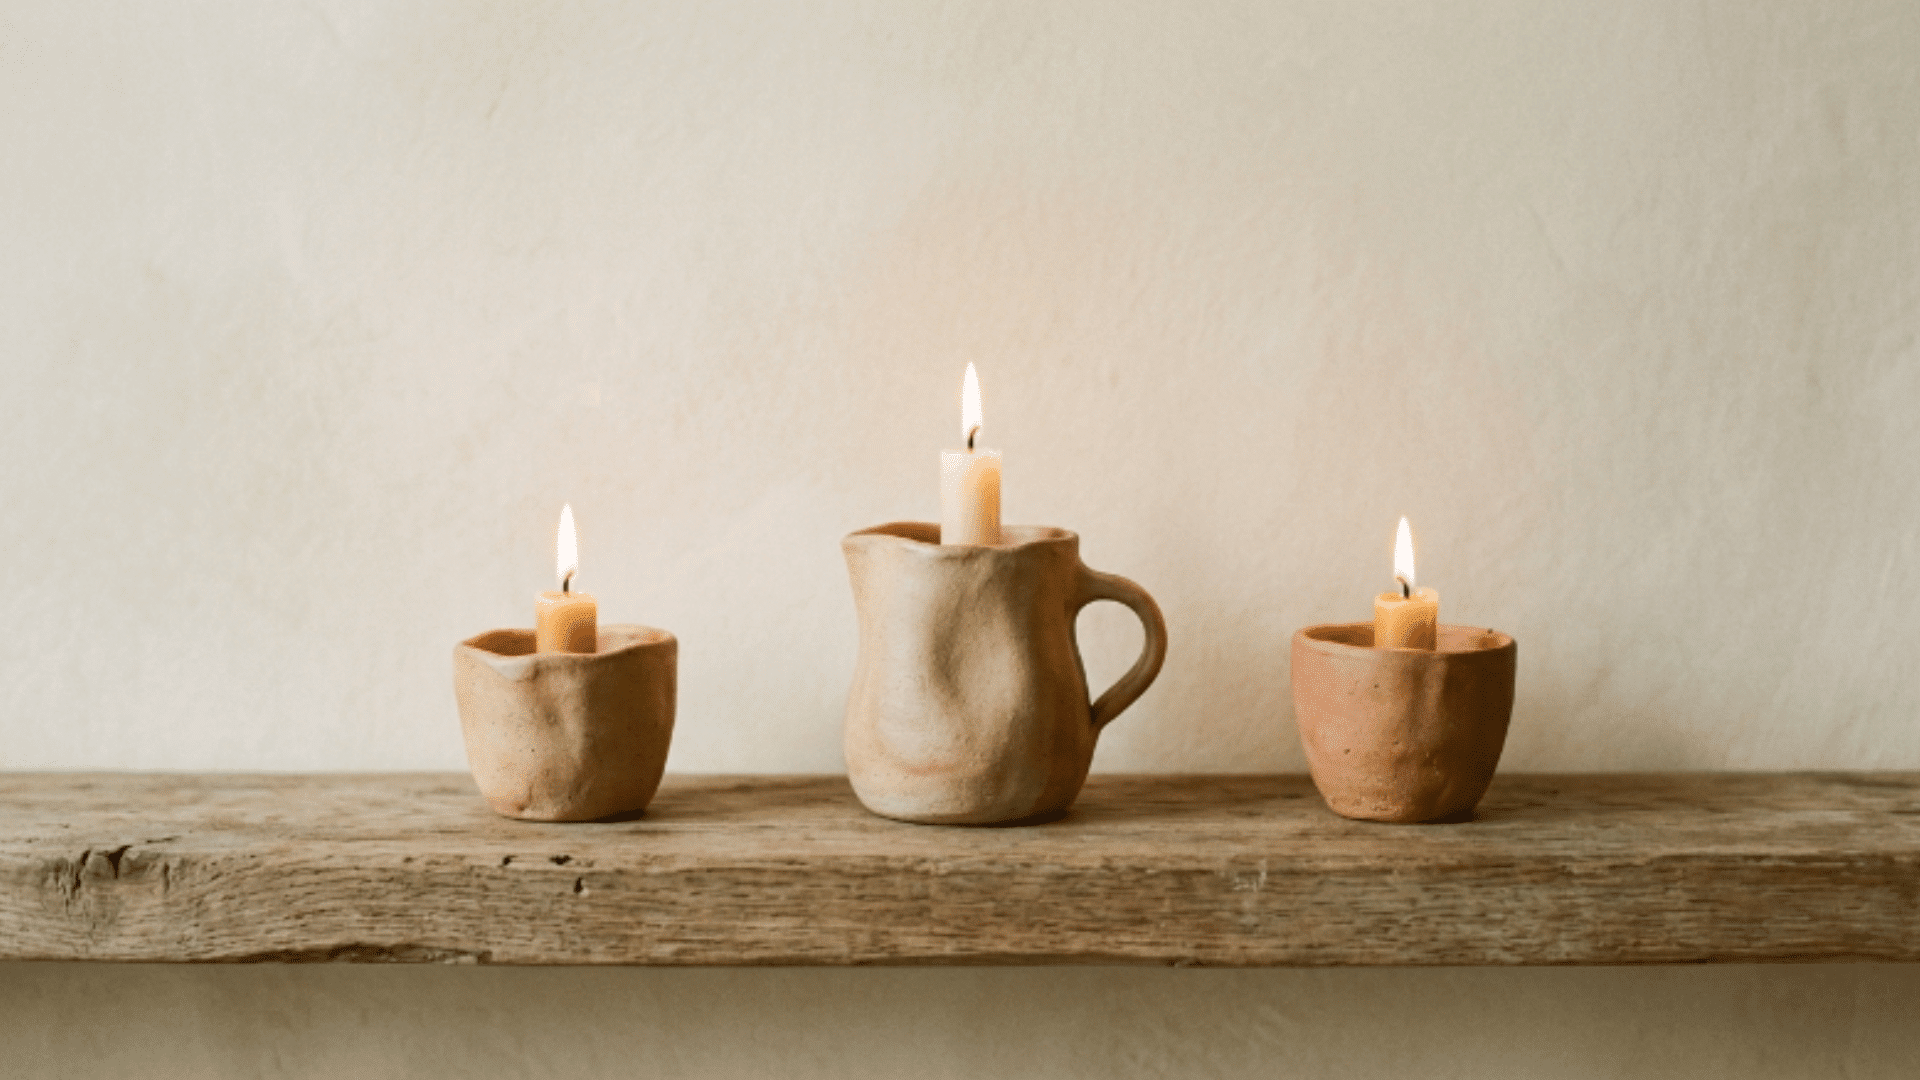
Handmade clay candle holders are shaped from air-dry clay into small open vessels that hold tealights or pillar candles and work as simple decorative accents on shelves and side tables.
How to Make:
- Knead the clay until it becomes smooth, even, and easy to shape without cracking
- Roll the clay to an even thickness and form it into a small cup or open vessel shape
- Press a tealight candle into the center to create a correctly sized indent in the clay
- Smooth the outer surface with wet fingers or a sculpting tool and set aside to dry
- Sand lightly once fully dry and apply paint or glaze if a finished surface is preferred
14. Thrifted Dresser Makeover
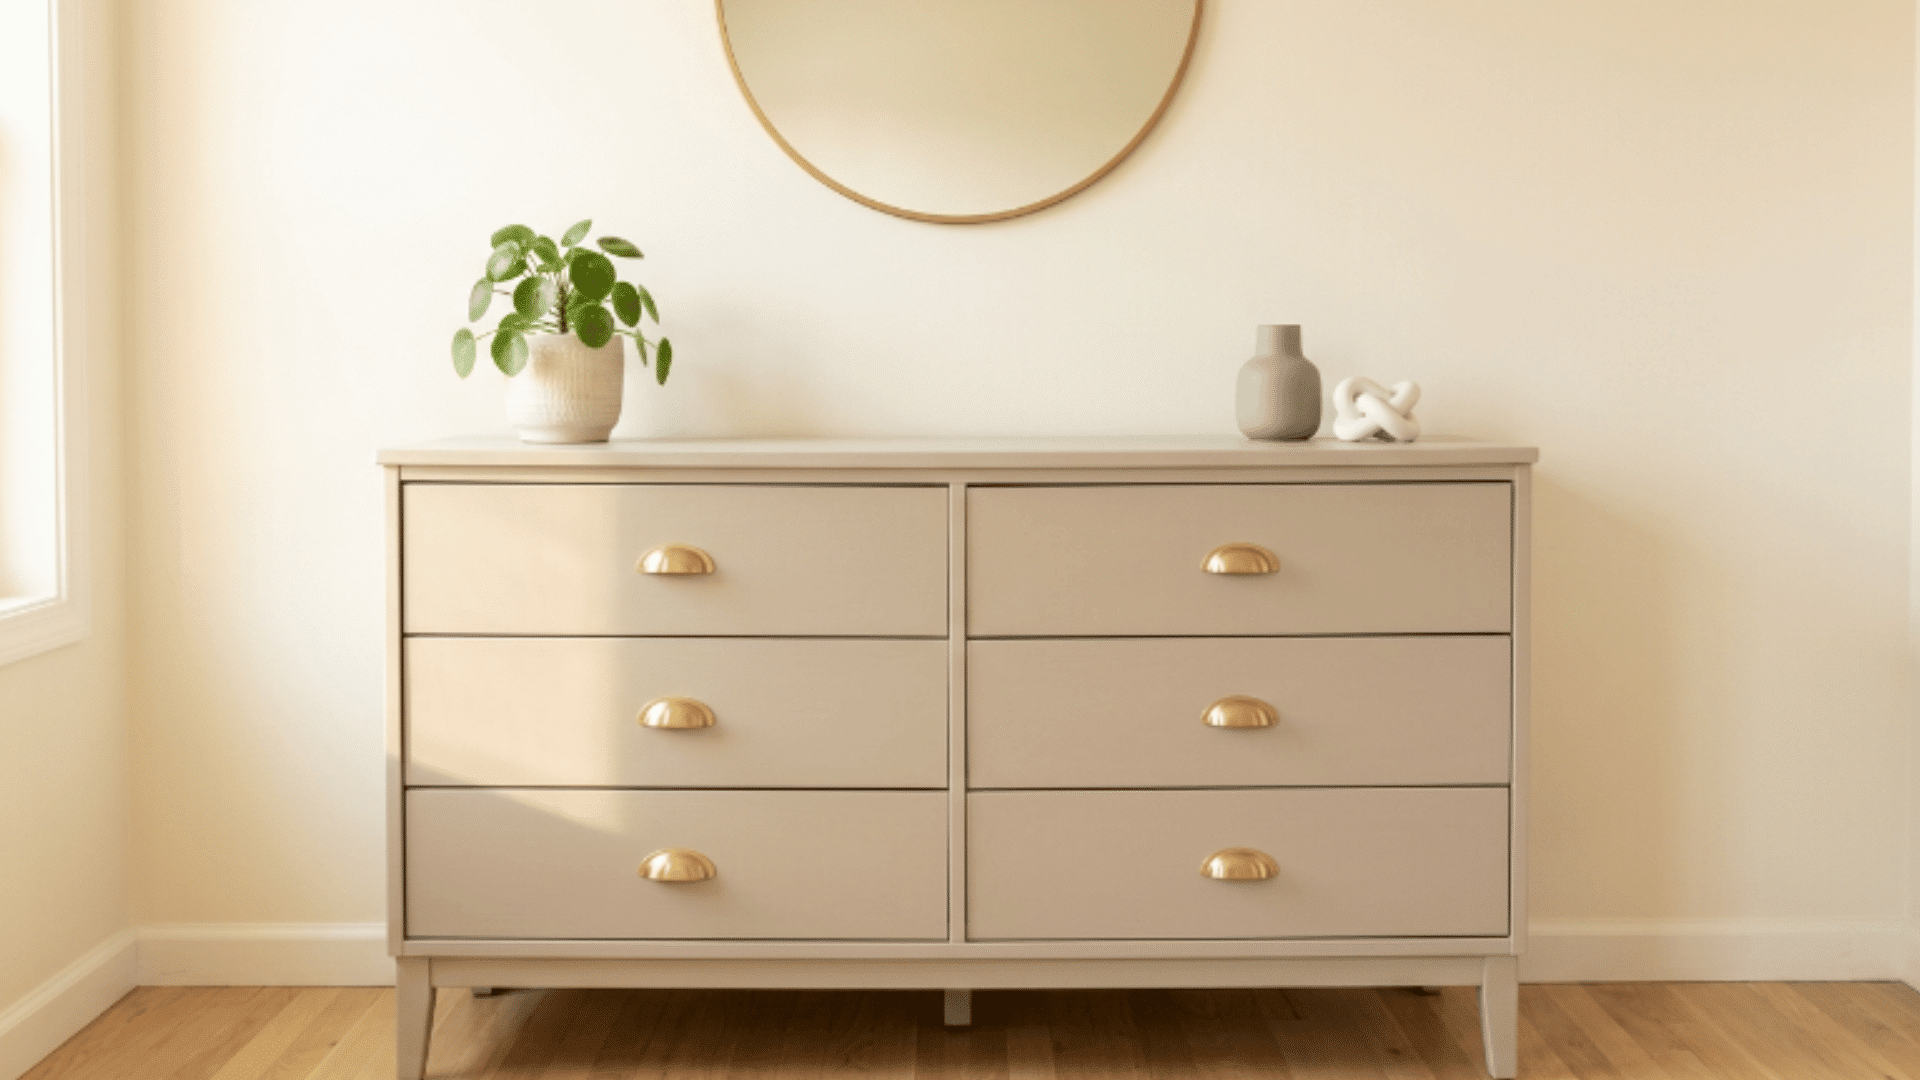
A thrifted dresser makeover is a budget-friendly diy home decor project that refinishes a secondhand chest of drawers with fresh paint and new hardware for a fully updated character and surface.
How to Make:
- Remove all drawer handles and sand the entire dresser surface to remove the old finish
- Apply a coat of primer across all sanded surfaces and allow it to dry completely
- Paint the dresser body and drawer fronts in the chosen color using two even coats
- Allow the paint to cure fully before reinstalling or replacing the drawer hardware
- Reattach the drawers and fix the new knobs or handles to complete the refreshed look
15. Geometric Painted Feature Wall
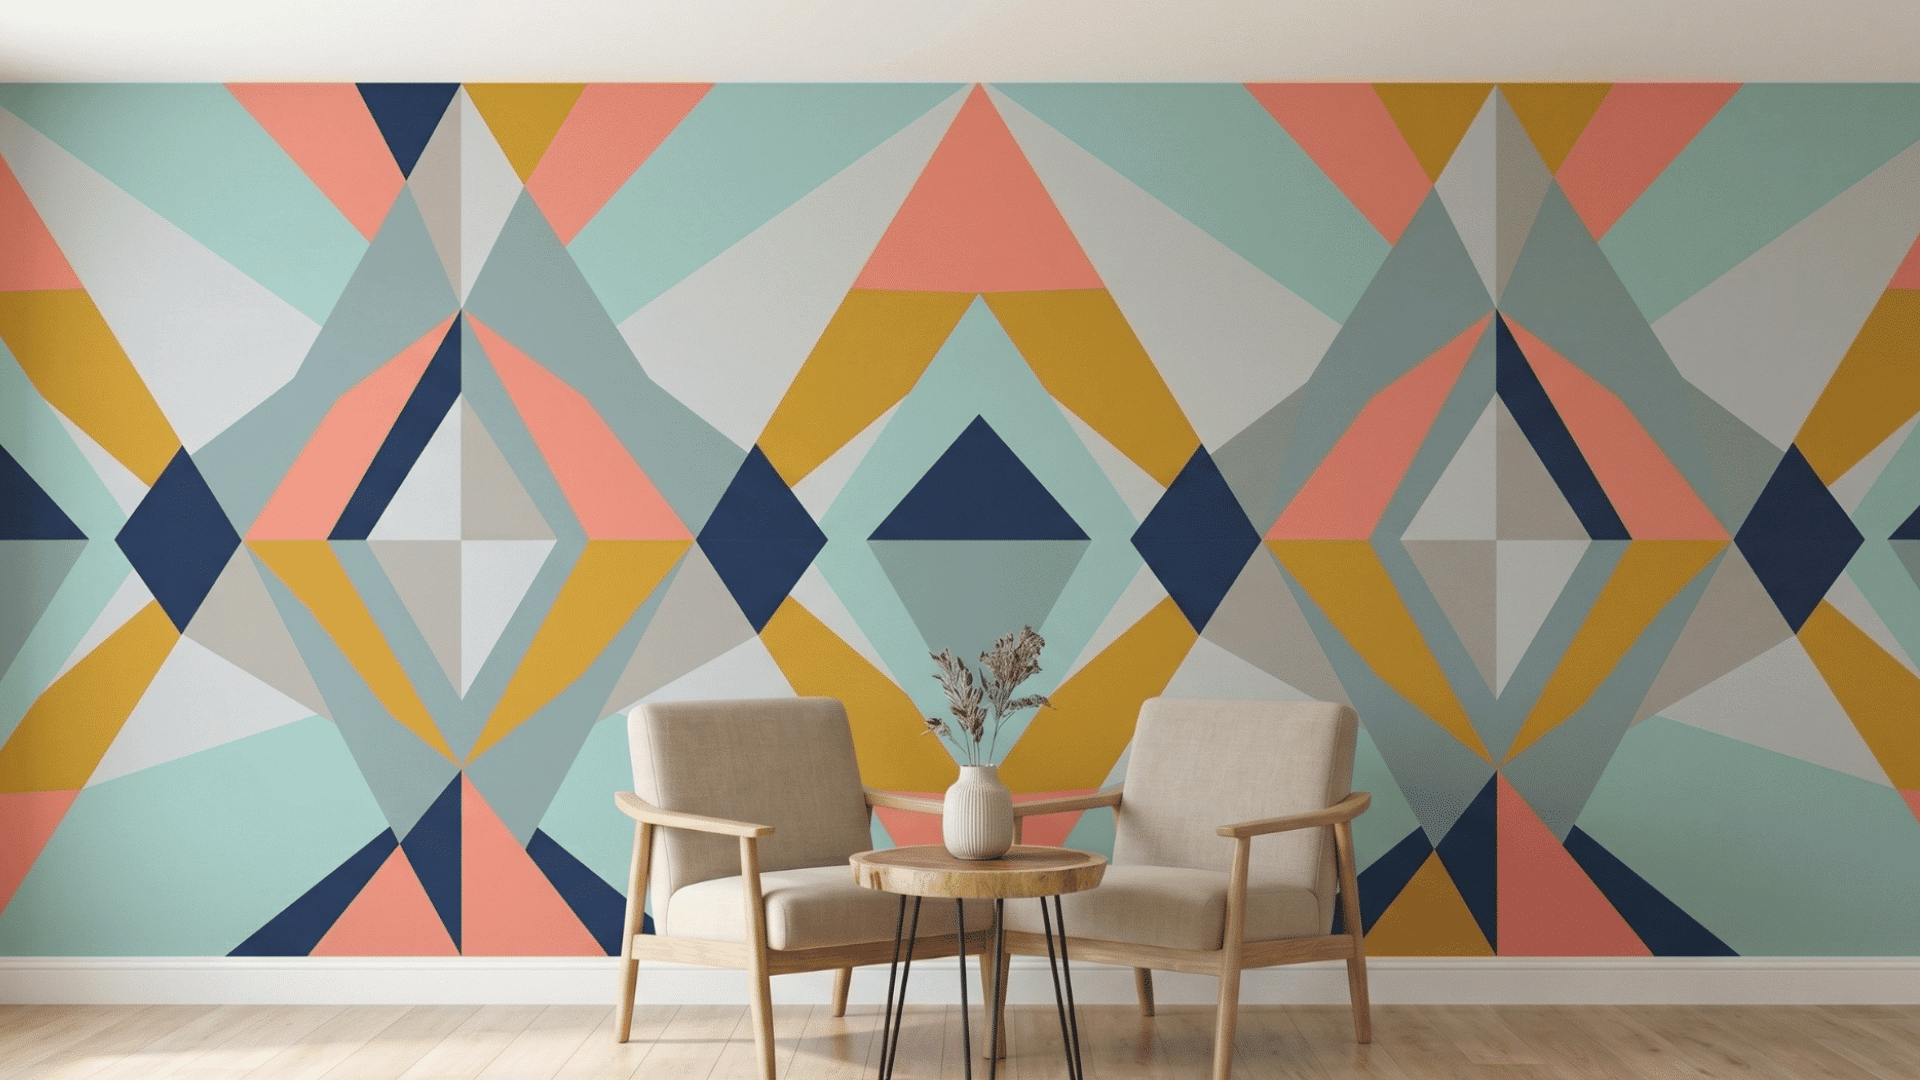
A geometric pattern painted directly onto a wall with tape and paint creates a bold, custom feature that costs very little and requires no specialist skills.
How to Make:
- Plan the design on paper and transfer the key lines onto the wall
- Apply painter’s tape carefully along all pencil lines for clean edges
- Paint each section with a small roller and let each color dry fully
- Remove the tape slowly at a low angle before the paint dries completely
- Touch up any bleed marks with a fine brush once all tape is removed
16. Chalkboard Pantry Door Design
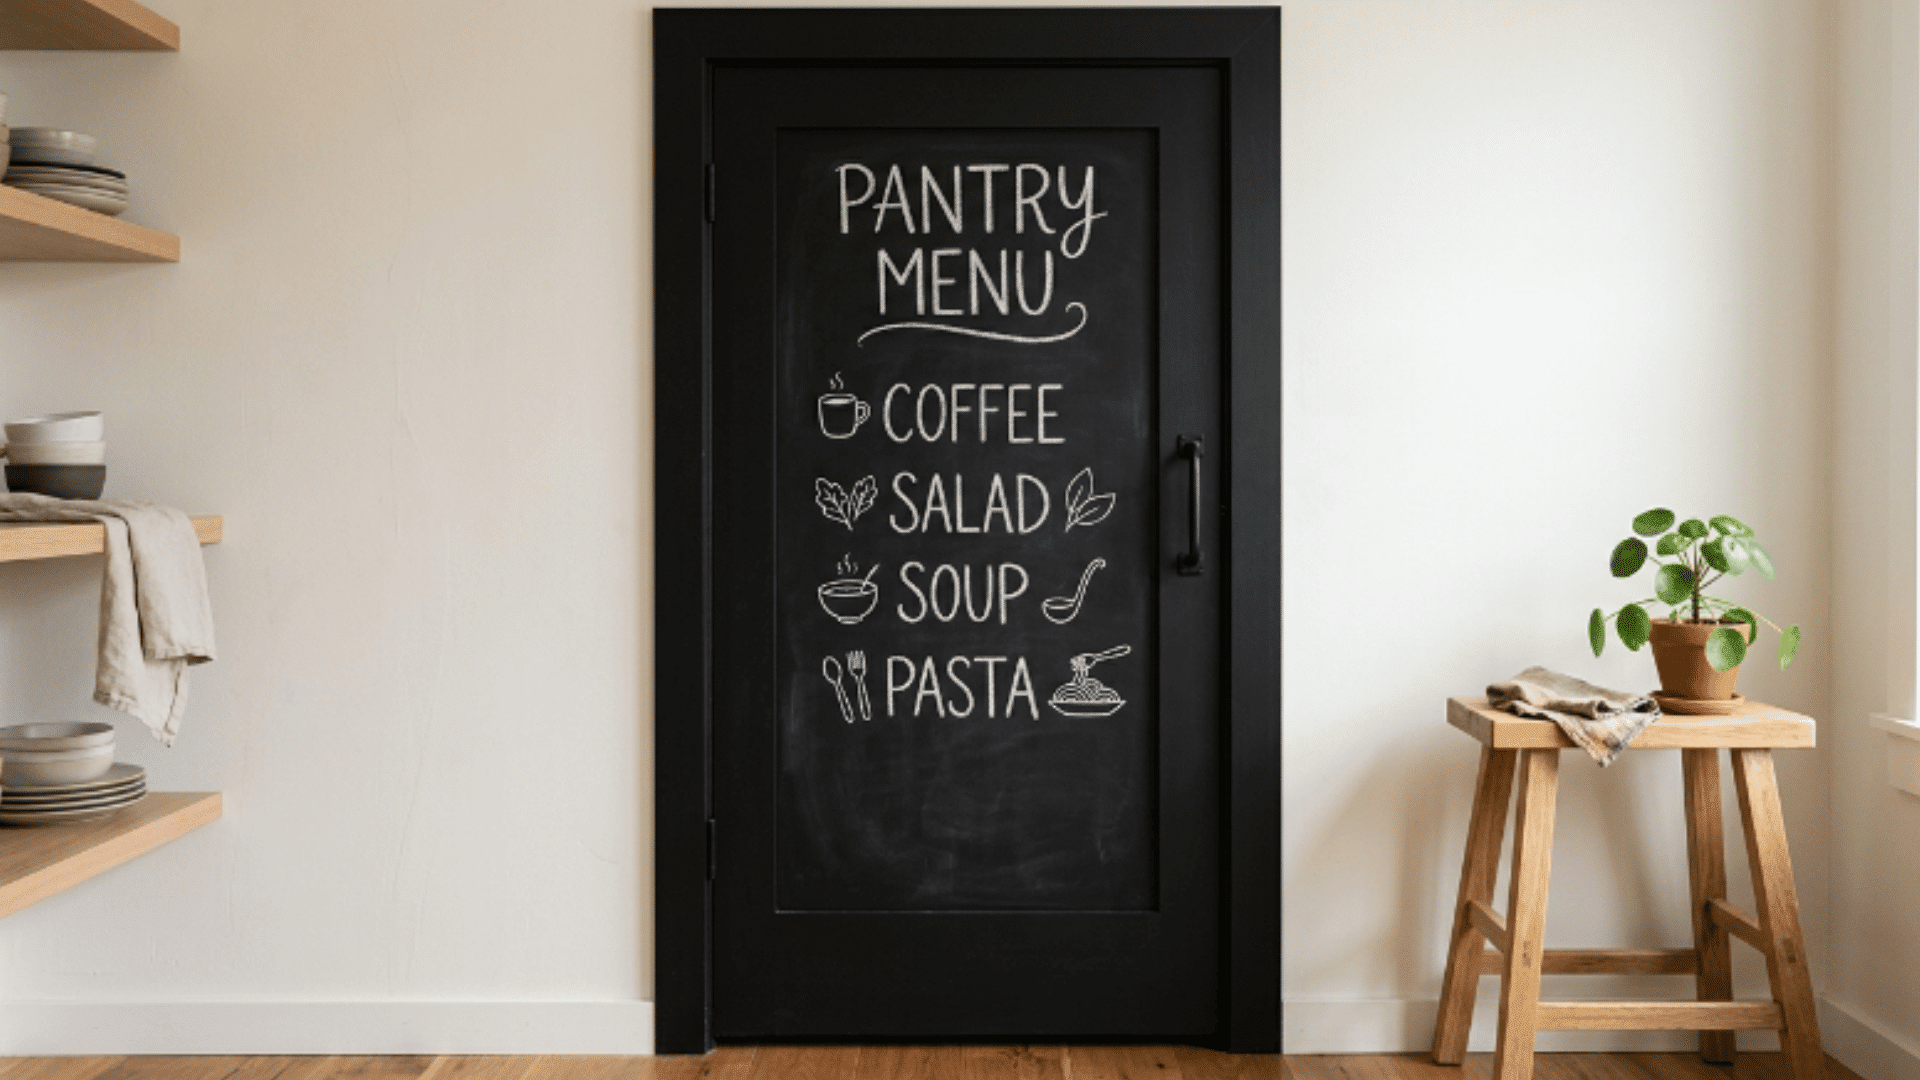
A chalkboard pantry door design applies chalkboard paint to the pantry door’s face, creating a writable surface for grocery lists, meal plans, and everyday household reminders.
How to Make:
- Clean the door surface thoroughly and sand lightly to improve overall paint adhesion
- Apply painter’s tape along all edges of the area to be painted for a clean border
- Apply two to three thin coats of chalkboard paint, allowing full drying time between coats
- Once fully cured, condition the surface by rubbing chalk across it and wiping it clean
- Write grocery lists, reminders, or pantry labels directly on the surface using chalk
17. Hanging Pendant Light Basket Shade
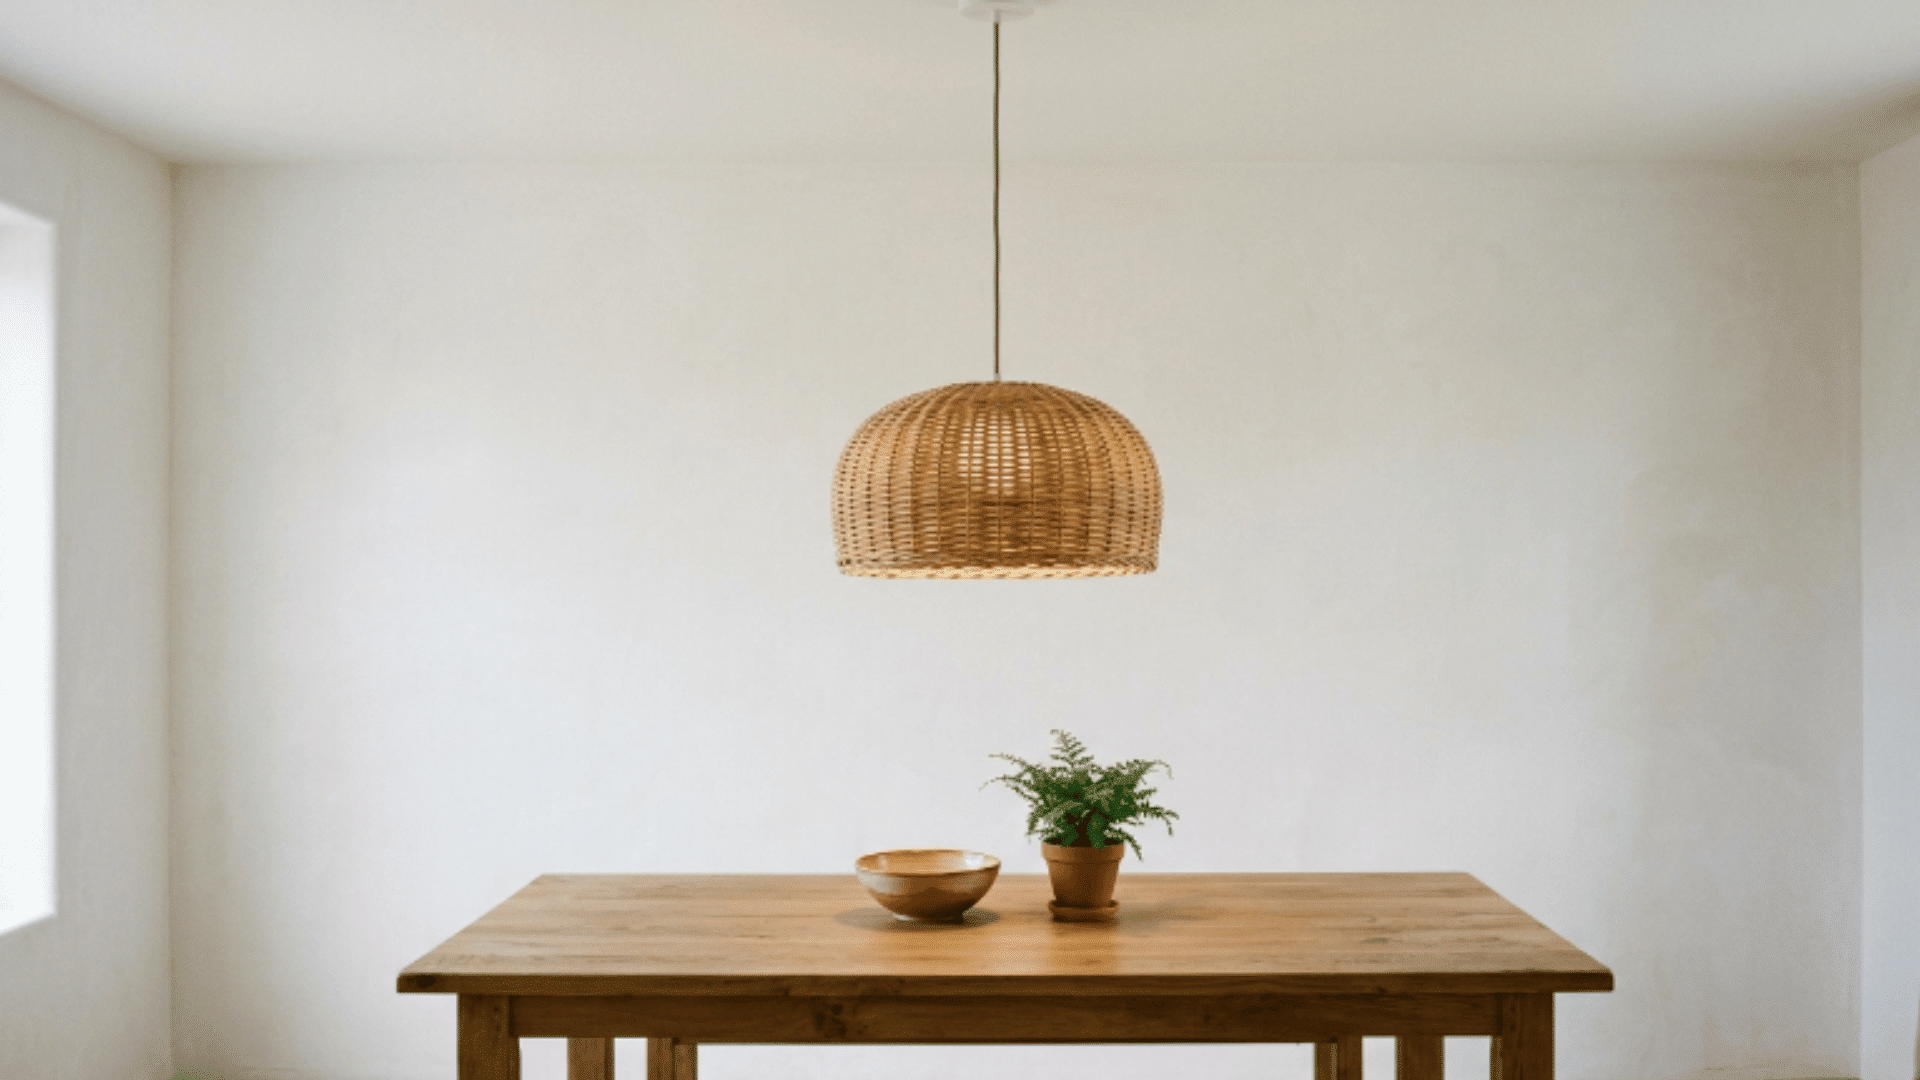
A hanging pendant light basket shade replaces a plain bulb fixture with a woven basket mounted over the fitting to produce warm, diffused light with a natural material finish overhead.
How to Make:
- Select a woven basket with a base opening wide enough to fit around the light fitting
- Drill a small hole through the center of the basket base for the pendant cord to pass through
- Thread the pendant cord kit through the drilled hole and fix the fitting above the basket
- Secure the basket so it hangs level and does not tilt or shift when in position
- Screw in a suitable bulb and hang the complete fixture from a ceiling hook
18. Minimalist Pegboard Organizer Wall
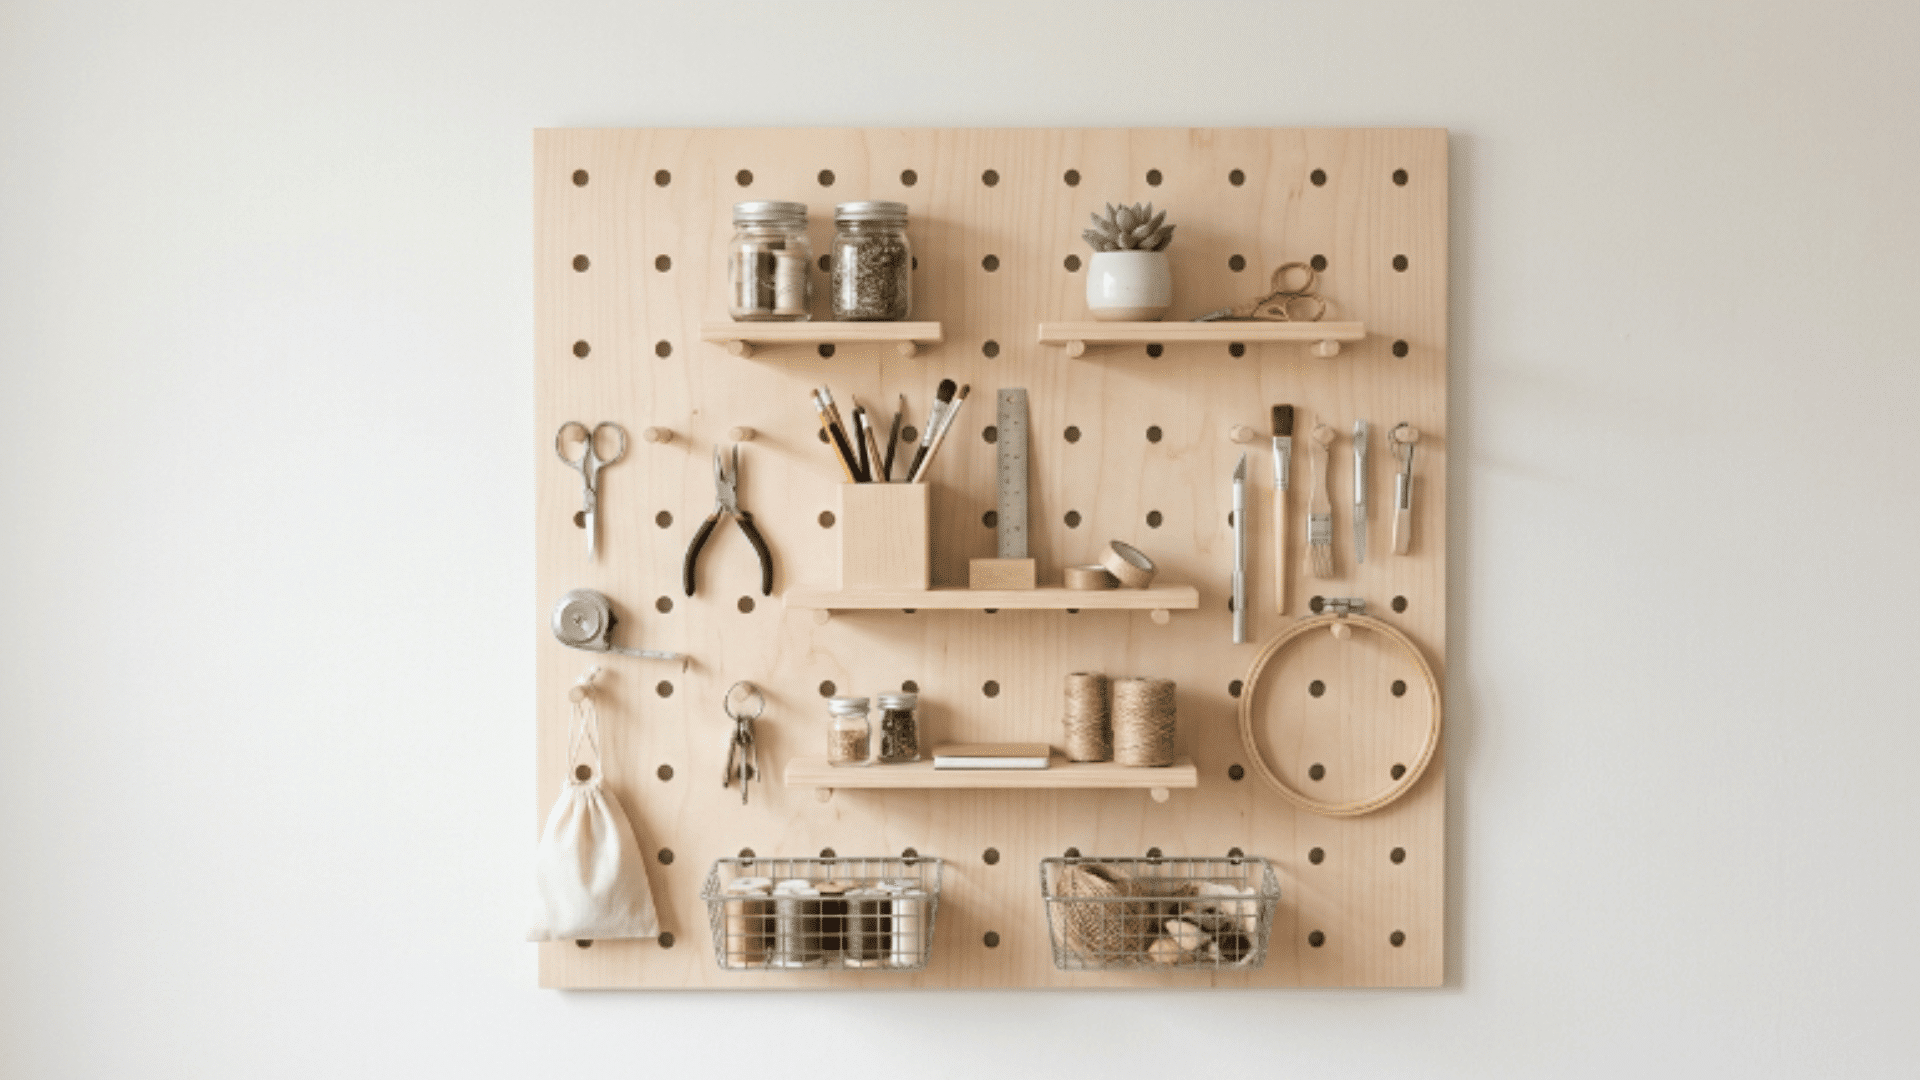
A minimalist pegboard organizer wall mounts a flat perforated board onto any wall and uses a system of hooks and small shelves to keep tools, craft items, or kitchen supplies accessible.
How to Make:
- Cut the pegboard to the required size, if needed, and sand any rough or sharp cut edges
- Fix wall spacers to the back of the board to allow hooks to sit through cleanly from the front
- Mount the board onto the wall using screws through the spacers into studs or anchors
- Check the board is completely level before tightening any fixings fully
- Arrange hooks, small baskets, and shelves in a layout that suits the items being stored
19. Farmhouse Kitchen Open Shelving
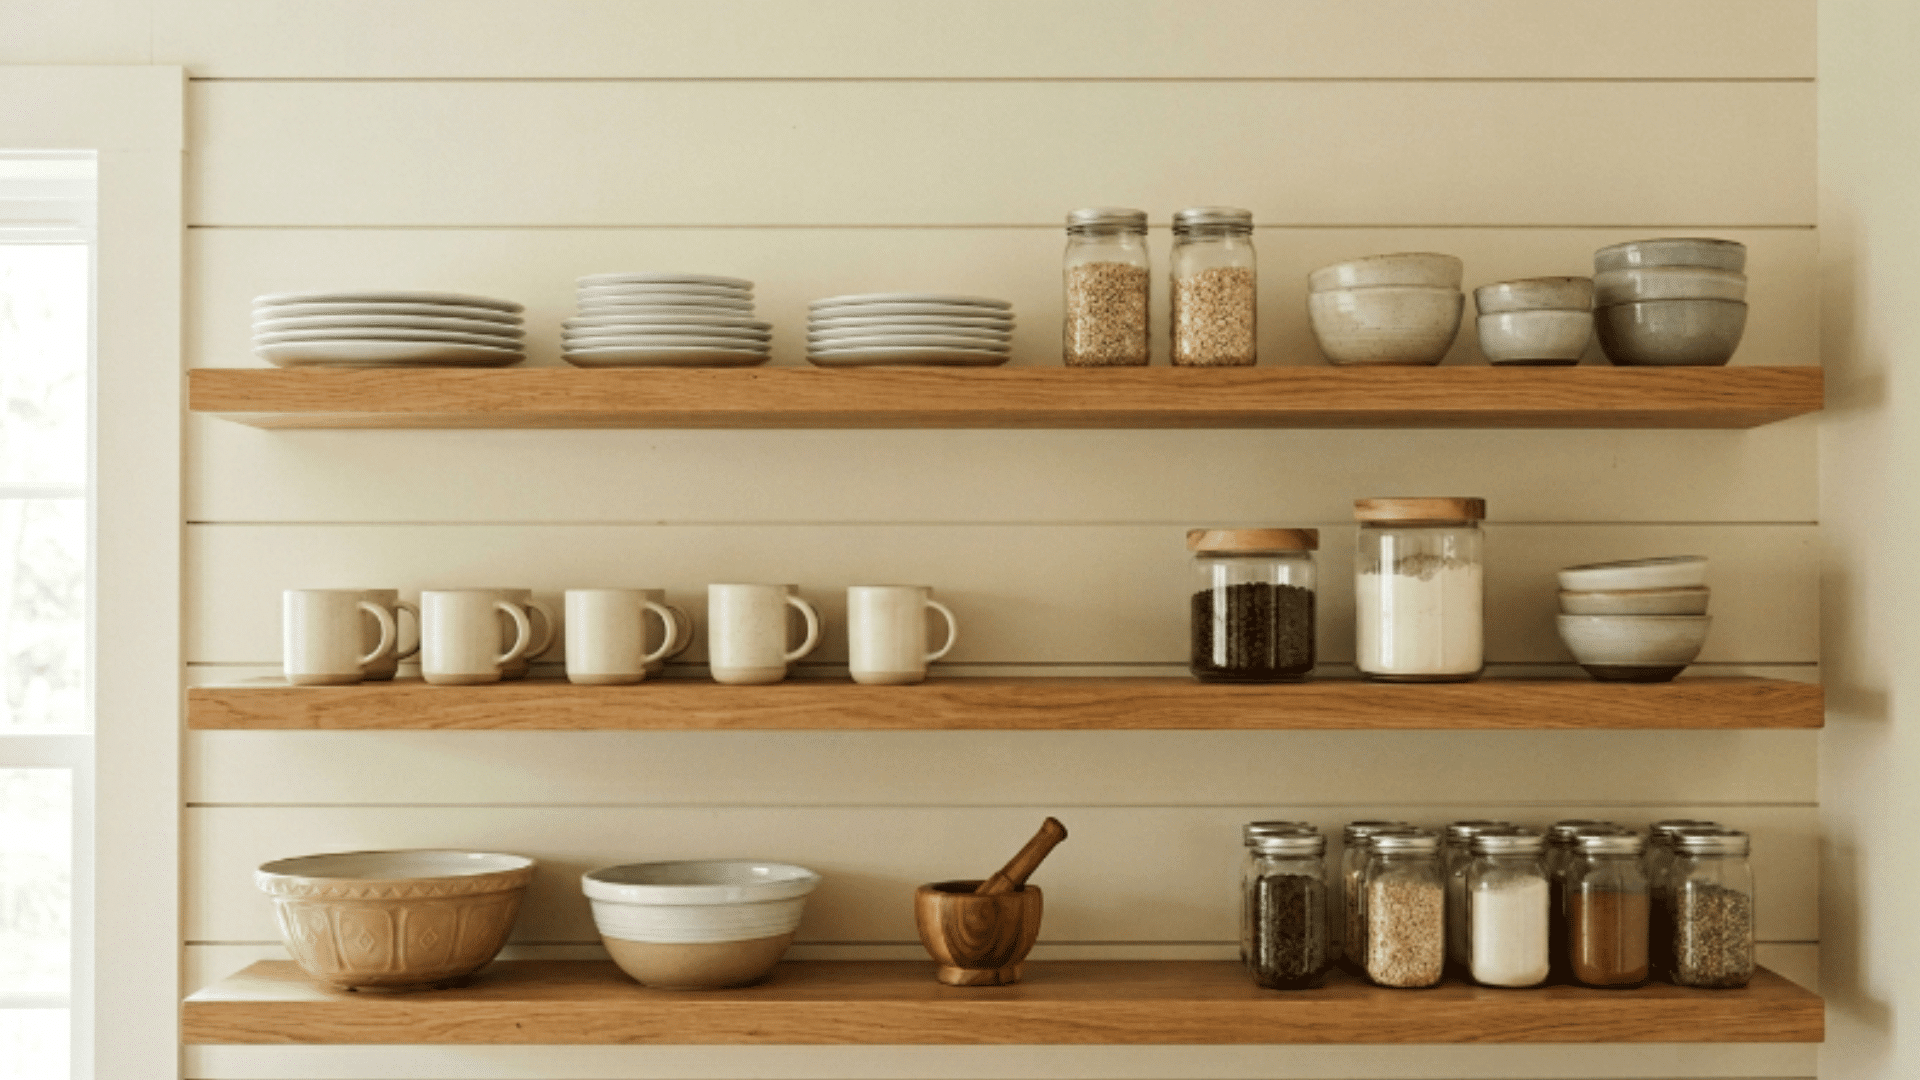
Farmhouse kitchen open shelving replaces upper cabinets or fills a bare wall section with exposed wooden shelves that display dishes, jars, and kitchen items in a clean, accessible arrangement.
How to Make:
- Select solid wood planks cut to the required shelf length and sand all surfaces smooth
- Mark the shelf positions on the wall at consistent heights using a reliable level
- Fix brackets firmly into wall studs or use appropriate anchors for the wall material type
- Set each wood plank onto its brackets and screw it in place securely from the underside
- Apply a stain or a clear protective coat before loading the shelves with kitchen items
20. DIY Bed Canopy Corner
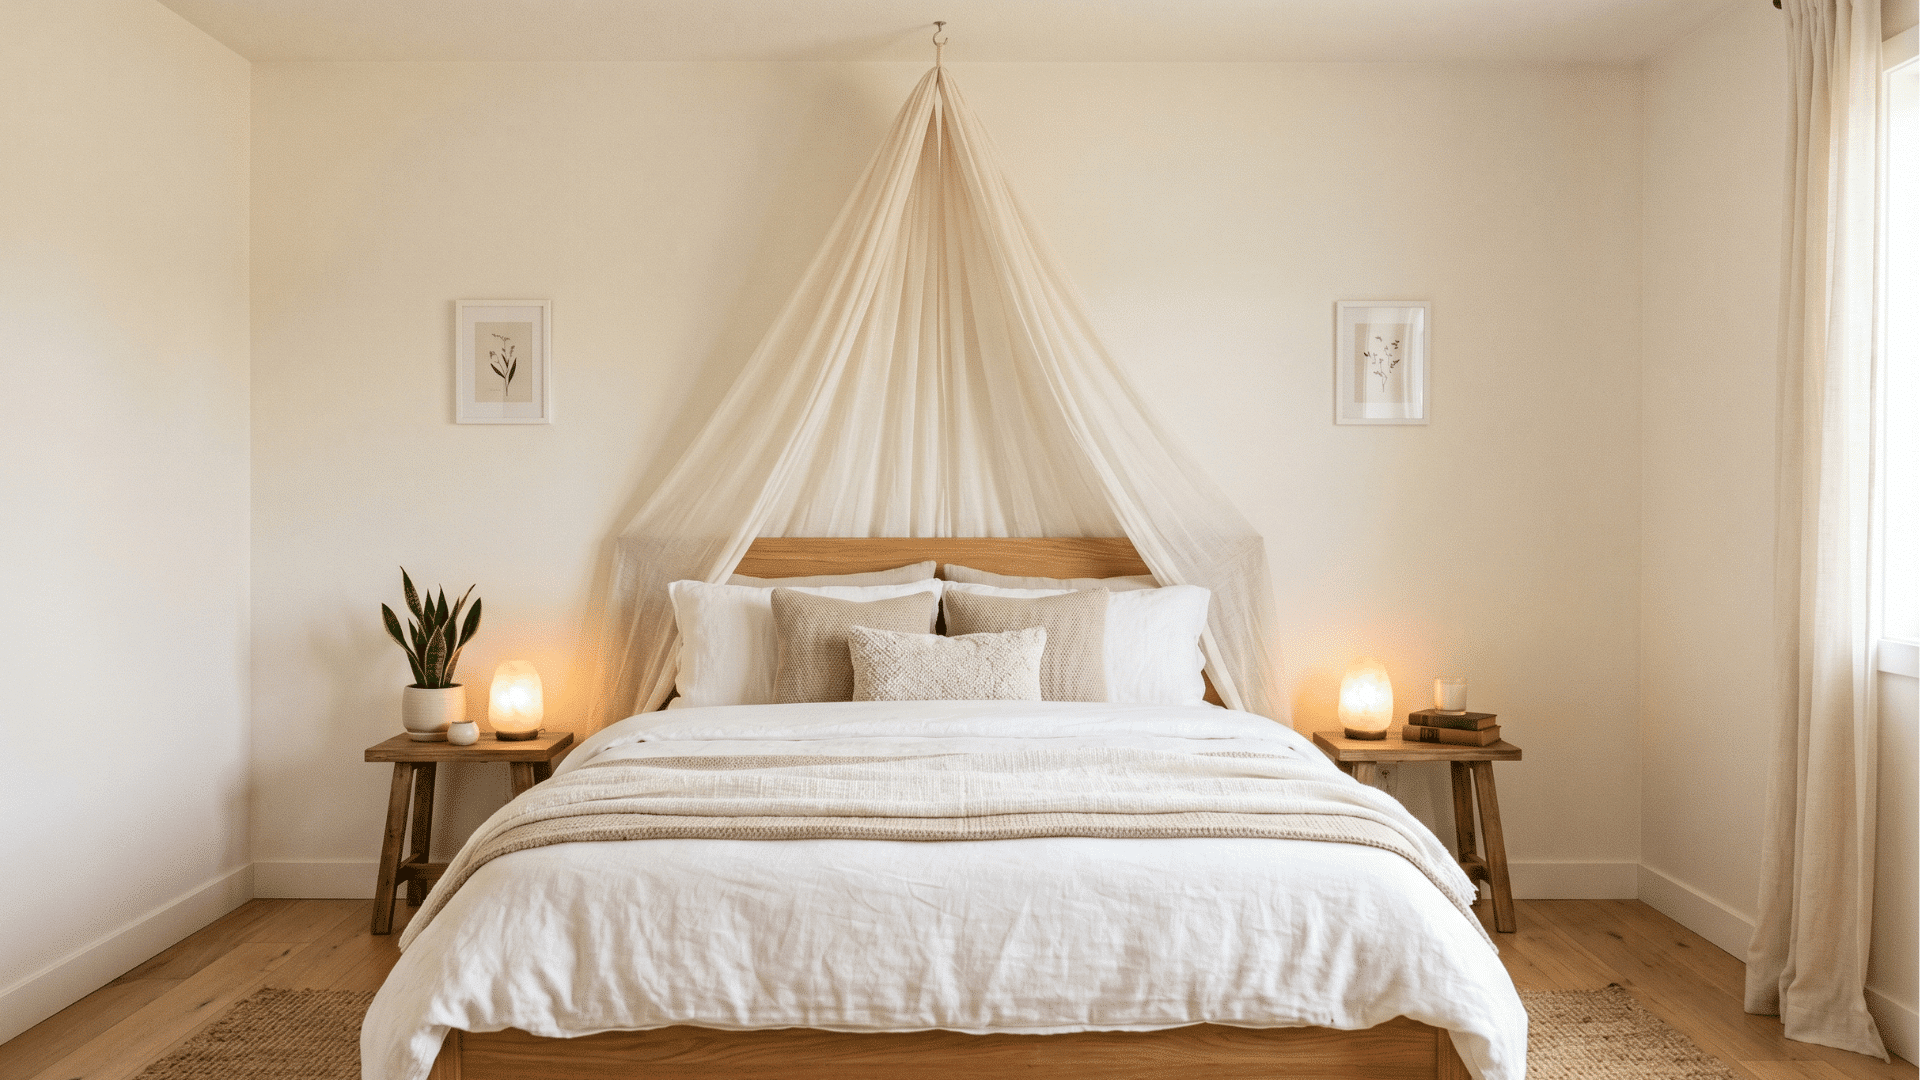
A DIY bed canopy corner drapes lightweight fabric from a ceiling hook above the bed to frame the sleeping area with a soft overhead structure that adds visual height to the room.
How to Make:
- Fix a ceiling hook directly above the center of the headboard end of the bed
- Cut sheer fabric panels to the required length from the ceiling height to the floor or mattress level
- Gather all fabric panels at the top and attach them to a single ring or fabric tie
- Hang the gathered fabric from the ceiling hook and spread the panels to each side
- Adjust the drape so the fabric falls at equal lengths and frames both sides of the bed
21. Framed Botanical Print Gallery Wall
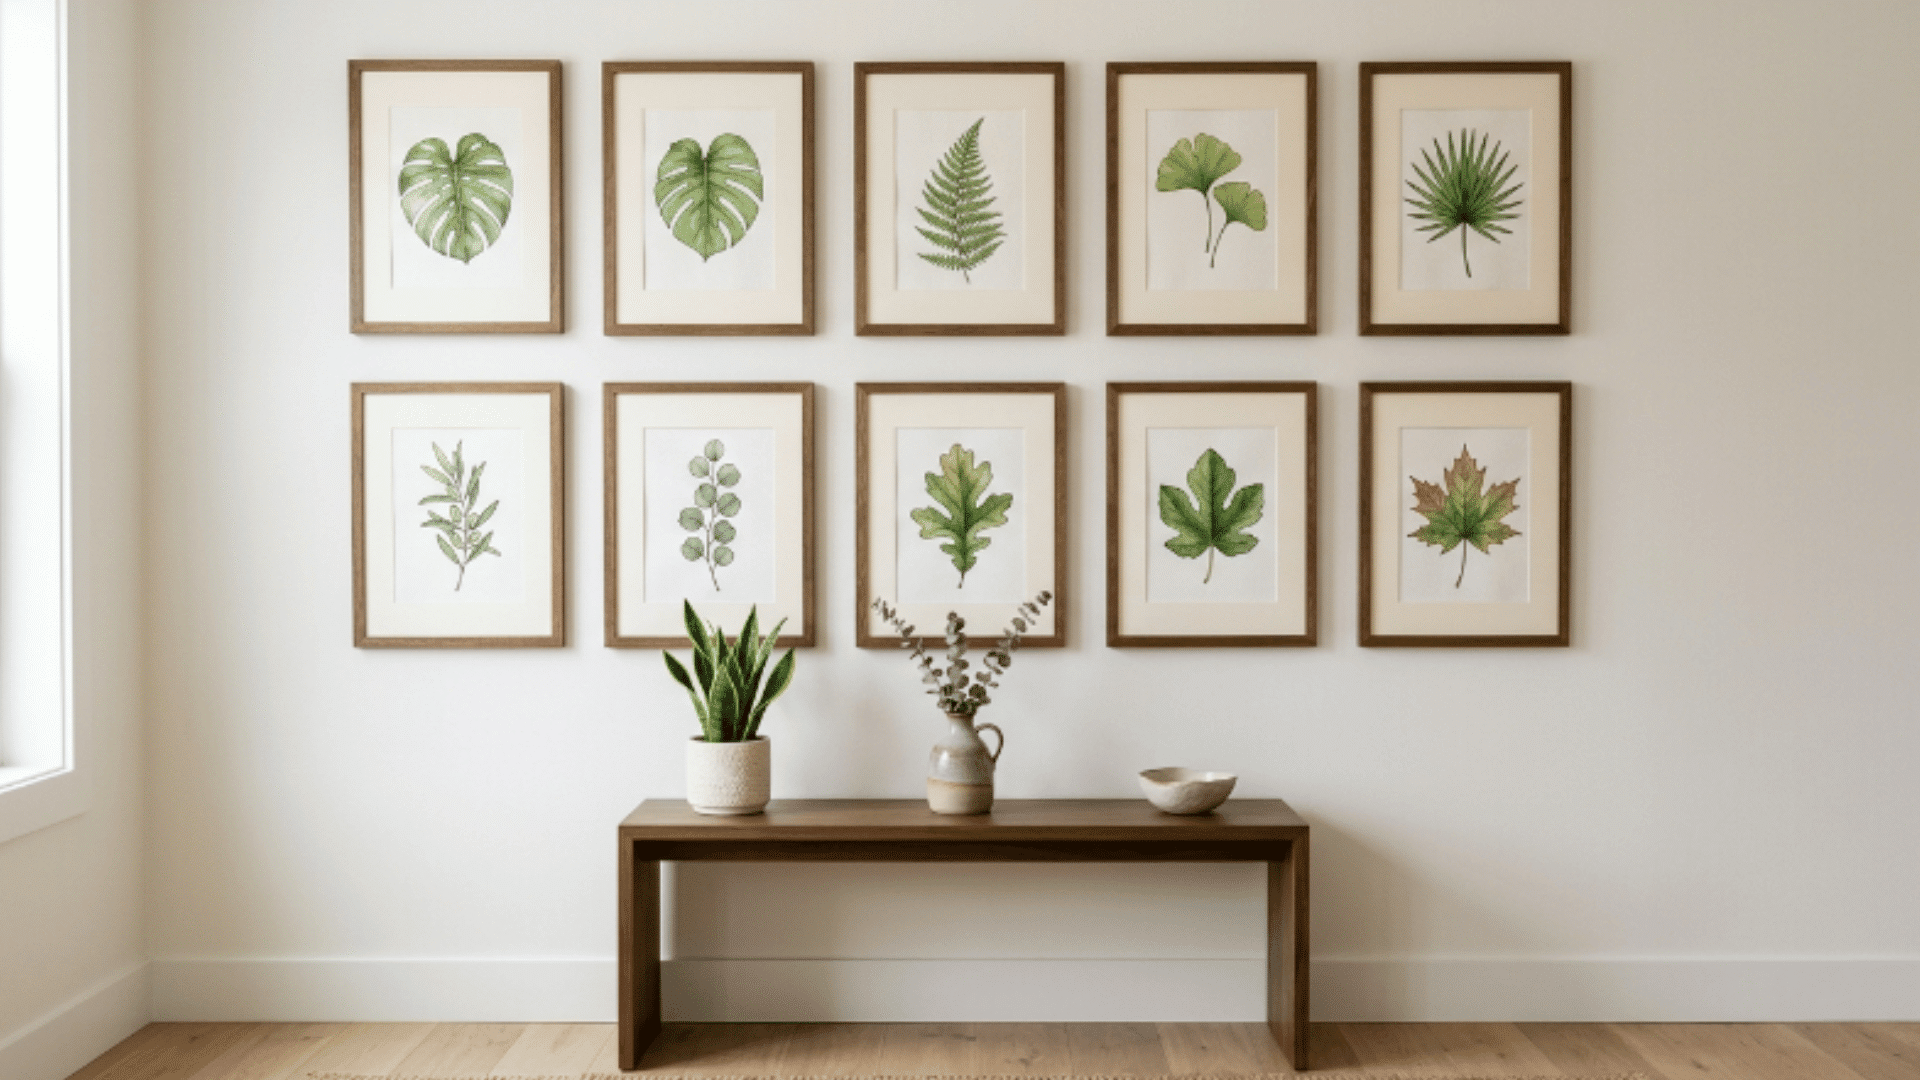
A framed botanical print gallery wall arranges a collection of plant illustrations or pressed leaf prints across a wall section to form a cohesive, nature-themed display in any room.
How to Make:
- Select botanical prints in similar tones and sizes, each one to fit the chosen frames
- Choose frames in a consistent finish, such as black, white, or natural wood, throughout
- Lay the full arrangement out on the floor to plan spacing before marking the wall
- Mark each frame position on the wall using a level and a light pencil, guidelines
- Hang each frame in sequence and adjust until the complete arrangement sits straight
22. Wooden Crate Side Table
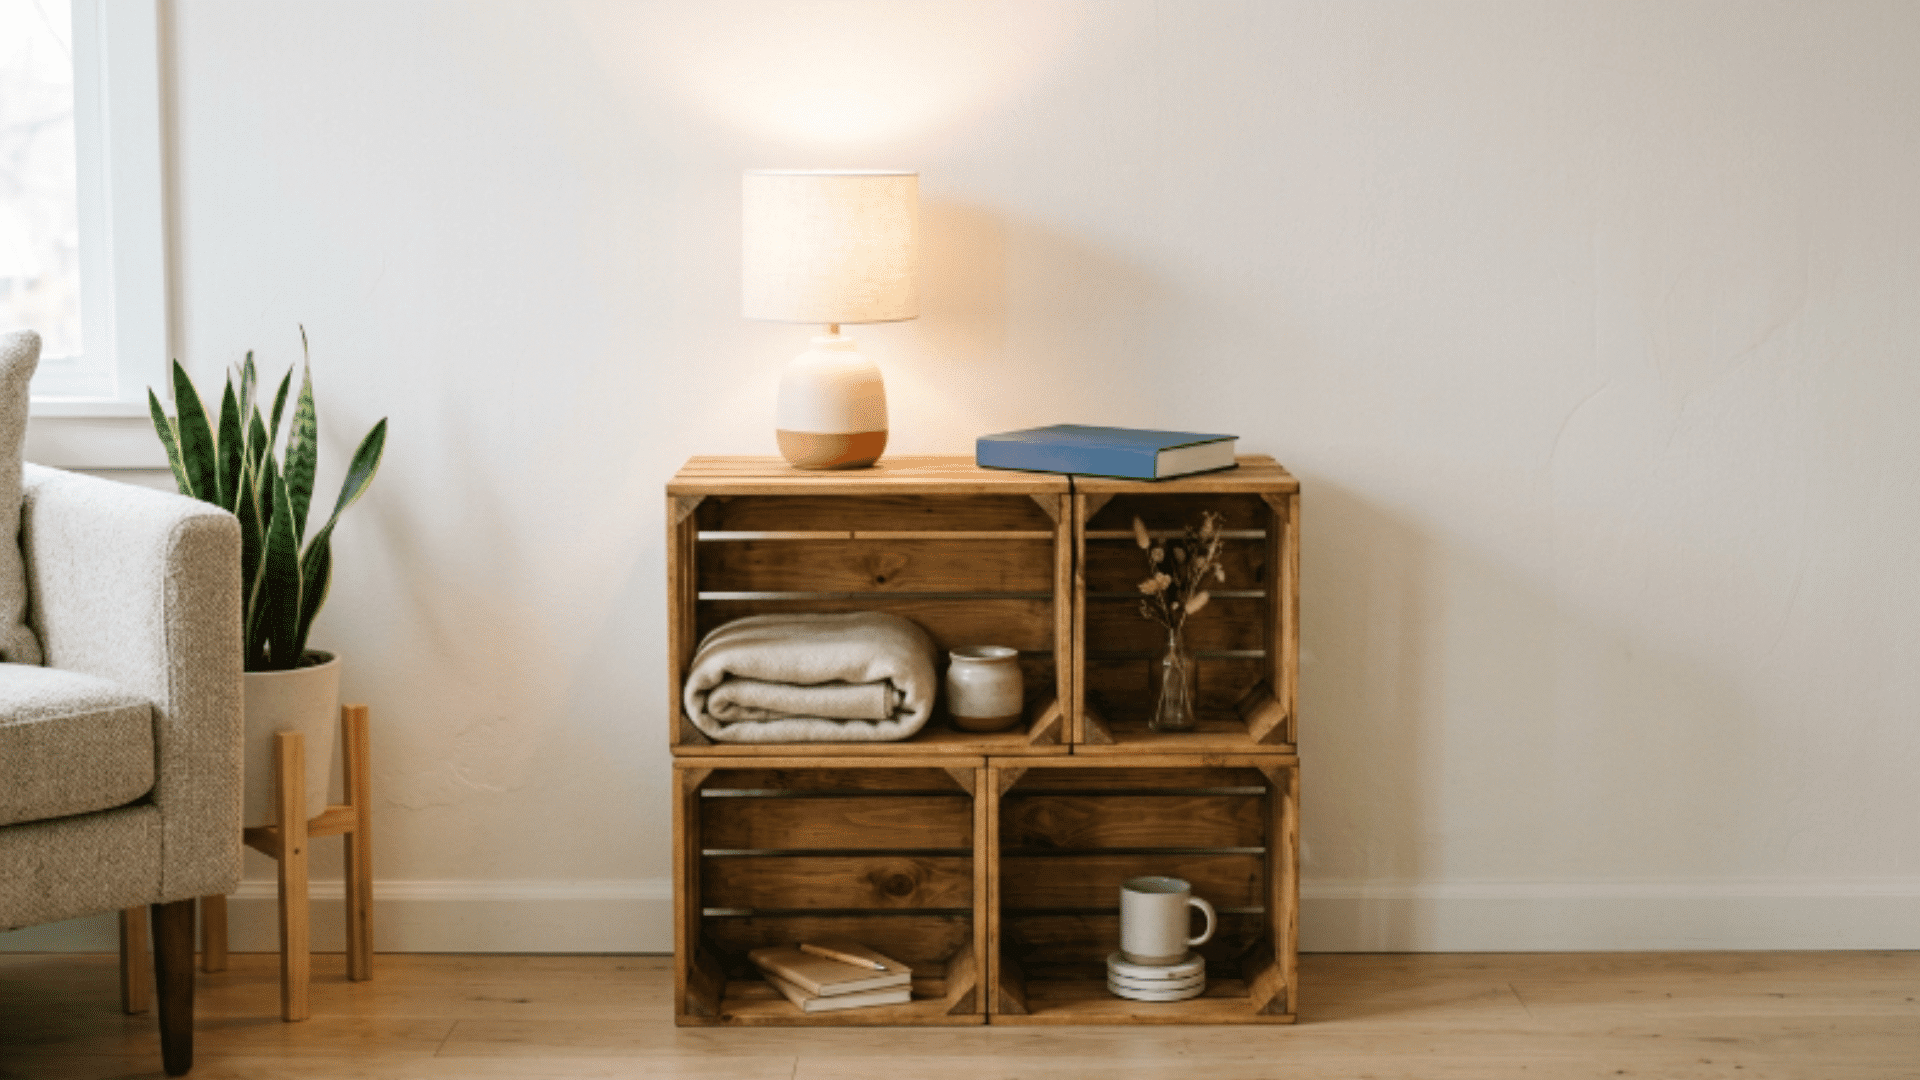
A wooden crate side table stacks or arranges one or more crates to create a small surface for a lamp, books, or a drink while also providing open storage space inside each crate.
How to Make:
- Sand all outer surfaces of the crates to remove rough patches and any splinters
- Apply stain or paint in the chosen finish and allow each coat to dry before the next
- Stack crates vertically or arrange them side by side, depending on the available space
- Fix the crates together using screws or strong wood glue to prevent any movement
- Attach caster wheels to the base if a mobile version is preferred for easy repositioning
23. Painted Terracotta Pot Collection
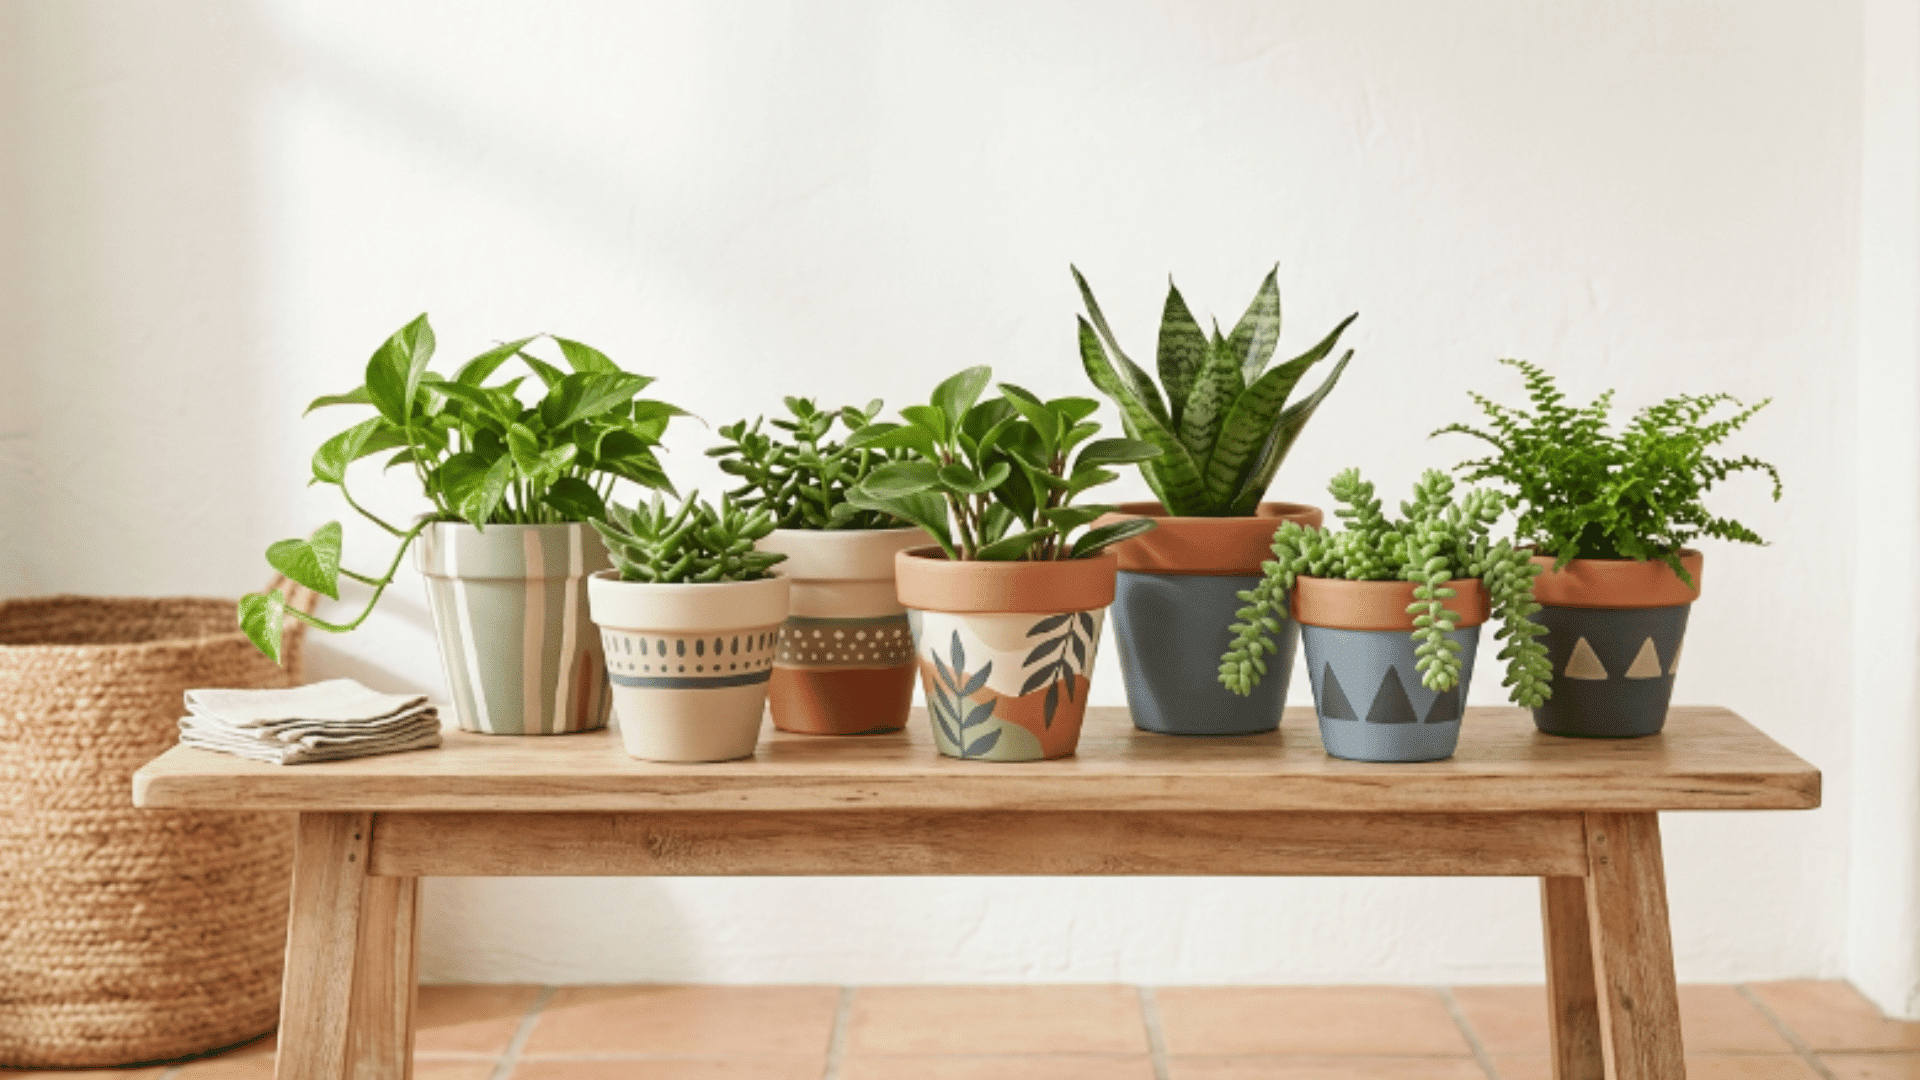
A painted terracotta pot collection updates plain clay pots with color, pattern, or texture using outdoor or chalk paint to create a grouped plant display for indoor or outdoor spaces.
How to Make:
- Clean all terracotta pots thoroughly and allow them to dry completely before painting
- Apply a base coat of paint across each pot and allow full drying time between coats
- Use painter’s tape to create geometric lines, stripes, or clean, blocked color sections
- Apply the second color or pattern detail and remove the tape while the paint is slightly wet
- Seal all finished pots with an outdoor sealant to protect the paint from moisture and wear
24. DIY Fireplace Mantel Styling
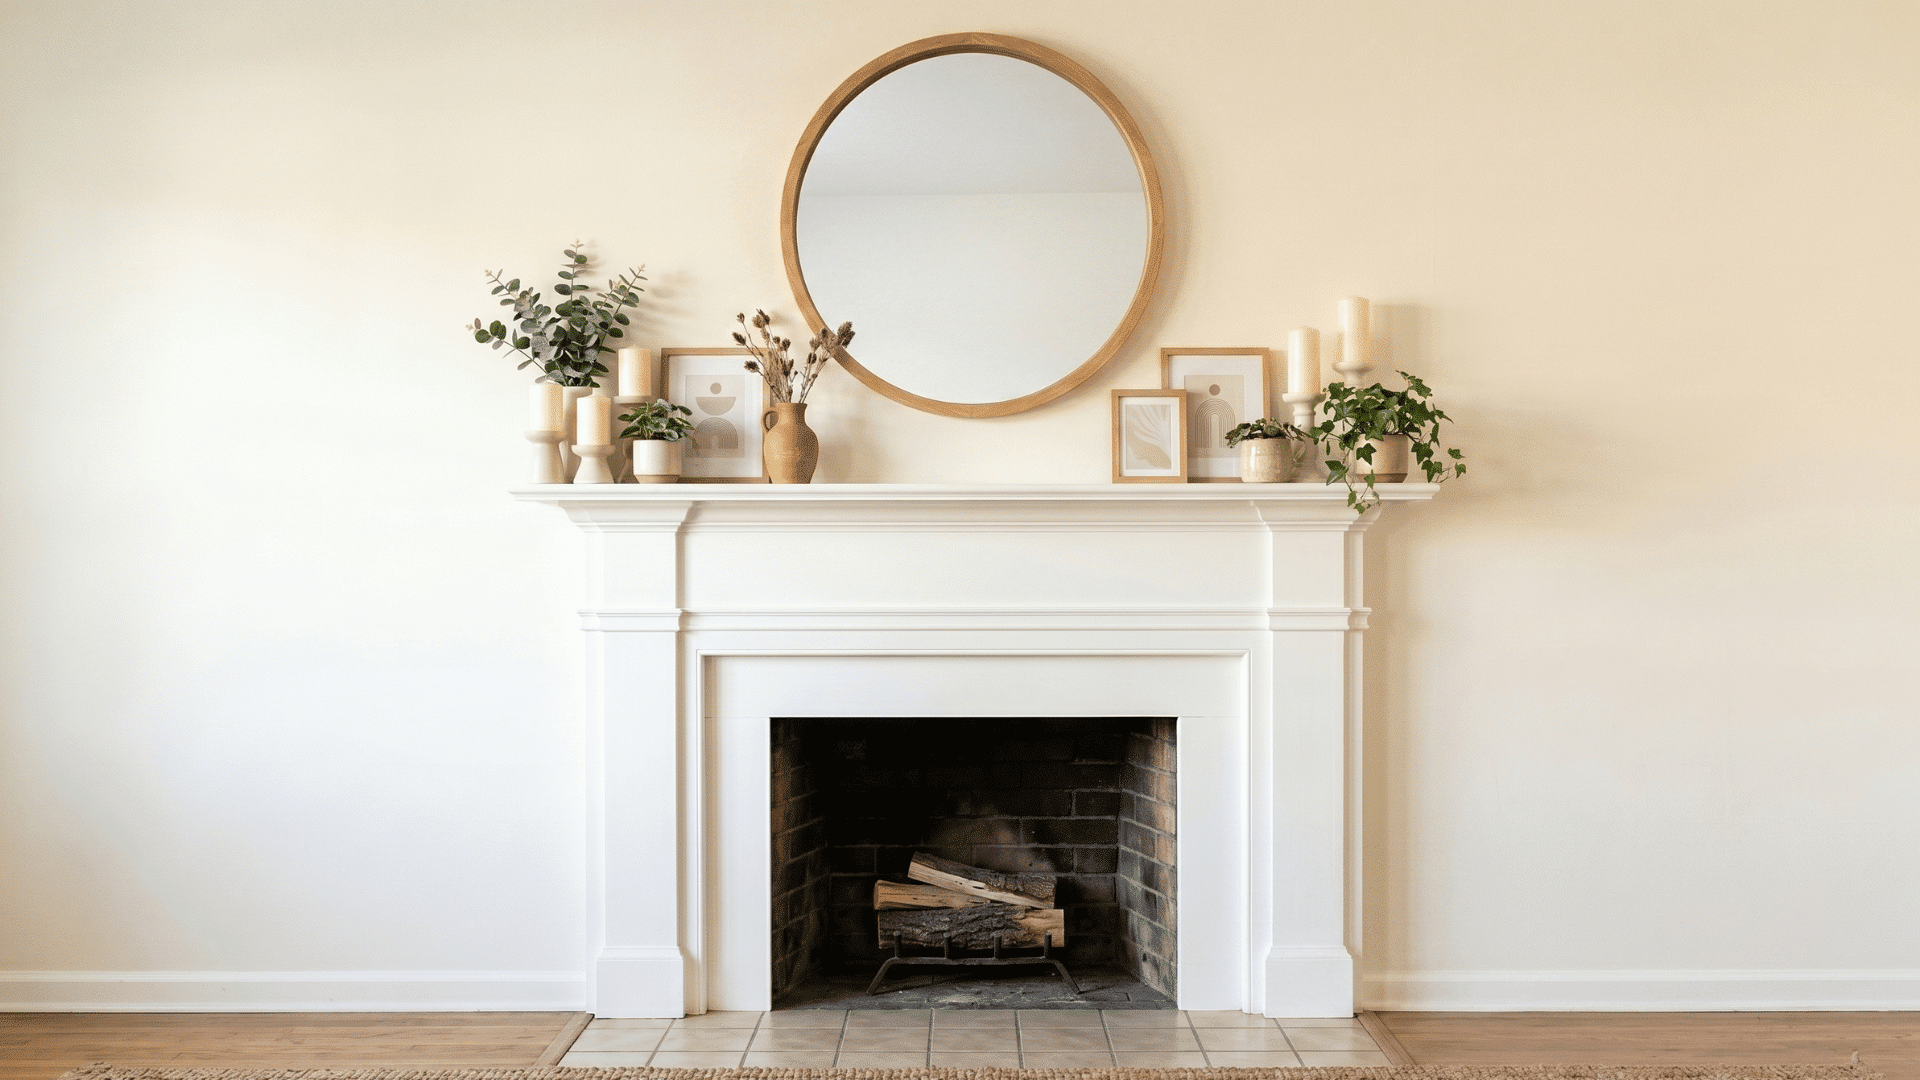
DIY fireplace mantel styling arranges a layered mix of objects across the mantel shelf to create a balanced display that positions the fireplace as a clear and well-considered room feature.
How to Make:
- Lean a large mirror or piece of artwork against the wall at the back center of the mantel
- Place the tallest items, such as candle holders, on either side of the central anchor piece
- Layer medium-height objects like small frames and vases in front of the taller pieces
- Add greenery, dried stems, or trailing plants at the lower edges to soften the overall display
- Step back and adjust object placement until both sides feel balanced in height and visual weight
25. Woven Basket Wall Arrangement
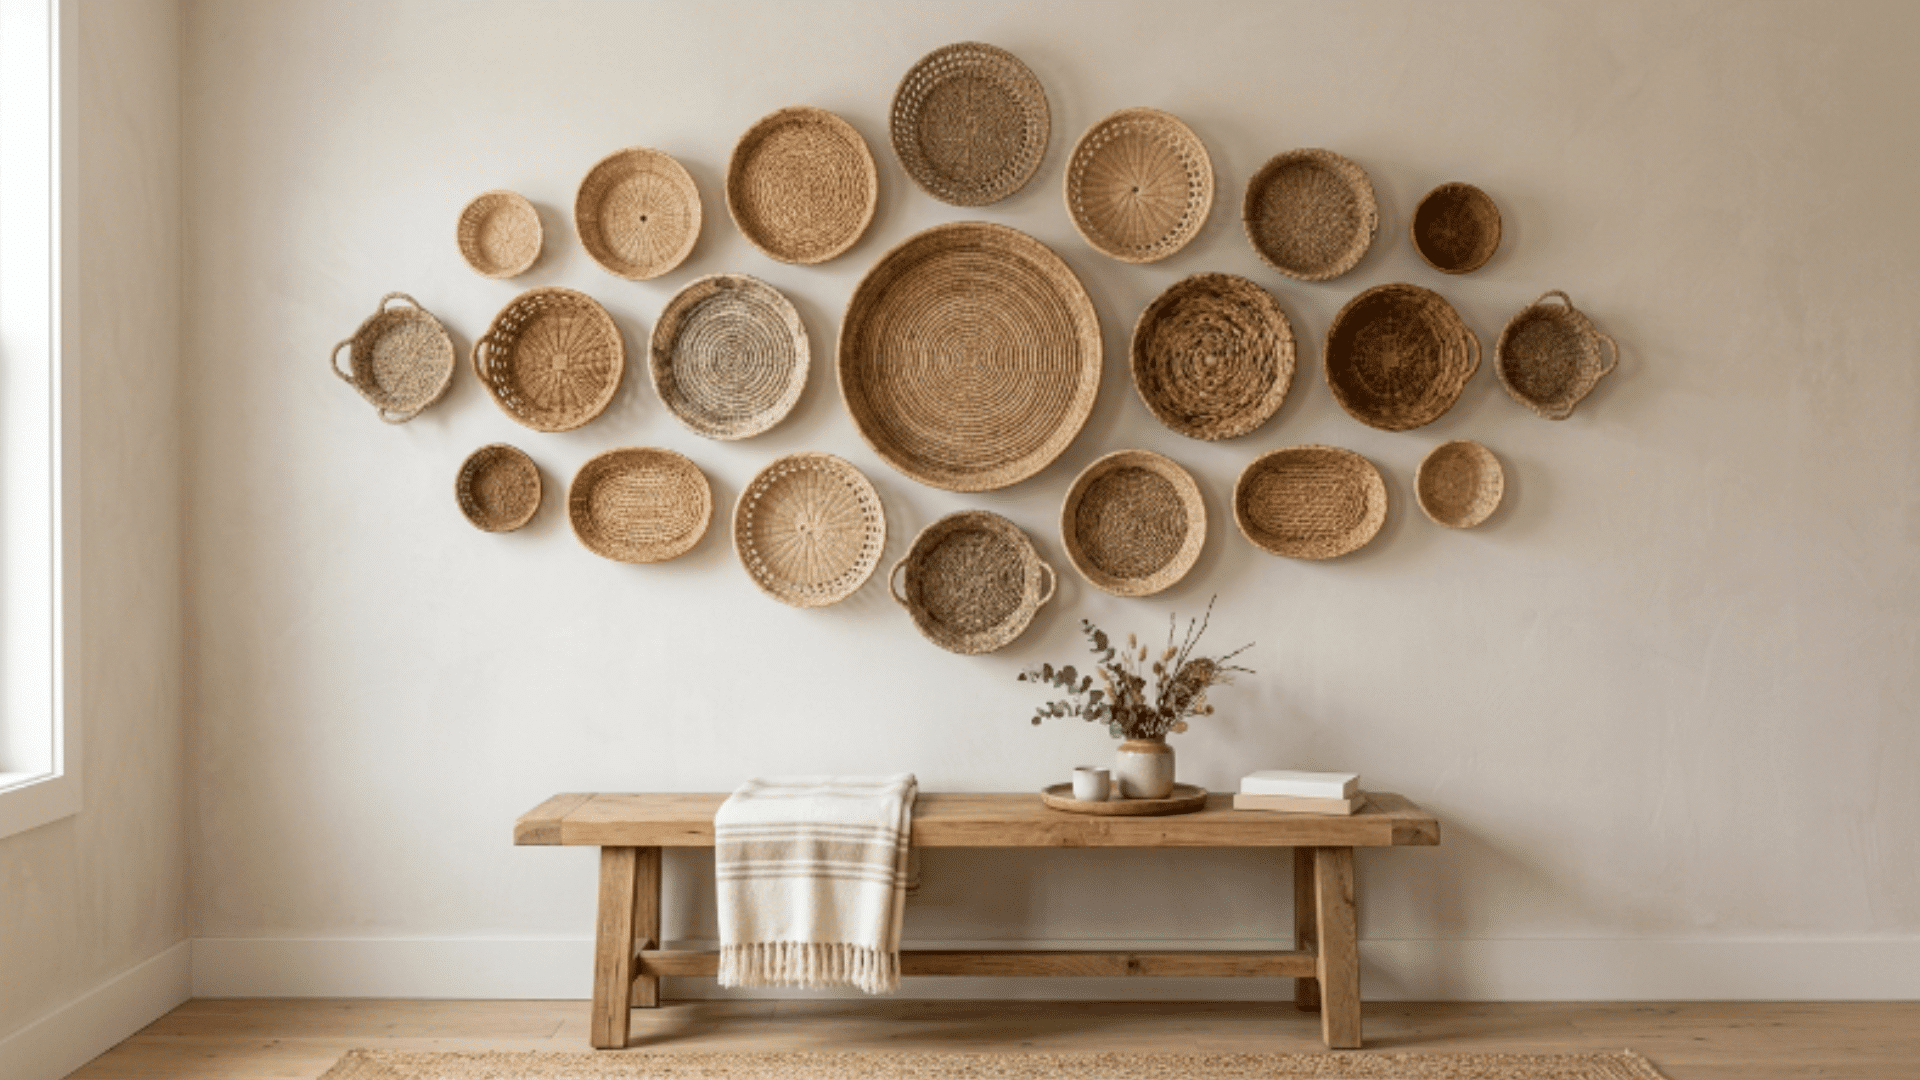
A woven basket wall arrangement groups baskets of varying sizes and textures onto a wall section to create a layered, organic diy home decor display that adds warmth.
How to Make:
- Select an assortment of baskets in varied sizes, shapes, and weave textures
- Lay all baskets out on the floor to plan a balanced and visually even arrangement
- Mark the wall positions lightly with a pencil before driving any nails or hooks in
- Fix a nail or picture hook through the back of each basket at the highest hanging point
- Hang each basket in position and adjust until the full grouping sits level and balanced
More Home Decor Projects Worth Taking On
These home decor projects are just as practical and beginner-friendly as the first set, covering a wider range of rooms, styles, and budgets.
- DIY Outdoor Vertical Garden Wall: A wall-mounted system of small pots fixed to a vertical outdoor surface that makes use of unused fence or wall space.
- Built-In Bookcase Around TV: A custom timber shelving unit built around the television that frames the screen and adds organized storage on both sides.
- Vintage Suitcase Side Table: A repurposed vintage suitcase used as a side table that adds retro character and hidden storage to any room.
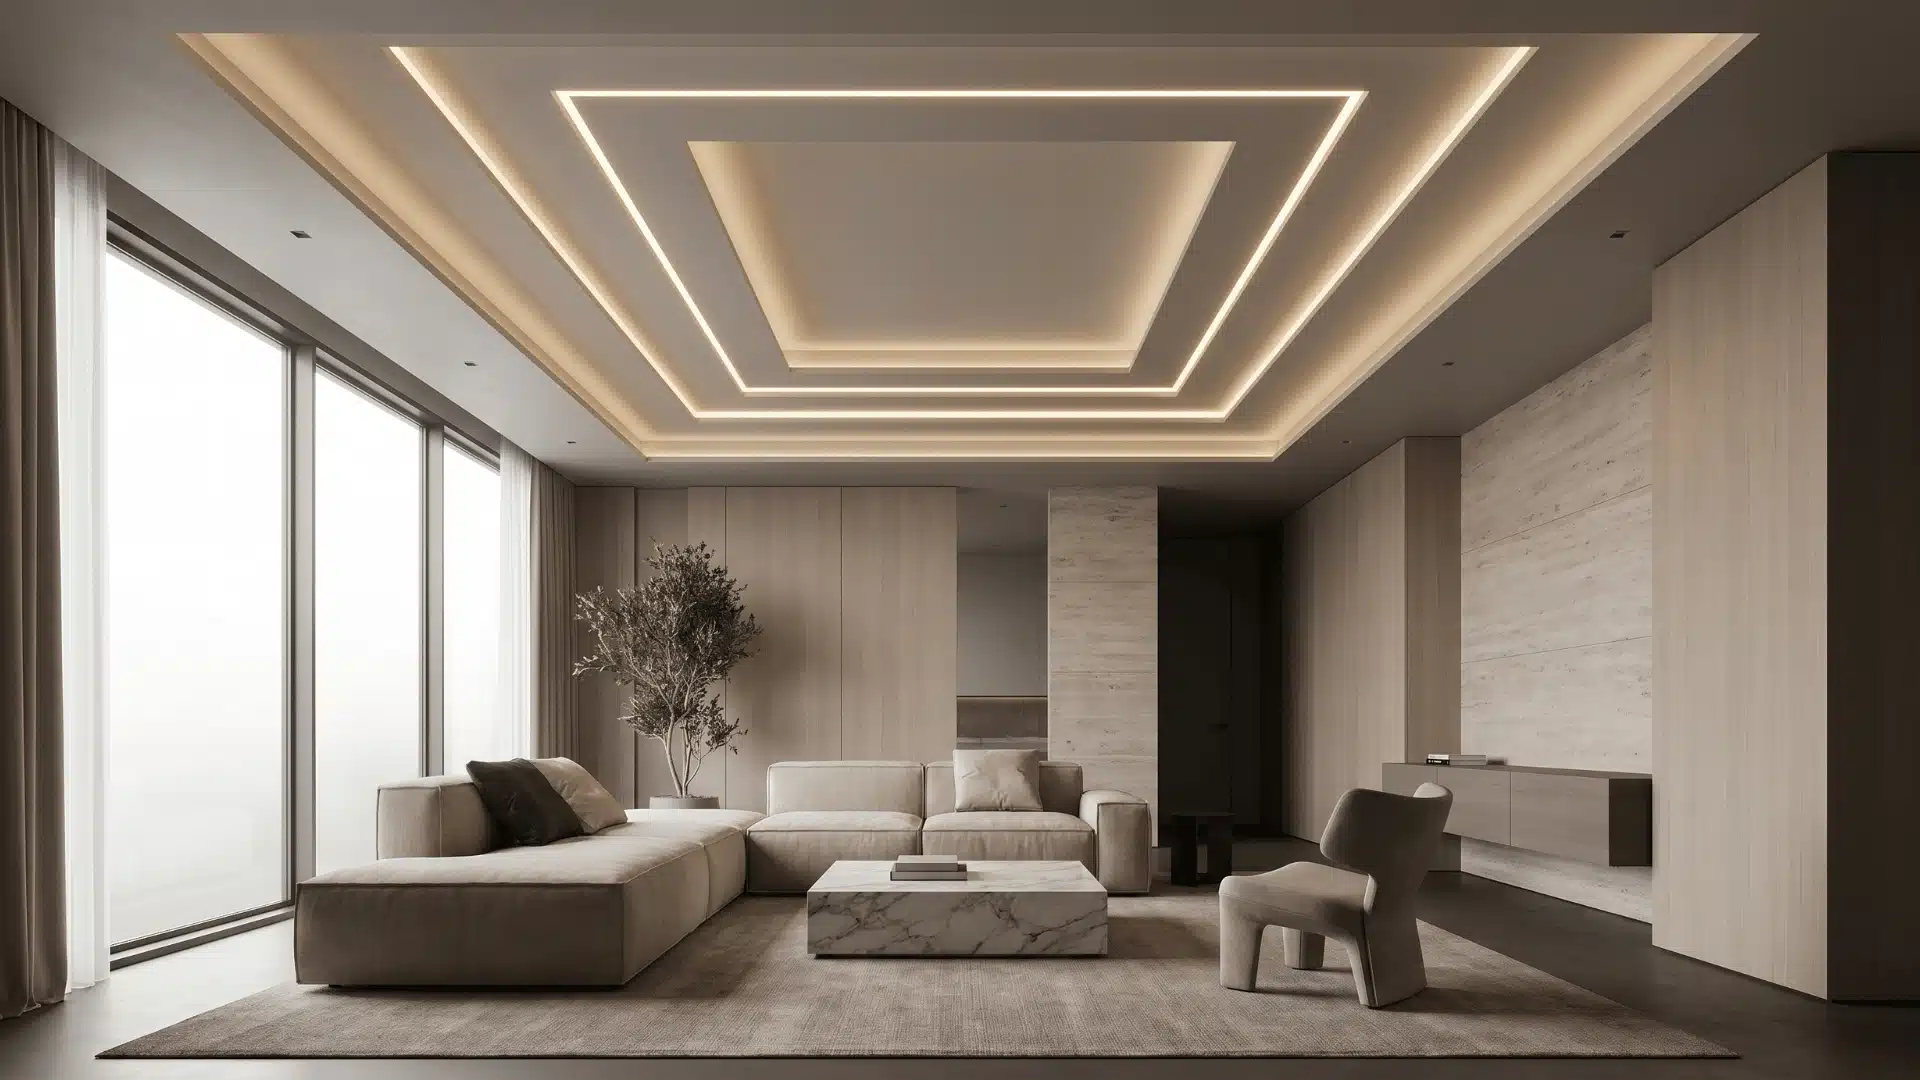
- Painted Ceiling Statement Design: A ceiling finished in a bold contrasting color that draws the eye upward and adds an unexpected design detail overhead.
- Handmade Macrame Wall Hanging: A knotted rope wall piece that adds texture and a handcrafted quality to any plain wall in the home.
- Farmhouse Sliding Barn Door: A timber door panel on a wall-fixed track that slides open without needing floor clearance for a standard door swing.
- Decorative Ceiling Beam Installation: A set of timber beams fixed to the ceiling that adds architectural structure and a warm, natural material character overhead.
- DIY Pantry Label Organization: A labeling system for jars and bins that keeps pantry contents clearly identified and the storage area consistently organized.
- DIY Floating Desk Nook: A wall-mounted timber desktop fitted into a corner that creates a compact workspace without taking up any floor space.
- Reclaimed Wood Headboard: A headboard built from salvaged timber planks that adds raw texture and a natural grain finish to the bedroom wall.
- DIY Indoor Herb Garden Shelf: A small shelf unit that holds individual herb pots near a kitchen window for fresh ingredients within easy reach.
- Colorful Front Door Makeover: An exterior door repainted in a strong, deliberate color that improves street appeal and gives the home entry a clear identity.
- Painted Stair Riser Patterns: A stenciled or painted pattern applied to each stair riser that adds color and decorative detail to the staircase.
- DIY Bathroom Vanity Upgrade: A refinished bathroom vanity that replaces dated cabinetry, hardware, or surfaces with updated materials and a cleaner overall finish.
- Hanging Wicker Egg Chair Corner: A suspended wicker chair hung from a ceiling hook that creates a defined seating corner with a natural, relaxed feel.
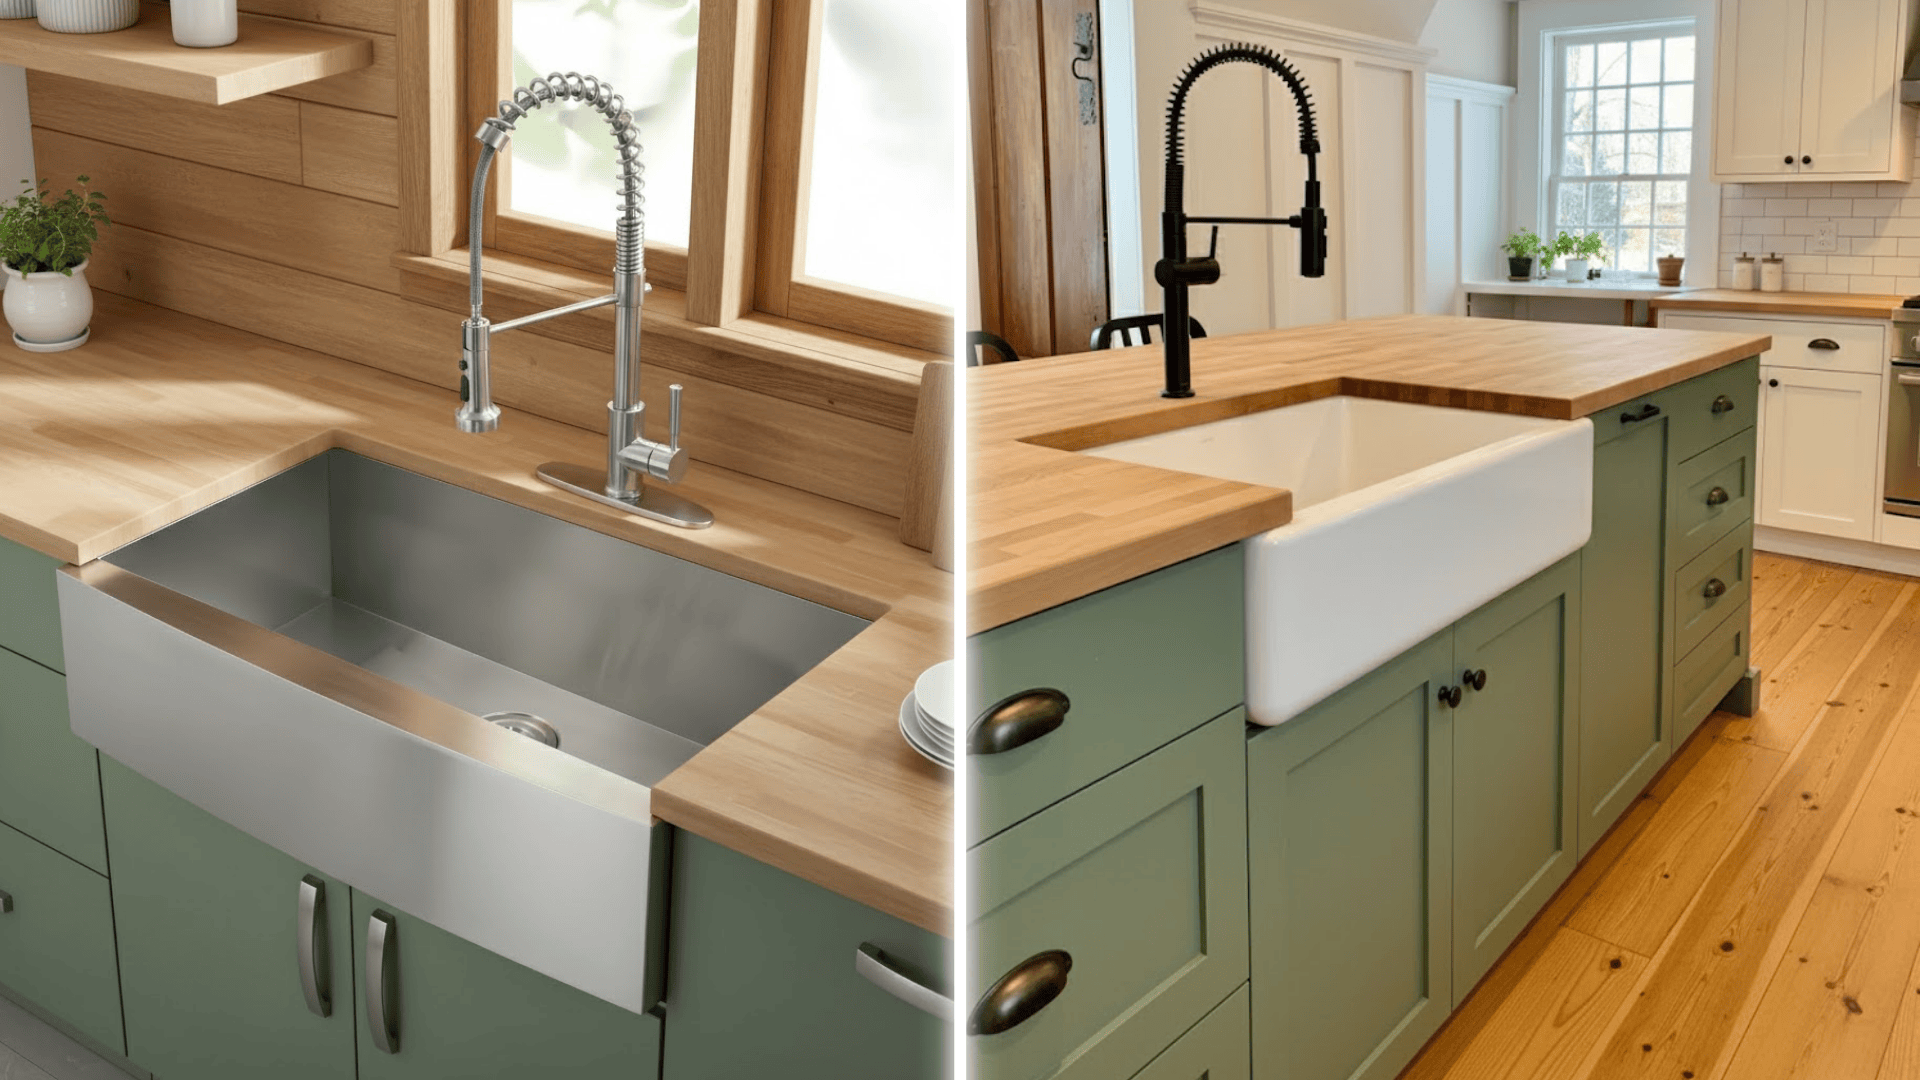
- DIY Laundry Room Countertop: A timber surface installed above the washing machine, providing a flat, practical area for folding and sorting laundry.
- Picture Ledge Hallway Gallery: A shallow wall-mounted shelf with a front lip that displays layered framed photos and art without individual picture hooks.
- Faux Limewash Wall Finish: A textured paint treatment applied in overlapping dry-brush strokes that replicates the aged surface of traditional lime-washed plaster.
- Wooden Bead Chandelier DIY: A ceiling light assembled from threaded wooden beads and a pendant cord kit that creates a natural textured overhead fitting.
- DIY Linen Curtain Room Divider: A ceiling-mounted curtain track fitted with linen panels that separates two areas within a room without permanent walls or partitions.
- DIY Concrete Coffee Table: A cast concrete tabletop on a timber or metal base that creates a minimal, industrial-finish surface for the living room.
- DIY Faux Marble Countertop: A painted or contact-paper treatment applied over an existing countertop that replicates the veined look of real marble at low cost.
- Handmade Fabric Wall Panels: Fabric-covered frames mounted to the wall that add color, pattern, and a soft textile texture to any plain surface.
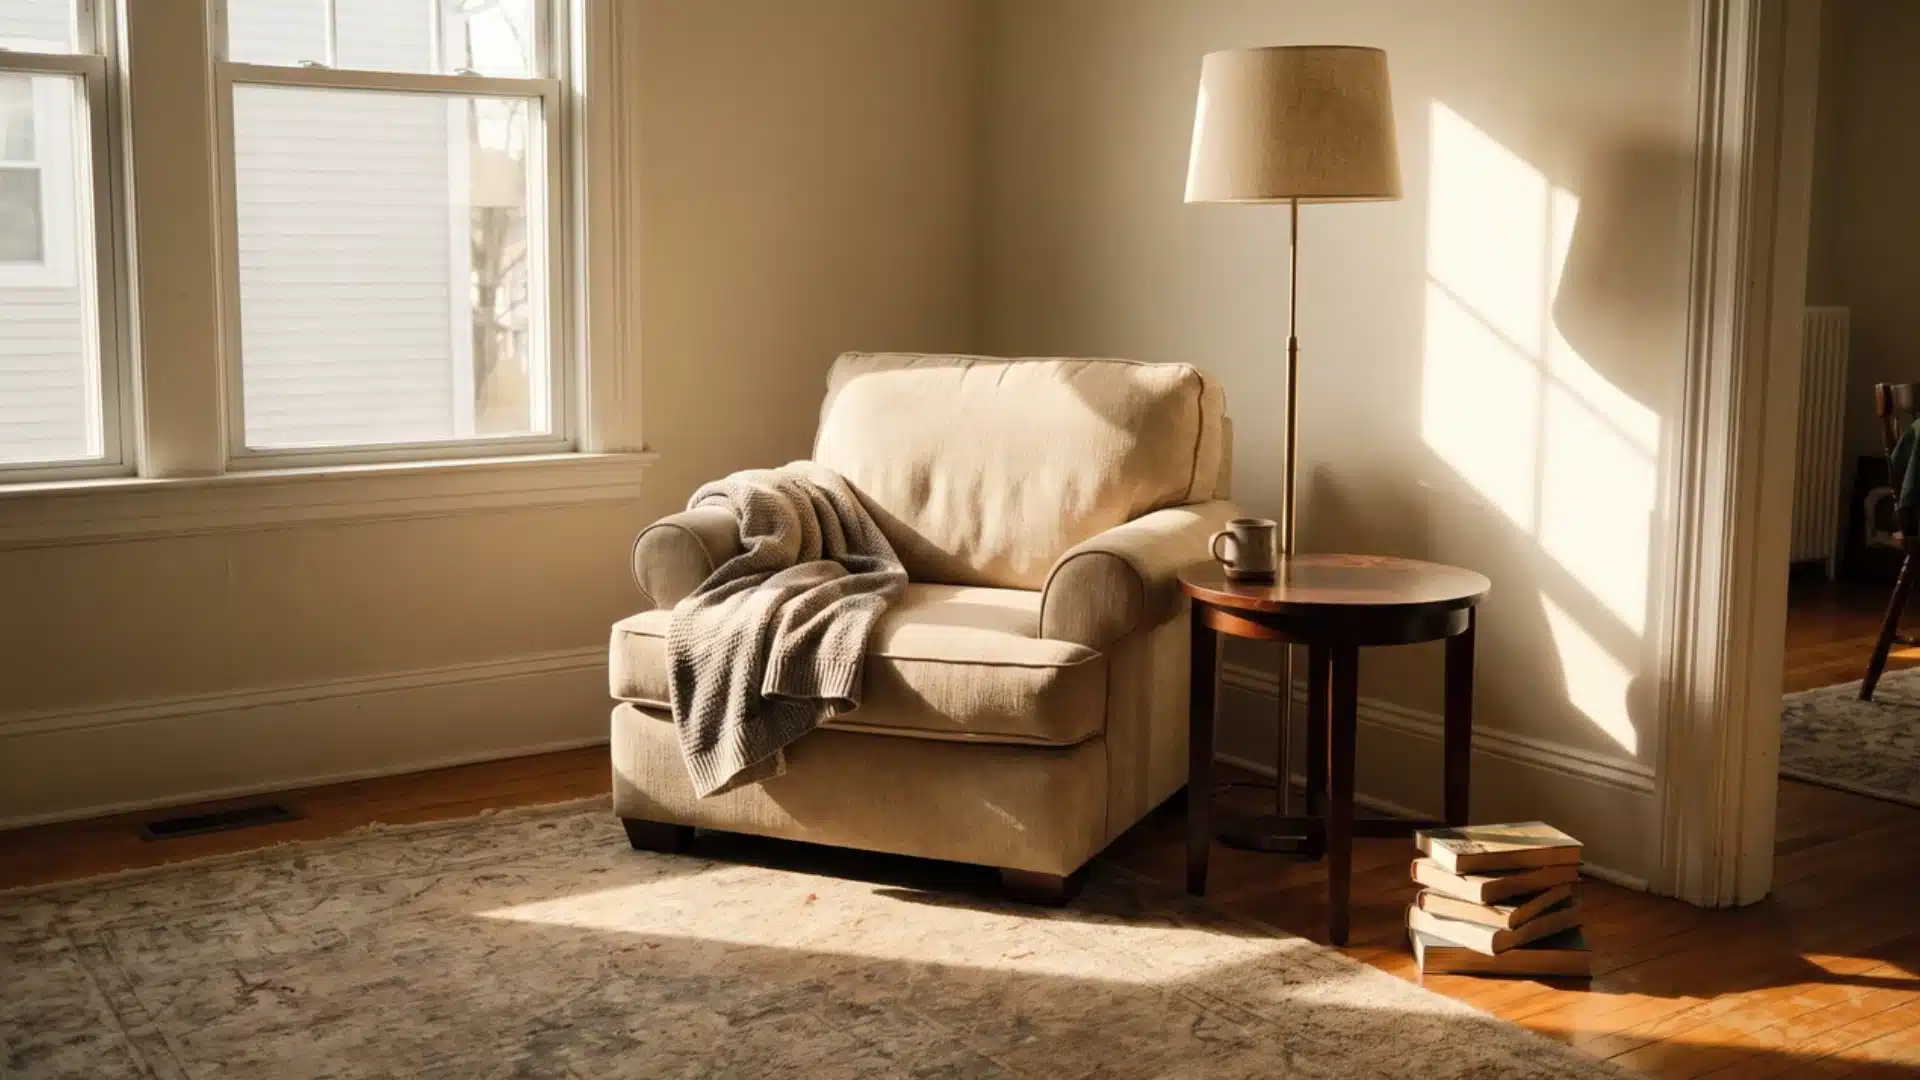
- Scandinavian Neutral Bedroom Corner: A bedroom corner styled with a neutral chair, floor lamp, and minimal accessories that creates a calm and restful reading spot.
- Antique Plate Wall Display: A grouped arrangement of vintage plates mounted directly on the wall, creating a curated, layered decorative display.
- DIY Outdoor Pallet Seating Area: Stacked and cushioned timber pallets arranged into low modular outdoor seating for a garden or patio at minimal cost.
- DIY Terrarium Glass Display: A glass container filled with soil, moss, and small plants that forms a self-contained living display for any indoor surface.
- DIY Stone Vase Decor: A plain vase coated in small pebbles using adhesive that creates a textured, natural-finish decorative object for any shelf.
- Cozy Cottage Entry Table Styling: A layered entry table arrangement using a lamp, tray, plant, and print that creates a warm and welcoming entrance.
- Rope-Wrapped Lamp Base DIY: A lamp base wrapped in natural rope using adhesive that adds texture and a handcrafted character to any room.
- DIY Built-In Pet Feeding Station: A low timber frame built into a wall that holds pet food bowls neatly within a permanent, tidy surround.
- Farmhouse Dining Table Centerpiece: A styled arrangement of candles, a tray, and dried stems that anchors and finishes the dining table as a complete display.
- Painted Furniture Legs Makeover: A contrasting paint color applied to existing furniture legs that refreshes the full appearance of the piece without major work.
- DIY Wooden Photo Display Board: A timber panel mounted on the wall with wire or clips strung across it to hold and display printed photos.
- Cane Webbing Cabinet Door Makeover: A cabinet door updated by replacing the solid panel insert with cane webbing stretched and fixed across the open frame.
- Handmade Resin Tray Decor: A tray cast from epoxy resin in a chosen color that sets into a smooth decorative surface for any table.
- DIY Rainbow Bookshelf Styling: A shelf arrangement that organizes books by spine color in spectrum order to create a color-gradated display across the unit.
- Minimal Neutral Console Table Setup: A console table styled with a lamp, small tray, and neutral objects to create a clean, understated hallway display.
- Decorative Wall Molding Design: Timber or MDF molding strips, fixed to the wall in a geometric grid pattern, that add architectural detail and surface depth.
- DIY Copper Pipe Clothing Rack: A rack assembled from copper pipe and fittings that holds garments on open display with an industrial material character.
- Dried Flower Wall Arrangement: Dried stems and preserved flowers arranged in wall-mounted bundles that create a long-lasting, low-maintenance botanical display.
- DIY Window Frame Greenhouse Shelf: A repurposed window frame fitted with glass shelves inside and positioned in a bright spot to display small plants indoors.
- Vintage Wallpaper Accent Wall: A single wall papered in a vintage print that introduces pattern and period character without covering the entire room.
- Handmade Tassel Throw Pillow Covers: Fabric pillow covers sewn with tassel trim along the edges, giving plain cushion inserts a handmade decorative finish.
- DIY Rustic Kitchen Pot Rack: A wall-mounted rail fitted with hooks that keeps pots and pans accessible and clears them off the kitchen countertop.
- Faux Concrete Planter DIY: A pot finished in concrete-effect paint that gives any container a raw, industrial look for indoor or outdoor plants.
It’s a Wrap
A finished project changes more than just how a room looks; it changes how the space is used and how it feels to be in it.
Each idea in this blog is built around a clear process and standard materials, leaving no room for guesswork at any stage.
DIY home decor rewards effort with results that store-bought pieces rarely match, because every finished item carries the detail and intention put into it.
Bookmark this page and return whenever a new area of the home needs attention. The right project for the next space is already on this list.
Frequently Asked Questions
Can Diy Decor Make a Small Room Look Bigger?
Yes. Mirrors, floating furniture, vertical storage, and light paint colors can help small rooms feel more open and spacious.
What is the 3-5-7 Rule in Interior Design?
The 3-5-7 rule means decorating with odd-numbered groups of items. Using 3, 5, or 7 decor pieces usually creates a more balanced and natural-looking arrangement.
How to Make Your Home Look Expensive on a Budget?
Use warm lighting, neutral colors, layered textures, large mirrors, and simple diy upgrades like wall art, shelving, and styled decor to create a high-end look without spending too much.