


Starting your first garden feels exciting, but choosing a beginner vegetable garden layout can also feel confusing when you’re not sure where to begin.
I’ve seen many new gardeners feel stuck between too many ideas, so this guide gives you a simple way to plan a space that actually works in real life.
You’ll learn how to pick the right size, place each plant where it grows best, and use small adjustments that keep your garden productive from spring to fall.
By the end, you’ll have a layout you can follow and customize over time.
How Much Space You Need as a Beginner
It can feel hard to decide how big your first garden should be. You and I both want your first garden to feel doable. I’ve seen many new growers start too big, so I want to help you choose a size that fits your time and energy.
Here are three sizes I’ve seen work well for most beginners, along with how many plants you can fit in each one:
Beginner Garden Sizes + Plant Capacity Chart
| Garden Size | Why It Works | Leafy Greens | Tomatoes | Peppers | Carrots | Herbs |
|---|---|---|---|---|---|---|
| 4×4 bed | Great when you’re short on time. Easy to reach from all sides. Good starter size for greens and herbs. | 8–12 plants | 1 plant | 2 plants | 40–50 seeds | 4–6 plants |
| 4×8 bed | Gives you room for mixed crops. Still small enough to manage without stress. | 16–20 plants | 2 plants | 4 plants | 80–100 seeds | 6–10 plants |
| 10×10 garden | Works if you want a bigger harvest. Needs more weeding and watering, so give yourself time. | 30+ plants | 4 plants | 6 plants | 150+ seeds | 10–12 plants |
Smaller is usually better for your first season. You can always add more space when you feel confident.
Comparing Raised Bed, In-Ground & Containers
You have three simple options when you’re starting out. I’ve tried each one, and they all work well depending on your space and soil.
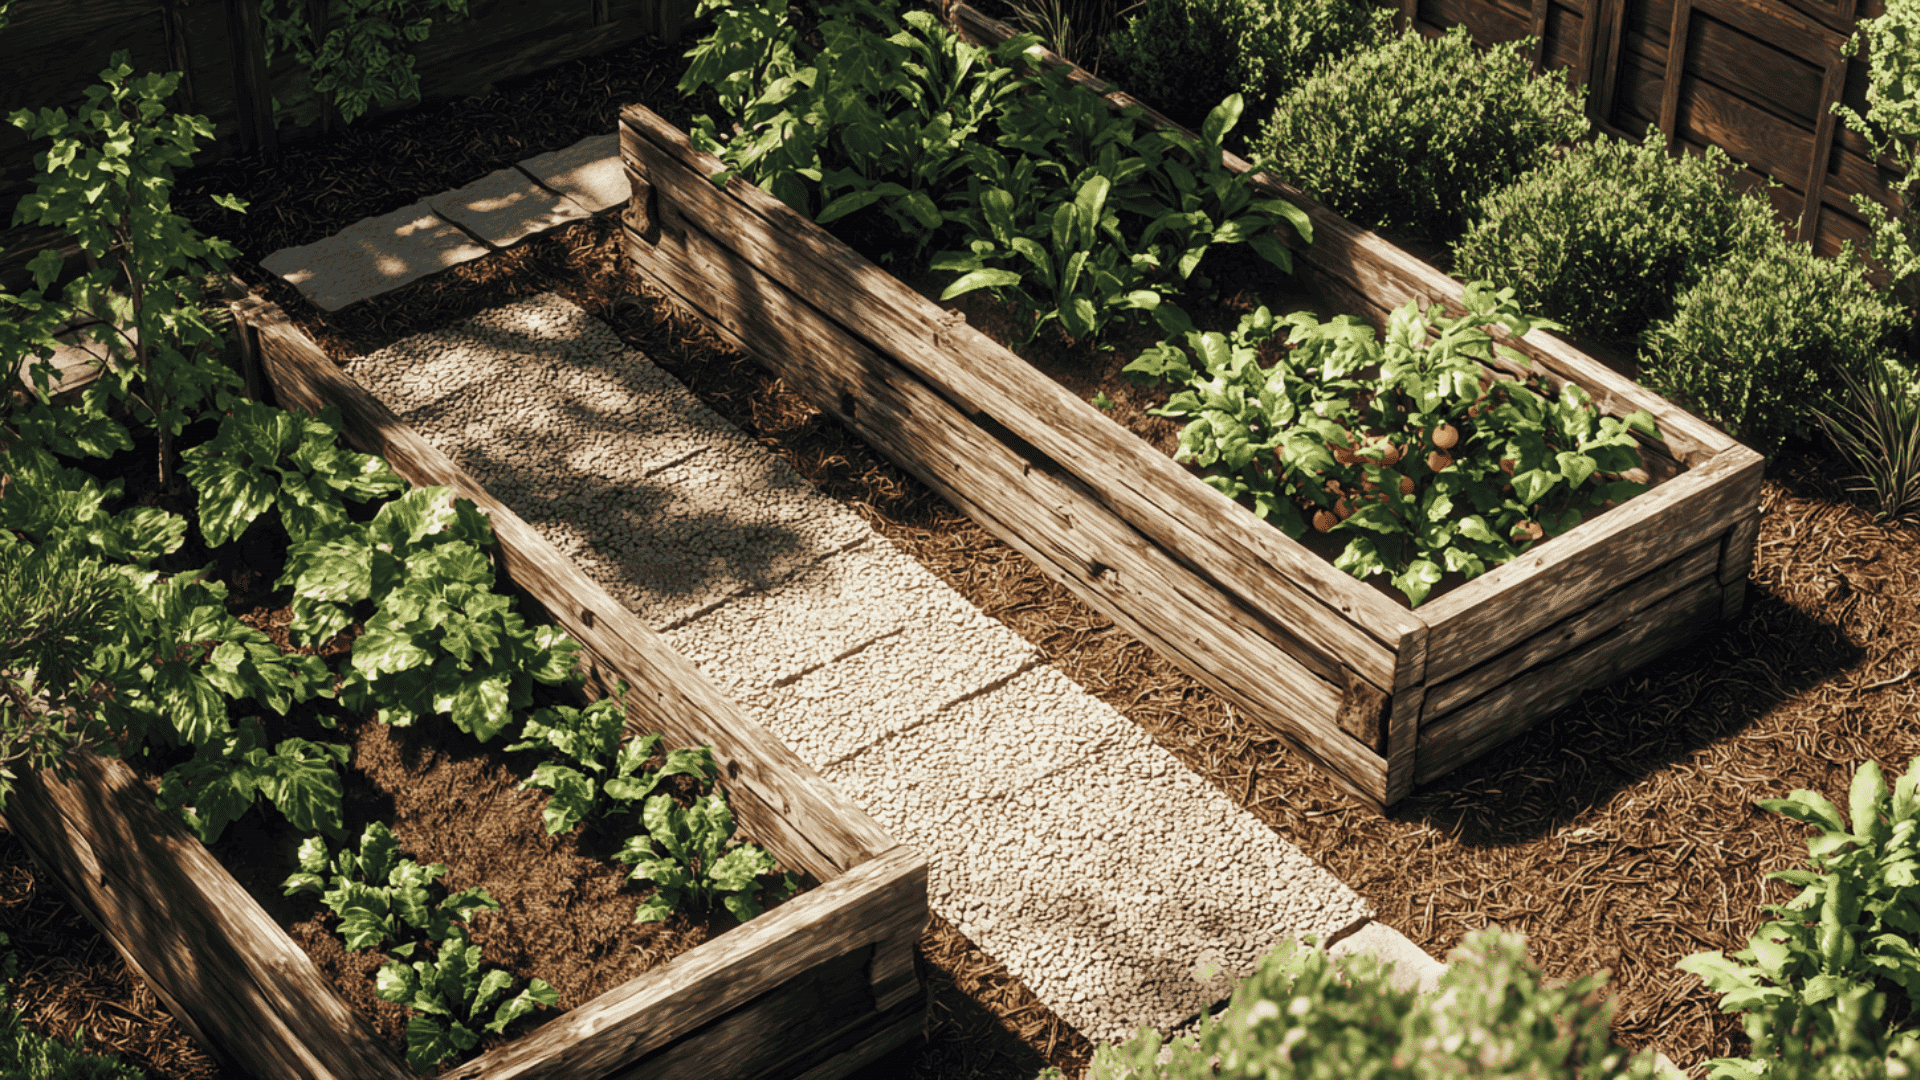
- Raised beds warm up faster in spring, so you can start planting earlier. They’re also easy to reach and keep tidy, which helps if your soil is hard or rocky.
- In-ground gardens are great if you already have healthy soil. They cost less because you don’t need wood or tools to build anything, and they work well for bigger spaces.
- Containers are perfect when you’re growing on a patio or balcony. You can move them to follow the sun, and they work best for herbs, greens, and smaller veggies.
Your choice depends on where you live and how much time you want to spend caring for the soil.
Choosing the Right Garden Location (Sun, Soil, Water)
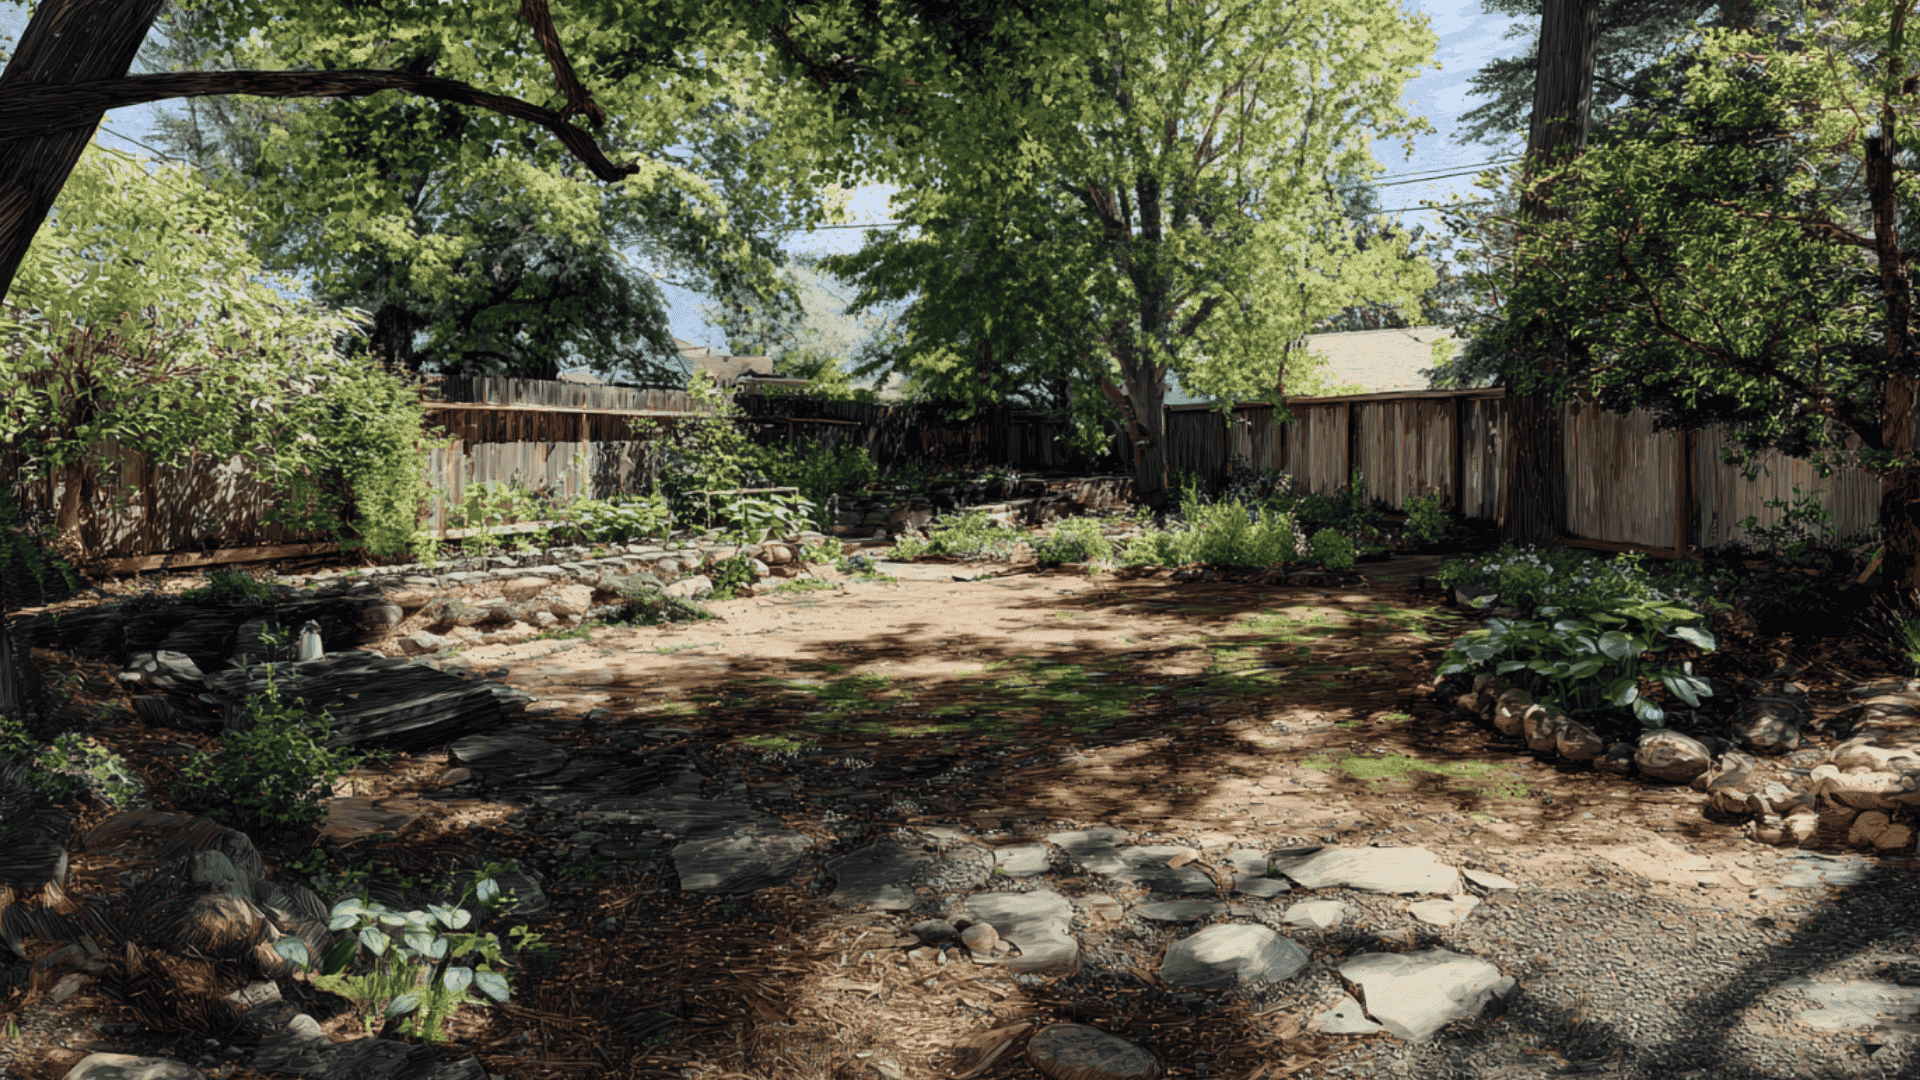
Before designing your layout, you need to make sure the garden sits in the best spot. Good placement can make your first season much easier.
- Minimum sunlight requirements (6–8 hours): Most vegetables need 6–8 hours of direct sun each day. People struggle when they pick a shady corner, so try to choose the sunniest part of your yard.
- North–south orientation: A north–south layout helps your plants get even light throughout the day. This setup also keeps taller plants from blocking shorter ones.
- Wind, slope, drainage: Place your garden where strong winds won’t knock plants around. Look for a flat or gently sloped area with soil that drains well after rain.
- Access to water: You’ll water your garden often, so keep it close to a hose or rain barrels. The easier the water is to reach, the easier your daily care will feel.
- Microclimate examples (fences, patios, trees): Microclimates can change how plants grow, and they matter more than most people expect. Warm spots near patios, cooler areas near trees, or sheltered corners near fences can all affect your layout.
If you understand these small differences, you’ll choose a spot that gives your plants the best chance to grow well.
Beginner Layout Principles That Always Work
These rules help you design a garden that’s easy to care for. They work well when you’re learning how plants grow.
| Principle | What It Means | Why It Helps |
|---|---|---|
| Tall Crops on the North Side | Place tomatoes, corn, and pole beans at the top of the bed. | They won’t block sunlight from smaller plants. |
| Medium in the Middle | Keep peppers, bush beans, and similar crops in the center. | They get steady light without shading others. |
| Short in Front | Put lettuce, radishes, and small greens toward the front or south side. | They get full sun and grow faster. |
| Shade-Tolerant Areas | Use low-light spots for spinach and other greens. | These crops grow fine with less sun. |
| Edges for Vining Crops | Let squash and cucumbers trail along edges. | They get space to spread without crowding the bed. |
| Path Width Recommendations | Make paths 18–24 inches wide. | You can reach every plant without stepping on the soil. |
| Row vs. Block Layout | Choose rows for simple lines, blocks for better space use. | Each style fits different garden sizes and habits. |
If you follow these steps, your layout will feel clear and easy to manage. They help new growers avoid a lot of stress.
Beginner Vegetable Garden Layouts
I put together these simple, plug-and-play layouts. You can use them as they are or adjust them to fit your space.
1. 4×4 Layout for Complete Beginners
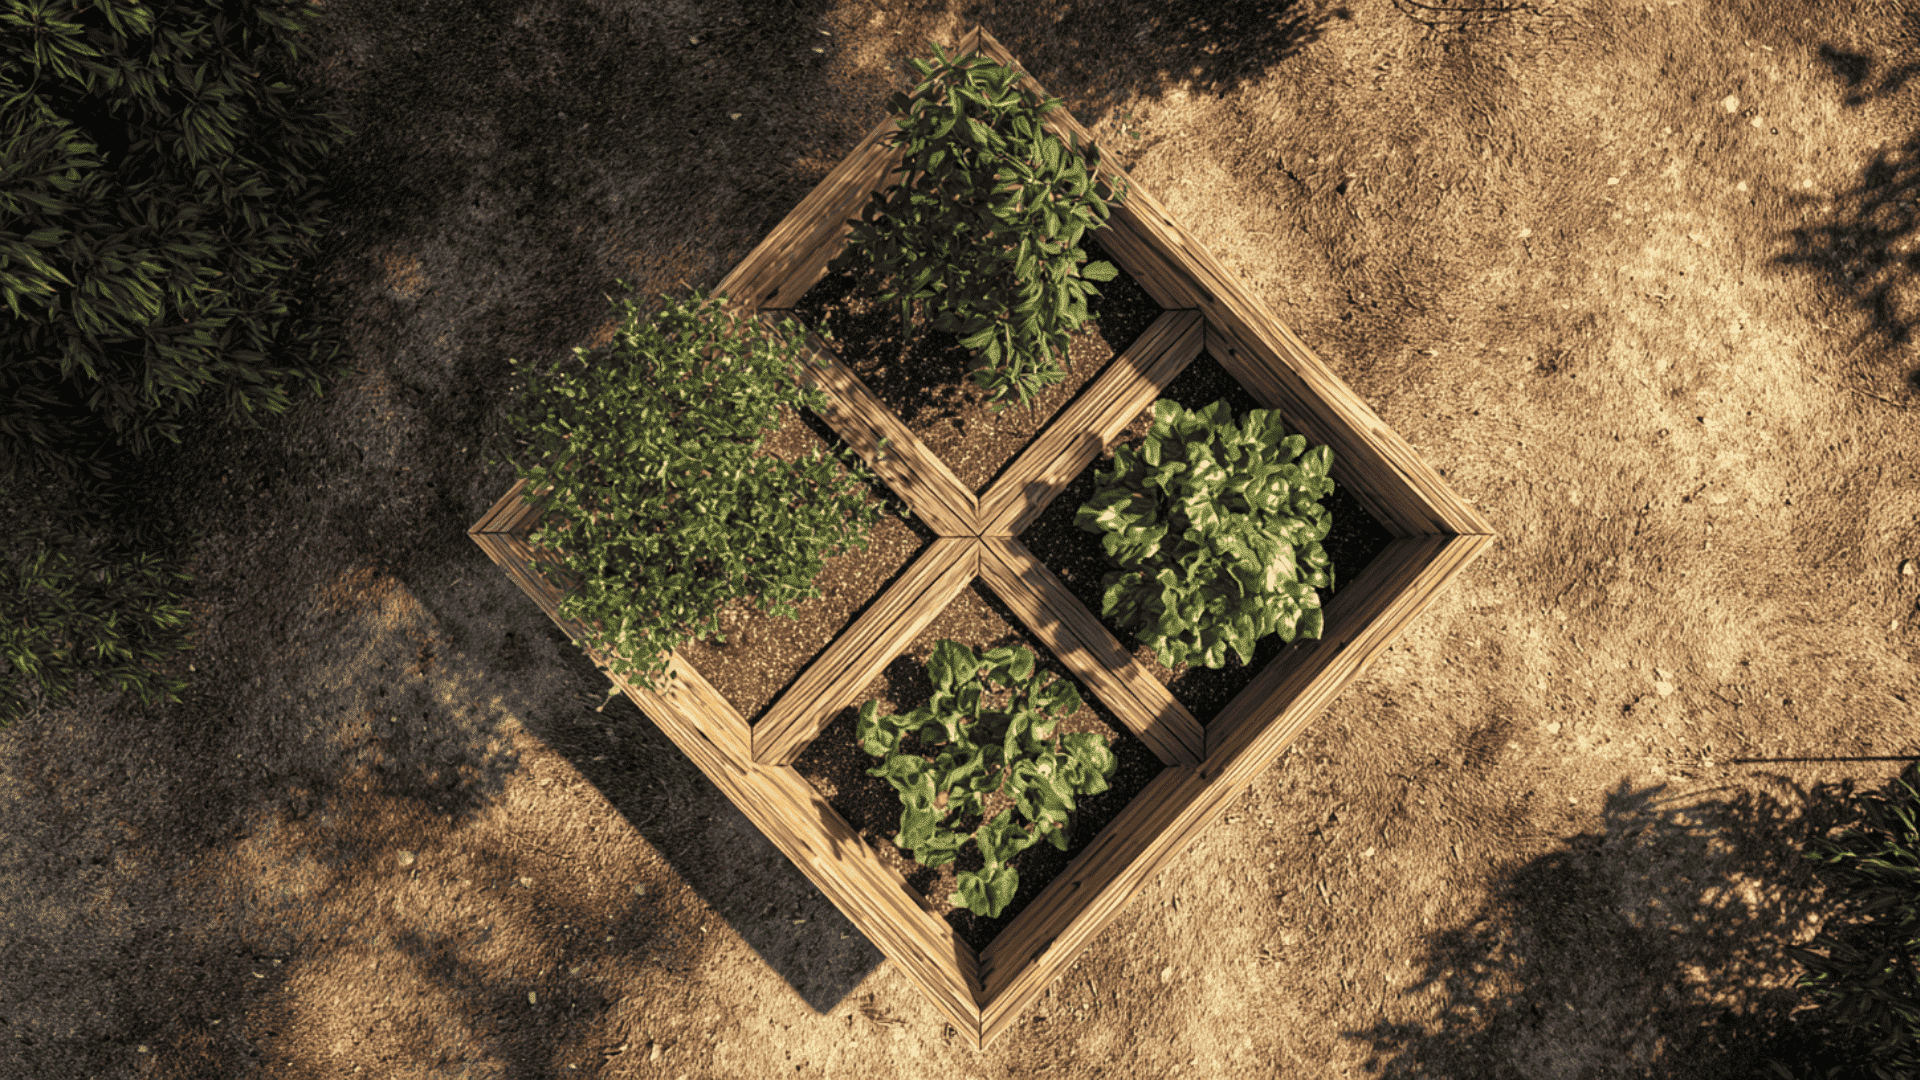
This small layout keeps everything simple and easy to reach. People use this plan when they’re brand new and want a smooth first season.
Plant List + Spacing Guide:
| Plant | Quantity | Spacing |
|---|---|---|
| Tomato | 1 plant | 18–24 inches |
| Basil | 1 plant | 8–12 inches |
| Peppers | 2 plants | 12–18 inches |
| Bush Beans | 1 short row | Row spacing |
| Lettuce | 2–3 plants | 8–10 inches |
| Carrots | 2 sections | Sow in blocks |
Seasonal Swap-Outs:
- Spring: replace peppers with spinach
- Fall: replace lettuce with kale or more carrots
2. 4×8 “Family Salad Garden” Layout
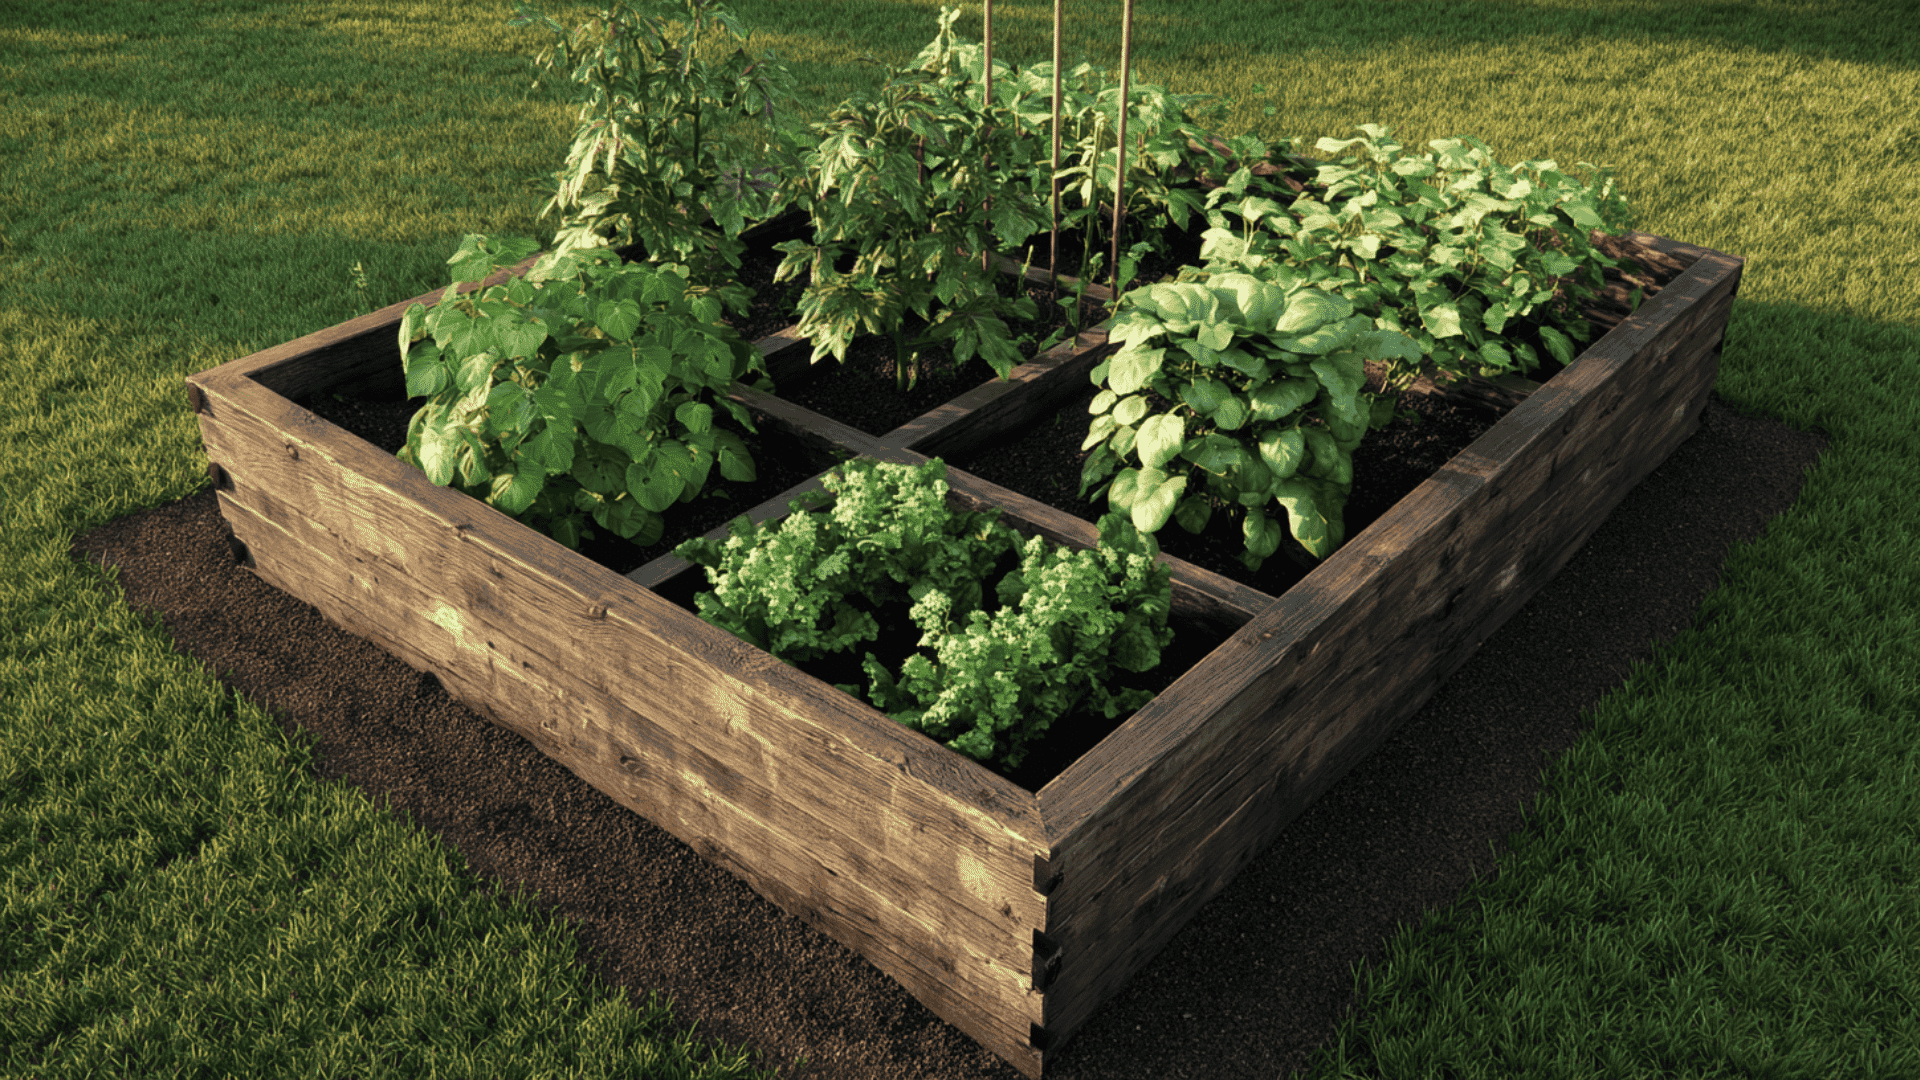
This layout gives you steady salad harvests through the whole season. I’ve used a version of this myself, and it stays productive with very little trouble.
Plant List + Spacing Guide:
| Plant | Quantity | Spacing |
|---|---|---|
| Tomatoes | 2 plants | 24 inches |
| Pepper | 1 plant | 12–18 inches |
| Cucumber | 1 plant | Trellis spacing |
| Spinach | 2 plants | 8–10 inches |
| Lettuce | 2–3 plants | 8–10 inches |
| Radishes | 1 row | Row spacing |
| Carrots | 1 row | Sow in blocks |
| Herbs | 4–6 plants | 8–12 inches |
Seasonal Swap-Outs:
- Early spring: add arugula
- Summer: add extra lettuce
- Fall: bring back spinach
3. 10×10 High-Yield Layout
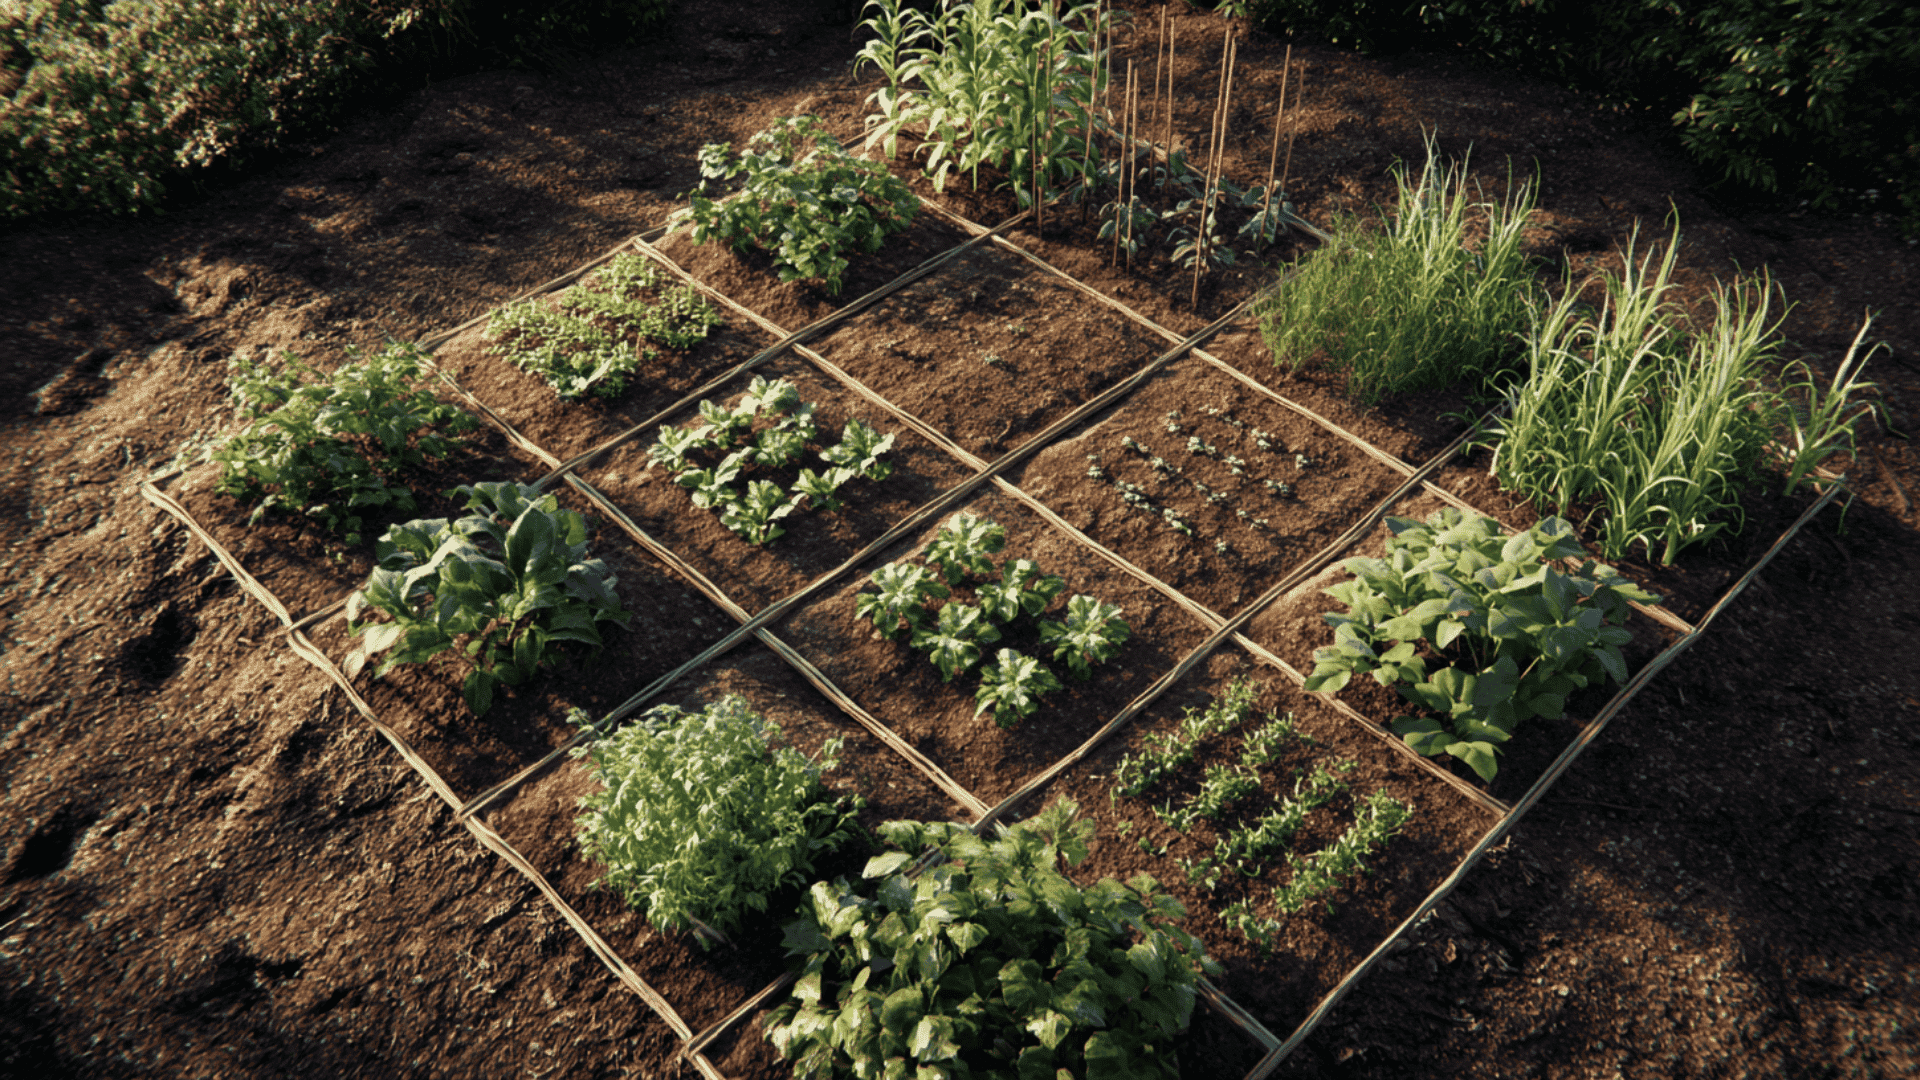
This setup grows a lot of food without feeling too crowded. It works well when you want more variety and bigger harvests.
Plant List + Spacing Guide:
| Plant | Quantity | Spacing |
|---|---|---|
| Tomatoes | 4 plants | 24–30 inches |
| Corn | Small block | 8–12 inches |
| Peppers | 4 plants | 12–18 inches |
| Bush Beans | 1 row | Row spacing |
| Squash | Edge placement | Sprawling space |
| Cucumbers | Edge placement | Trellis or spill outward |
| Lettuce | 1 row | 8–10 inches |
| Carrots | 1 row | Sow in blocks |
| Herbs | 1 row | 8–12 inches |
Seasonal Swap-Outs:
- Spring: swap beans for peas
- Fall: add garlic or cold greens
4. Low-Maintenance Raised Bed Layout (Minimal Watering/Weeding)
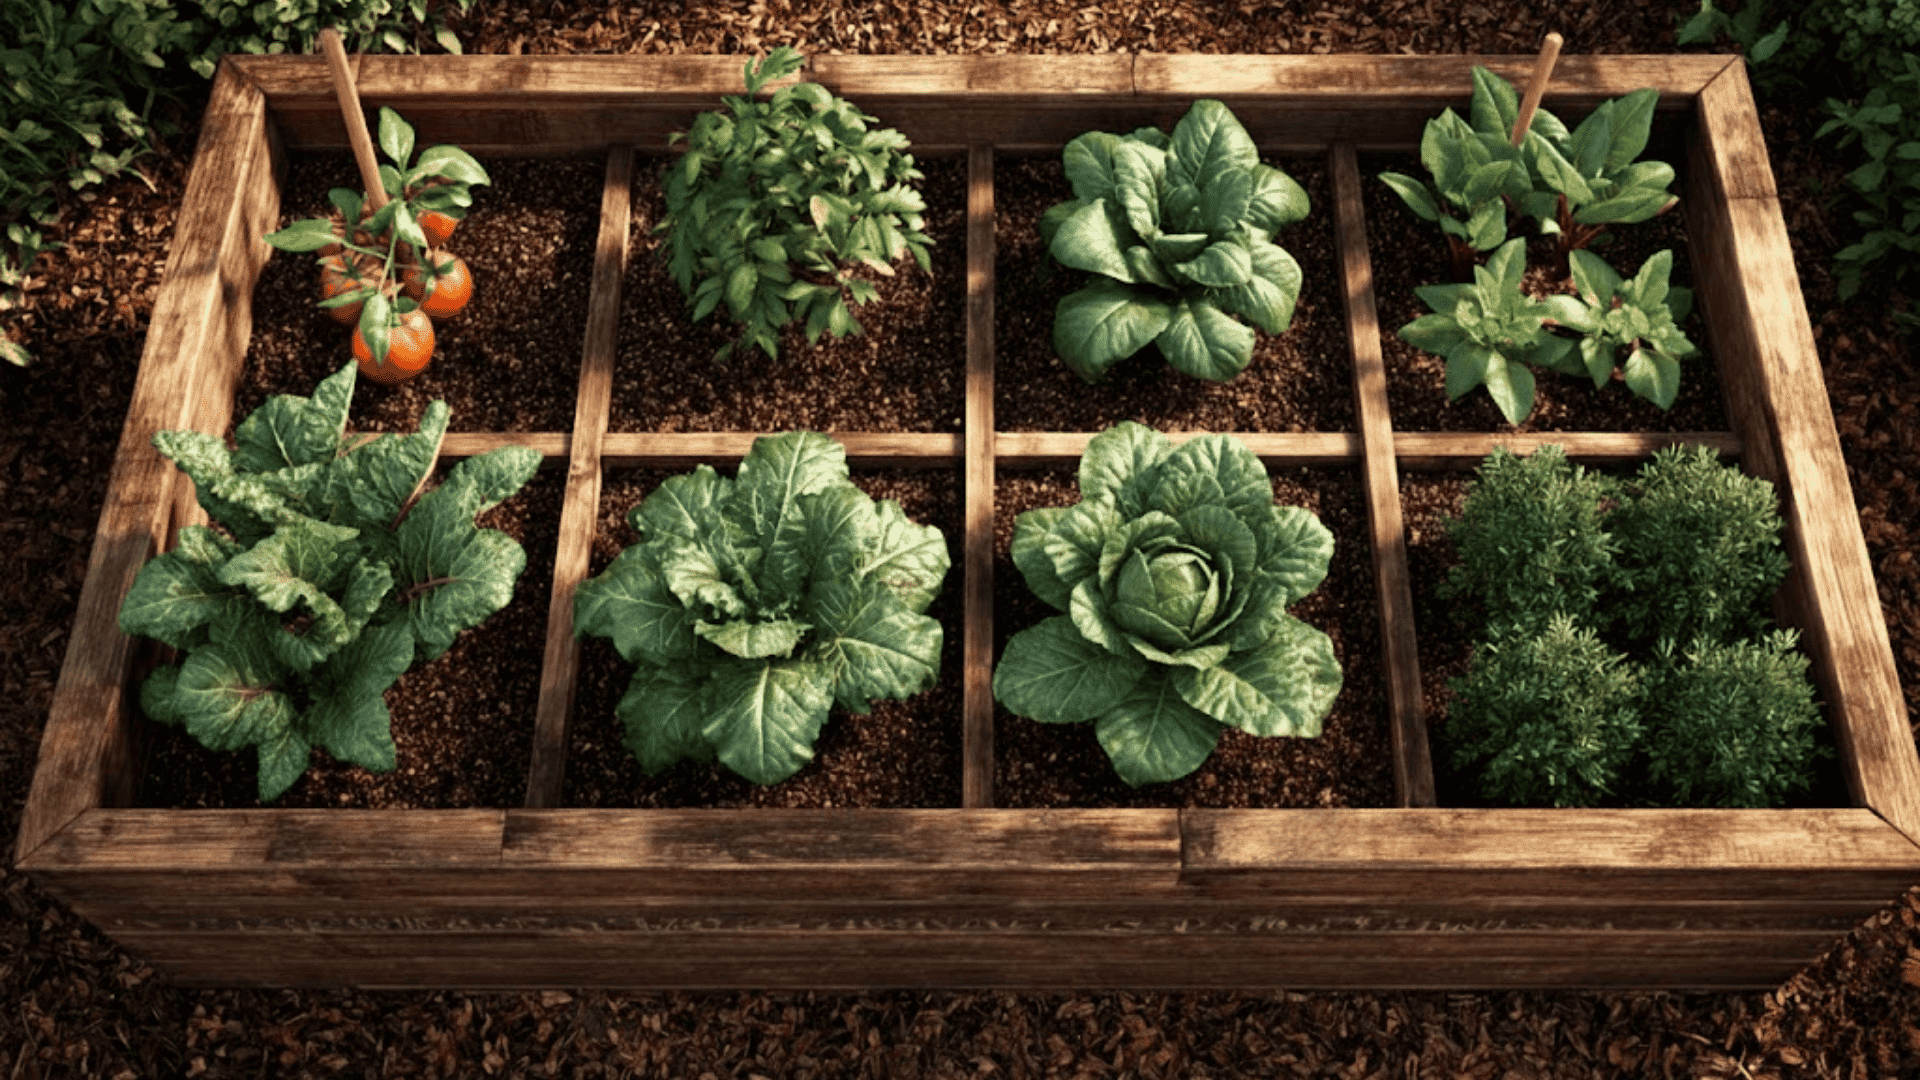
This layout is designed for a medium-sized raised bed that stays productive with very little work. It uses drought-tolerant plants, large leafy crops that shade the soil, and simple spacing that keeps weeds down.
Use this setup when you’re short on time, and it’ll hold up well through heat and dry spells.
Plant List + Spacing Guide:
| Plant | Quantity | Spacing |
|---|---|---|
| Tomatoes | 2 plants | 24 inches |
| Peppers | 2 plants | 12–18 inches |
| Zucchini | 1 plant | 2×2 feet |
| Kale | 2 plants | 12 inches |
| Chard | 2 plants | 12 inches |
| Herbs | 4–6 plants | 10–12 inches |
Seasonal Swap-Outs:
- Spring: swap chard for spinach
- Fall: swap zucchini for beets or carrots
5. Vertical Garden Layout for Small Spaces
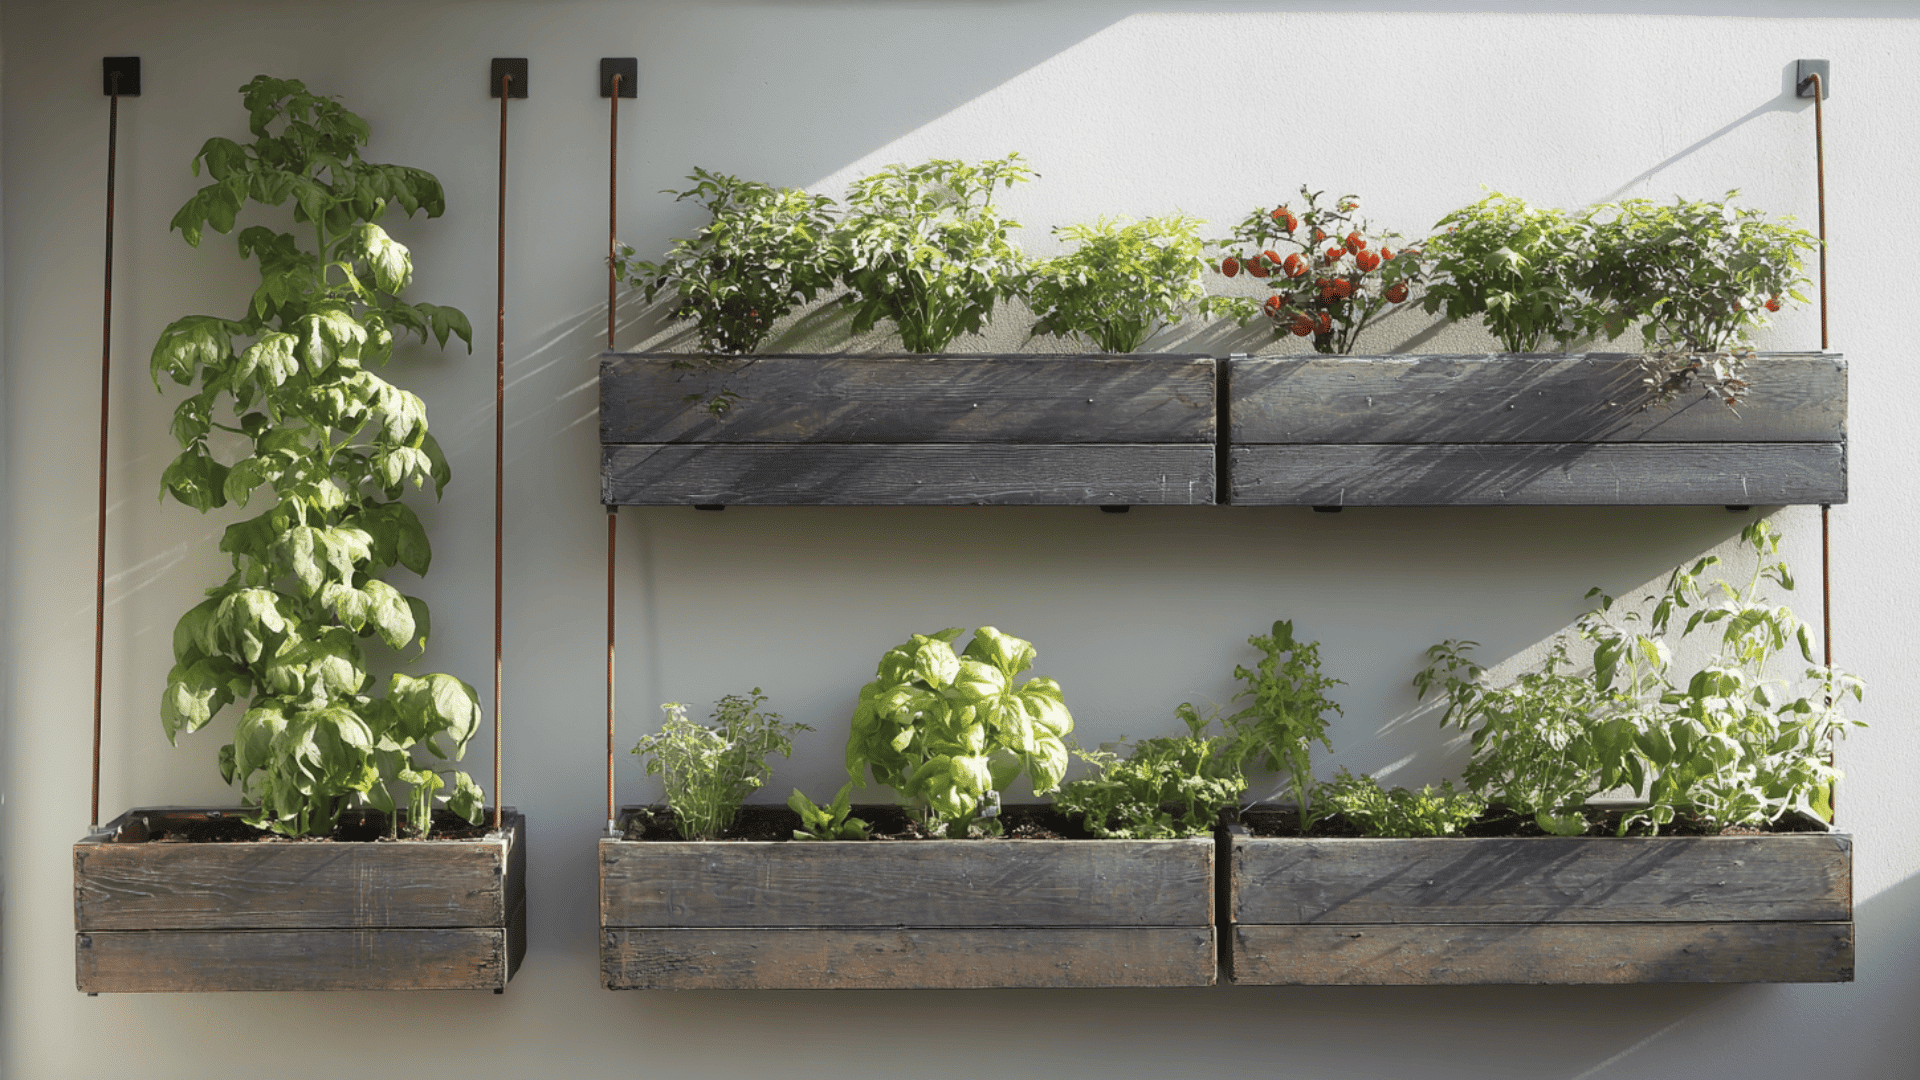
If you’re short on room, this layout keeps everything growing upward. You can fit it on a balcony or a tight backyard corner.
Plant List + Spacing Guide:
| Plant | Quantity | Spacing |
|---|---|---|
| Cucumber | 1 plant | 12–18 inches (trellis) |
| Tomato | 1 plant | 12–18 inches (trellis) |
| Peppers | 1–2 plants | 12 inches |
| Greens | Mixed plants | 8–10 inches |
| Herbs | Mixed plants | 8–12 inches |
Seasonal Swap-Outs:
- Spring: peas on the trellis
- Fall: add kale or extra lettuce
Spacing Guide for Popular Vegetables
Beginners struggle with spacing, so I want to give you a clear sense of how much room each plant needs. I’ve seen spacing make or break a garden, and a few simple rules help you avoid problems.
1. Square-Foot Spacing
When you’re using a raised bed or a small garden, square-foot spacing keeps everything organized. Leafy greens often fit three to four per foot. Root crops like carrots and radishes fit even more because they stay small.
Larger plants, like peppers, tomatoes, and basil, usually take one full square each so they have enough room to grow.
2. Row Spacing
Row spacing gives each plant space to breathe. Most greens do well with eight to ten inches between each plant. Bush beans and peppers need a little more room between rows so you can reach them.
Tomatoes and cucumbers need the most room, especially when they grow on supports, because they spread and need airflow.
3. Root Depth Considerations
I like to think about how deep a plant grows before choosing its spot. Shallow-rooted plants, like lettuce and spinach, grow well in almost any bed.
Medium-rooted plants, like carrots or peppers, need deeper soil so their roots don’t get cramped. Tomatoes and squash grow the deepest, so loose soil and a little extra depth helps them thrive.
4. Overcrowding Risks
Crowding plants is one of the most common beginner mistakes. When plants sit too close, they compete for water and food. Air can’t move well, which raises the chance of disease.
Tall plants can also shade smaller ones, slowing everything down. A little open space helps your garden stay healthier and produce more.
Companion Planting Basics for Better Layouts
Companion planting helps your garden stay healthier and easier to manage. Good plant pairings boost growth, cut down on pests, and make your layout feel more balanced.
| Topic | What to Know |
|---|---|
| Best Beginner-Friendly Pairings | Tomatoes + basil • Carrots + lettuce • Cucumbers + dill • Peppers + onions |
| Plants Not to Place Together | Tomatoes × corn • Potatoes × tomatoes • Cucumbers × squash • Beans × onions/garlic |
| Easy Layout Groupings | Group 1: Tomatoes, basil, onions Group 2: Lettuce, carrots, radishes Group 3: Peppers, oregano, thyme |
| Quick Reminders | Tomatoes like herbs • Greens pair with root crops • Beans avoid onions • Most herbs mix well with anything |
Seasonal Layout Adjustments (Spring → Summer → Fall)
Seasonal changes help your garden stay full from early spring to late fall. I’ve seen simple crop swaps keep a layout productive without extra work.
Start with cool-season crops in spring. Switch to warm-season crops when the weather heats up. Fill empty spaces as soon as a crop finishes. Keep the same layout shape, but rotate the plants.
Examples of a Year-Round Layout:
- Spring bed: spinach, radishes, peas.
- Summer bed: tomatoes, peppers, bush beans.
- Fall bed: kale, lettuce, late carrots.
- Same layout, different crops as the seasons change.
This simple rotation keeps your garden healthy and productive all year.
Irrigation & Path Planning for Your Vegetable Garden
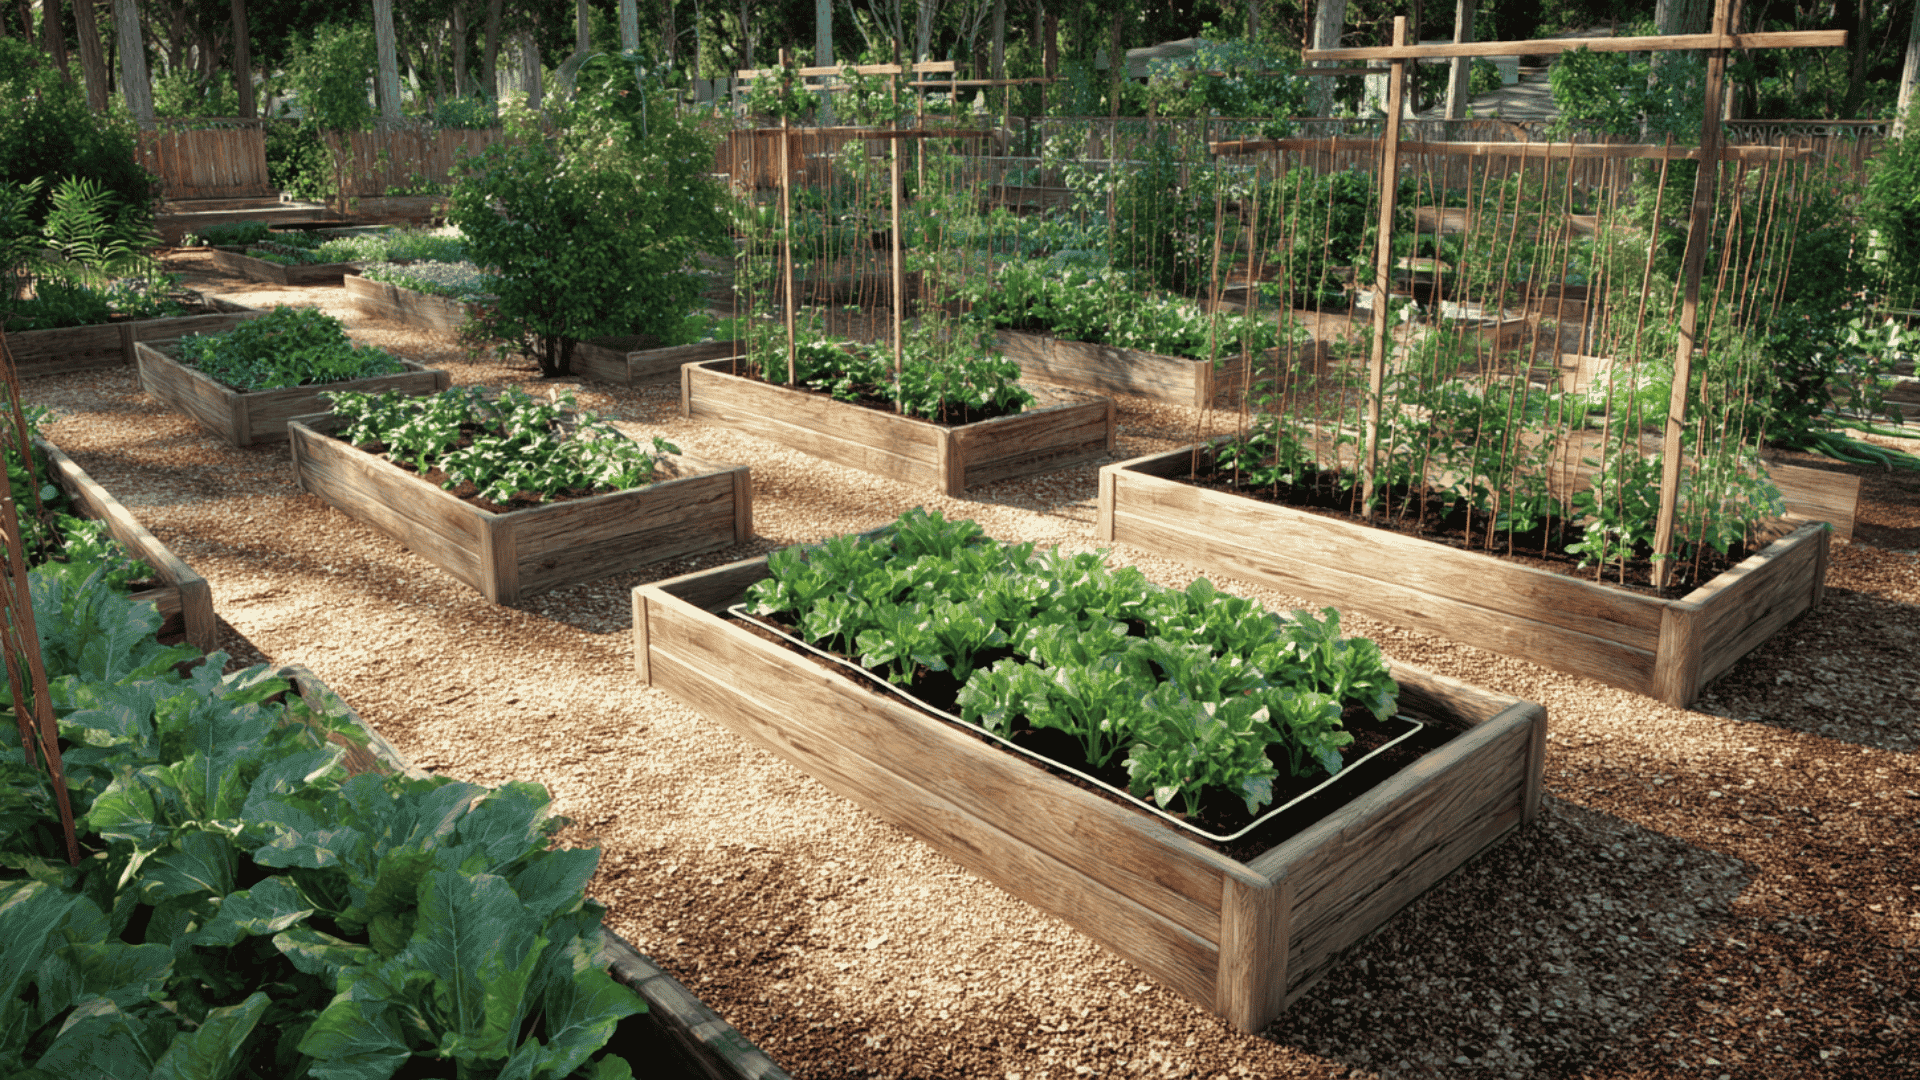
Water access and clear paths are often missing in beginner guides. Good watering and easy movement makes the whole garden feel less stressful.
1. How to Design Watering Lines
You can keep watering simple by planning your lines early. A straight drip line works well for raised beds because it delivers water right to the roots.
If you prefer hand-watering, keep open space around the bed so you can reach every corner with your hose. Try to place watering lines where they won’t get tangled with tall plants or trellises.
2. Best Path Materials
Paths help you move comfortably without stepping on the soil.
Wood chips feel soft and stay in place. Gravel drains well and keeps mud away after rain. Plain mulch works if you want something natural and low-cost.
Choose something that stays firm under your feet and doesn’t wash out easily.
3. Keeping Soil Uncompacted
Healthy soil needs air, and I’ve seen compaction slow down plant growth.
Use paths to guide where you walk so your weight doesn’t press down the planting area. Raised beds help keep soil loose, but even in ground-level gardens, stepping stones or defined paths protect the soil.
4. Layout for Hose Access or Drip Lines
Place your garden close to your water source. Keep one open side of the bed free for hose access, so you’re not dragging it over plants.
If you use drip lines, run them along the length of each bed and keep connectors at the ends for easy setup.
These small choices make watering faster and cleaner.
Step-by-Step: How to Create Your Own Vegetable Garden Layout
These steps make it easier to build a layout that fits your space and stays simple to care for. I’ve used this process myself, and it works well for beginners.
Step 1: Pick Your Size – Choose a bed size you can manage. A 4×4 or 4×8 works well when you’re starting out.
Step 2: Choose Crops – Pick vegetables you enjoy eating and know you’ll use. Mix a few fast growers, like lettuce or radishes, with slower crops.
Step 3: Group by Height – Place tall crops together, medium crops in the center, and short crops in front. This keeps everything in the sun.
Step 4: Group by Sunlight – Put sun-loving plants in full light.
Save cooler areas for greens that prefer mild conditions.
Step 5: Add Pathways – Leave walking space so you can reach each plant. Even narrow paths protect the soil from getting compacted.
Step 6: Add Vertical Supports – Add trellises or stakes before planting. Cucumbers, beans, and tomatoes grow better when they have support.
Step 7: Place Companions – Use simple pairings to keep plants healthy. Tomatoes with basil, lettuce with carrots, and peppers with onions all work well.
Step 8: Final Spacing – Give each plant enough room to grow. A little extra space helps with airflow and reduces disease.
Step 9: Seasonal Planning – Plan what comes next once a crop finishes. Spring greens can turn into summer peppers, and peas can become cucumbers.
These steps make layout planning much easier and help your garden grow well from the start.
Troubleshooting Common Beginner Layout Mistakes
| Mistake | What Happens | How to Fix It |
|---|---|---|
| Overplanting | Beds get crowded and growth slows. | Give each plant enough space to reach full size. |
| Putting Shade-Lovers in Full Sun | Greens wilt and bolt too fast. | Keep lettuce, spinach, and similar crops in cooler spots. |
| Forgetting Paths | You step on soil and compact it. | Add simple paths so you can reach every plant. |
| Planting Tall Crops in the Wrong Direction | Tall plants block sunlight from shorter crops. | Place tall crops on the north side of the bed. |
| Not Leaving Room for Vining Crops | Vines spread into other plants and cause crowding. | Keep squash and cucumbers along edges or on trellises. |
| Poor Spacing | Low airflow increases disease and weak growth. | Leave enough room between plants for air and light. |
| Failure to Stagger Harvests | Everything ripens at the same time. | Mix fast and slow crops for steady harvests. |
Wrapping Up
Creating a beginner vegetable garden layout becomes much easier once you understand how plants grow and how your space works.
I’ve seen simple choices like giving yourself good access, starting with a few reliable crops, and planning season by season make a big difference in how smoothly a garden runs.
What matters most is building a layout you can care for without feeling overwhelmed. As you try new crops and adjust your space, you’ll learn what fits your style.
If you’re ready to start, take one small step today and sketch your first layout.