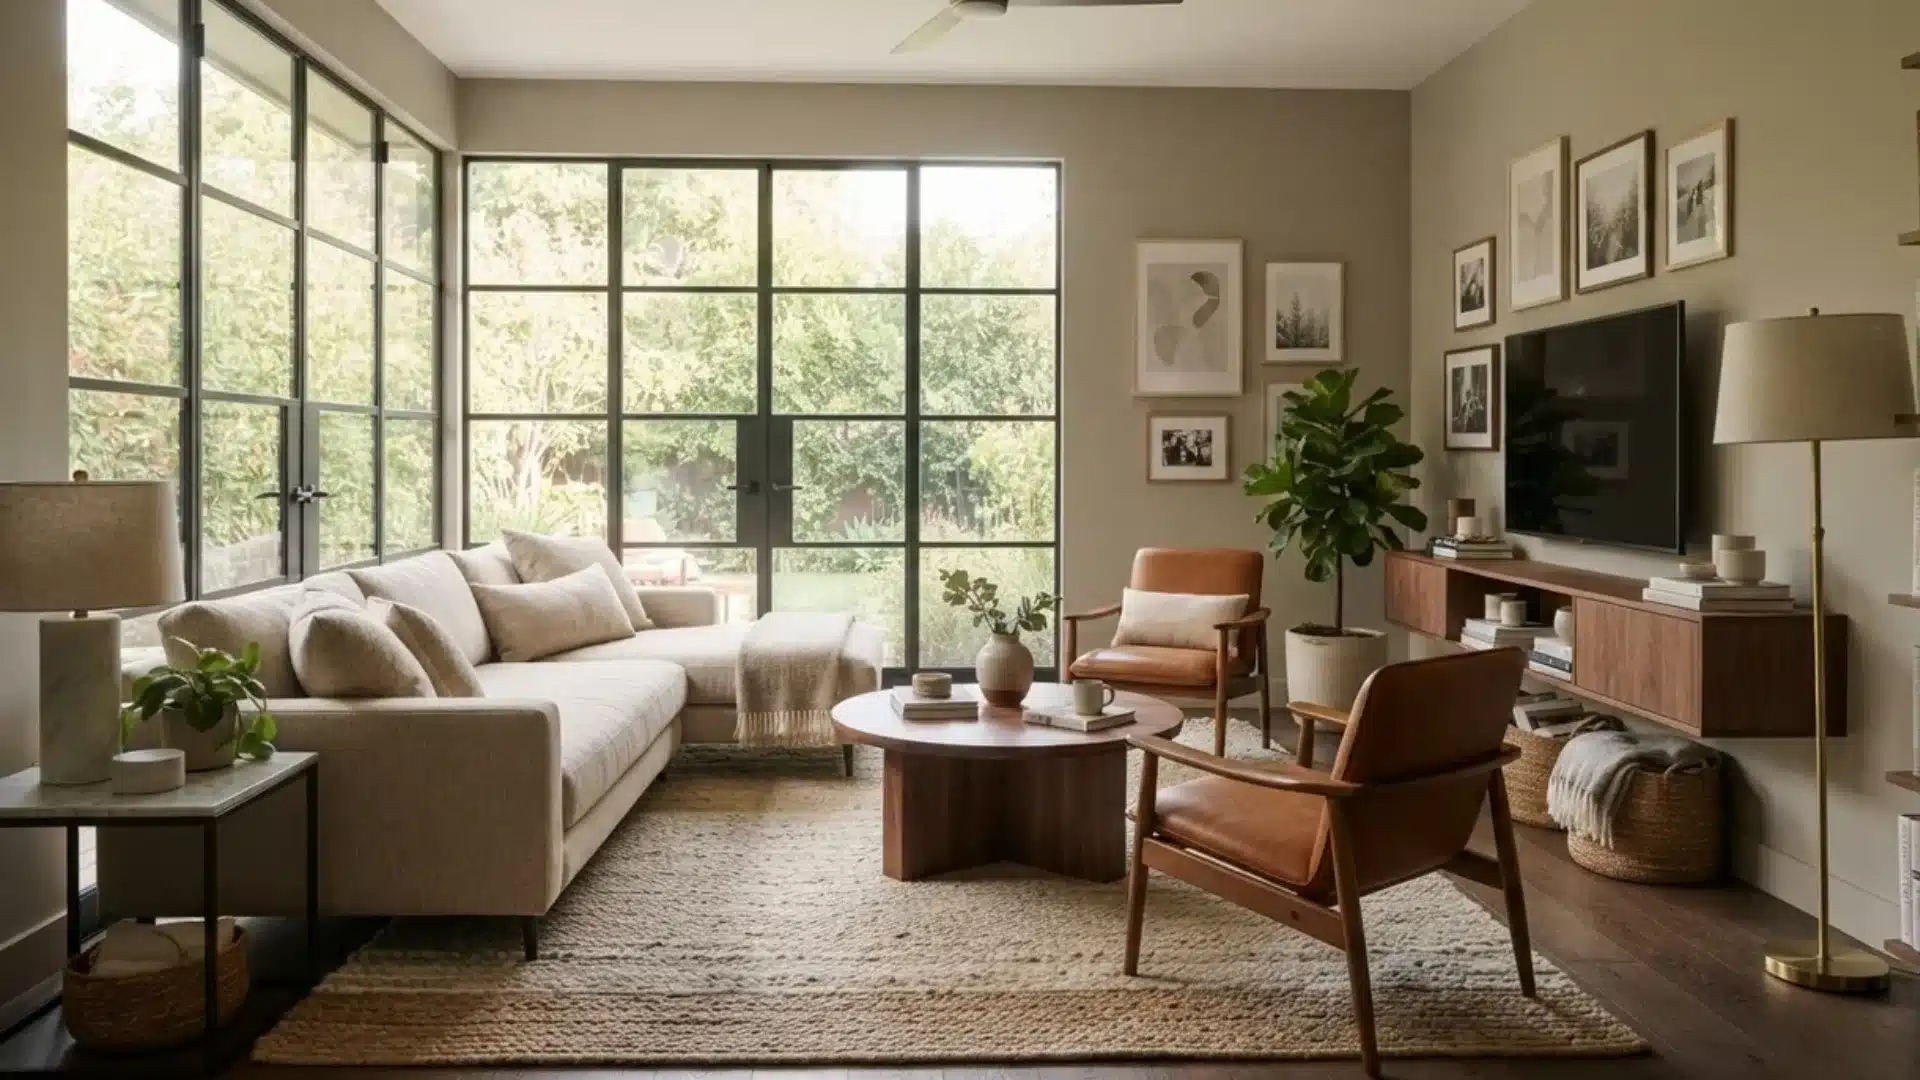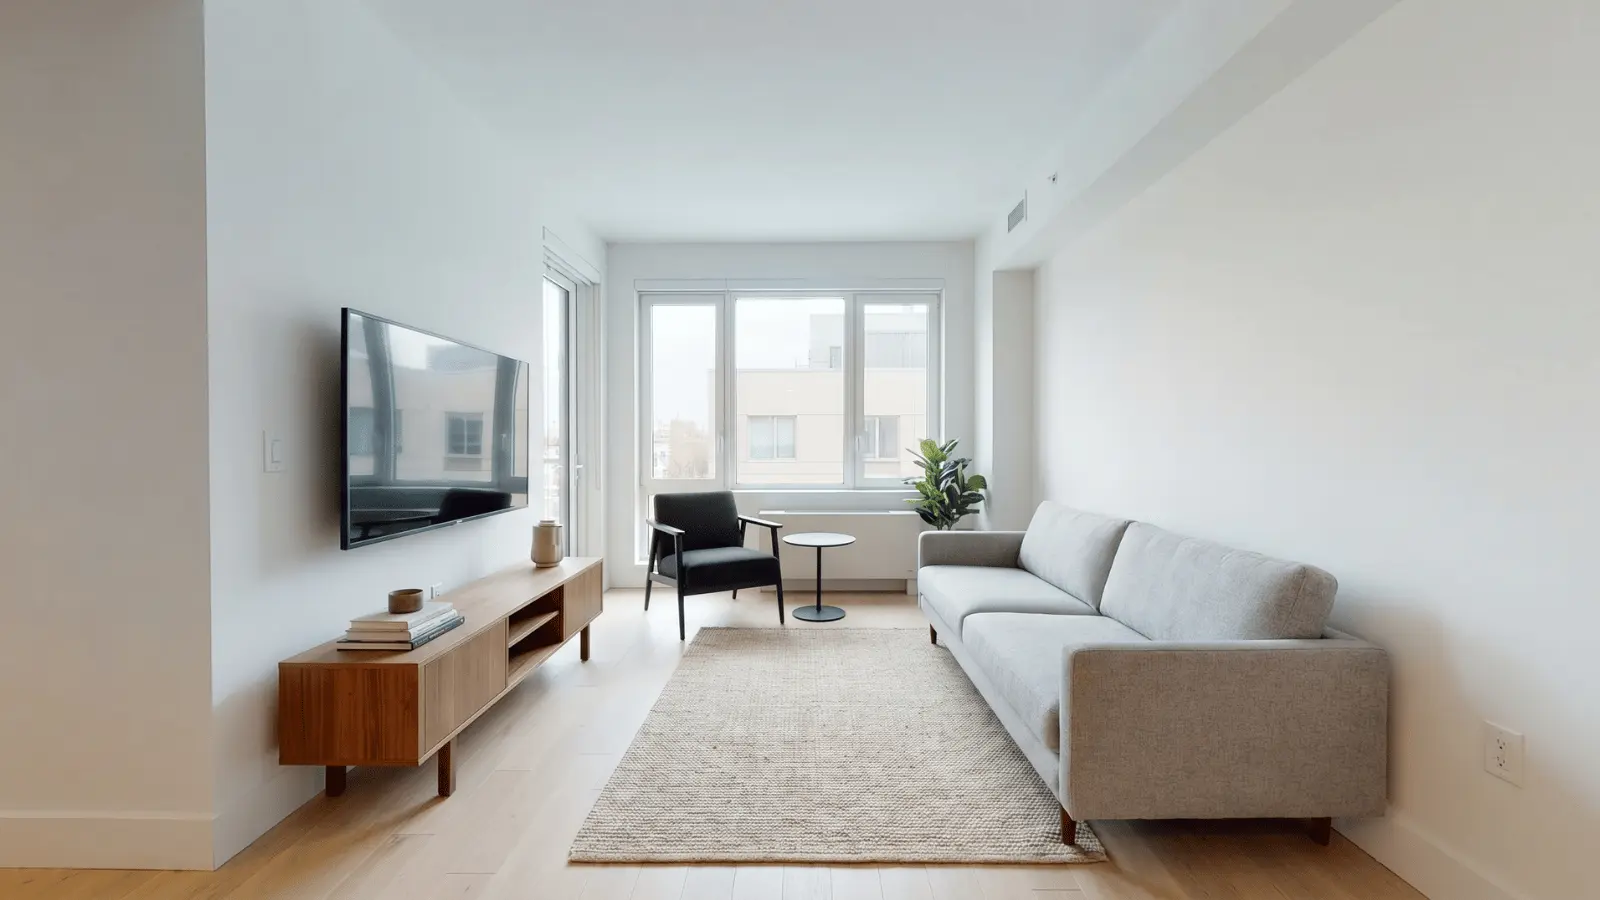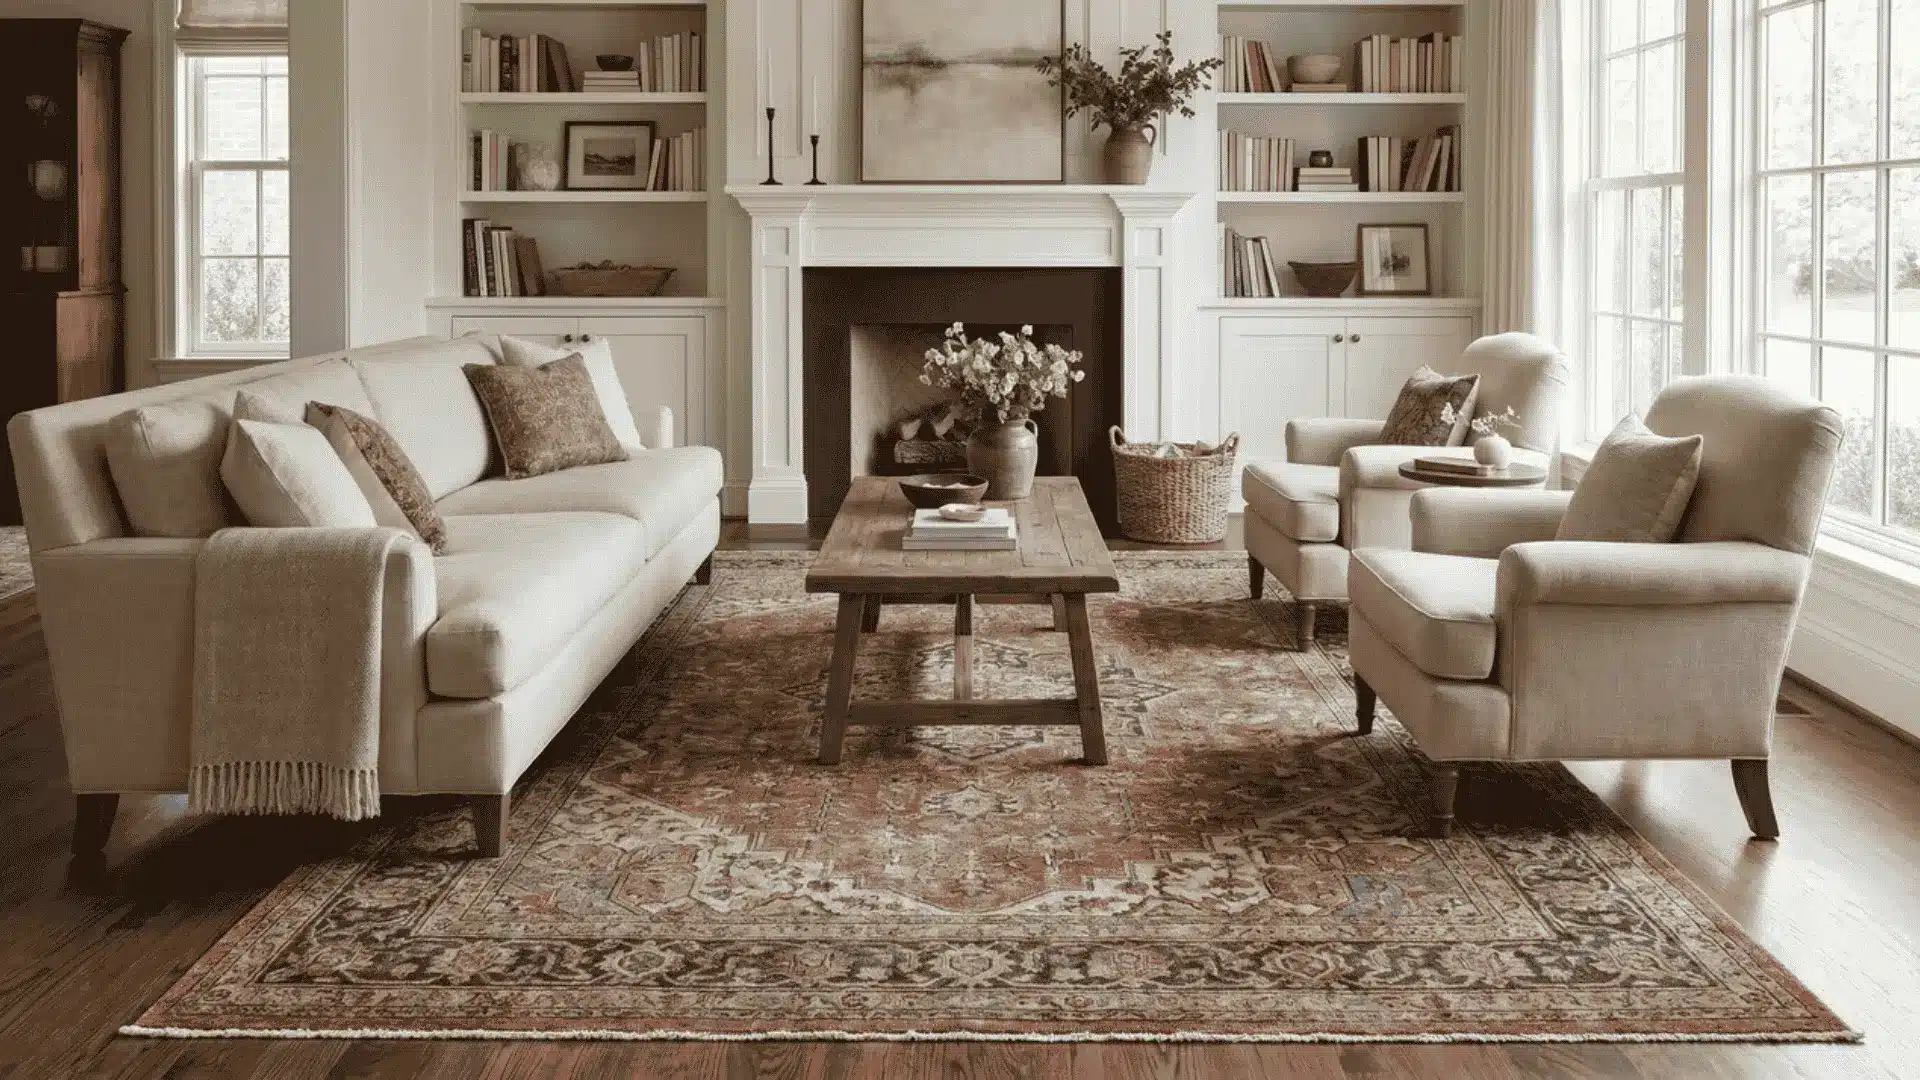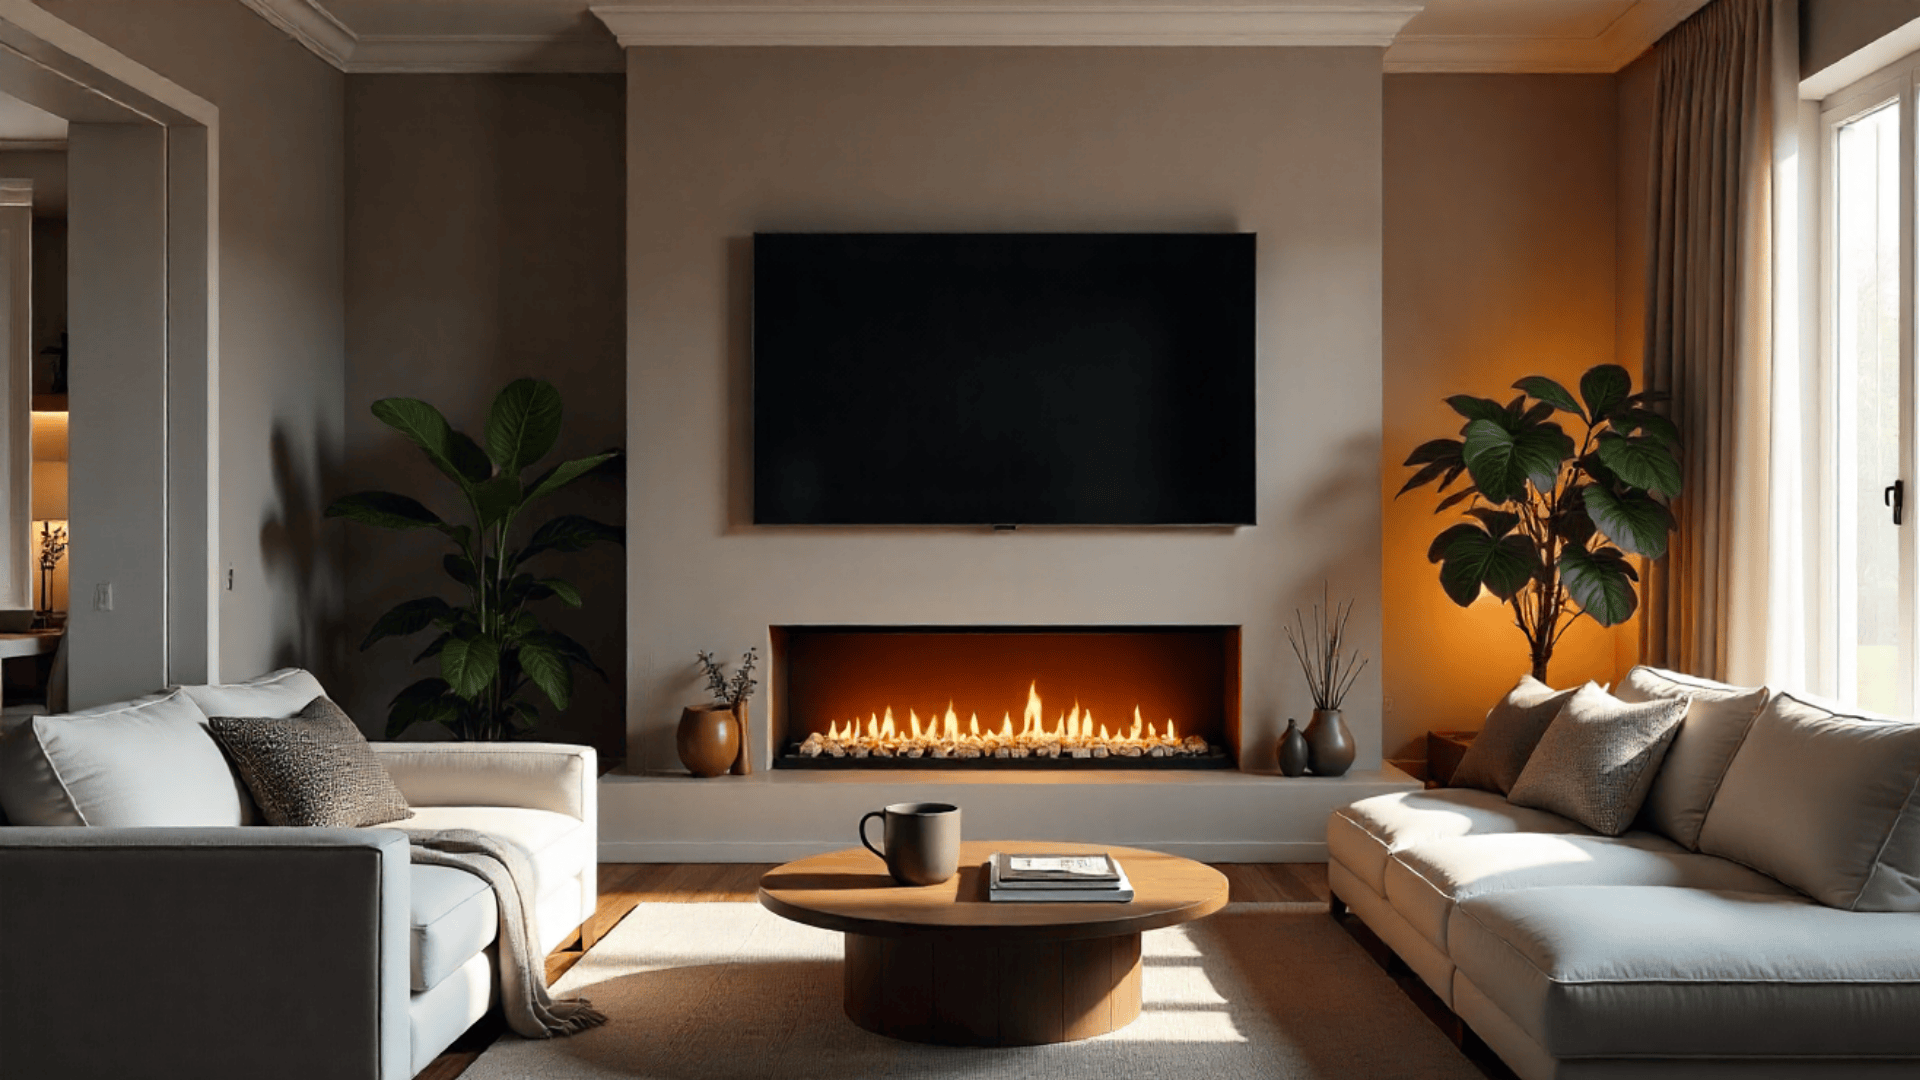




Mounting a TV above a fireplace adds style and saves space, creating a clean focal point in any living area.
It’s a popular design choice that blends comfort and function, but it also requires a few precautions to keep your setup safe and long-lasting.
In this blog, I’ll share simple, practical information to help you understand what matters most: safety, placement, cost, and upkeep.
The goal is to make your setup look good, work well, and stand the test of time without unnecessary complications.
Is It Safe to Mount a TV Above a Fireplace?
Mounting a TV above a fireplace can look great, but it’s risky if heat and smoke aren’t managed. Rising heat from wood or gas fireplaces can damage internal TV parts and shorten its lifespan, while soot buildup can dull the screen over time.
Most TVs should only operate in areas below 90°F (32°C). Run your fireplace for 30 minutes and use a thermometer to check the wall temperature where the TV will sit. If it feels warm or exceeds safe levels, it’s not a good spot without protection.
Manufacturers often advise keeping 12–24 inches of clearance above the mantel and avoiding direct heat. Using a heat shield, mantel extender, or passive venting system helps redirect heat away from the TV.
Always test temperatures before mounting and follow the manufacturer’s safety guidelines to keep your setup secure and your TV lasting longer.
Mounting a TV Above a Fireplace: Cost Breakdown
A fireplace-mounted TV looks sleek and space-saving but costs more due to extra labor, wiring, and heat protection needed for a safe, lasting setup.
| Cost Component | Details / Description | Estimated Cost (USD) |
|---|---|---|
| TV Wall Mount Bracket | Fixed, tilting, or full-motion mount depending on TV size and wall type | $50 – $200 |
| Professional Installation Labor | Includes measuring, drilling, and mounting; higher for over-fireplace installs | $200 – $300 |
| Electrical Work / Outlet Relocation | Adds or relocates an outlet for safe power access | $100 – $300 |
| Cable Management / In-Wall Wiring | Hides HDMI and power cables behind walls; cost varies by wall type | $75 – $150+ |
| Wall Material & Extra Labor | Brick, stone, or high mantels need special tools and anchors | $100 – $250 |
| Heat Protection Accessories | Heat shields, mantel extenders, or vent systems for TV safety | $50 – $150 |
How to Mount a TV Above a Fireplace: Step-by-Step Guide
Mounting a TV above a fireplace looks stylish, but it needs to be done safely and correctly. Use these simple steps to plan, drill, mount, and safely finish your setup.
Step 1: Plan TV Position and Viewing Height
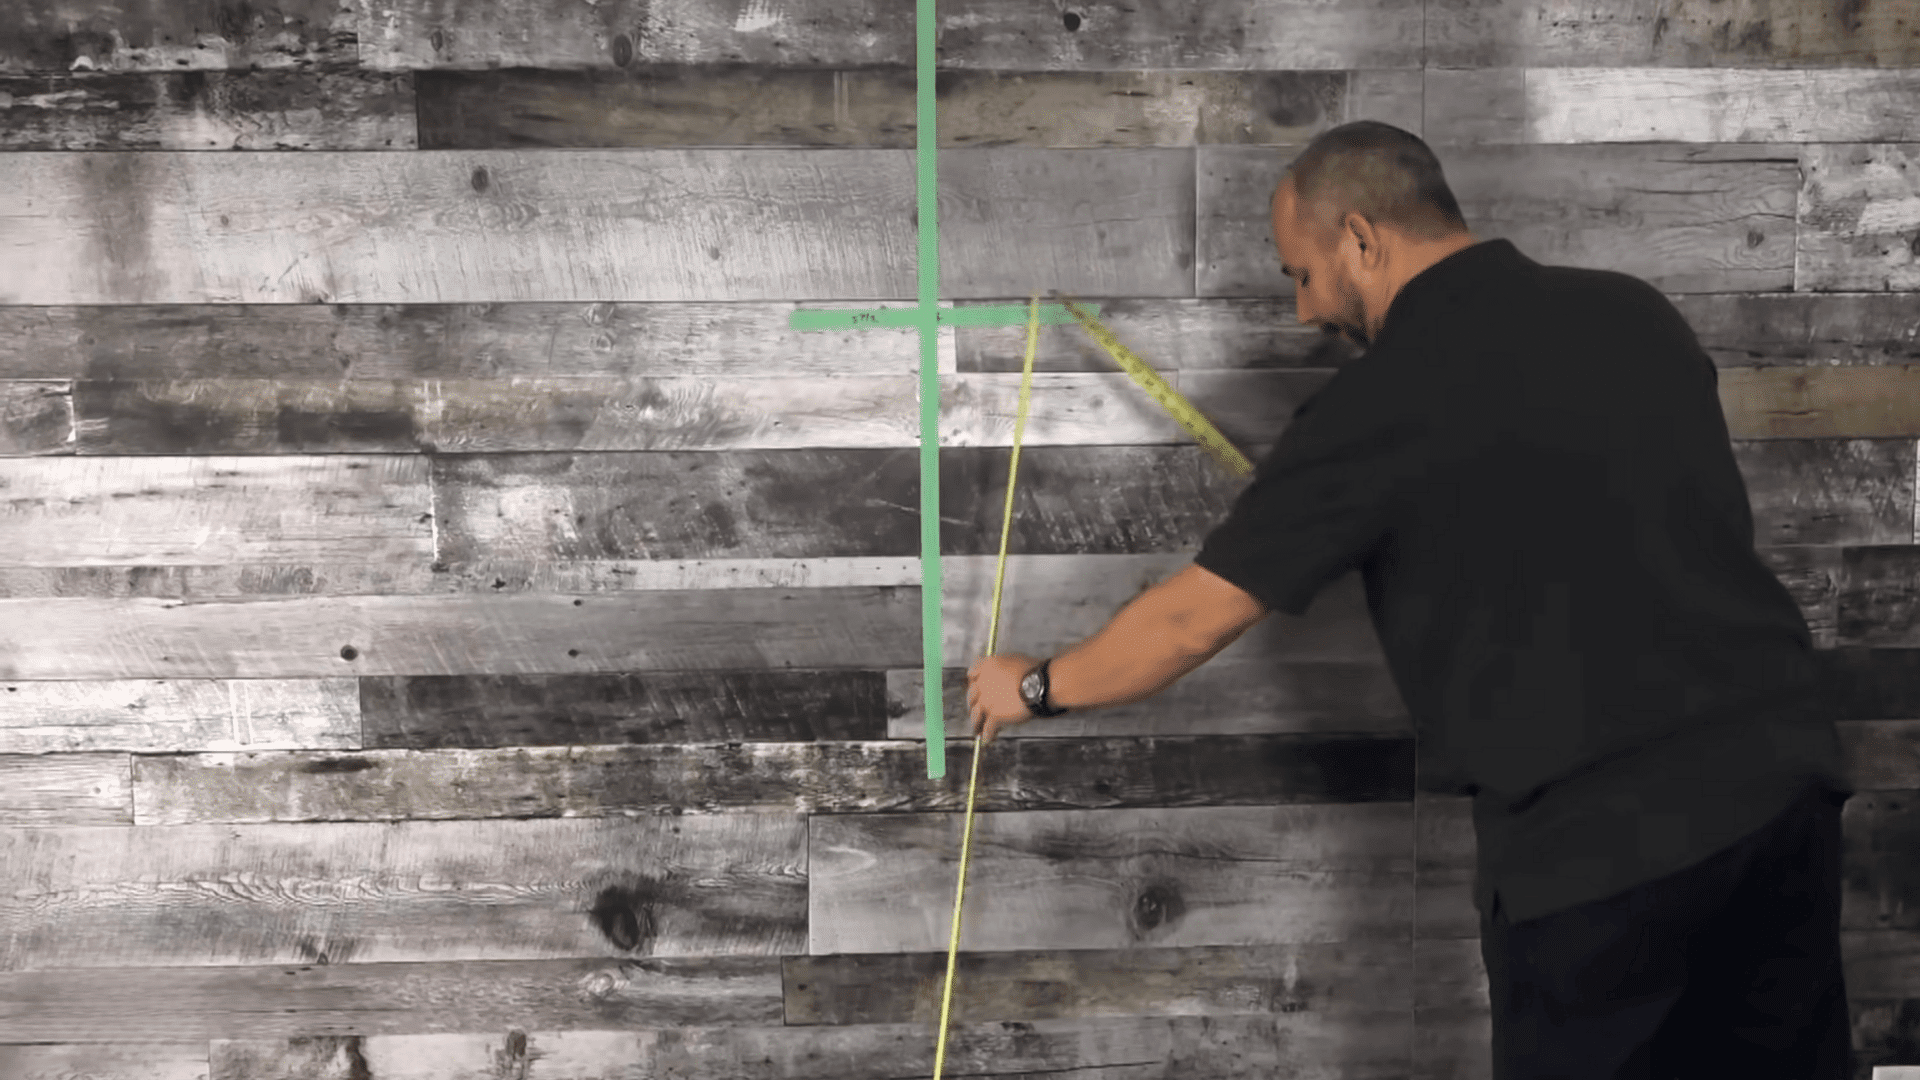
Start by choosing exactly where the TV will sit above the fireplace. Sit in your normal viewing spot and mark your eye level on the wall.
The center of the TV should sit just a few inches above this mark so you get a comfortable viewing angle without tilting your head.
Step 2: Measure Your Wall, TV, and Bracket
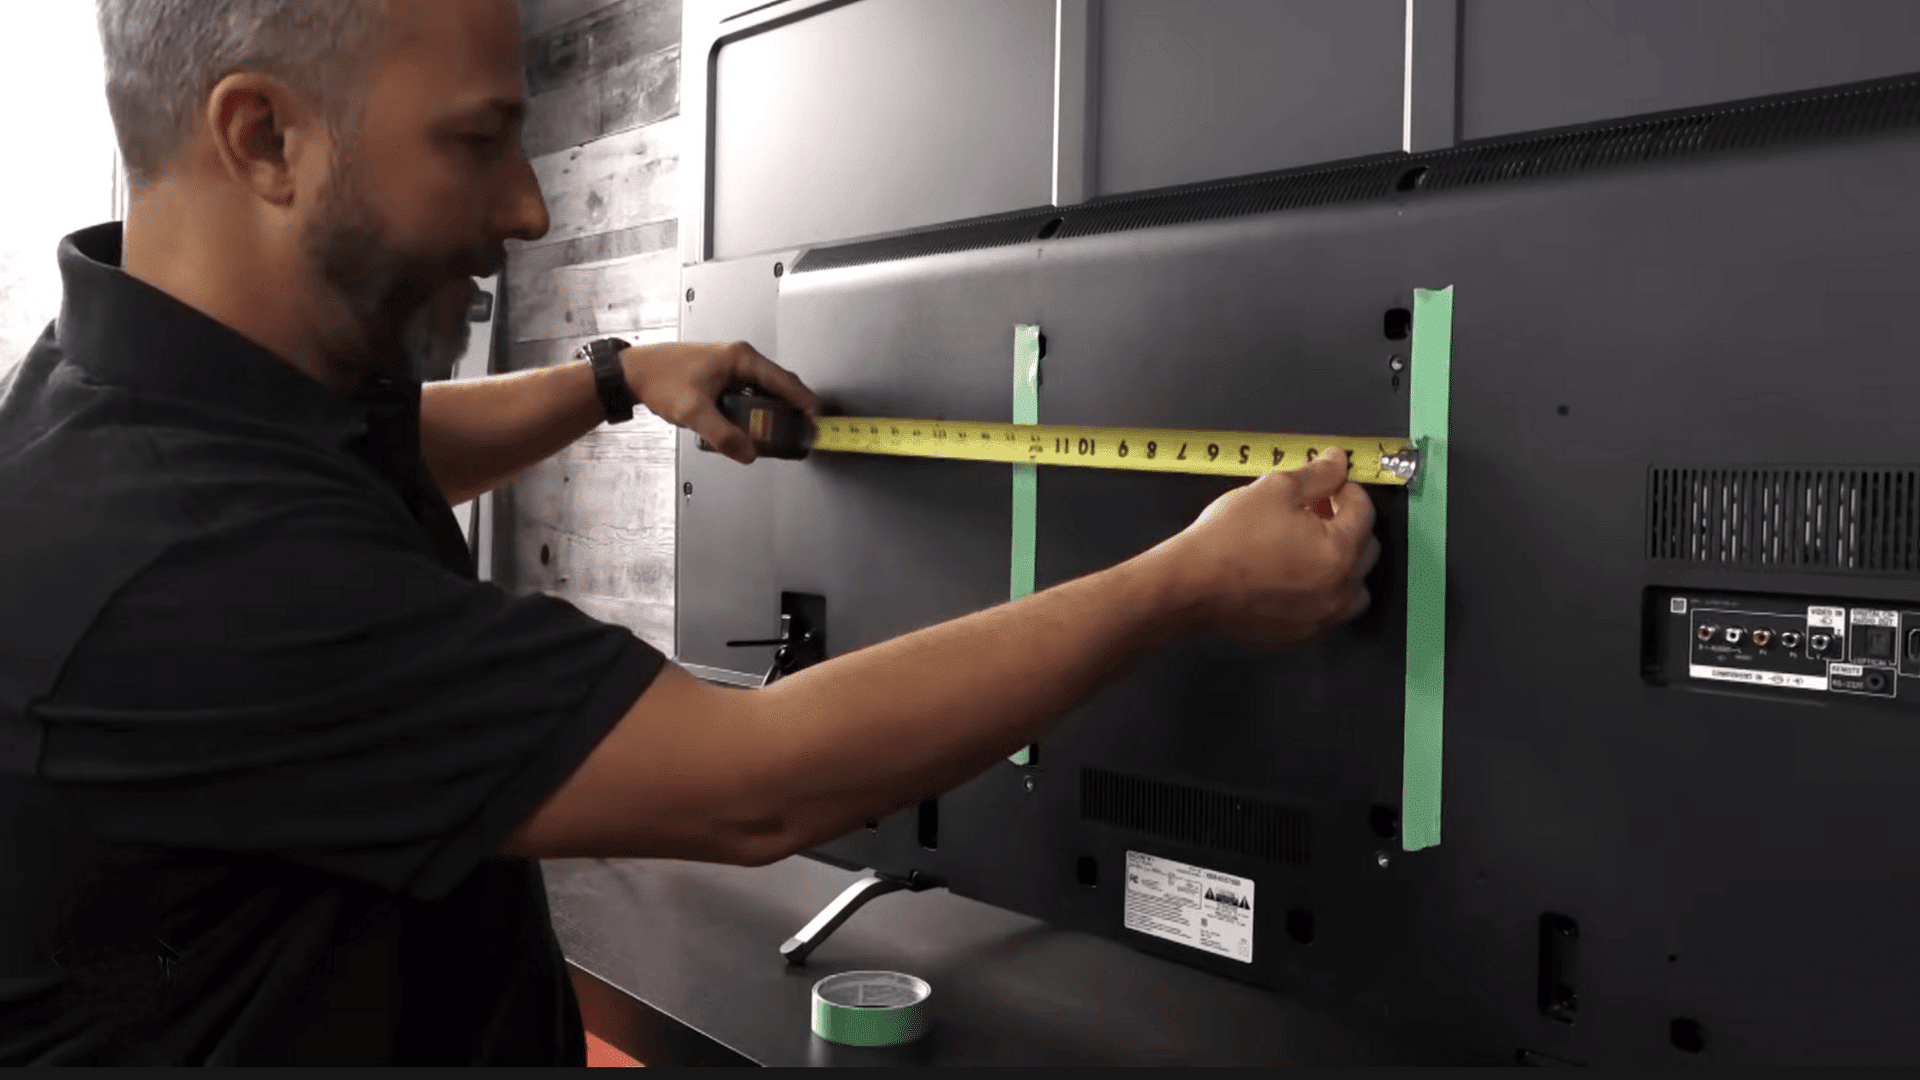
Measure the width of the wall and mark the true center using painter’s tape. Then measure the actual height and width of your TV and check where the mounting holes are on the back.
This helps you understand how high the bracket needs to go so the TV ends up centered correctly.
Step 3: Mark the Exact Mounting Height
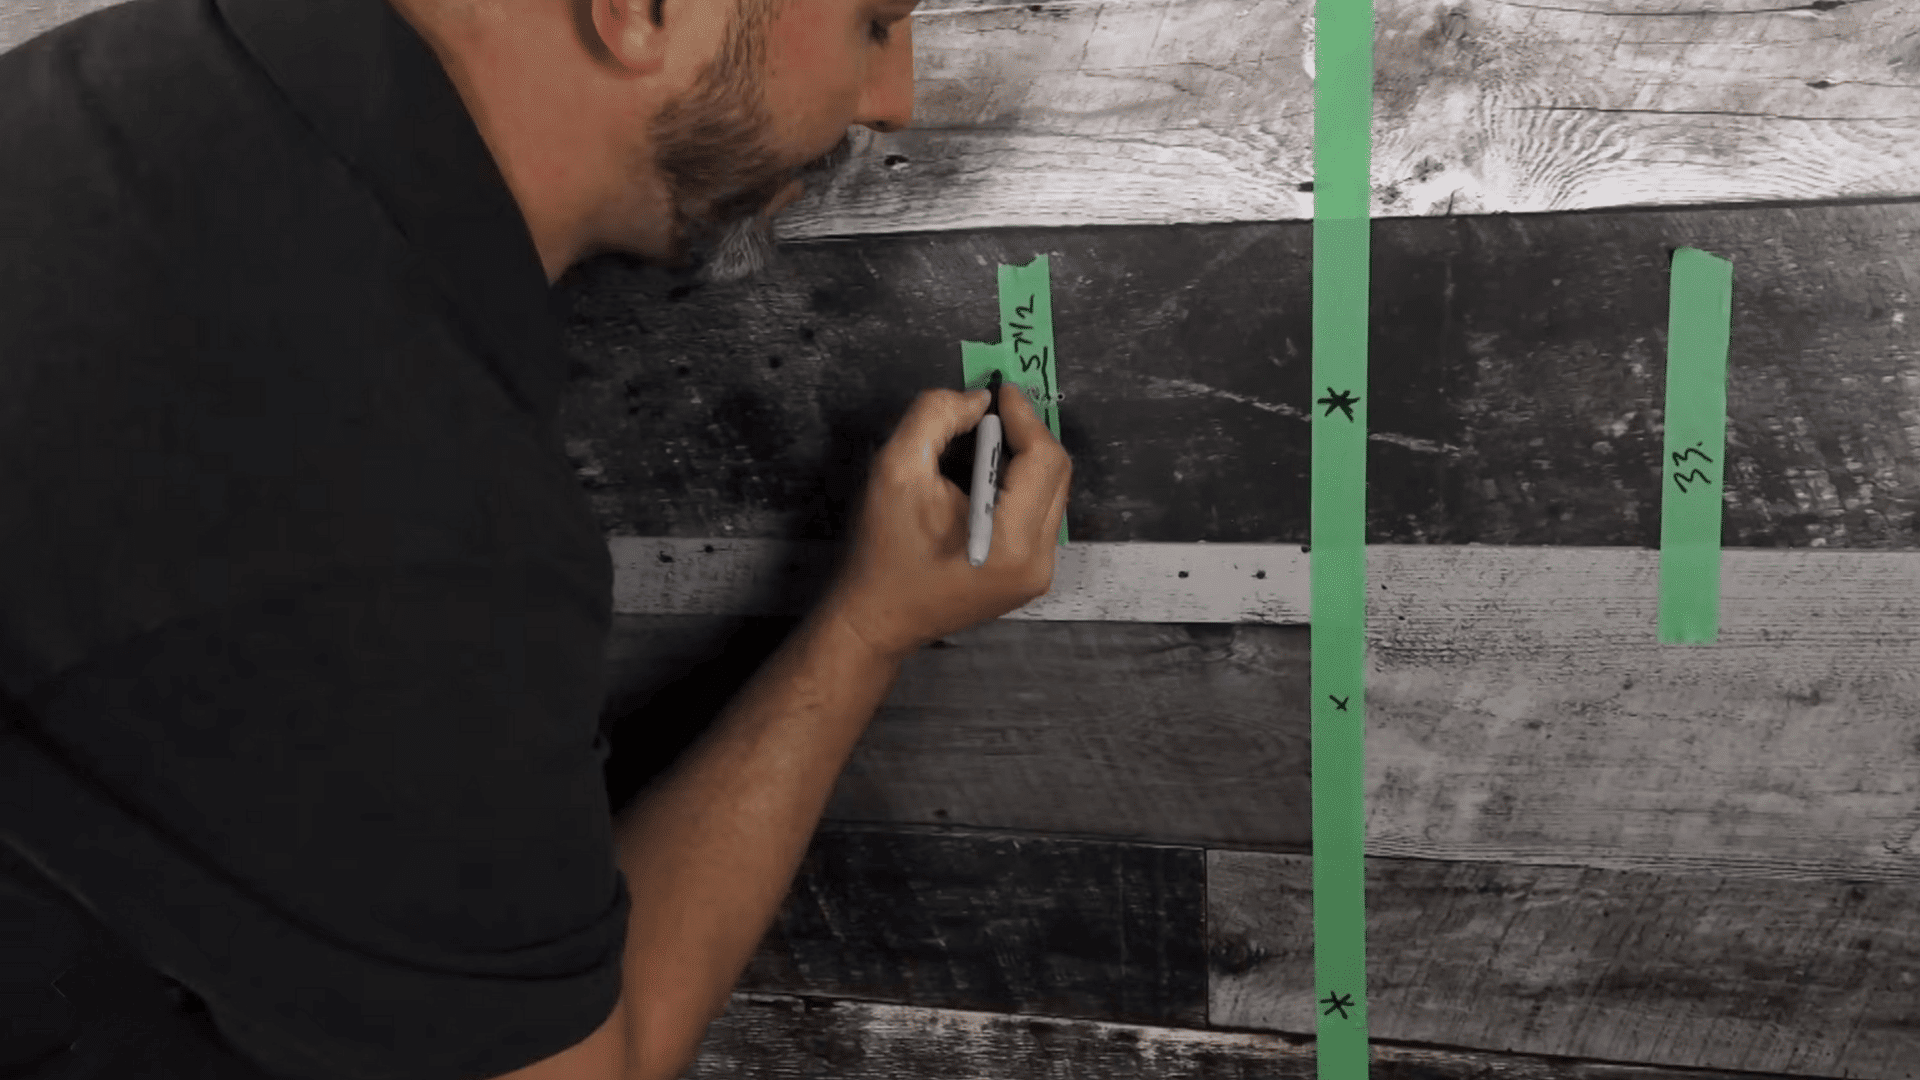
Use your eye-level mark and TV measurements to mark the top, middle, and bottom of the TV on the wall. Keep in mind that many TV brackets sit near the top of the TV, not the middle, so adjust your wall marks based on where the mounting holes line up.
Step 4: Find and Confirm Wall Studs
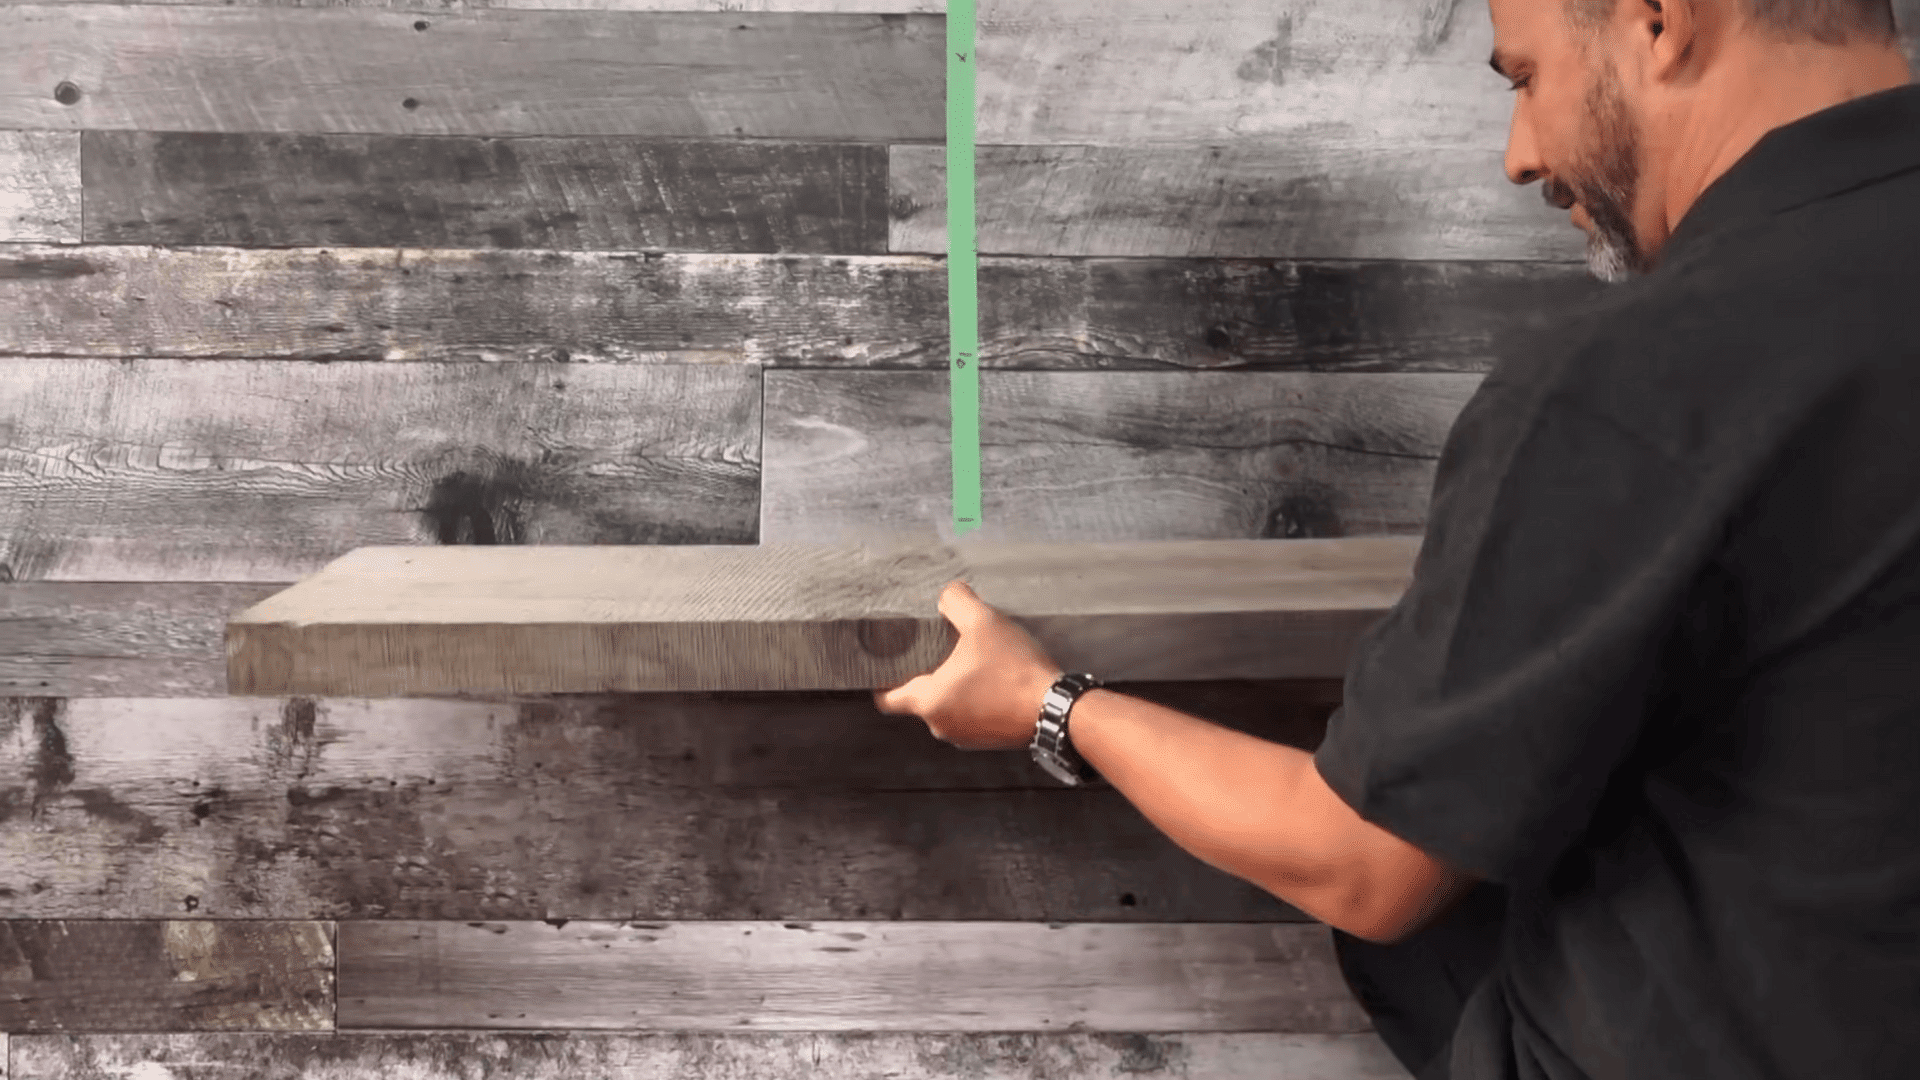
Locate studs using a stud finder or by checking the side of an outlet box. Confirm stud locations by drilling a few small pilot holes until you find solid wood.
Make sure you identify the center of each stud because mounting too close to the edges can cause splitting over time.
Step 5: Drill Lag-Bolt Holes and Install the Bracket
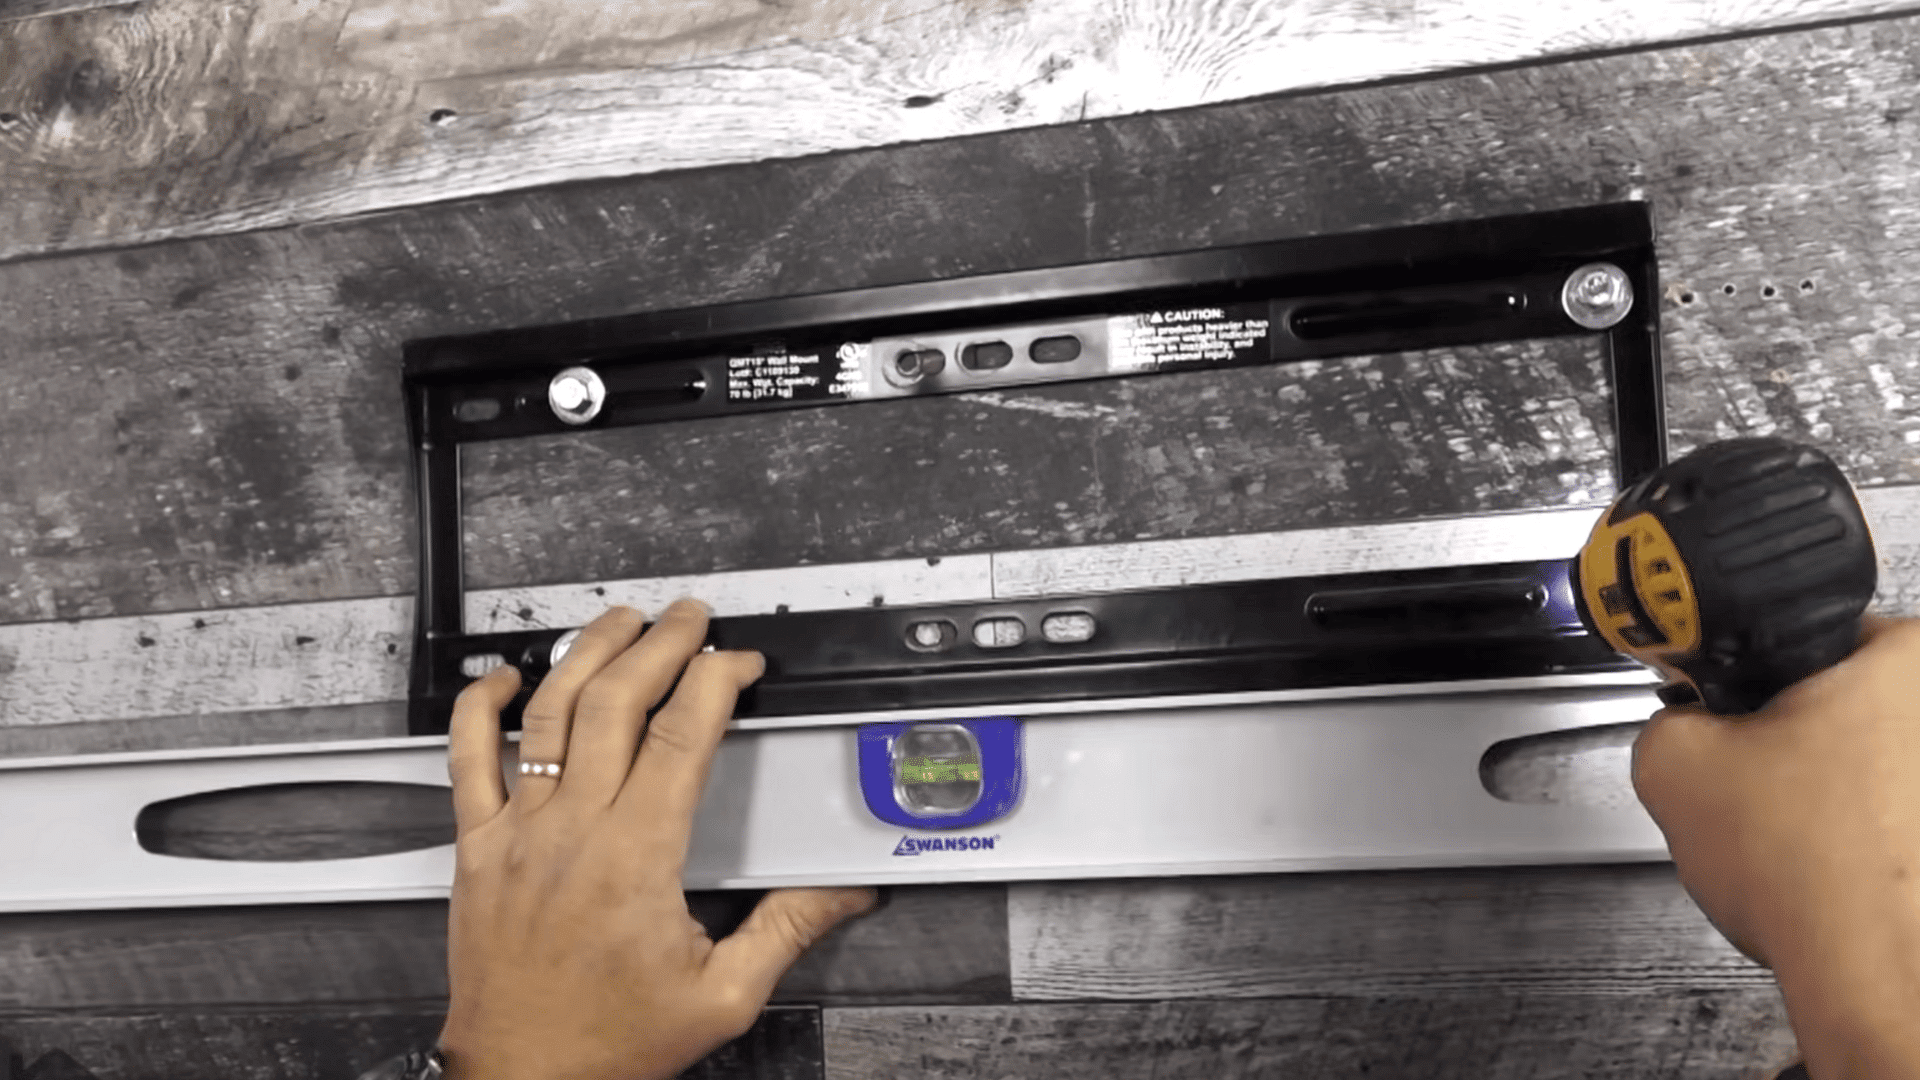
Once you’ve marked stud centers, drill the correct-size holes for your lag bolts. If your bracket’s holes don’t perfectly match the studs, create new holes in the metal bracket so the bolts land directly in the stud centers.
Attach the bracket firmly and check that it’s level before moving on.
Step 6: Hang the TV and Check Clearance
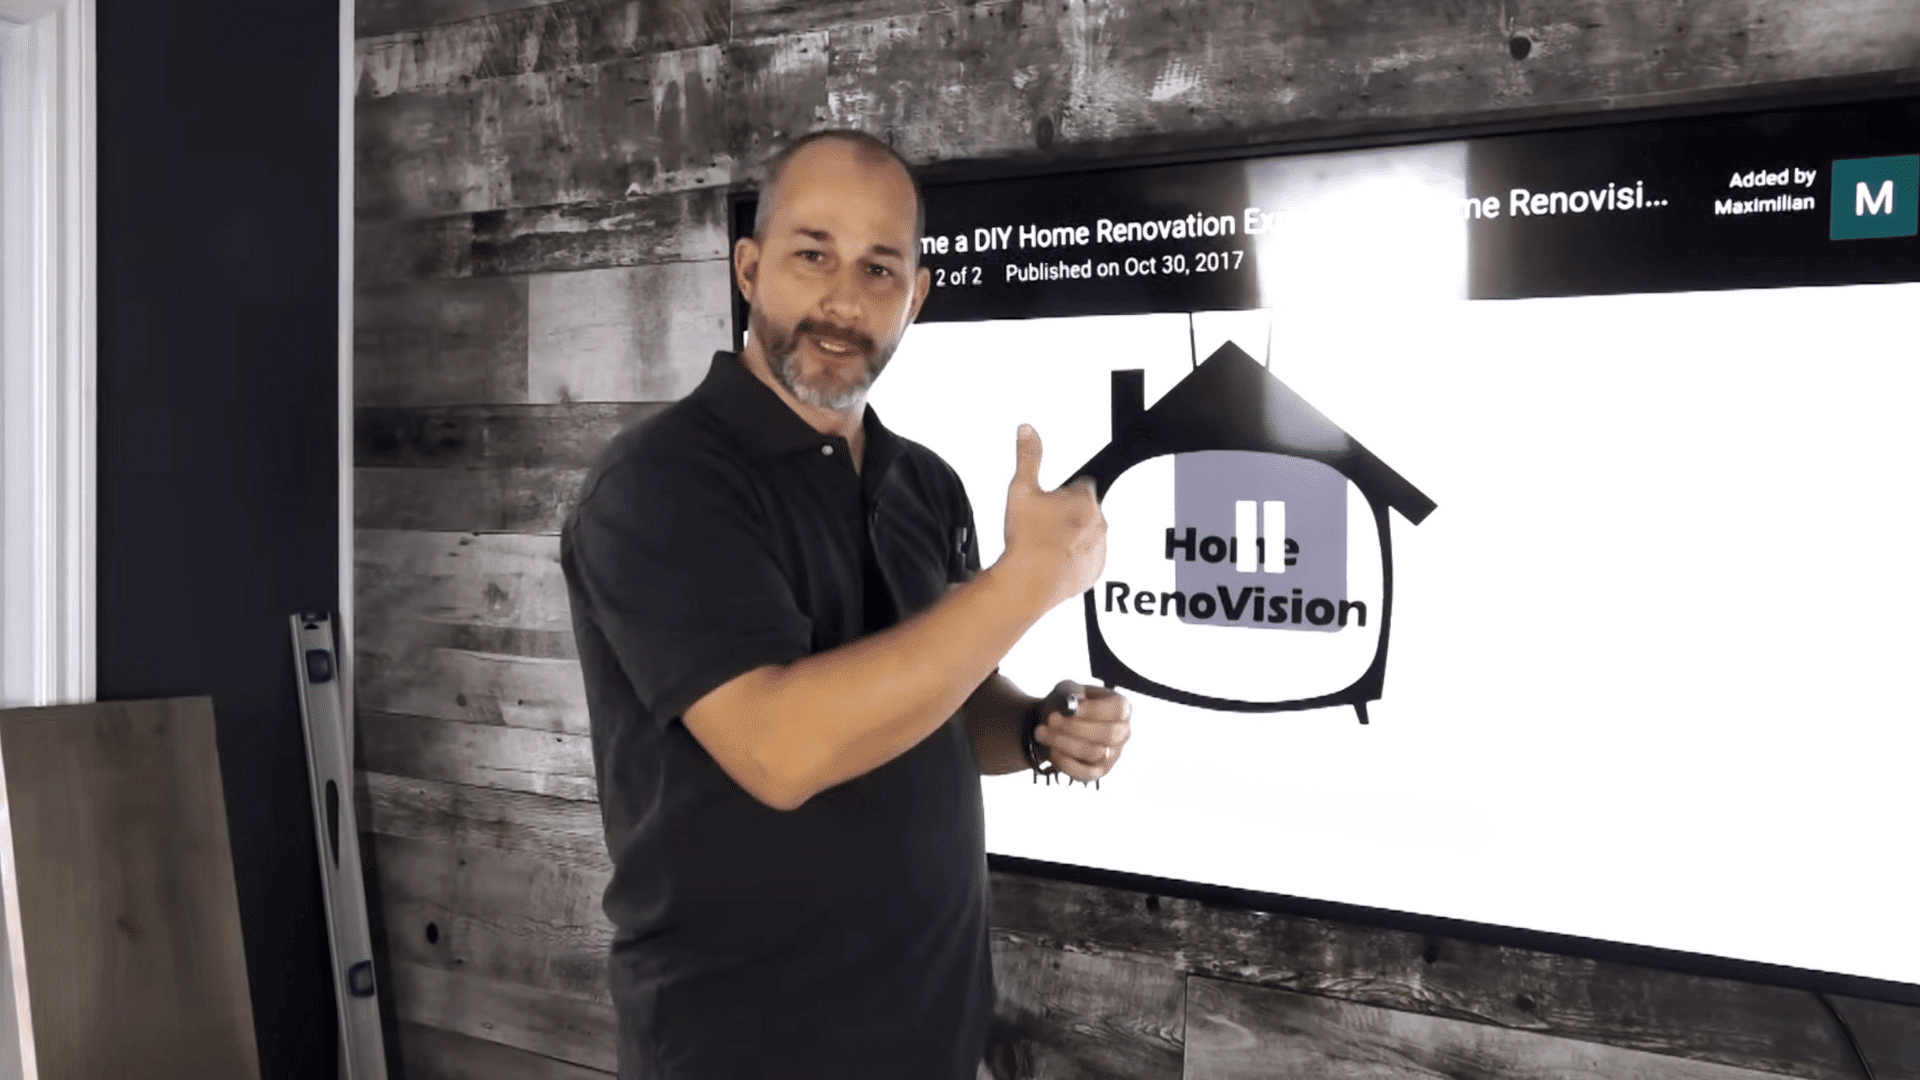
Attach the mounting arms to the back of the TV using the bolts that fit properly. Hang the TV on the wall bracket and secure it.
Make sure the TV is level, centered, and has enough clearance for any shelves or soundbars below. Once everything lines up visually and feels comfortable from your seating position, you’re done.
Prefer a visual guide? Use the link below to watch from start to finish: How to Mount a TV Perfectly Wall Mount Full Tutorial
Steps for Installing Wires and Cables
- Take off baseboards if possible: This gives access to run cables cleanly along the wall and hide them later.
- Drill holes through the studs: Create openings to route power and HDMI cables between wall sections safely.
- Run the wires: Feed the cables through the drilled holes toward the ideal power source or outlet area.
- Check cable routing: Make sure the wires sit securely and follow a smooth path without sharp bends.
- Connect one wire from the fireplace area to the TV mount point: This ensures power and signal reach your TV properly.
- Reattach the baseboards after cables are routed: Cover up the wiring for a clean, finished look.
By following these steps carefully, you’ll keep your setup safe, organized, and visually polished just like a professional installation.
Want to see these steps in action? Check below for a clear walkthrough:
Design Ideas for a TV Around a Fireplace
A TV and fireplace can share a wall beautifully when the design feels balanced and intentional.
1. Keep Balance and Proportion
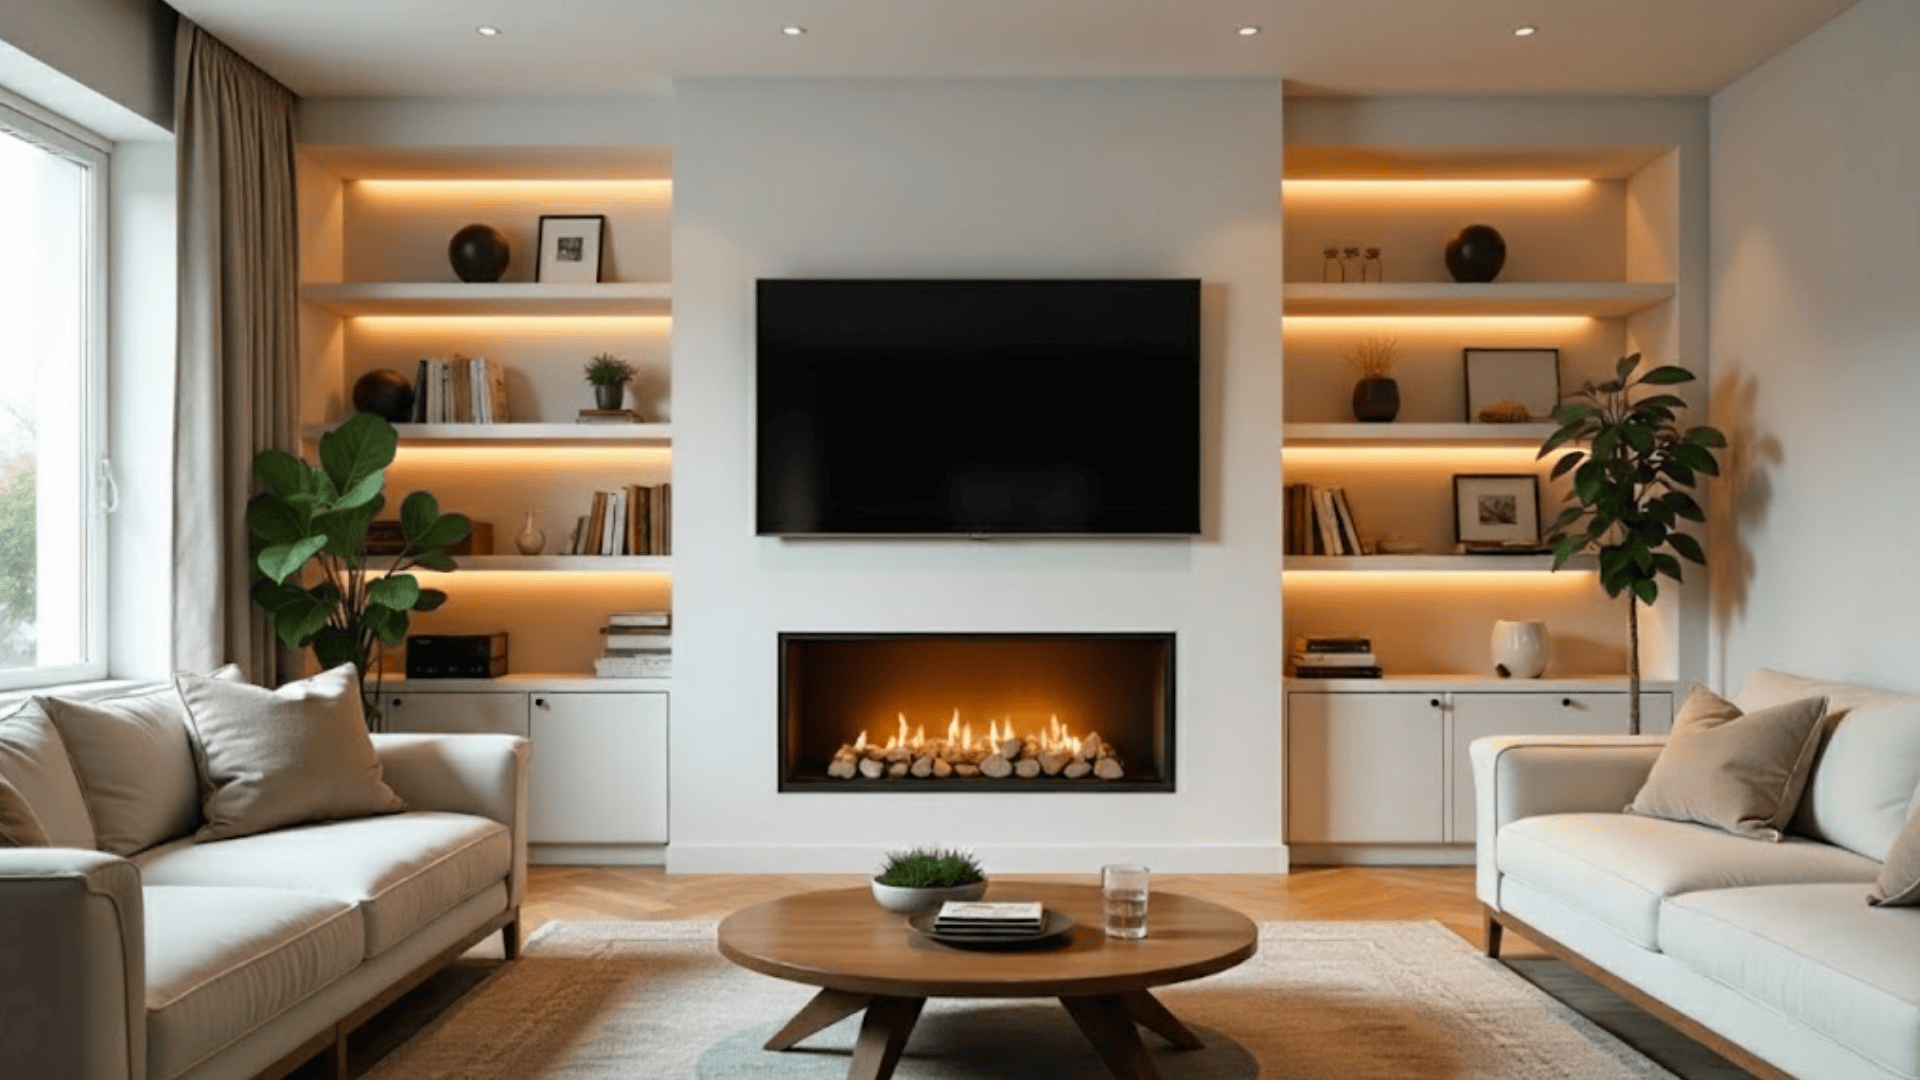
Center the TV above or beside the fireplace so neither feature dominates. Use symmetry, like matching shelves, lights, or art on both sides, to create visual harmony.
2. Style the Mantel Thoughtfully
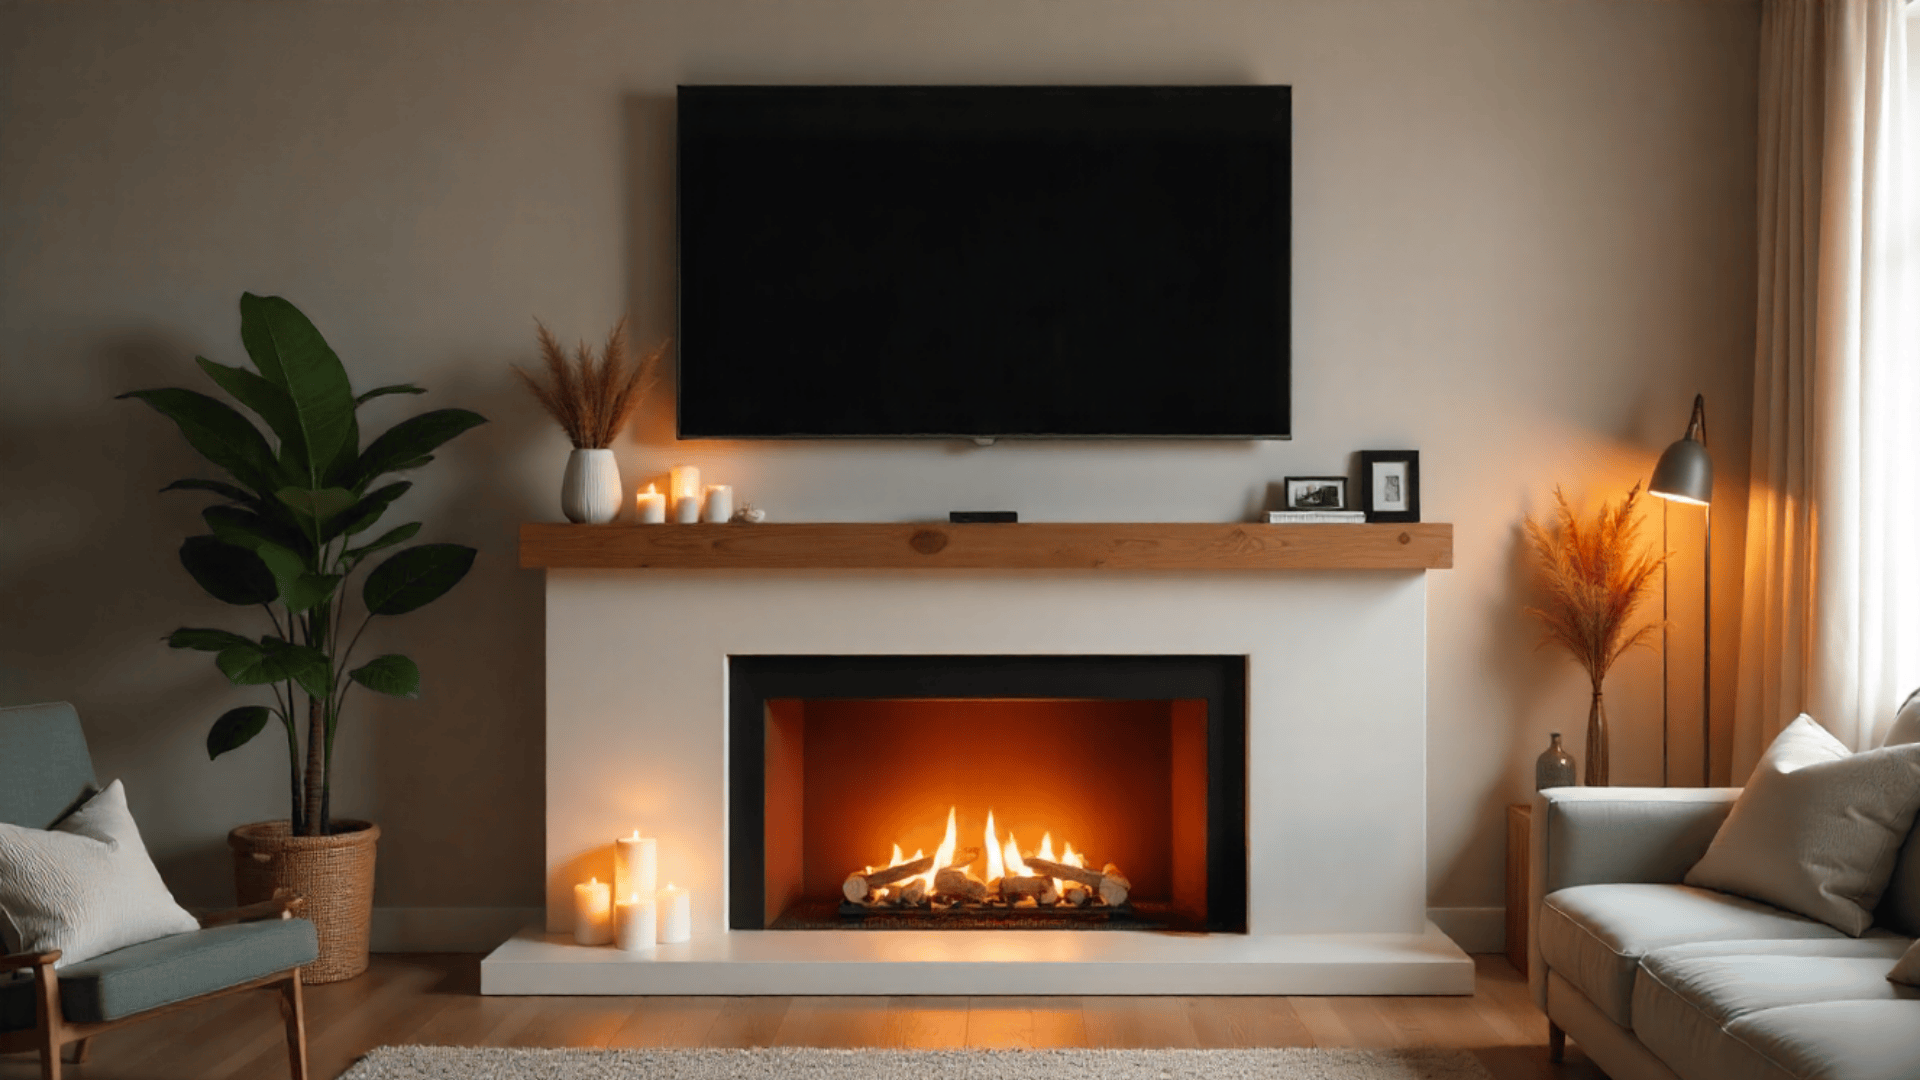
Keep the décor simple and low. Add candles, plants, or framed photos that don’t block the screen. Layer smaller pieces instead of one large item for a natural, balanced look.
3. Use Smart Lighting
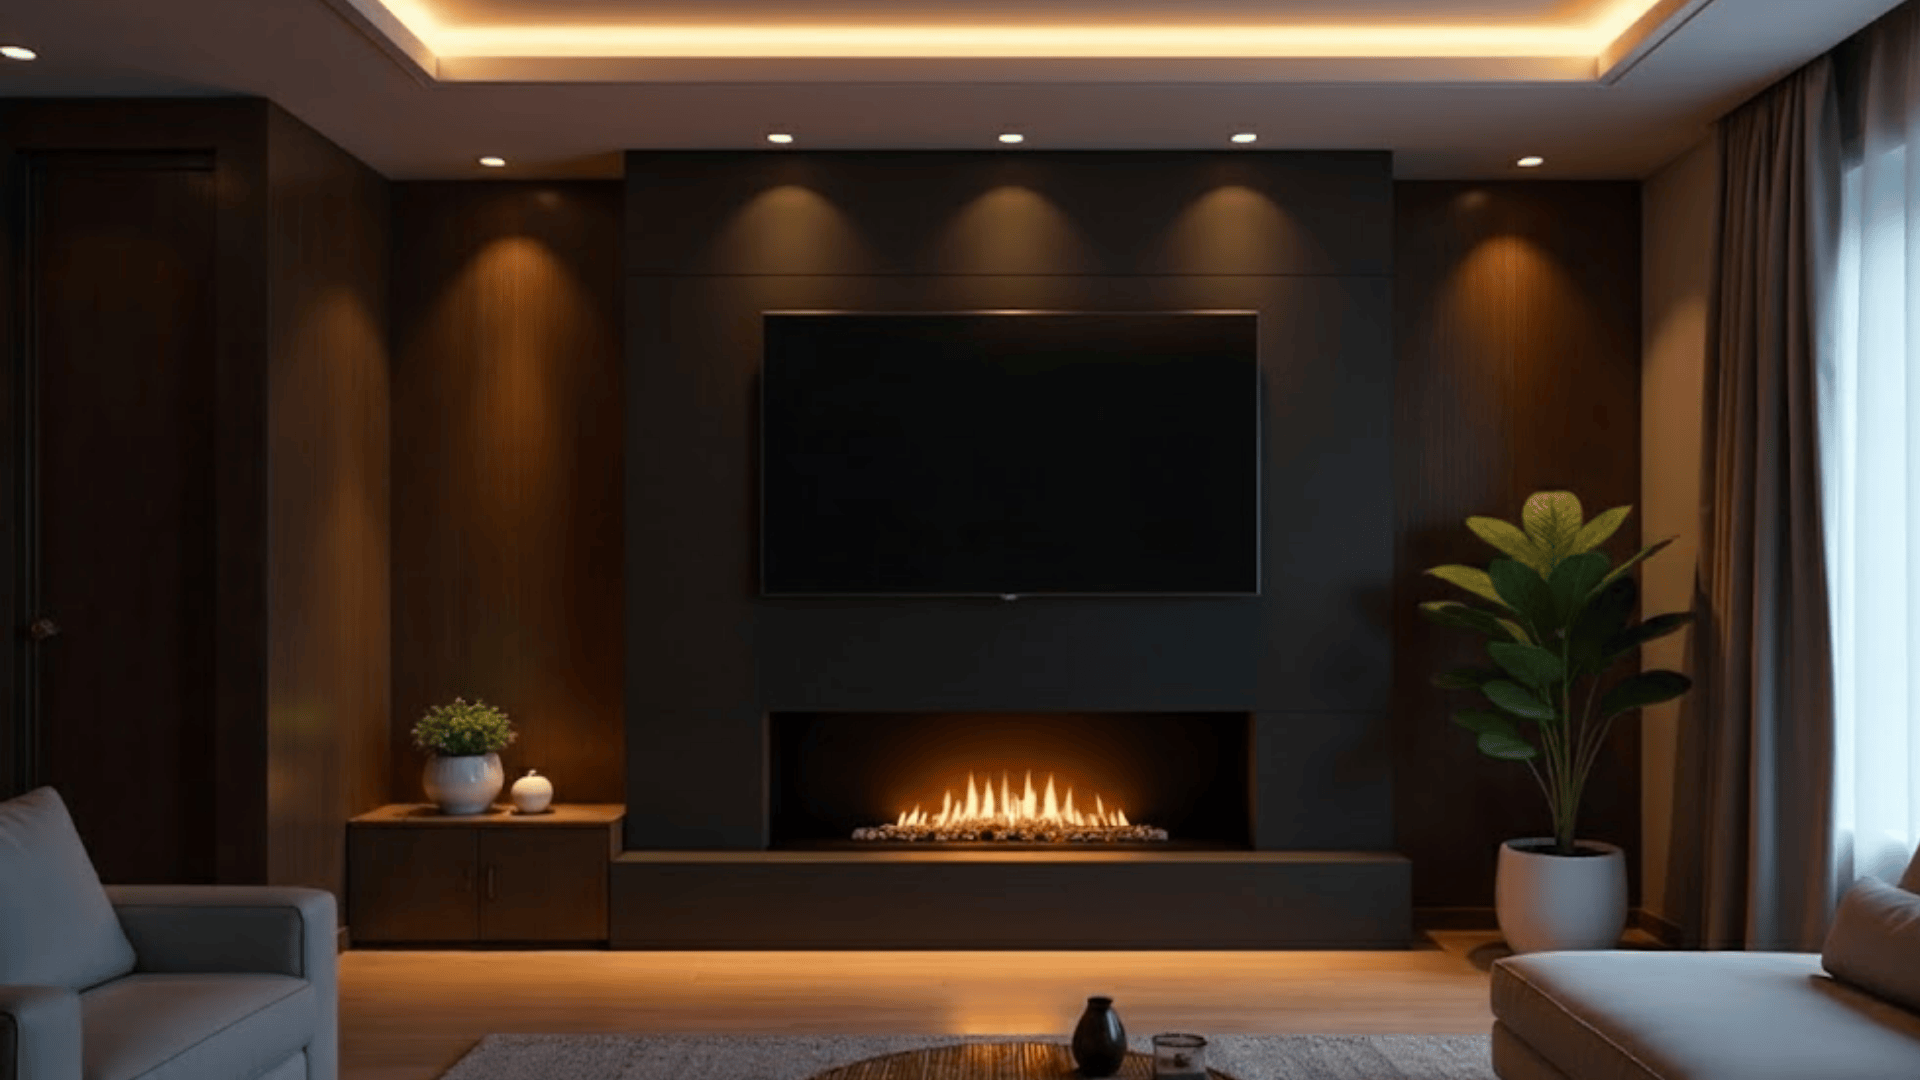
Add recessed lights, wall sconces, or LED strips to highlight the fireplace without reflecting on the TV. Warm, indirect lighting helps both features stand out.
4. Corner Fireplace TV Setup
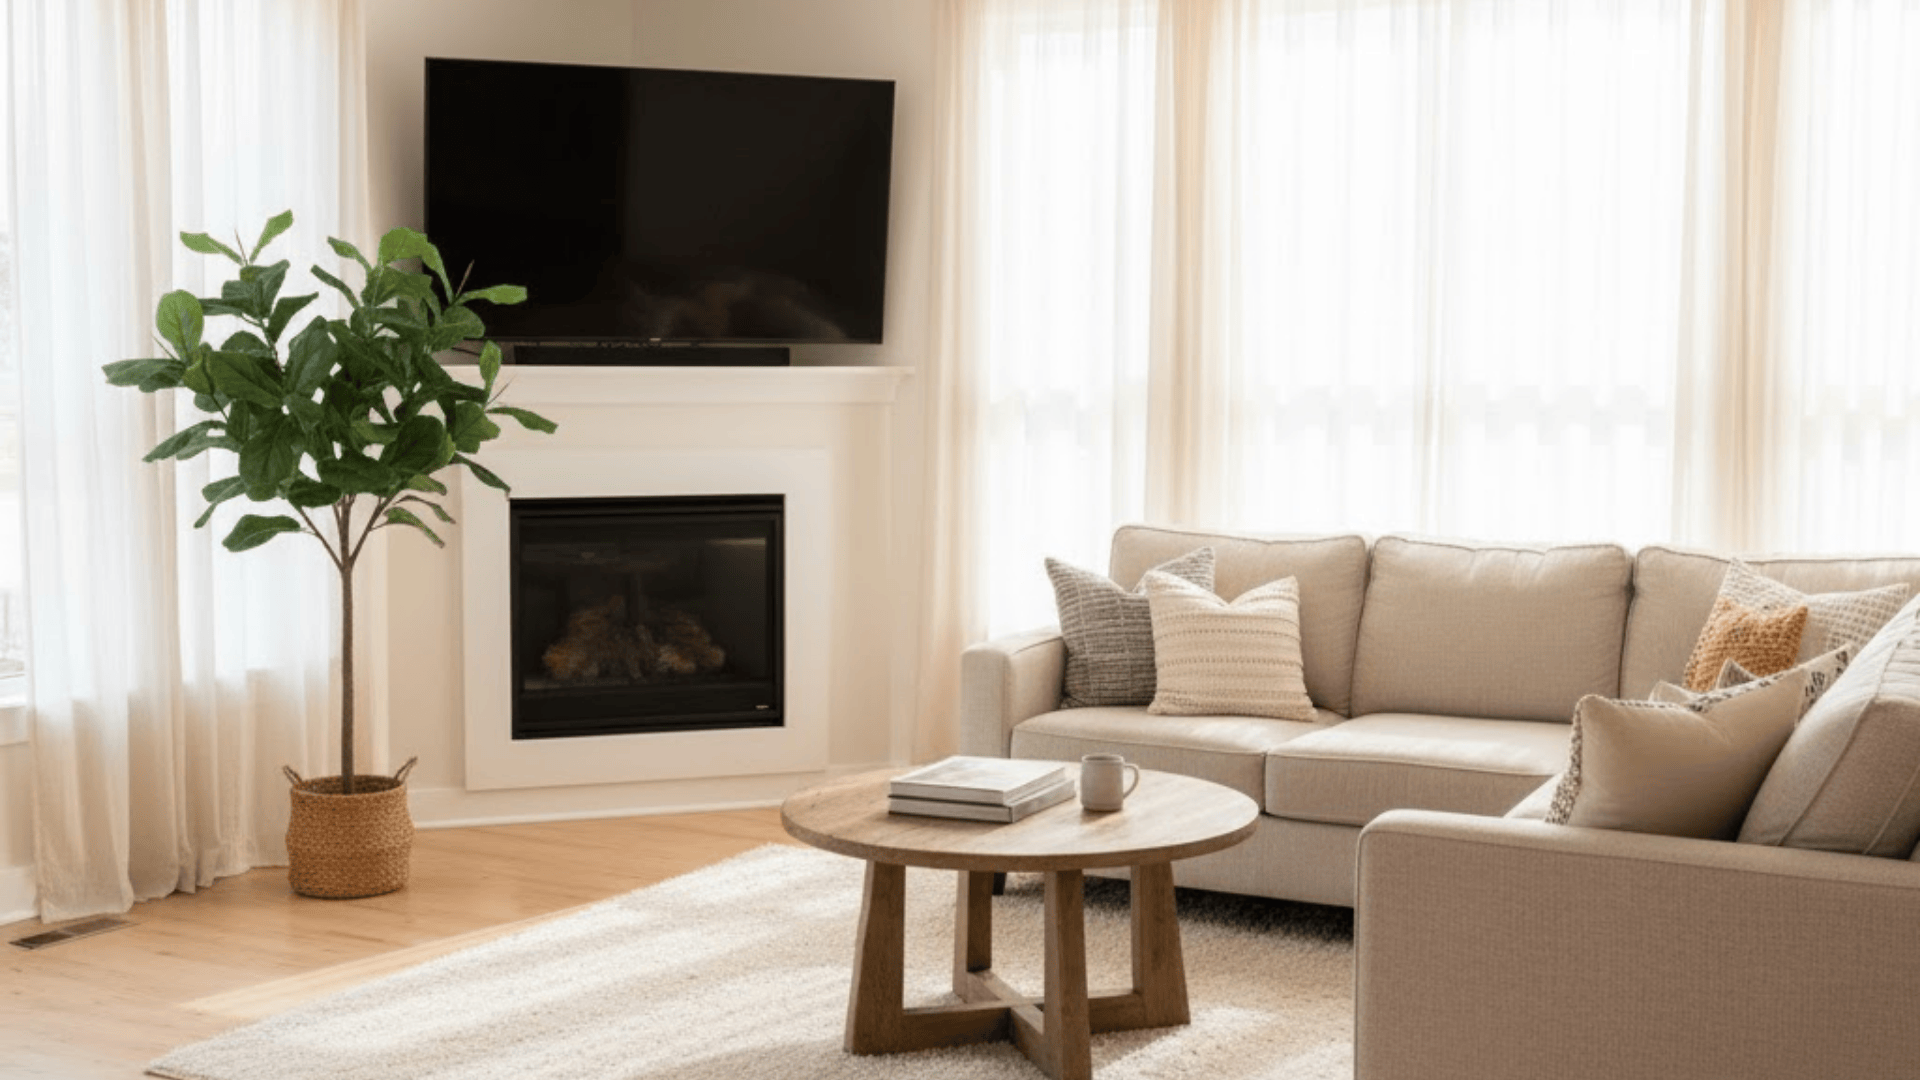
A corner fireplace TV setup places the fireplace and TV together on a diagonal wall, saving space and making the corner a cozy focal point. It’s great for small or awkward rooms where a standard flat wall layout doesn’t work.
5. Use Contemporary Built-In Look
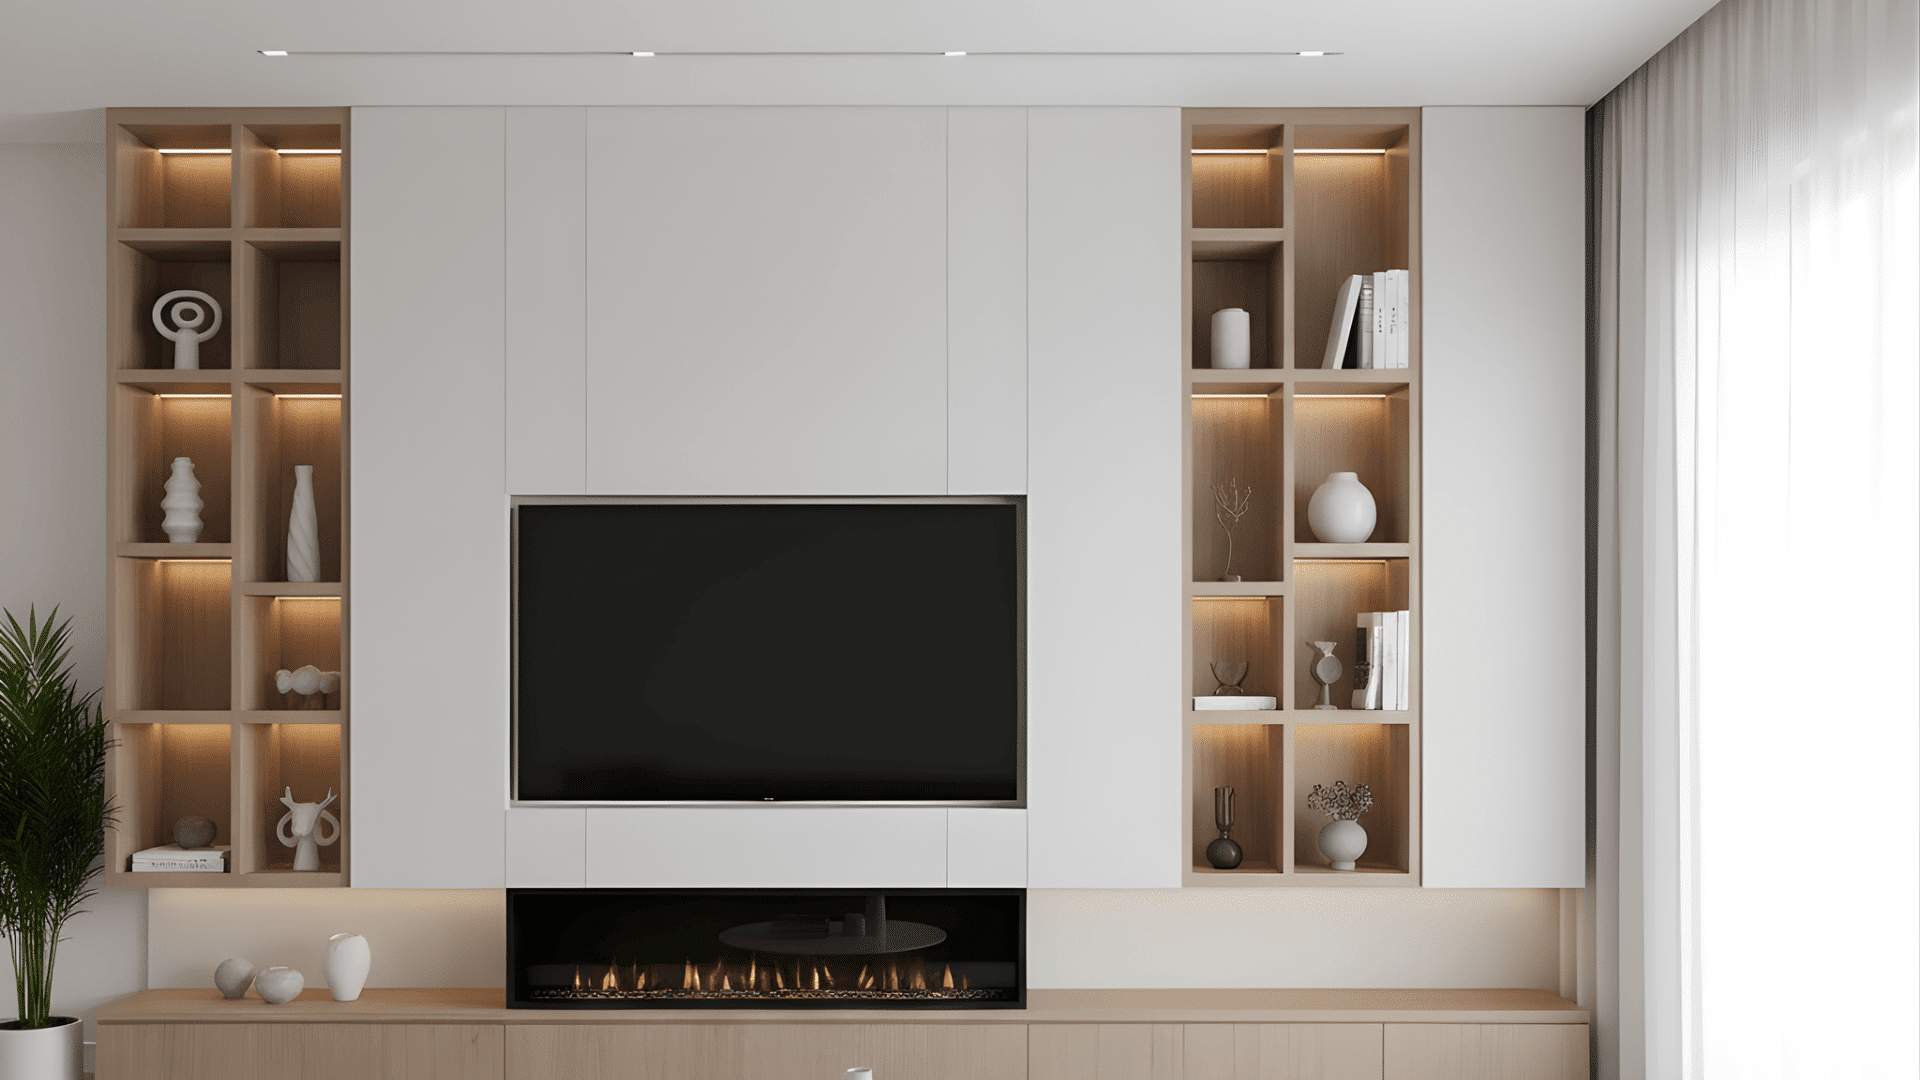
A contemporary built-in look tucks the TV, fireplace, and storage into a clean, seamless wall. Think flat-front cabinets, hidden wires, and simple lines with no bulky furniture.
The result is a sleek, modern feature wall where everything looks custom-made and clutter-free.
Maintenance and Longevity Tips
- Check heat regularly: Run your fireplace and test the wall temperature above it. Keep it below 90°F (32°C) to avoid heat damage. If it’s warmer, install a heat shield or mantel extender for protection.
- Inspect mounts and fittings: Tighten screws, brackets, and mount arms every few months. Look for signs of sagging or loose joints that could affect stability.
- Clean and maintain surfaces: Wipe the TV, mantel, and wall with a soft cloth to remove dust or soot buildup. Avoid using liquid cleaners or sprays near heat sources.
- Monitor cables and connections: Check for frayed or overheated wires and replace them if damaged. Keep cords neatly organized with in-wall cable kits or cord covers to maintain safety and appearance
Routine care and heat checks will keep your fireplace-mounted TV safe, clean, and working efficiently for years.
Conclusion
A fireplace-mounted TV can be both attractive and reliable when installed with care. Paying attention to heat, placement, and basic maintenance keeps it performing well for years.
Regular checks and small adjustments make a big difference in safety and viewing comfort. If installation or wiring feels complicated, hiring a professional ensures everything’s secure and properly aligned.
I believe a little planning and quality hardware can turn this project into a lasting, low-maintenance upgrade for your home.
For expert help, reach out to a licensed installer or a trusted local service to get it done right.