

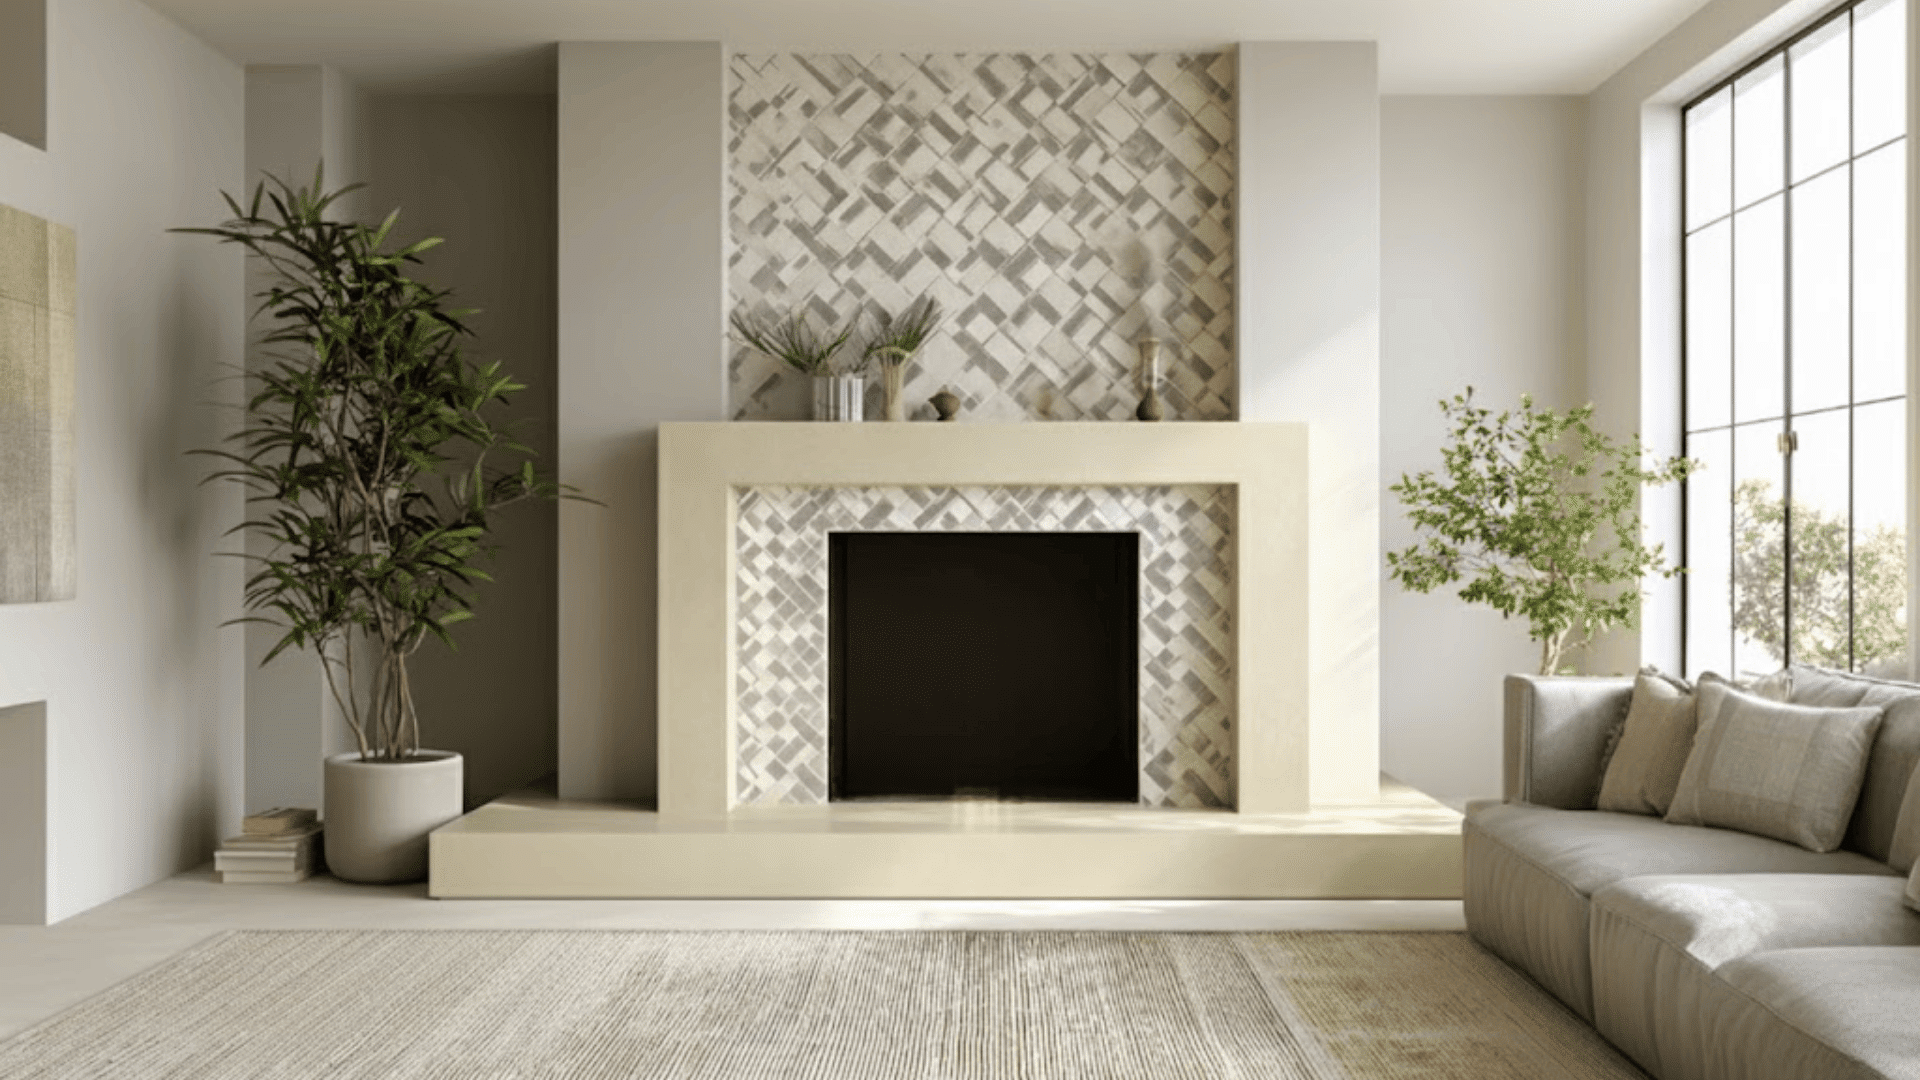
You finally have the vaulted ceiling you always wanted, and now you are standing in the room wondering why it does not quite feel the way you imagined it would.
That gap between expectation and reality is more common than most people admit. Vaulted ceiling ideas look effortless in photos, but the architecture behaves differently from standard rooms in ways that are not obvious until you are working with it directly.
The proportions shift, the lighting rules change, and finishes that work perfectly in a flat-ceiling room often fall flat once the ceiling starts to slope.
This post breaks down vaulted ceiling ideas across every major element: beams, surface treatments, color, and light, so every decision fits the space.
What Shapes Your Vaulted Ceiling Design Options
Not every finish or build idea works on every vault. The options that suit your ceiling depend on a few structural and spatial realities worth understanding before diving into specific ideas.
- Ceiling height and pitch: Steeper vaults support heavier beam profiles and bolder surface treatments. Low-pitch ceilings need lighter, less visually dominant approaches to avoid feeling compressed.
- Existing structure: Exposed rafters, ridge beams, or roof decking already in place change what additions make sense and what would compete with the architecture rather than complement it.
- Room function: A vaulted kitchen ceiling has different lighting and finish demands than a vaulted living room or bedroom.
- Natural light levels: Darker surface finishes and heavy timber work absorb light. Rooms with limited glazing need treatments that reflect and distribute what light is available.
These four factors narrow the ideas ahead from a broad list to what will genuinely suit your ceiling.
Top Vaulted Ceiling Design Ideas Worth Trying
Turn a vaulted ceiling from an awkward architectural challenge into the room’s greatest asset. These practical ideas cover every element: lighting, beams, color, and furniture, with clear guidance on what works, why it works, and how to do it.
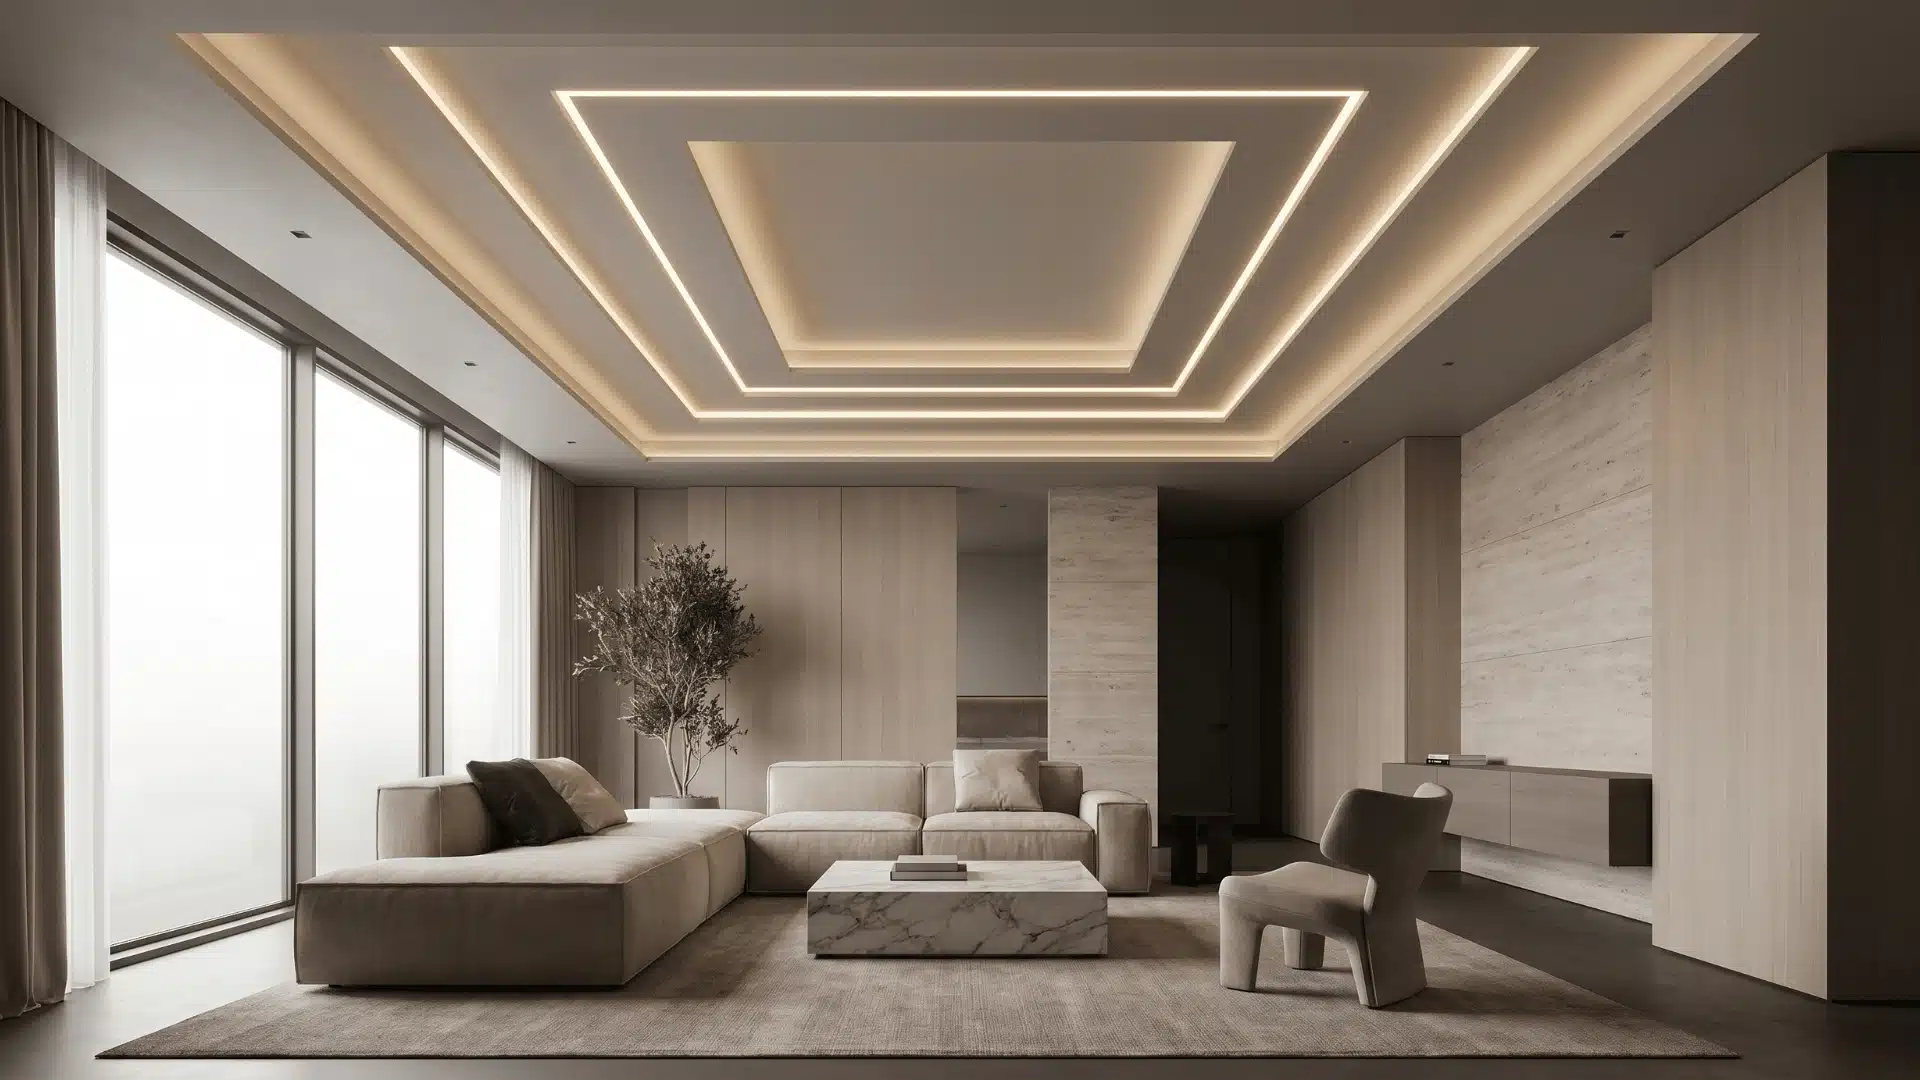
1. Coffered Ceiling Panels on a Shallow Vault
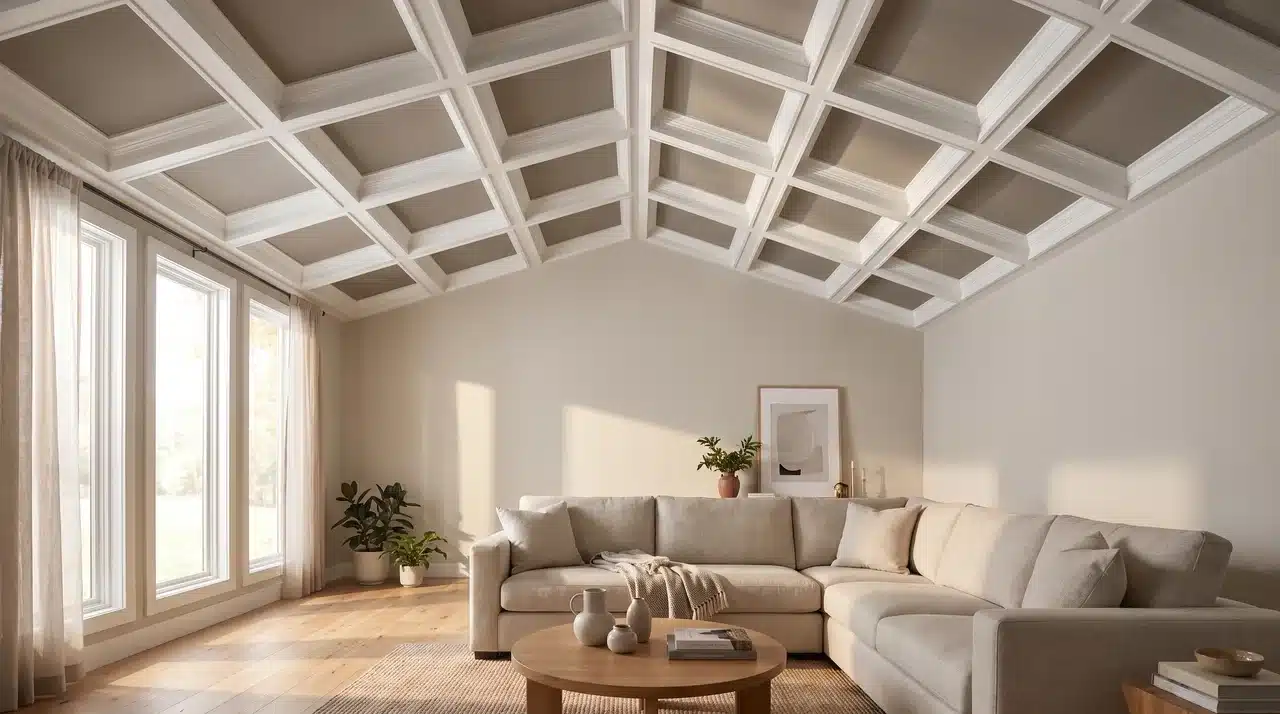
A coffered grid breaks a plain vault into recessed bays that add architectural depth without requiring extra height. Each section casts a shadow and adds dimension to an otherwise flat surface.
Use MDF coffer kits with bays spanning 18 to 24 inches. Paint the interior of each recessed bay slightly darker than the surrounding frame to emphasize depth.
2. Stenciled or Stamped Ceiling Finish on the Vault

A repeating stenciled pattern applied across the vault surface, geometric, botanical, or Moroccan-inspired, adds visual texture without any physical material. The ceiling becomes decorative without adding weight or mass to the sloped plane.
Use a repositionable adhesive stencil and a dense foam roller for clean, consistent repeats across the angled surface. Apply in a tone just one or two shades deeper than the base ceiling color so the pattern reads as subtle texture rather than wallpaper.
3. Plaster Medallion at the Vault Peak
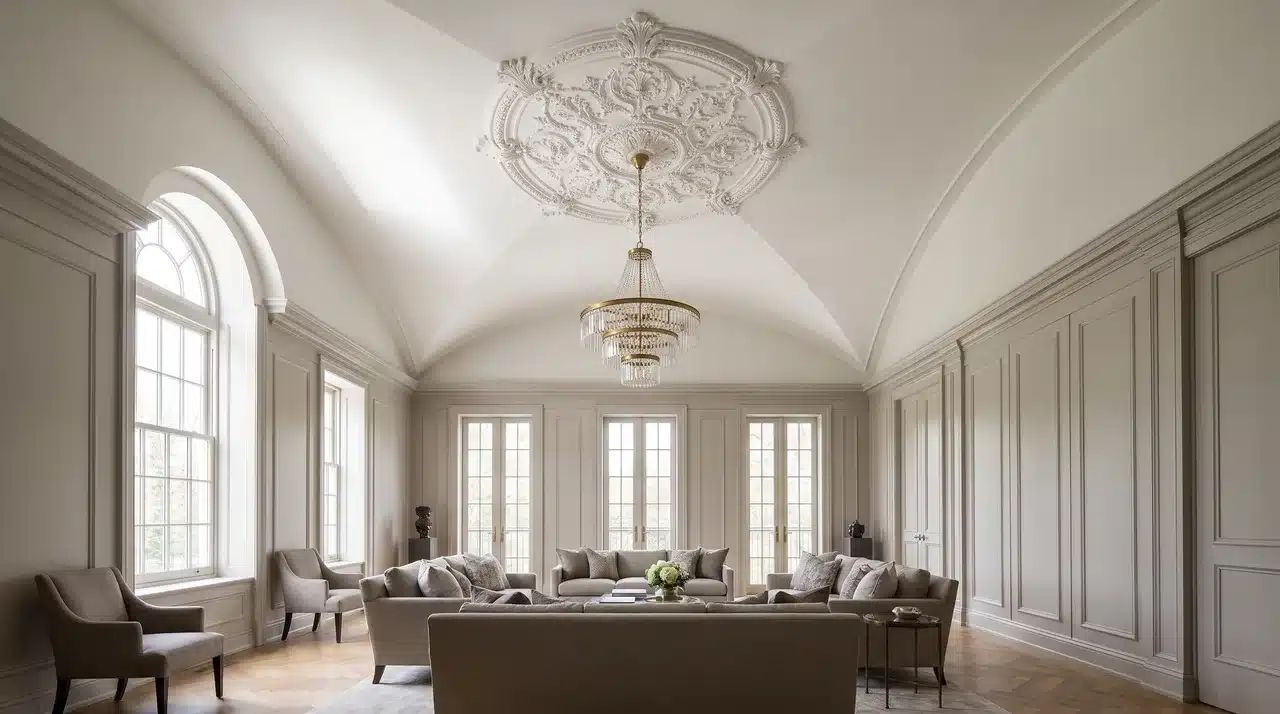
A medallion at the apex gives the eye a deliberate destination at the ceiling’s highest point. Without one, the peak of a steep vault often reads as unresolved and empty.
Choose a medallion at least 24 inches in diameter for ceilings above 12 feet. Install with construction adhesive and paint it the same color as the ceiling for a tonal effect.
4. Exposed Rafters and Purlins
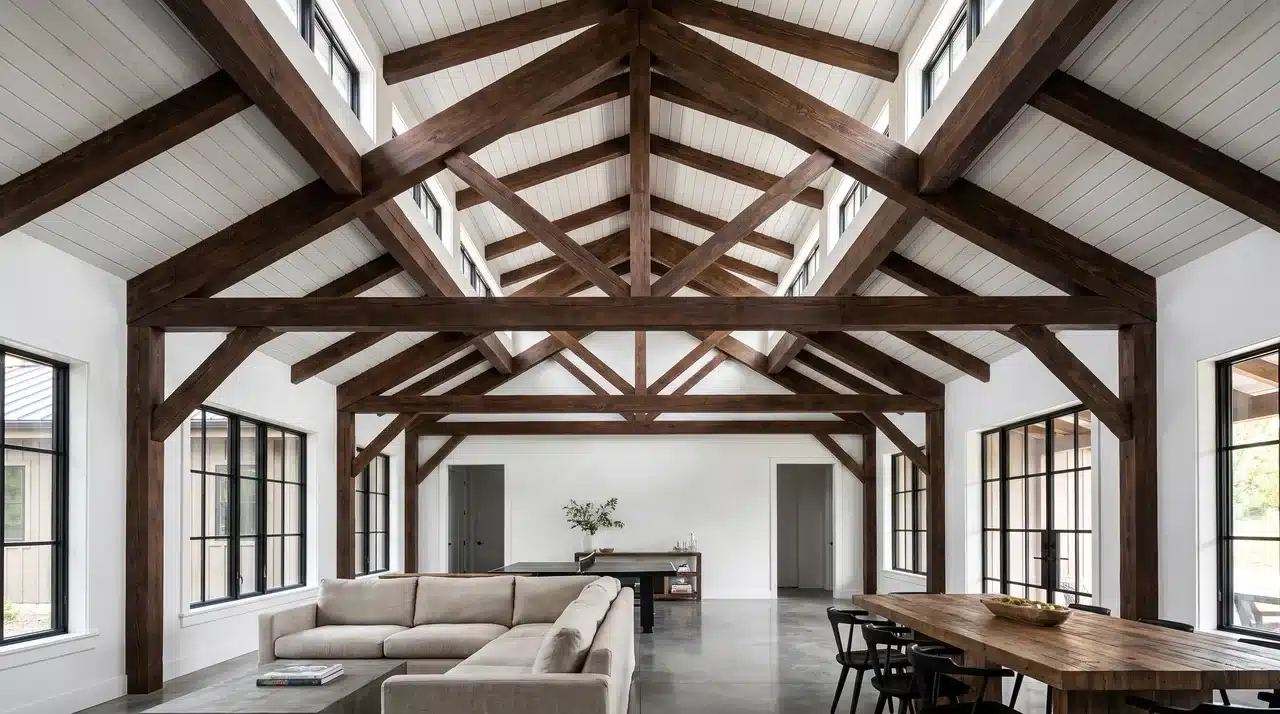
Removing drywall to expose existing rafters and purlins turns structural construction into the ceiling finish itself. The result reads as intentional architecture rather than unfinished space.
Have a contractor assess the structure before removal. Sand and stain all timber elements consistently so the exposed assembly reads as a unified system rather than leftover construction material.
5. Painted Geometric Pattern on the Vault Surface
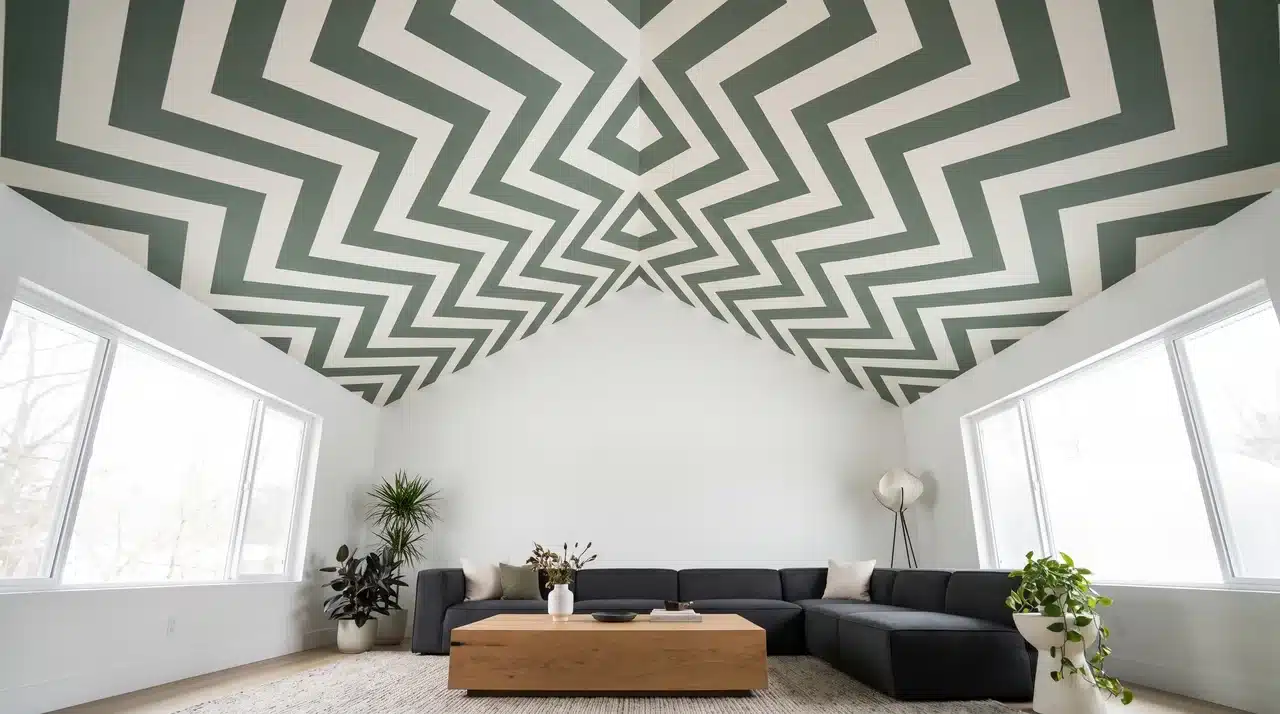
A geometric pattern applied directly to the ceiling turns the sloped plane into deliberate visual content. Chevrons following the pitch or a simple two-tone stripe acknowledge the vault’s shape rather than ignoring it.
Map the pattern to scale before starting so repeats land evenly. Use painter’s tape rated for delicate surfaces and remove it while the final coat is still slightly wet.
6. Lime Wash or Venetian Plaster Finish
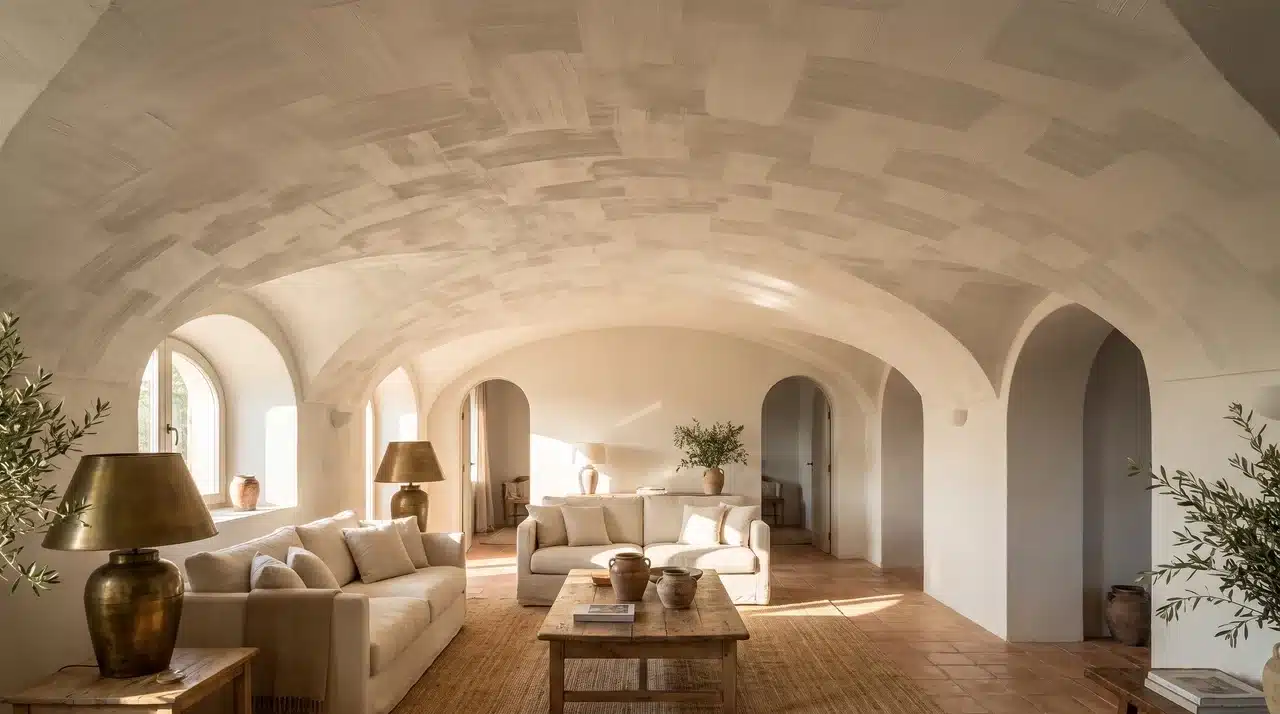
A textured lime wash or Venetian plaster finish adds depth that flat paint cannot produce. Light traveling across a sloped surface hits the texture differently throughout the day, making the ceiling feel alive rather than static.
Apply lime wash in thin overlapping layers with a wide natural-bristle brush. Venetian plaster requires a steel trowel and a final burnishing pass to achieve its characteristic translucent depth.
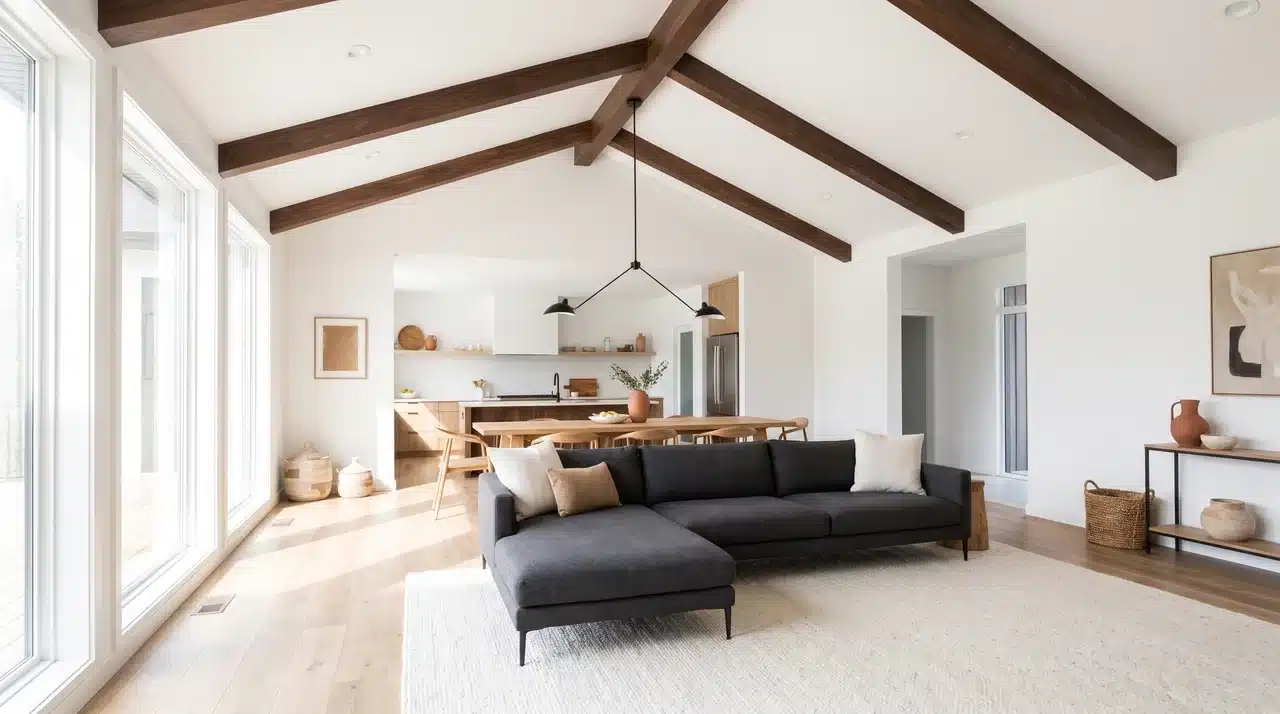
7. Dark-Stained Beams on a White Vault
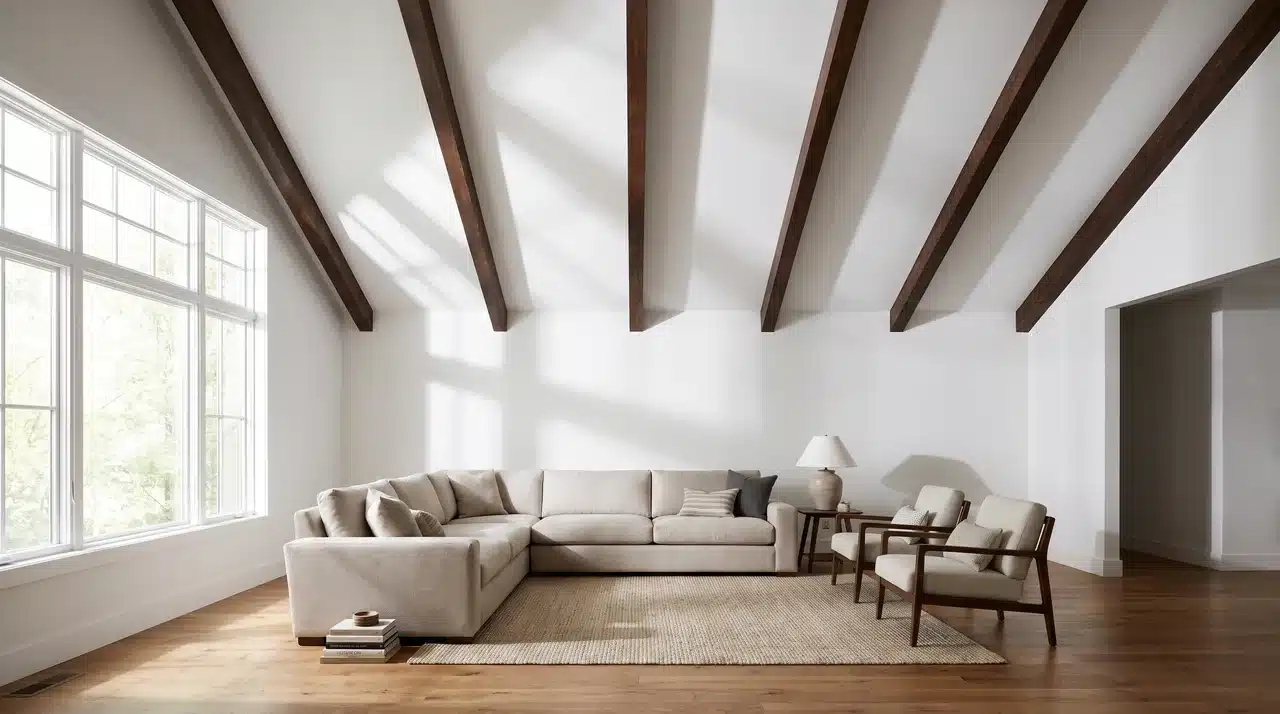
Dark timber against a white ceiling breaks the ceiling plane into defined bays. Instead of one large empty volume above you, the eye reads structured sections, and that contrast alone reduces the cavernous feeling steep vaults produce.
Choose a stain in the ebony, jacobean, or dark walnut range. Apply two coats to bare or lightly sanded timber, then finish with a matte sealer to prevent a sheen that unnecessarily draws the eye upward.
8. Whitewashed or Painted Beams Matching the Ceiling
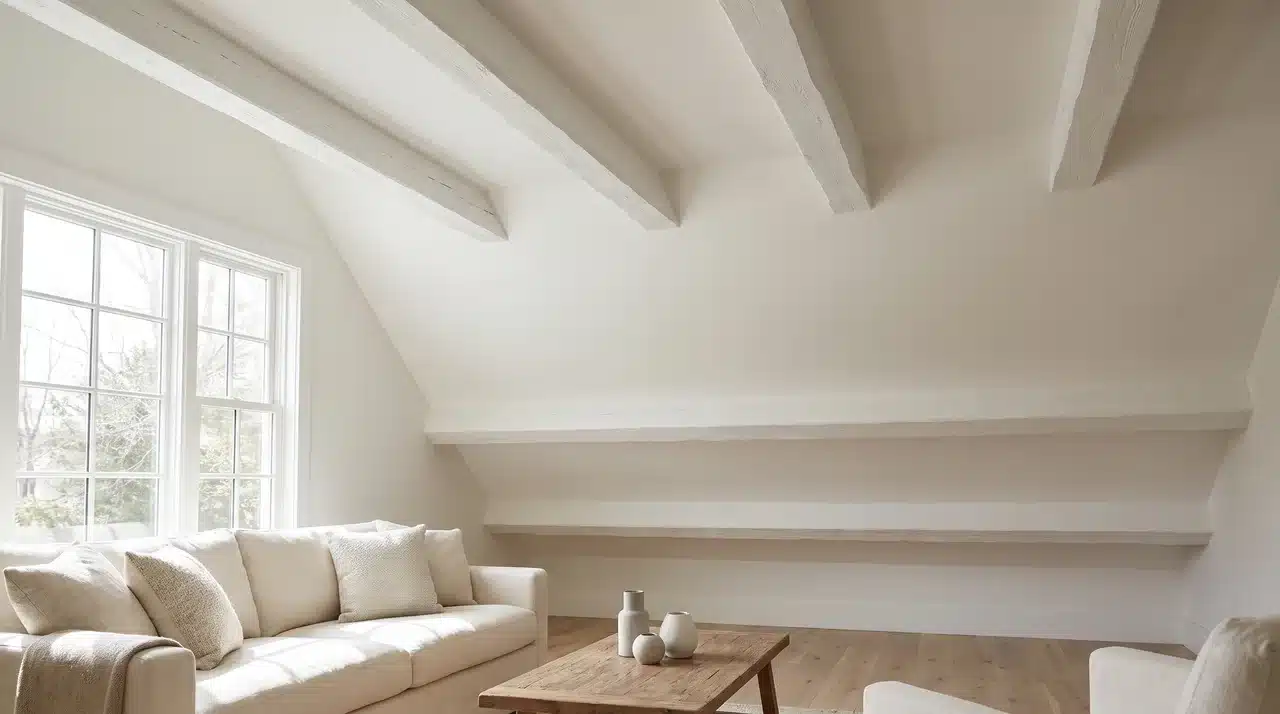
On a low-pitch vault under 12 feet, dark beams visually compress the ceiling. Painting or whitewashing beams to match the ceiling surface keeps the architectural detail without the visual weight pulling the room down.
Mix a 1:1 ratio of white paint and water for a basic whitewash, apply with a brush, then wipe back with a cloth before it dries. For a cleaner result, simply paint beams in the exact ceiling color using the same finish.
9. Faux Beams on a Shallow-Pitch Vault
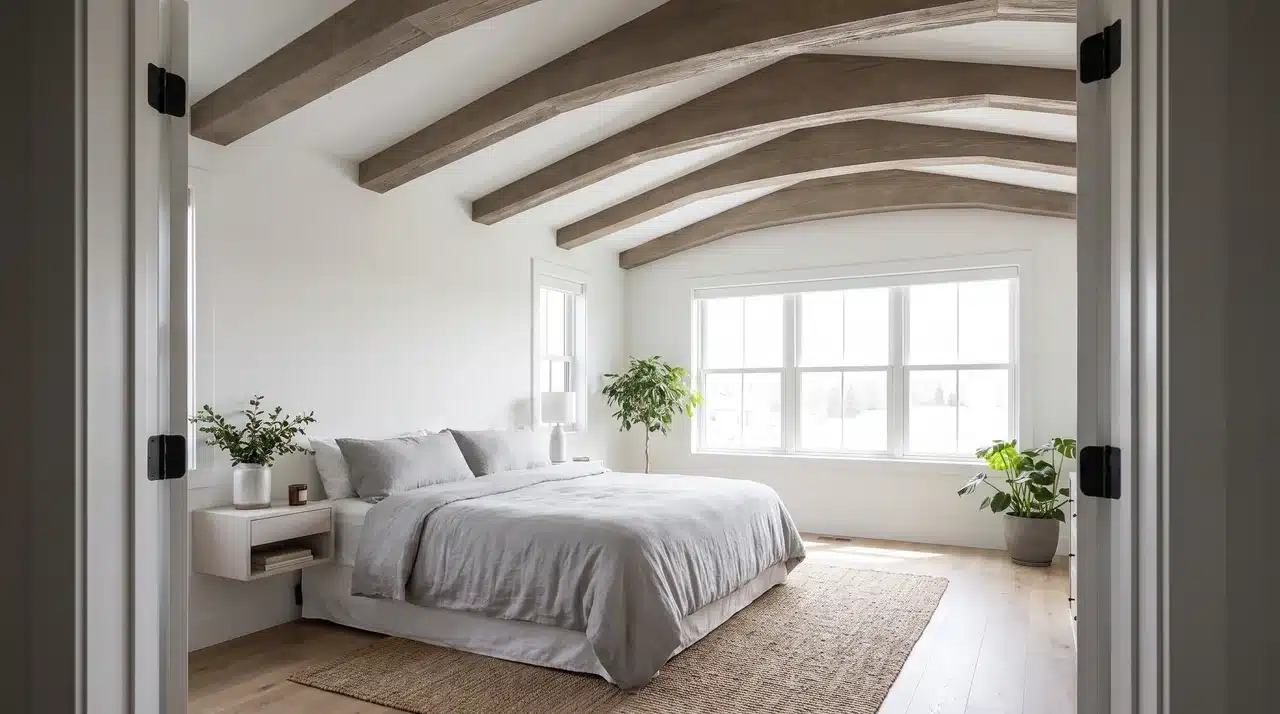
Real timber beams need ceiling height to read as structural. On a shallow vault peaking around 9 to 10 feet, genuine heavy beams go out of scale. Faux beams give the same bay-segmentation effect without the visual mass.
Purchase hollow faux beam kits in polyurethane or reclaimed-look MDF. Install using a timber ledger screwed into the ceiling joists, then slide the faux beam casing over it and secure with finishing nails or construction adhesive.
10. Exposed Ridge Beam as a Focal Point
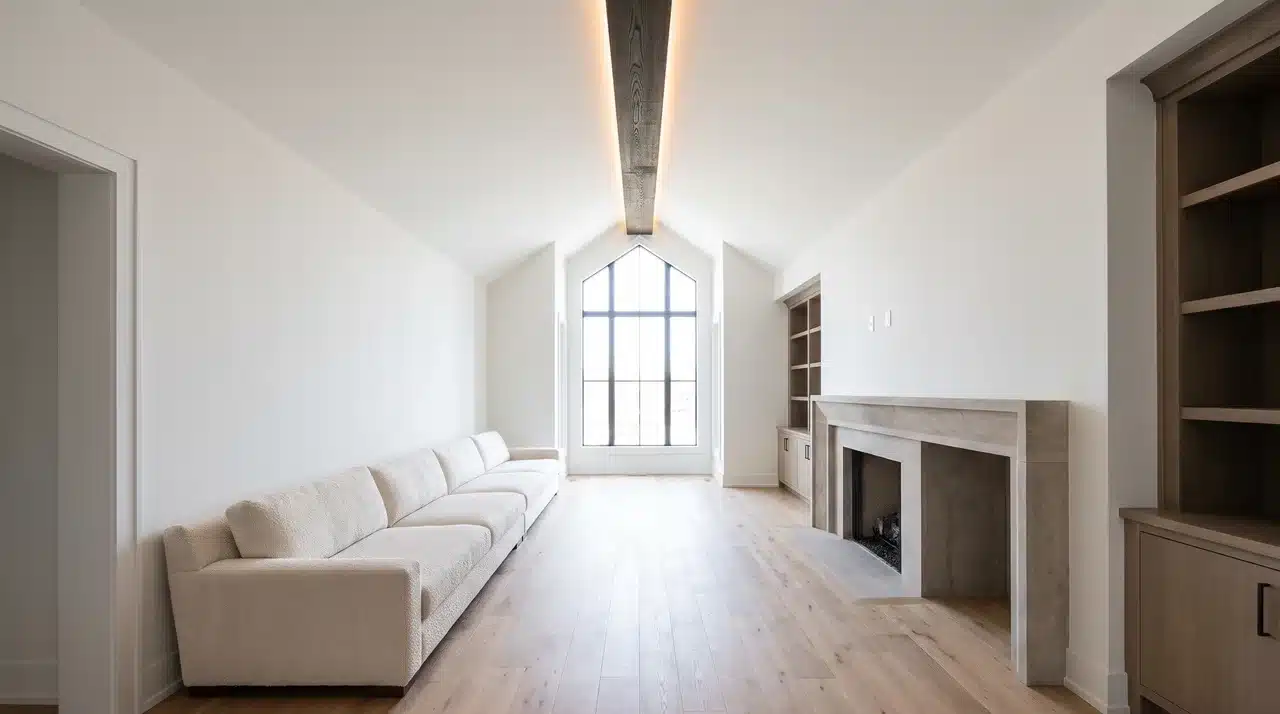
Rather than running multiple parallel beams down the slope, a single prominent ridge beam along the vault’s center gives the ceiling a visual spine. This works especially well in narrower rooms where multiple beams would feel repetitive and busy.
If adding a decorative ridge beam post-construction, attach a built-up timber assembly to the existing ridge board using structural screws. Have a carpenter verify the load path first, or choose a faux ridge beam for a purely decorative result.
11. Mixed Beam and Shiplap Ceiling
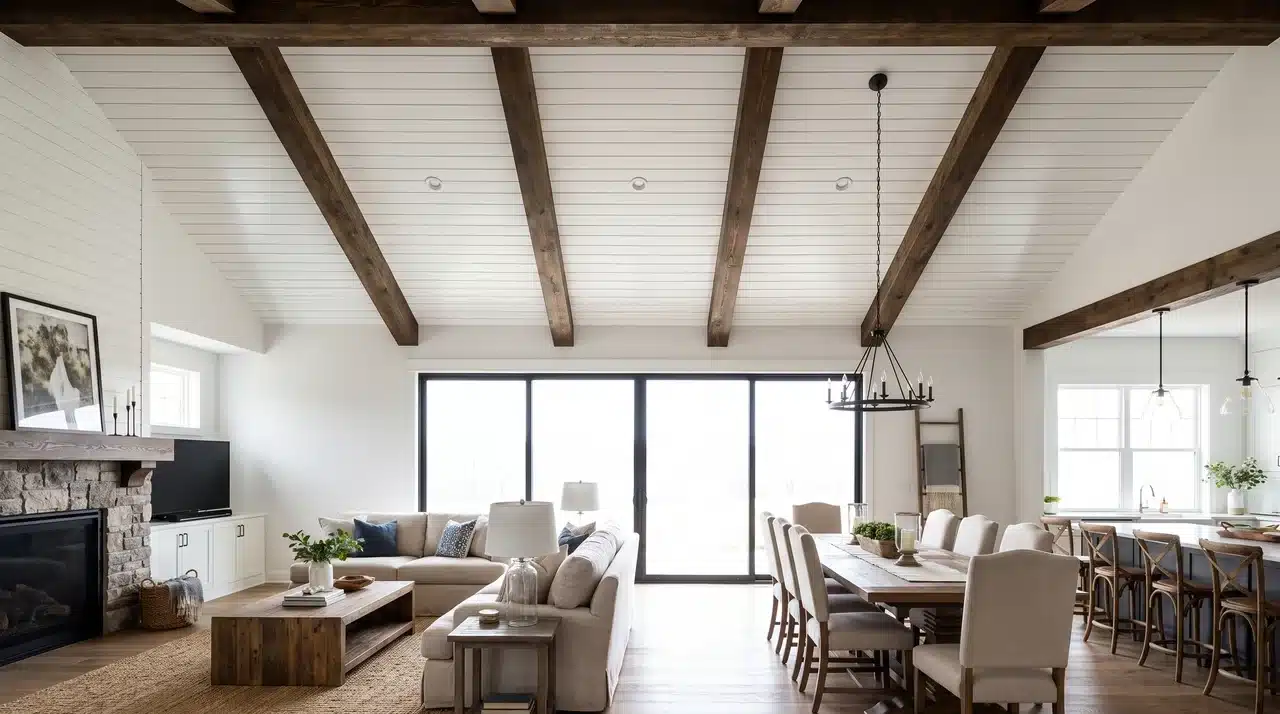
Shiplap installed between structural or decorative beams adds horizontal grain that slows the eye’s upward travel in a steep vault. The beams give structure, the shiplap gives warmth, and together the upper zone feels finished rather than empty.
Install 1×6 or 1×8 shiplap boards horizontally between beam bays, running perpendicular to the slope direction. Paint in the same tone as the beams for a cohesive look, or go slightly lighter to create subtle contrast within each bay.
12. Tone-on-Tone Walls and Ceiling
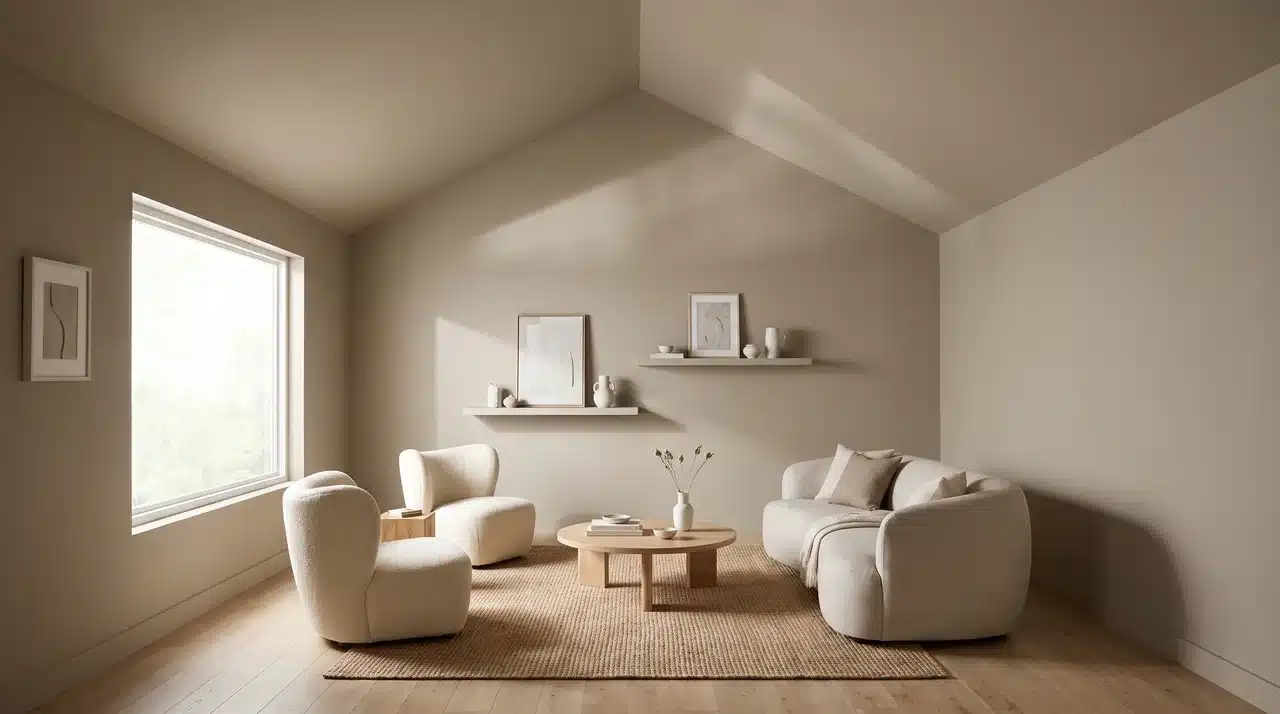
When walls and ceilings share the same color tone, the ceiling-to-wall contrast line disappears. The room reads as enveloping rather than oversized, and the furnishings become the visual focus instead of the height above them.
Choose one paint color and apply it to both walls and ceiling using the same sheen on the ceiling and an eggshell finish on the walls. Test a large sample board held at a ceiling angle before committing, as colors shift on sloped surfaces.
13. Contrasting Ceiling Color Darker Than the Walls
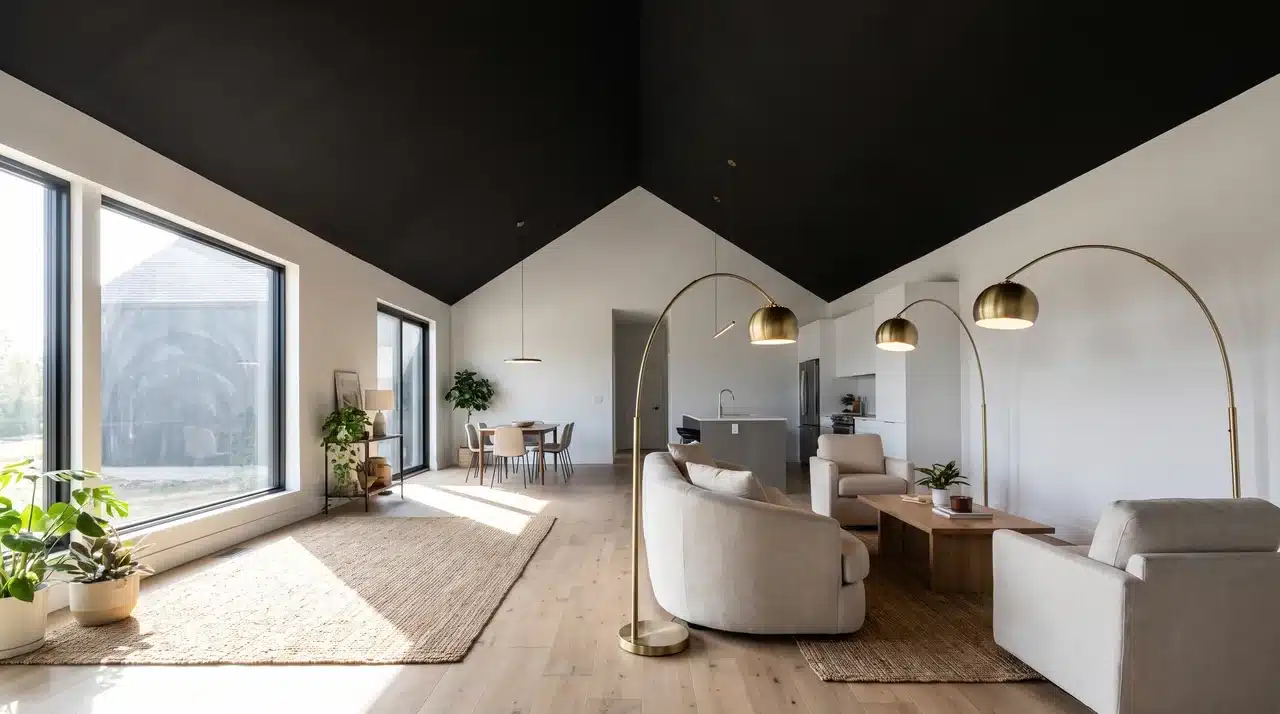
A darker ceiling in a flat room compresses the space. In an excessively tall vault, that same effect is exactly what is needed; it visually lowers the ceiling and brings the proportions back into livable scale.
Go at least two values darker than your wall color on the same paint strip. Apply the darker color from the ceiling peak down to where the slope meets the wall, or carry it 12 inches down the wall for a deliberate wrapped effect.
14. Natural Wood Tongue-and-Groove Ceiling
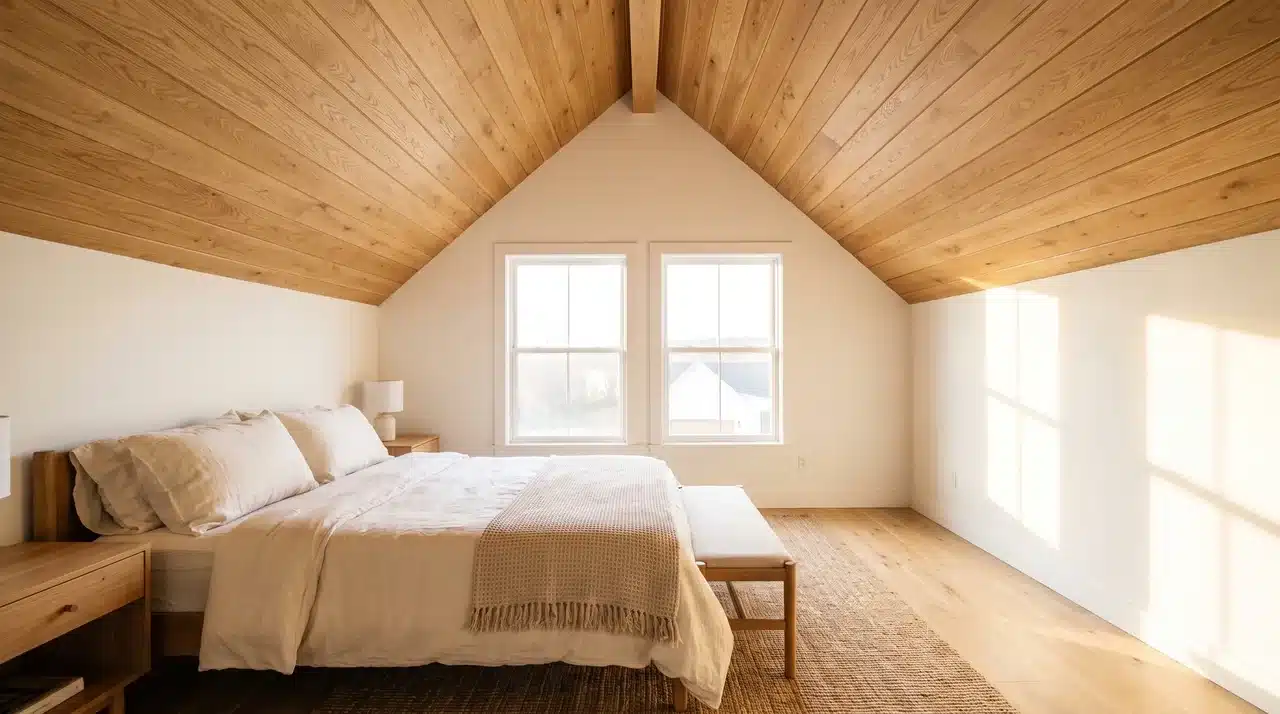
Wood introduces warmth and horizontal grain that a painted ceiling cannot replicate. The grain runs across the ceiling and gently counters the vertical pull of a steep vault, connecting the upper zone to the room below.
Install 1×6 tongue-and-groove pine or cedar boards horizontally across the ceiling. Pre-finish with a clear or lightly tinted oil before installation to simplify access. Leave a small reveal gap between runs for a craftsman-style shadow line.
15. Shiplap or Board-and-Batten on the Vault
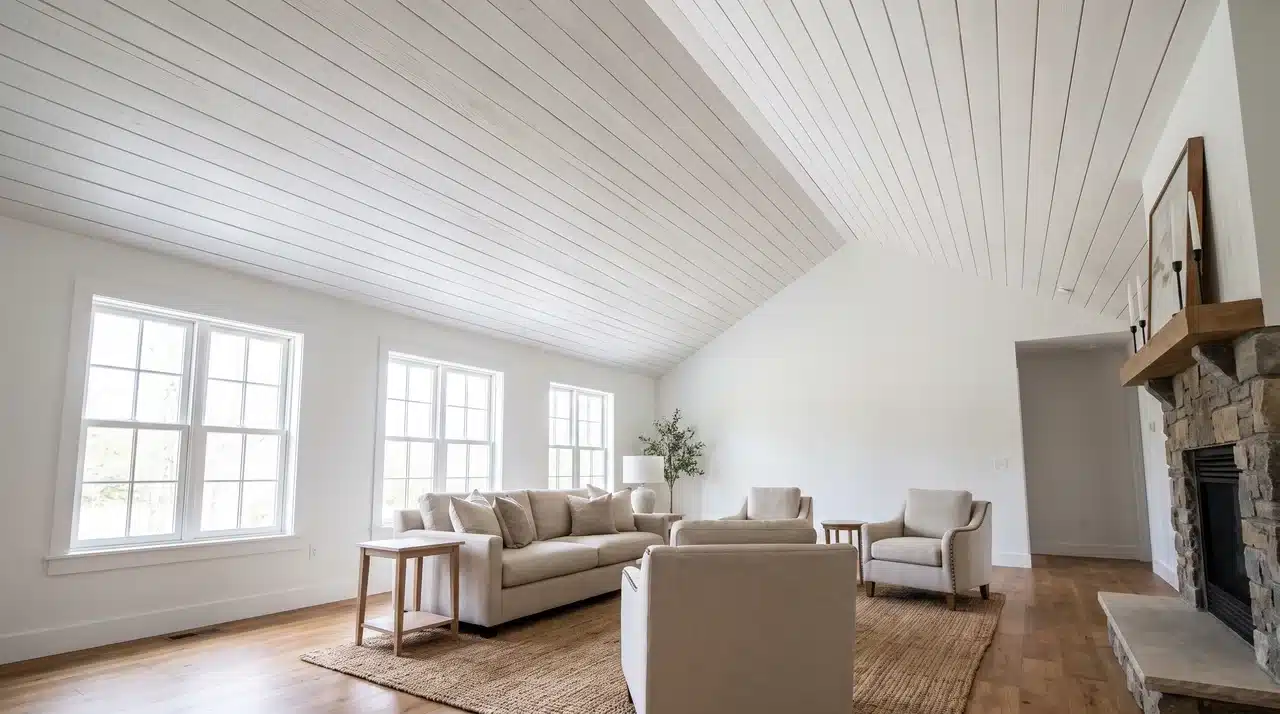
The board direction changes the entire effect. Horizontal shiplap slows the eye’s upward travel and moderates perceived height. Vertical board-and-batten does the opposite. Choose the direction based on what the room needs, not just what looks good in photos.
For horizontal runs on a sloped ceiling, rip boards to a consistent width and install with a small gap or reveal between each. Snap chalk lines across the ceiling slope before you start to keep courses straight as the angle shifts.
16. Skylights or Clerestory Windows in the Vault
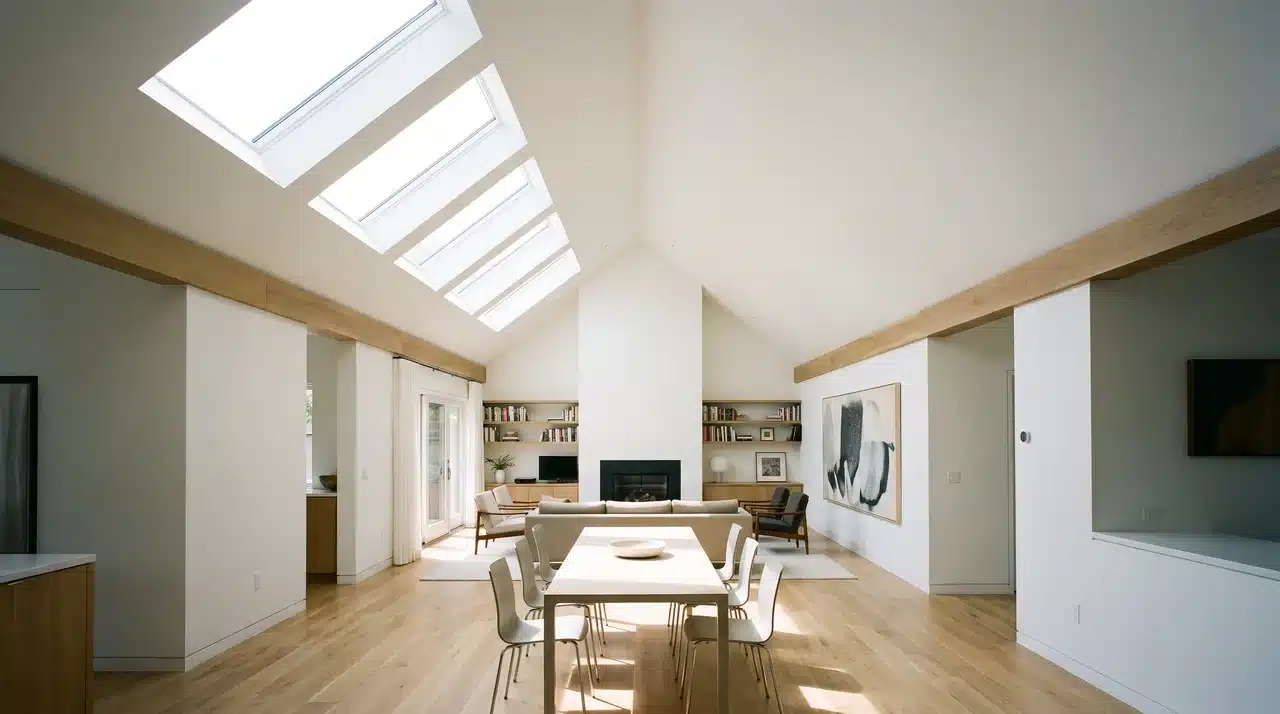
Natural light at ceiling height solves what artificial lighting cannot. The upper zone of a steep vault tends to feel dark and undefined. A skylight or clerestory window makes that volume feel purposeful and fills the space from above.
Consult a structural engineer or licensed contractor before cutting into the roof deck. For existing builds without skylight options, a tubular daylighting device (TDD) can channel natural light into the vault via a smaller roof penetration, without structural modifications.
Keeping a Vaulted Ceiling in Good Shape
Vaulted ceilings are low maintenance by nature, but their height makes routine tasks harder to ignore when they do come up.
A few things worth staying on top of:
- Dust and cobwebs: High angles accumulate dust faster than flat ceilings. An extendable microfibre duster handles most of it without a ladder for regular cleans.
- Lighting maintenance: Bulb replacements and fixture checks need a proper ladder or scaffold platform. Factor that in before choosing hard-to-reach pendants or recessed fittings.
- Beam condition: Timber beams should be checked annually for any splitting, moisture staining, or finish wear, especially in rooms with fluctuating humidity, such as kitchens.
- Skylight seals: If your vault includes skylights, inspect the flashing and seals once a year before winter. A small gap there quickly becomes a costly repair.
Address these on a regular schedule, and the ceiling will hold its look without demanding much in return.
Conclusion
A vaulted ceiling rewards those who take the time to understand what the architecture actually demands.
The vaulted ceiling ideas here cover every major design decision the space changes, from surface finishes and beam profiles to color direction and lighting placement.
The most useful approach is to start with what is bothering you most about the space right now. Fix that first and let the rest follow.
A single well-chosen change in a vaulted room carries more visual weight than several changes in a standard one.
Frequently Asked Questions
How do you make a vaulted ceiling look good?
Start by deciding if the ceiling should be a feature or a backdrop. Prioritize lighting first, bringing light into the seating area instead of relying only on the peak. Let other design choices follow from there.
What is the difference between a cathedral ceiling and a vaulted ceiling?
A cathedral ceiling is a symmetrical vaulted ceiling where both slopes follow the roofline and meet at a central ridge. Vaulted ceilings include cathedral, shed, barrel, groin, and other forms.
What is the downside of a vaulted ceiling?
Vaulted ceilings can create heating challenges because warm air rises and collects near the peak. They also increase echo, make maintenance harder, and require different lighting choices than flat ceilings.
Do exposed beams work on every vaulted ceiling?
No. Heavy dark beams can make low-pitch vaults under about 11 feet feel smaller. They work best when beam spacing is wide, the beams look structural, and the ceiling height prevents a crowded feel.