


Planning a cabinet upgrade or finishing a remodel? If you’ve ever stood in front of your cabinets wondering exactly where to put the handles, you’re not alone.
Getting cabinet hardware placement right can completely change how your kitchen or bathroom looks and feels.
In this guide, I’ll walk you through simple, no-fuss tips for positioning knobs and pulls the right way. You’ll see how small choices, like alignment, spacing, and style, can make your cabinets look clean, balanced, and custom-made without the guesswork.
Understanding Cabinet Hardware Placement Basics
Proper cabinet hardware placement keeps doors and drawers easy to use and visually balanced. When cabinet knob placement and pulls are aligned, your cabinets look neat and open smoothly.
Most guides recommend placing hardware 1 to 4 inches from the cabinet edge. This range leaves enough space for your hand and keeps the look consistent across all cabinets.
Comfort matters too. Handles set too high or too low can feel awkward. Always test placement before drilling to see what feels natural.
There are a few common types of hardware you’ll choose from:
- Knobs: Small and simple, great for cabinet doors and smaller drawers.
- Bar pulls: Straight, modern handles that work well on long drawers.
- Cup pulls: Curved and easy to grip, often used in farmhouse or traditional designs.
- Edge pulls: Sleek, hidden hardware mounted at the top or side of the drawer front.
Match the hardware style to your cabinet design for a clean, unified look. The right match keeps everything looking cohesive and comfortable to use.
Cabinet Knob and Handle Placement Rules
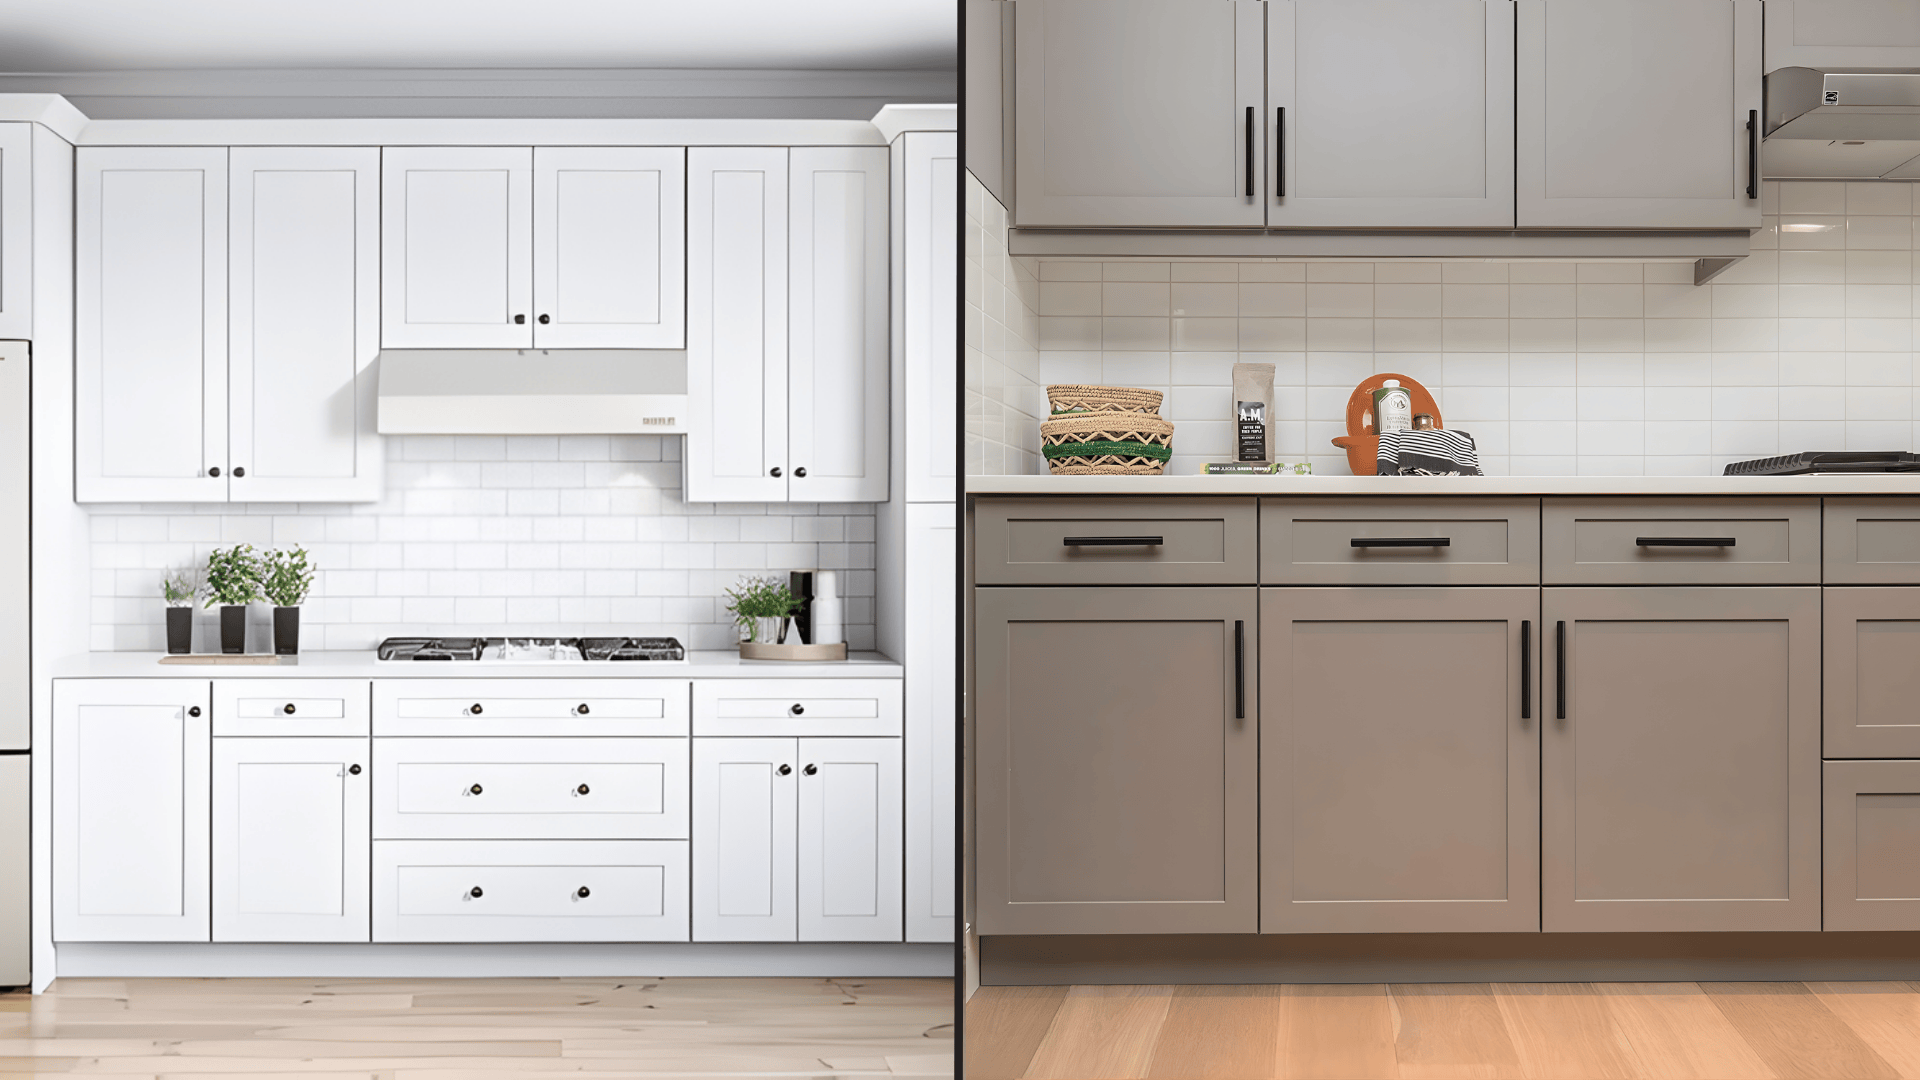
Getting your cabinet knob and handle placement right makes a huge difference in both appearance and function. Use this quick reference table to find the ideal positioning for every cabinet type:
| Cabinet Type | Knob Placement | Handle (Pull) Placement | Key Tips |
|---|---|---|---|
| Upper Cabinets | 2.5–3 inches from the bottom corner, opposite the hinge | Vertically aligned in the same area for taller doors | Keep all hardware at the same height for a uniform, clean look |
| Lower Cabinets | 2.5–3 inches from the top corner, opposite the hinge | Vertically for a traditional look or centered for balance | Align horizontally across doors for consistent cabinet handle placement |
| Tall Cabinets / Pantry Doors | At comfortable reach height, roughly the center third of the door | Vertical pulls for tall doors or horizontal pulls for long ones | Maintain proportion and avoid hardware placed too high or low |
| Drawers | Center of shallow drawers | 1.5–2 inches from top for deep drawers; use two pulls for drawers wider than 24″ | Balanced look, easy grip, and even weight distribution |
Cabinet Hardware Placement by Style
Different cabinet styles call for slightly different hardware positioning. Matching your placement to the cabinet design keeps the look cohesive and fits the overall style of your kitchen or bathroom.
1. Shaker Cabinets
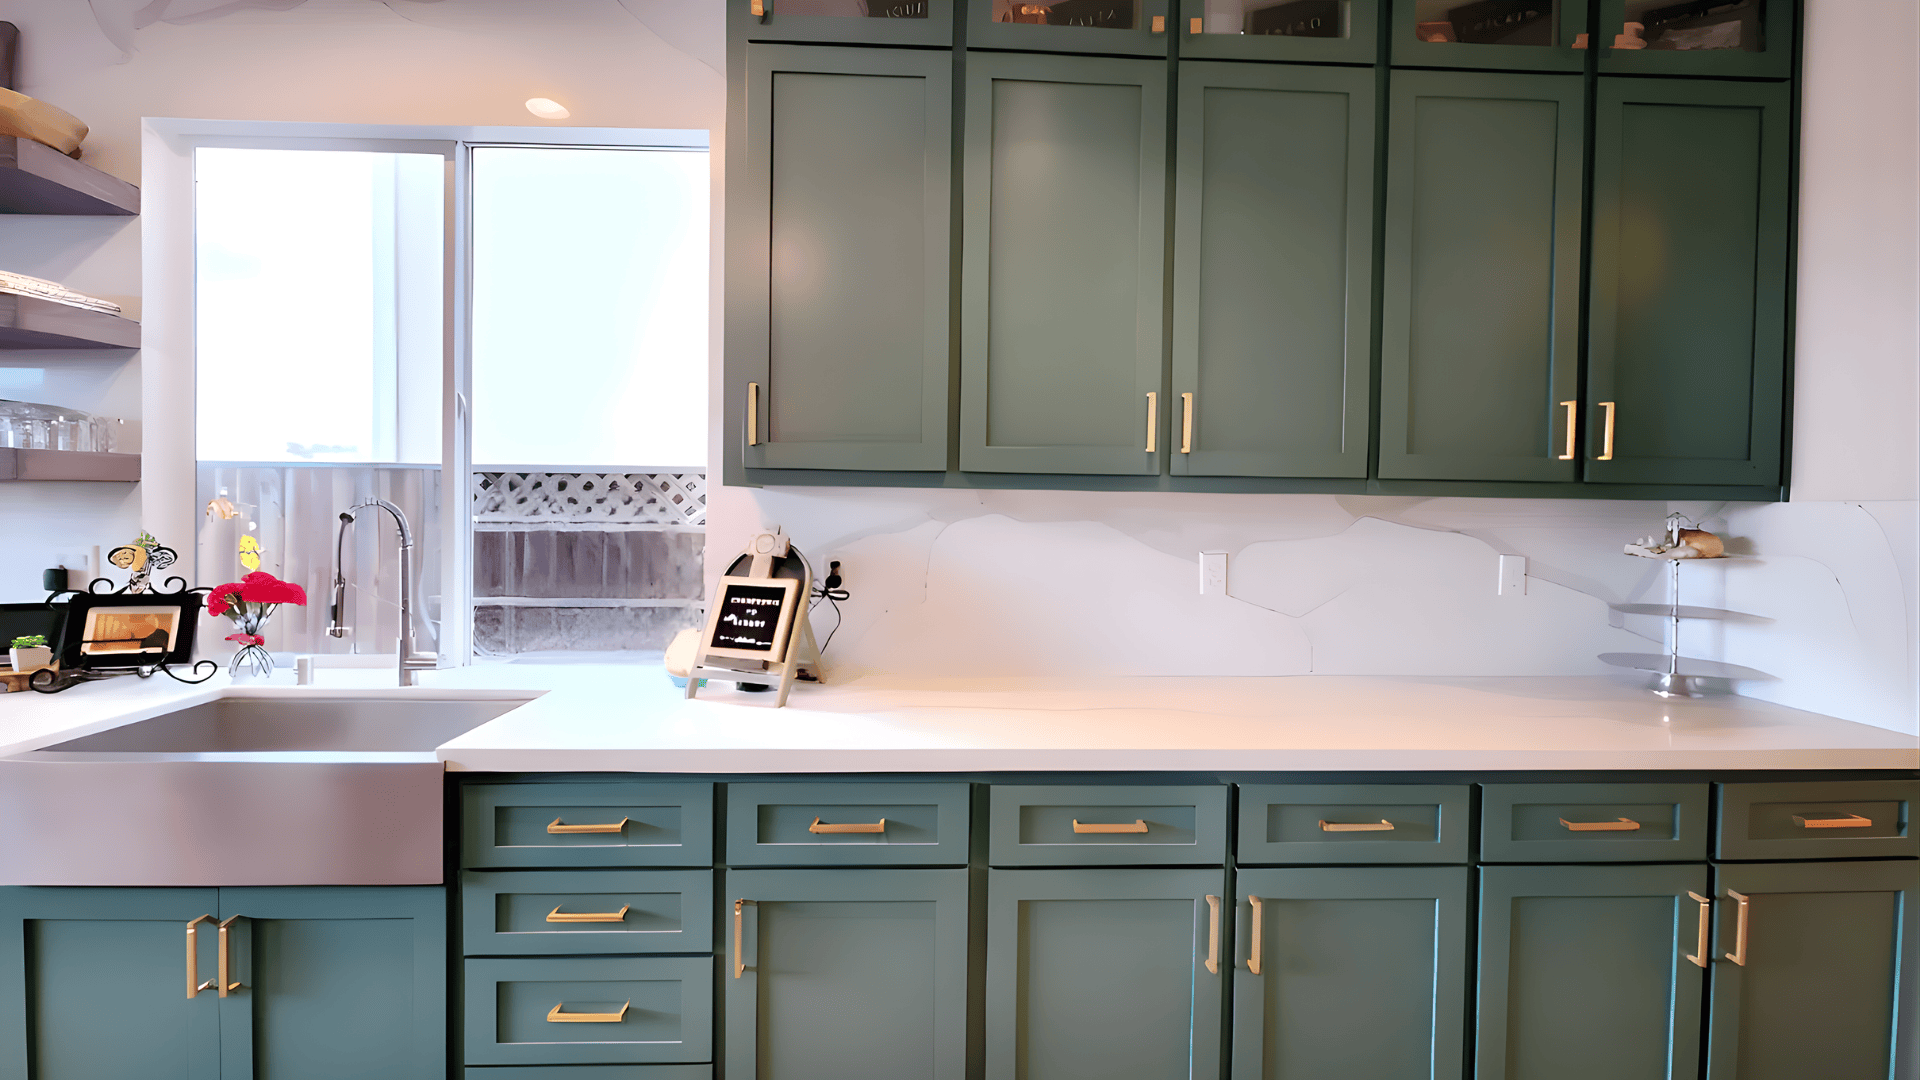
Shaker cabinets work well with both traditional and modern setups. For a classic look, place knobs or pulls centered on the frame’s corner joint, aligning with the panel edges.
In modern spaces, you can move the pulls slightly higher or lower to achieve a more streamlined look. Always follow the cabinet’s clean lines so the hardware blends naturally with the frame’s shape.
2. Flat-Panel Cabinets
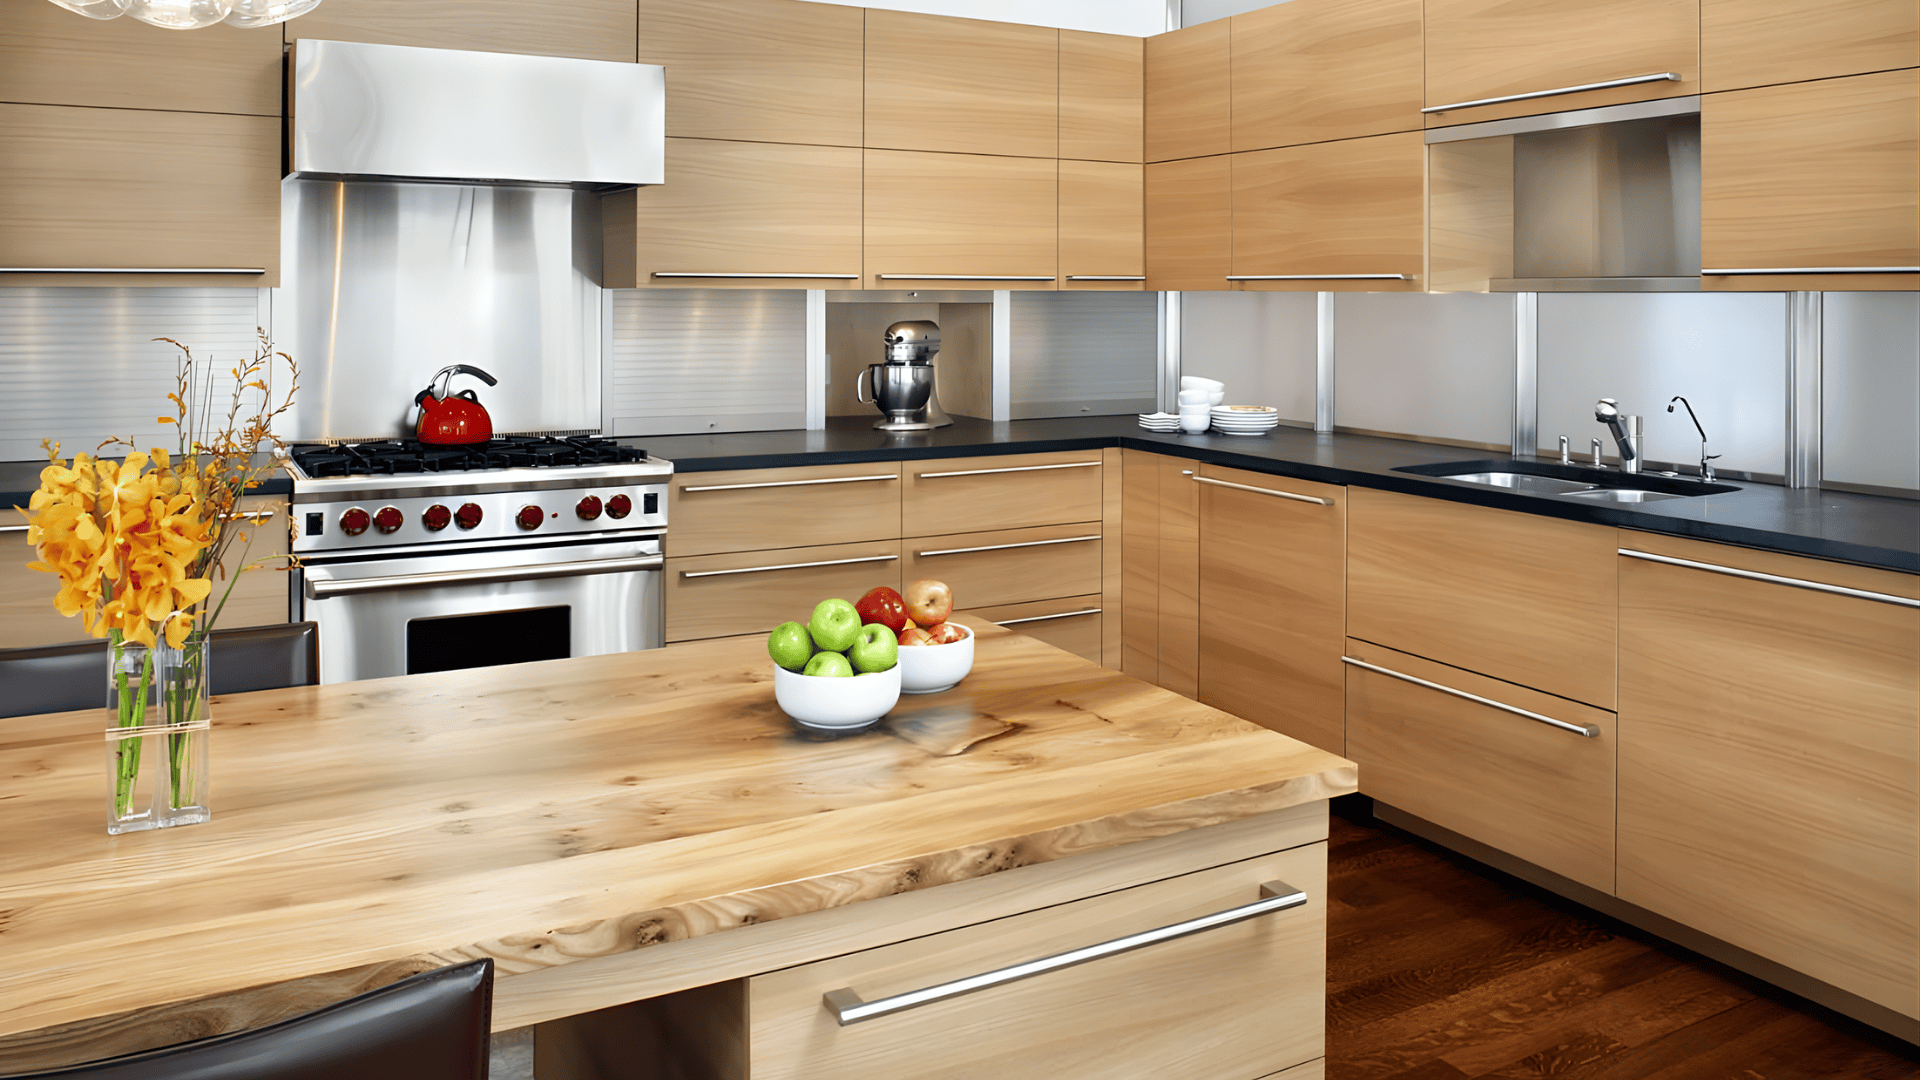
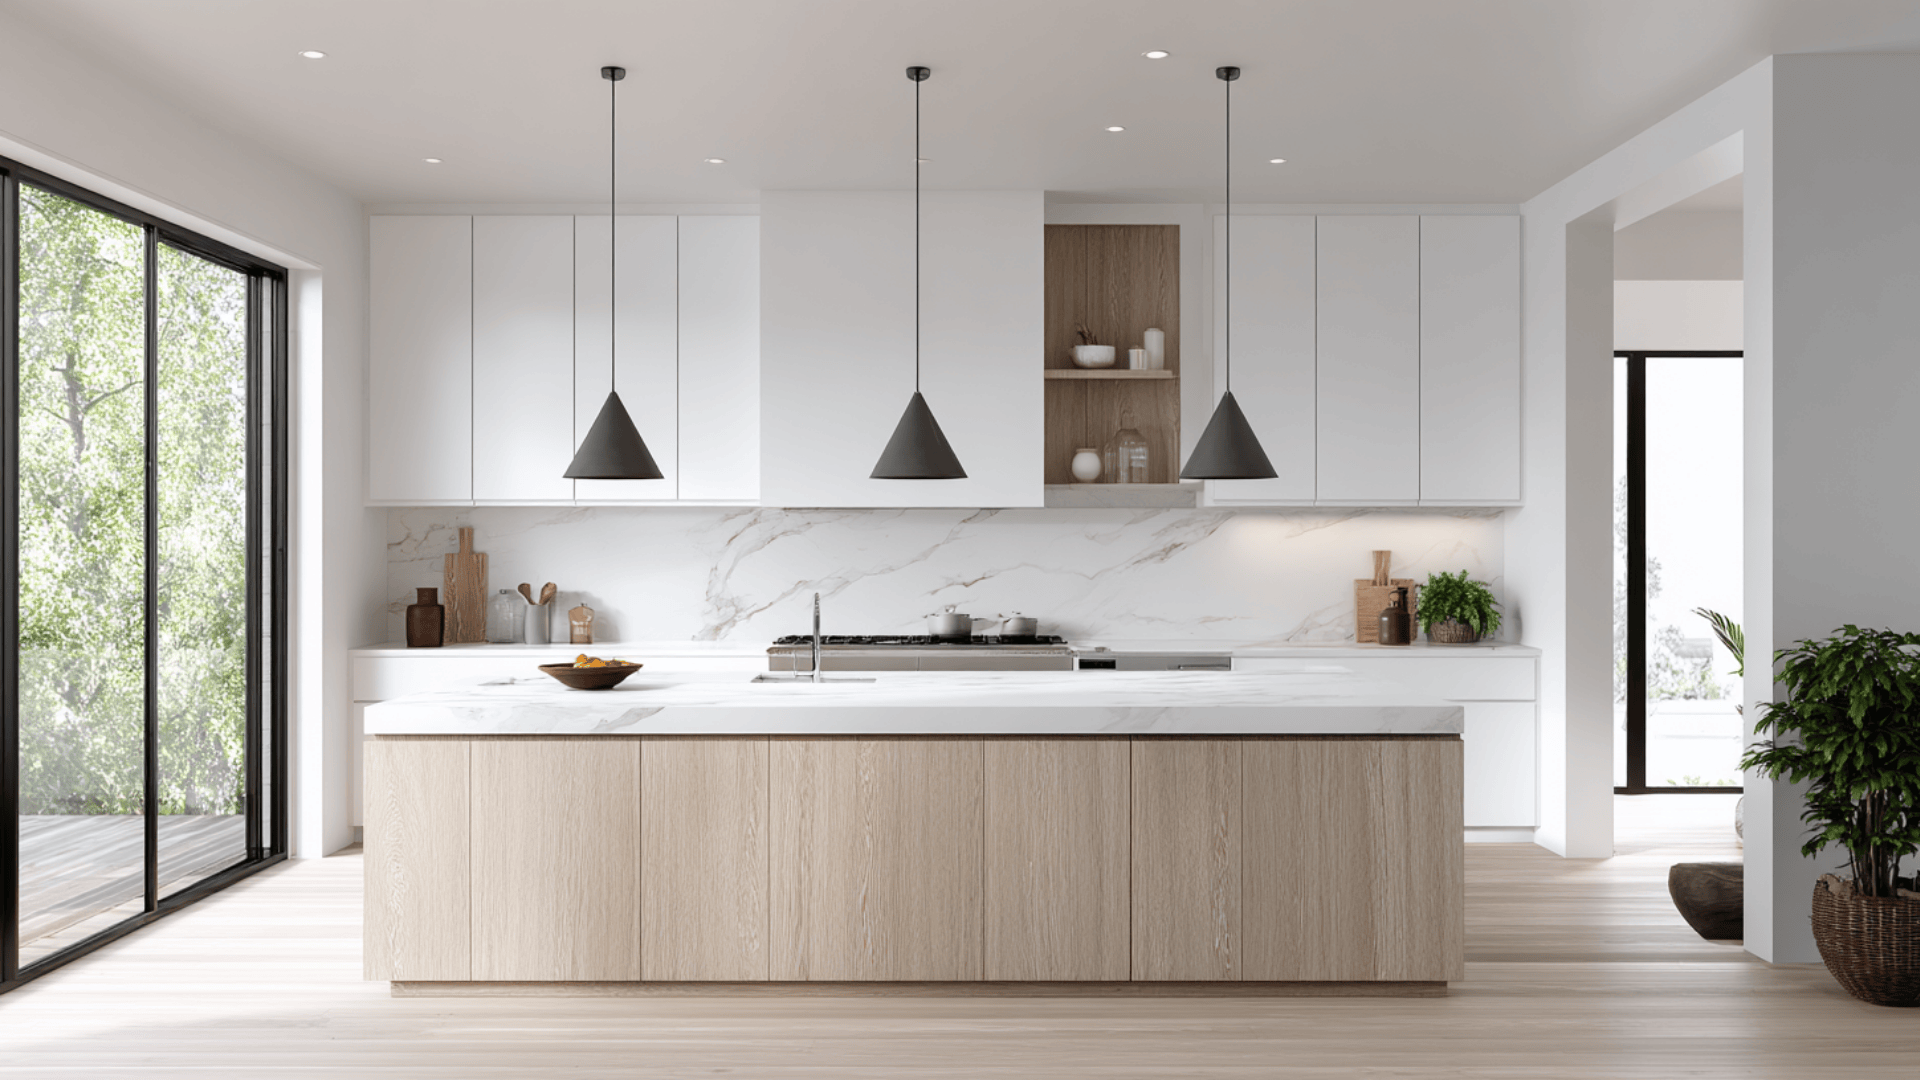
Flat-panel or slab cabinets have no frames, so cabinet handle placement defines their character. Keep it minimal and symmetrical, horizontal bar pulls centered on each drawer or door create a clean, modern appearance.
If you prefer a vertical setup, align pulls consistently on one side. The goal is to maintain simplicity and balance, keeping the cabinet’s smooth surface as the visual focus.
3. Glass-Front or Decorative Cabinets
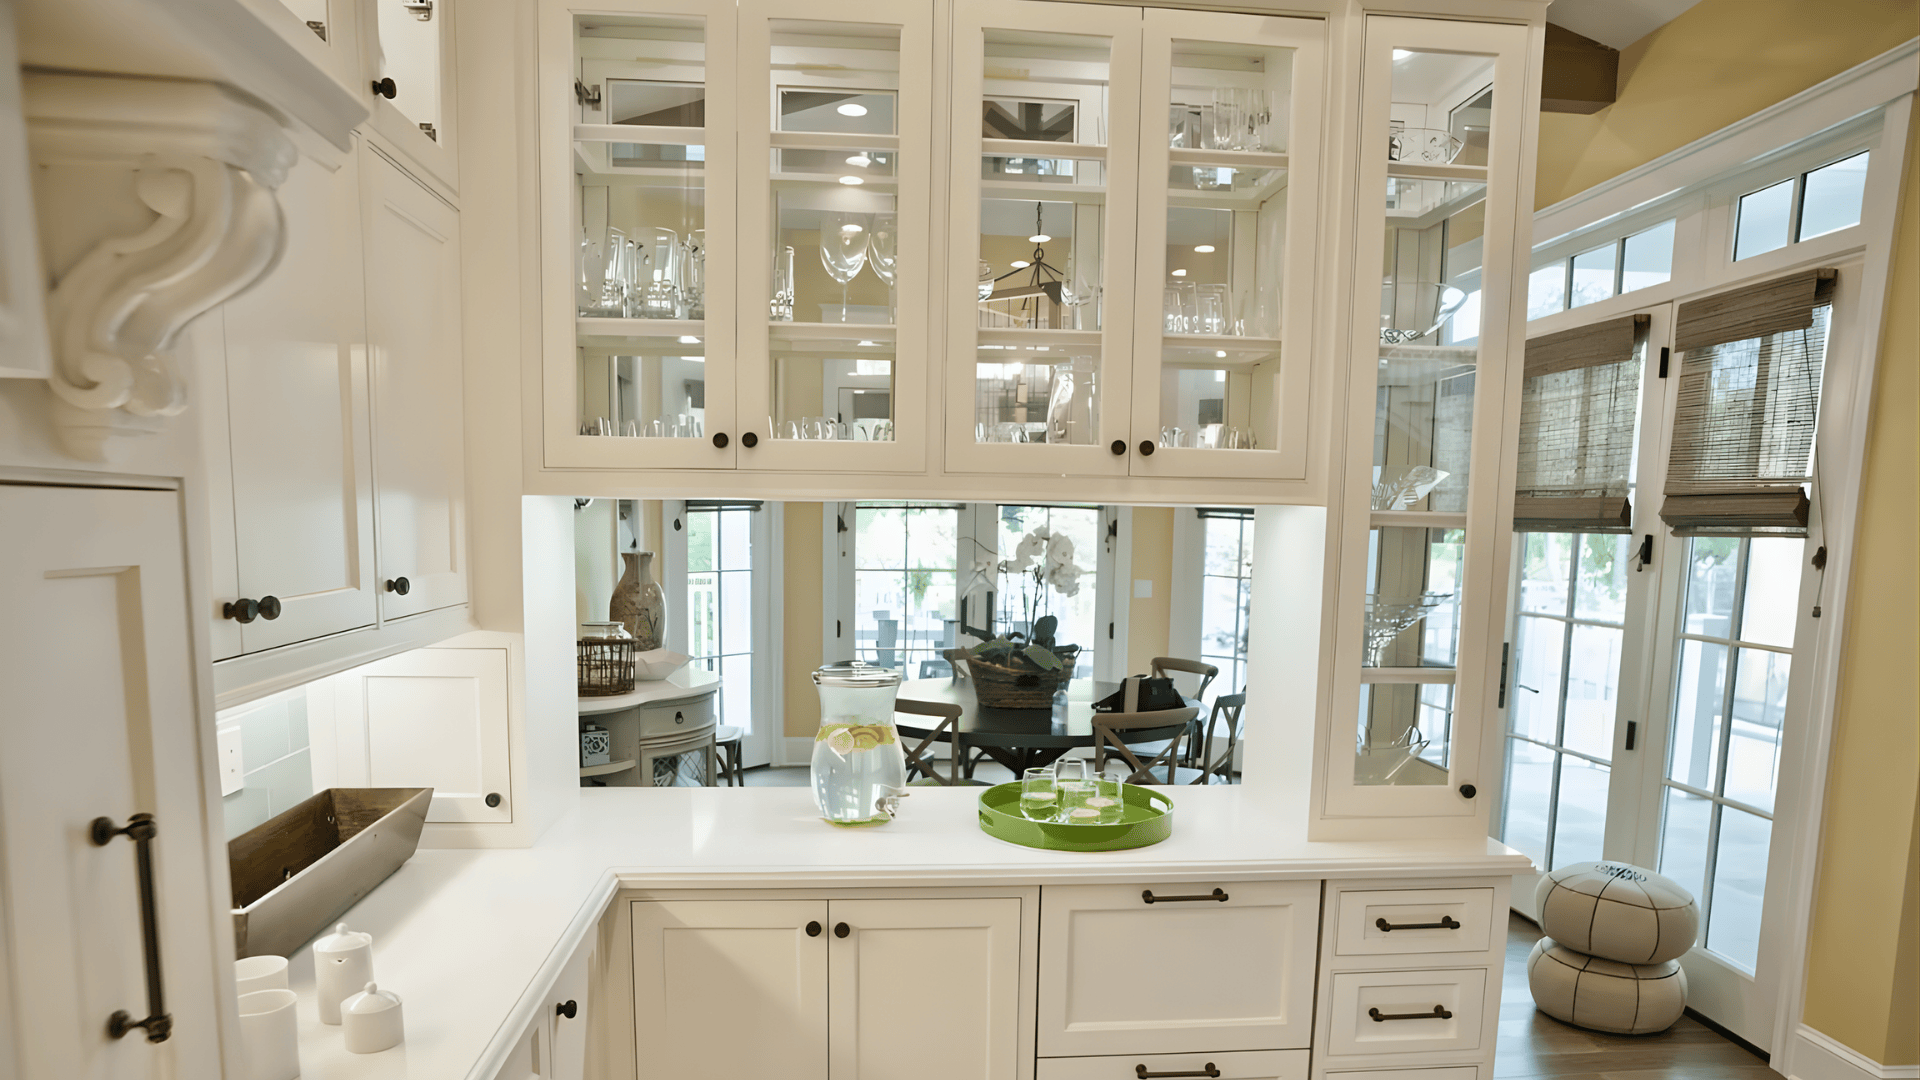
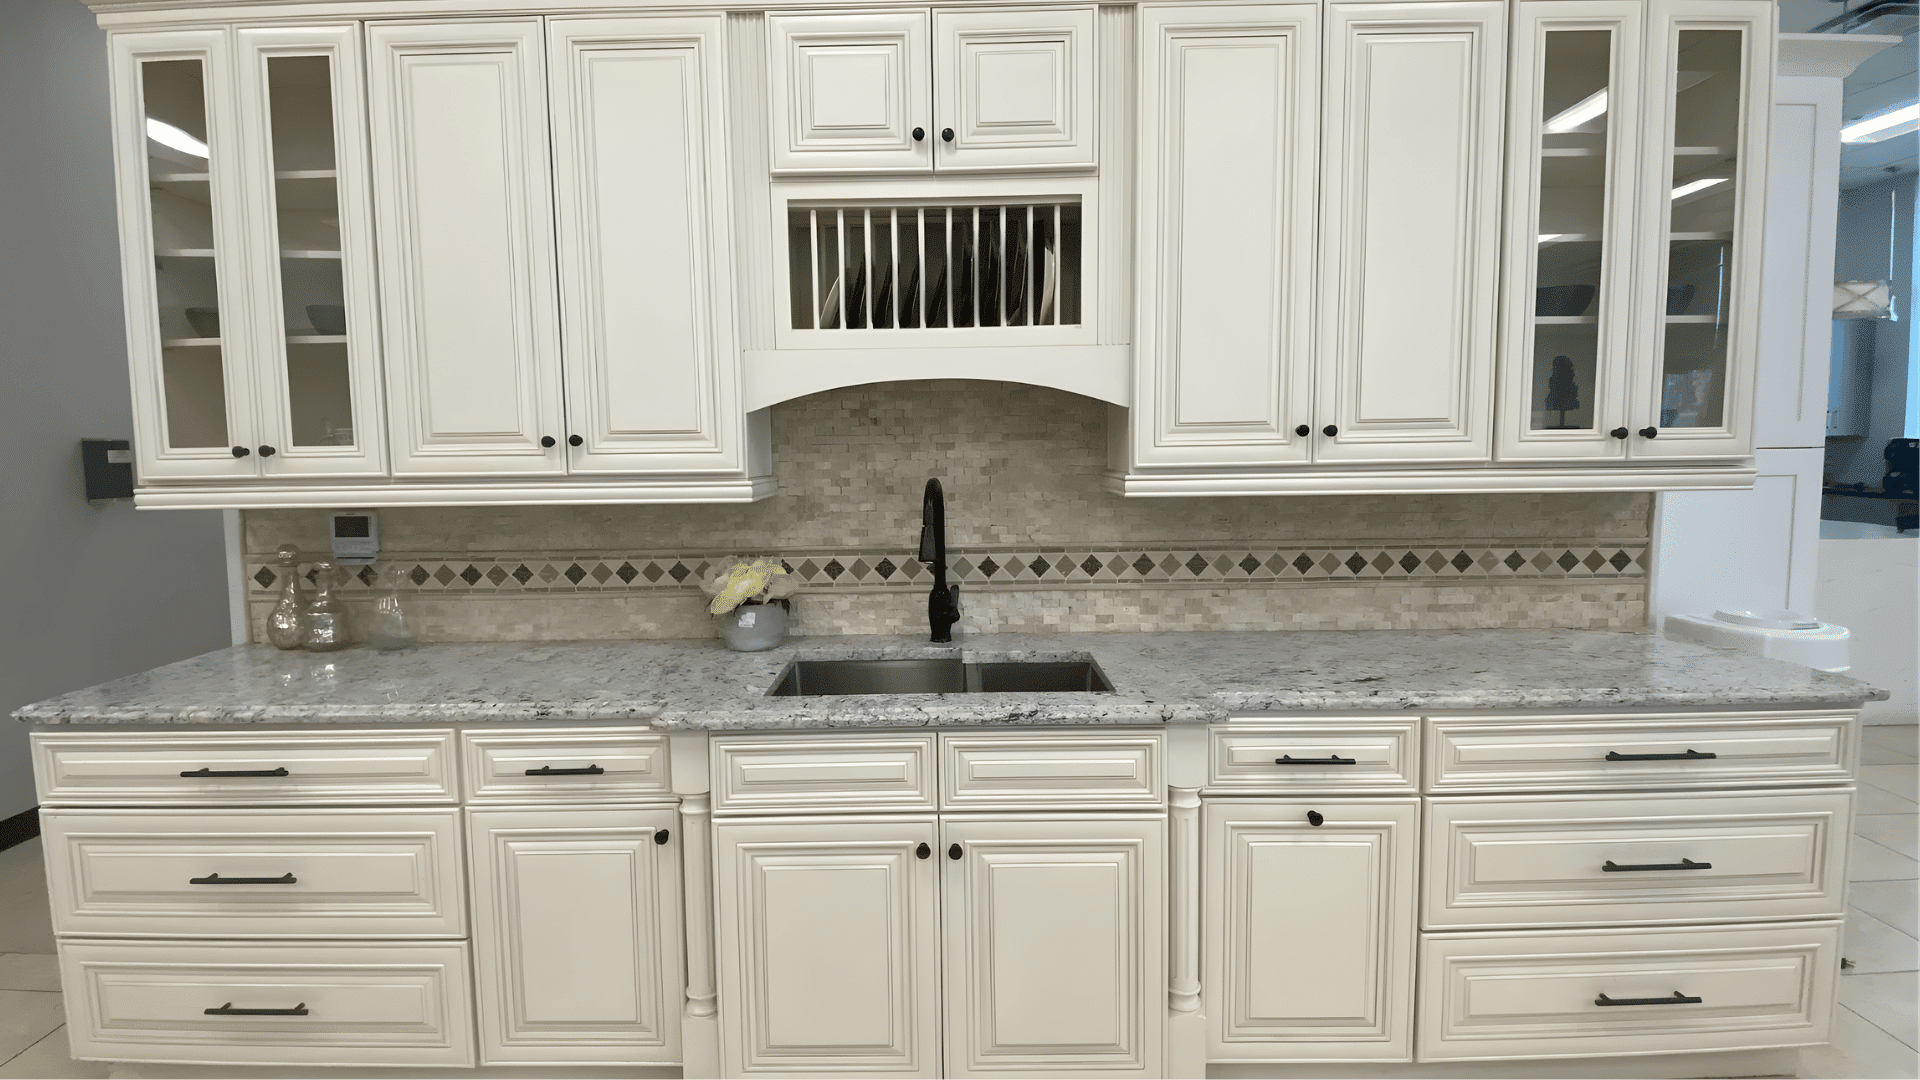
With glass-front or decorative cabinets, hardware should stay subtle and lightweight. Small knobs or slim edge pulls work best to avoid distracting from the glass or design details.
Try to place hardware near the corner or edge rather than the center to keep the focus on what’s inside the cabinet. This approach maintains both function and a tidy, refined appearance.
The 1/3 Rule for Pull Size and Placement
The 1/3 rule is a simple guideline for choosing the right pull size for each drawer. It means the length of your pull should be about one-third the width of the drawer front.
This keeps the proportions balanced and gives your cabinets a polished, well-fitted look. For example:
- 12-inch drawer: Use a pull that is about 4 inches long.
- 18-inch drawer: Choose a pull that is about 6 inches long.
- 24-inch drawer: Go for a pull about 8 inches long.
This rule works for most standard drawers and keeps hardware from looking too small or oversized. If you prefer a bolder or more modern style, slightly longer pulls, closer to half the drawer width, can also look great while staying functional.
Cabinet Hardware Placement: Step-by-Step Guide
Installing cabinet hardware takes careful measuring and a steady hand. Following a clear process will help you get clean, consistent results that look professional and feel comfortable to use every day.
Tools You’ll Need:
- Hardware jig or template
- Measuring tape
- Level
- Drill
- Pencil
- Screwdriver
Now, after gathering tools, its time to install the hardware. Here’s a simple step-by-step guide to help you place and install your cabinet hardware accurately:
Step 1: Choose Placement
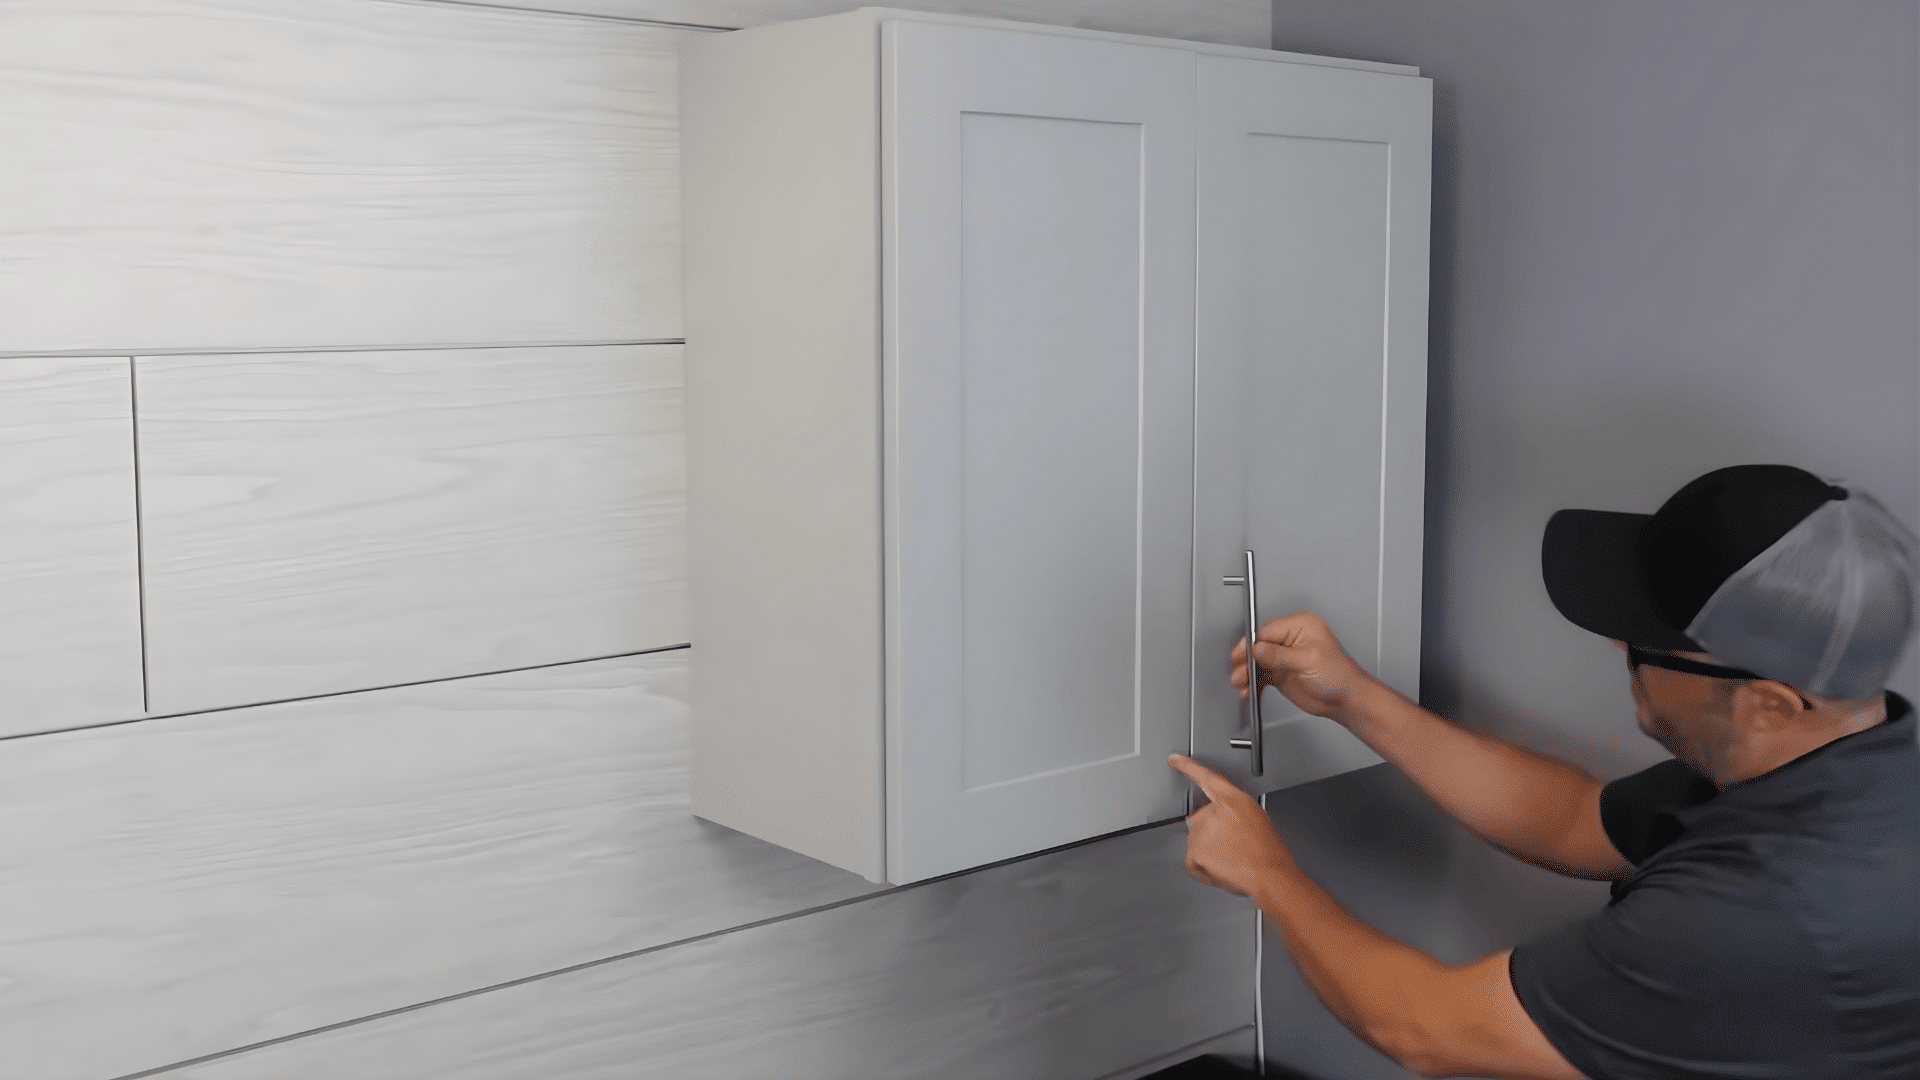
Open the door to confirm the hinge side. Decide where to install the pull- typically near the edge or aligned with a frame detail. Check the position visually before marking.
Step 2: Apply Tape and Mark Points
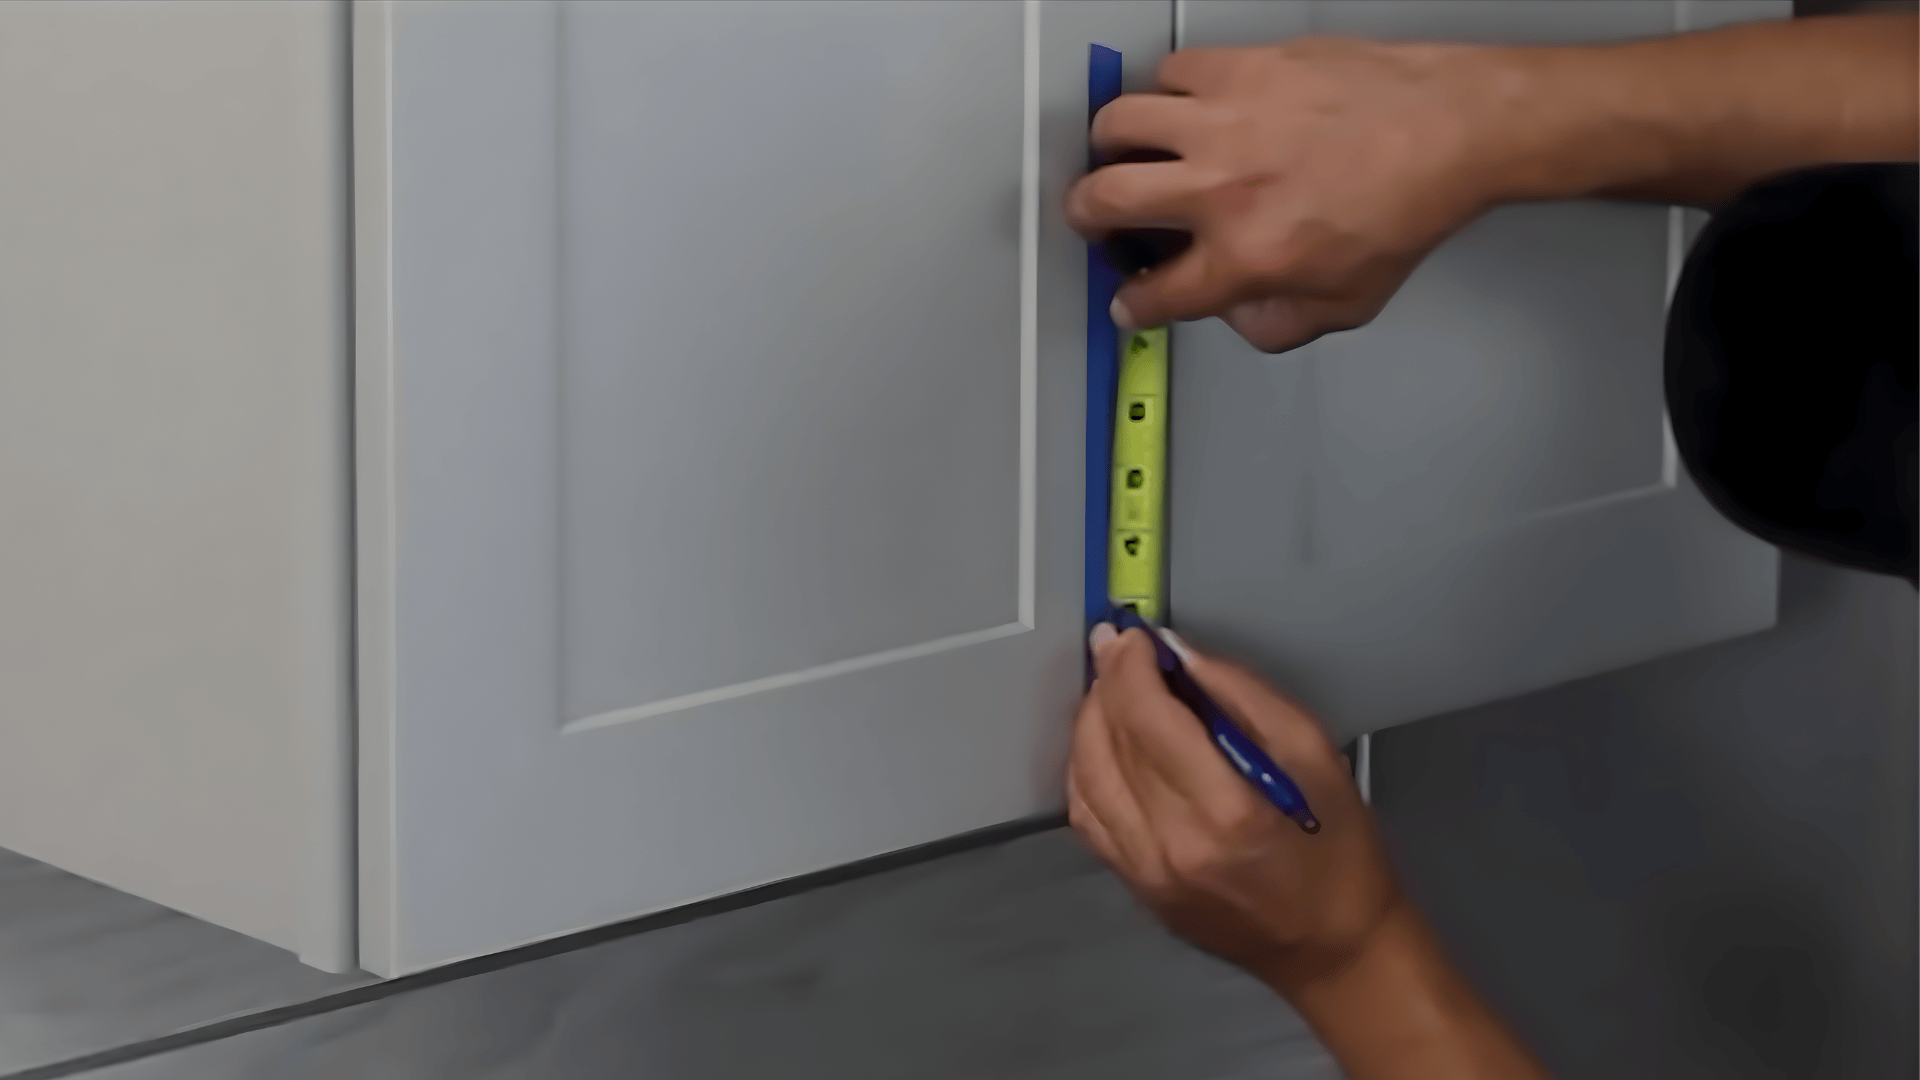
Place painter’s tape on the surface. Measure about 3 inches from the reference point and find the center of the stile. Mark a small cross for your drill spot.
Step 3: Measure Pull Spacing
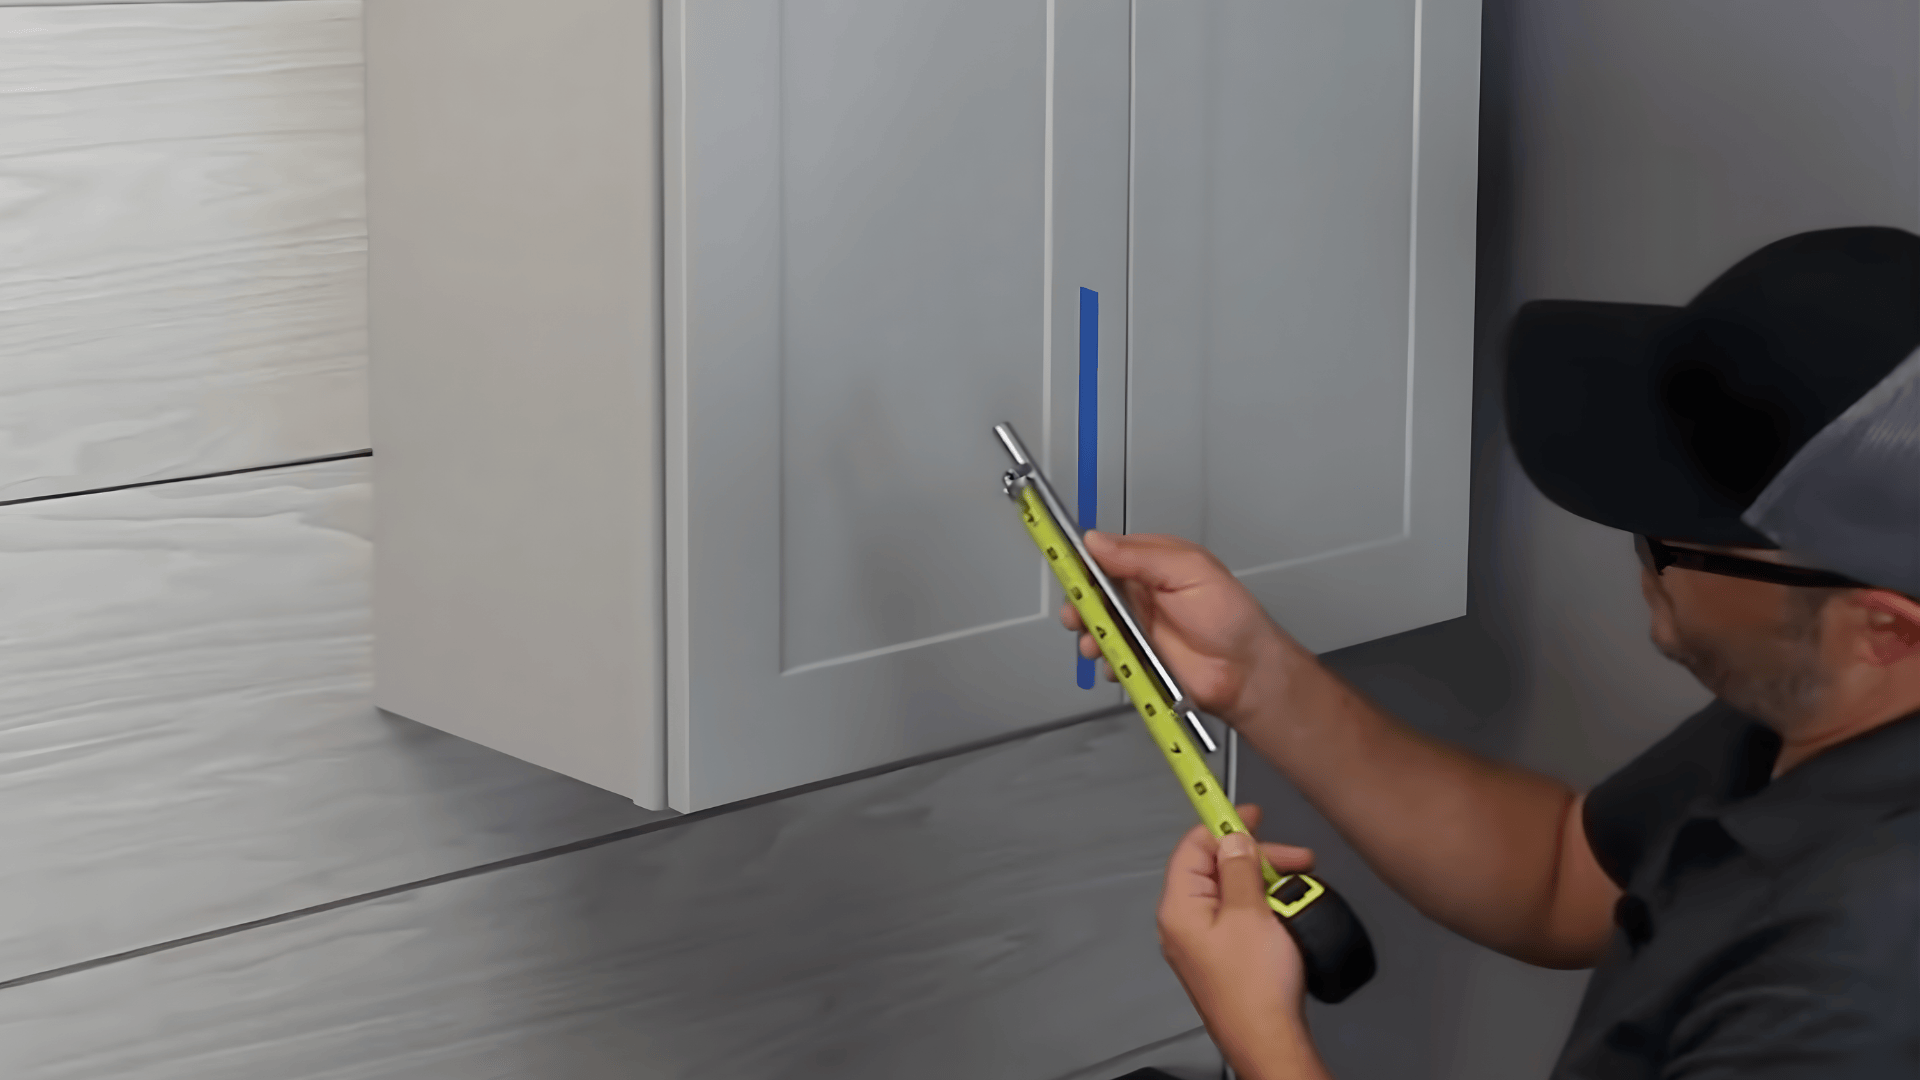
Check the center-to-center distance of the pull holes (e.g., 128 mm or 6¼”). Note this measurement for accurate hole spacing on each cabinet.
Step 4: Transfer Measurements
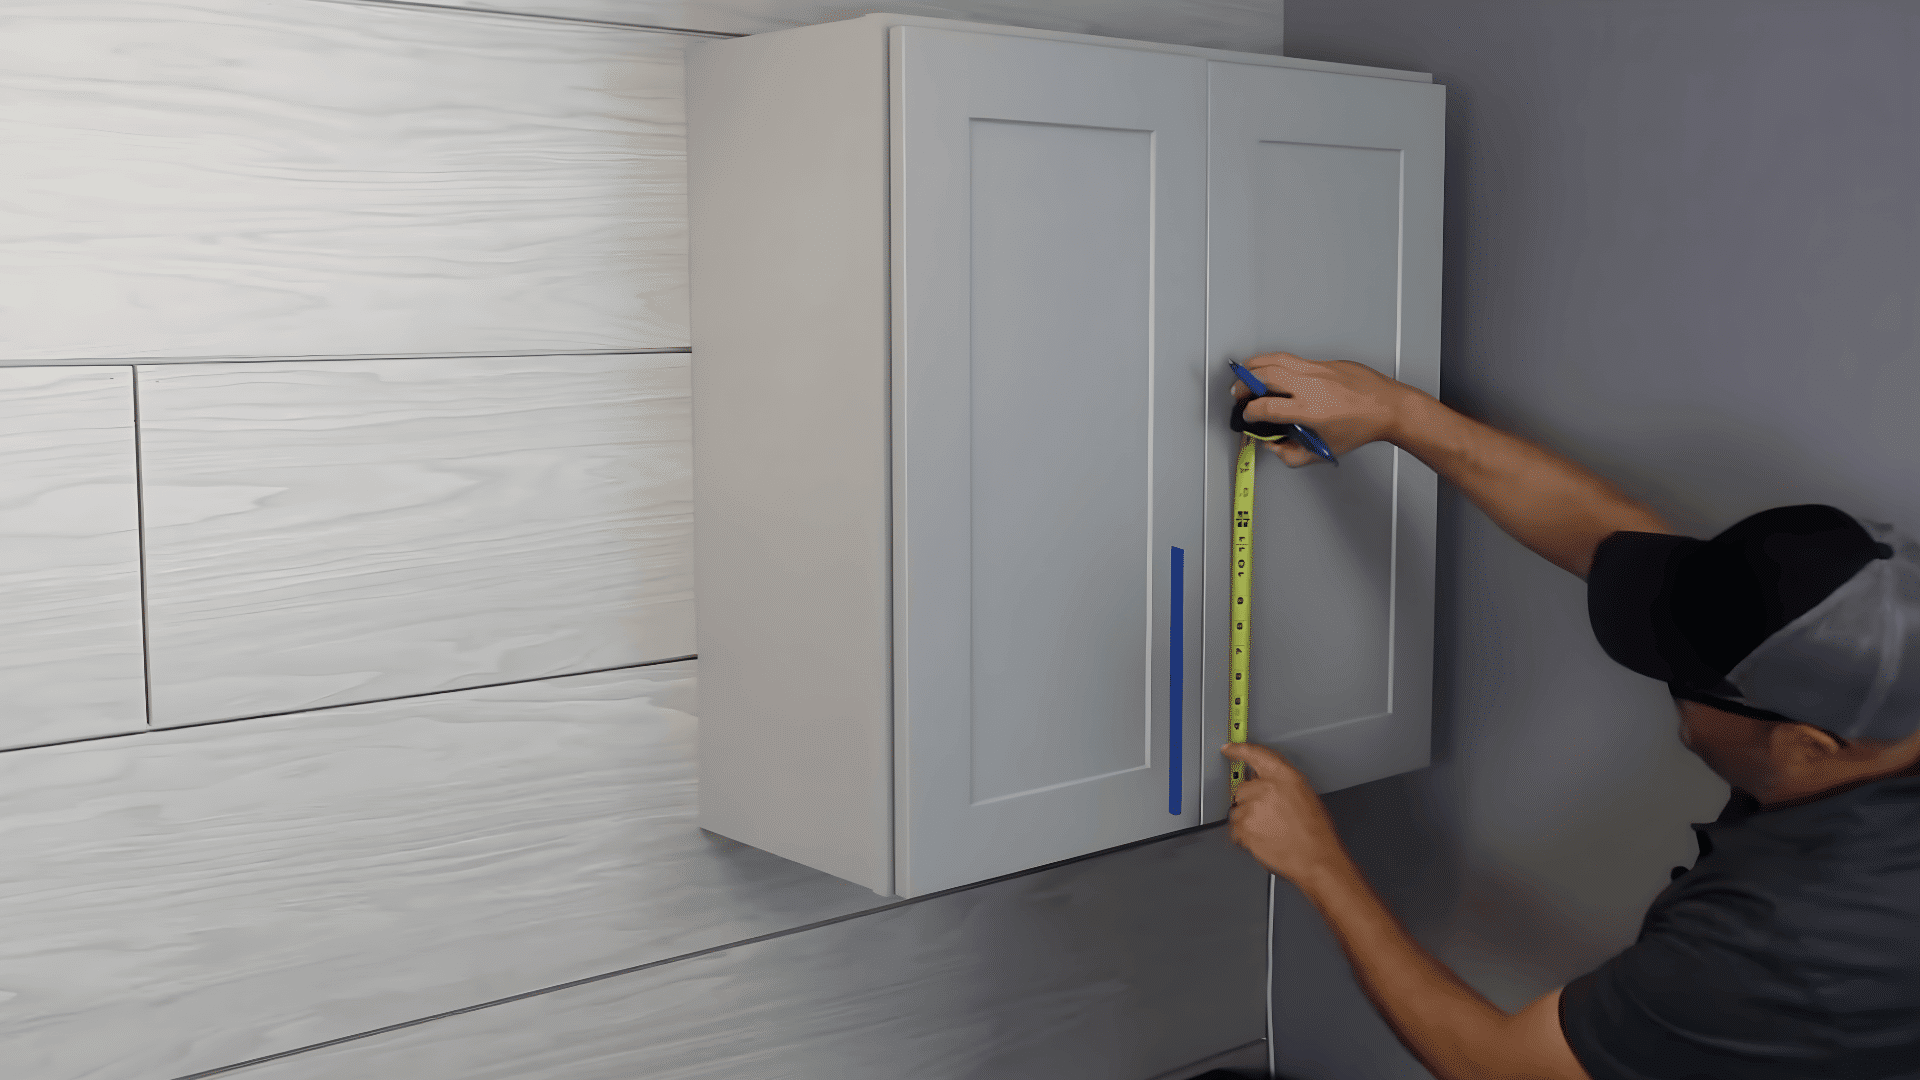
Add your reference offset to the pull’s spacing (3″ + 6¼” = 9¼”). Measure from the same door edge to maintain consistent spacing across all cabinets.
Step 5: Drill Pilot Holes
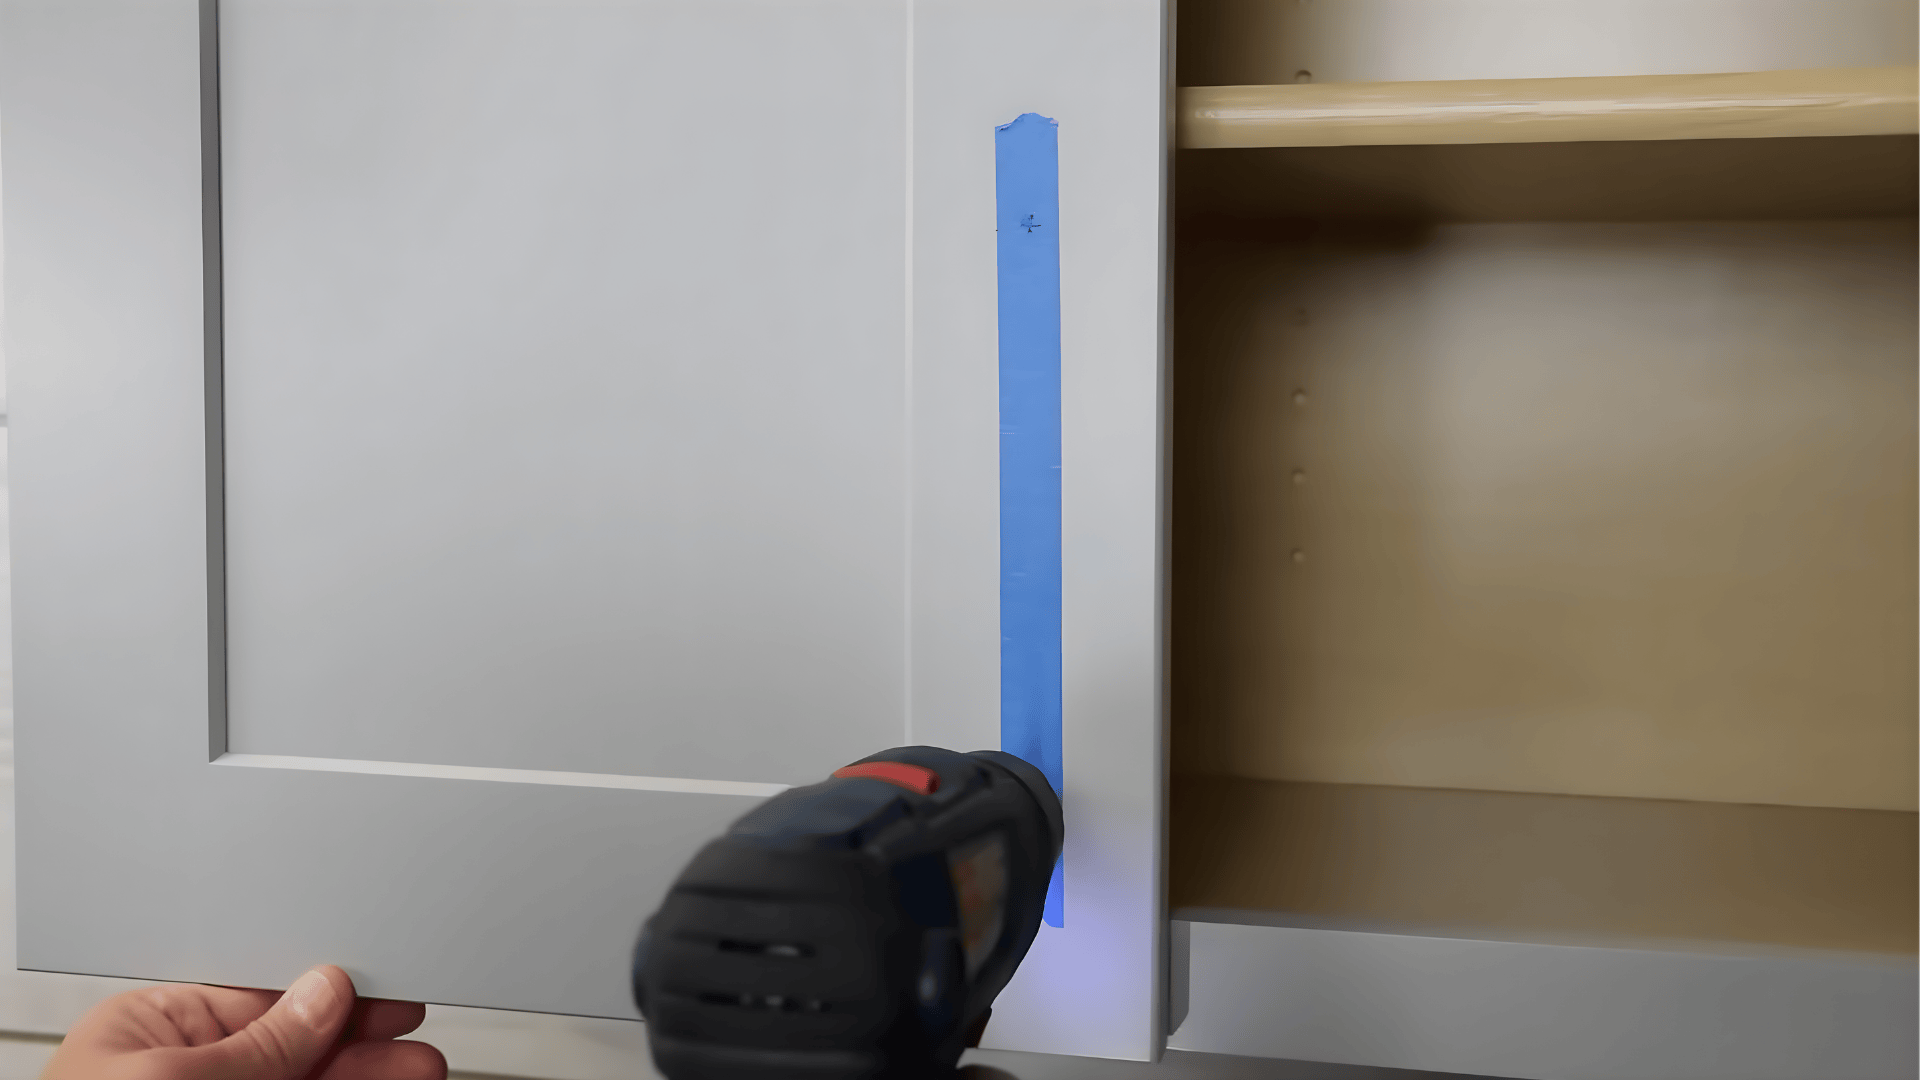
Drill pilot holes straight through the marks. Use light pressure and a depth stop to avoid drilling too deep or causing splintering.
Step 6: Install and Align
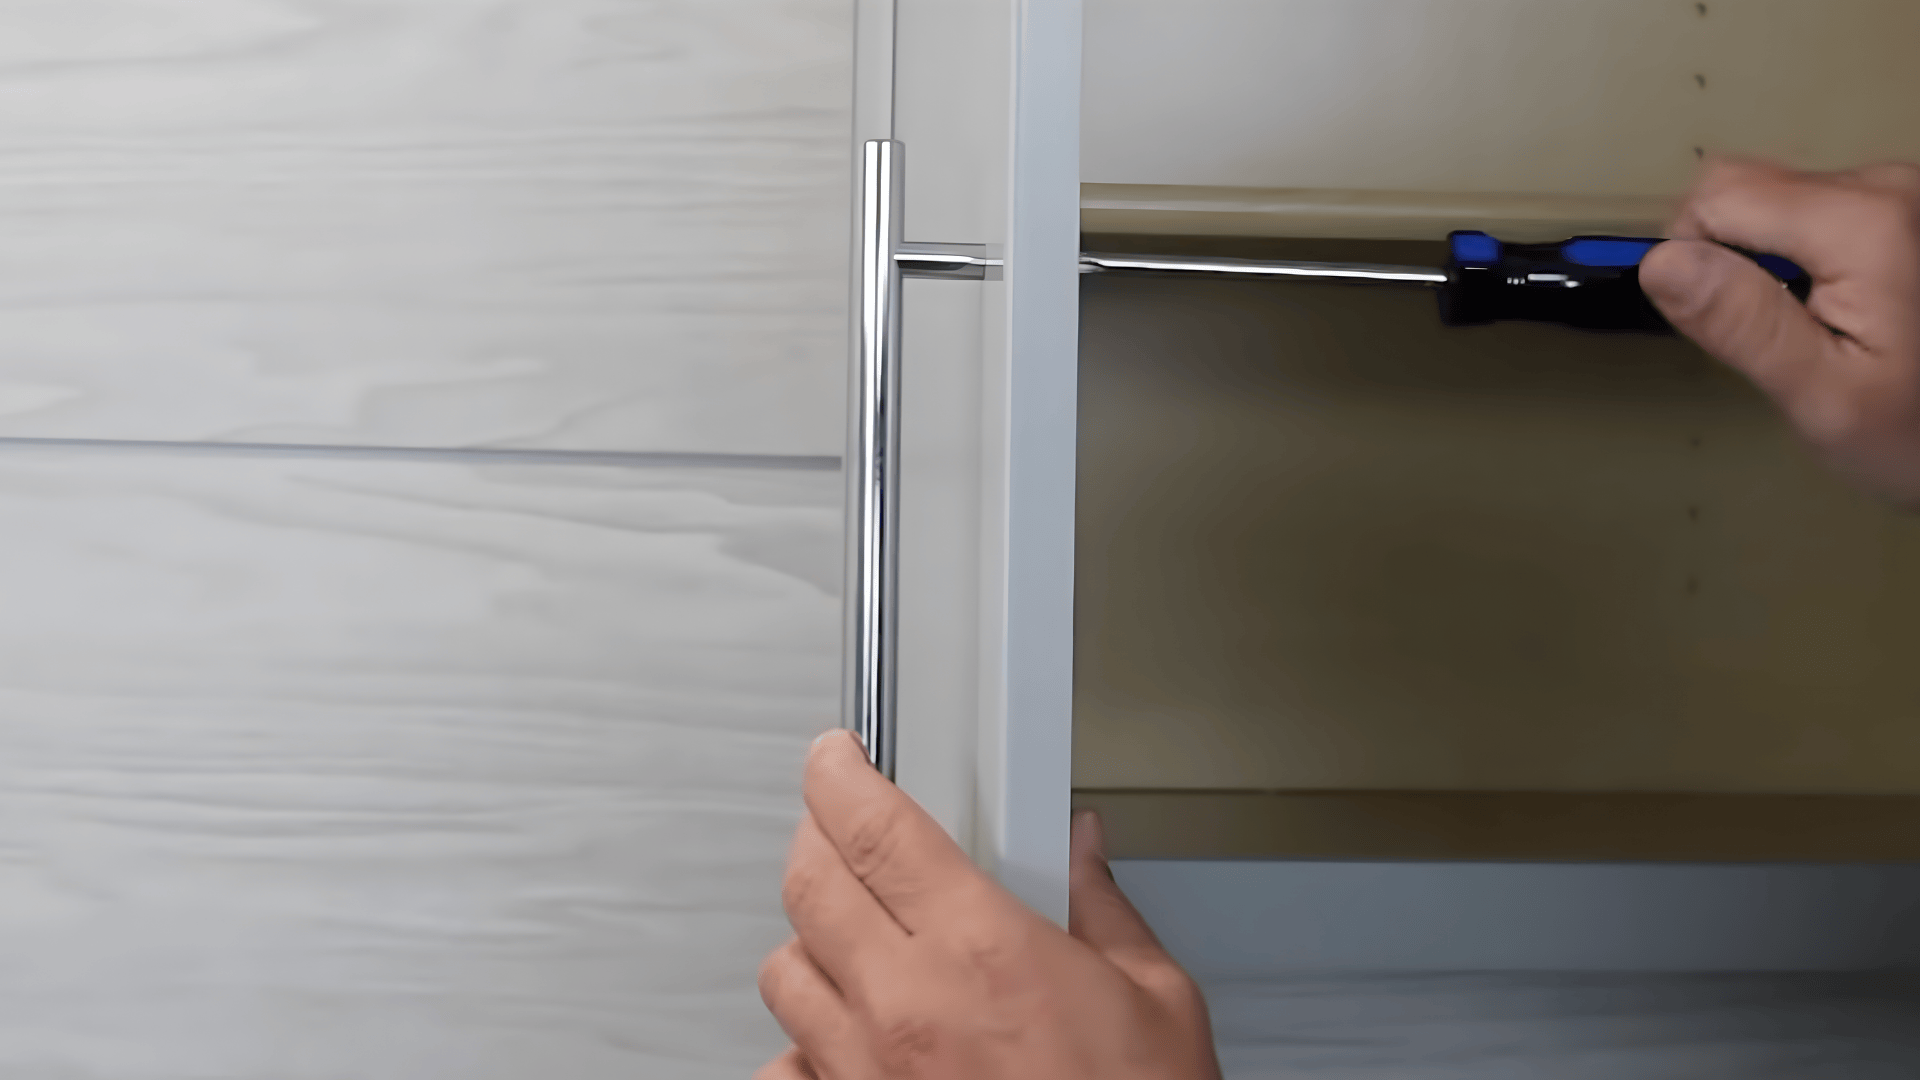
Attach the pull using screws from the back. Tighten evenly and check alignment with nearby doors. Remove tape and clean the surface.
For a more detailed walkthrough of the process, check out the DIY video tutorial below:
Common Mistakes to Avoid
Even small errors can affect both the look and usability of your cabinets. Paying attention to details helps you avoid these common problems:
- Inconsistent placement: Measure and align all handles to the same height and spacing.
- Oversized or undersized hardware: Pick sizes that match the cabinet’s scale and design.
- Ignore proportions: keep pull length and spacing balanced with the drawer width.
- Misaligned pulls: Always use a jig or level for straight, even placement.
- Drilling without testing: Mark and visualize first with tape before drilling.
- Mixing styles randomly: Stick to one hardware type or finish for a cohesive look.
- Skipping pilot holes: Drilling directly can crack the surface or misalign screws.
Taking a few extra minutes to plan and measure carefully saves time later. Consistent placement and the right tools make every cabinet look clean and intentional.
Conclusion
Taking the time to plan your cabinet hardware placement makes all the difference between an average setup and a polished one.
By now, you’ve got a clear idea of how proper positioning brings both style and comfort to your space. From getting your cabinet knob placement right to aligning every handle consistently, it’s the small details that make your cabinets look truly finished.
I hope you feel more confident about tackling this part of your project- it’s easier than it looks once you know the basics.
If you’re ready to start, grab your tools and try it yourself- your cabinets will thank you!