



You have probably stood in a beautifully renovated room and felt something was working without being able to explain what. Crown molding is often part of that answer.
It is one of those details that changes how a room feels without demanding attention. But choosing the wrong profile, or placing the right one in the wrong room, can work just as easily against you.
From choosing the right profile to matching your existing trim, crown molding ideas can help create a more finished look in any room.
What Crown Molding Actually Does to a Room
Crown molding resolves the line where your wall meets the ceiling. Without it, that junction simply stops, and the room feels unfinished in a way that is difficult to name but easy to notice.
It gives the eye a natural path to follow around the room. That continuous frame makes the space feel contained and complete rather than cut off at the edges.
Scale matters more than style here. A profile that is too small reads as an afterthought. One that is too large closes the room down rather than elevating it.
Get the scale right, and the molding becomes invisible in the best way. The room simply looks like it was always supposed to look.
Best Crown Molding Ideas Worth Knowing
There is no shortage of crown molding inspiration available. The harder part is knowing which ideas will actually work in your space.
Every option below has a condition that must be met for it to succeed. Miss that condition, and the same idea that looked right in a reference photo will look off in your room.
1. Stacked and Layered Profiles
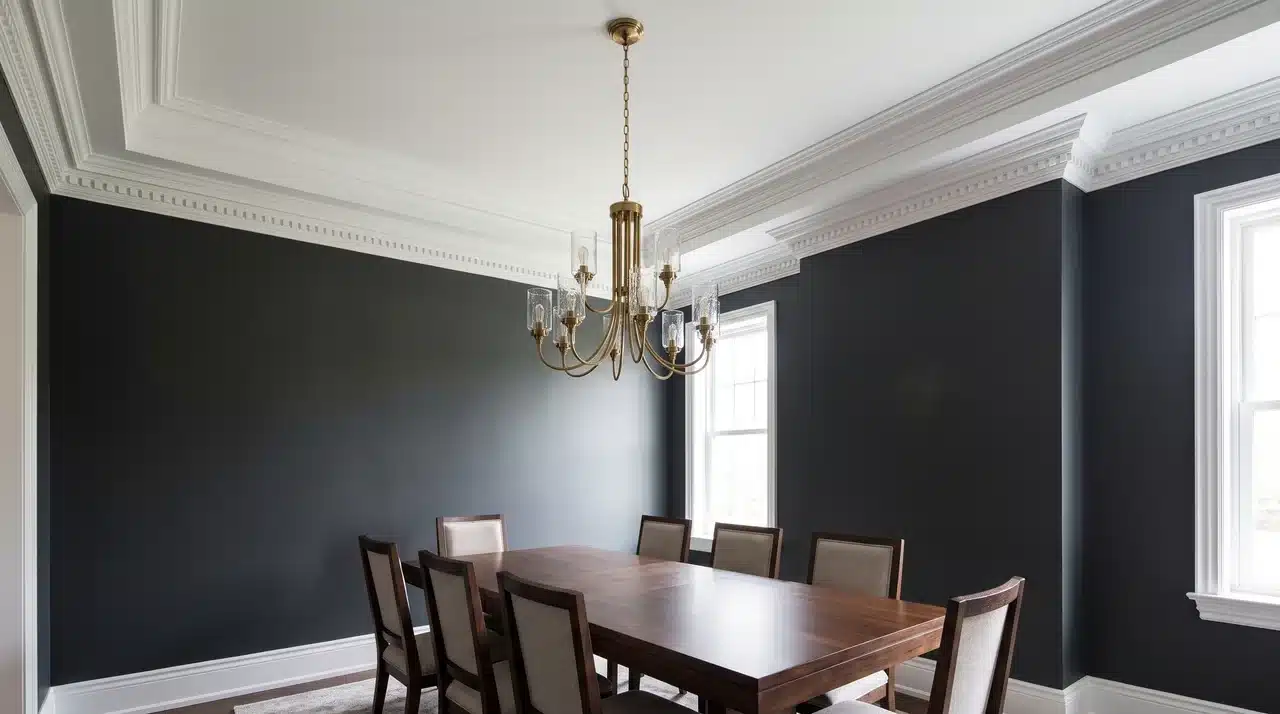
Layering two or three trim pieces together creates a built-up cornice effect that reads as architectural and considered. Your eye sees the combined pieces as a single feature, which gives the look its sense of scale and weight.
This only works in rooms with ceilings at 9 feet or above. Choose profiles in the same style family and paint everything the same color to unify the assembly into one cohesive feature.
2. LED Cove and Floating Crown
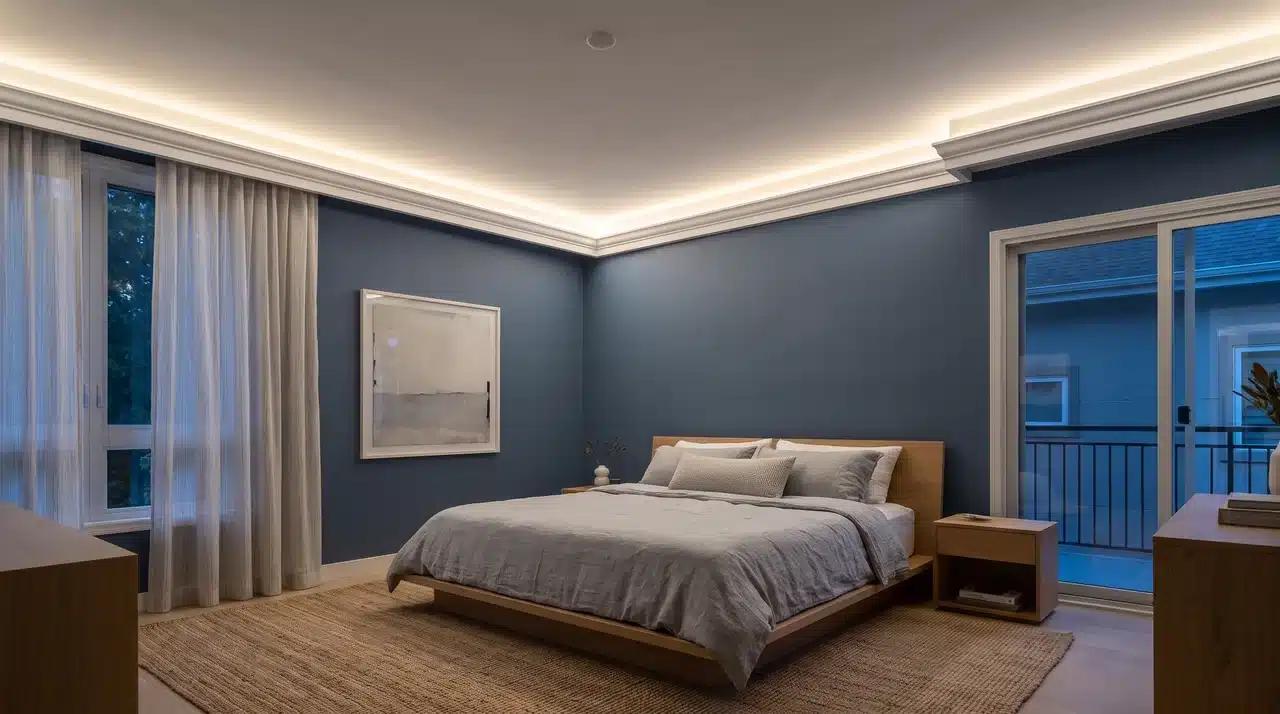
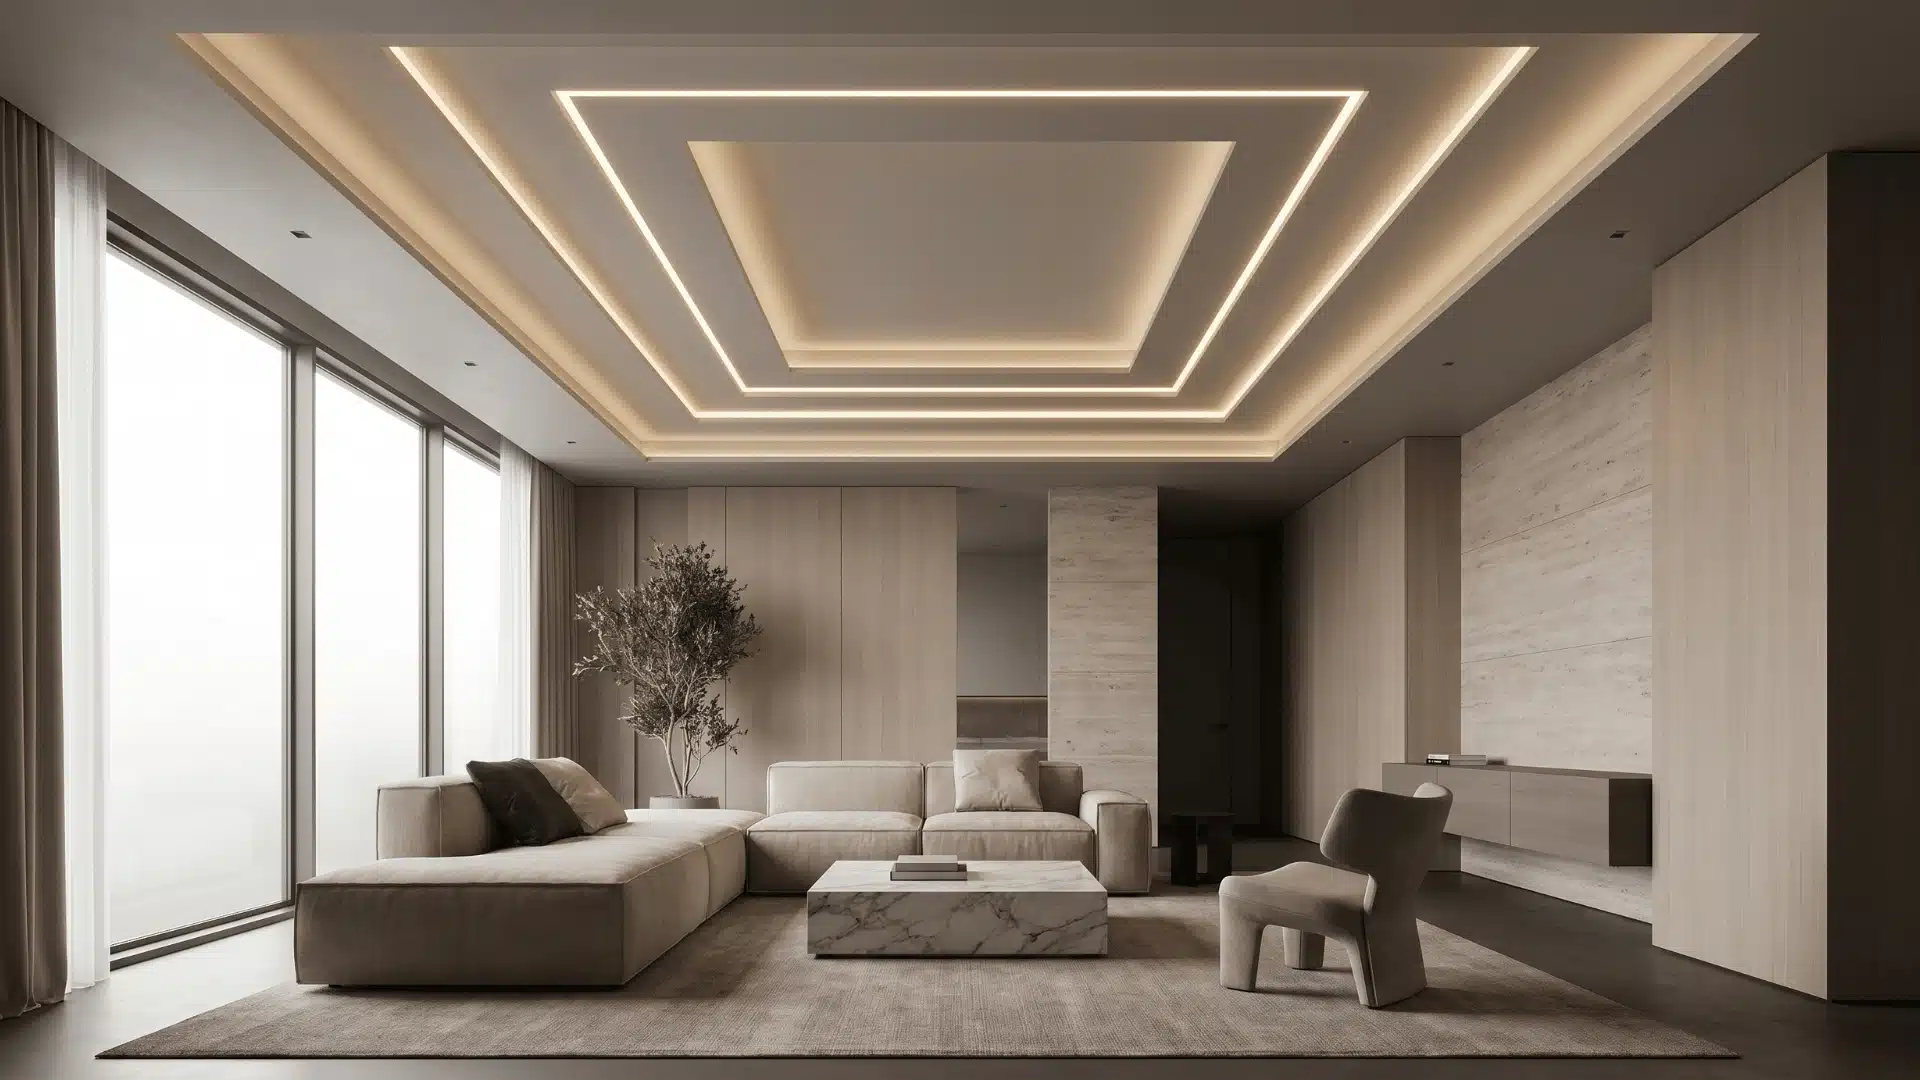
This idea places the crown slightly below the ceiling line, leaving a hidden channel for an LED strip light. The light washes up onto the ceiling and makes the ceiling feel higher than it is.
Install a level ledger board around the room first, then attach the crown so the gap to the ceiling is uniform, typically 1.5 to 2 inches. Run the LED strip in the channel aimed upward and connect it to a dimmer switch.
3. Minimalist and Clean-Line Profiles

A simple cove or square-edged profile in the 3- to 4-inch range is the most versatile option on this list. It works in almost any room at almost any ceiling height without making a statement.
Choose a flat-back or cove profile, which eliminates the compound miter cut that causes most installation problems. Paint it to match your ceiling for a seamless, barely-there finish.
4. Ornate and Historic Profiles
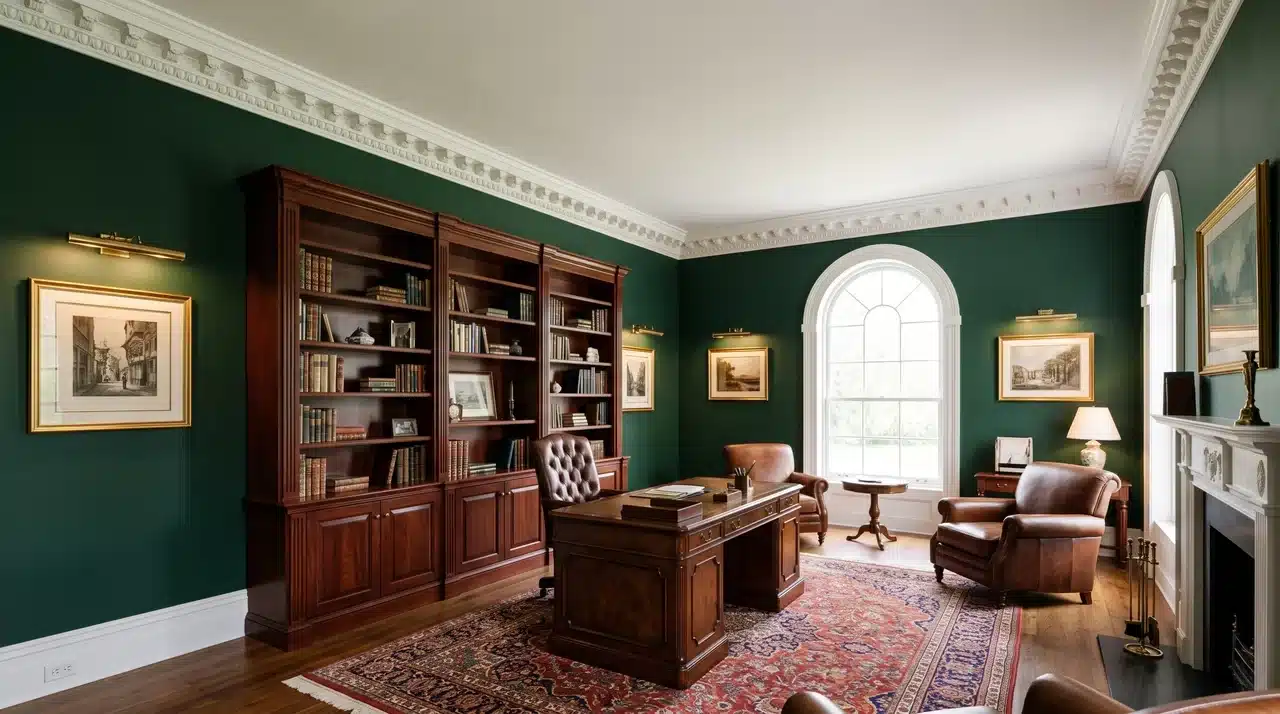
A coffered ceiling divides the ceiling into a recessed grid using beams or framing, then adds crown molding at every junction. The result feels structural and genuinely custom.
This works only in large rooms with ceilings at least 9 feet high. Map out your grid on paper first so the coffers are proportional to the room dimensions. Small rooms should not attempt this as the grid will chop the space rather than enrich it.
5. Coffered Ceiling Grids
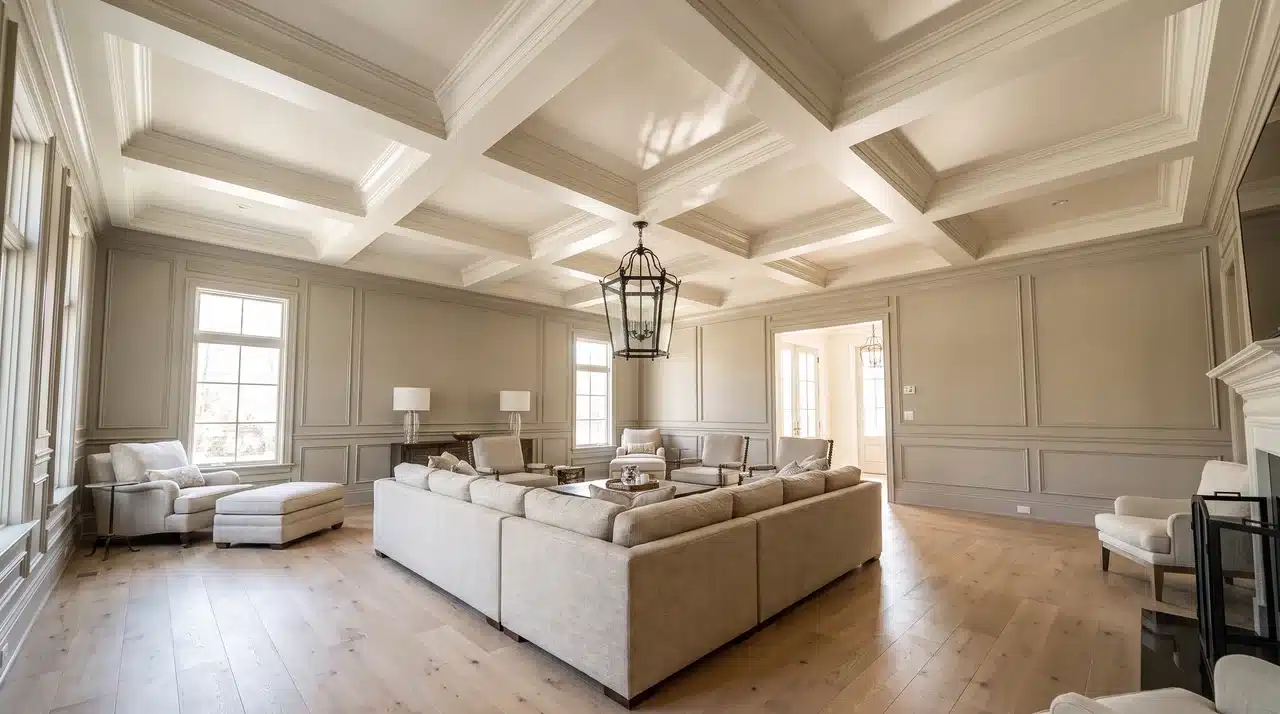
Dentil blocks, egg-and-dart patterns, and acanthus leaf carvings belong in homes with strong period character. In the right room they feel native. In the wrong one they feel like a costume.
Walk through your existing trim, door casings, and ceiling medallions before choosing a profile. The ornate crown should echo details already present in the room. If those details do not exist, this option is not the right starting point.
6. Living Rooms and Dining Rooms That Go Full Architectural
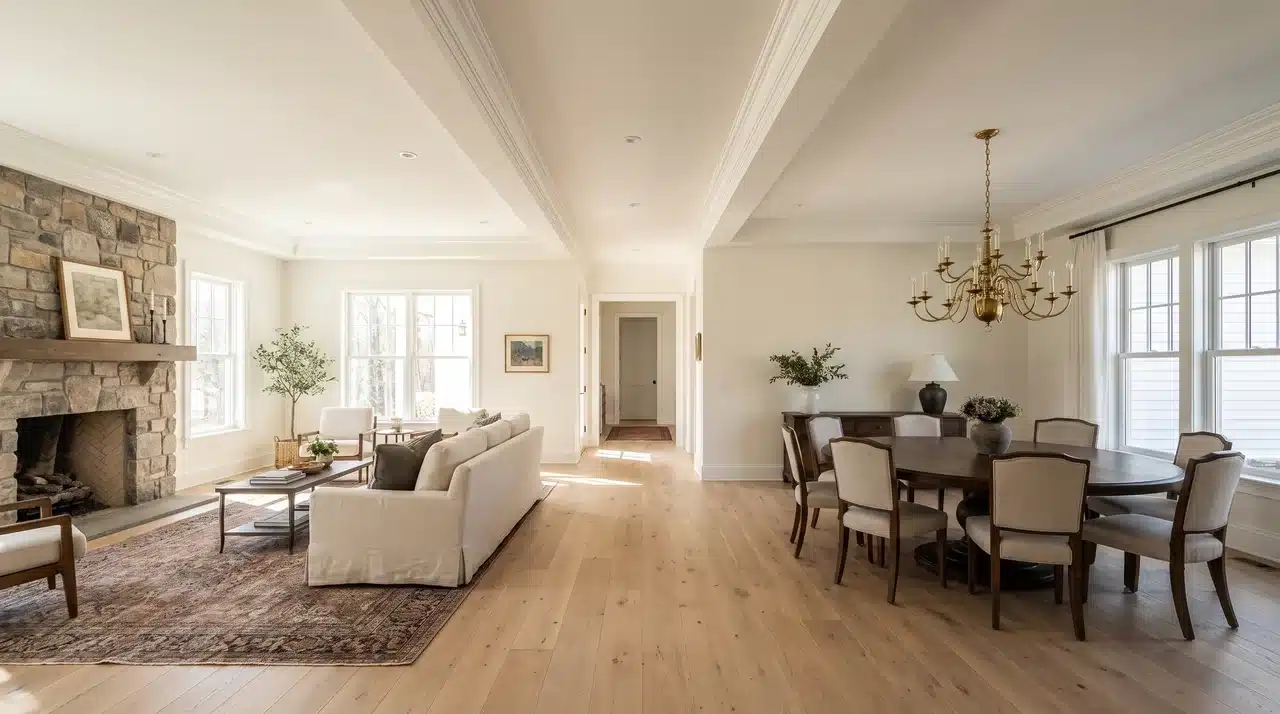
These rooms carry the most profile complexity without feeling overdone. Stacked builds, ornate profiles, and LED cove applications all belong here.
Match your crown profile family to your door casings and baseboards throughout both rooms. In the dining room, pair a crown with a picture rail 12 to 16 inches below and paint the wall segment between them a shade deeper for a shadow box effect.
7. Kitchens Where Crown Meets the Cabinet
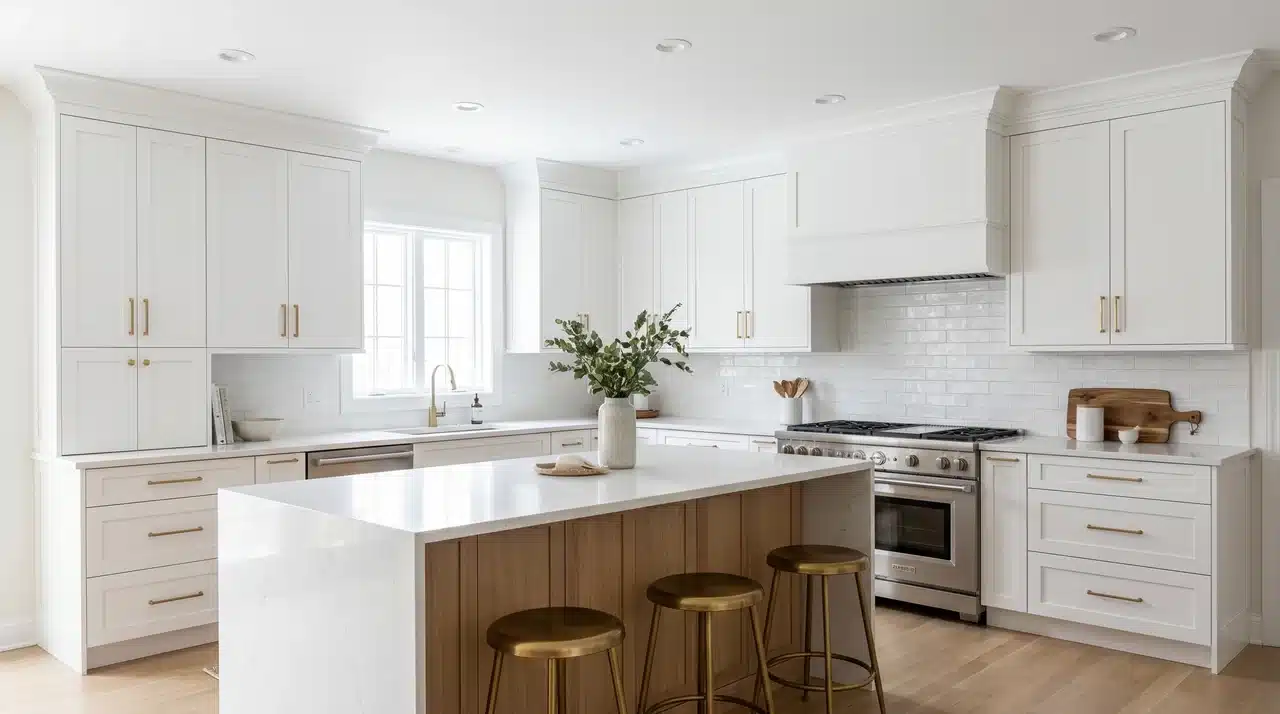
Kitchen crown molding must coordinate with the cabinet finish or door casing style. Defaulting to white when cabinets are wood-toned creates a disconnect that is difficult to ignore once noticed.
If cabinets run to the ceiling, use a profile that transitions cleanly from the cabinet face without a gap. If cabinets stop short, match the crown to the cabinet color or door casings rather than defaulting to white.
8. Two-Tone Crown Molding
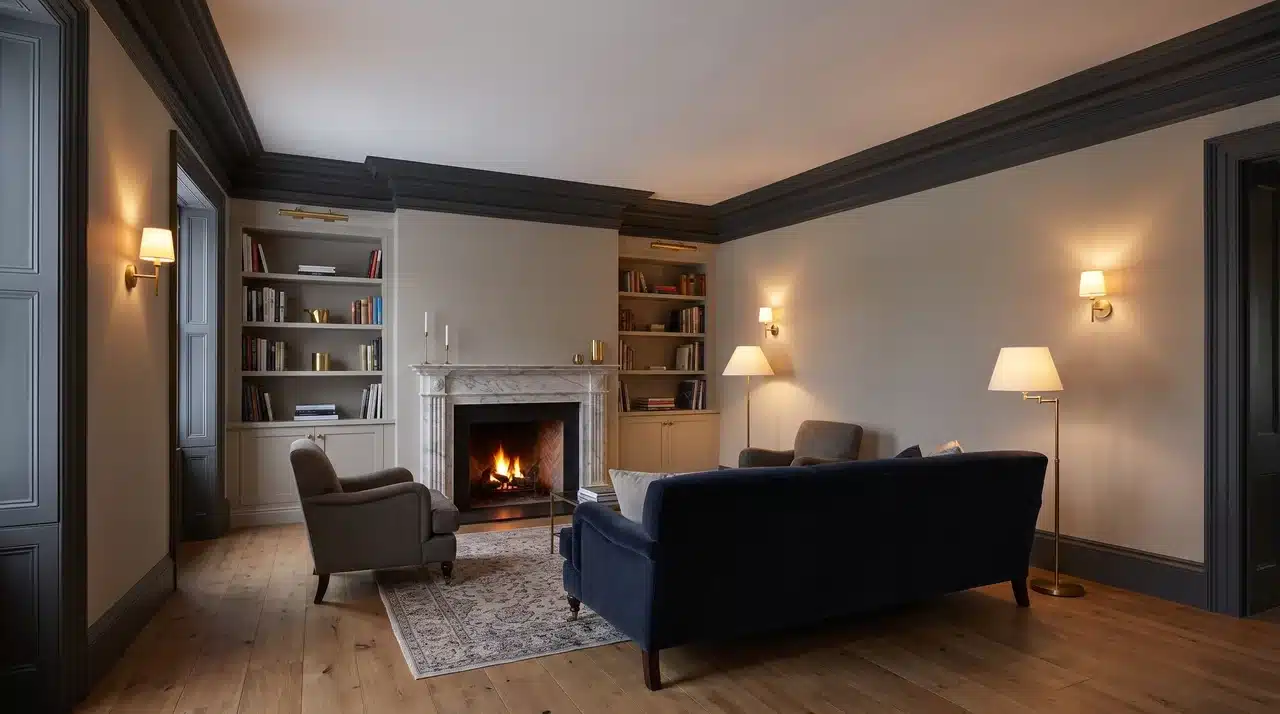
Painting the crown a color different from both the wall and ceiling turns a functional detail into a deliberate focal point. It adds depth that a single paint color across all surfaces never achieves.
Choose a deeper shade of your wall color or a contrasting accent. Paint the crown face to match the wall below and the ceiling face to match the ceiling above so the profile bridges both surfaces intentionally.
9. Bedroom Crown With Picture Rail Combo
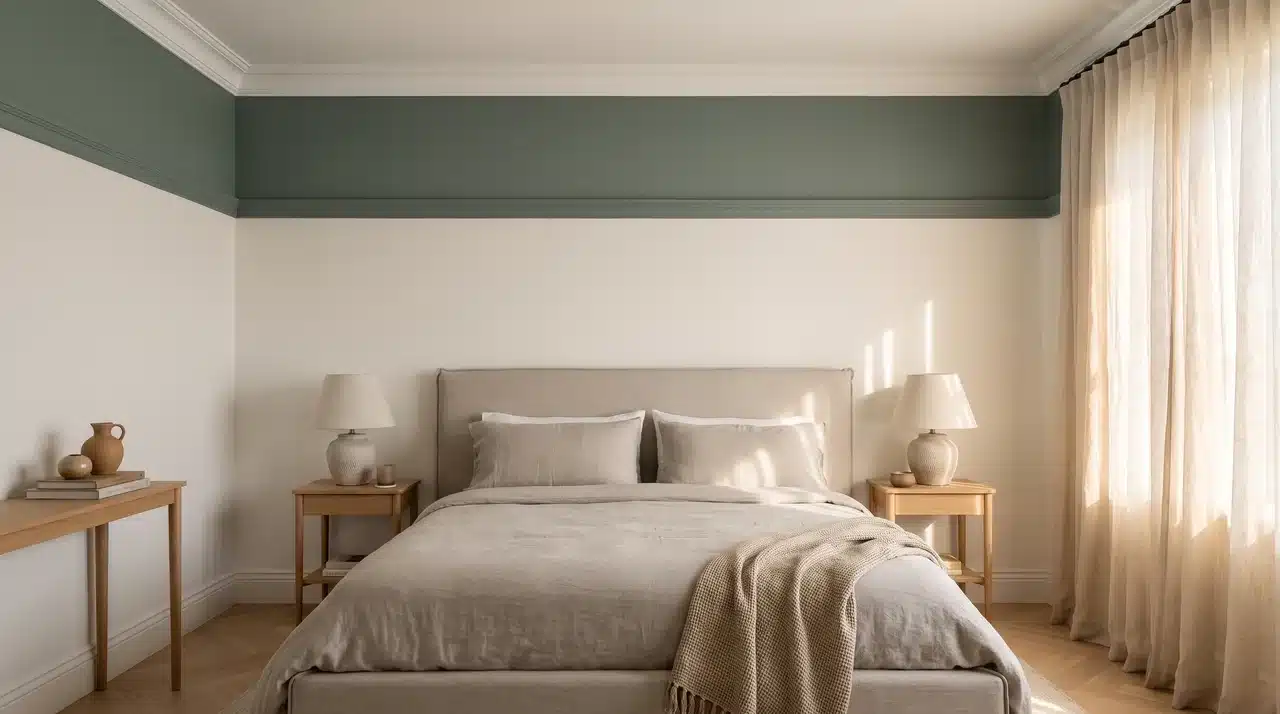
A crown at the ceiling paired with a picture rail 14 inches below creates a framed upper wall panel that feels quiet and complete. The section between them is painted a shade deeper than the main wall.
This gives the room a layered quality that works especially well in bedrooms. Install a standard crown at the top, add a picture rail below, then paint the band between them in your chosen accent color.
10. Chair Rail and Crown Molding Double Frame
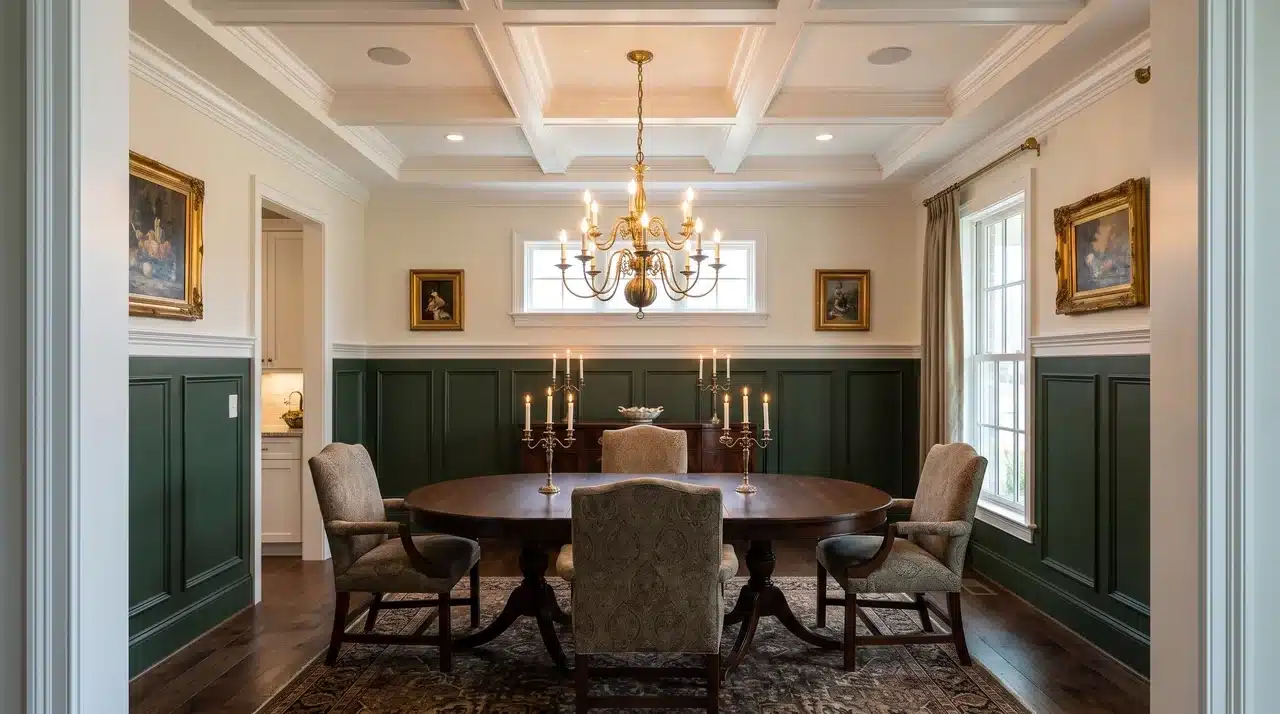
Running crown at the ceiling and a chair rail at mid-wall creates a fully framed room that feels intentional from floor to ceiling. The wall divides into distinct upper and lower zones, each painted a different shade.
Paint the upper zone lighter and the lower zone deeper, then install both profiles in the same style family so the room reads as one cohesive design rather than two separate decisions.
11. Bookcase and Built-In Crown Molding
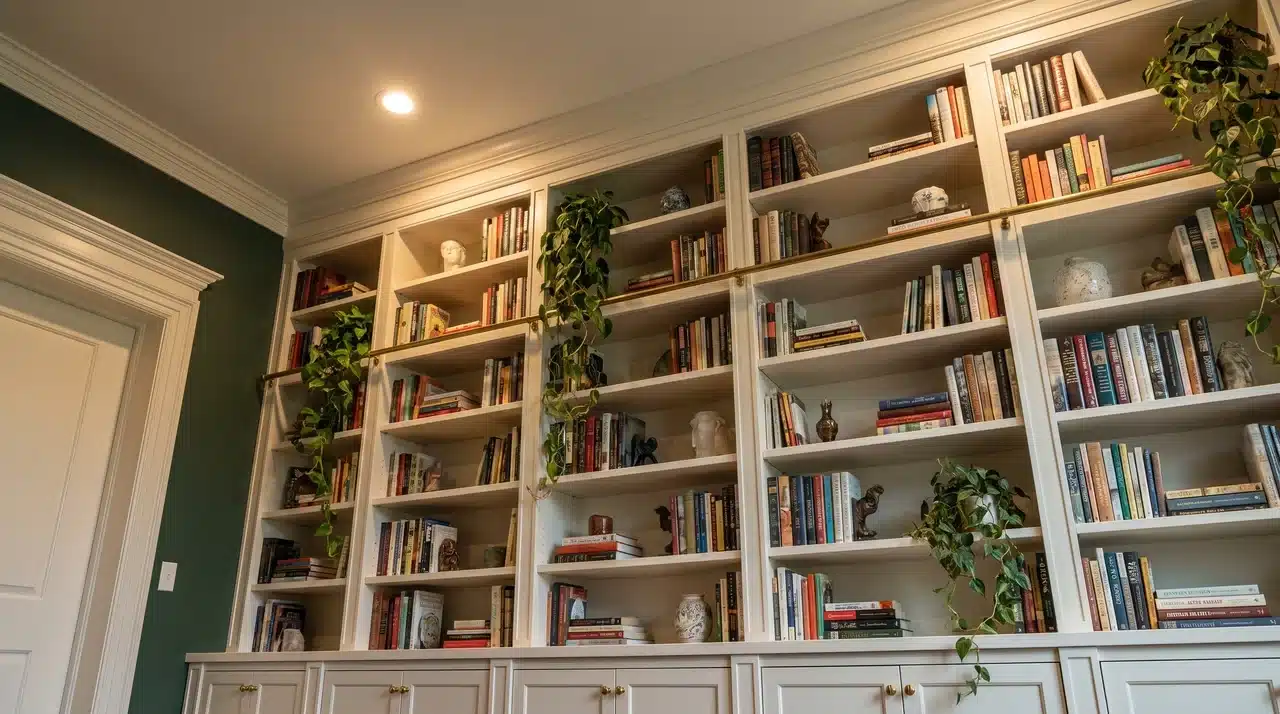
Adding crown molding to the tops of built-in bookcases connects the furniture to the ceiling line and makes the piece feel designed with the room rather than placed in it.
If the gap between the built-in and ceiling is under 6 inches, a single flat or cove profile bridges it cleanly. For larger gaps, use a two-piece build with a spacer between. Paint everything to match the built-in rather than the ceiling trim.
12. Staircase and Hallway Crown Molding
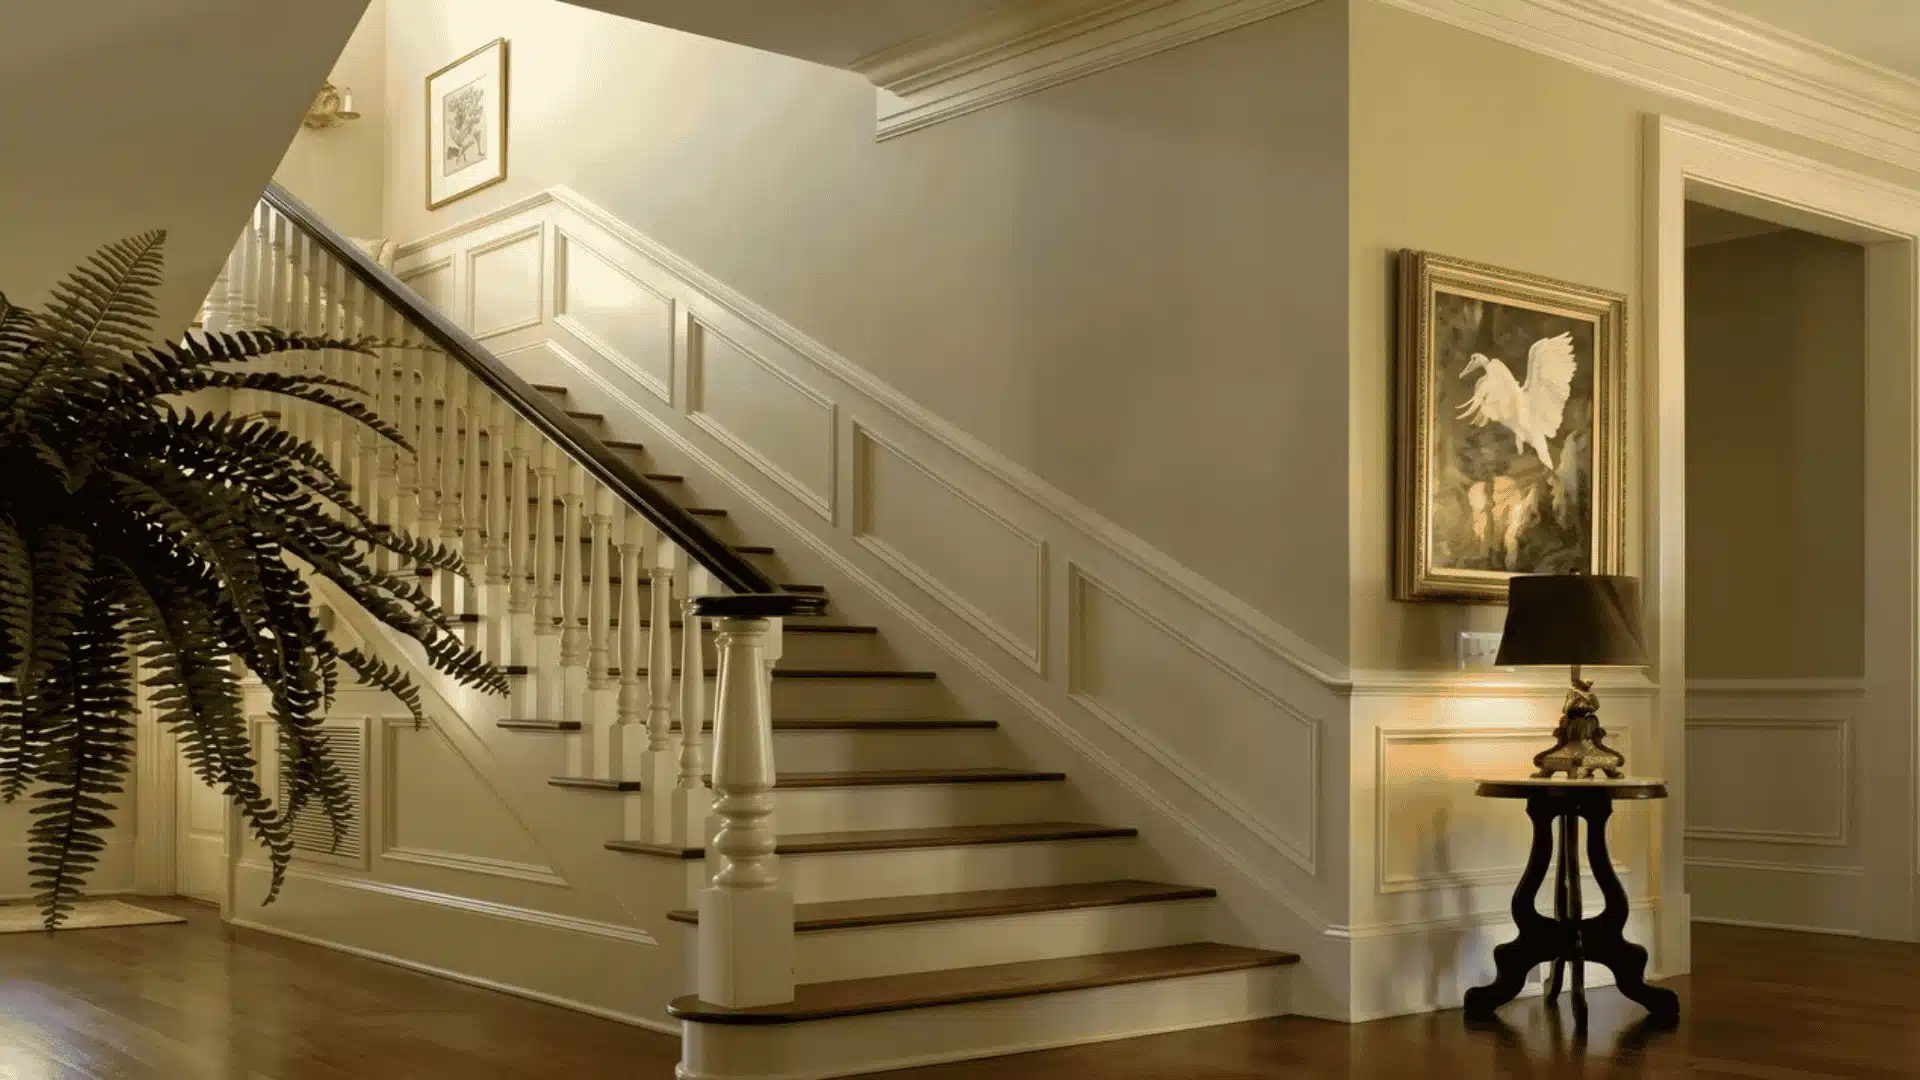
Hallways and staircases are often left unfinished when crown molding is added only to individual rooms. Keeping the ceiling crown molding continuous through the hallway creates a consistent trim line instead of stopping at room boundaries.
The staircase area should not force the crown molding to follow the stair slope. Keep the ceiling trim level across the space, then use separate angled trim details along the staircase wall to follow the incline and complete the look.
13. Dining Room Tray Ceiling Crown Molding
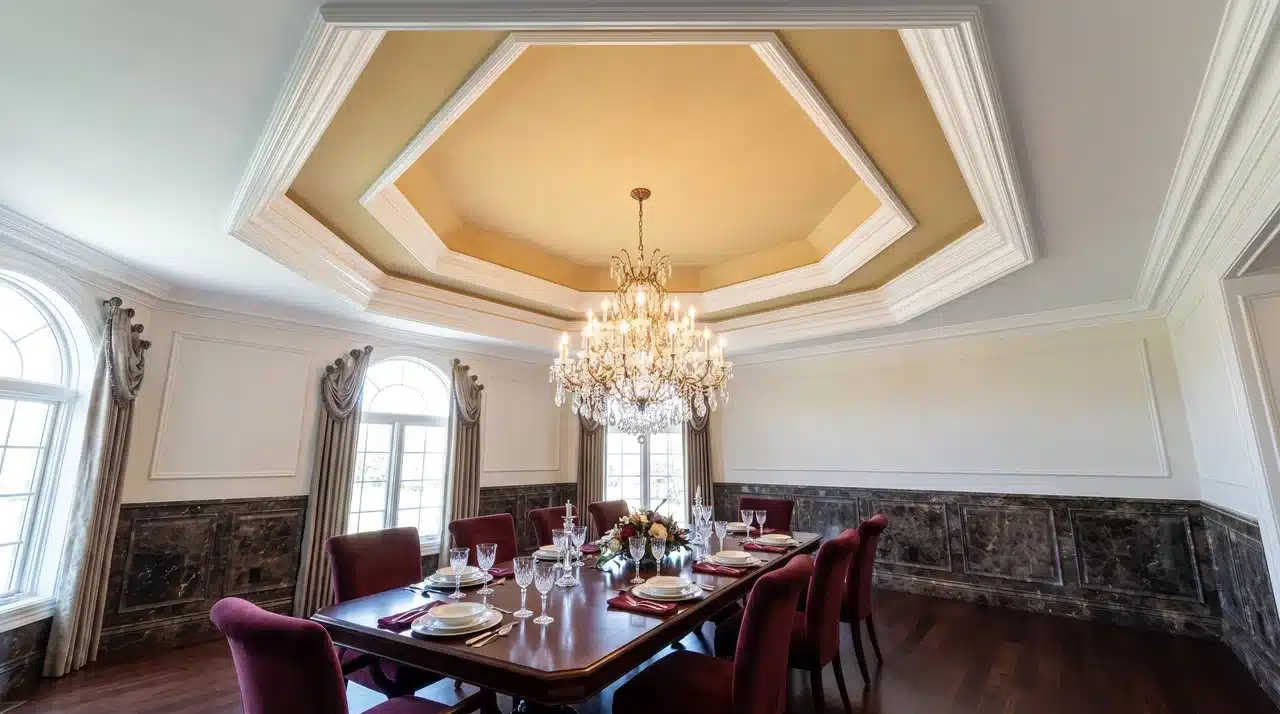
A tray ceiling reaches its full impact only when crown molding frames the stepped edge where the raised center meets the surrounding border. Without it, the tray reads as an unfinished construction detail.
Install a standard spring-angle profile at every inside corner where the tray step meets the flat border below. The molding locks in the geometry and makes the ceiling feel deliberate rather than accidental.
Common Mistakes to Avoid
Most of these are easy to avoid once you know what to look for. They tend to show up after installation is complete, which is exactly when they are hardest to fix.
- Choosing a profile before measuring ceiling height: The one that looked right in the showroom can feel completely wrong once it is on your wall at home. Always measure first.
- Ignoring existing trim: Your baseboards and door casings have already set a style direction. An ornate crown against simple flat casings creates a tension that fights the whole room.
- Using wood or MDF in bathrooms: Moisture works against both materials over time, and the damage shows up long after installation is done. Use polyurethane or foam in any high-humidity space.
- Skipping the level check on LED cove installations: The light will expose every inconsistency in your mounting line. An uneven gap reads as a mistake rather than a design choice.
- Stacking profiles in a room under 9 feet: The visual mass will close the space rather than elevate it. Stacked builds need ceiling height to justify the added weight.
- Mismatching profile families across rooms: Crown molding that changes style between the living room and hallway breaks the cohesion of the whole floor. Stay within one profile family throughout connected spaces.
Catching any one of these before installation begins saves significantly more time than correcting it afterward.
Conclusion
Crown molding ideas work because they finish what the room is already trying to say. The wall-to-ceiling junction is one of those details that goes unnoticed when it is done right and impossible to ignore when it is not.
The right profile is not the one that looks best in photos. It is the one that fits your ceiling height, works within your existing trim family, and suits the function of the room it is going into.
Pick one idea from this guide that matches those three conditions and start there. One well-chosen profile installed in the right room does more than several ideas pulled from a mood board ever will.
Frequently Asked Questions
Is crown molding still in style in 2026?
Yes, but the aesthetic has shifted. Heavy ornate profiles have pulled back in contemporary interiors. Clean-line, minimalist, and cove profiles are more current right now. The bigger principle has not changed, though. A finished wall-to-ceiling transition always looks more intentional than an unfinished one. Match the profile to your home’s existing architecture, and you will not go wrong.
What can I use instead of crown molding?
Several options work well depending on your space. Picture rail molding mounted near the ceiling gives a similar framing effect. A painted ceiling band in a contrasting color creates a visual transition without any installation complexity. A simple flat casing flush at the ceiling junction is another clean alternative. Each one finishes the junction without requiring the angled cuts that traditional crown molding demands.
How do I choose a crown molding size for my room?
Start with this rule of thumb. Take your ceiling height in inches and divide by 18. That gives you a reasonable profile height in inches to work from. A 9-foot ceiling works well with roughly a 6-inch profile. Rooms with heavier existing trim can carry slightly more than the formula suggests. Use it as a starting point, not a hard limit.
Can I install crown molding myself?
It depends on the profile. Flat-back and cove profiles with no spring angle are genuinely DIY-friendly. Traditional crown molding with a spring angle requires accurate compound miter cuts, and that is where most first-timers struggle. If you want to DIY it, start with a flat-back profile. They were designed specifically to eliminate the angled-cut problem, and they are available in MDF, polyurethane, and foam.