

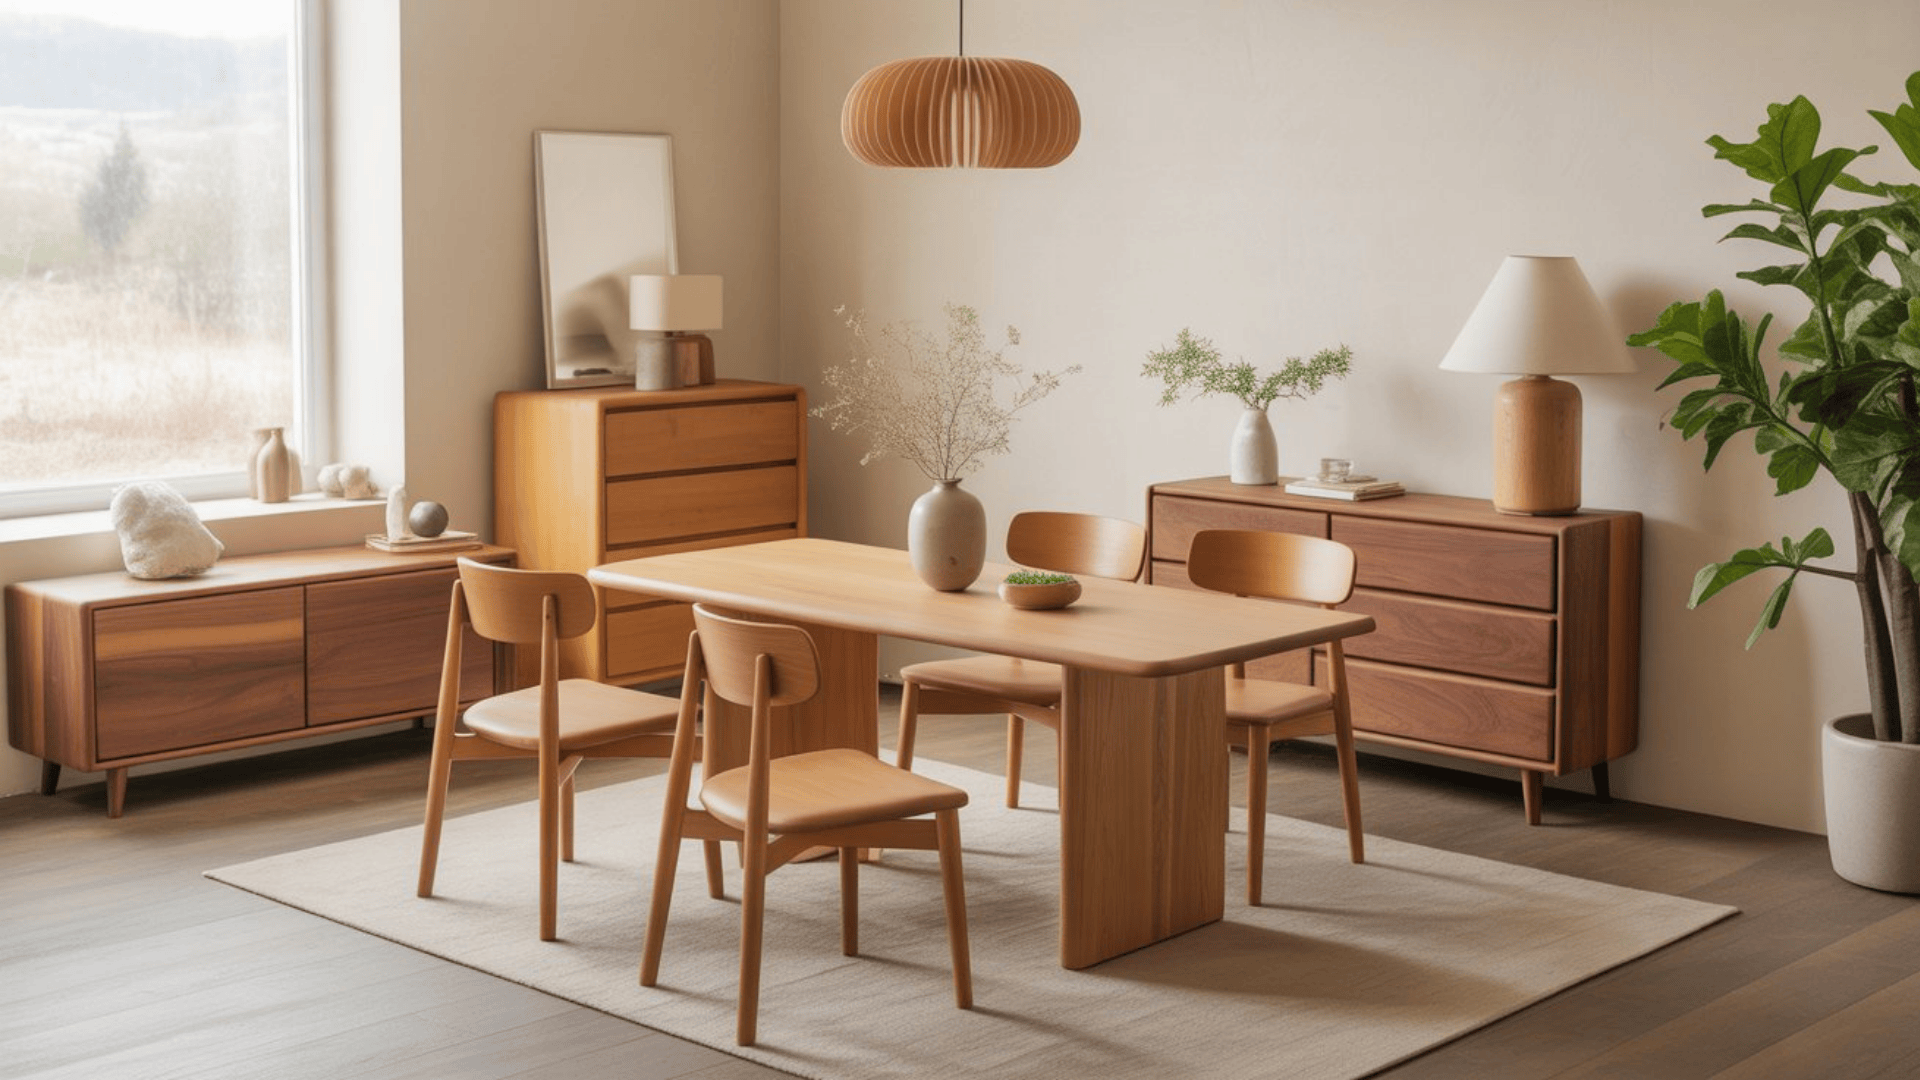
Thinking about giving your unfinished cabinets a fresh look? Painting is a smart way to upgrade your space without spending much.
I’ve seen many people start painting unfinished cabinets and feel unsure halfway through. The truth is, it’s not hard; you just need the right steps, tools, and a little patience.
In this blog, I’ll show you how to paint unfinished cabinets the easy way. From picking the right products to applying smooth coats, you’ll learn how to turn plain wood into clean, long-lasting cabinets.
Choosing the Right Paint and Primer
The finish of your cabinets depends mostly on the paint and primer you use. Picking the right ones can save you time and help your paint last for years.
Start with a high-quality primer made for raw or unfinished wood. It seals the surface and helps the paint stick evenly. Oil-based primer gives strong coverage, while water-based primer dries faster and has less odor.
For paint, look for cabinet-grade options that resist moisture and scratches. Latex or hybrid enamel paints are popular for DIY projects because they’re easy to work with and clean up easily.
Aim for a satin or semi-gloss finish. Satin hides small flaws, while semi-gloss gives a smooth, polished look that’s easy to wipe clean.
How to Paint Unfinished Cabinets: Step-by-Step Guide
A few basic tools and the right prep can make painting unfinished cabinets much easier.
Tools and Materials You’ll Need
- Drill or driver
- Cup hooks
- Critter sprayer
- Steel wool pad/steel wool block
- Extra-fine sanding block
- 220-grit sandpaper or pad
- Sanding pad (used before the third coat)
- Cloth or rag
- Mask
- Sanding sealer
- Paint
- Wood filler
- Polycrylic clear satin finish
Step 1: Prepare and Hang the Doors
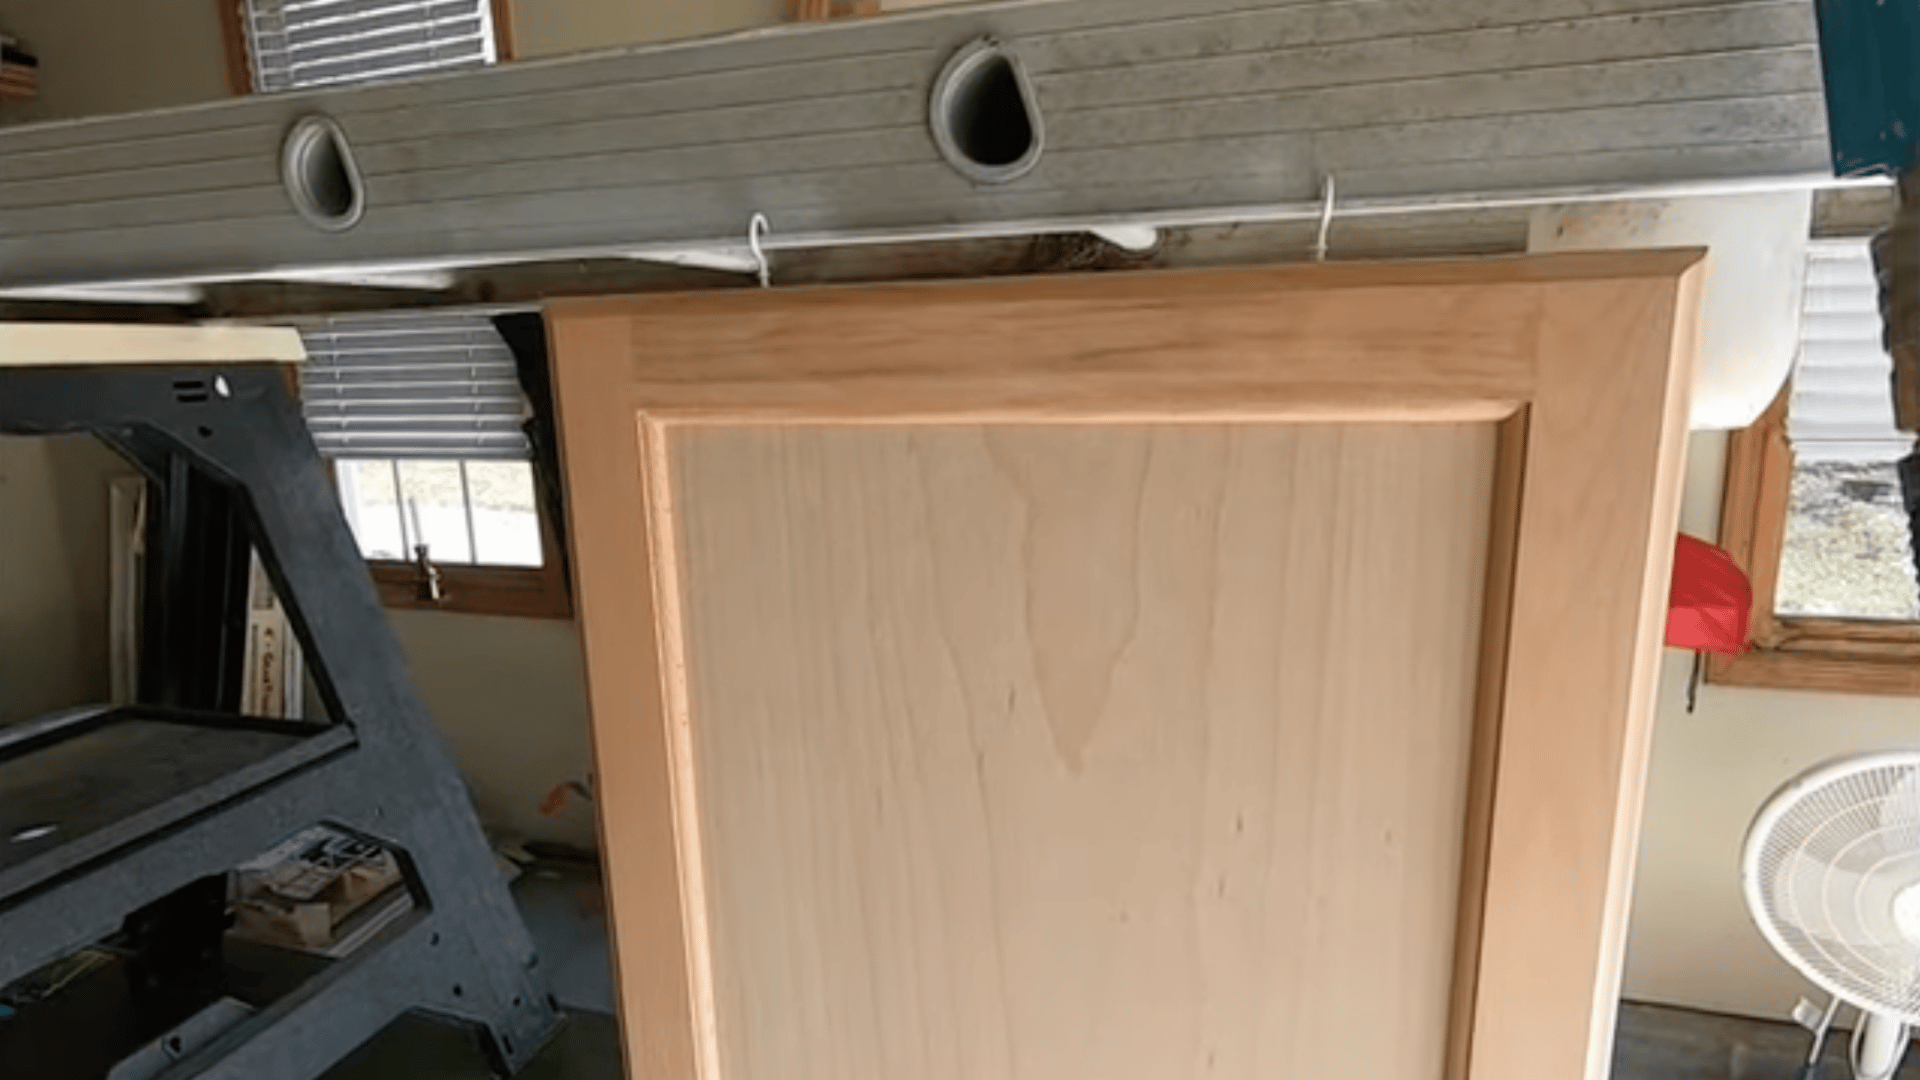
Install cup hooks on the cabinet doors to support them during spraying. Place them on the top of wall cabinets and on the bottom of base cabinets so the holes stay out of view.
Hang the doors on a setup that allows them to be held upright while spraying. This keeps each piece ready for coating and easy to rotate when needed.
Step 2: Apply the First Coat of Sanding Sealer
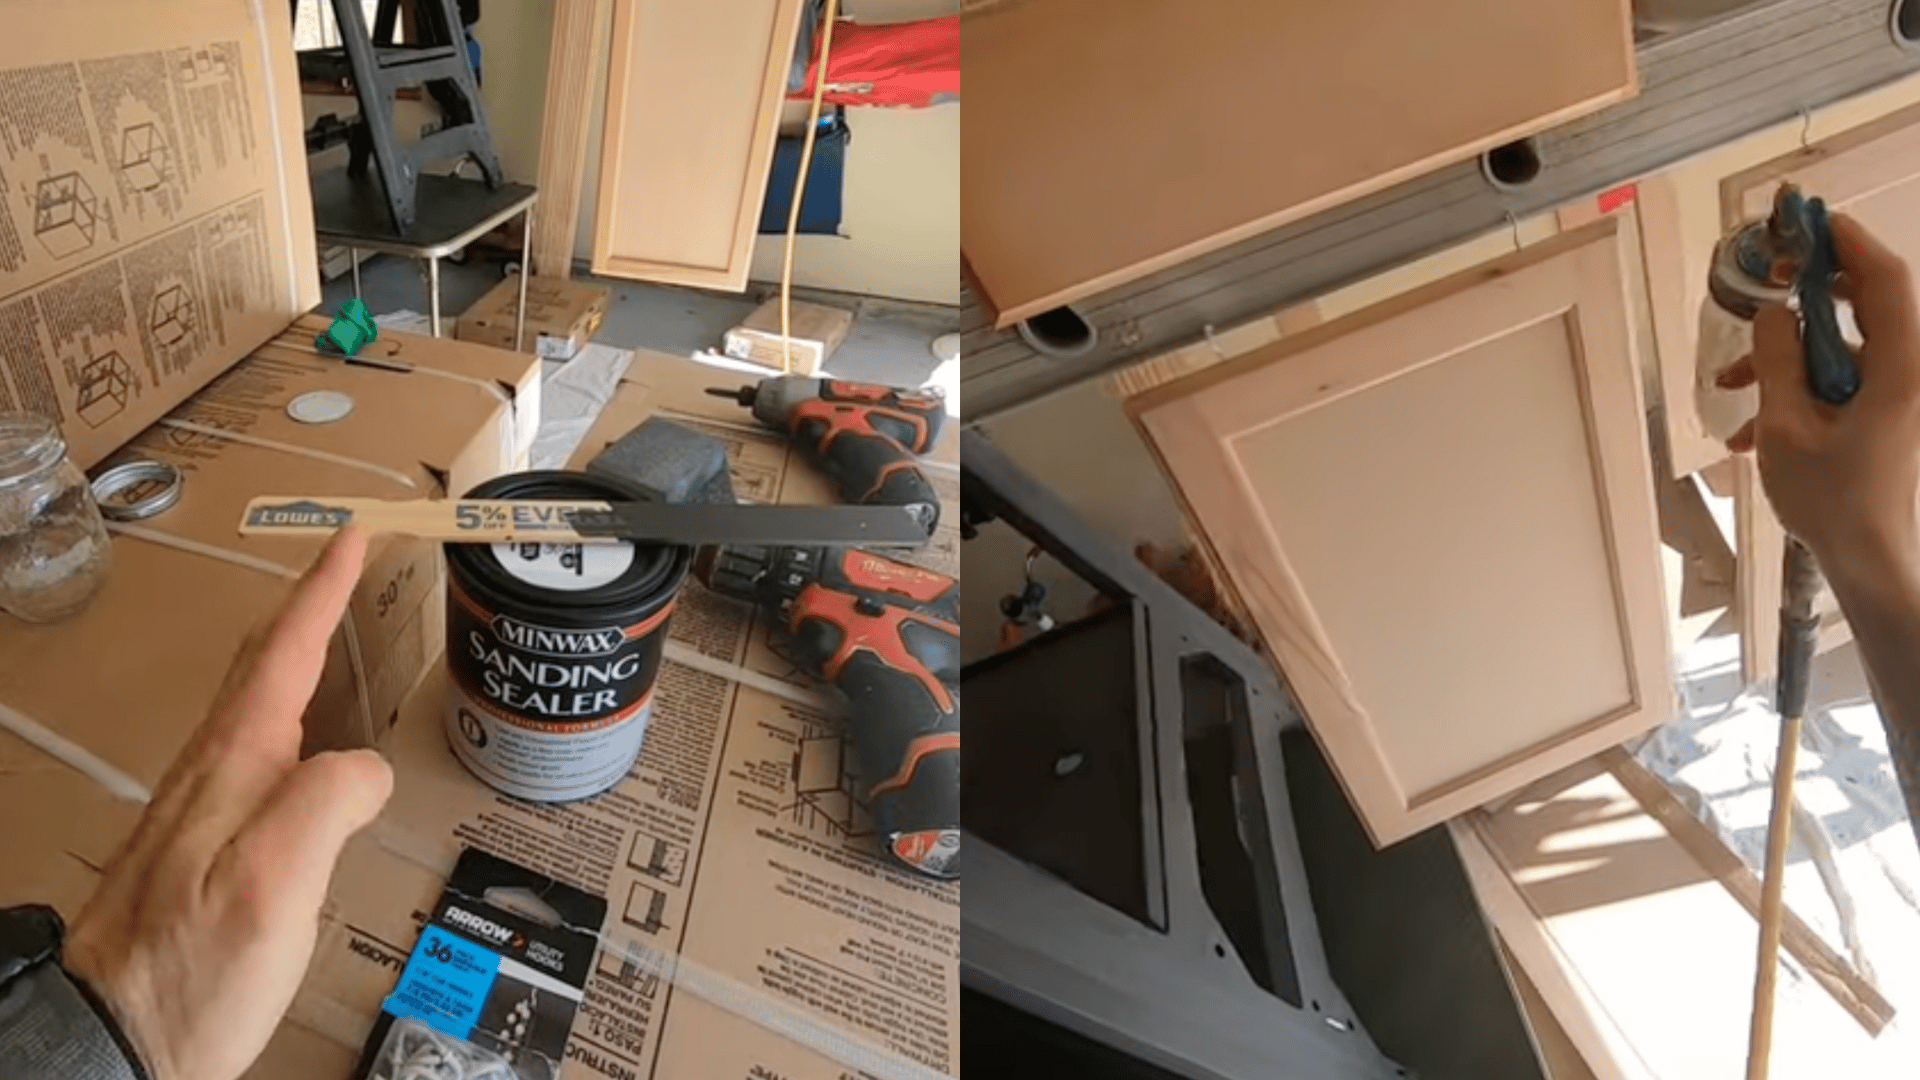
Pour sanding sealer into the Critter sprayer and set the pressure to just under 30 PSI. Spray a full coat on the door faces and cabinet frames, making sure to reach every section.
Allow the sanding sealer to dry completely so the wood fibers can rise. This prepares the surface for the smoothing process that follows.
Step 3: Smooth the Surface After the Sealer Dries
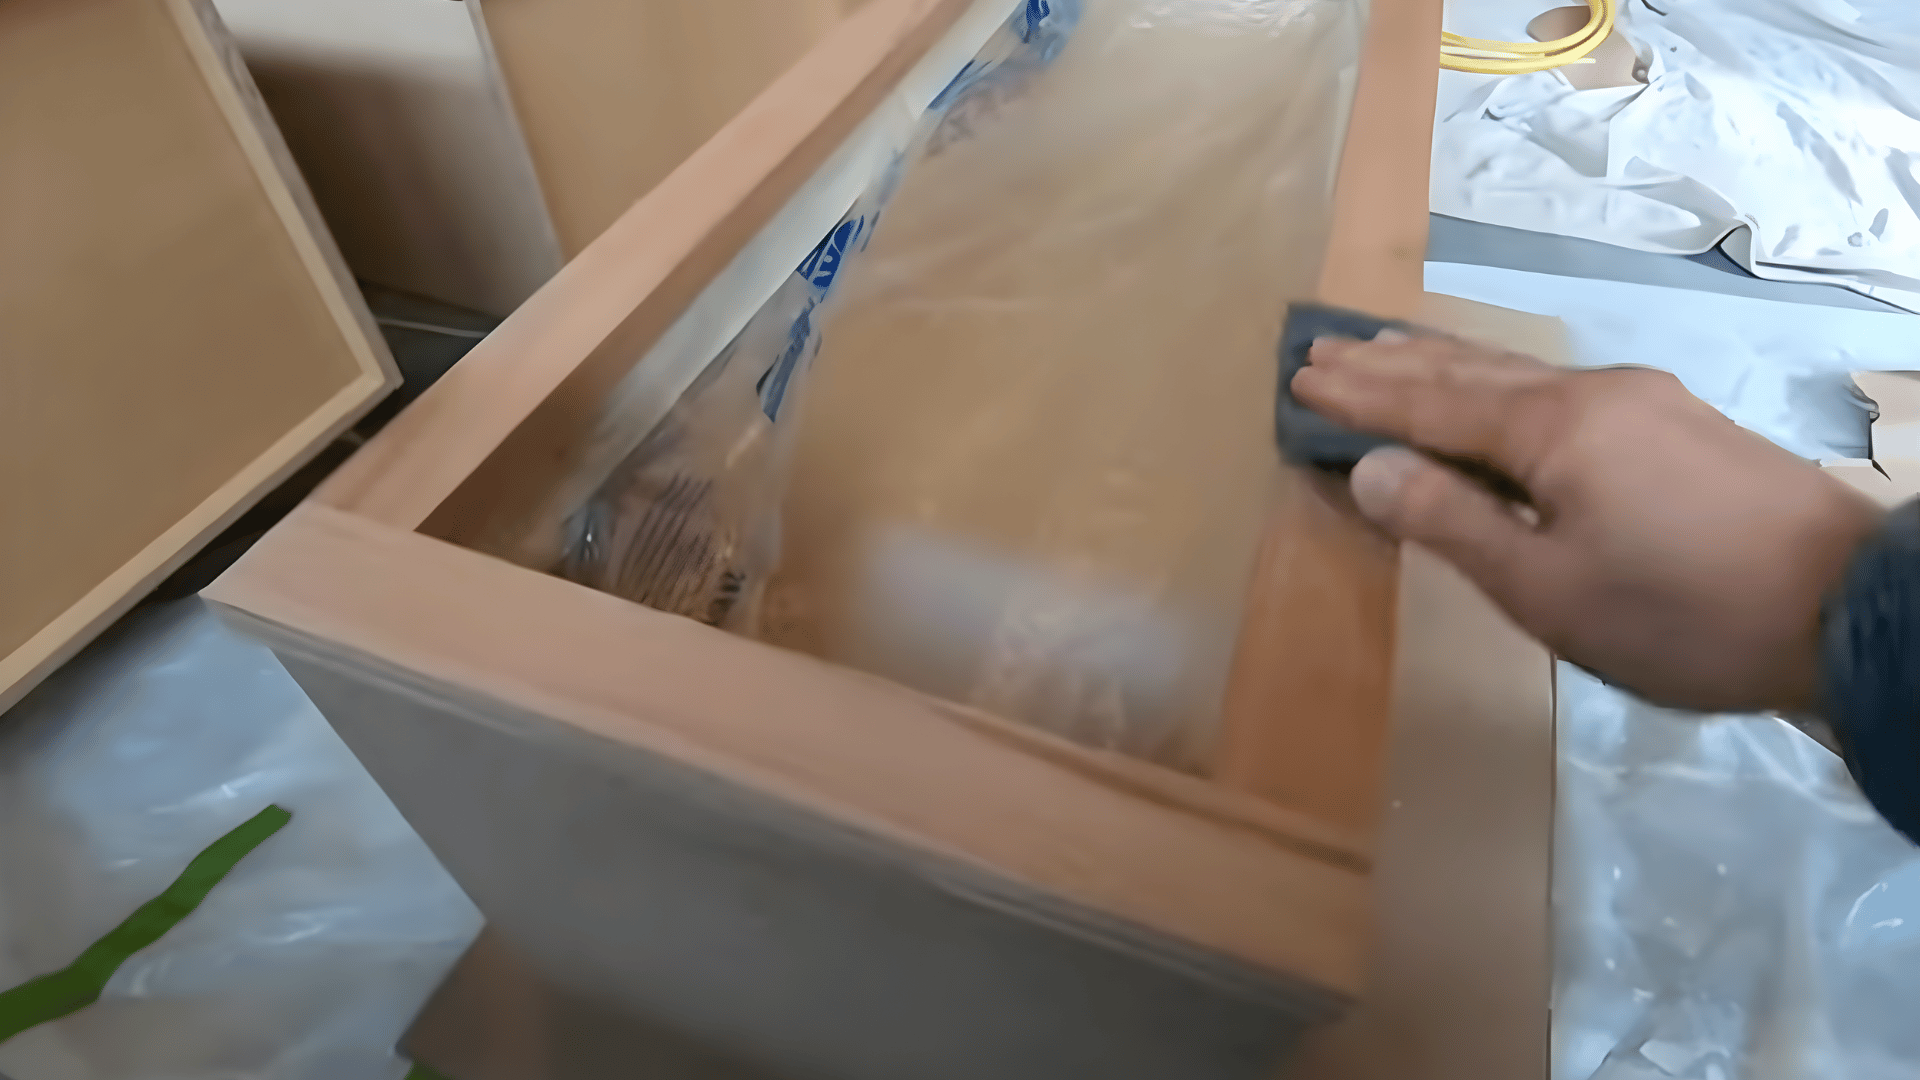
Once the sanding sealer dries, the surface will feel slightly rough because the fibers have expanded. Use a steel wool pad to gently smooth the texture.
If any area remains uneven, sand it lightly with an extra-fine block or 220-grit sandpaper. Only one or two quick passes are needed to avoid removing the sealer.
Step 4: Add a Second Coat of Sanding Sealer to the Bases
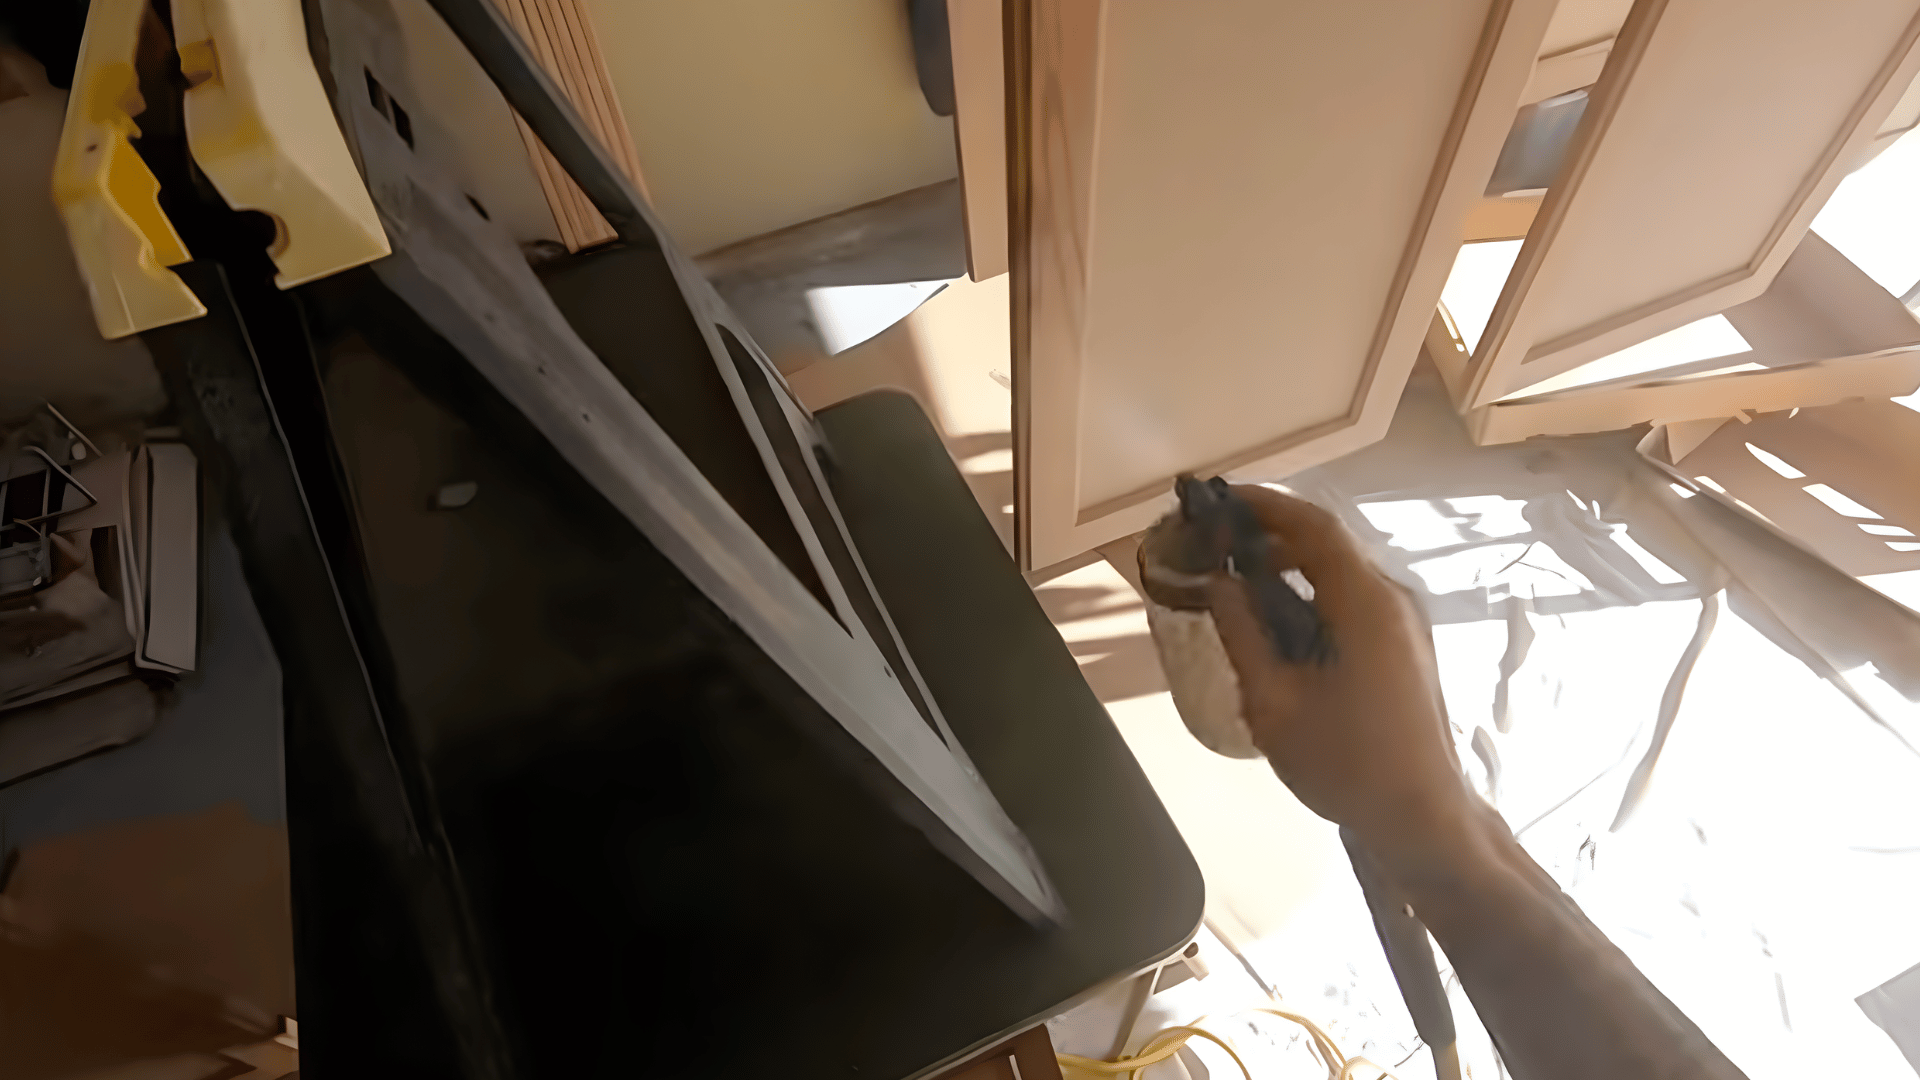
Apply a second coat of sanding sealer to the base cabinets before painting. This step creates a smoother and shinier surface for the finish.
The additional coat improves the surface quality and prepares the bases for the next stage. It builds on the first layer to create an even feel.
Step 5: Apply the First and Second Coats of Paint
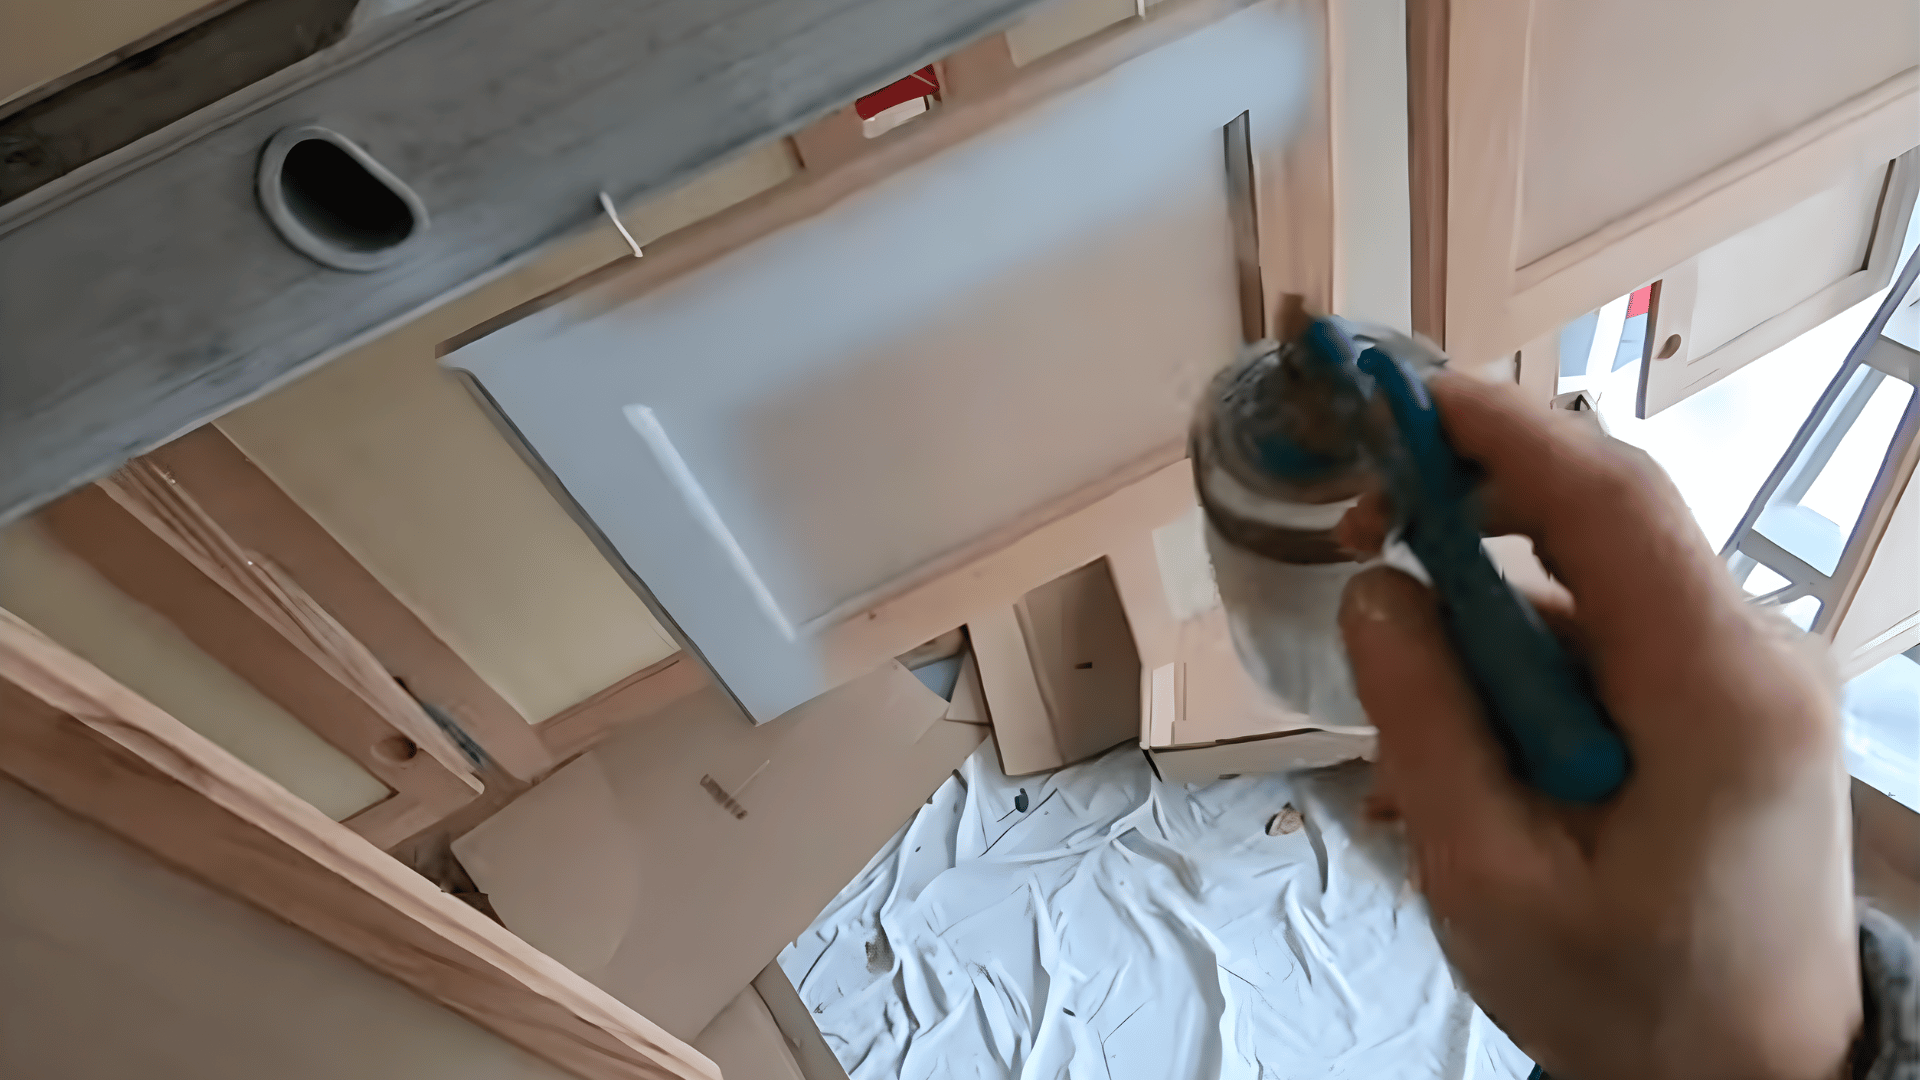
Begin spraying paint in even passes after testing the sprayer pattern. Coat the doors and cabinet faces with consistent movement.
After two coats, the surface develops a smooth feel even before sanding. These layers form the foundation for the final coat.
Step 6: Sand Before the Final Coat of Paint
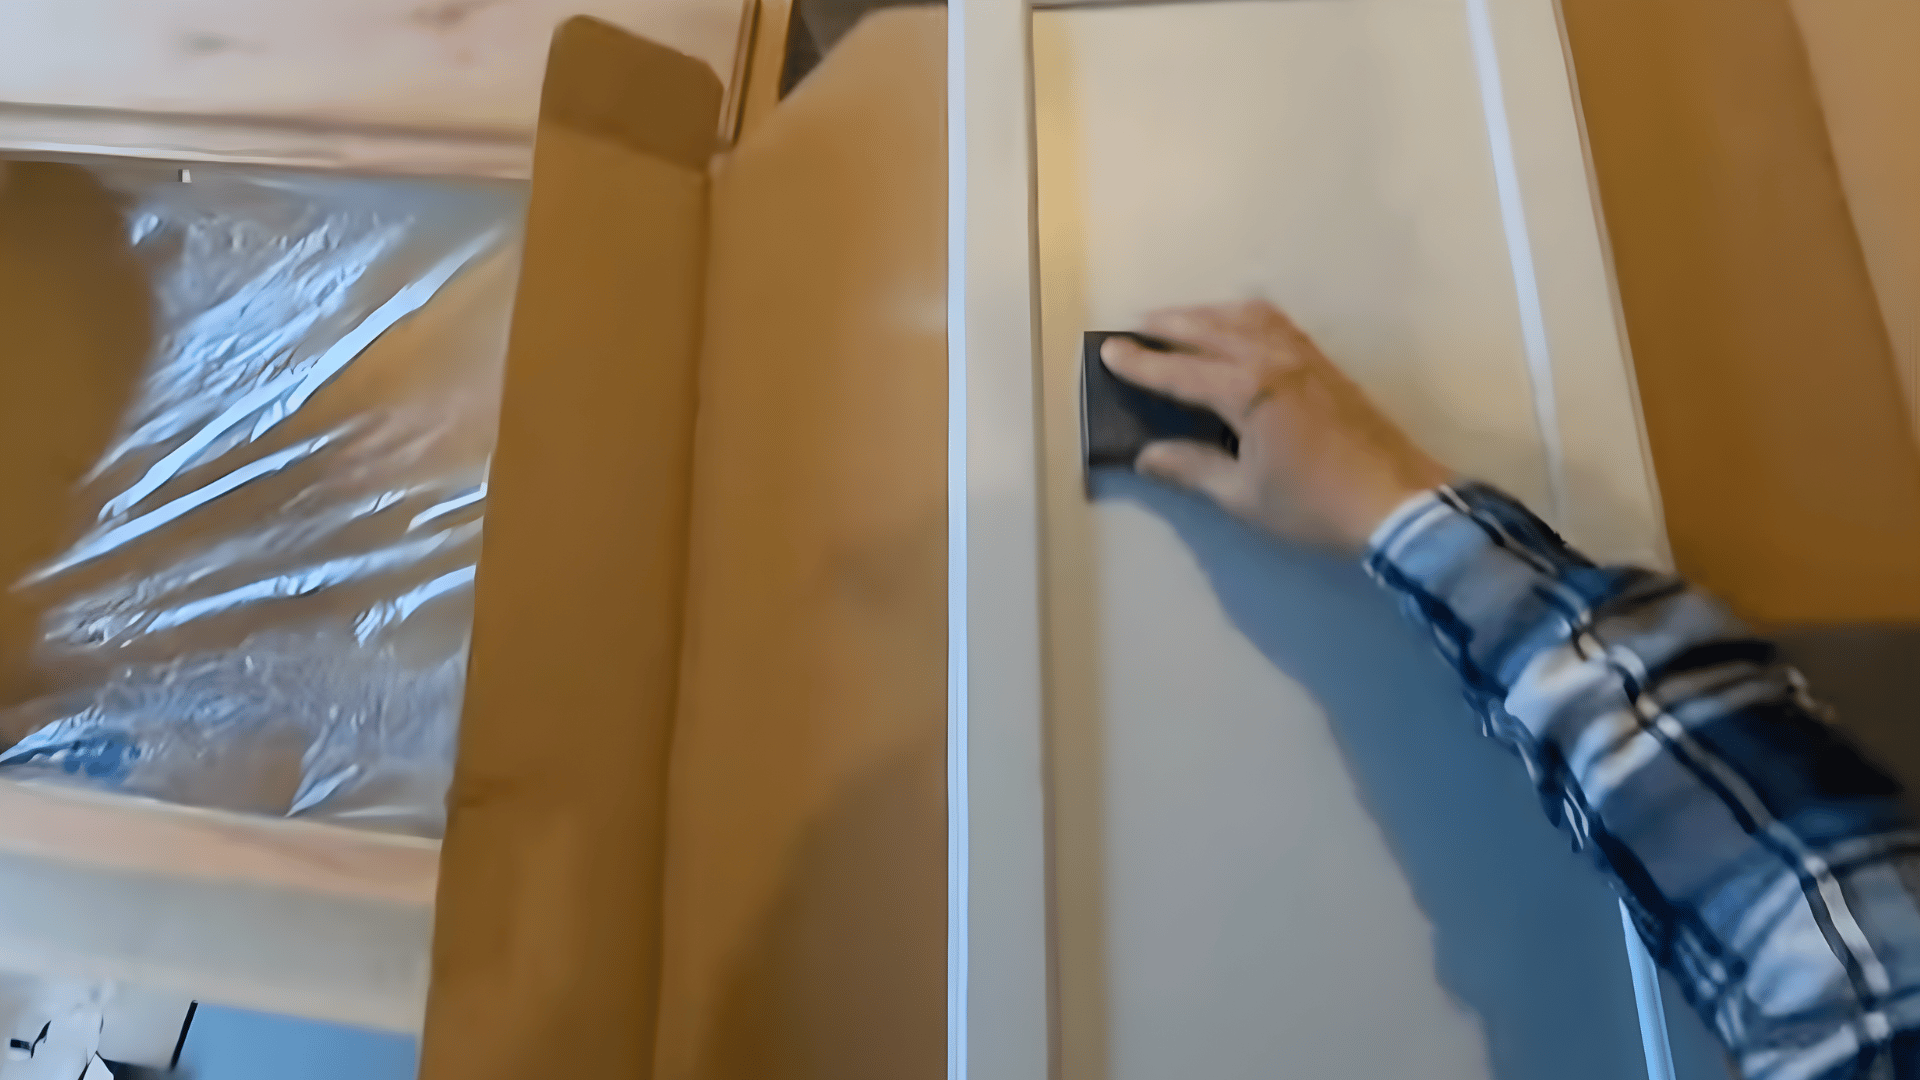
Use a sanding pad, extra-fine block, and cloth to smooth the surfaces before the third coat. This removes small bumps and prepares the doors for the next layer.
Flip the doors and sand the backs as well, since the back panels are typically rougher. A light pass with 220-grit or extra-fine sandpaper evens them out.
Step 7: Fill Imperfections With Wood Filler
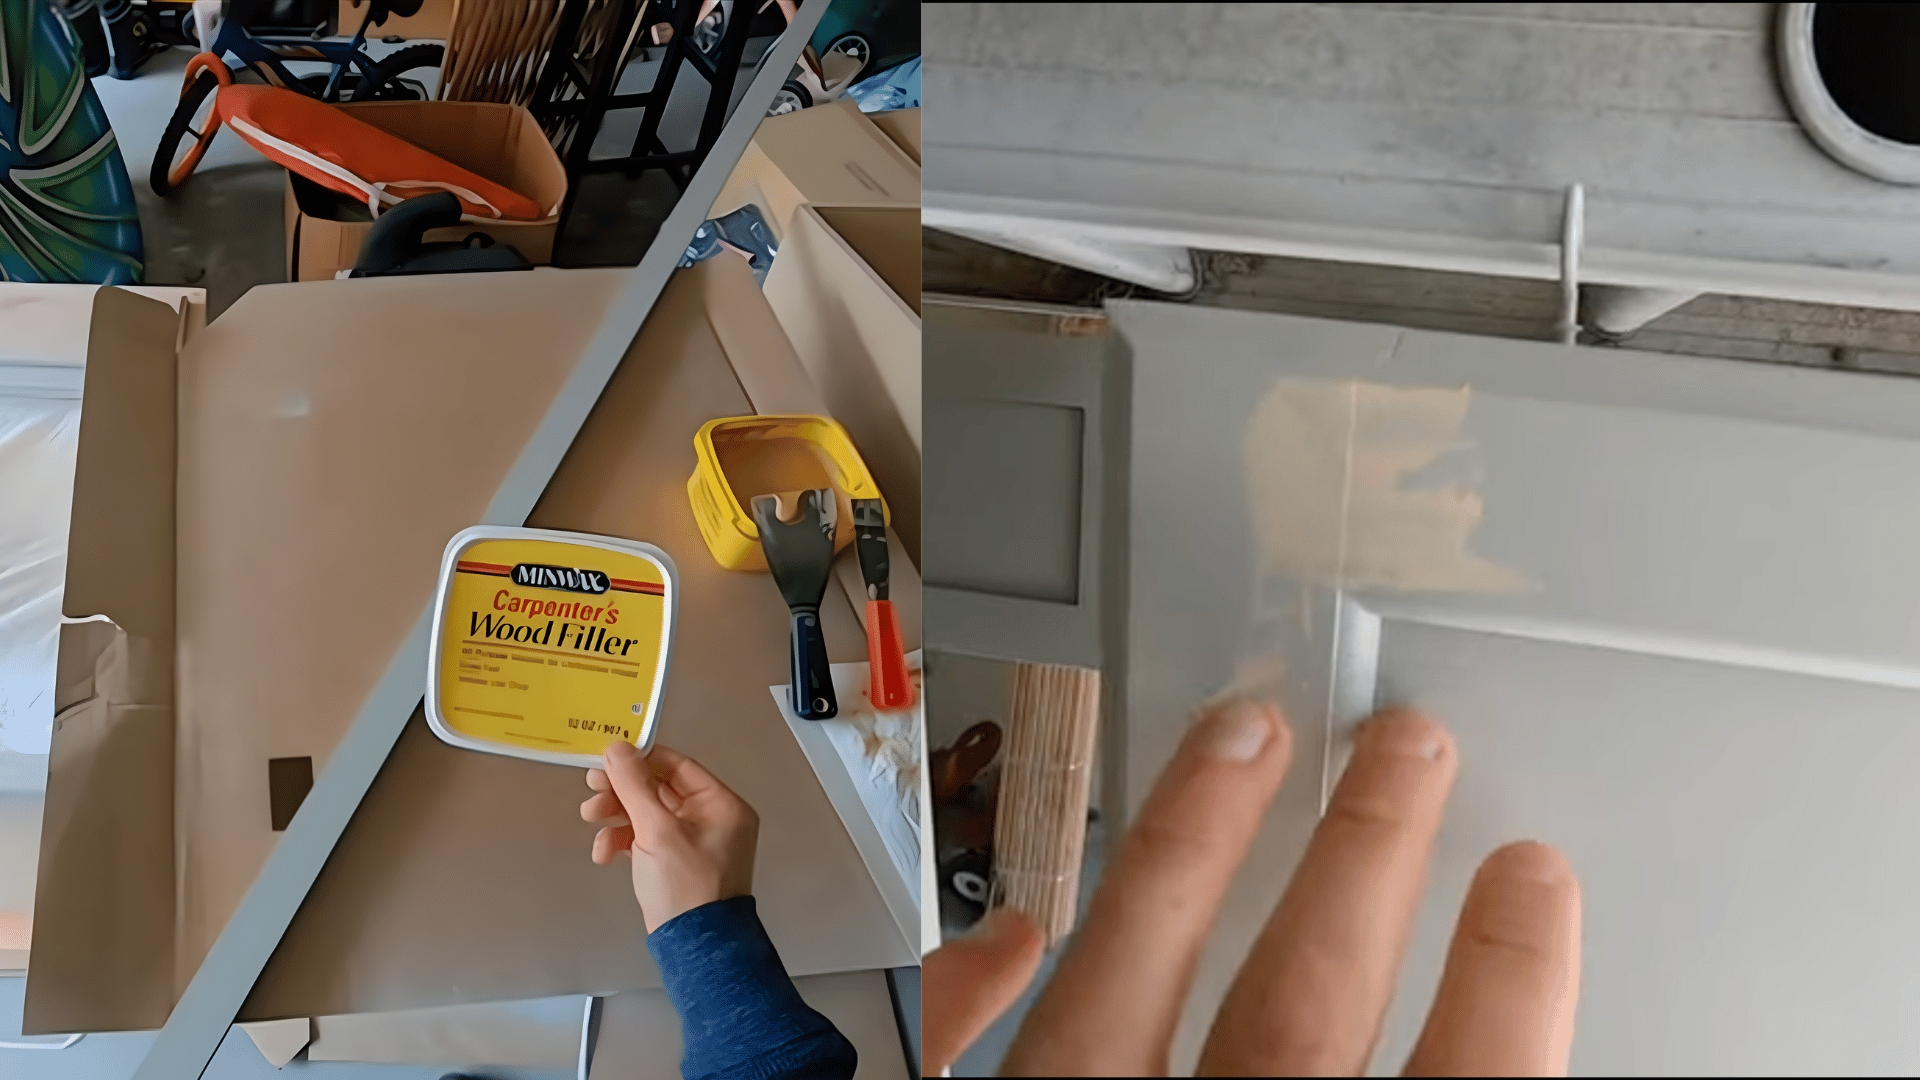
Apply wood filler to larger imperfections, dents, or rough edges. Focus on the areas that stand out and need leveling.
Allow the filler to dry before sanding. Some deeper spots may need two or three applications, depending on the damage.
Step 8: Sand the Wood Filler Smooth
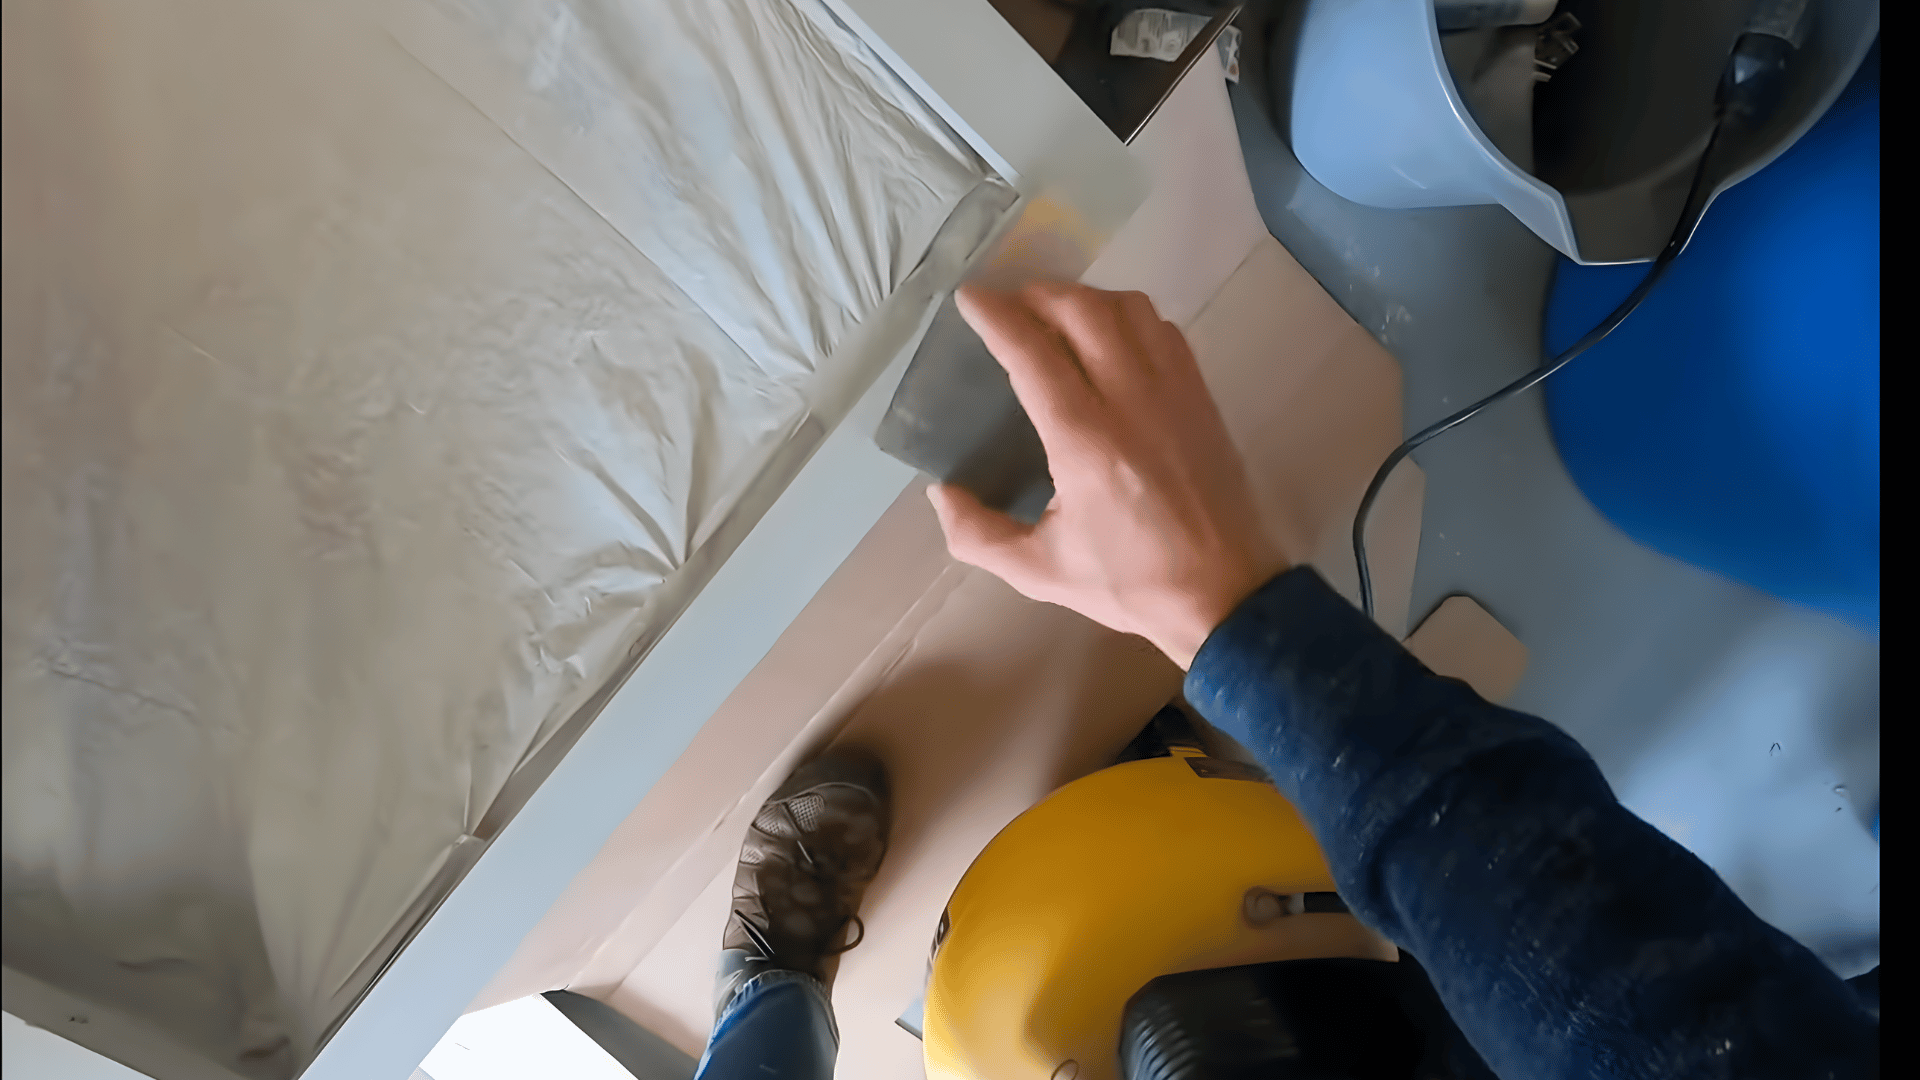
Once the filler is dry in a given spot, use a 220-grit pad to smooth it. Light sanding helps the repair blend with the rest of the surface.
Check the texture by running a hand across the area. If anything still feels raised, sand it again until smooth.
Step 9: Apply the Third Coat of Paint
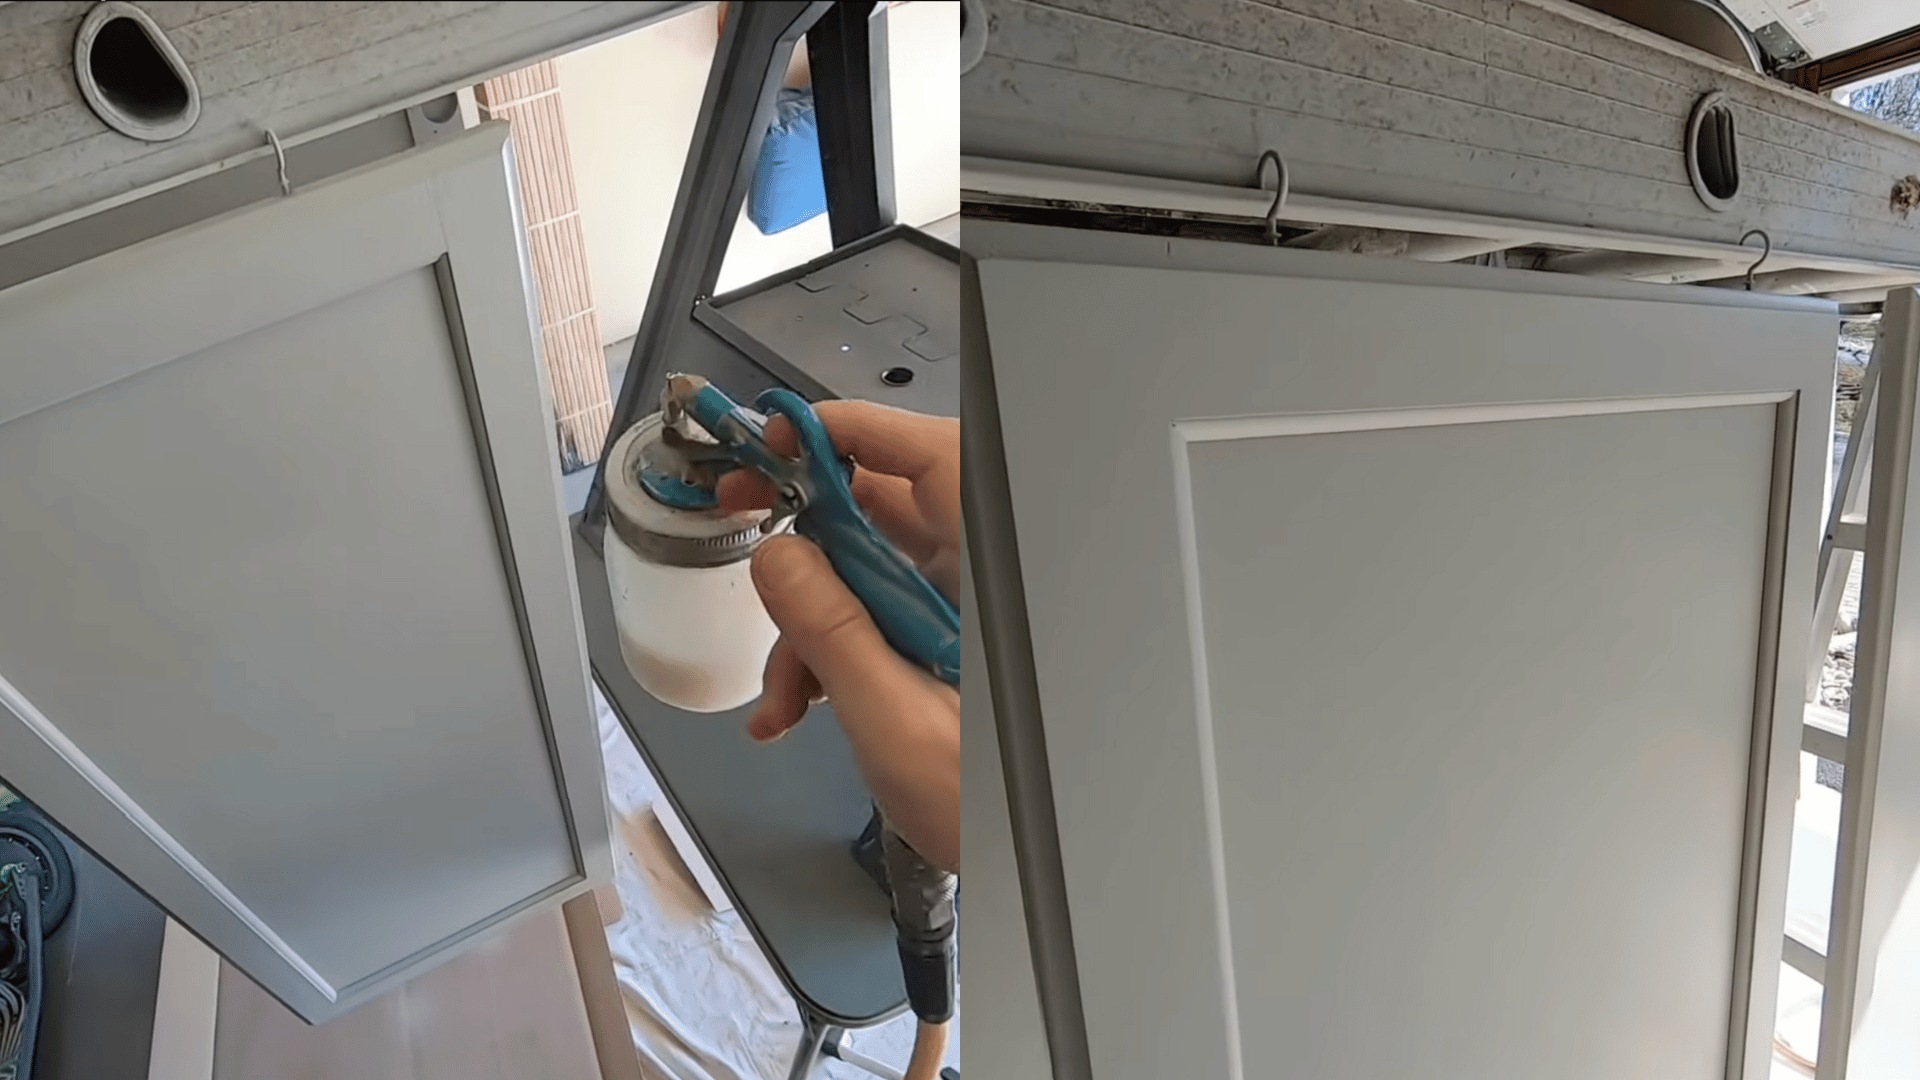
Spray the third and final coat of paint after all sanding and repairs are complete. This coat finishes the color and evens out the surface.
Allow the paint to dry fully so the clear finish can be applied. The surface should now feel smooth and ready for the last step.
Step 10: Apply the Polycrylic Protective Finish
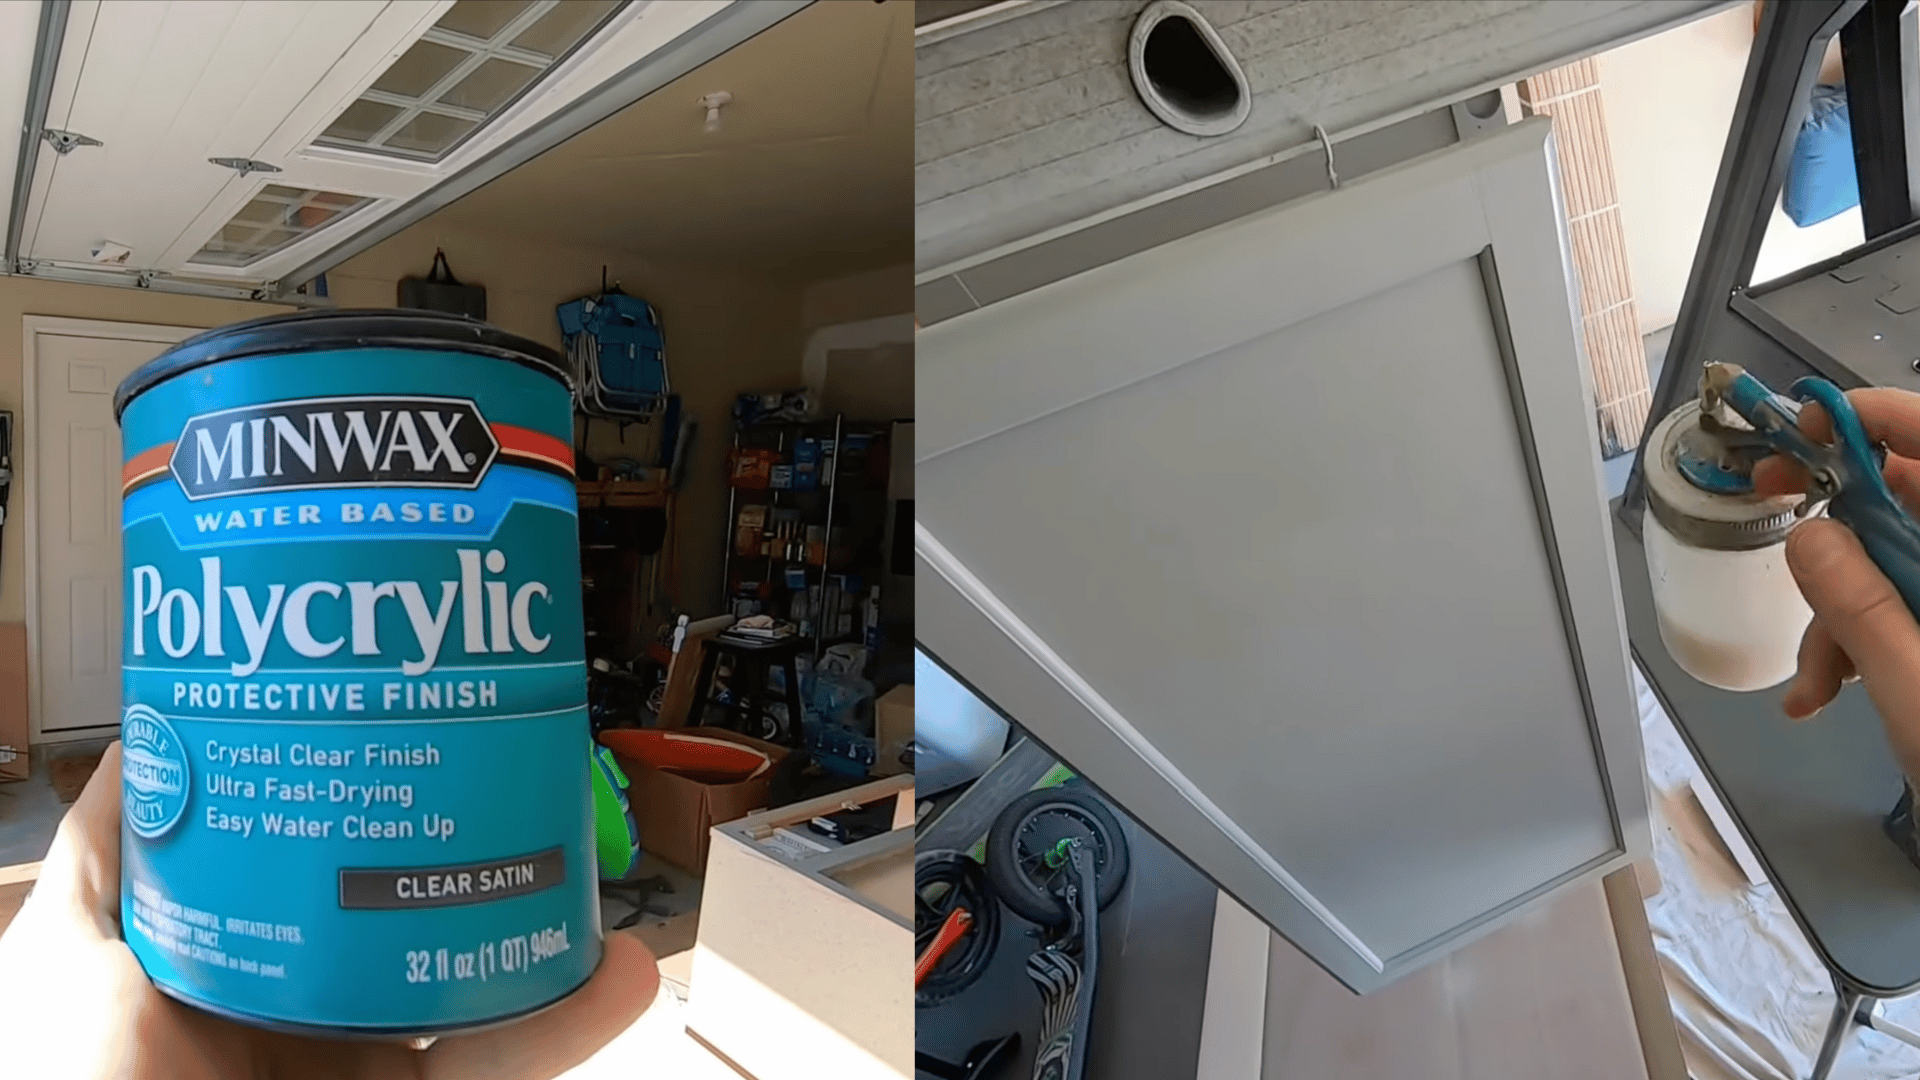
Pour polycrylic into the sprayer and adjust the pressure to around 20–30 PSI. Spray two coats to create a protective finish.
Polycrylic keeps the paint from scratching and completes the look. This step results in a smooth and glass-like surface.
For a more detailed walkthrough of the whole process, check out the complete DIY video tutorial below:
Common Mistakes to Avoid
- Skipping primer: Paint won’t stick well to bare wood without it. Primer seals the surface and gives paint something to grip.
- Skipping drying time: Painting over damp paint can cause uneven texture or peeling later.
- Using thick coats: Heavy layers take longer to dry and often leave streaks or drips. Thin, even coats always look smoother.
- Ignoring sanding: Skipping or rushing sanding leaves rough spots that show through the paint. Light sanding between coats keeps the surface consistent.
- Painting in poor lighting: Dim light hides missed spots and uneven areas. Always check your work under bright, even light.
- Neglecting cleaning tools: Dirty brushes or rollers create texture marks. Wash them after each coat for the best results.
Each of these mistakes is easy to avoid with a bit of patience and attention. Taking your time through every step leads to cabinets that look sharp and stay that way.
Conclusion
Learning how to paint unfinished cabinets gives you the chance to create a smooth, durable finish that looks clean and professional without paying for new cabinetry.
When you follow each stage, you build a surface that holds up to daily use and stays sharp over time. The real difference comes from slow, steady prep and thin, even layers that let the paint bond the right way.
With the right products, lighting, and a little patience, your cabinets can look completely transformed.
If you’re ready to start, gather your tools, set up your workspace, and begin your first coat today!