


Painting kitchen cabinets can change the whole room without the cost of replacing them.
If the doors look worn, dated, or dull, a fresh finish can make the kitchen feel cleaner and more updated. Learning how to paint kitchen cabinets is not difficult, but the result depends on preparation.
Grease, dust, glossy finishes, and rushed drying time can all ruin the final look. That is why cleaning, sanding, priming, and curing matter just as much as the paint color.
I will walk you through the tools, steps, paint choices, and mistakes to avoid so your cabinets look smooth and hold up to daily use.
Why Cabinet Prep Matters More than the Paint You Pick?
A lasting cabinet finish begins with the surface underneath, not the price printed on the paint can. Even premium cabinet paint cannot bond properly through grease, dust, or a glossy old finish.
Kitchen cabinets collect cooking oil, fingerprints, food residue, and cleaning-product buildup over time.
These layers may be difficult to see, but they can prevent primer from gripping the surface evenly.
This matters even more if you are weighing paint against a full swap, since what it costs to paint cabinets usually runs far below the price of replacement.
Cleaning removes residue, while light sanding creates the slightly rough texture that bonding primer needs. Primer then seals stains and gives the cabinet paint a stable base for daily use.
Skipping any of these steps can cause peeling, bubbling, uneven coverage, or visible brush marks within months.
Careful preparation takes longer, but it determines how smooth the cabinets look and how well the finish lasts.
Tools and Materials You Will Need
Gather everything before removing the first door. Having the right supplies nearby prevents interruptions once cleaning, priming, and painting begin.
| Item | Why You Need It |
|---|---|
| Screwdriver or drill | Removes doors, drawers, hinges, and hardware |
| Painter’s tape | Labels parts and protects nearby surfaces |
| TSP substitute or degreaser | Removes cooking grease and residue |
| 150–220 grit sandpaper | Dulls the finish so primer can bond |
| Sanding sponge | Reaches corners and detailed profiles |
| Microfiber cloths | Removes dust before priming and painting |
| Bonding primer | Improves adhesion and helps block stains |
| Cabinet paint | Creates a durable, washable topcoat |
| Angled brush | Covers corners, edges, and detailed areas |
| Mini foam or microfiber roller | Produces an even finish on flat surfaces |
| Wood filler | Repairs dents or fills unused hardware holes |
| Drop cloths and masking paper | Protect floors, counters, and appliances |
| Gloves, goggles, and respirator | Protect against dust, fumes, and splashes |
With these supplies ready, you can move through each stage without stopping and give every surface the preparation it needs.
Step-by-Step: How to Paint Kitchen Cabinets
Painting kitchen cabinets takes about three to four working days, plus curing time. Follow the correct order and allow each coat to dry fully.
Step 1: Identify the Cabinet Material and Existing Finish
Check whether each surface is solid wood, MDF, melamine, laminate, or vinyl-covered particleboard. Doors, boxes, fillers, and exposed side panels may require different preparation methods.
In my cabinetry work, the finishes that fail fastest are almost always the ones where this identification step got rushed, so it is worth the extra ten minutes before any sanding begins.
Test an inconspicuous area with a small amount of acetone while wearing gloves and providing ventilation.
If the finish softens or transfers, ask a paint specialist which compatible primer and coating to use.
Step 2: Label and Remove the Doors and Hardware
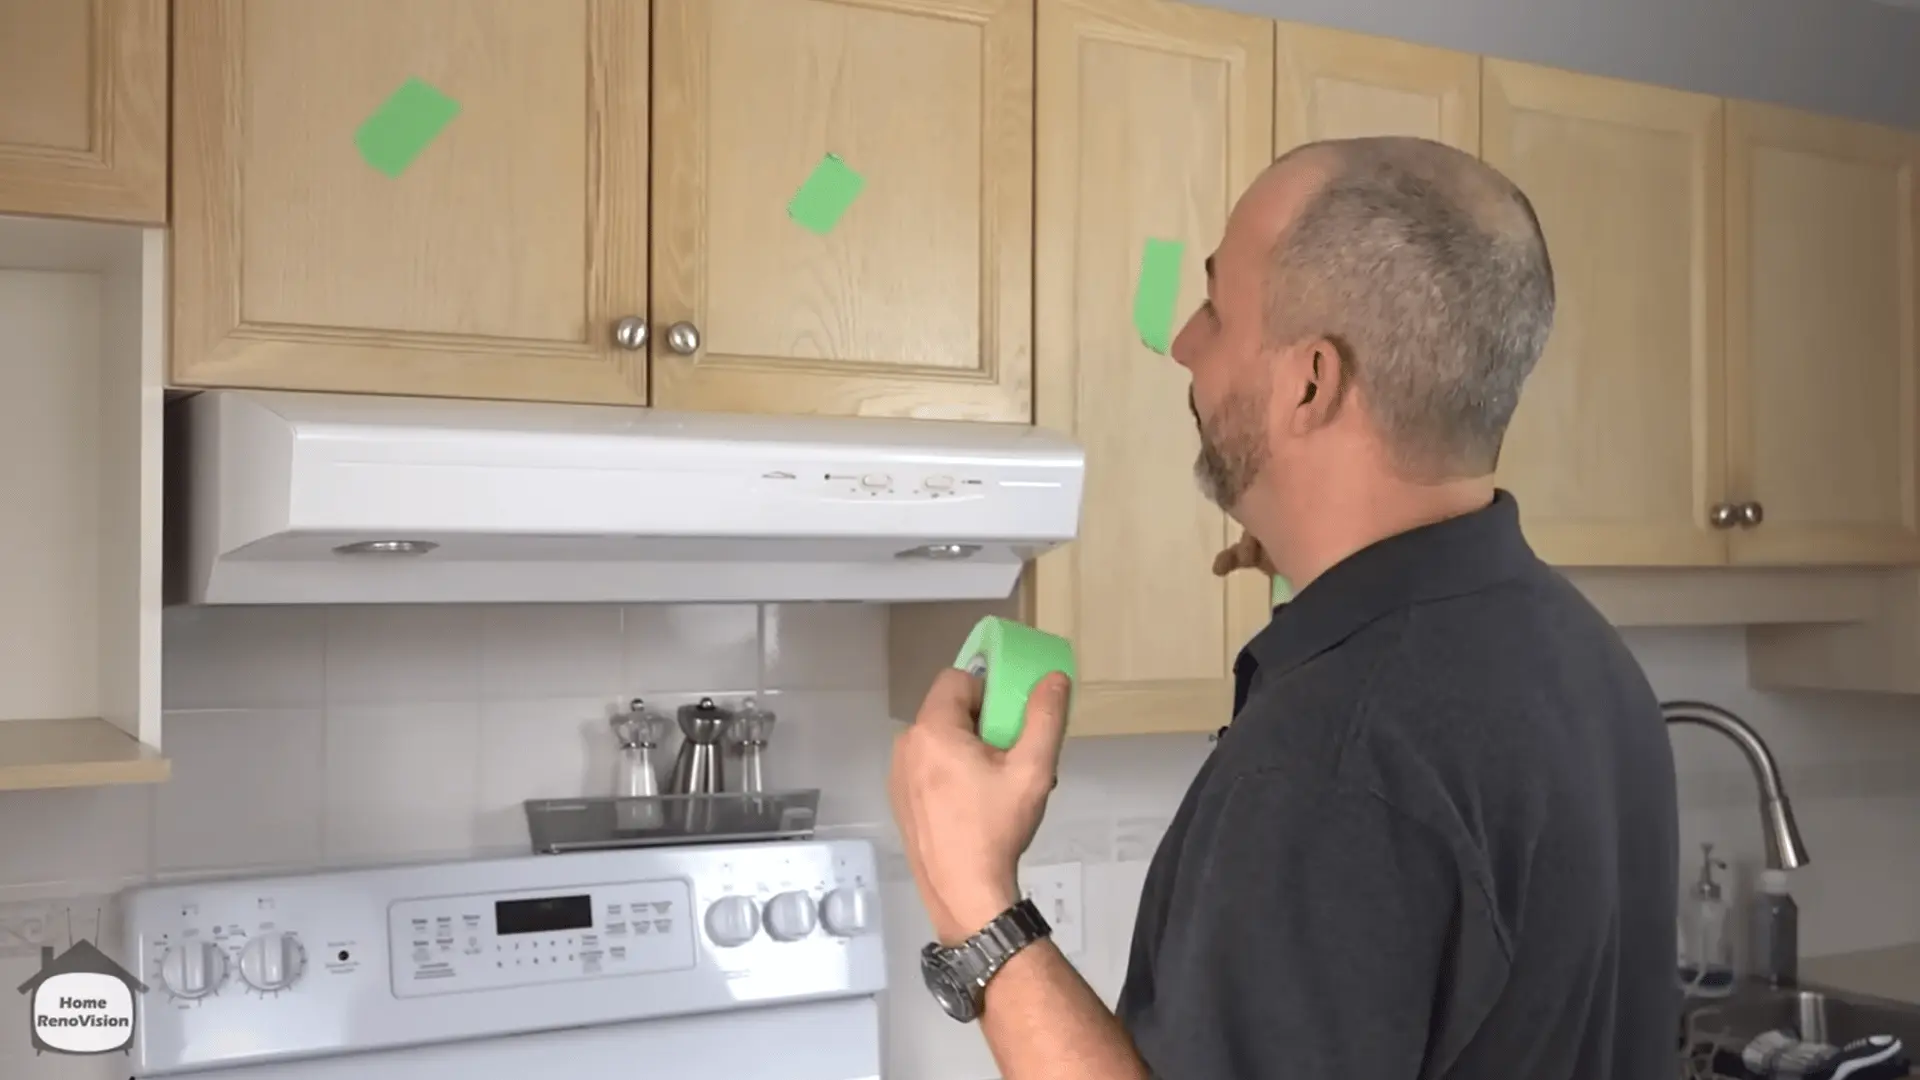
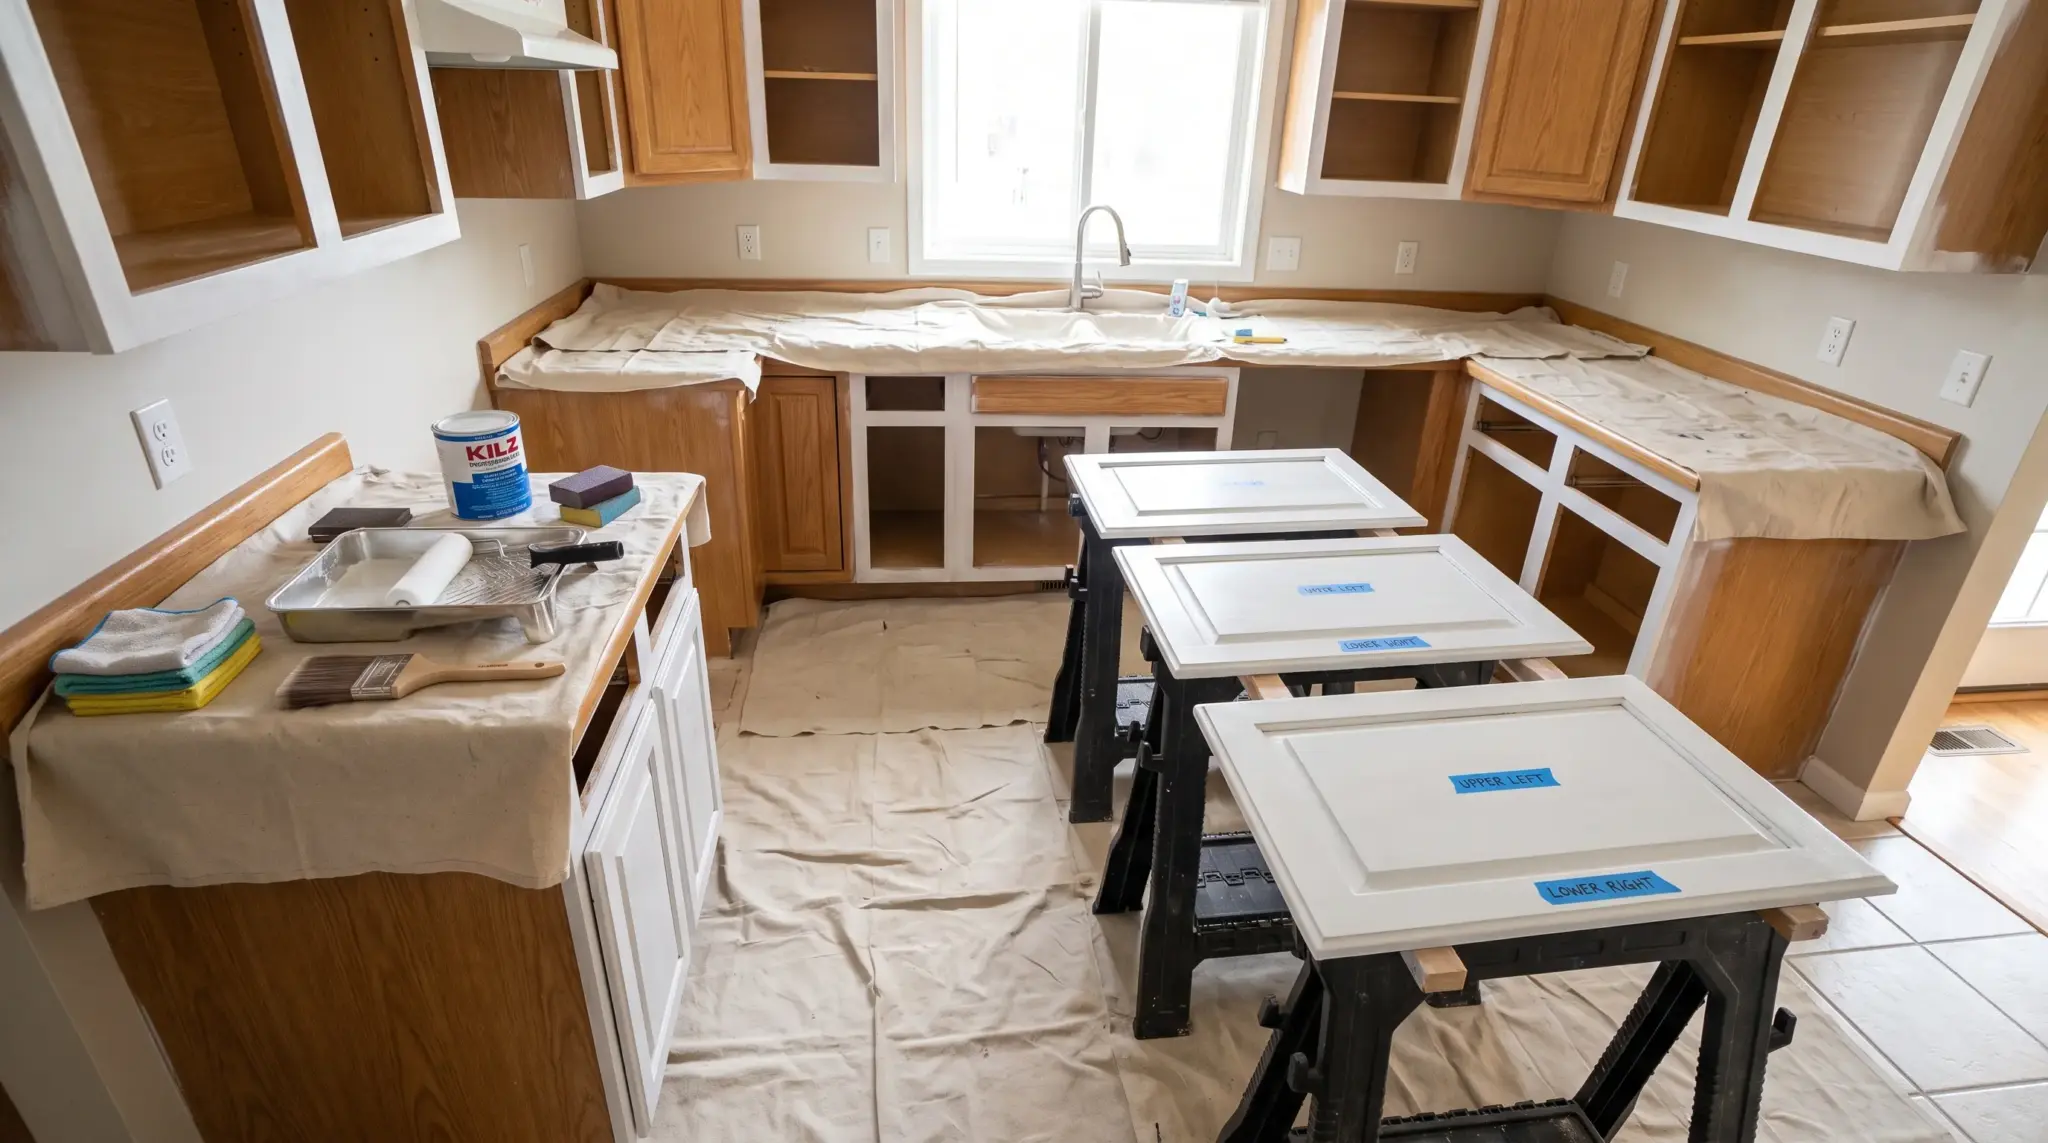
Number doors and drawers from the upper left, moving across the kitchen in order. Matching each piece to its original opening reduces hinge adjustments during reinstallation.
Release each hinge or remove the screws connecting it to the door.
Place hinges, handles, screws, and related parts in numbered freezer bags for safe storage.
Step 3: Prepare a Separate Work Area
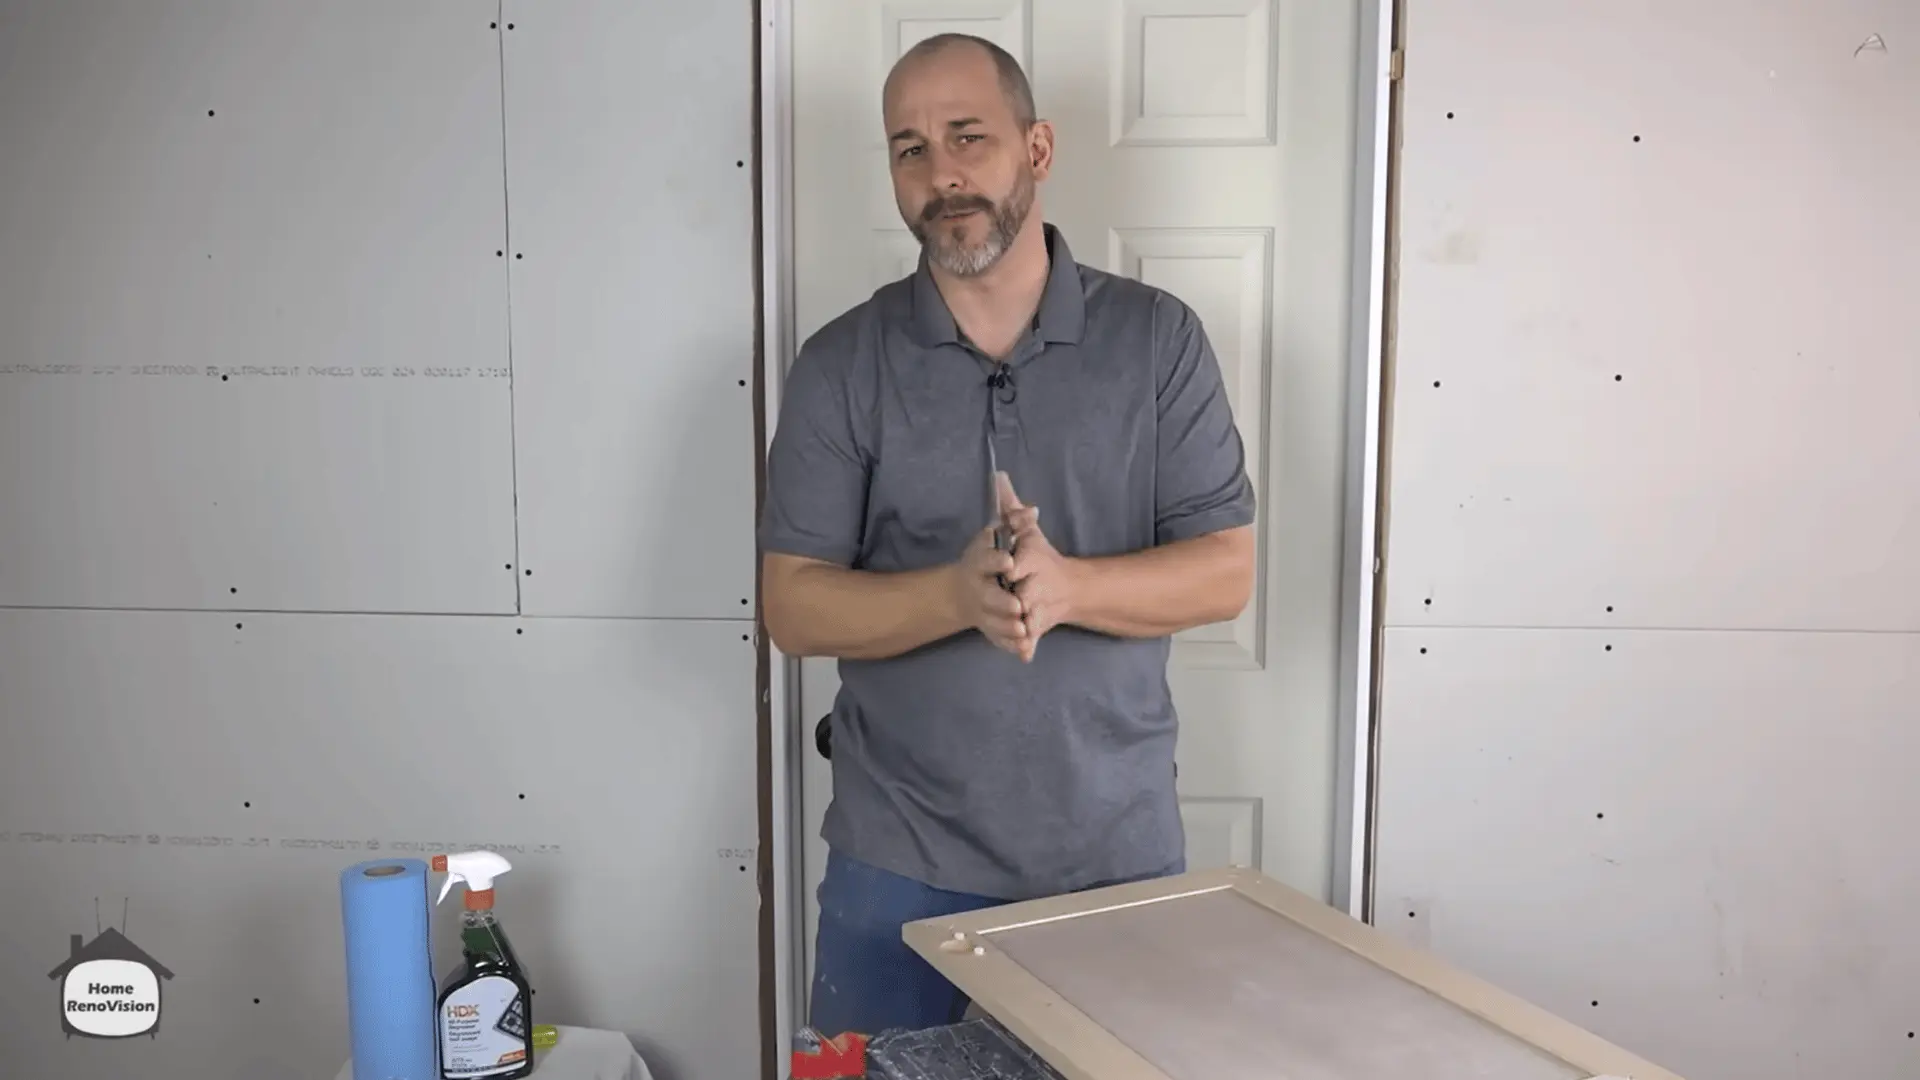
Set up a painting station in a ventilated garage, basement, or protected room.
Working outside the kitchen keeps the space usable and limits dust around food areas. Lay down drop cloths and raise doors on stable wood supports for better airflow.
Keep the drying area clean, level, and protected from moisture and direct sunlight.
Step 4: Clean the Cabinet Surfaces
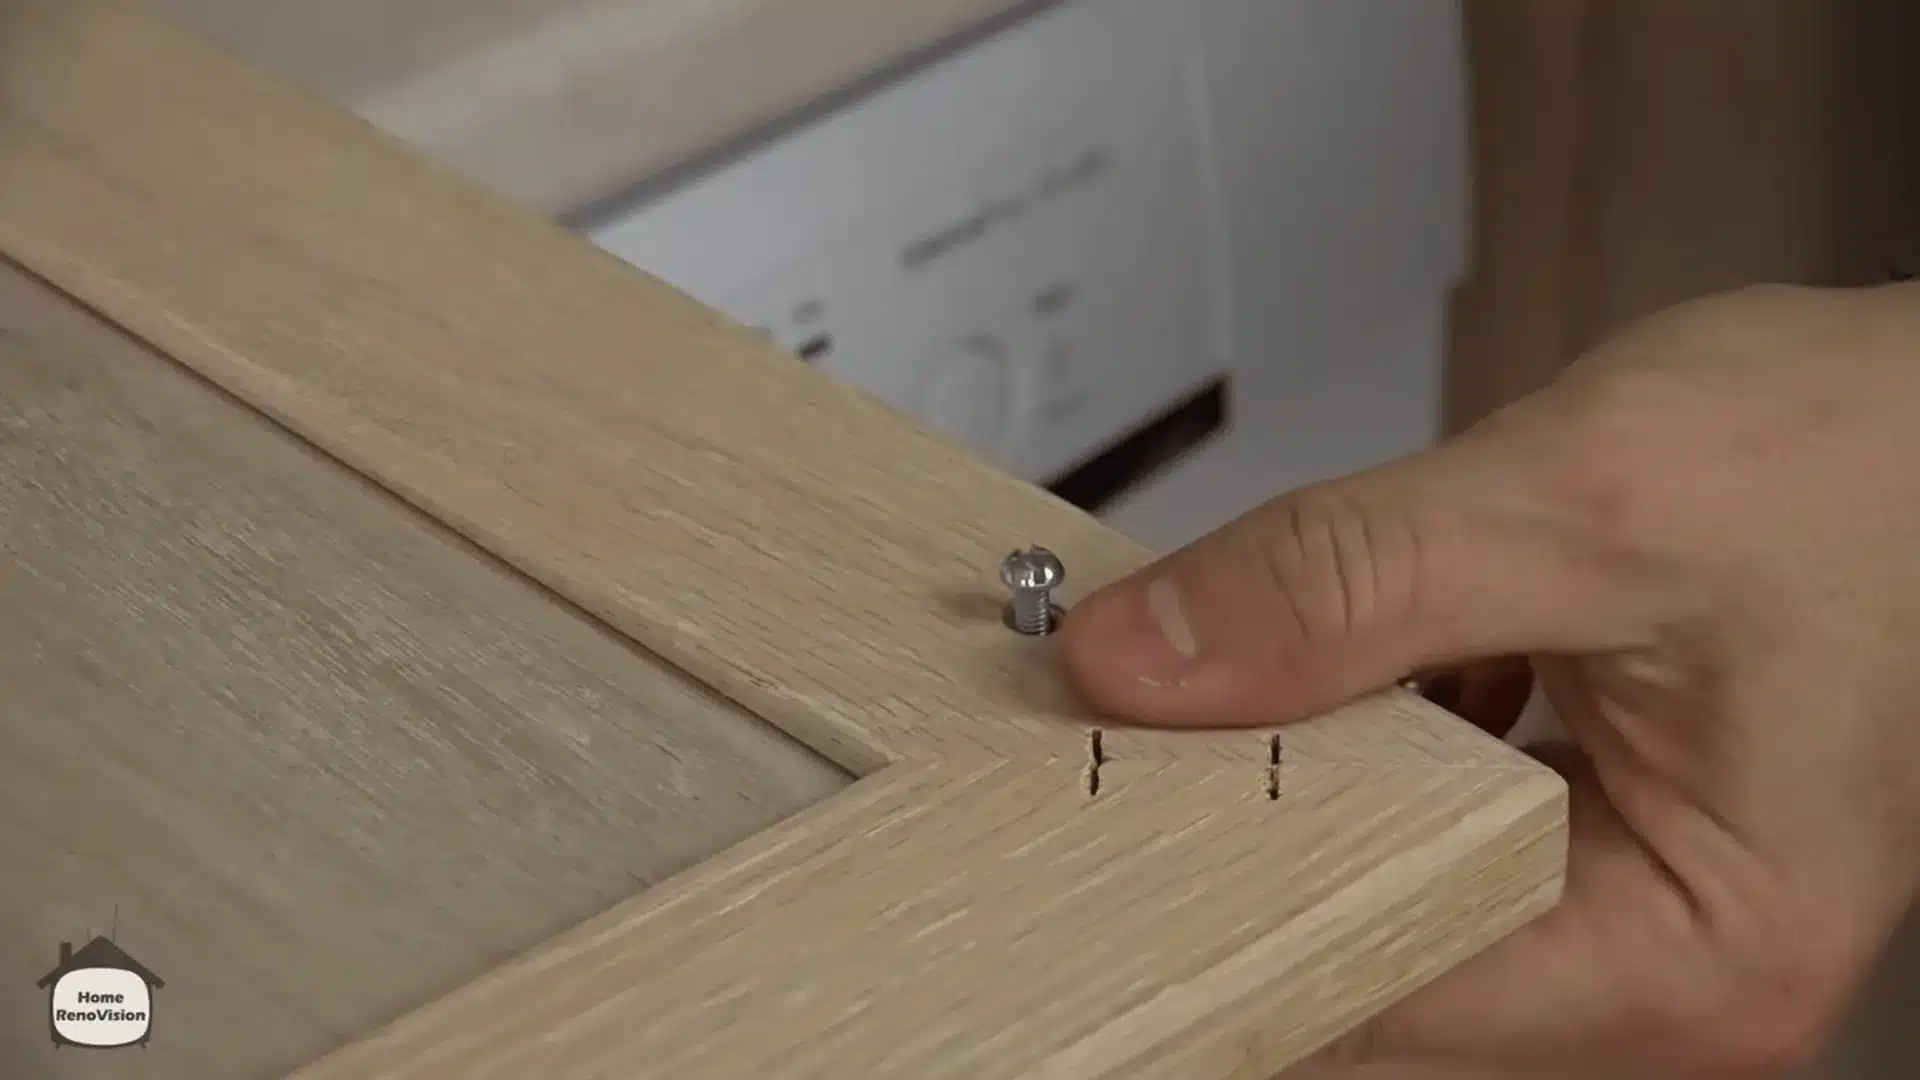
Remove bumpers, then clean every paintable surface before sanding.
Use TSP substitute or a suitable degreaser to remove grease, fingerprints, dust, and cooking residue. Pay close attention to handles, upper edges, and cabinets near the stove.
Follow the cleaner’s rinsing instructions, then let every surface dry completely.
Step 5: Scuff the Doors and Cabinet Frames
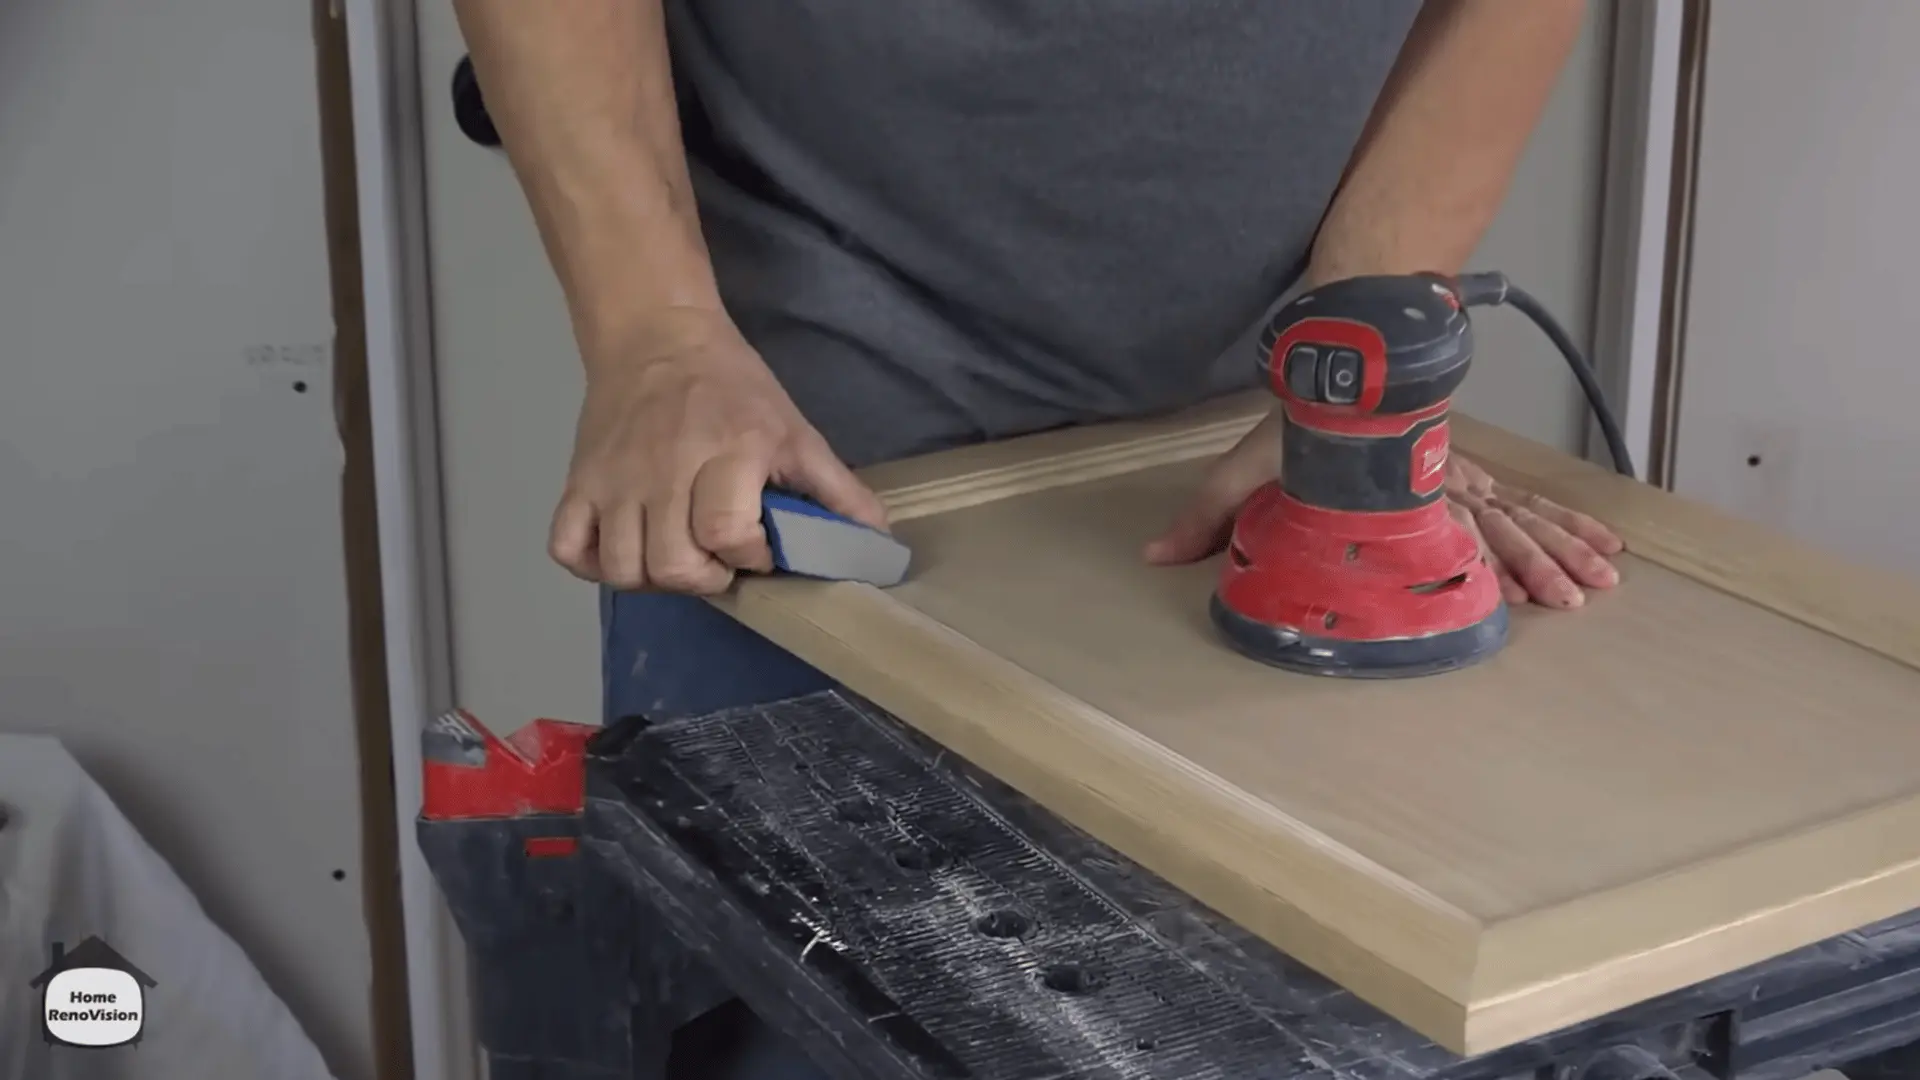
Scuff solid wood doors with 120- to 150-grit sandpaper without removing the finish to bare wood. Use a sanding sponge inside grooves and detailed profiles that a powered sander cannot reach.
Lightly scuff laminate, melamine, and vinyl surfaces by hand to avoid cutting through the thin outer layer.
Wear a dust mask, then remove all dust with a vacuum, tack cloth, or damp cloth.
Step 6: Apply a Compatible Transition Primer
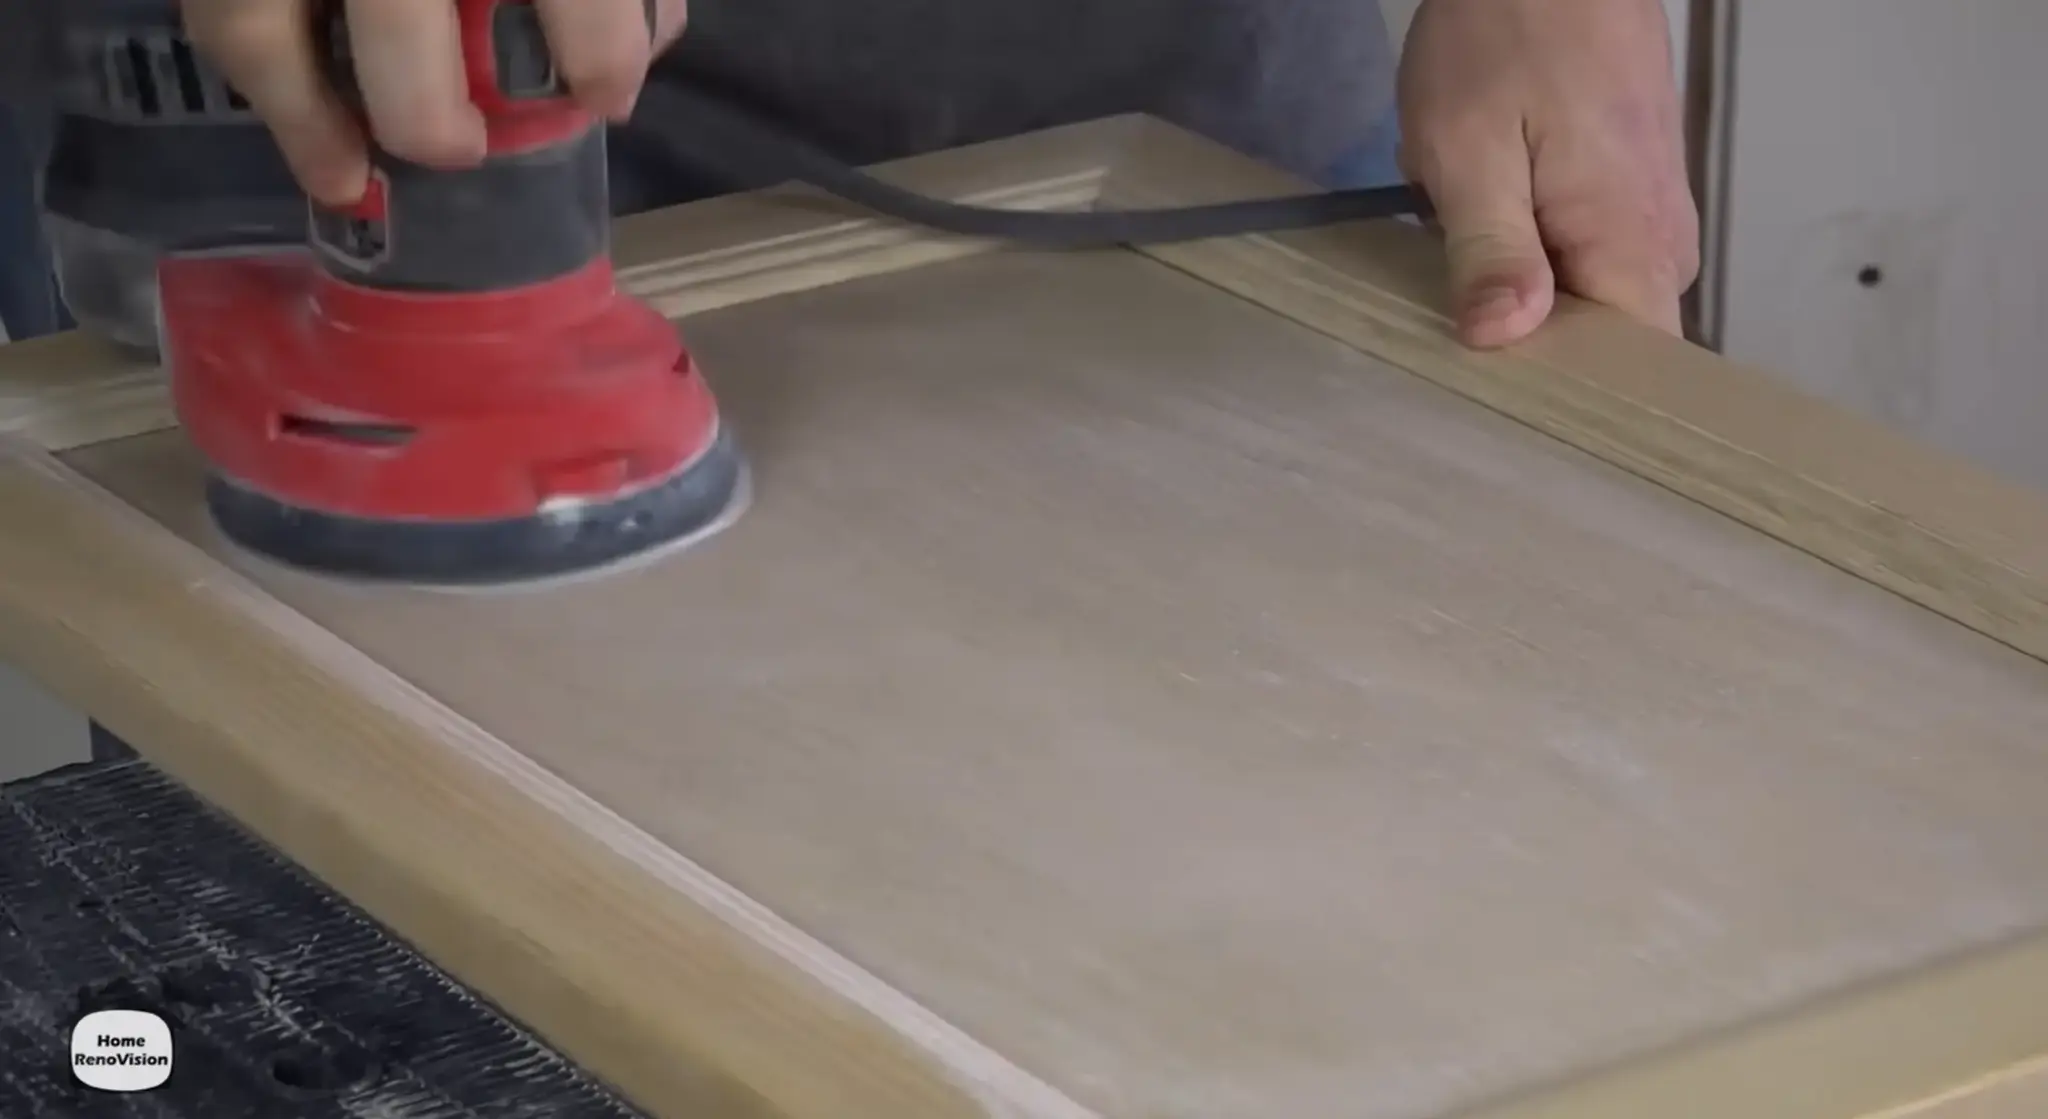
Choose a transition or bonding primer that works with both the old finish and new paint.
Use a stain-blocking primer where wood tannins, dark marks, or discoloration may bleed through.
Brush the detailed sections and edges first, then roll the flat areas with a microfiber roller. Apply a thin coat and remove pooling, bubbles, ridges, or drips before drying.
Step 7: Sand the Dried Primer
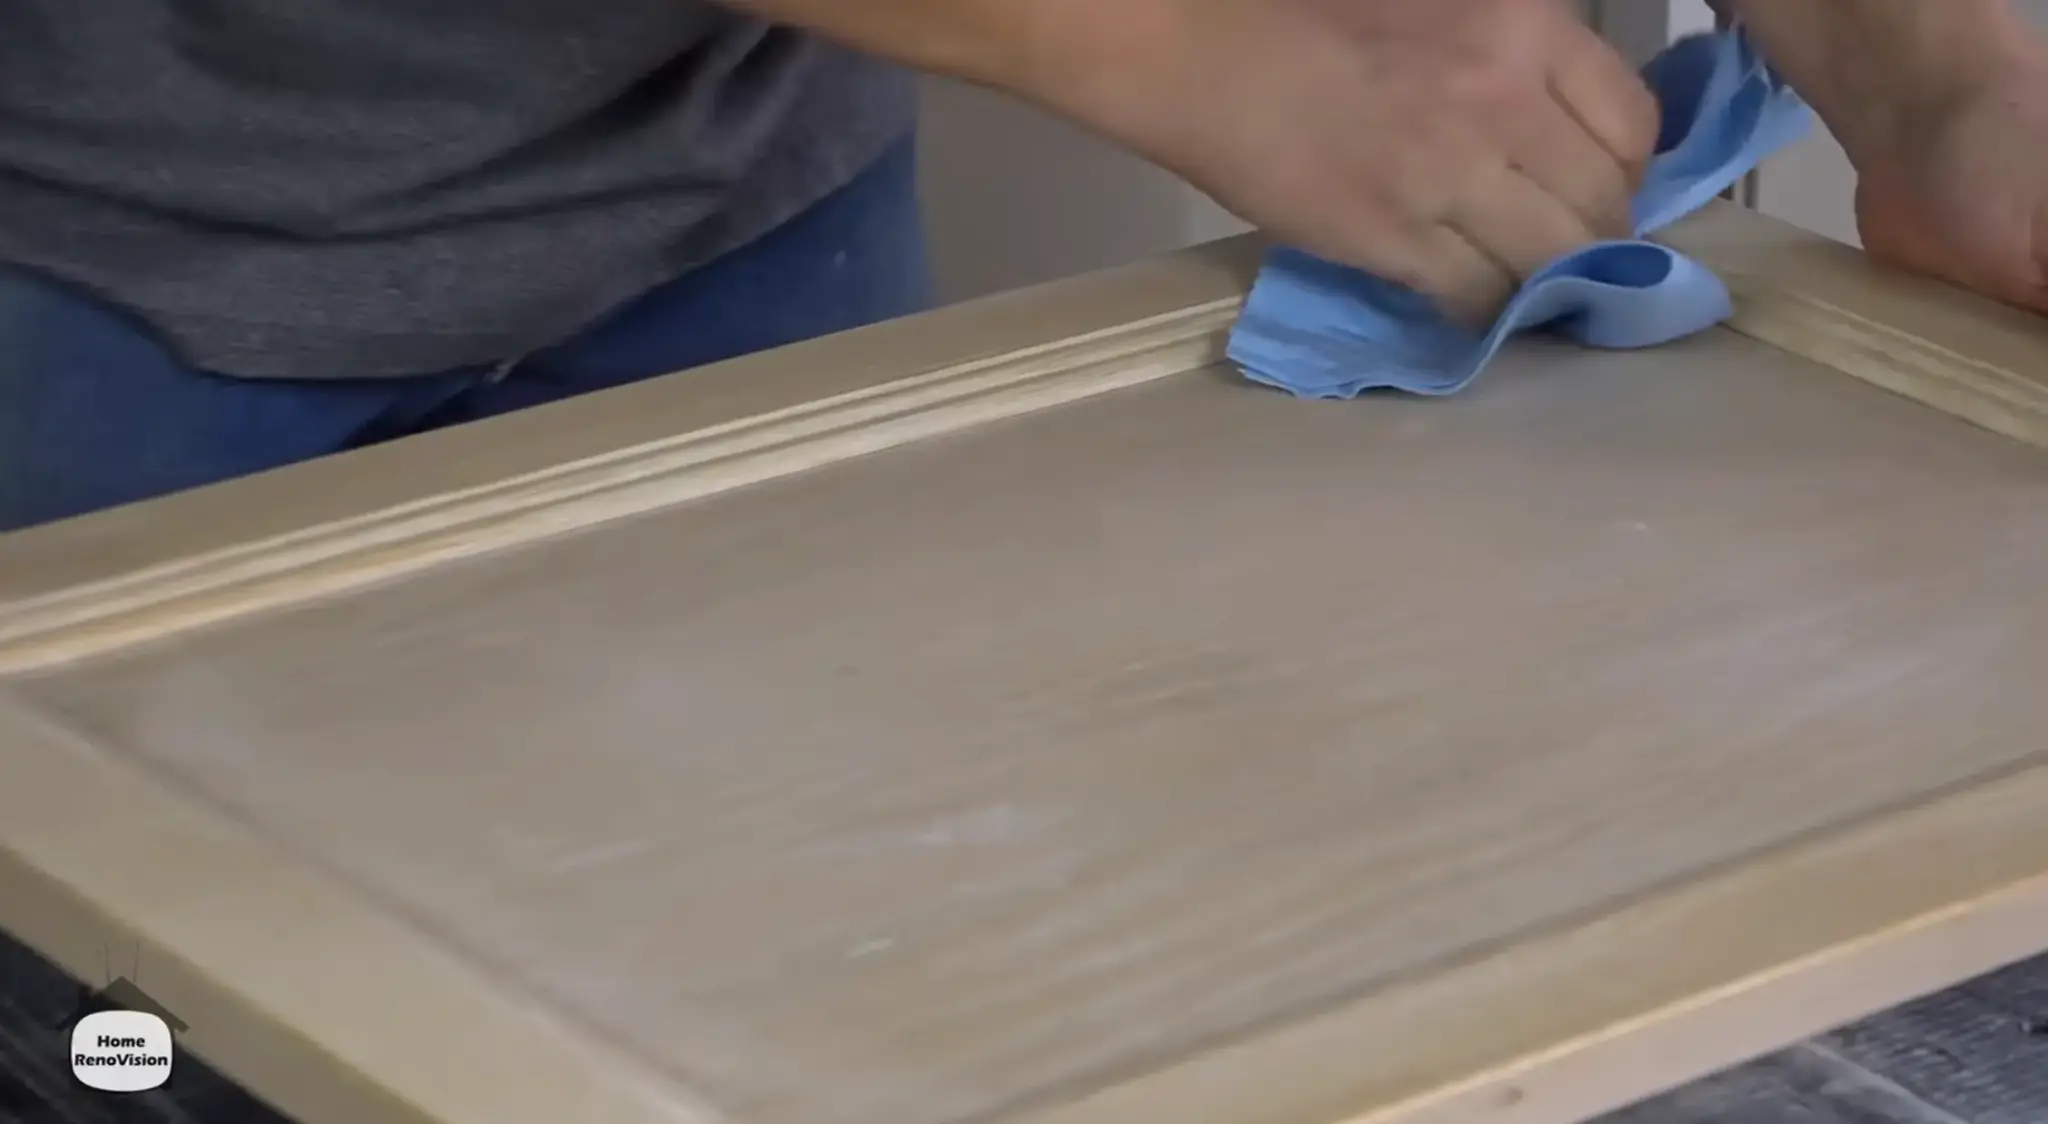
Allow the primer to dry completely before smoothing it with 220-grit sandpaper. Rushing this stage can pull away primer that has not bonded firmly to the cabinet.
Sand lightly to remove dust particles, roller texture, and raised bumps without exposing the old finish. Wipe away every trace of dust before opening the cabinet paint.
Step 8: Apply the First Paint Coat
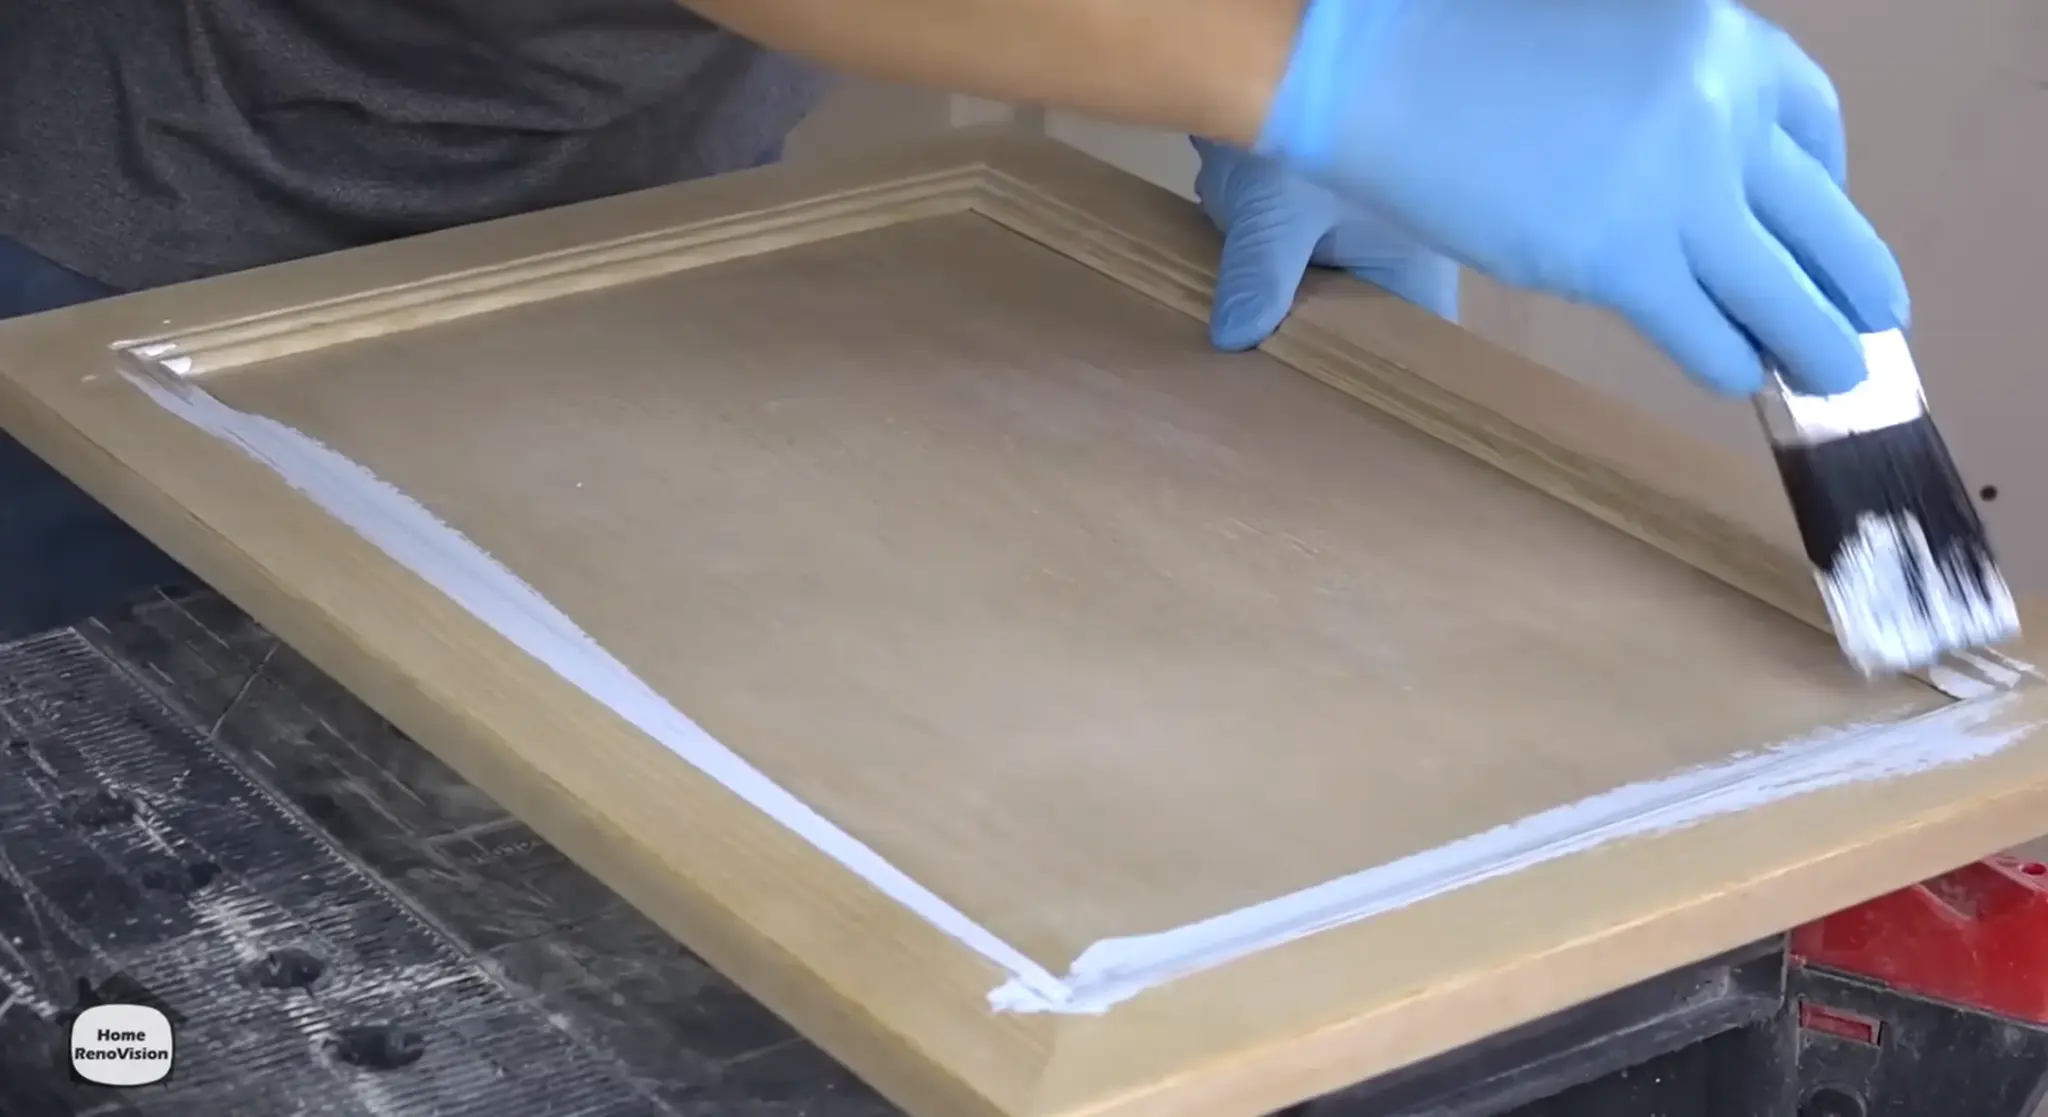
Brush paint into corners, profiles, and joints, then pull it toward the middle. Work from paint held inside the brush to reduce excess buildup and dripping.
Roll the flat surfaces with a lightly loaded microfiber roller for a consistent texture. Stretch the paint into a thin layer because modern cabinet coatings level while drying.
Step 9: Apply the Second Paint Coat
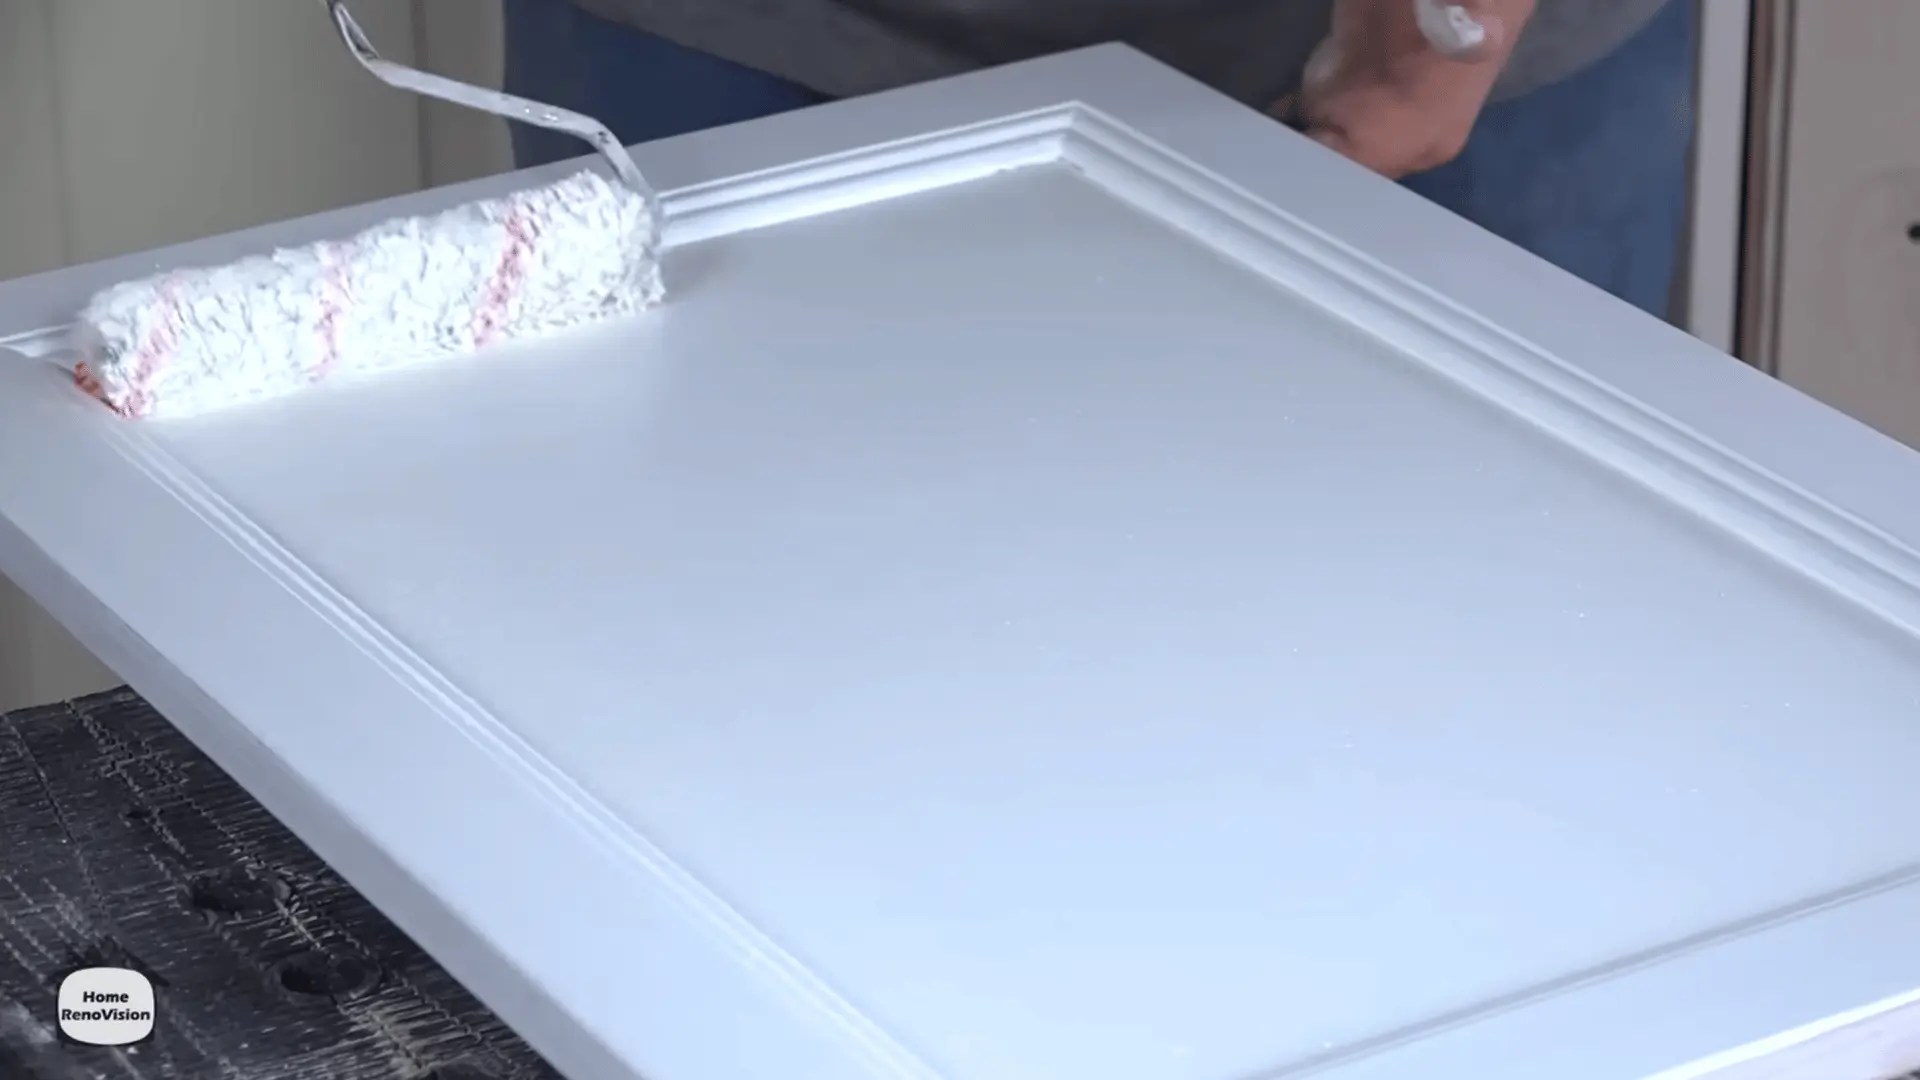
Let the first coat dry for the complete period listed by the manufacturer.
Checking the label for how long to wait between coats saves you from recoating too soon and trapping tackiness under the next layer.
Lightly smooth any dust or raised texture with fine sandpaper before recoating.
Apply the second thin coat using the same brush-and-roll technique. Let the doors dry for several hours or overnight before handling.
Step 10: Paint Fixed Frames, Fillers, and Drawer Fronts
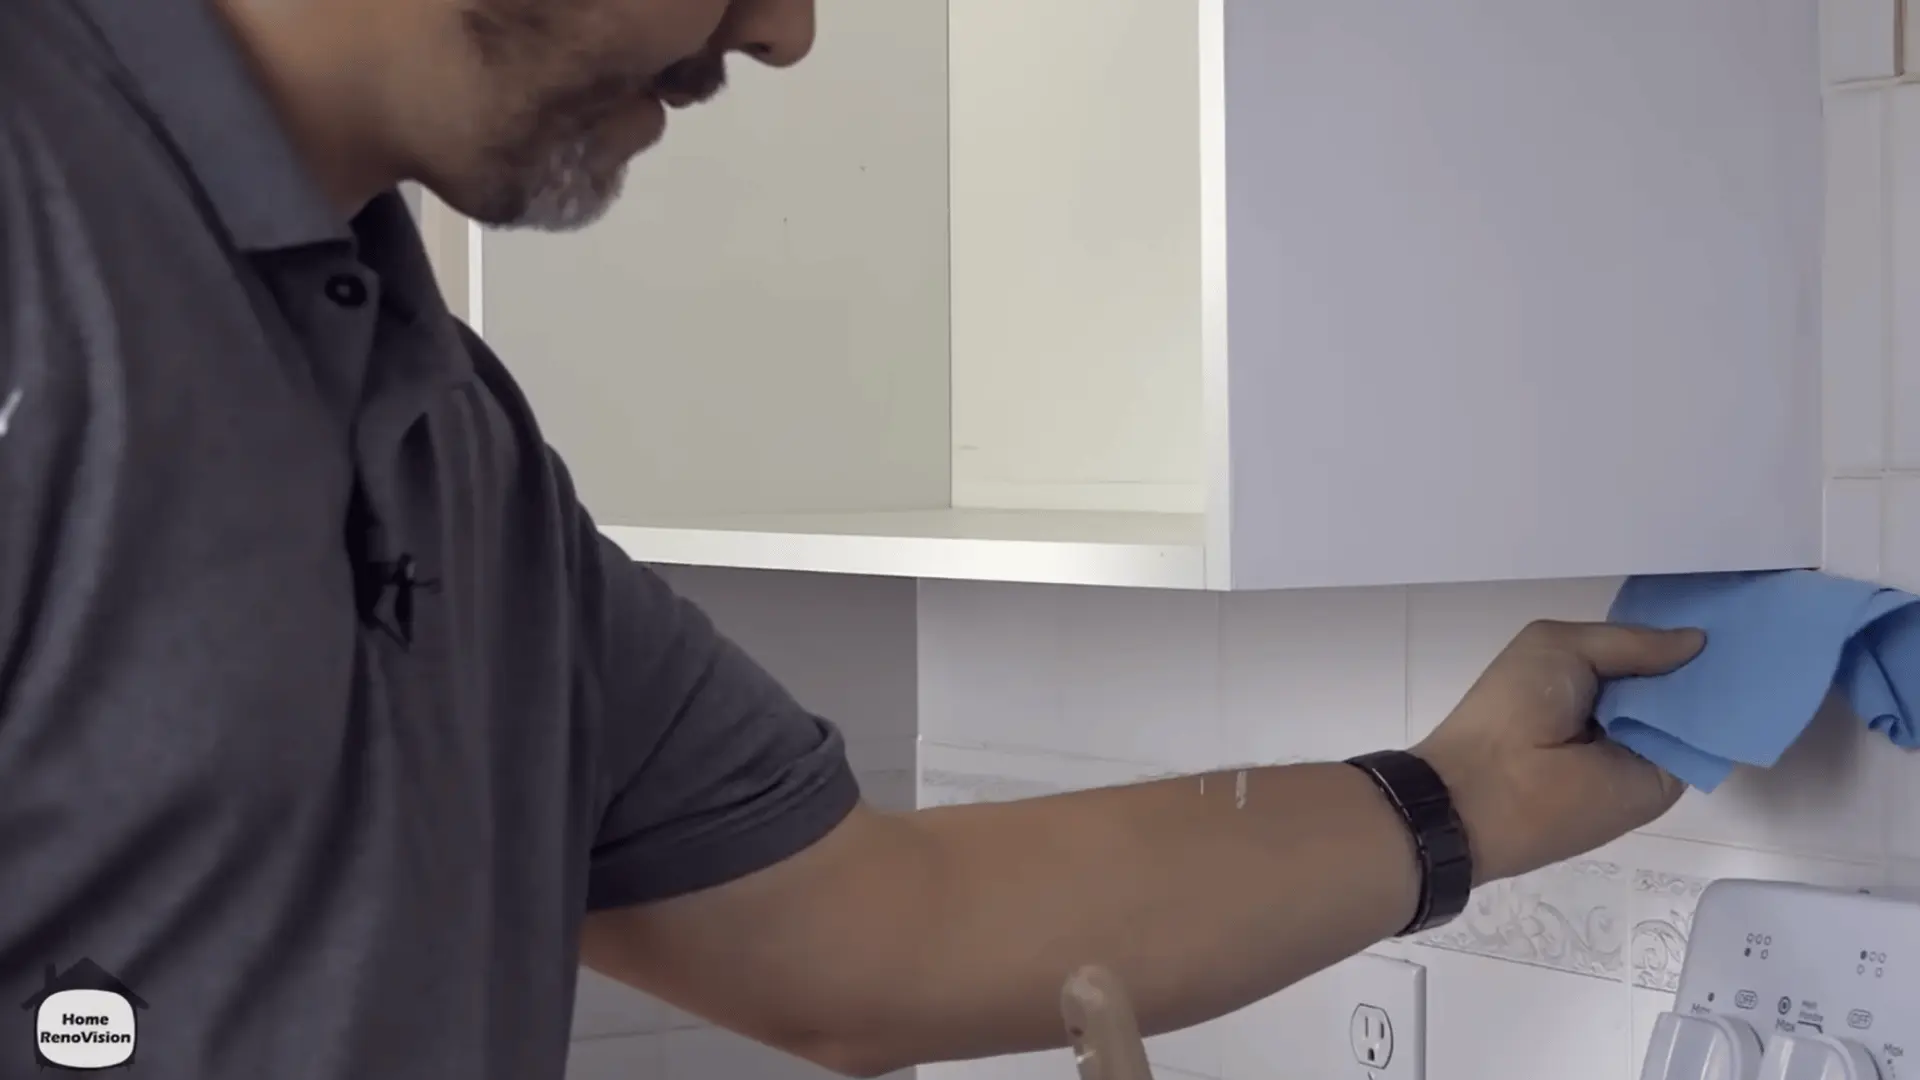
Protect counters, appliances, floors, and nearby walls before painting fixed cabinet sections. Clean and scuff frames, side panels, valances, kick plates, and attached drawer fronts.
Brush along edges and detailed areas before rolling the larger flat surfaces.
Keep the roller lightly loaded so paint does not collect underneath edges or form drips.
Step 11: Reinstall the Doors and Apply the Final Coat
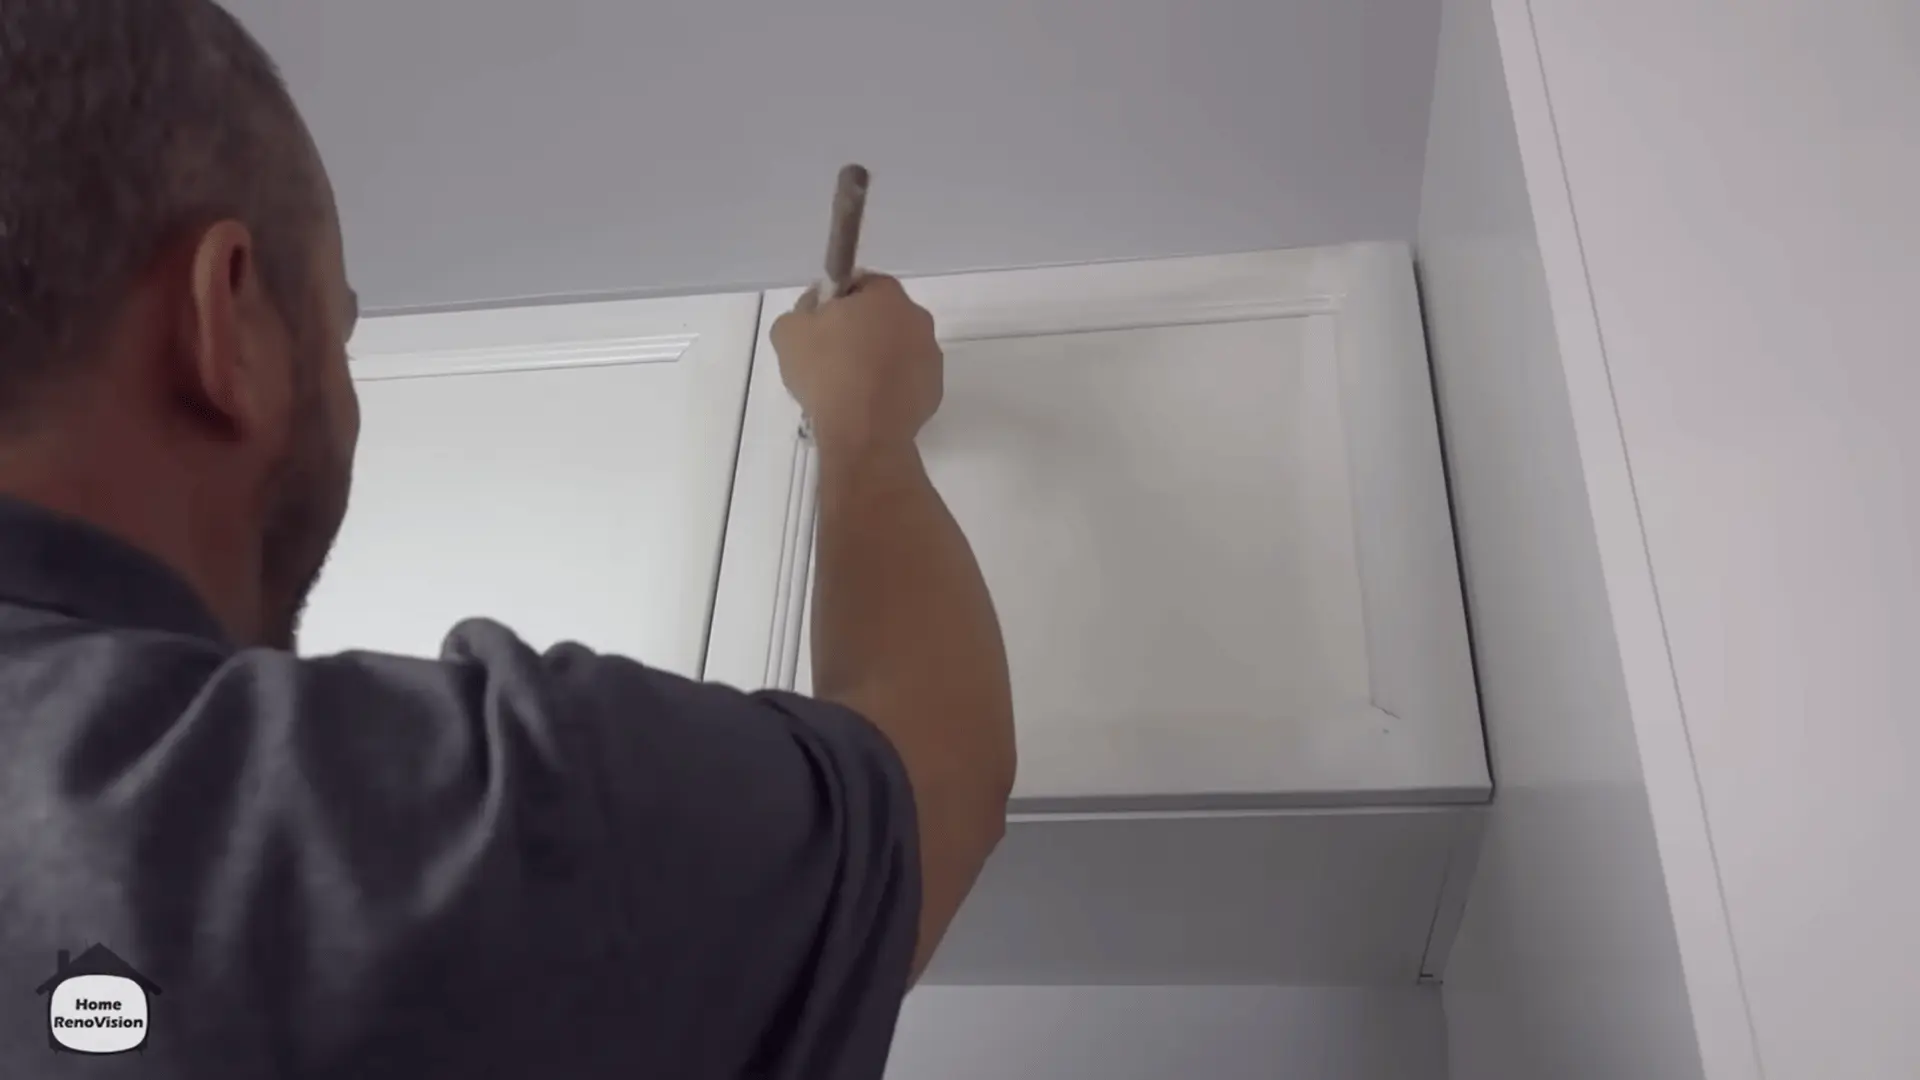
Return every numbered door and hinge to its original cabinet opening. Adjust the hinges until the gaps look even and no painted edges rub together.
Apply the final coat after installation if moving the doors caused scratches or uneven areas. Let it dry overnight before installing handles, pulls, and new cabinet bumpers.
Step 12: Allow the Paint to Cure and Complete Touch-Ups
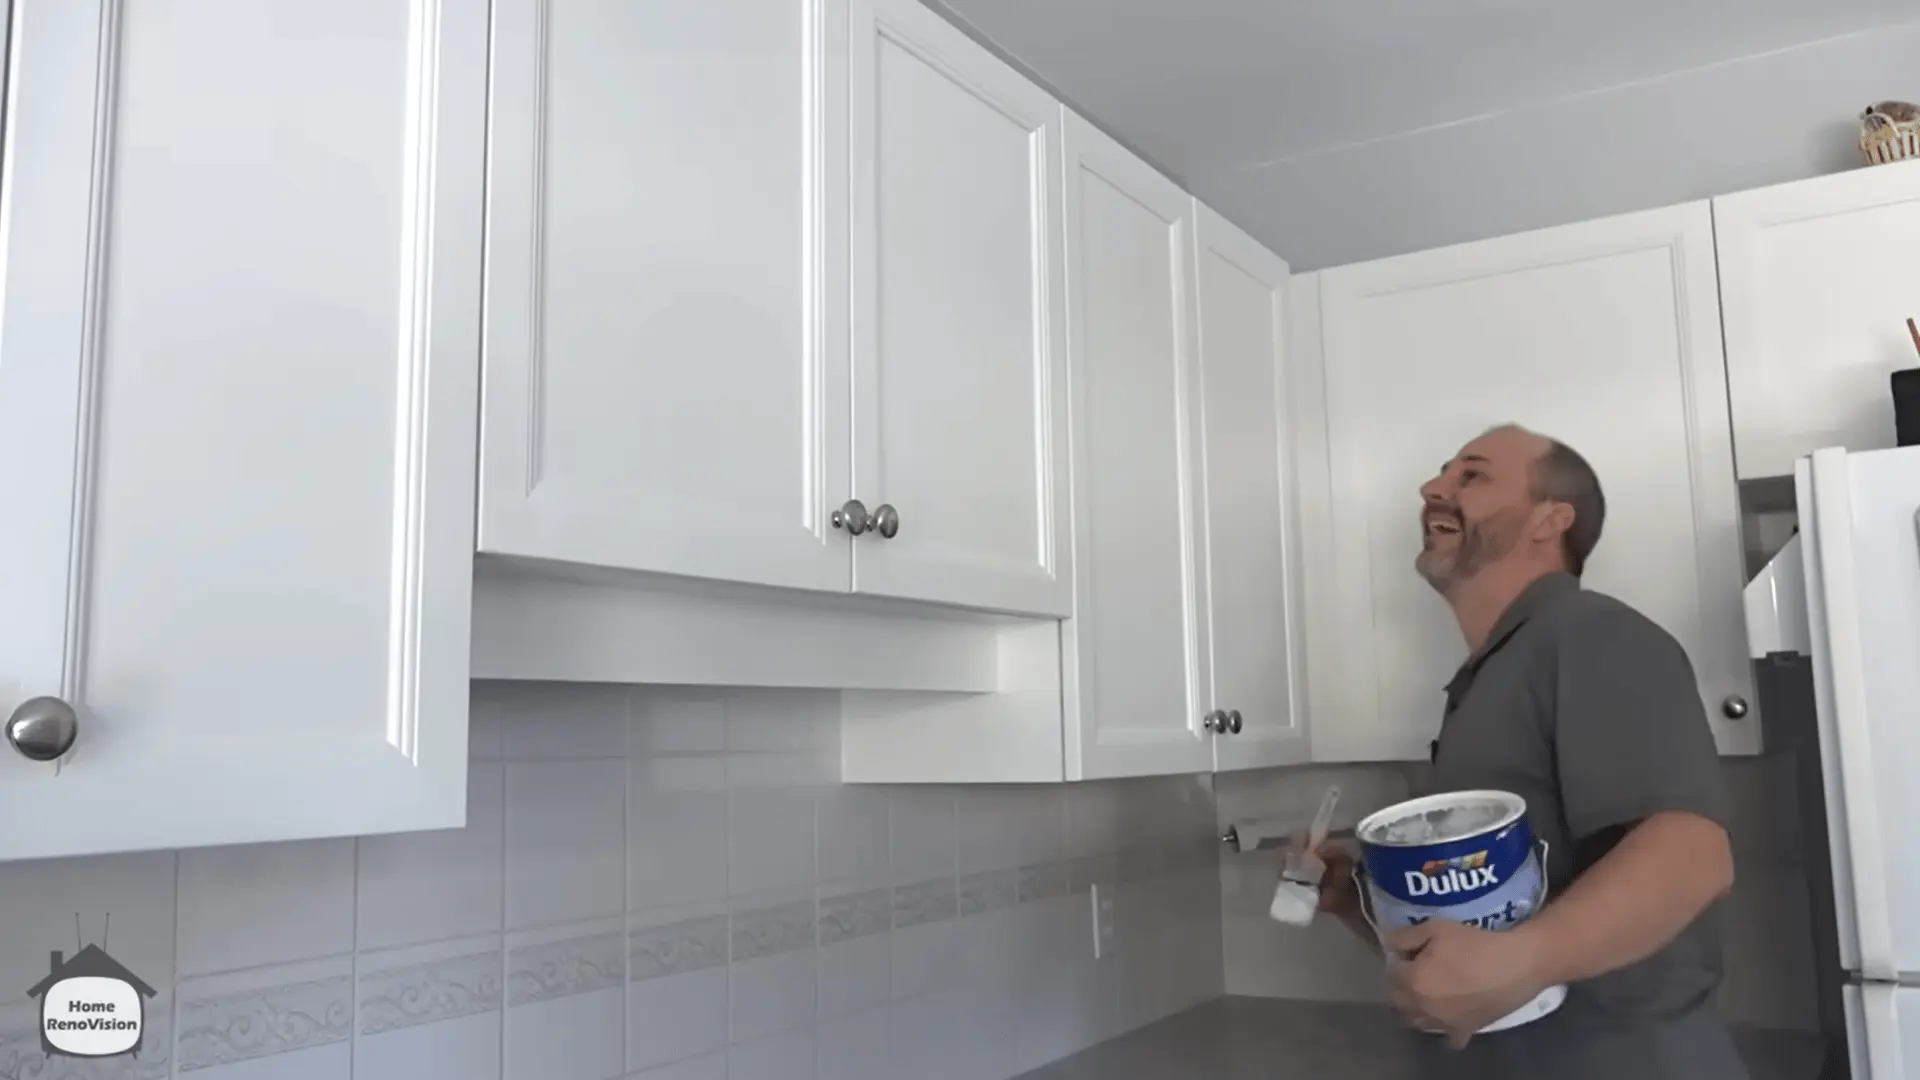
Treat the cabinets gently while the coating cures, which may take up to 30 days. Avoid harsh cleaning, hard impacts, and repeated contact during this period.
Inspect the finish in bright natural light after one or two weeks. Seal any visible stain bleed, repaint repaired spots, and correct thin or uneven coverage.
Once the paint has fully cured, your cabinets will be ready for daily use with a cleaner, refreshed finish.
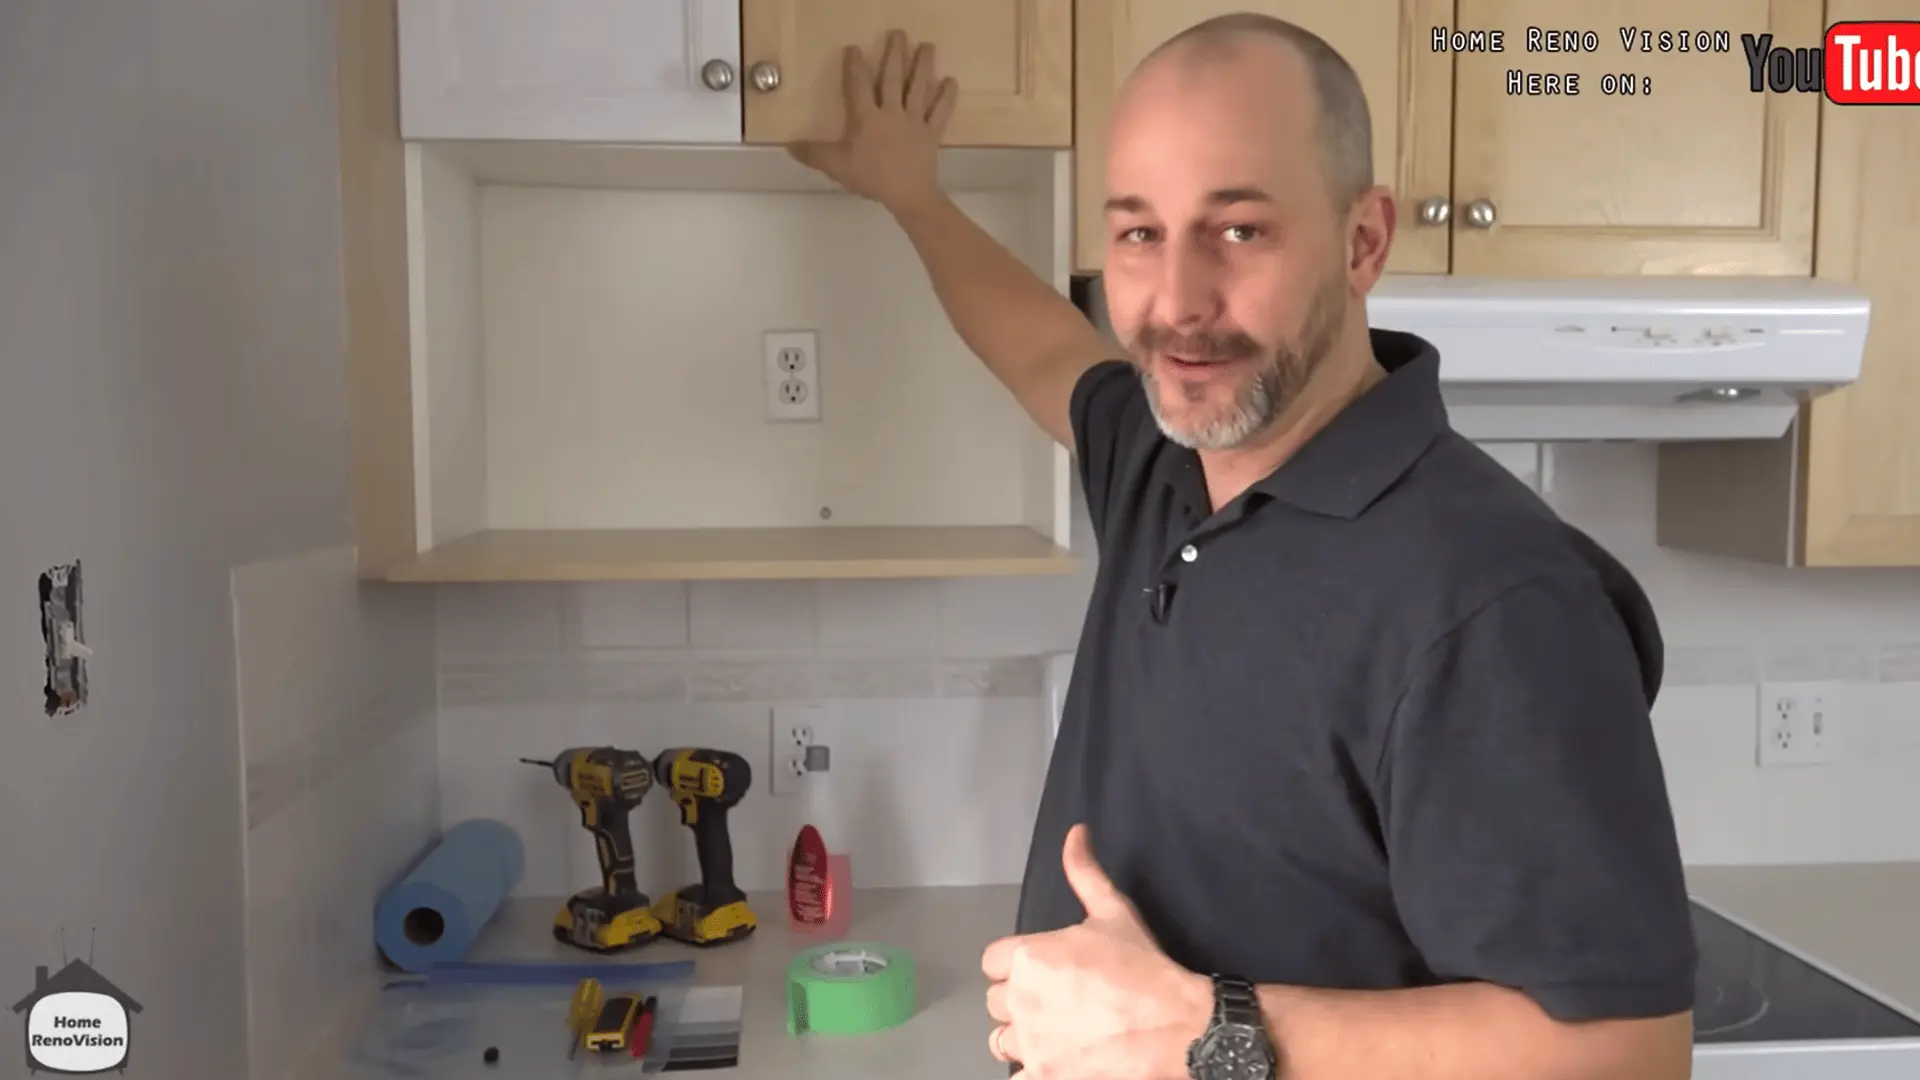
For a walkthrough you can watch step by step, Home RenoVision DIY covers the same process on video.
Picking the Best Paint for Kitchen Cabinets
Choose cabinet-rated paint that resists grease, moisture, stains, and frequent cleaning. It creates a harder, smoother finish than regular wall paint.
For a wider rundown of what each major manufacturer does best, the top paint brands in the US breaks down how they compare beyond just cabinets.
Satin vs. Semi-Gloss Finish
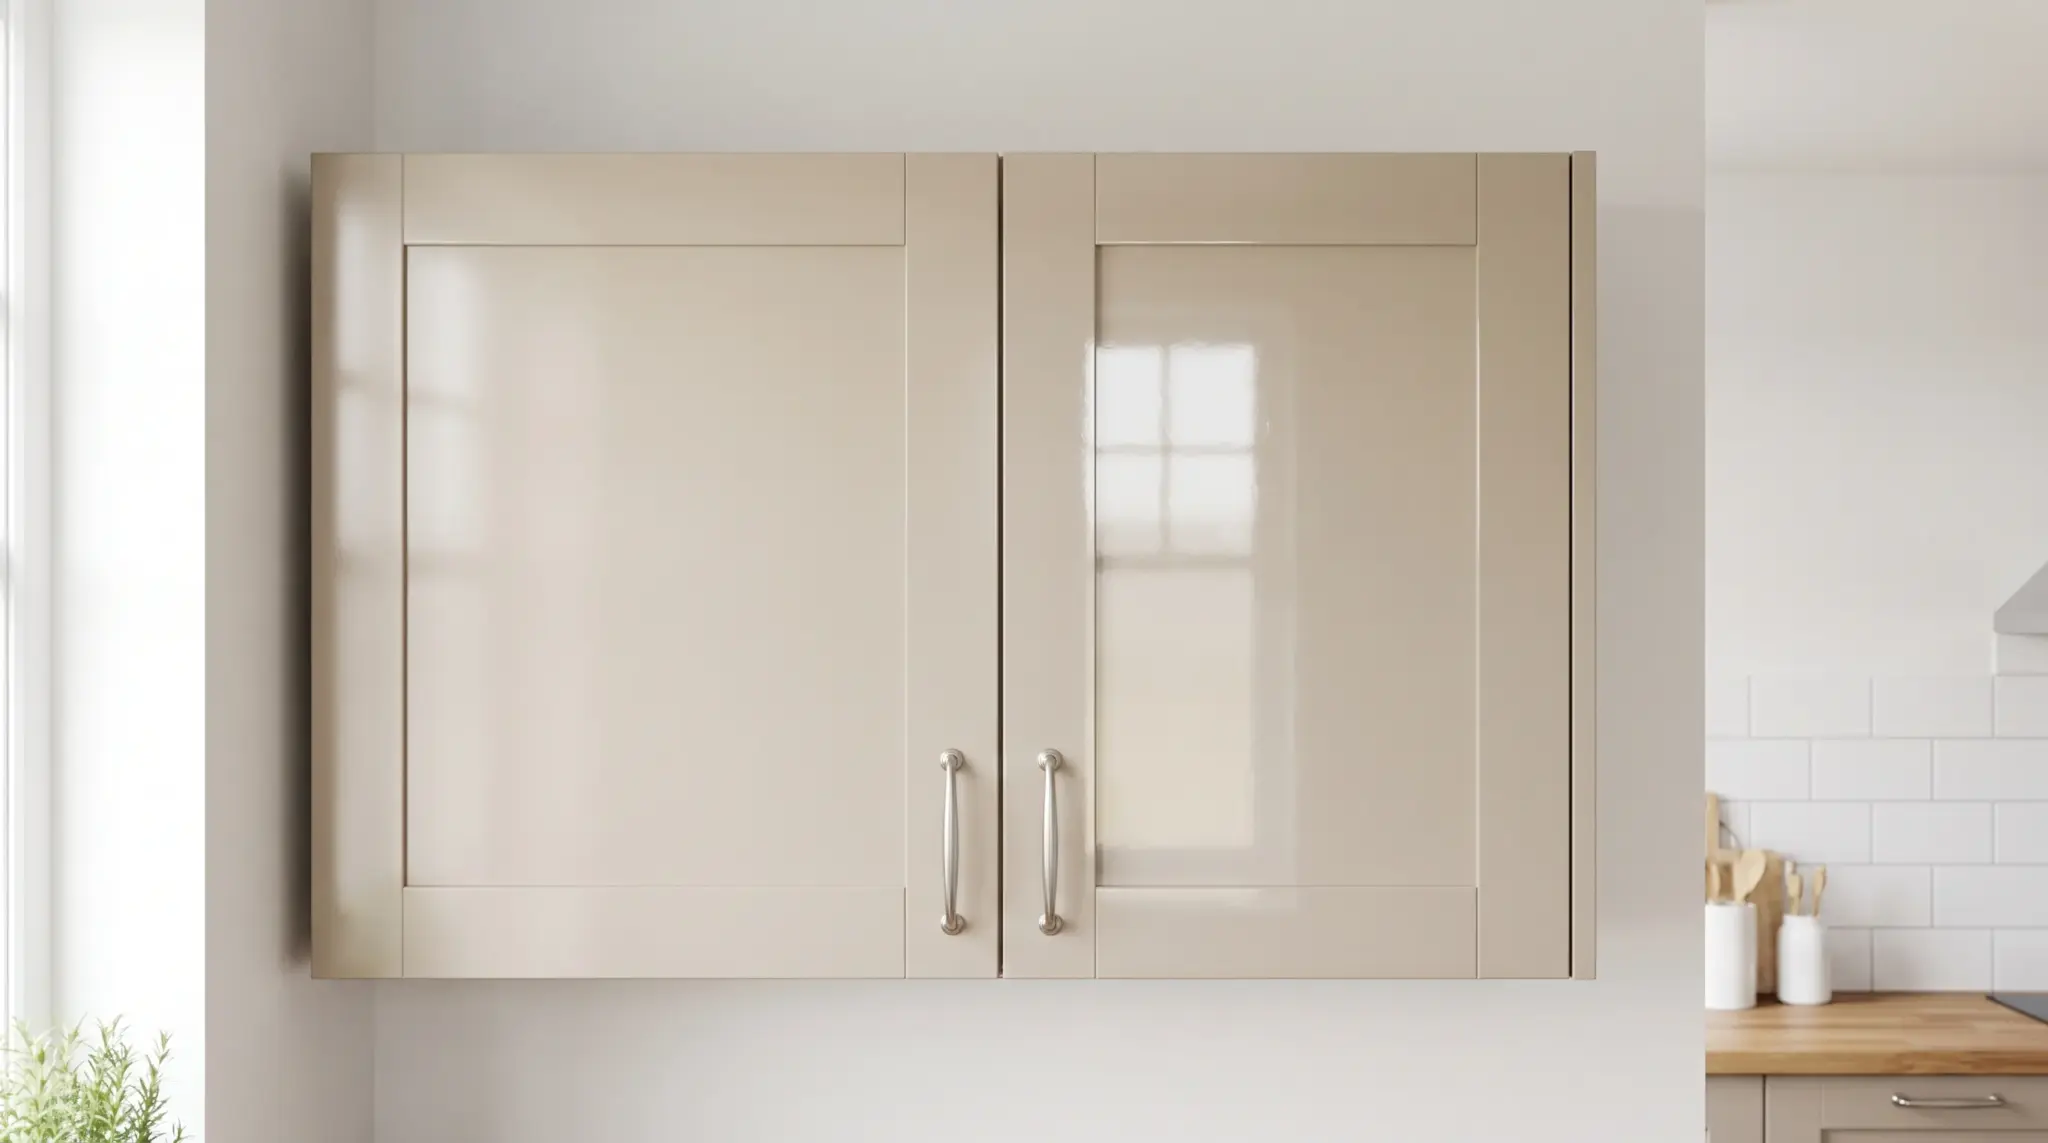
The finish determines how your cabinets look, hide flaws, and handle regular cleaning.
- Satin: Creates a soft sheen and makes dents, grain, and minor surface flaws less noticeable. It works well for older cabinets with visible wear.
- Semi-gloss: Creates a brighter finish that handles frequent wiping and cleaning. However, its reflective surface makes imperfections more noticeable.
Satin suits cabinets where appearance matters most, while semi-gloss works better in busy kitchens. Avoid flat and high-gloss finishes because both can create maintenance problems.
Latex vs. Oil-Based Paint
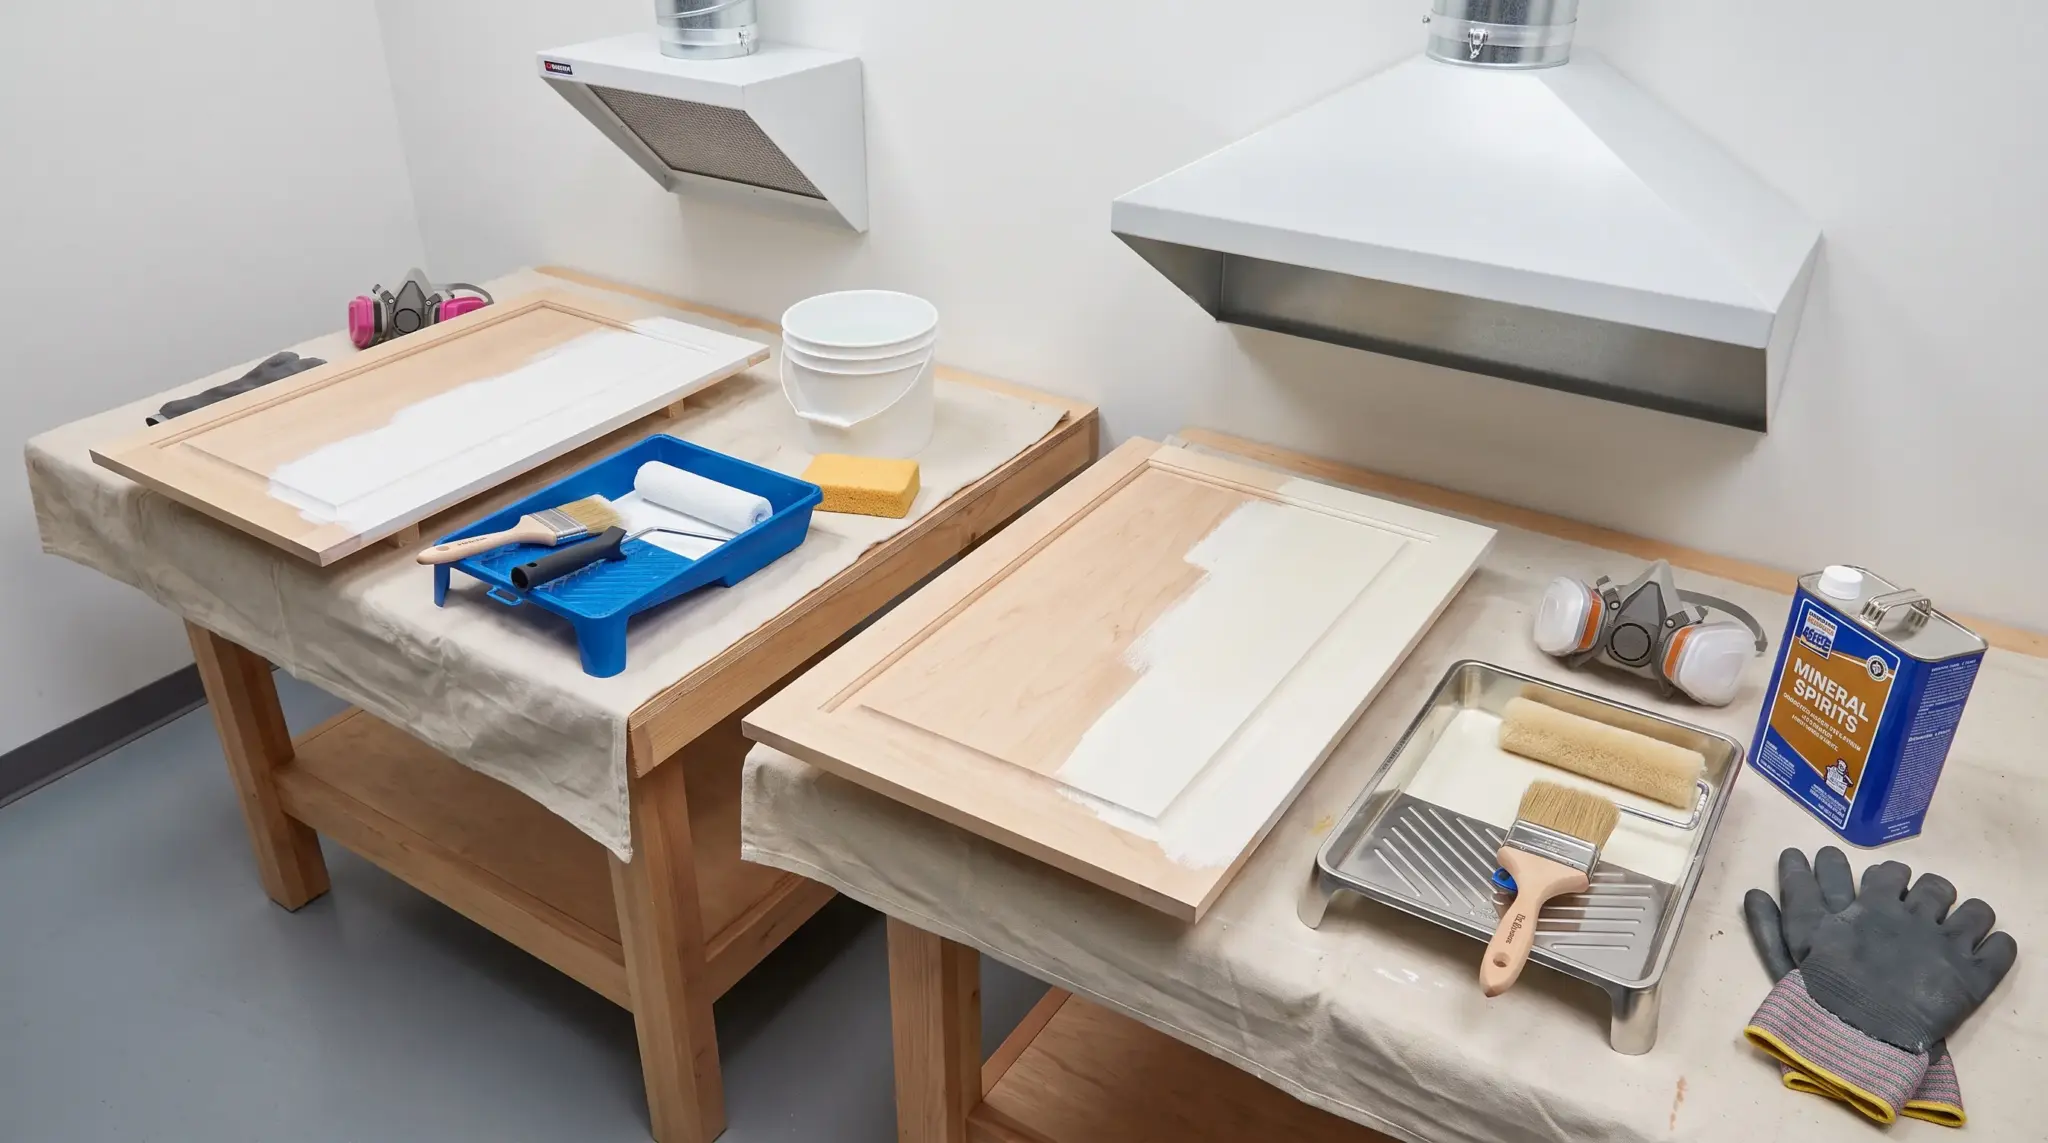
The paint base affects drying time, durability, fumes, cleanup, and long-term color.
- Latex: Dries faster, produces fewer fumes, and cleans up with water. Cabinet-rated formulas also resist yellowing, making them suitable for lighter colors.
- Oil-based: Levels smoothly and forms a hard surface after curing. However, it dries slowly, produces stronger fumes, and may yellow over time.
A cabinet-rated waterborne enamel offers the best balance for most homes. Confirm that the chosen primer works with both the cabinet surface and topcoat.
Top Cabinet Paint Brands to Consider
A handful of national brands make the cabinet-specific formulas most DIYers reach for. Checking a store’s in-stock options against this list can narrow the decision fast.
- Sherwin-Williams: The Emerald Urethane Trim Enamel line is built for hard use, with a durable finish that resists chipping and scrubbing.
- Benjamin Moore: The Advance line self-levels as it dries and cures to a hard, furniture-grade finish that holds up well in busy kitchens.
- Behr: The Marquee Cabinet and Trim Enamel is a big-box-store option that pairs a lower price with solid adhesion and everyday durability.
How to Paint Different Cabinet Materials
Preparation changes with the cabinet material. Test the primer and paint on a hidden area when the existing surface is uncertain.
- Laminate cabinets: Clean and lightly scuff the surface without cutting through its thin outer layer. Use a high-adhesion primer, but replace sections that are loose, bubbled, or peeling.
- MDF cabinets: Avoid soaking exposed edges because MDF absorbs moisture and swells easily. Sand gently, seal raw areas with compatible primer, and replace damaged or crumbling panels.
- Previously painted cabinets: Remove peeling or cracked paint, smooth the edges, and apply compatible primer. Test finishes applied before the 1978 federal lead paint ban for lead before sanding.
Work with open windows and direct fan airflow outdoors. Wear gloves, eye protection, and suitable respiratory protection when sanding or spraying. Keep children, pets, and ignition sources away from the work area.
Conclusion
Learning how to paint kitchen cabinets comes down to patience more than skill.
Clean every surface, scuff the old finish, use a compatible primer, and apply thin coats instead of rushing for full coverage at once.
The paint you choose matters, but the prep work and curing time decide how well the finish holds up in a busy kitchen.
Start with one door if you are unsure, then use that test to guide the rest of the project. A careful cabinet paint job can make the whole kitchen feel newer without a full remodel.
What cabinet color would you try first? Share your pick in the comments.
Frequently Asked Questions
Can I Paint Kitchen Cabinets Without Sanding?
Some bonding primers are marketed as no-sand formulas, but a light scuff-sand still improves how well they grip the surface. Sanding also smooths out scratches, worn spots, and repaired areas so the primer goes on evenly. Skipping this step entirely raises the odds of peeling or uneven texture later, even with a strong primer.
Is It Better to Roll or Brush Cabinet Paint?
Use both for the most controlled DIY finish. Brush corners, profiles, and detailed edges first, since a roller cannot reach into tight grooves cleanly. Then roll the flat surfaces with a lightly loaded microfiber roller, which reduces visible brush marks and creates smoother, more even coverage across each door.
What is the Best Paint for Kitchen Cabinets?
Cabinet-rated acrylic, alkyd, or waterborne enamel paint in a satin or semi-gloss finish holds up best. These formulas are built to resist grease, moisture, scrubbing, and daily handling in a way that standard wall paint cannot. Sherwin-Williams, Benjamin Moore, and Behr all make cabinet-specific lines worth comparing before you buy.
How Long Should Cabinet Paint Cure Before Use?
Most cabinet paint needs one to three weeks to fully cure, even though it may feel dry to the touch much sooner. Wait at least five to seven days before rehanging doors, and hold off on heavy daily use, like frequently opened cabinets near the stove, for the full cure window.










One Response