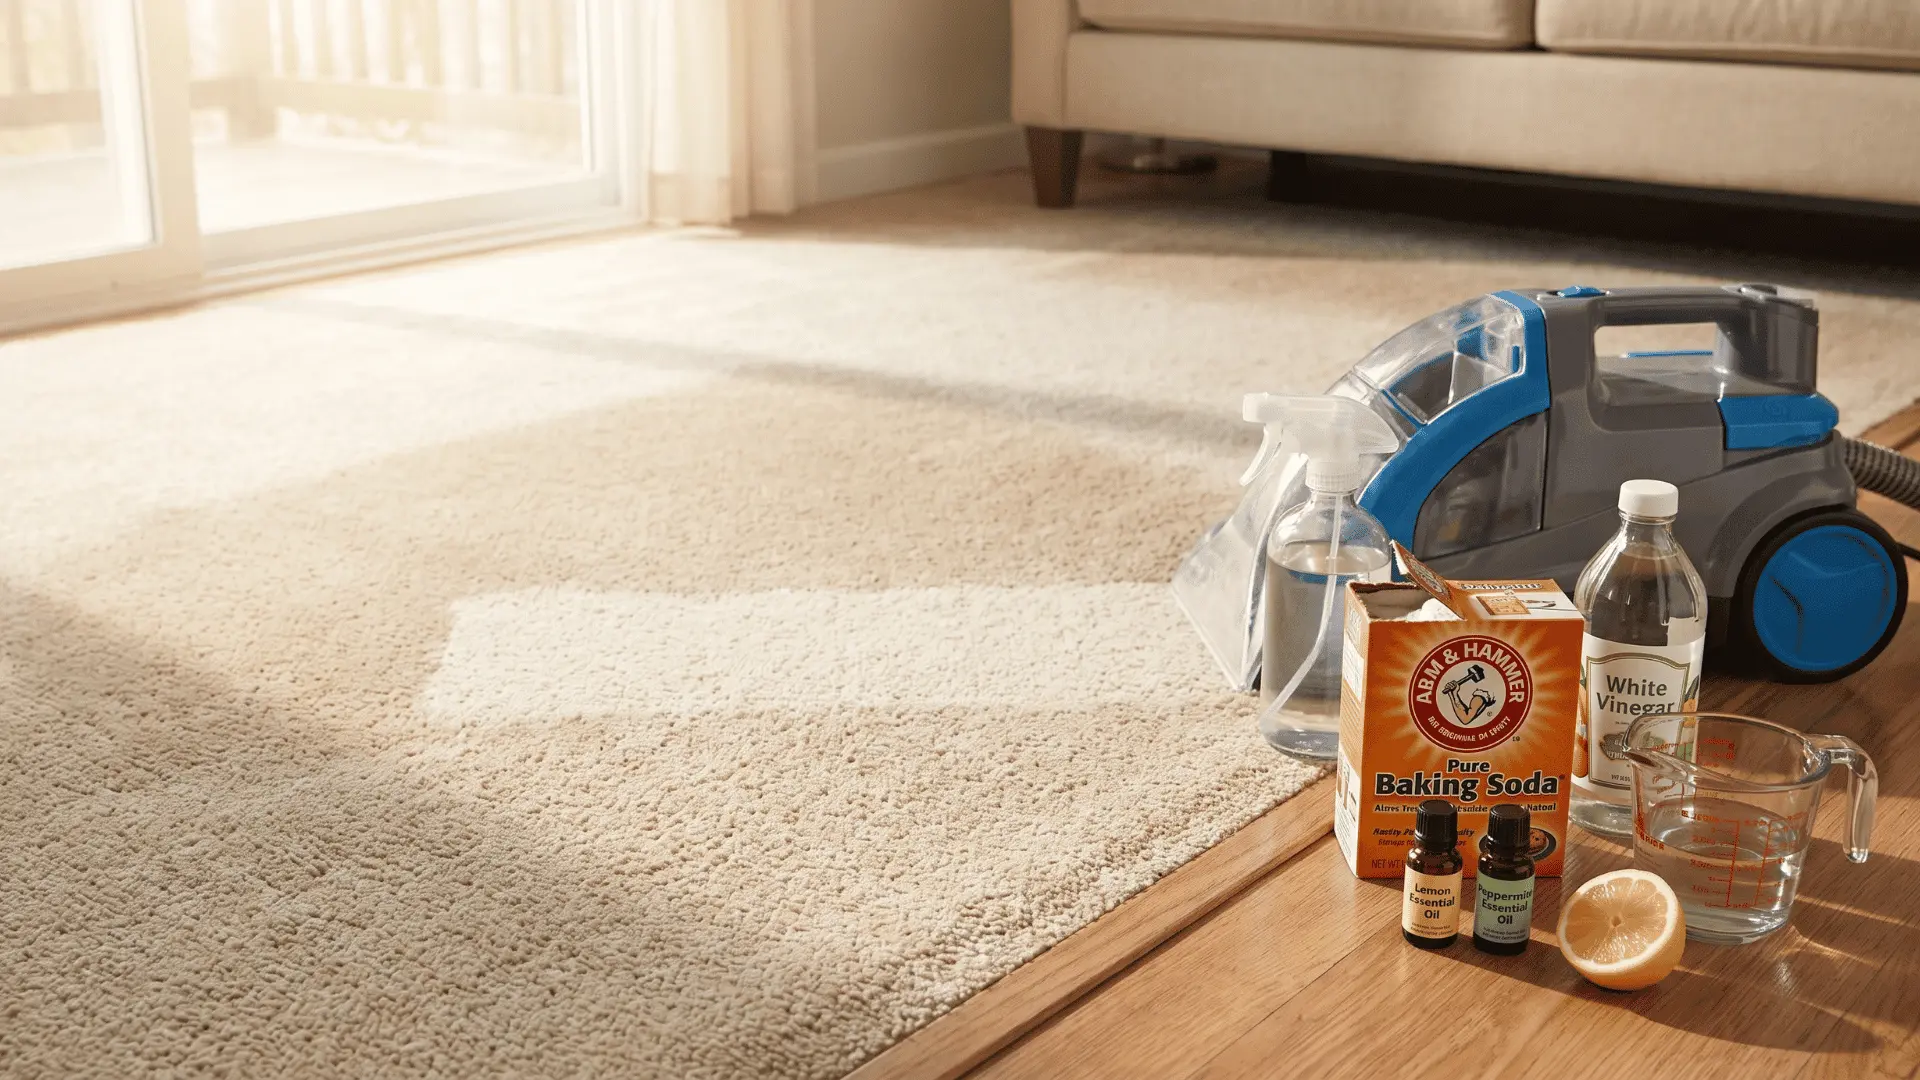



A humidifier that suddenly mists less, hums louder, or smells a little off usually hasn’t broken.
It is coated in mineral scale you cannot see from the outside. That hidden buildup is the real reason so many units get replaced years before they need to be.
Knowing how to descale humidifier parts the right way stops that slow decline before it reaches the transducer or heating element.
The process itself is simple once you know which solution fits your humidifier type and how long to let it soak.
Here is why that buildup matters more than it looks like it does.
Why Descaling Your Humidifier is Important
Humidifier descaling matters because minerals from tap water quietly accumulate inside the tank, base, and water pathways over time.
The more you run it, and the harder your water, the faster that happens. What makes buildup easy to miss is where it starts.
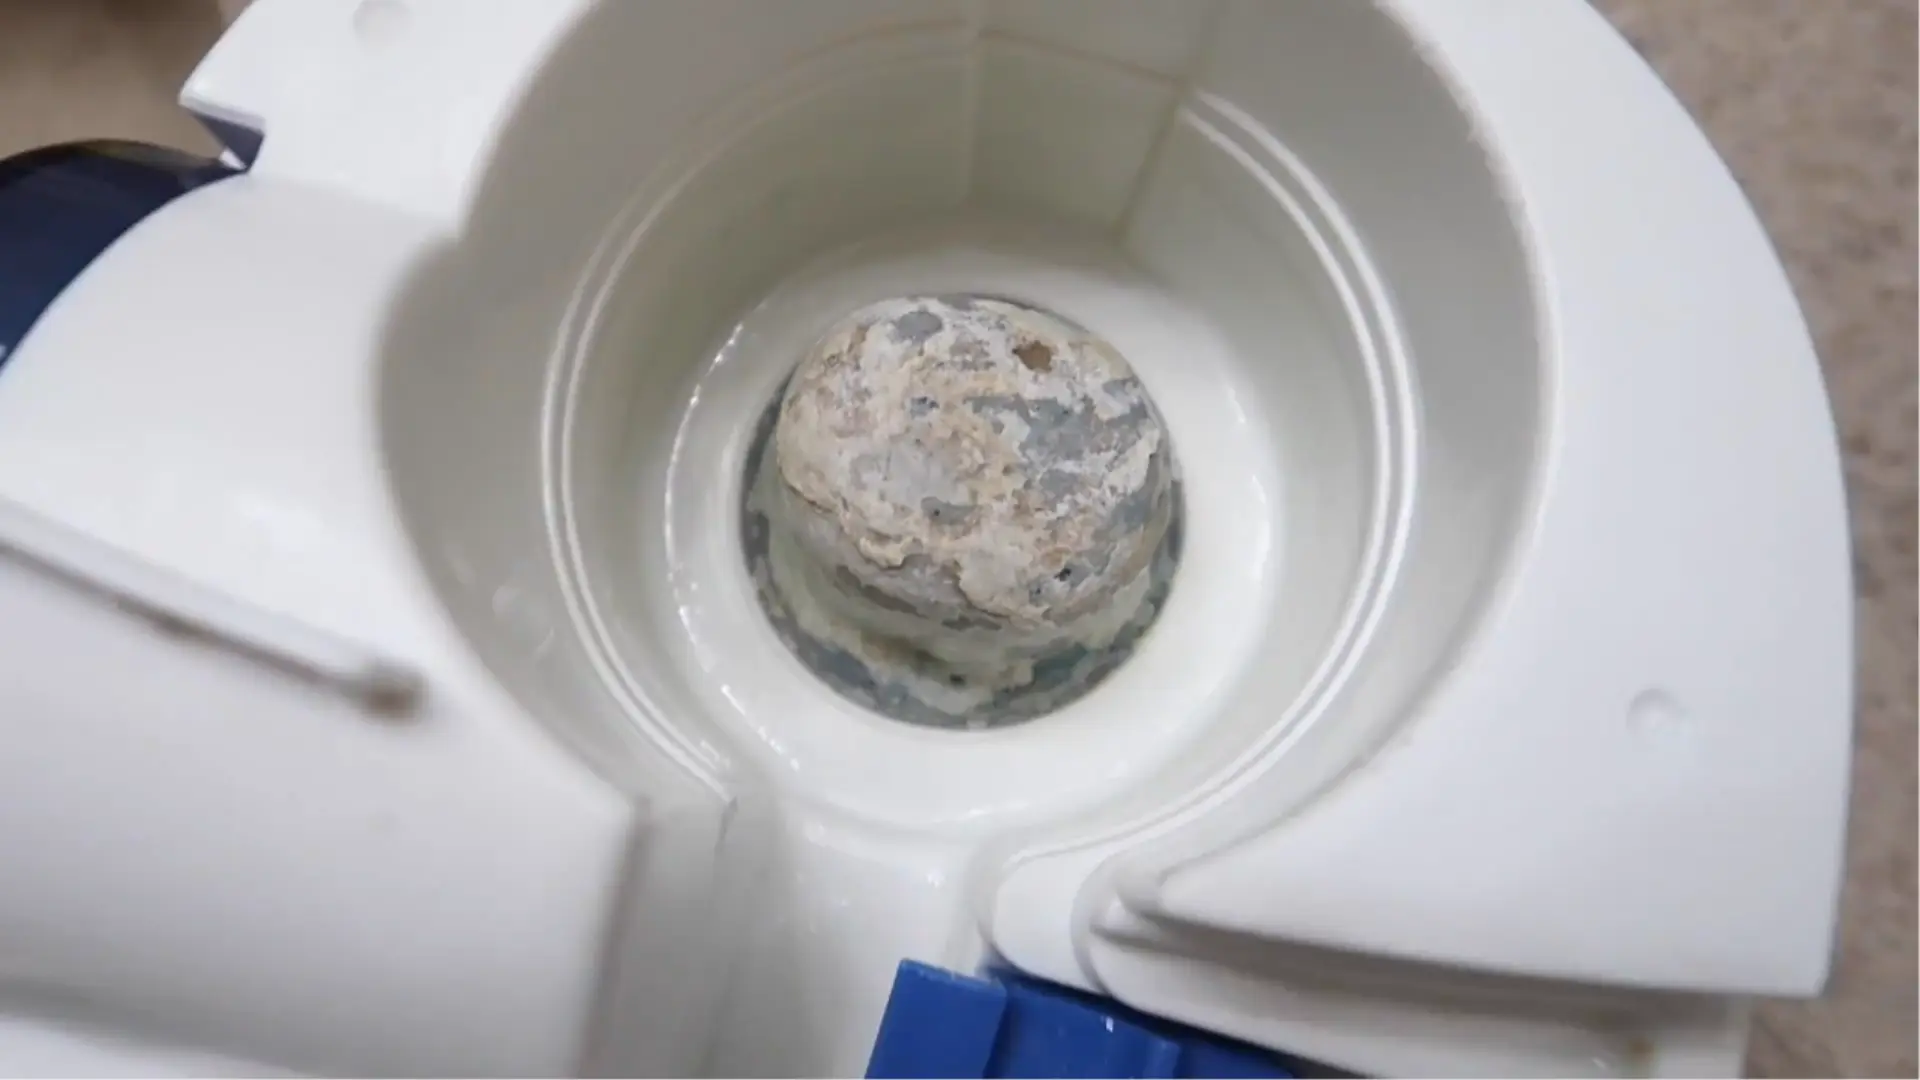
It usually forms as a thin white layer around the tank or base before spreading into water channels and internal components you cannot easily see.
Over time, that scale restricts water flow, reduces mist output, and puts extra load on parts like the heating element and transducer.
Mineral deposits on their own are not harmful to breathe.
The bigger concern is that scale creates rough, porous surfaces inside the unit, where bacteria and mold take hold far more easily than on clean plastic.
The EPA lists scale as a breeding ground for microorganisms in its own humidifier care guidance.
How to Descale a Cool Mist Humidifier: Step-by-Step
How to clean a humidifier with vinegar for a cold mist variant involves some crucial steps that are listed below:
Tools and Materials Used
- Microfiber cloths
- Bottle brush
- Old toothbrush
- Pipe cleaner
- Scrub sponge or scrub pad
- White vinegar
- Dish soap
- Drying rack or clean towel
Step 1: Unplug and Fully Disassemble the Humidifier
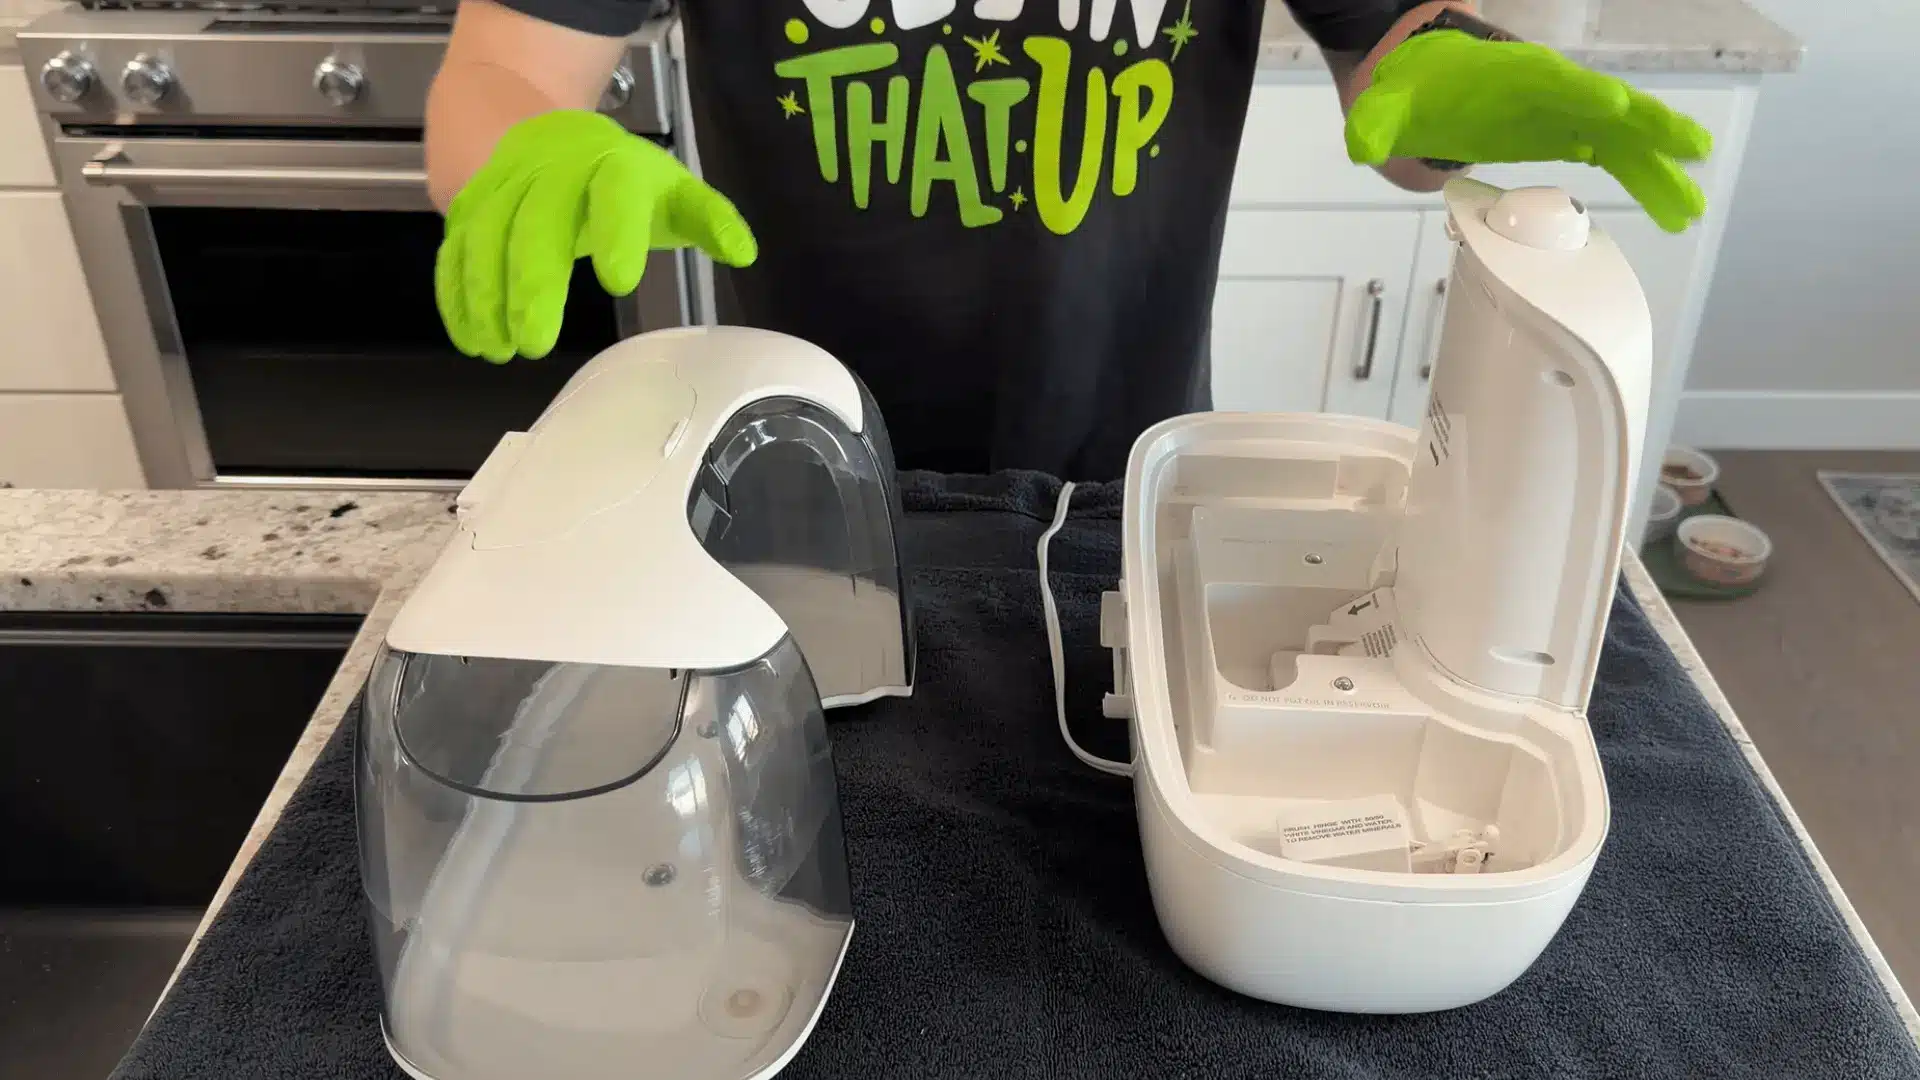
Turn off and unplug the humidifier to ensure safety. Remove the water tank from the base and immediately pour out any remaining water.
This prevents bacteria and mold from developing inside stagnant water.
Using your hands, place all removable parts near a sink so they are easy to clean next.
Step 2: Empty, Rinse, and Lightly Clean the Tank
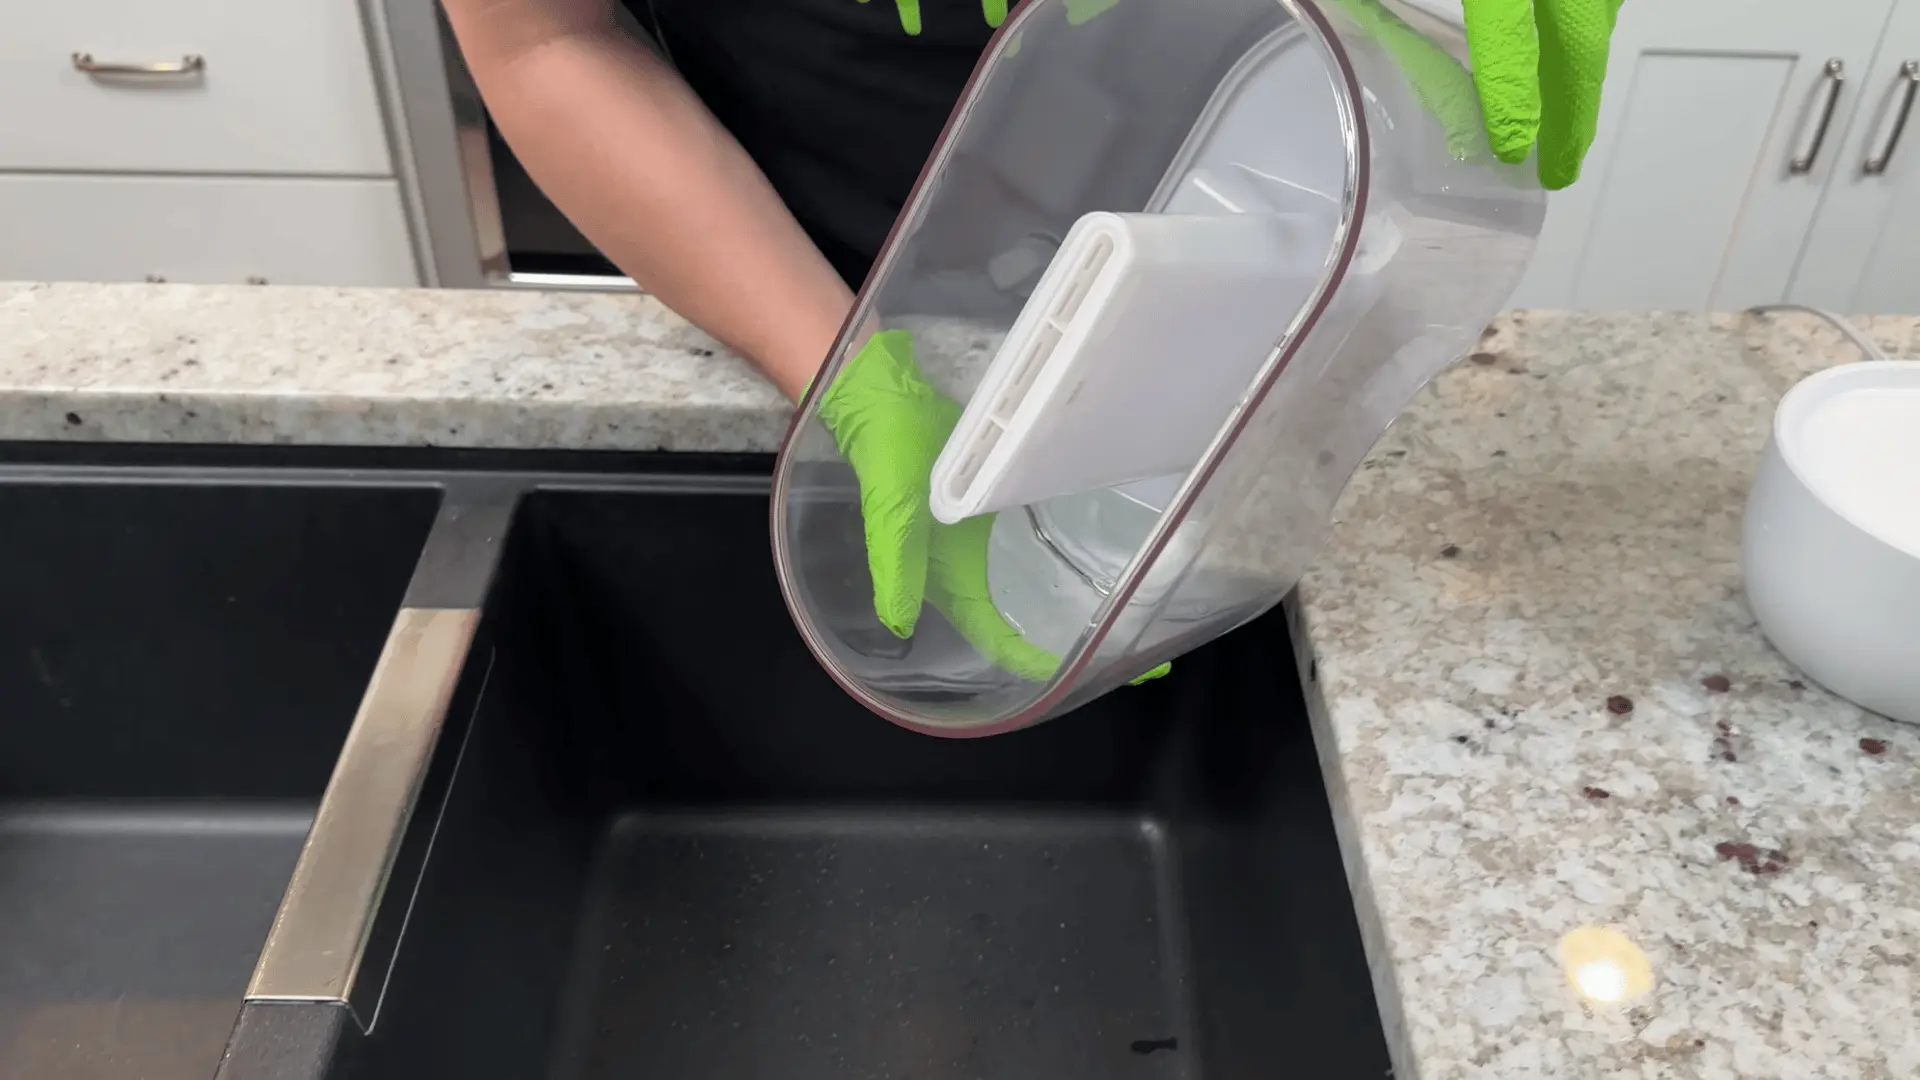
Take the water tank and rinse it thoroughly in the sink using clean tap water.
If needed, add a few drops of dish soap to break down light buildup, then rinse again. You can use a microfiber cloth to wipe the outer surface.
This step removes everyday residue before deep cleaning, not heavy scrubbing.
Step 3: Deep Clean the Tank with Vinegar Solution
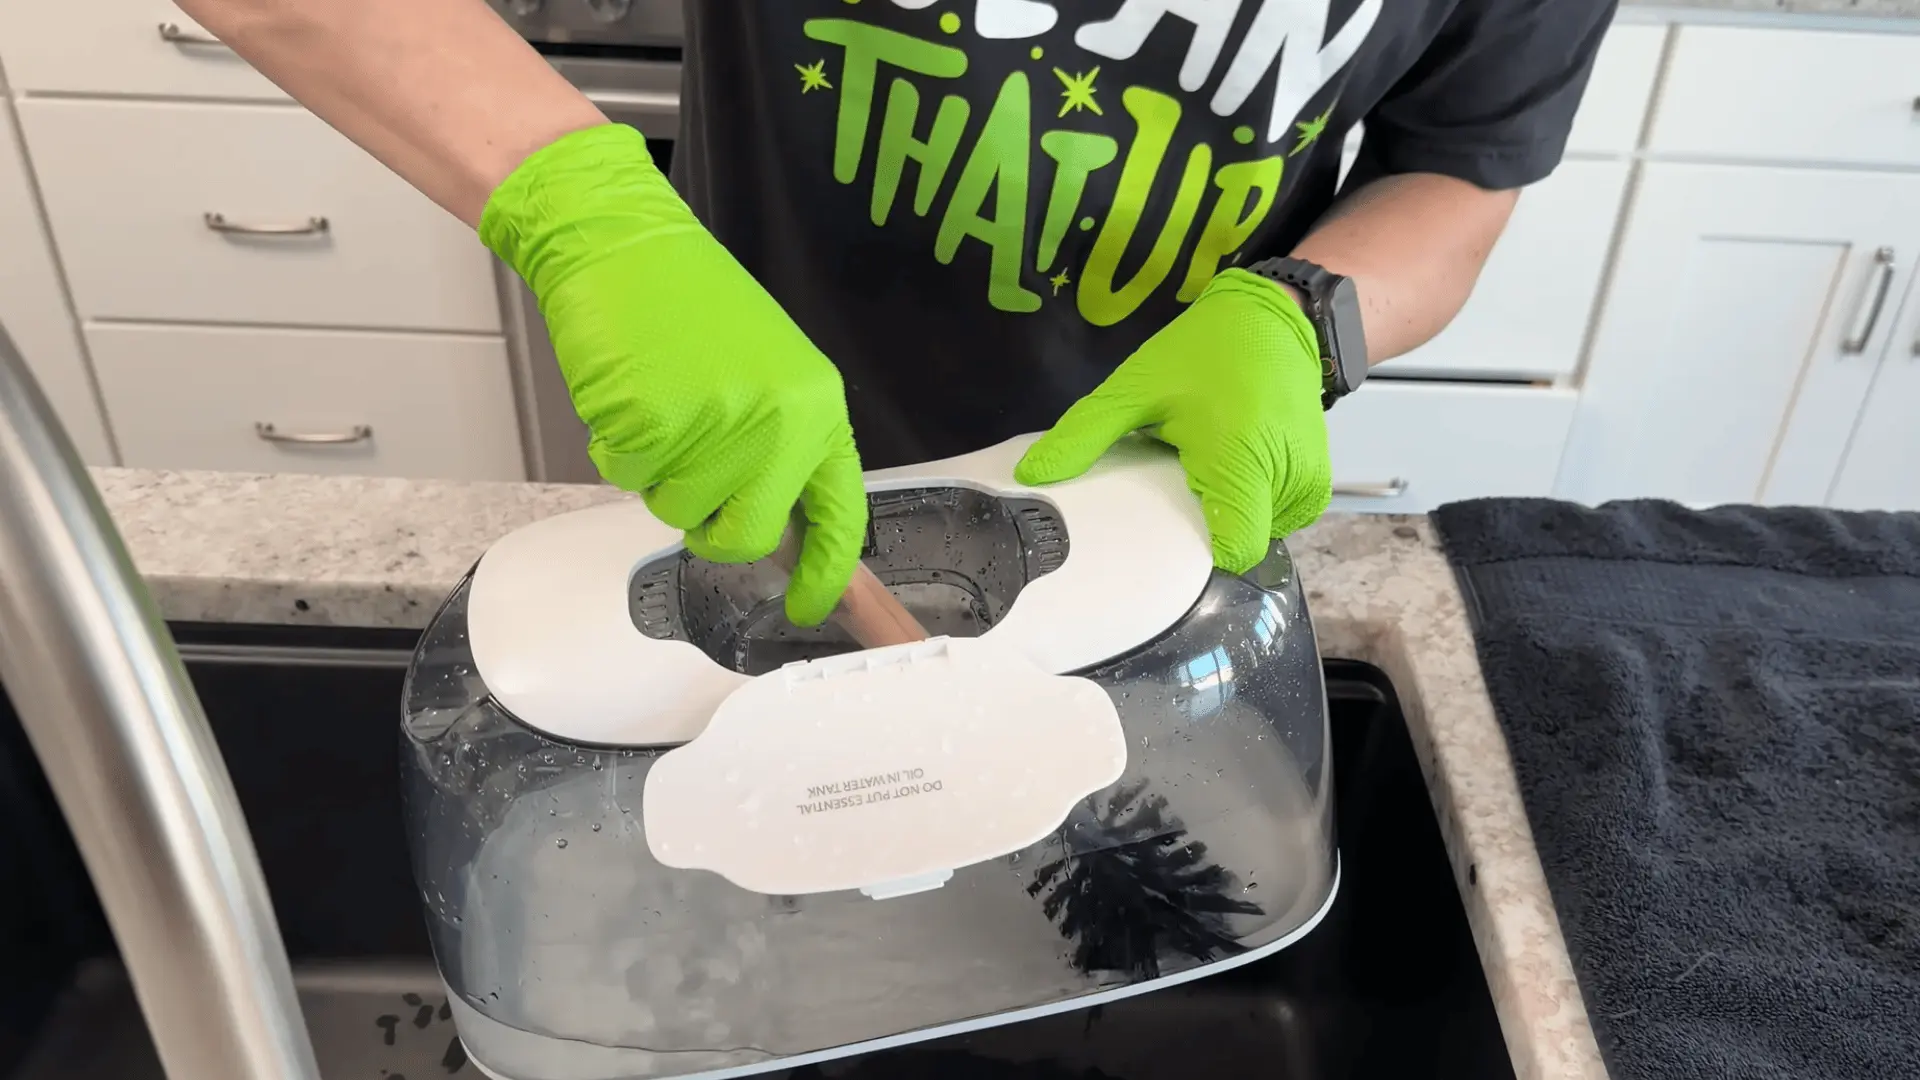
Pour 2 to 3 cups of undiluted white vinegar directly into the tank. Swirl the vinegar around to coat all of the interior walls before letting it sit.
Let it soak for 20 to 30 minutes. If you can see chalky buildup on the sides or bottom, use the full 30 minutes.
Then use a bottle brush to scrub the inside, paying extra attention to corners and the base of the tank.
Gently shake as you scrub to help dislodge anything the vinegar has already loosened. Rinse until the water runs clear and no vinegar smell remains.
Step 4: Clean the Base and Internal Reservoir
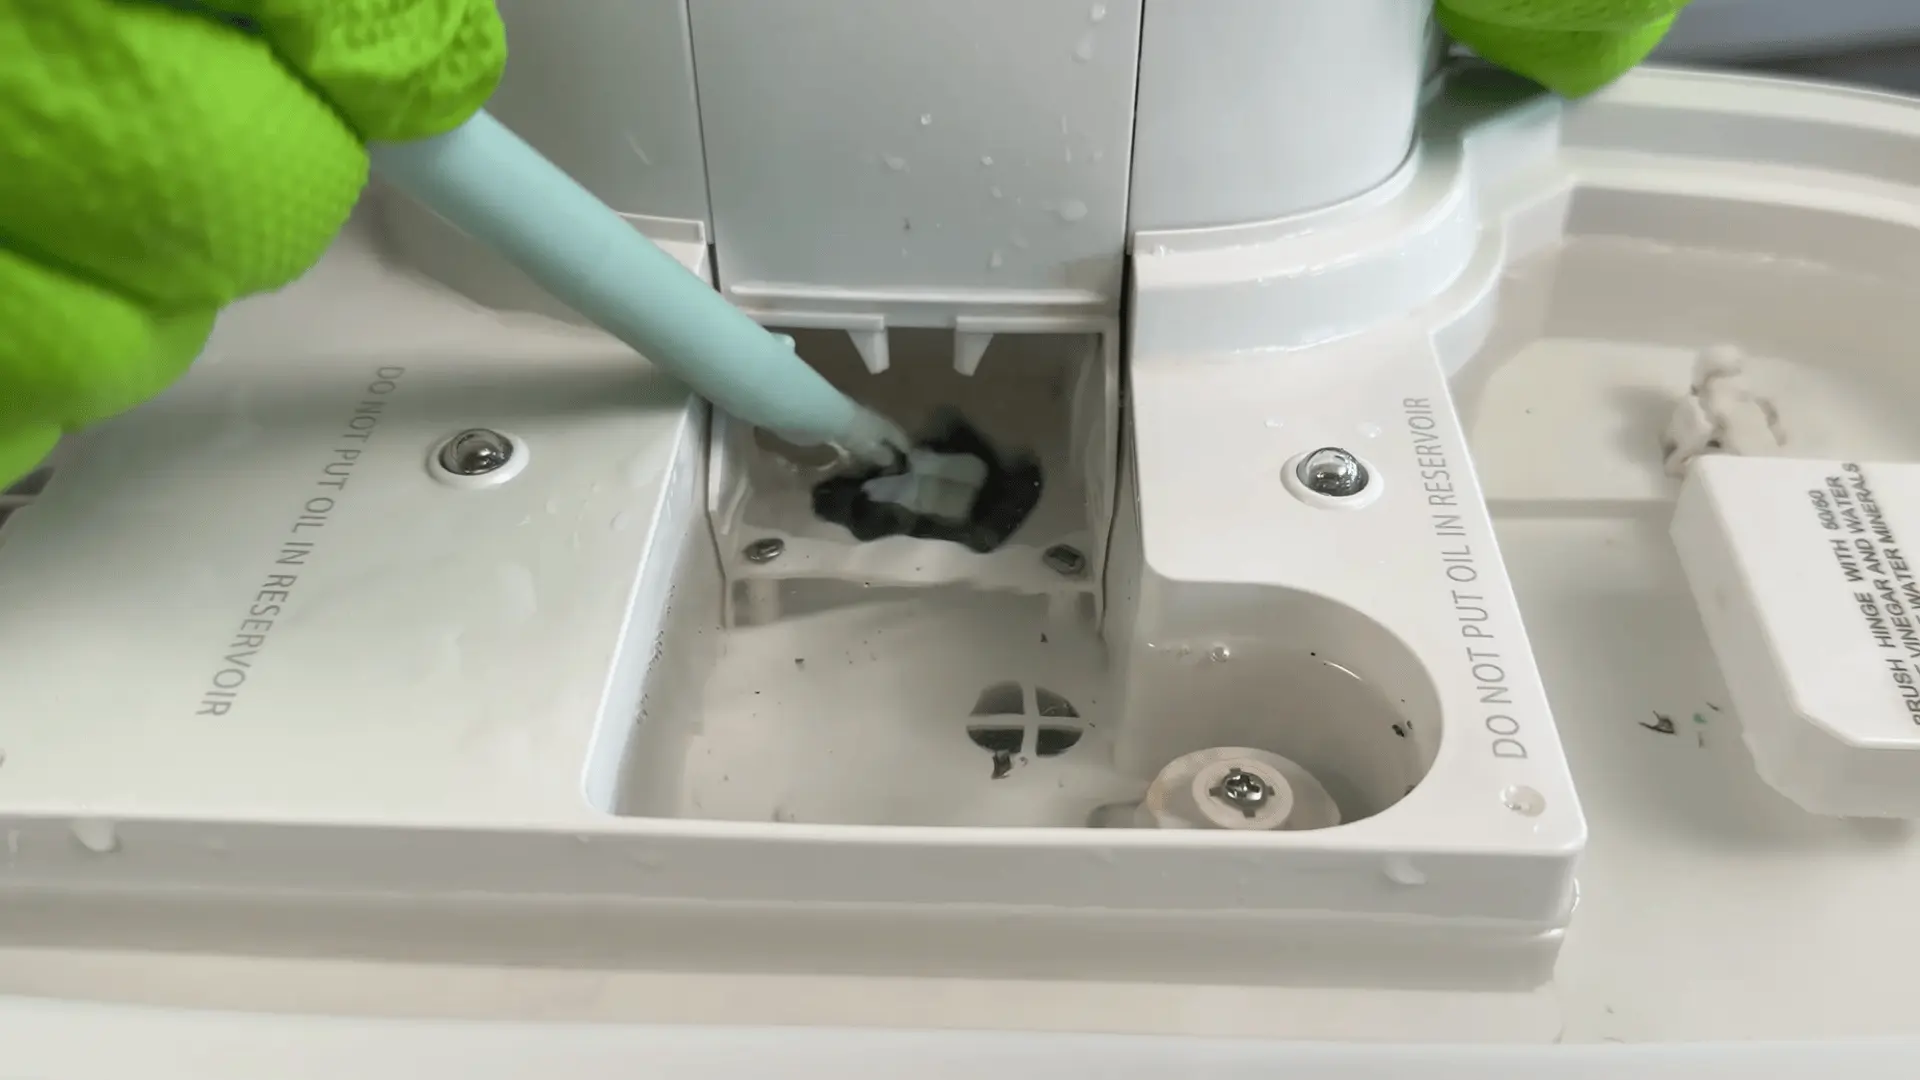
Mix equal parts white vinegar and water and pour into the reservoir. Do not use undiluted vinegar. The transducer disc and heating element are sensitive to prolonged acid contact; a diluted mix works just as well.
Soak for 20 to 30 minutes. Scrub corners with a toothbrush, narrow openings with a pipe cleaner, and flat surfaces with a scrub sponge.
Wipe clean with a damp cloth. Do not submerge or rinse the base under running water.
Step 5: Rinse All Parts Thoroughly
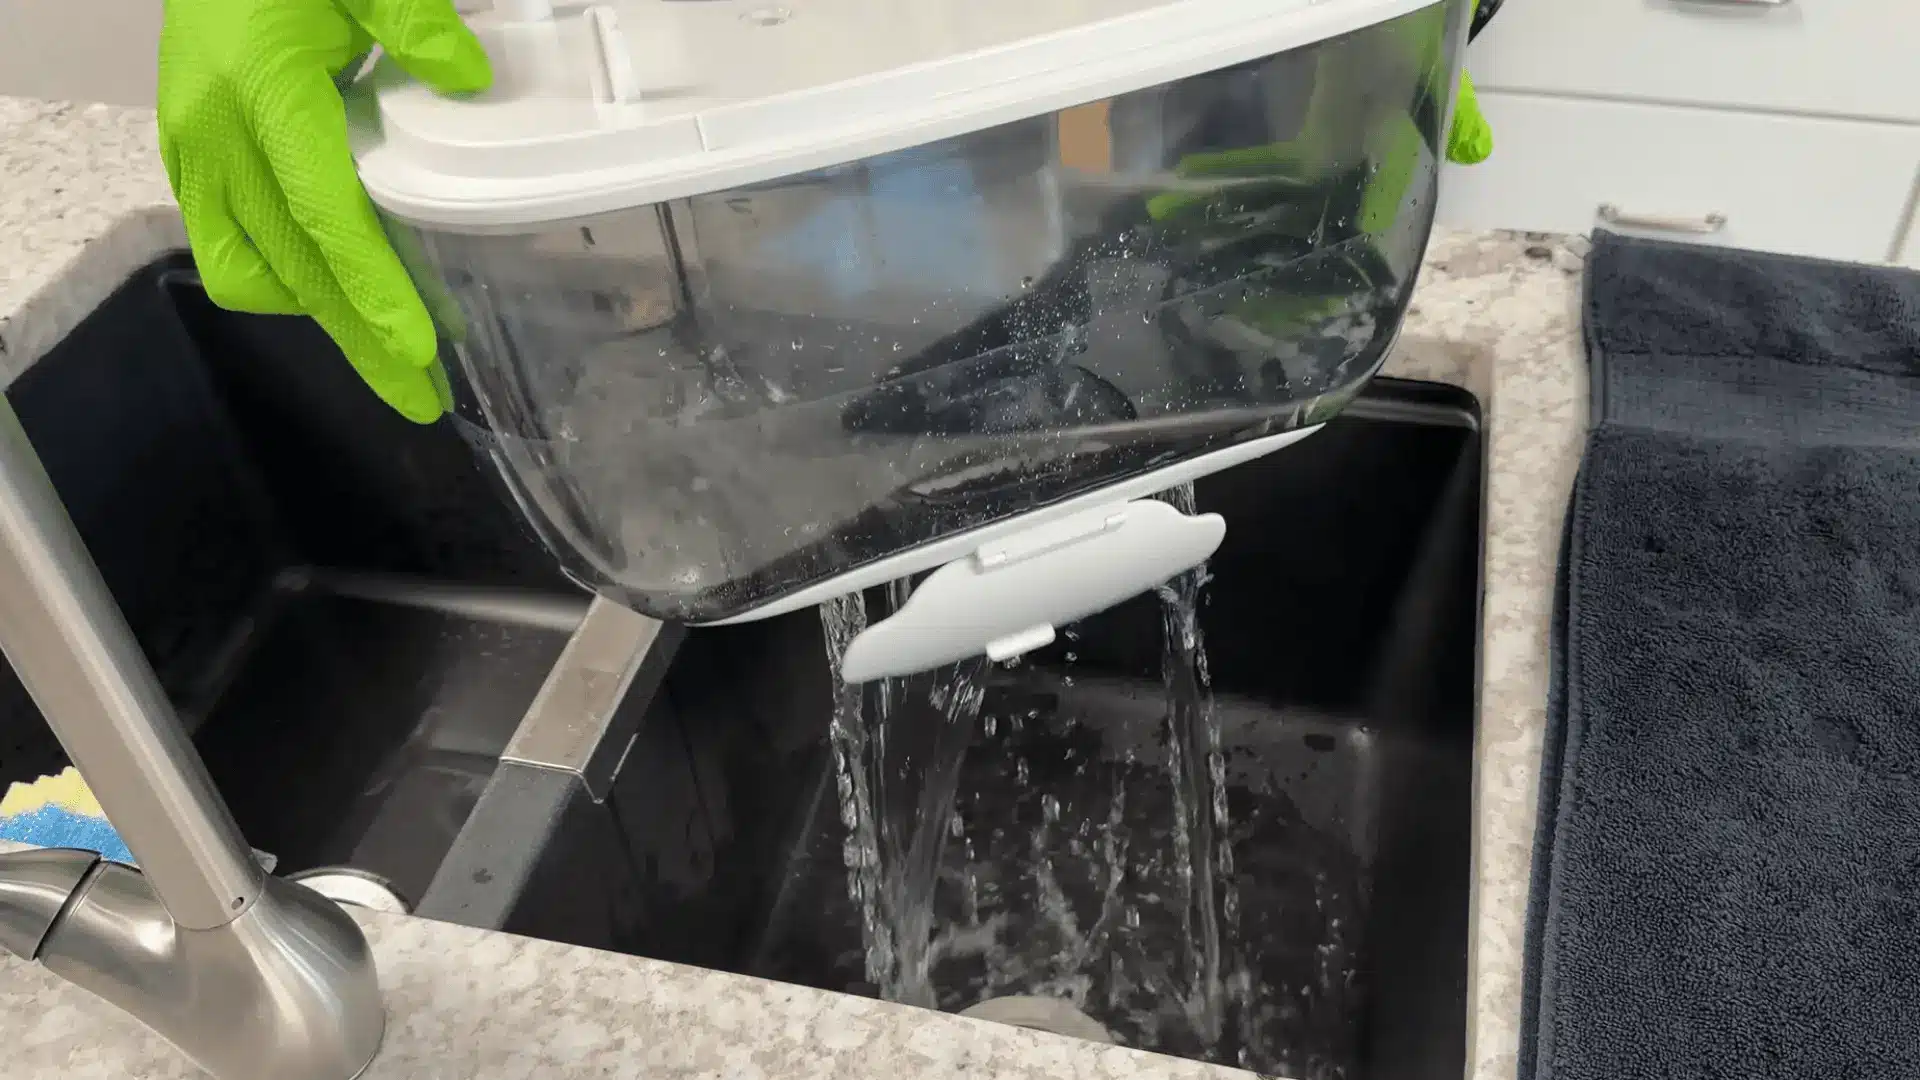
Once scrubbing is complete, dump out all vinegar solution from both the tank and the base. Rinse the tank thoroughly in the sink using clean water until no vinegar smell remains.
For the base, do not submerge it in water. Instead, use a damp microfiber cloth to wipe away any remaining vinegar or residue.
This step ensures no cleaning solution is left behind that could cause odor or damage later.
Step 6: Dry Completely Before Reassembling
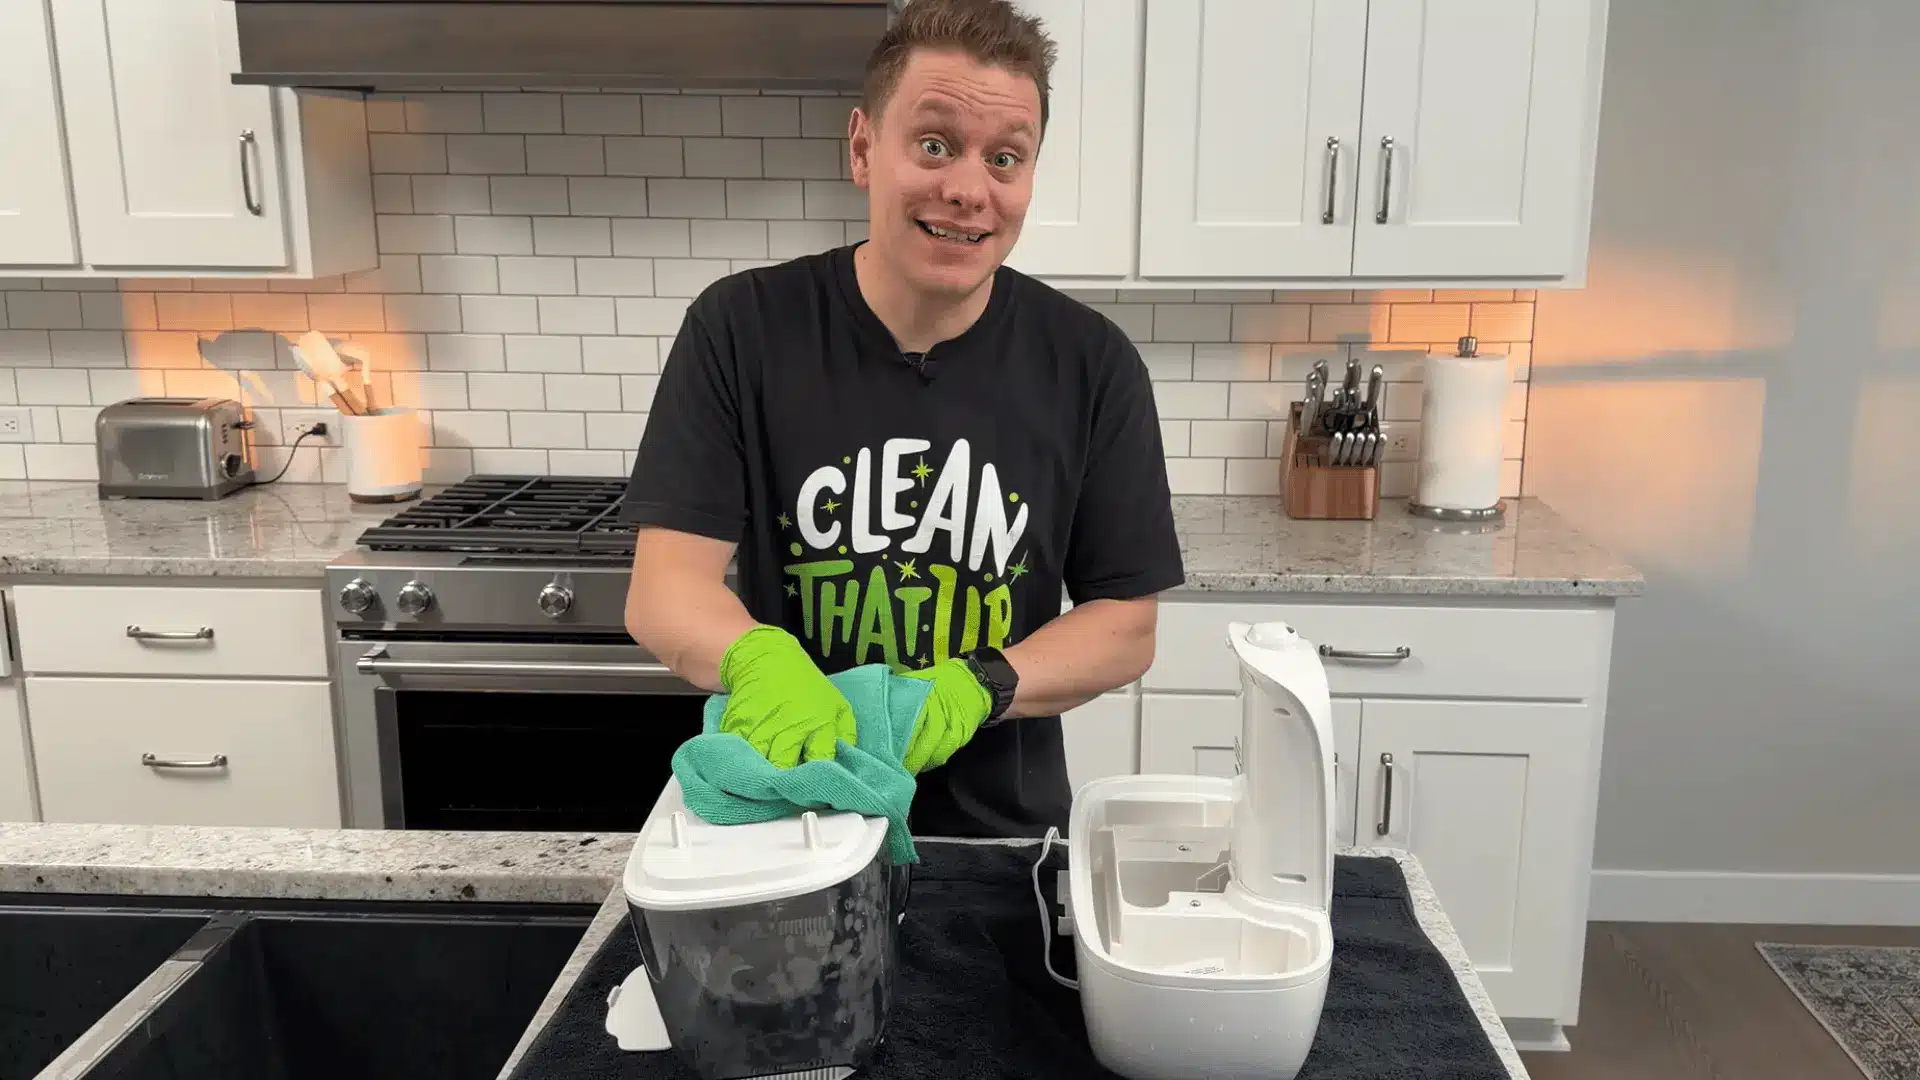
Place all parts on a drying rack or a clean towel and let them air dry fully.
Use a microfiber cloth to remove visible moisture, but still allow several hours to dry completely.
Never reassemble the humidifier while it is damp. Trapped moisture is what leads to mold and bad odors. Once fully dry, reassemble and refill with clean, preferably distilled water for safe use.
For a complete walkthrough of the process, check out the video tutorial below.
How to Descale a Hot Steam Humidifier Easily
Steam humidifiers scale up faster than cool mist units because the heating element concentrates minerals as it boils the water.
Citric acid is the gentler choice here; the process is similar, but this walkthrough covers removing buildup with it, then rinsing and drying each part properly.
Tools and Materials
- Soft-bristled cleaning toothbrush
- Small spoon
- Soft scrub pad
- Microfiber towel
- Cleaning gloves
- Small container or measuring cup
- Citric acid powder
- Warm water
- Clean water for rinsing
- Distilled water for future use
Step 1: Unplug and Take the Humidifier Apart
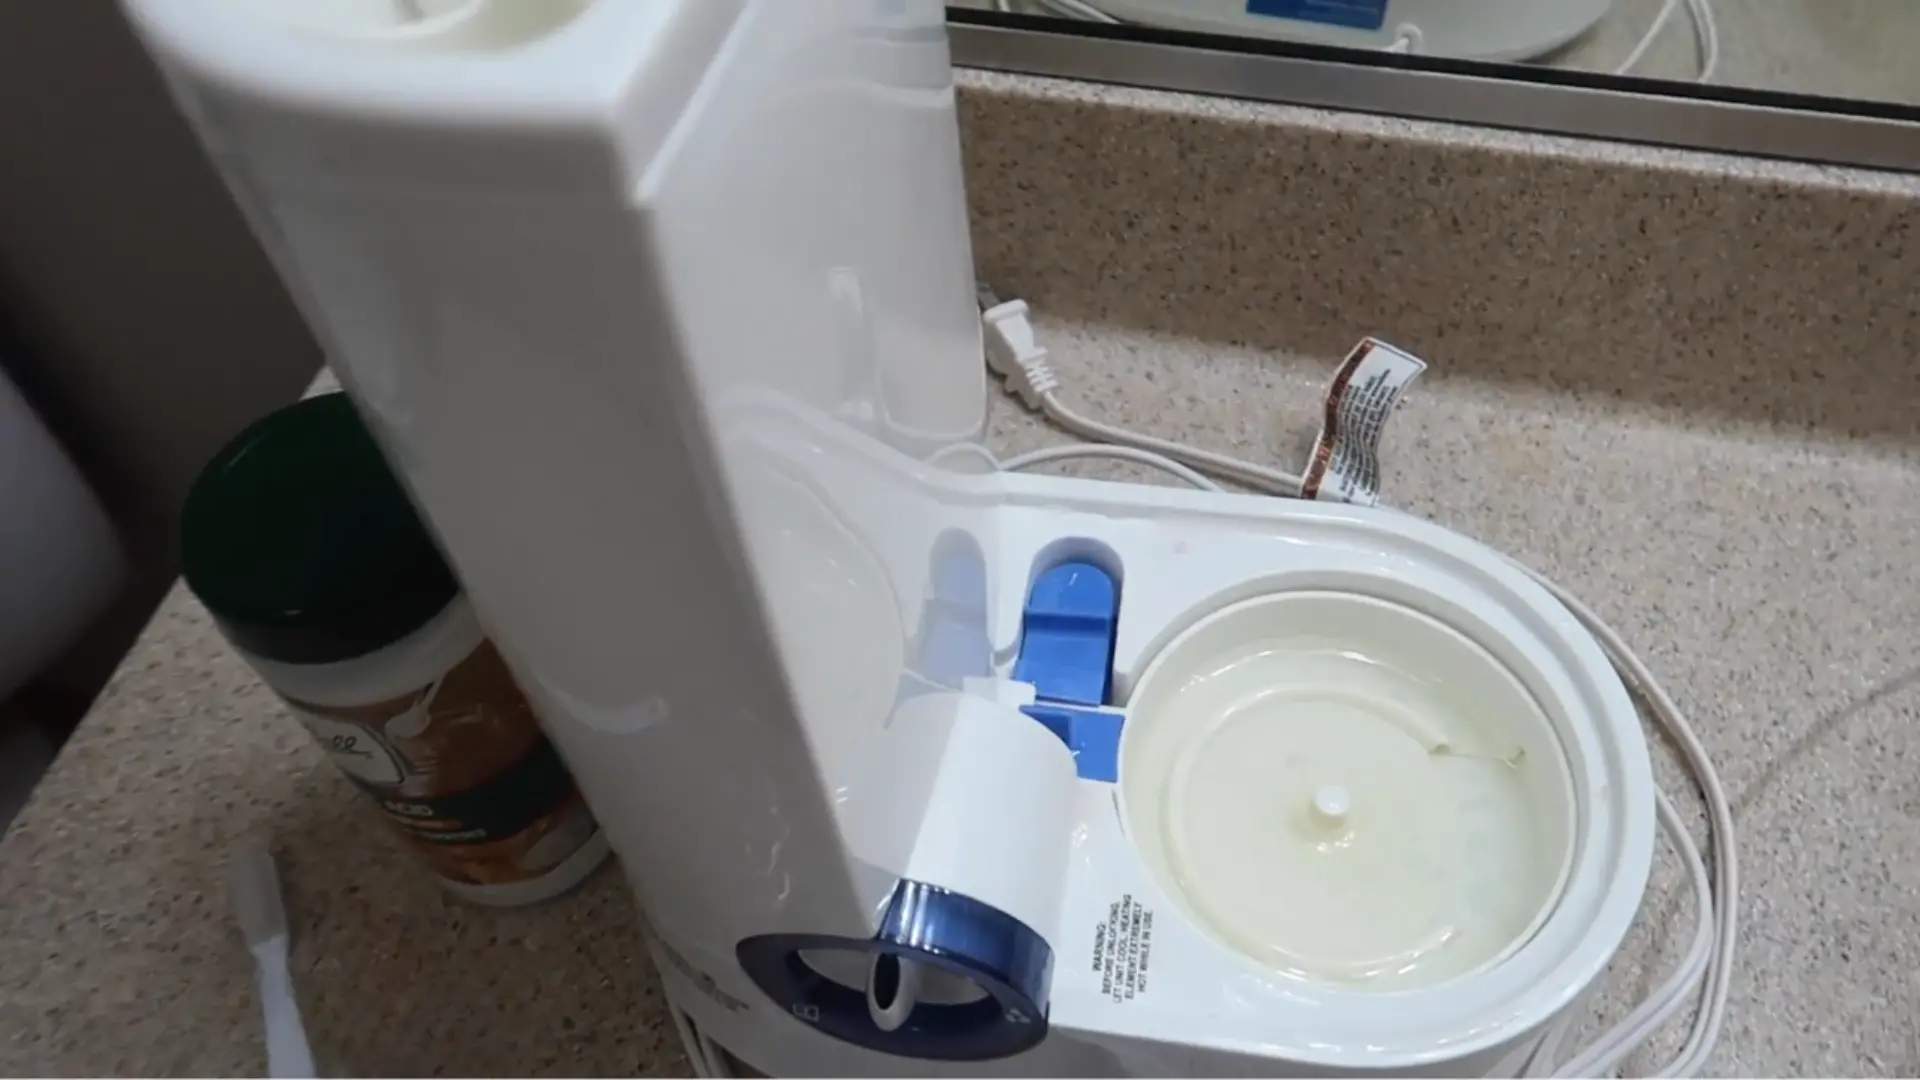
Unplug the humidifier and let it cool completely before touching the heating area. Remove the water tank, lid, medicine cup, and other detachable parts.
Place the pieces on a towel near the sink. The microfiber towel protects your counter and catches any water left inside the unit.
Step 2: Empty and Rinse Each Part
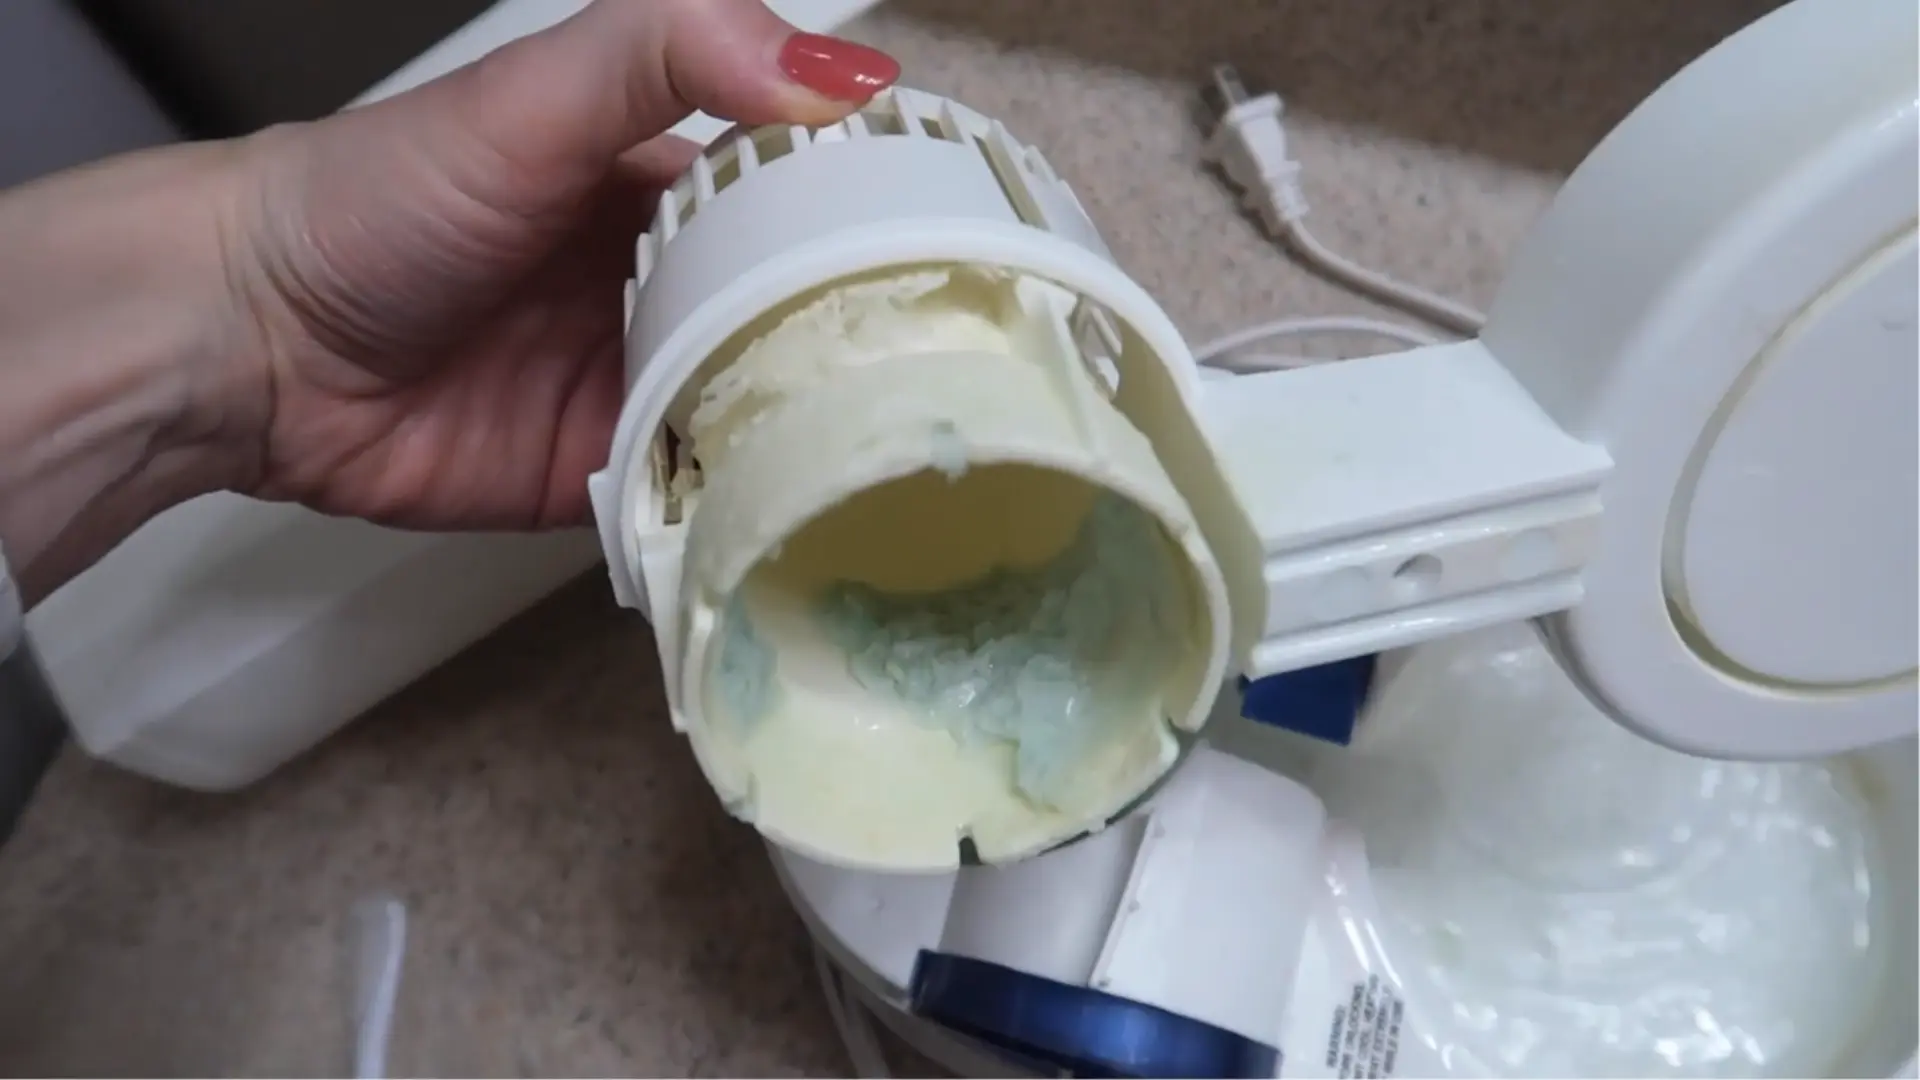
Pour out all remaining water from the tank and base. Rinse loose dirt, dust, and mineral flakes away with clean water.
Use the small container or measuring cup to pour water into tight areas. Do not submerge the electrical base or allow water near the cord.
Step 3: Add the Citric Acid Solution
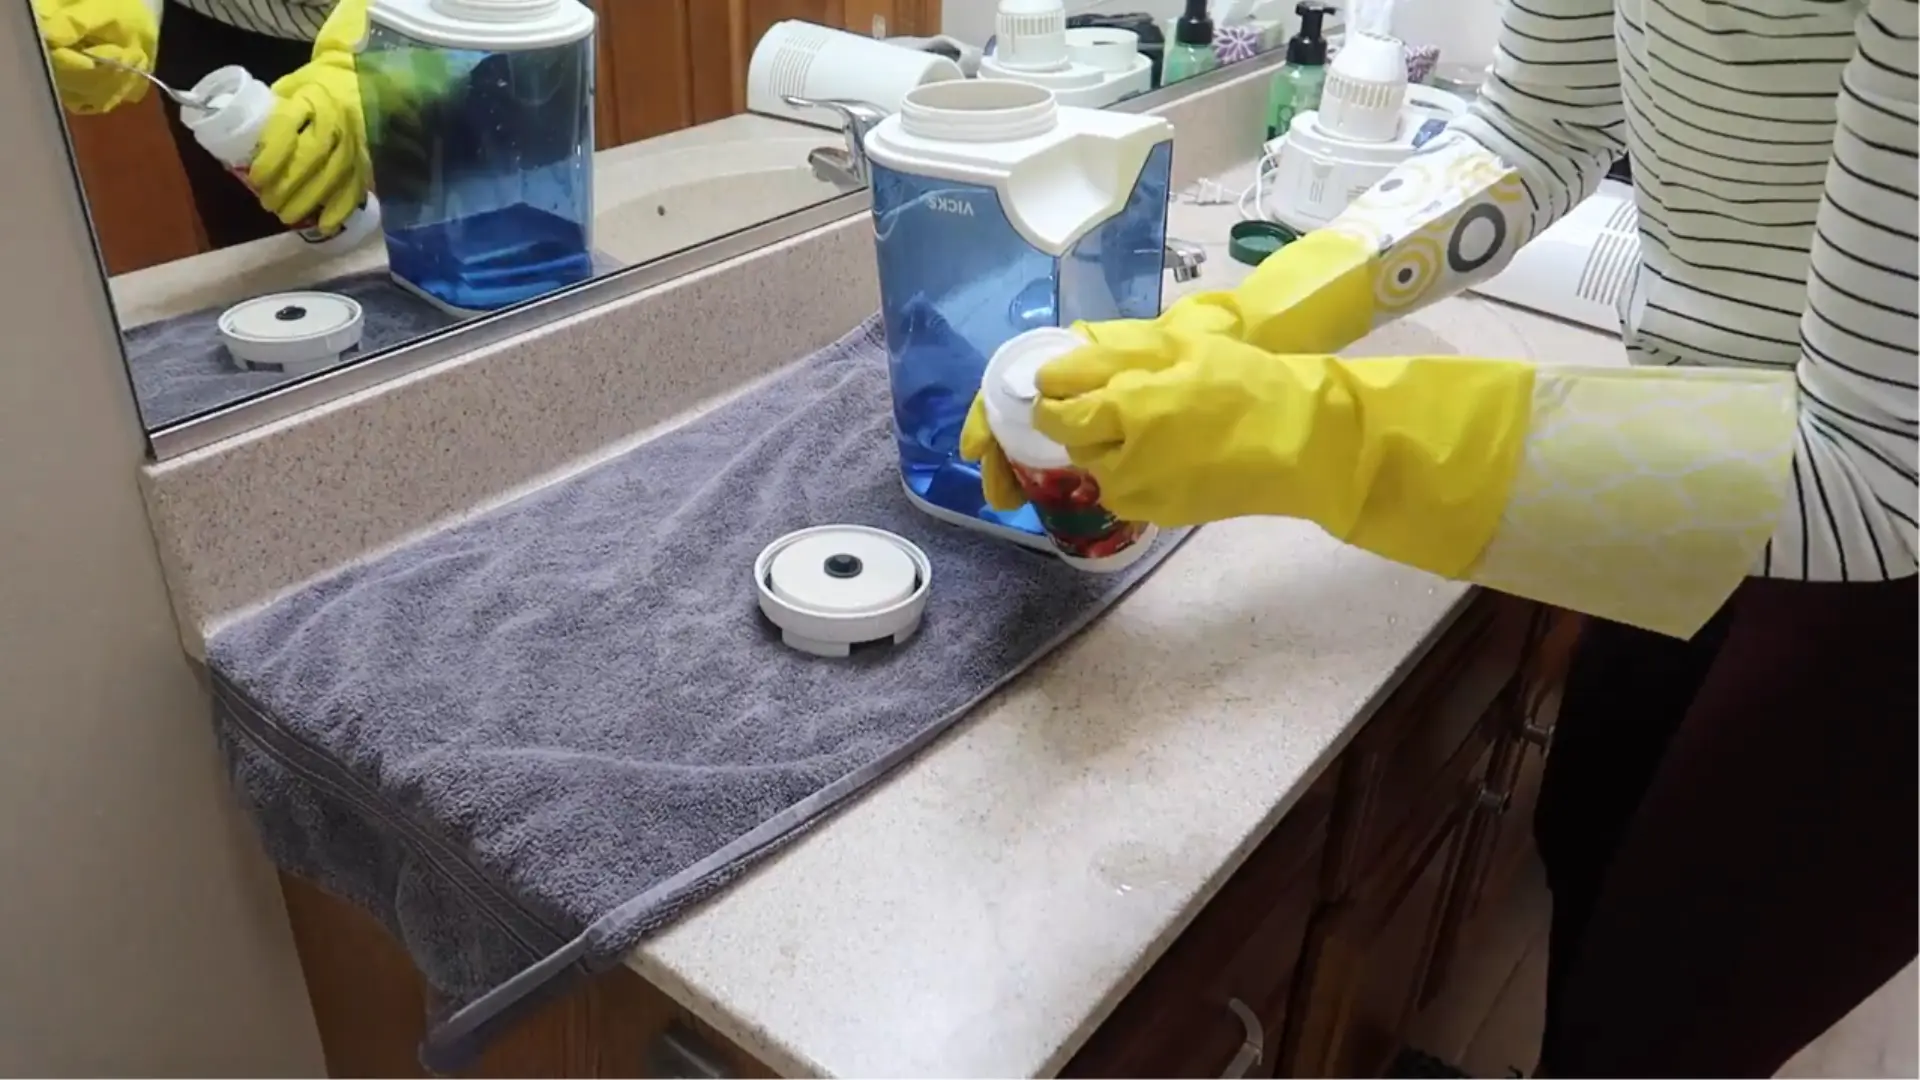
Mix a small amount of citric acid powder with warm water. Pour the solution into the tank and areas containing visible mineral scale.
Use the small spoon to place citric acid into narrow sections. Make sure the solution covers the buildup without entering electrical openings.
Step 4: Let the Scale Soak
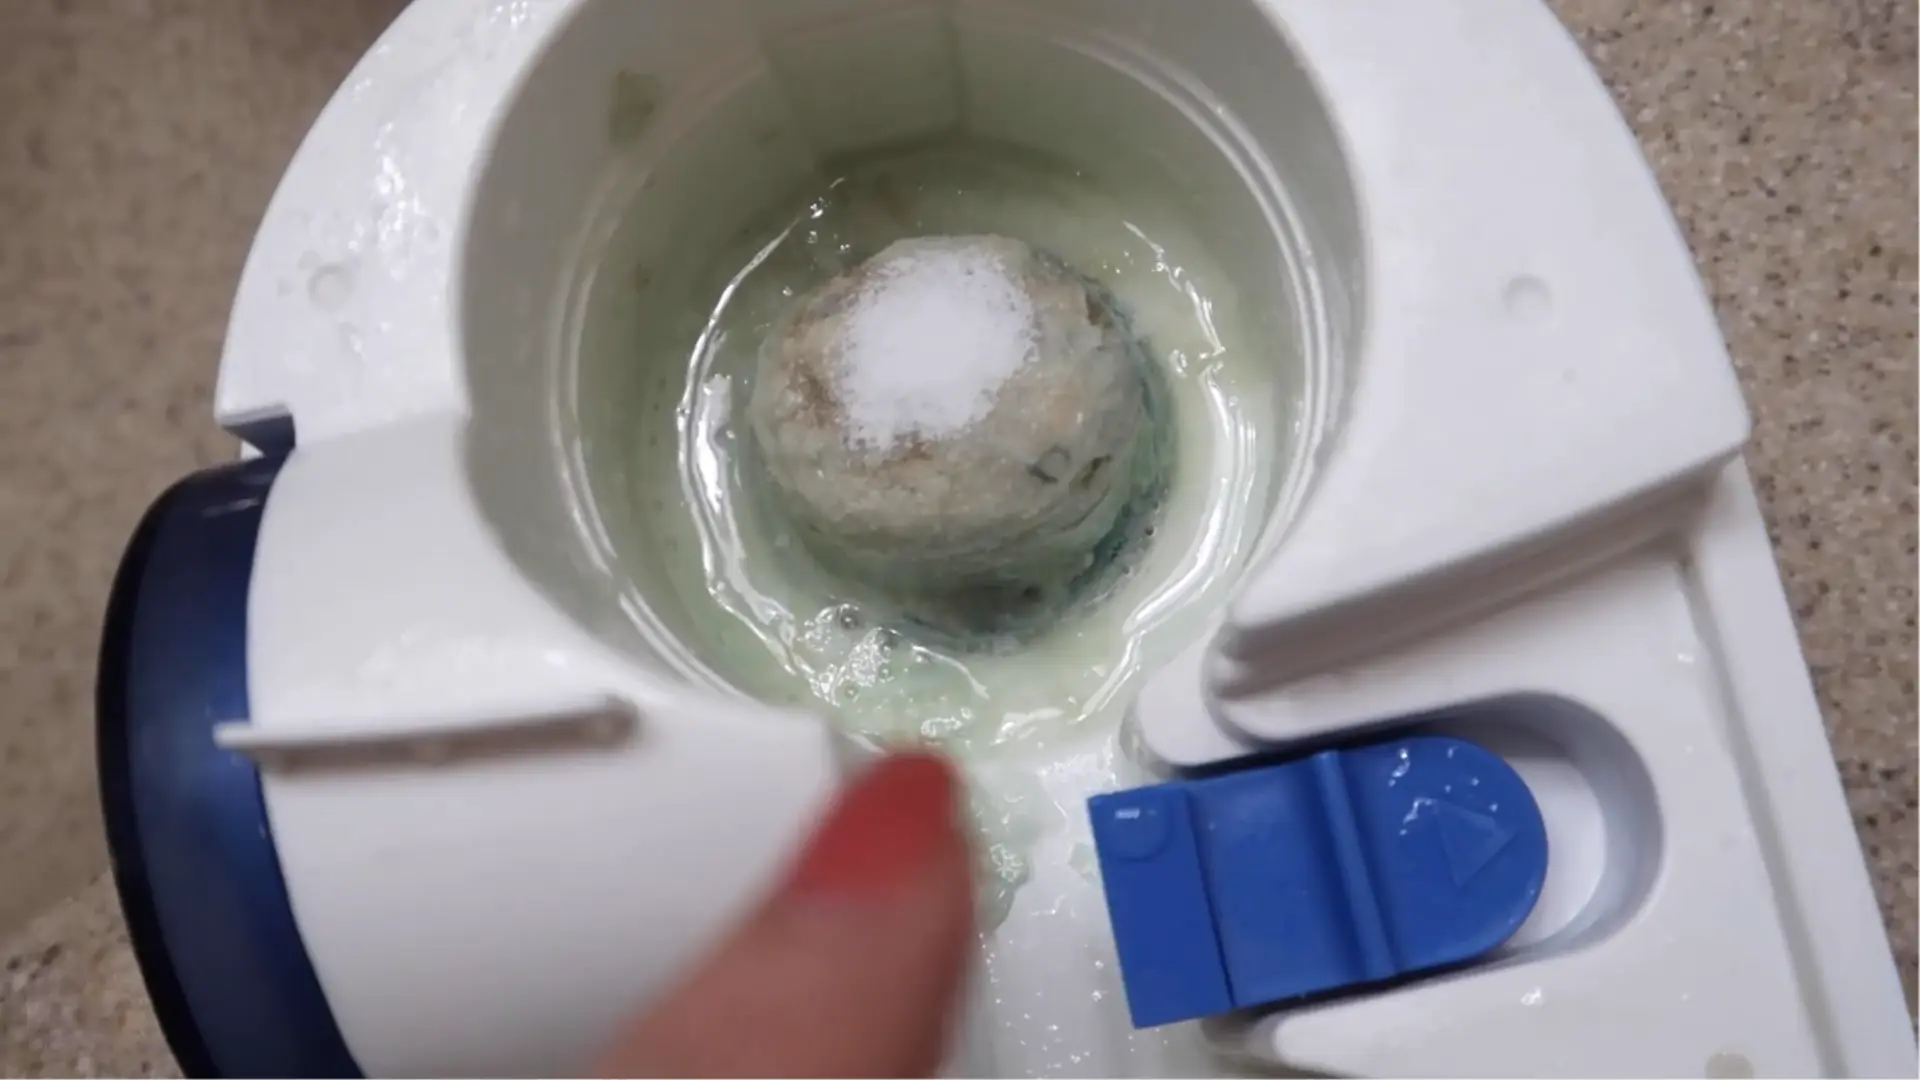
Allow light buildup to soak for about 10 minutes. Thick, hardened deposits may need 15 to 20 minutes before they begin loosening.
The citric acid may fizz slightly as it reacts with the mineral scale. Avoid scraping while the deposits are still hard.
Step 5: Gently Brush the Loosened Buildup
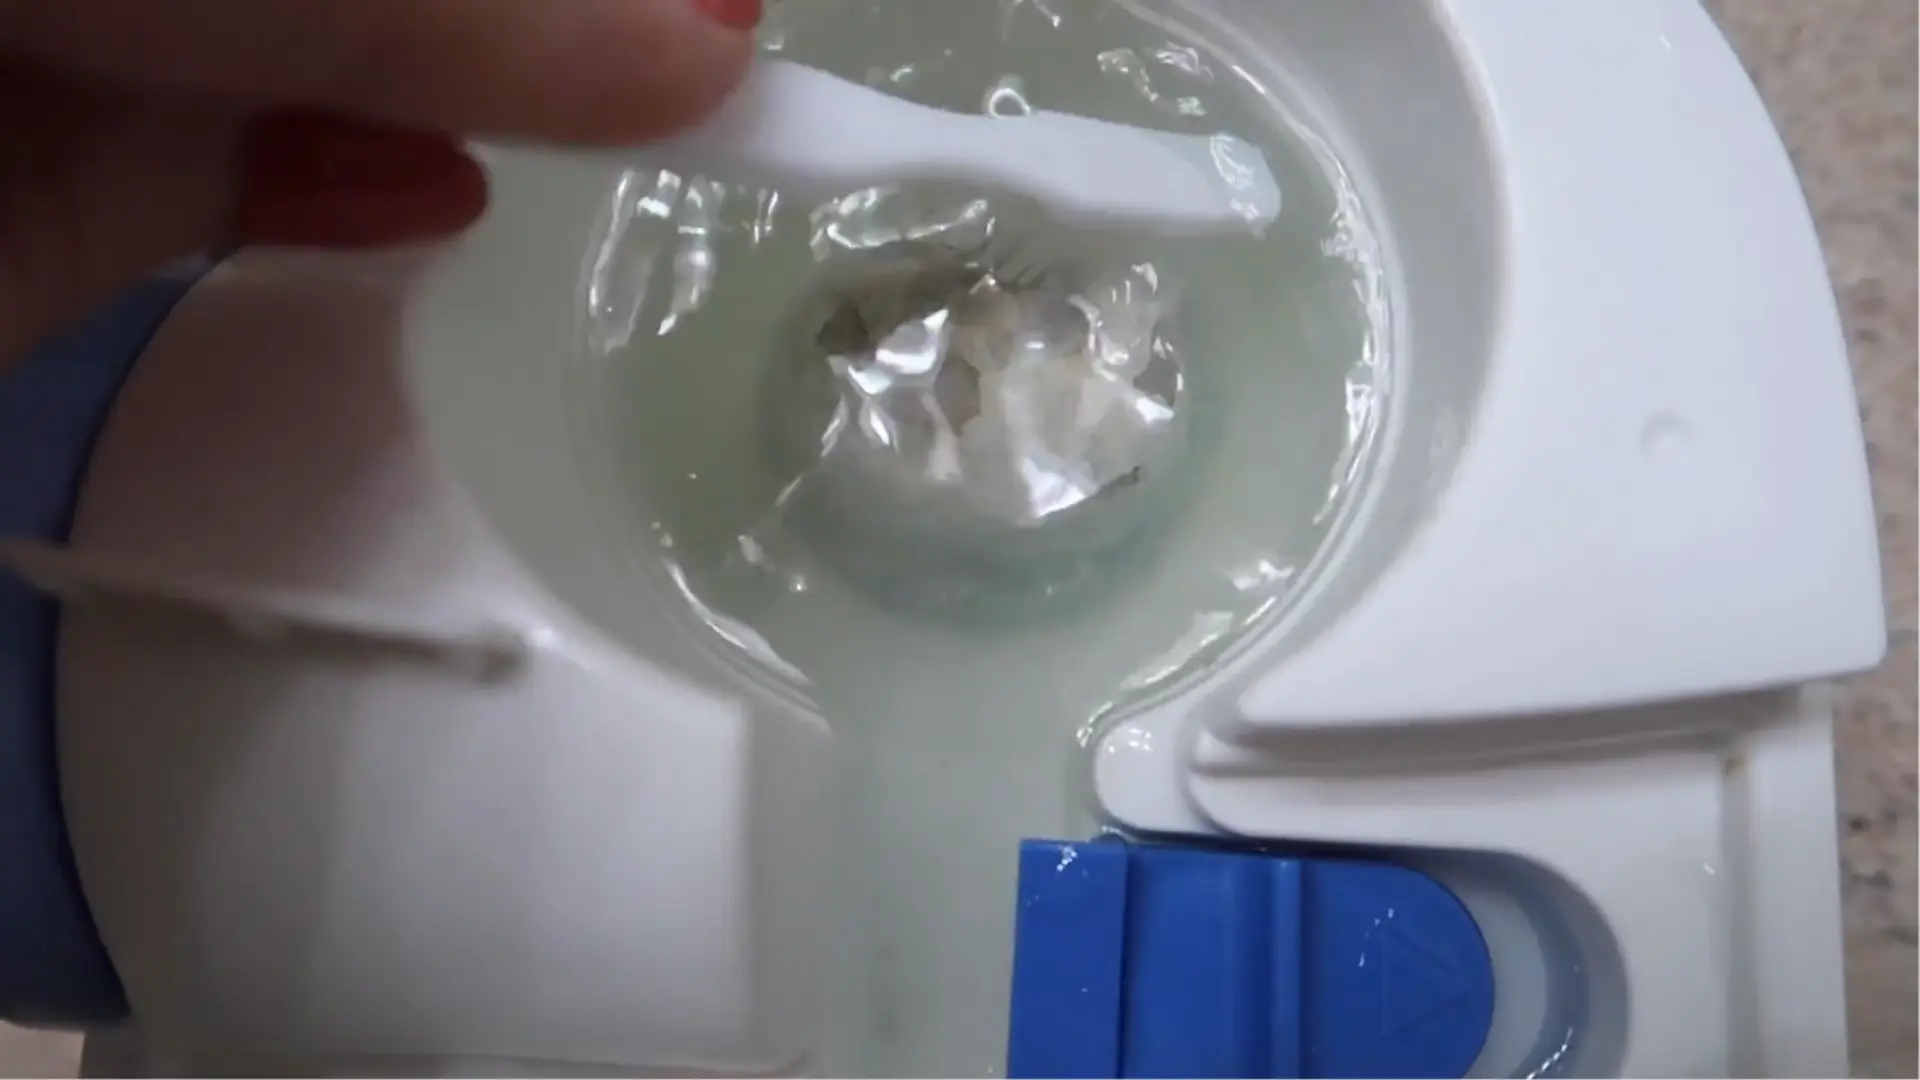
Use the soft cleaning toothbrush to scrub corners, seams, and yellowed areas. A soft scrub pad can help on wider plastic surfaces.
Clean the heating element carefully with the toothbrush. Do not use steel wool, knives, screwdrivers, or stiff brushes because they can cause permanent damage.
Step 6: Rinse and Dry Everything
Rinse every treated part several times with clean water. Make sure no citric acid powder or loosened mineral residue remains inside.
Wipe accessible surfaces with the microfiber towel, then leave the parts open to air-dry completely. Reassemble the humidifier only after everything is dry.
Use distilled or demineralized water after cleaning when possible. It reduces mineral deposits and can make future cleaning much easier.
For a complete walkthrough of the process, check out the video tutorial below.
Removing Stubborn Mineral Buildup
Hardened scale needs time to soften. Start gently, then increase soaking time only when buildup remains.
| Situation | What to Do | Why It Works | Tools / Materials |
|---|---|---|---|
| Light buildup | Soak for 30 minutes | Loosens surface deposits | 50/50 white vinegar and water |
| Stubborn deposits | Soak for 2–4 hours | Softens deeper mineral layers | 50/50 white vinegar and water |
| Severe scale | Soak overnight where safe | Breaks down long-set deposits | Vinegar solution and soaking container |
| Base or transducer scale | Switch to citric acid | Dissolves hardened calcium more effectively | 1–2 tbsp citric acid and 1 cup warm water |
| After soaking | Wipe gently | Removes softened residue without scratching | Microfiber cloth |
If vinegar does not clear transducer buildup, switch to citric acid. Avoid prolonged contact with undiluted vinegar on sensitive coatings.
Repeat the treatment if scale remains. Gentle soaking is safer than scraping, harsh scrubbing, or using sharp tools.
Why Wiping Alone Does Not Remove Mineral Scale?
Wiping only removes the residue sitting on the surface.
It does not dissolve the hardened mineral deposits packed into water channels and around the transducer, which is why wiping alone can never replace descaling.
Descaling works differently because it helps break down the minerals attached to surfaces and internal areas that regular wiping cannot reach.
It also helps protect parts like heating elements, sensors, and water pathways from long-term buildup.
A properly descaled humidifier can run more consistently, produce cleaner moisture, and avoid issues caused by neglected mineral deposits.
How to Keep Mineral Buildup from Coming Back?
Distilled water is the simplest way to prevent scale. With most minerals removed, it leaves far less residue inside the humidifier.
- Filtered Water: Regular filters reduce some impurities, but they usually leave behind minerals that can still form scale.
- Softened Water: It may reduce buildup, but distilled or demineralized water offers better protection against mineral deposits.
- Regular Descaling: If you use tap water, descale every 1 to 4 weeks, depending on water quality and usage.
- Hard Water Maintenance: Mineral-rich water causes faster buildup, especially with daily use, so you may need to descale more often.
- Demineralization Cartridges: Compatible cartridges can reduce mineral deposits and slow buildup between cleanings.
These cartridges can reduce maintenance, but they do not replace cleaning. Replace them on the schedule listed in your humidifier’s instructions.
The same mineral buildup shows up in other water-using appliances too, which is part of why it pays to learn how to clean a dishwasher the right way.
Closing Thoughts
Mineral buildup is the main reason a humidifier starts running weaker, sounding rough, or misting less than it used to.
Knowing how to descale humidifier parts the right way, instead of only wiping the surface, is what actually clears the deposits hiding in the tank, base, and transducer.
Vinegar works well for cool mist tanks, while diluted citric acid protects the sensitive parts inside steam units.
Whichever method you use, gentle soaking beats hard scrubbing every time.
Pick a day this week to give your humidifier a proper soak, and set a reminder to repeat it before scale has the chance to build back up.
Frequently Asked Questions
Can You Run Vinegar Through a Humidifier to Clean It?
Do not run vinegar through an ultrasonic or steam humidifier while it operates. The mist or steam will carry vinegar residue across the room and onto nearby surfaces and furniture. Vinegar belongs in a soak only, inside the tank and base with the unit unplugged. Rinse every part thoroughly before refilling and running the humidifier again.
How Do I Descale a Humidifier Without Vinegar?
Citric acid dissolved in water works well as a vinegar substitute, roughly one tablespoon per cup of warm water. It is just as effective and leaves far less odor behind. Lemon juice is less reliable and can leave sticky residue. Commercial descalers work too, as long as the label confirms compatibility with Teflon-coated transducers and other sensitive parts.
How Often Should I Descale My Humidifier?
With tap water, plan on descaling every one to two weeks during regular use, since minerals build up faster. With distilled water, monthly is usually enough. The EPA also recommends emptying and rinsing the tank every three days regardless of water type, which slows the mineral layer that makes descaling necessary in the first place.
Are Mineral Deposits in a Humidifier Dangerous?
Not directly. Mineral scale forms rough, porous surfaces inside the unit where bacteria and mold anchor far more easily than on clean plastic. Heavily neglected buildup can also release as fine white dust during operation, which may irritate airways in people with existing sensitivities. Regular descaling prevents both problems before they develop.