

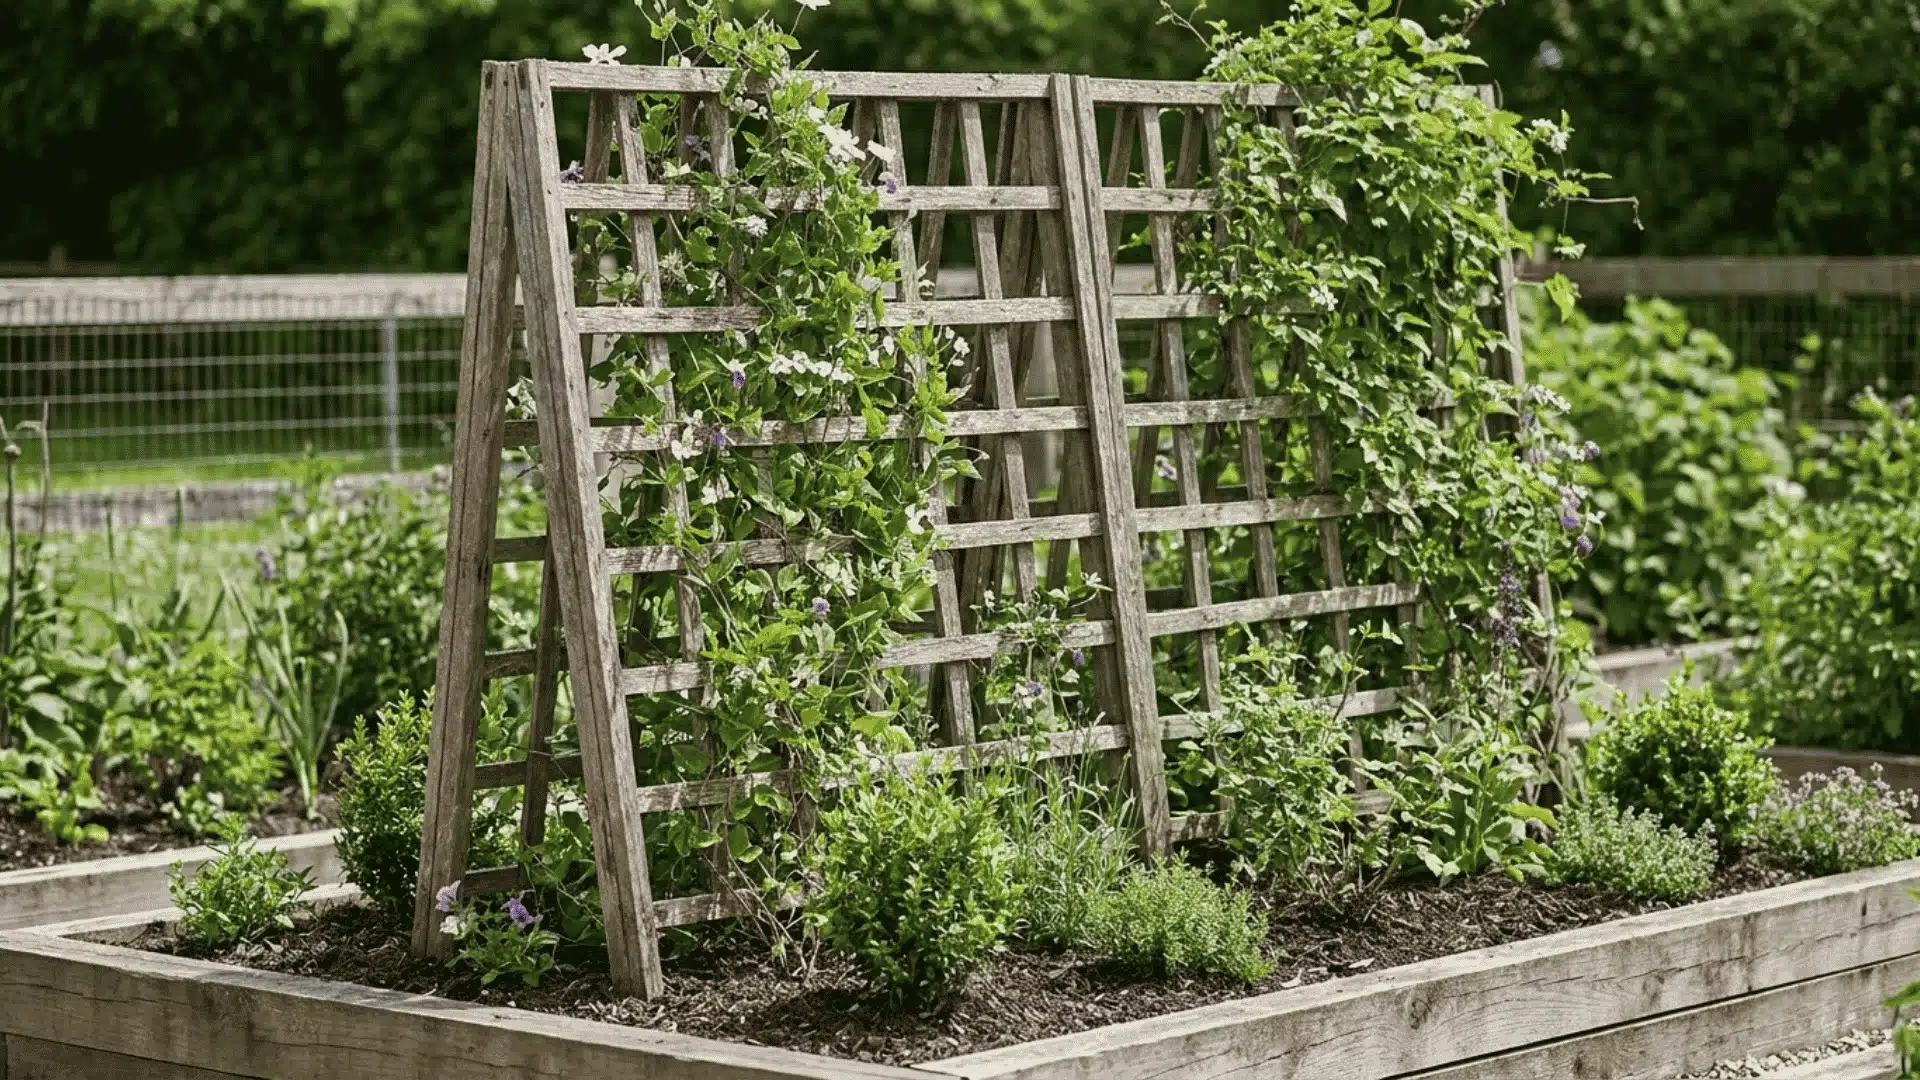
Upcycled furniture gives you a chance to turn worn or unwanted pieces into something fresh, practical, and full of personality.
I like it because it lets you work with what you already have while creating designs that feel meaningful and one-of-a-kind.
In this blog, you’ll learn how to spot the right pieces, move through each step with confidence, and avoid the common mistakes that slow beginners down.
I’ll also walk you through creative project ideas and tips for selling your finished work if you want to take things further. Once you understand the process, you can turn almost any old item into something useful again.
What is Upcycled Furniture?
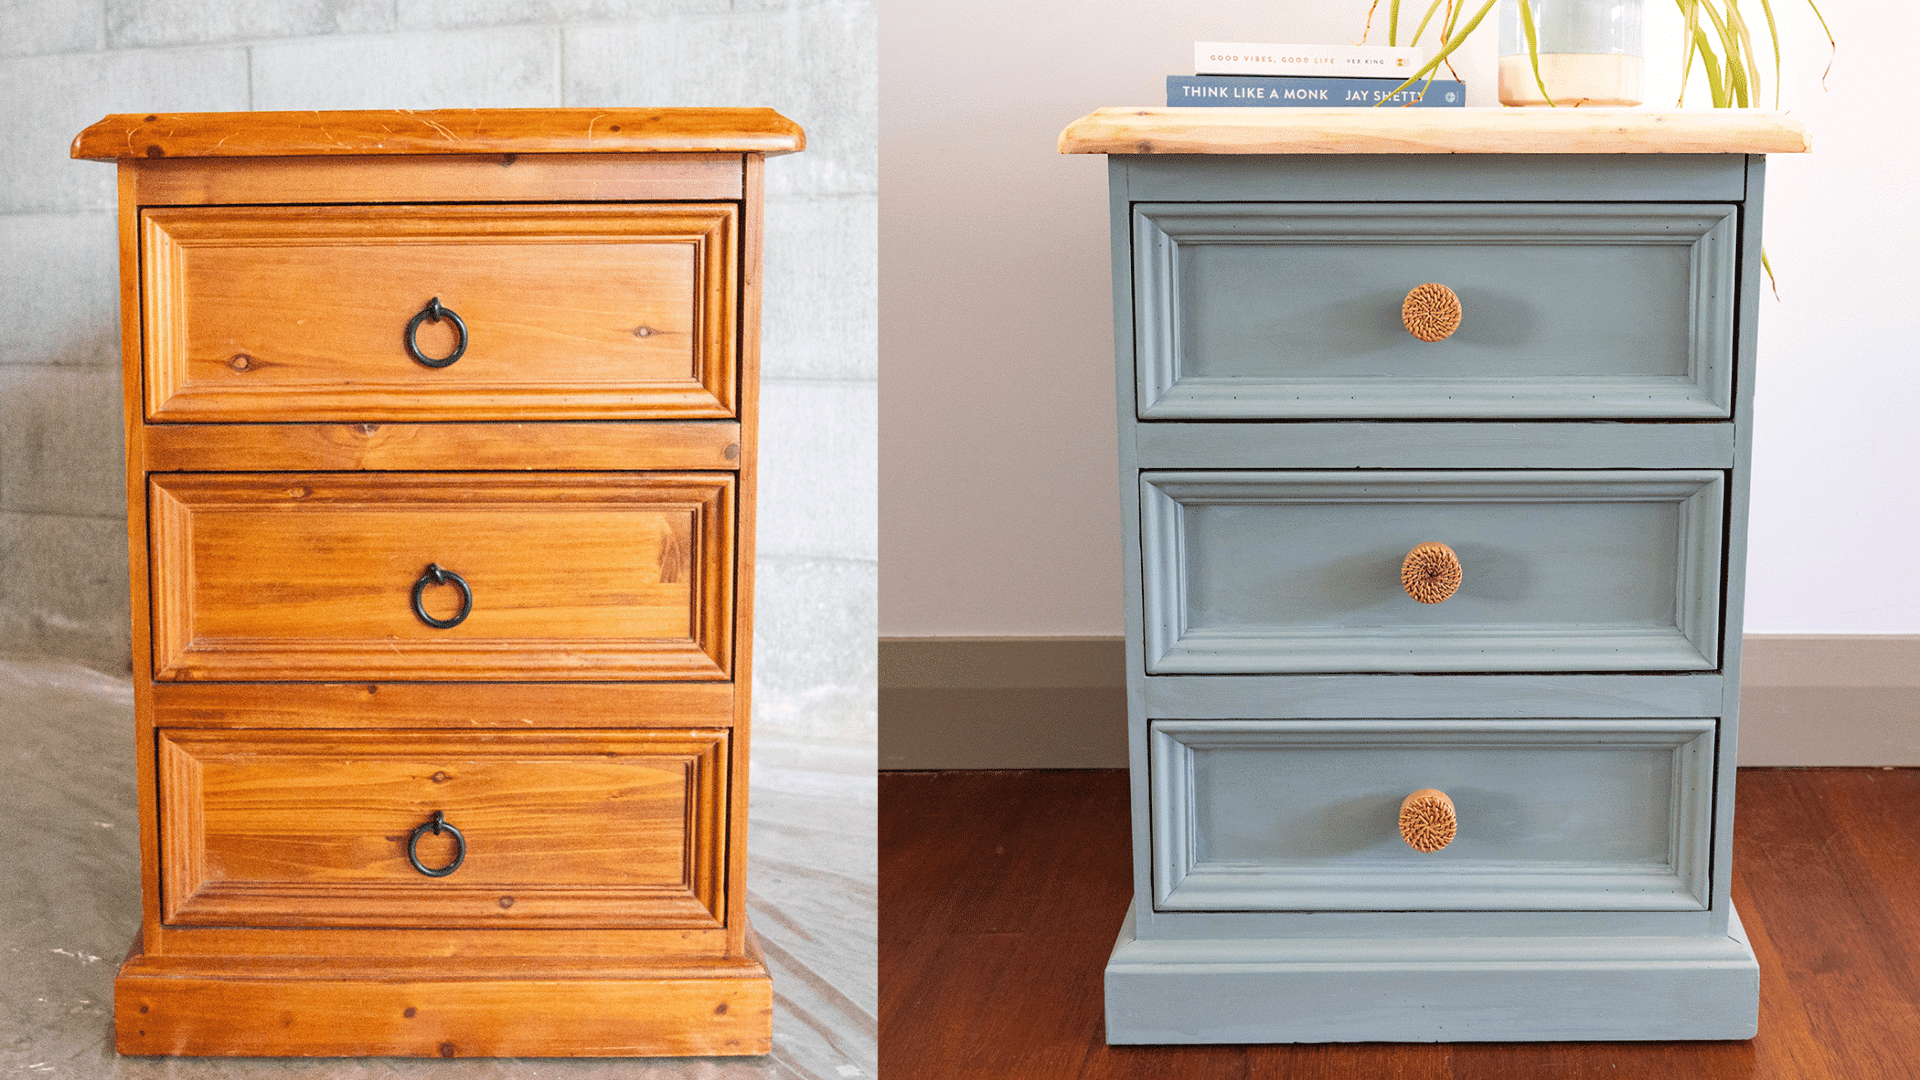
Upcycled furniture means taking old or unwanted pieces and turning them into something new. It’s about improving what exists instead of throwing it away or buying new.
Unlike recycling, which breaks things down, upcycling keeps the main structure intact. You can sand, paint, or rebuild it into a fresh design that fits your style.
People love it because it’s creative, sustainable, and full of character. Every upcycled piece tells a story and gives forgotten furniture a purpose again.
How to Upcycle Furniture: Step-by-Step DIY Guide
You can follow a few steady steps to turn an old piece into something fresh and useful. These steps help you move through the process in a smooth way, so the whole project feels easier.
Tools and Supplies You Need
- Warm water
- A strong cleaner
- Sanding tools
- Screwdriver or drill
- Saw for cutting feet or a new base
- Pre-stain conditioner
- Gel stain
- Gel top coat or protective finish
- Rags or sponges
Step 1: Clean and Prep the Surface
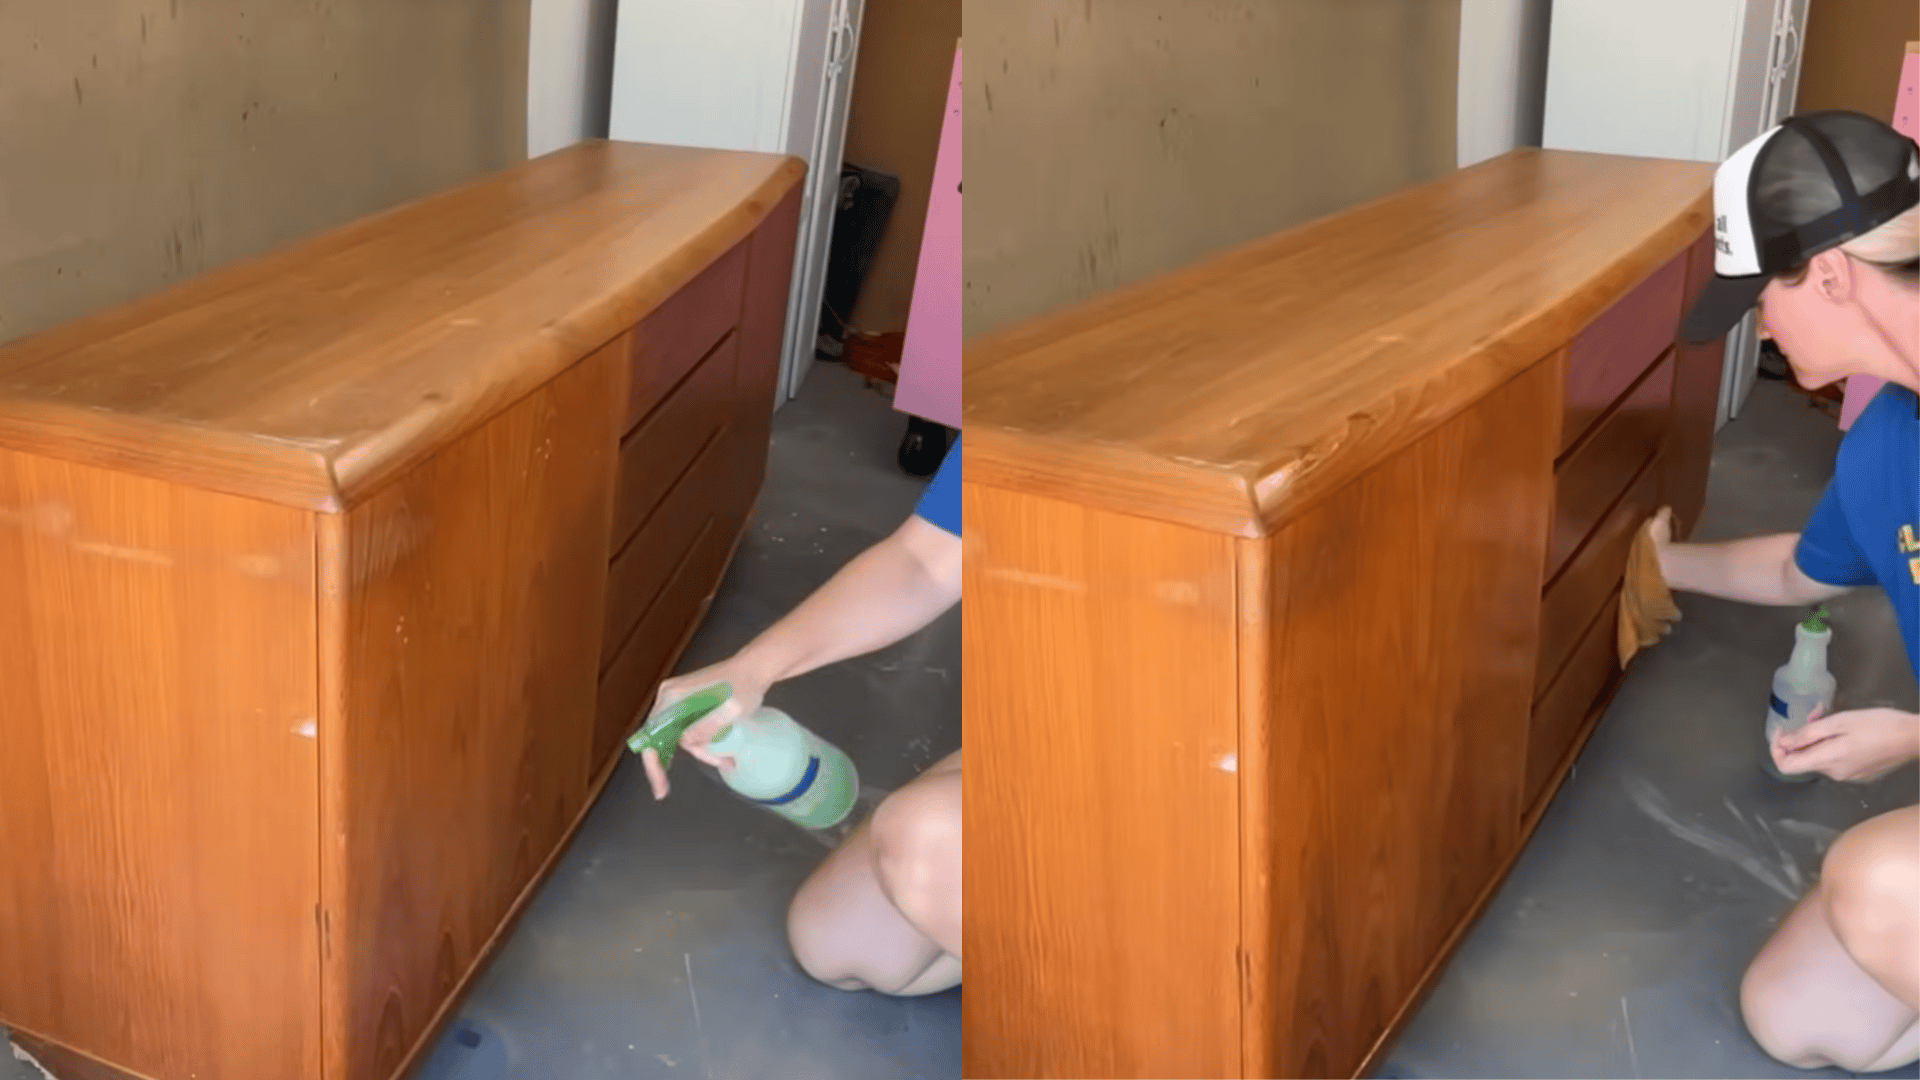
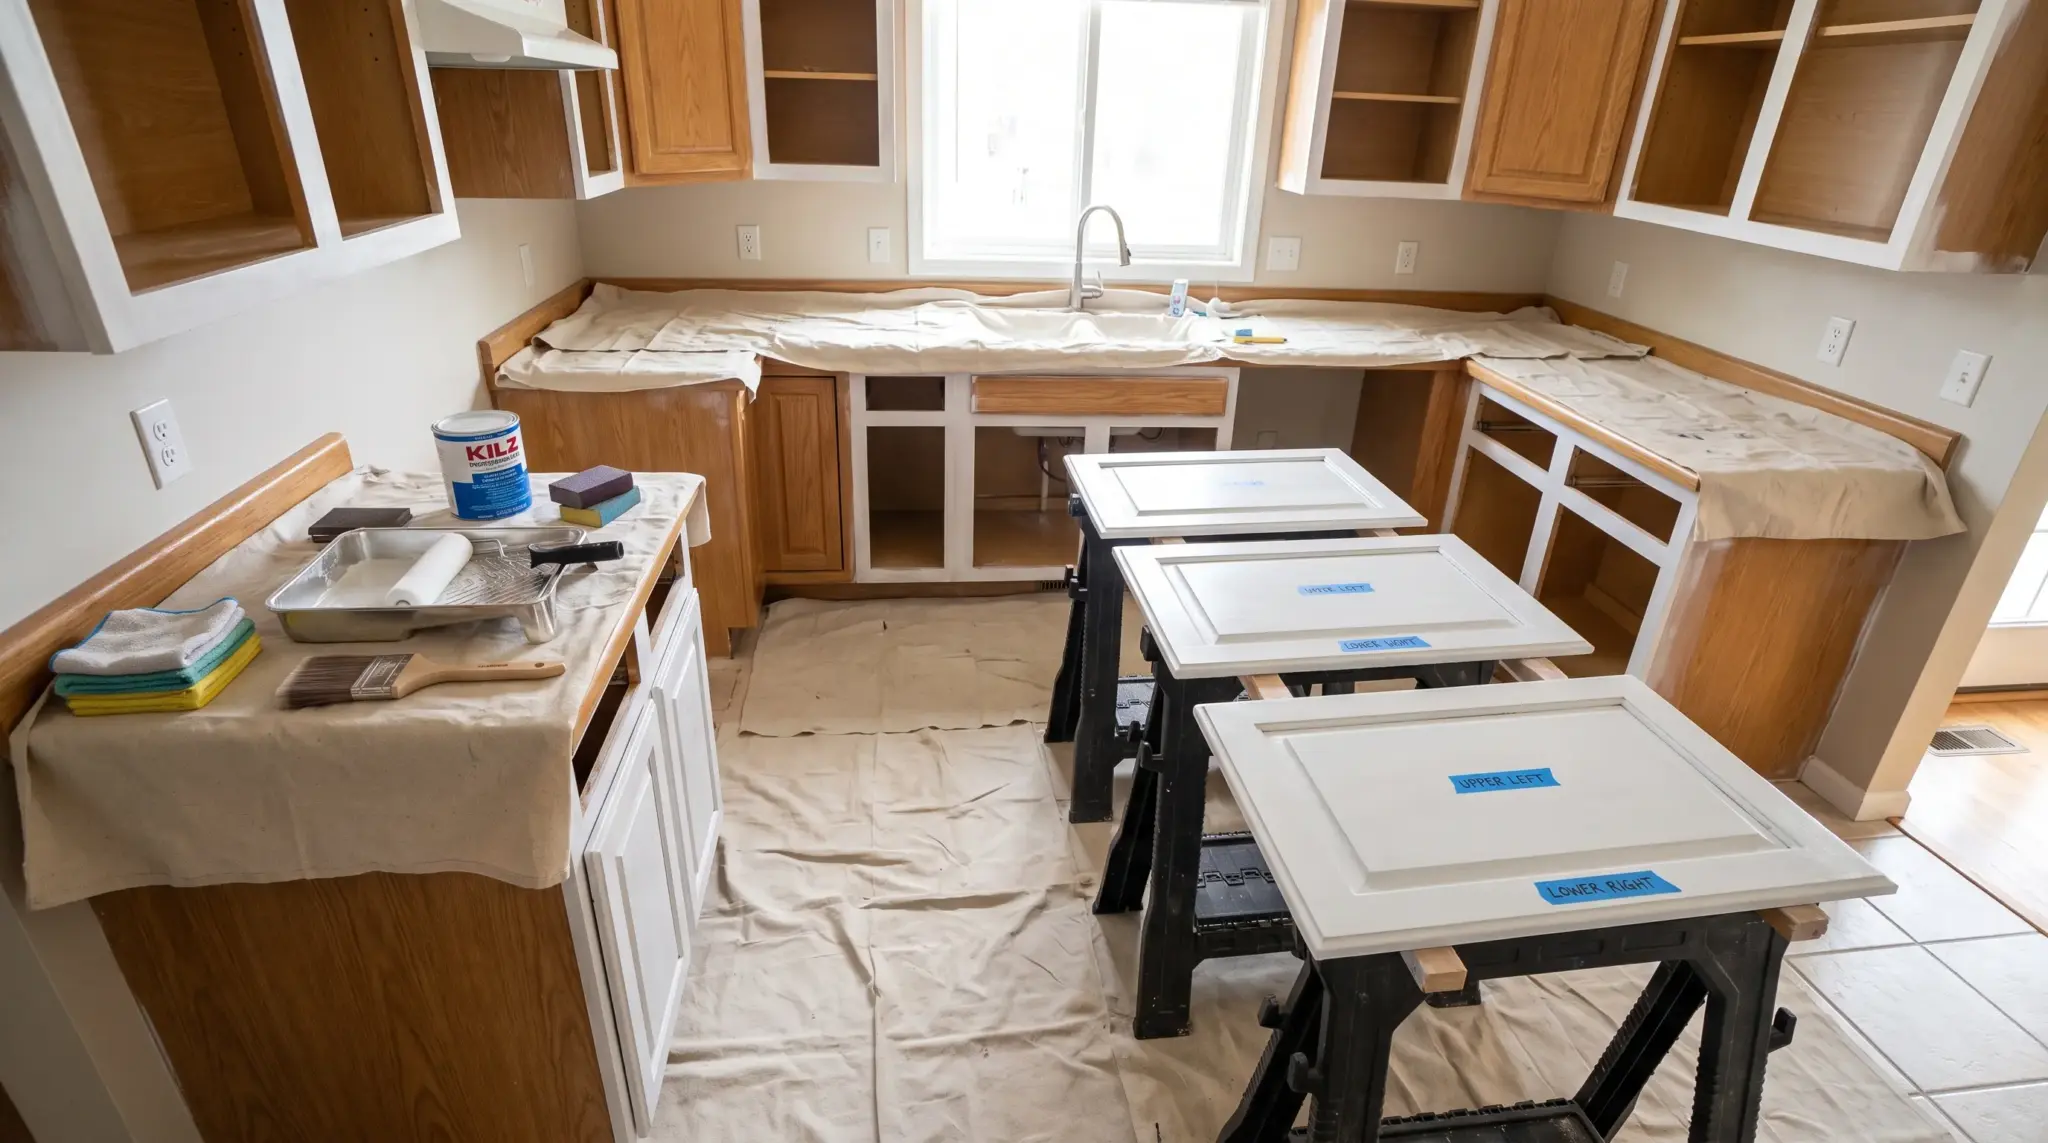
Clean the whole piece with warm water and a strong cleaner to remove polish and buildup. This helps the stain or finish stick well and gives you a clean surface to work with.
Take your time wiping every section, especially the areas that collect residue. A smooth and clean base helps the next steps go on more evenly.
Step 2: Remove Parts You Don’t Want to Keep
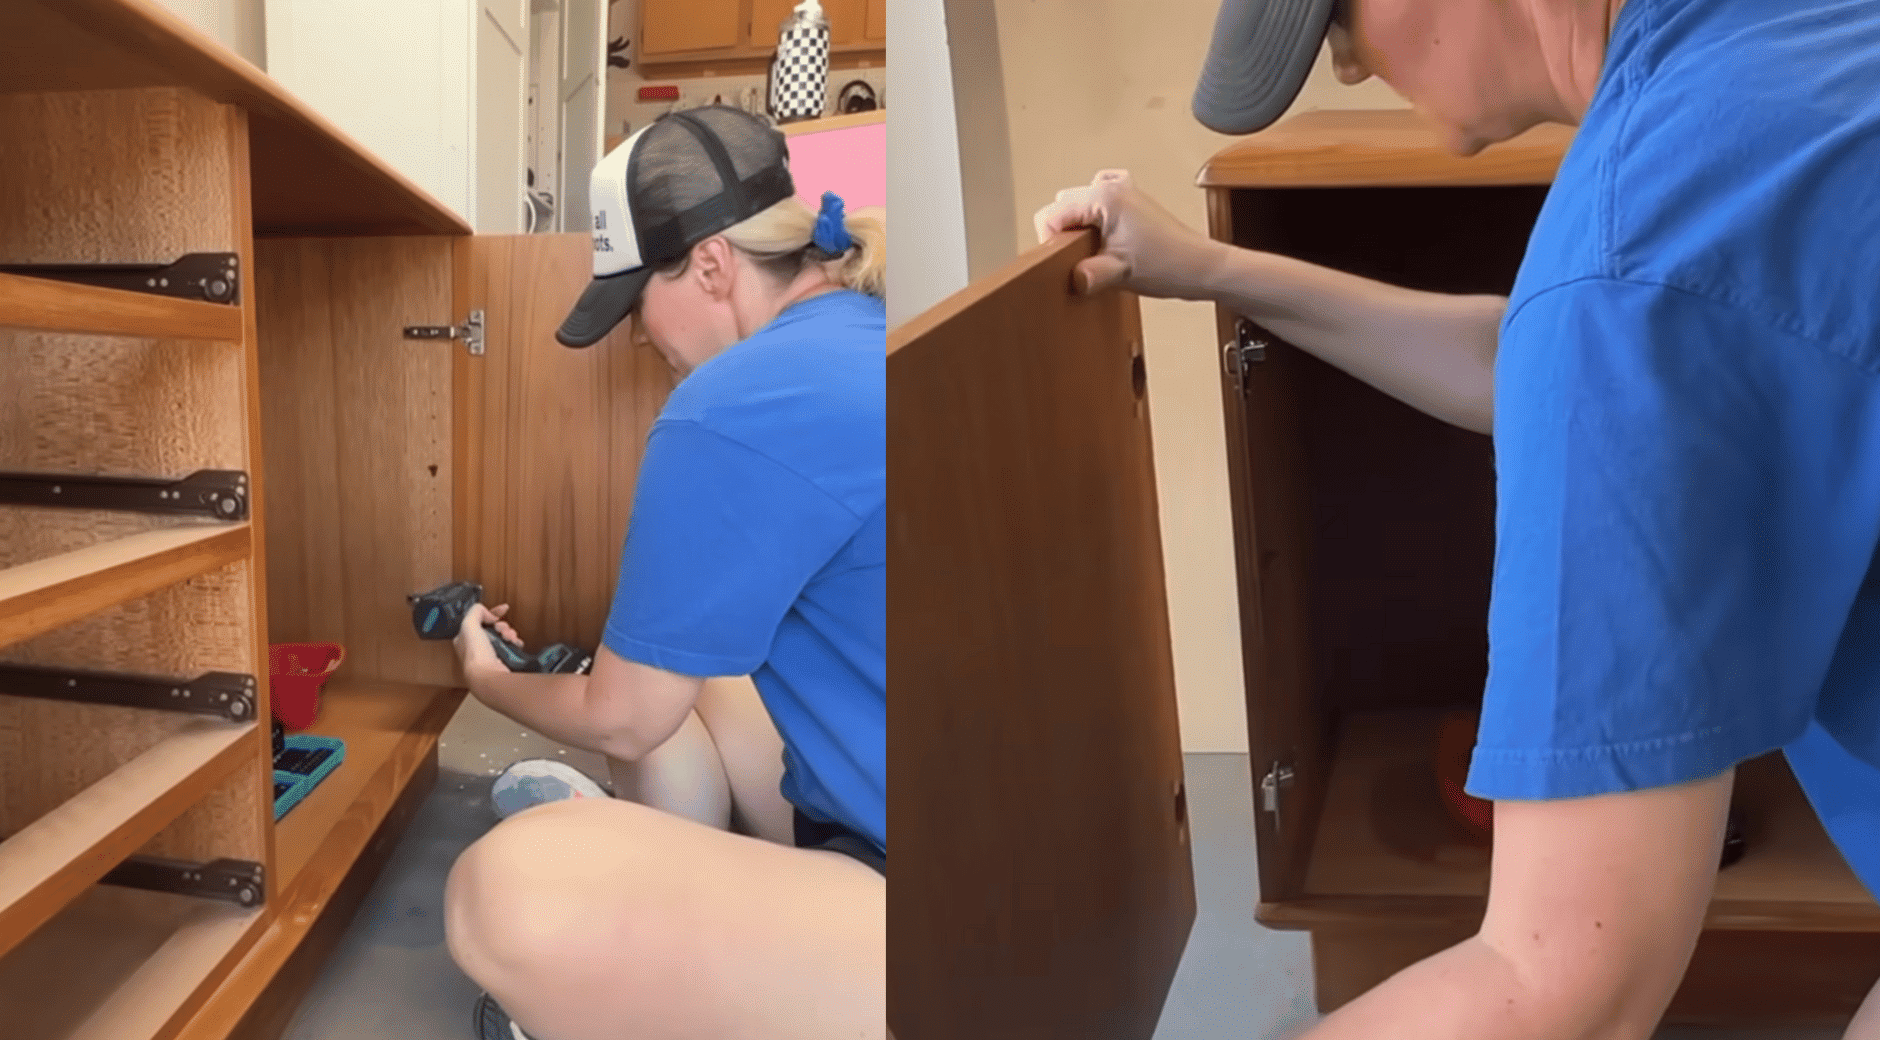
Take off the top section or any bulky pieces that make the furniture feel heavy. Removing these parts opens up the shape and gives you room to redesign.
Set the removed parts aside in case you want to reuse anything later. Clearing the structure early gives the project a cleaner direction from the start.
Step 3: Take Off the Old Base if Needed
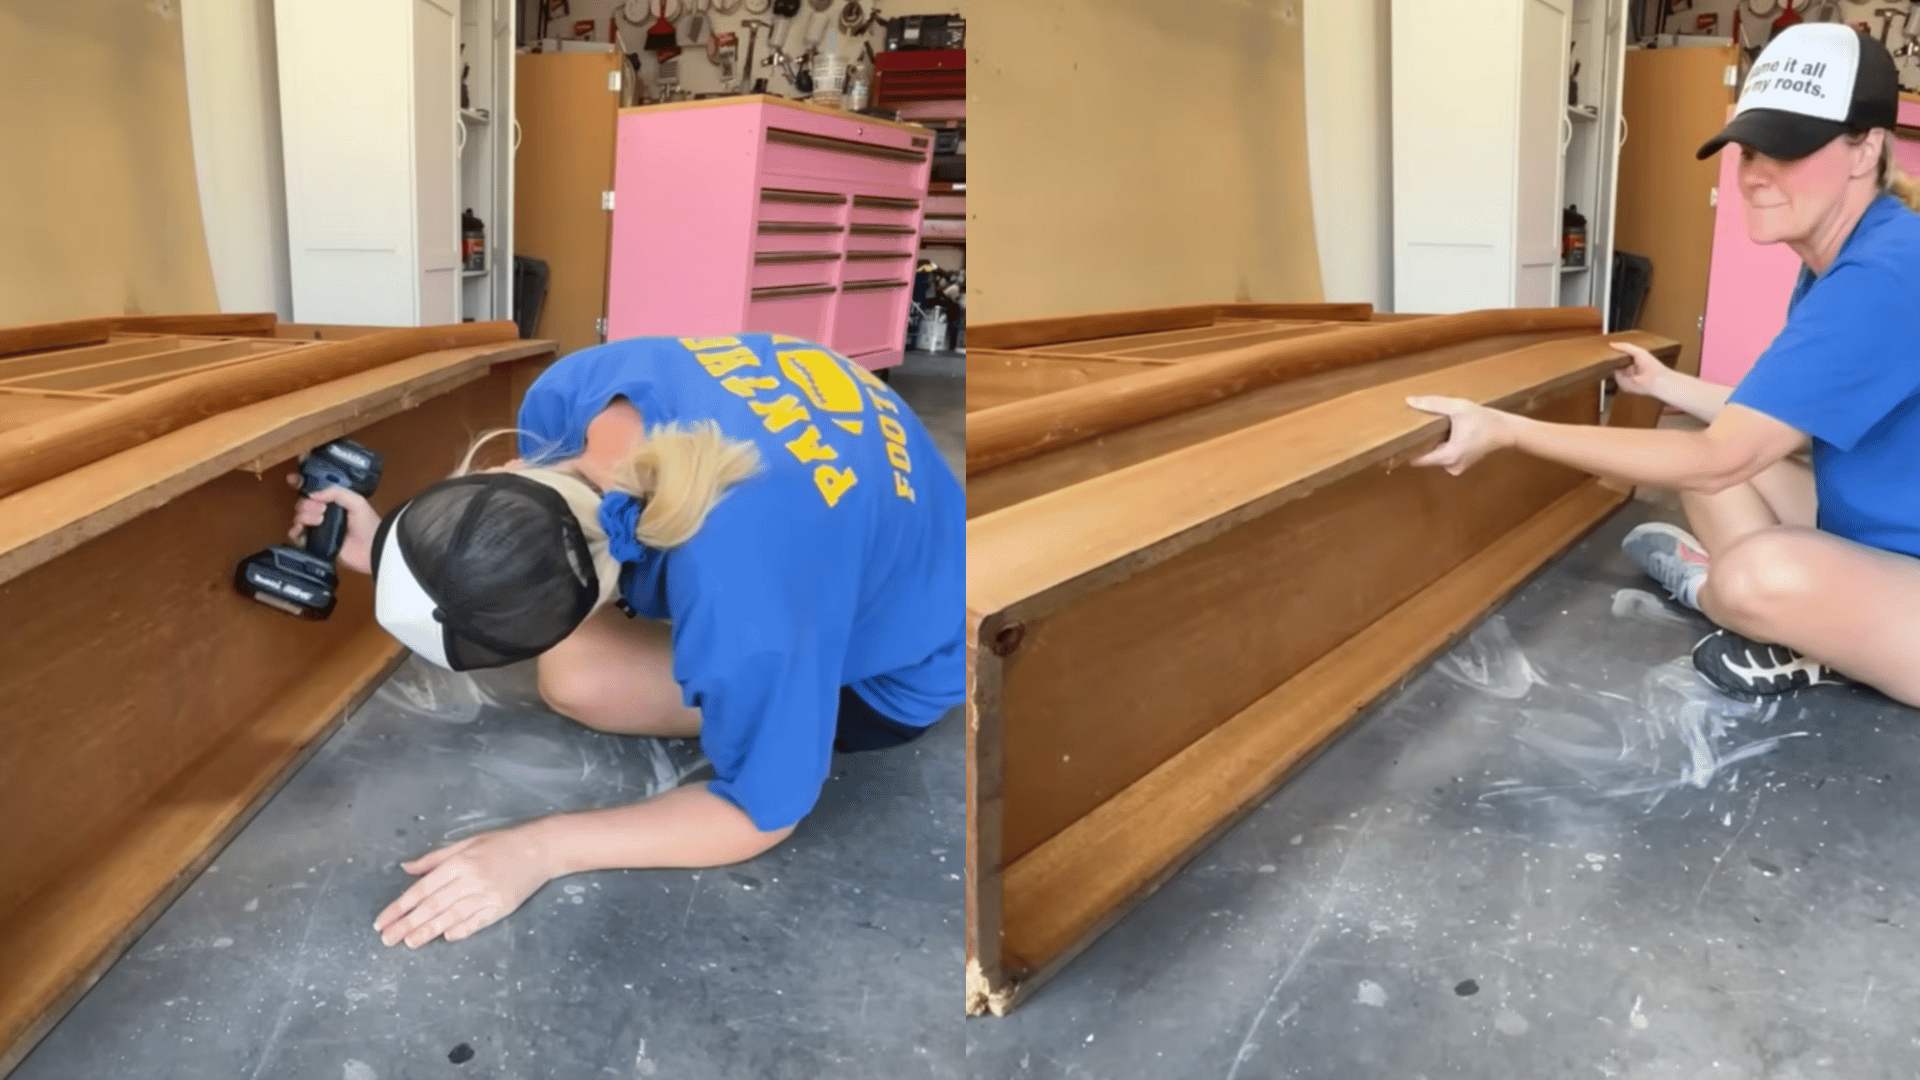
If the base feels dated or oversized, remove it to prepare for a new style. This change helps shift the overall look and supports a cleaner shape.
Move slowly while removing the base so you don’t damage the frame. A careful removal makes it easier to attach the new base you plan to build.
Step 4: Build a New Base or Legs
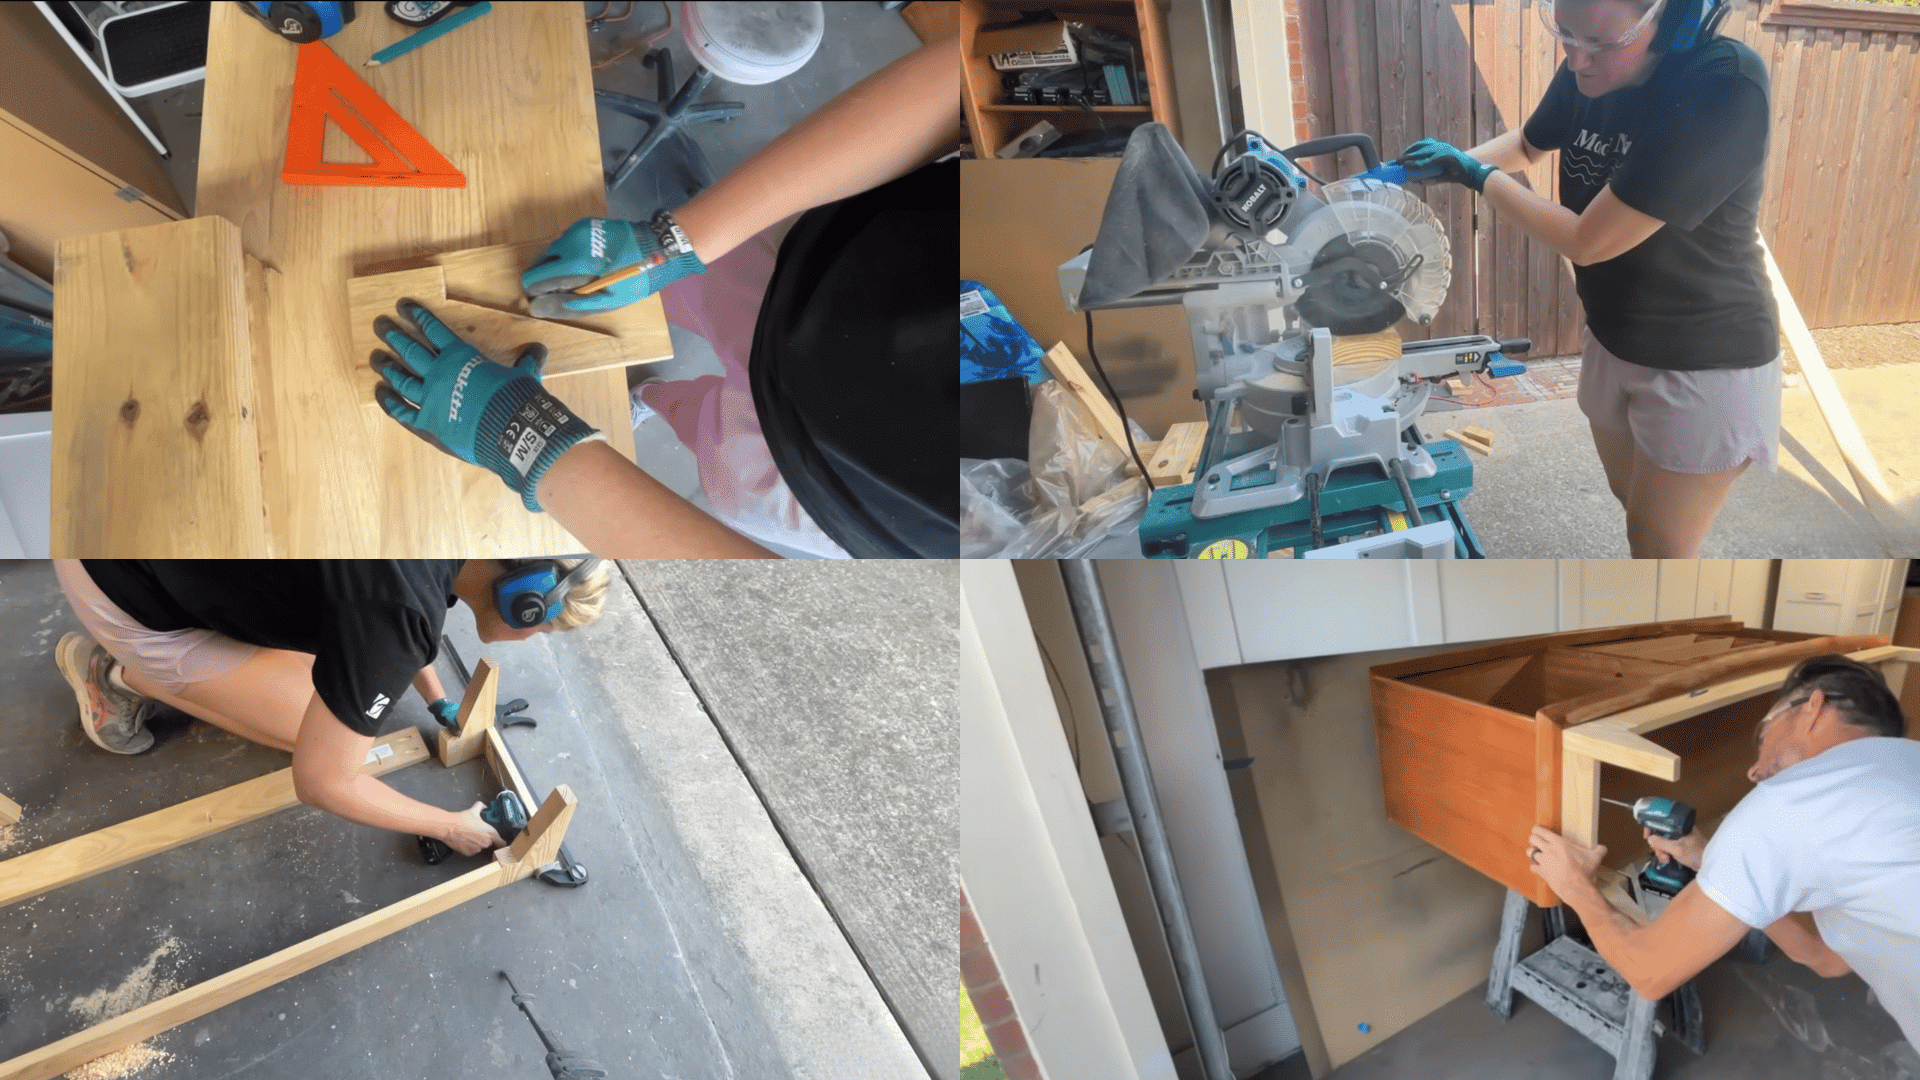
Trace one foot shape and cut it out multiple times so each leg matches the design. This keeps the structure even and gives your piece a balanced look.
Attach the new base firmly so the furniture stands straight and feels stable. This update changes the overall style in a clear and noticeable way.
Step 5: Sand the Surface Carefully
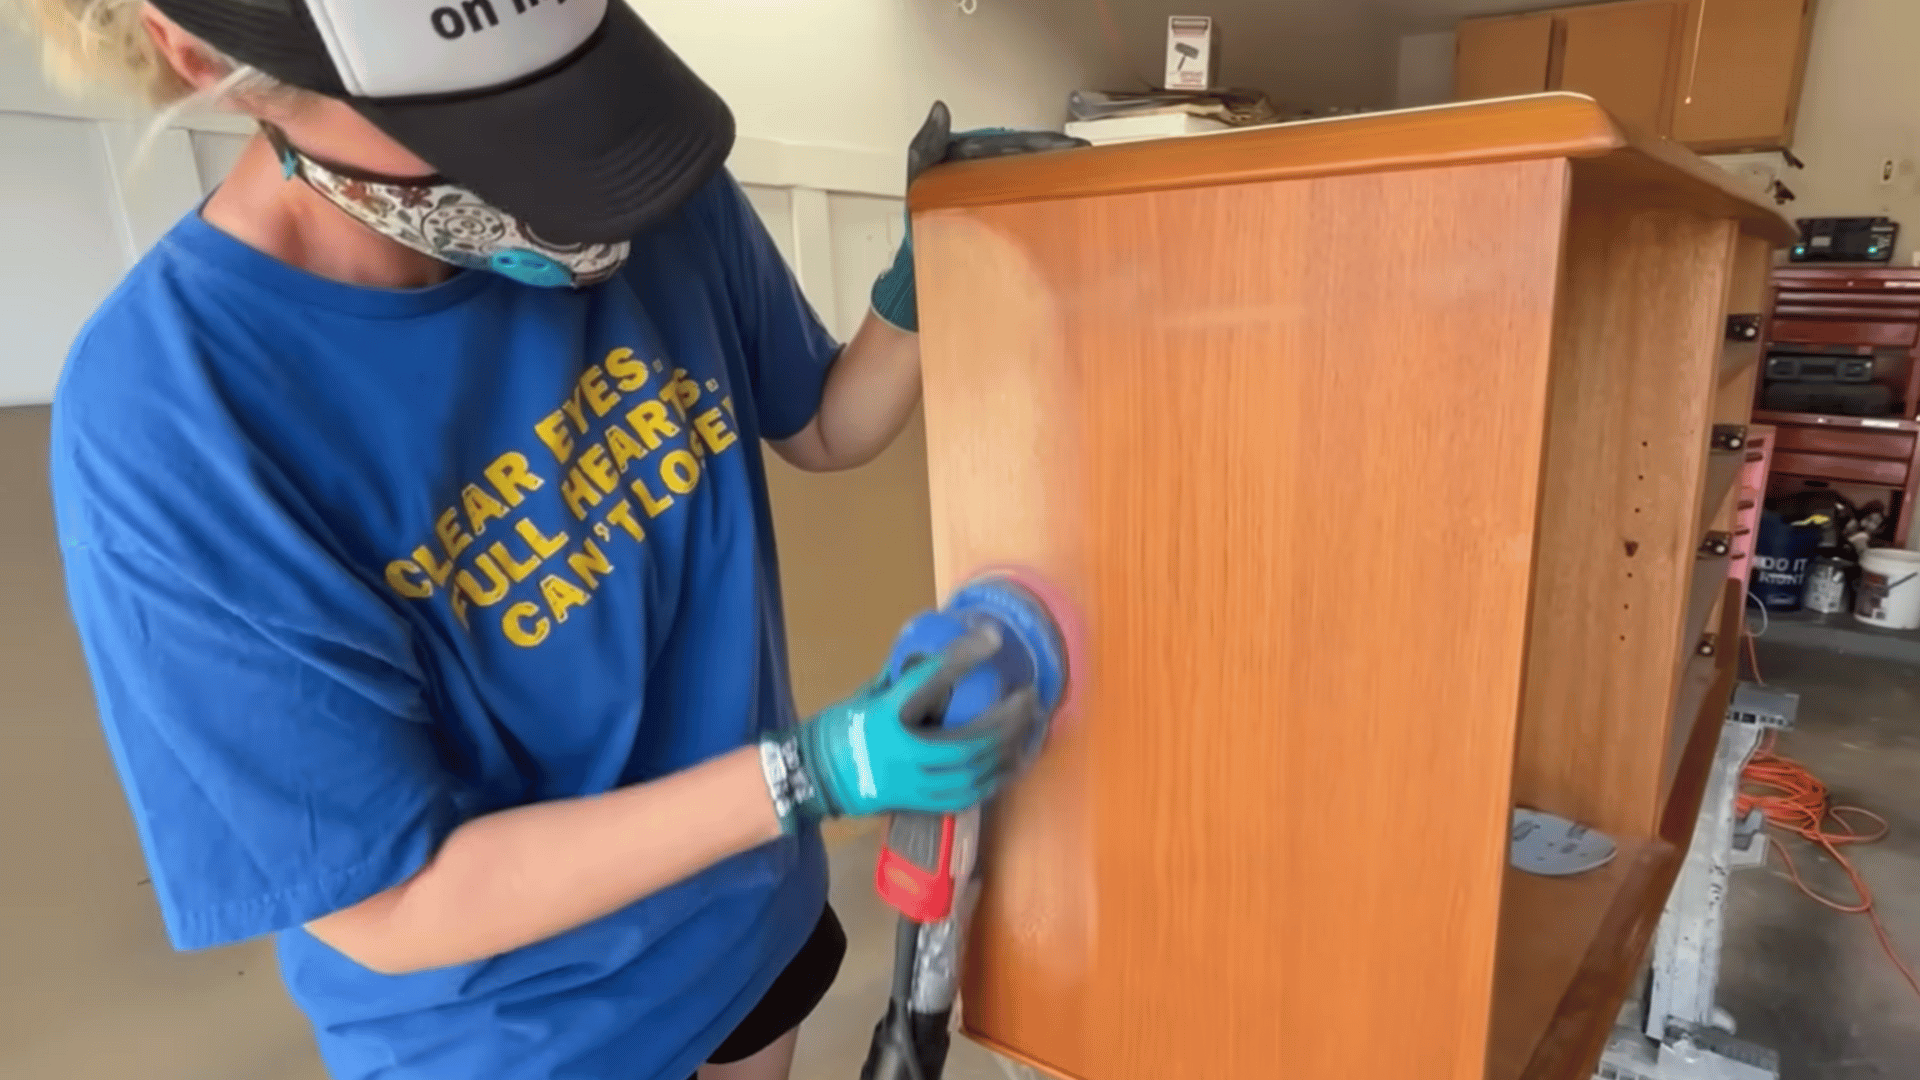
Sand the wood to remove shine and old finish so the stain can settle well. If the piece has a thin veneer, move slowly to avoid sanding through it.
Watch the surface as you work so you stop before thinning any area too much. A smooth surface helps your stain go on evenly and look more consistent.
Step 6: Apply Pre-Stain Conditioner
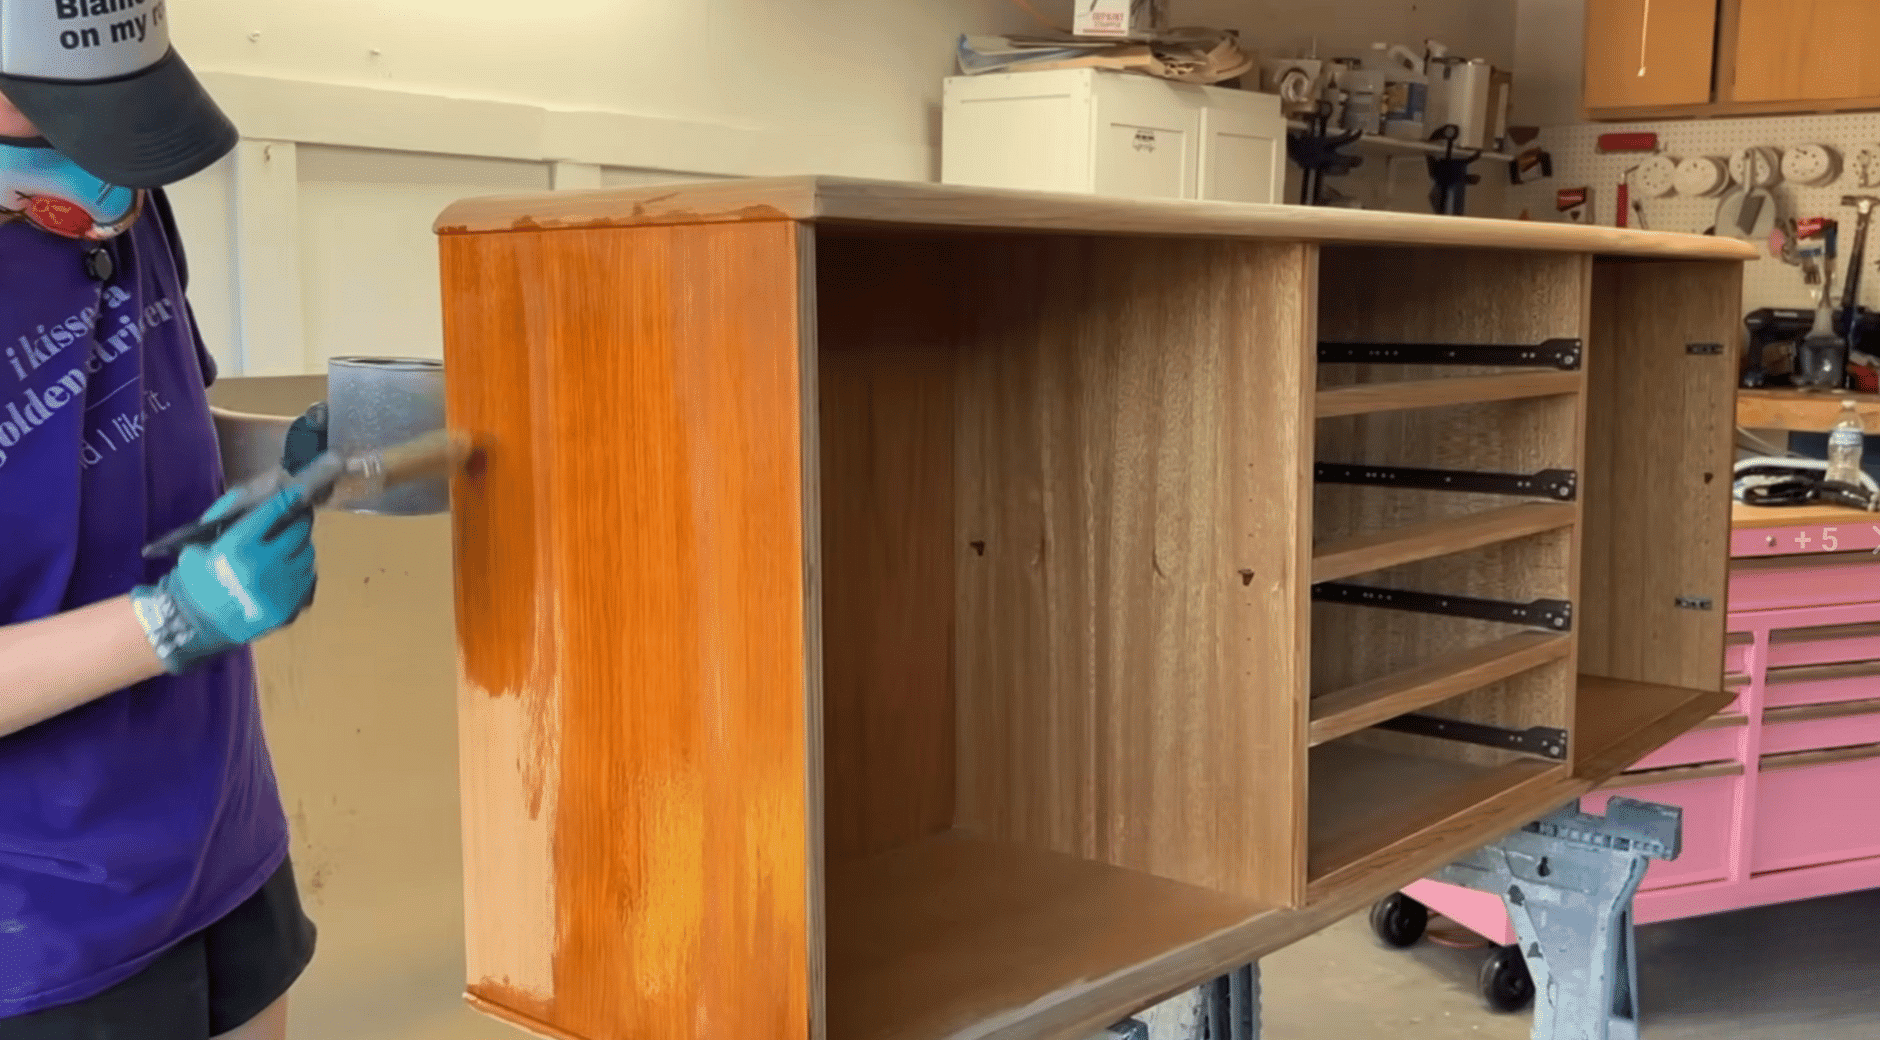
Use pre-stain to help the wood take color evenly, especially when the tones or materials vary. It helps prevent blotches and keeps the final color steady.
Let it sit for the suggested time so it can soak in and prepare the surface. This pause helps the stain react the same across the whole piece.
Step 7: Apply Your Gel Stain
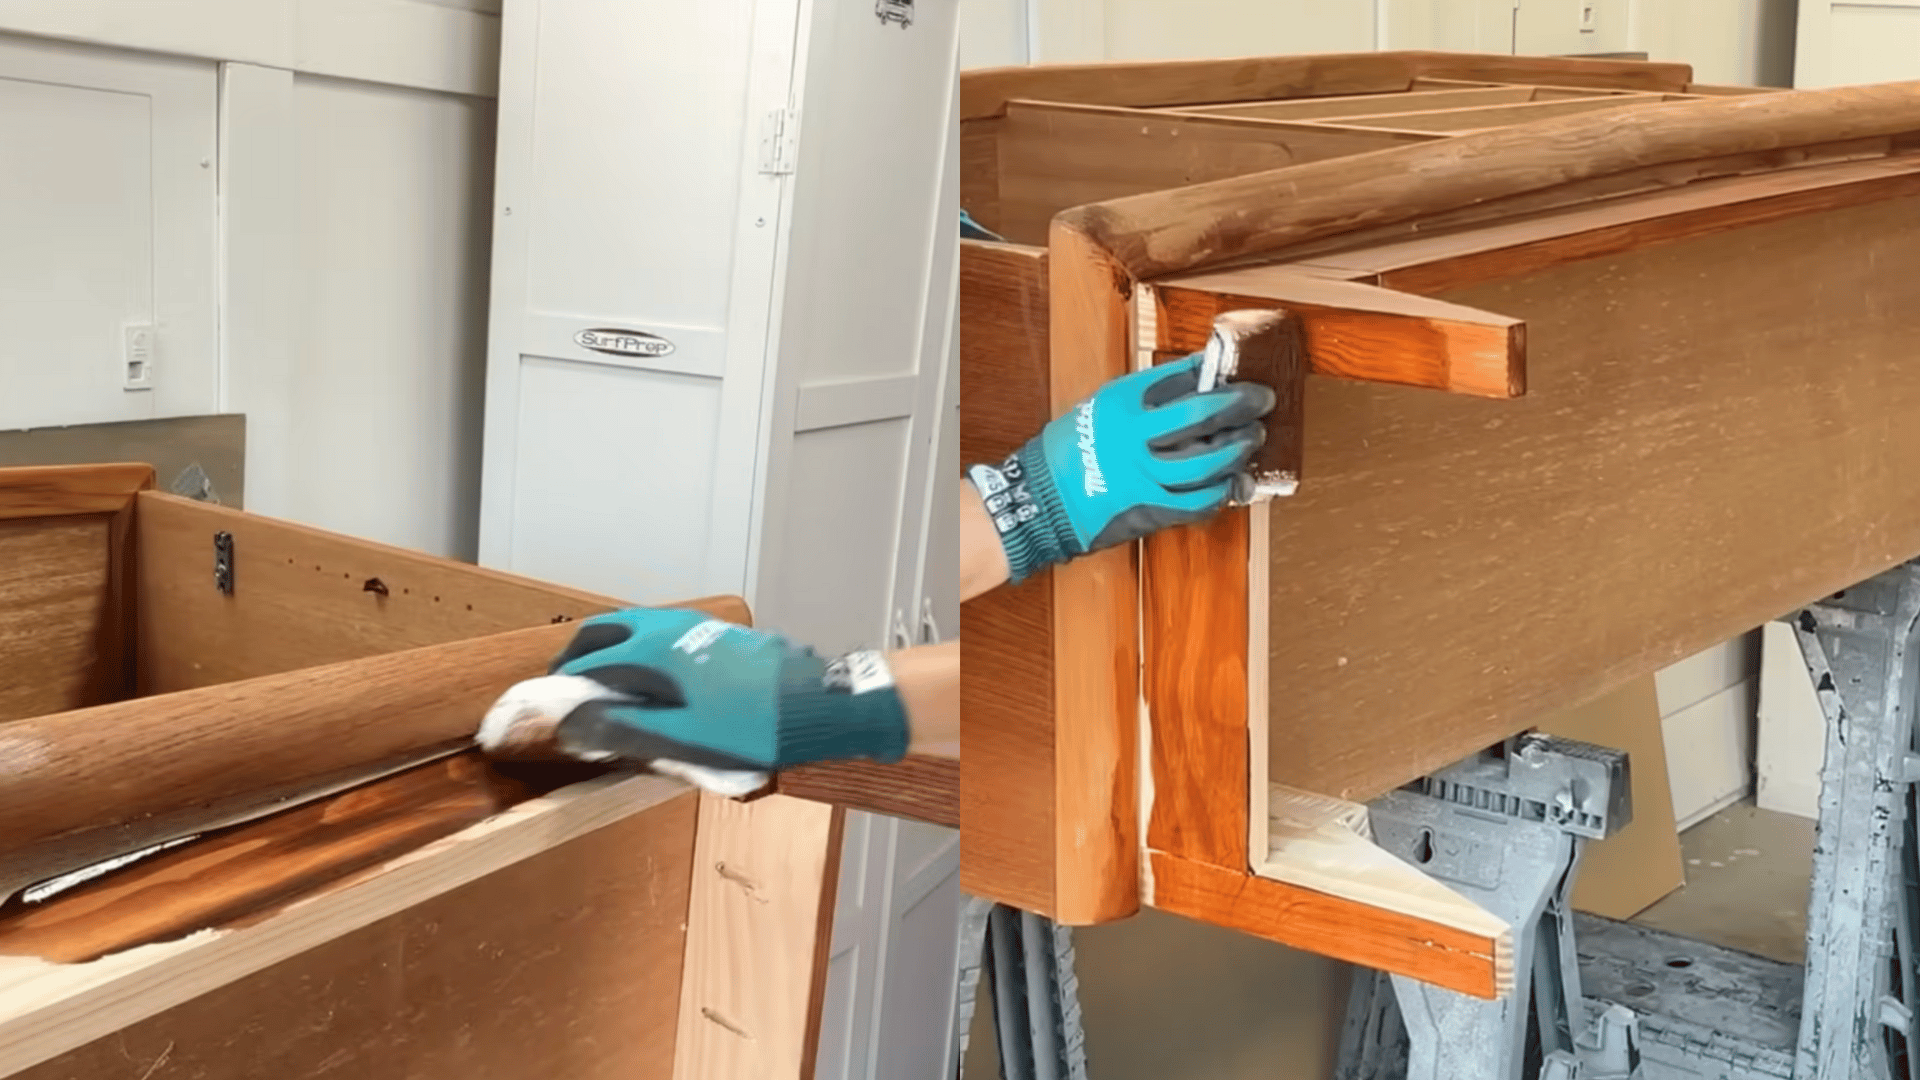
Brush on the gel stain and wipe back the extra to create a smooth color. Gel stain works well on mixed materials because it sits on top instead of soaking in too deeply.
Give the stain enough time to dry fully so the color settles cleanly. A full dry time helps you see the real tone before moving to the next step.
Step 8: Add a Second Coat if Needed
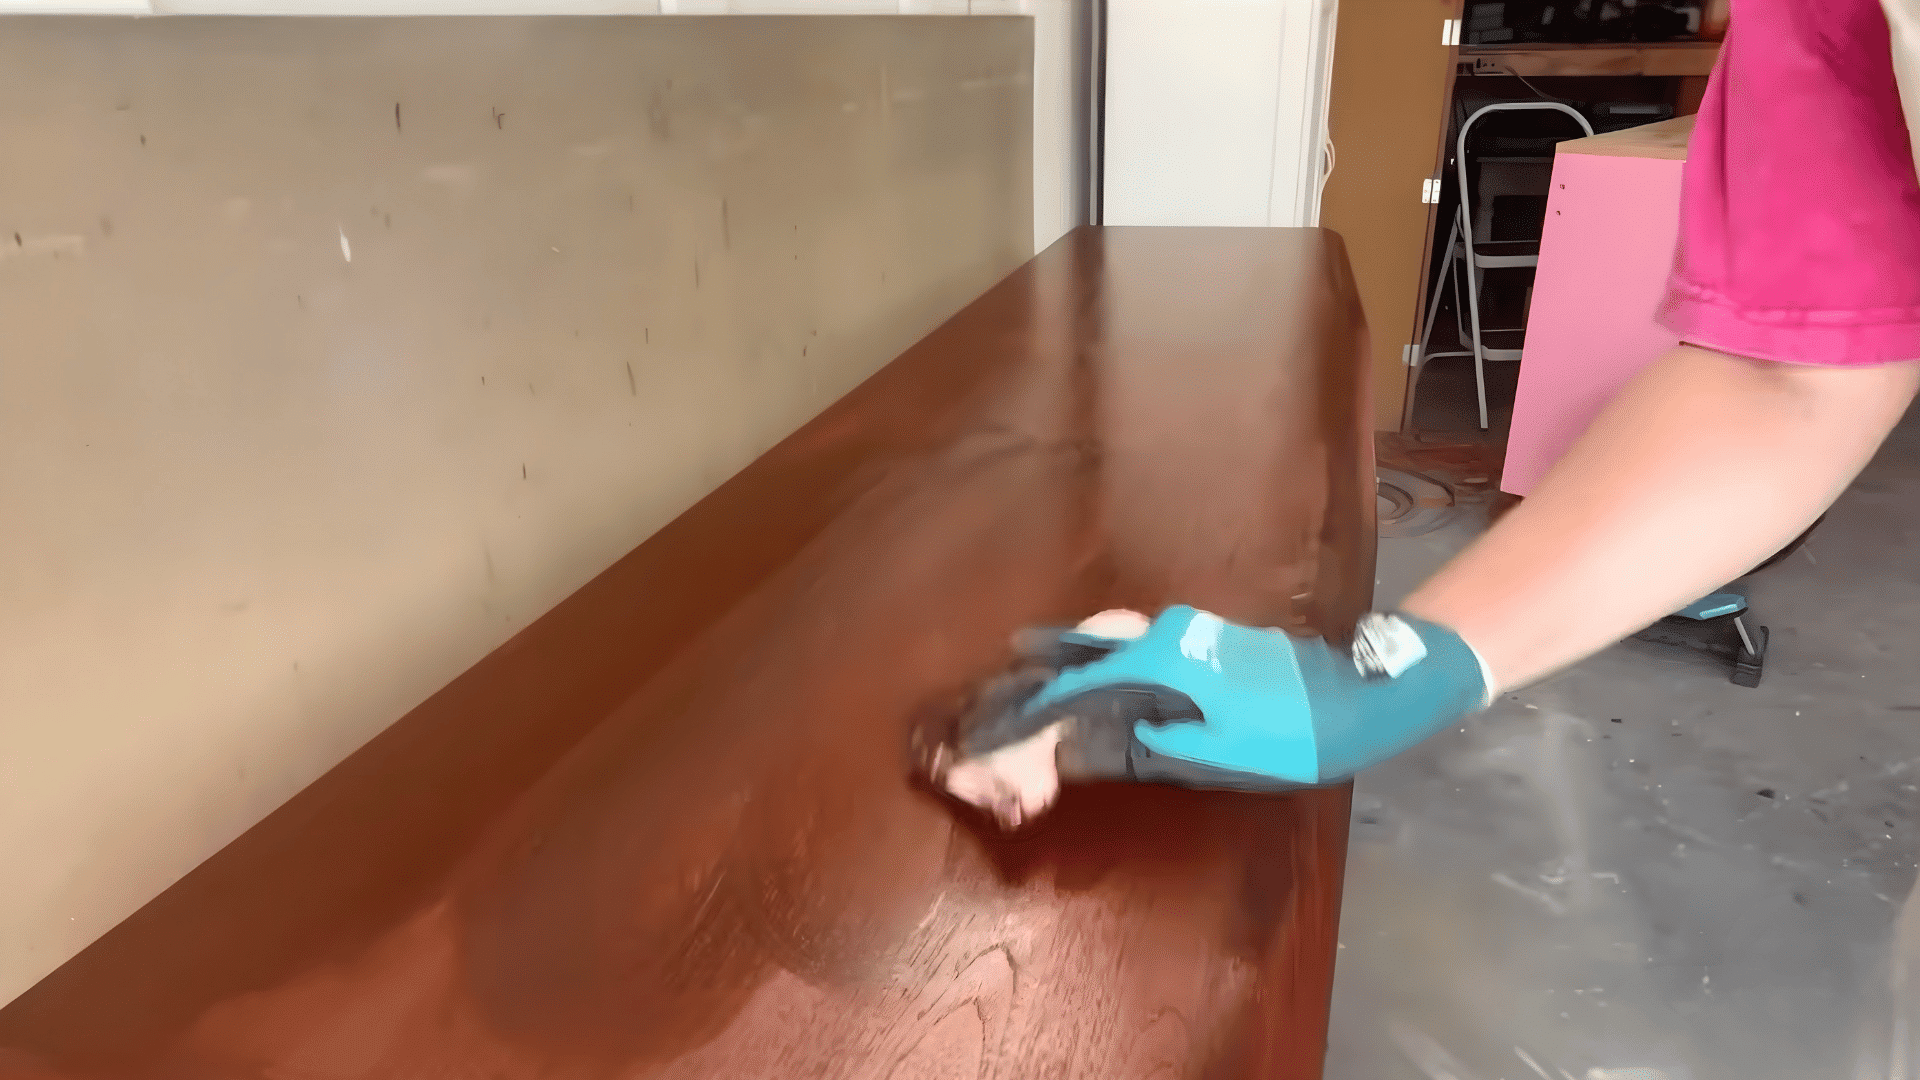
If the surface looks uneven or patchy, apply a second light coat to even it out. This helps blend different tones for a more steady finish.
Let the second coat dry just like the first, so the color settles well. Waiting for the full dry time helps avoid streaks or soft spots later.
Step 9: Apply a Protective Top Coat
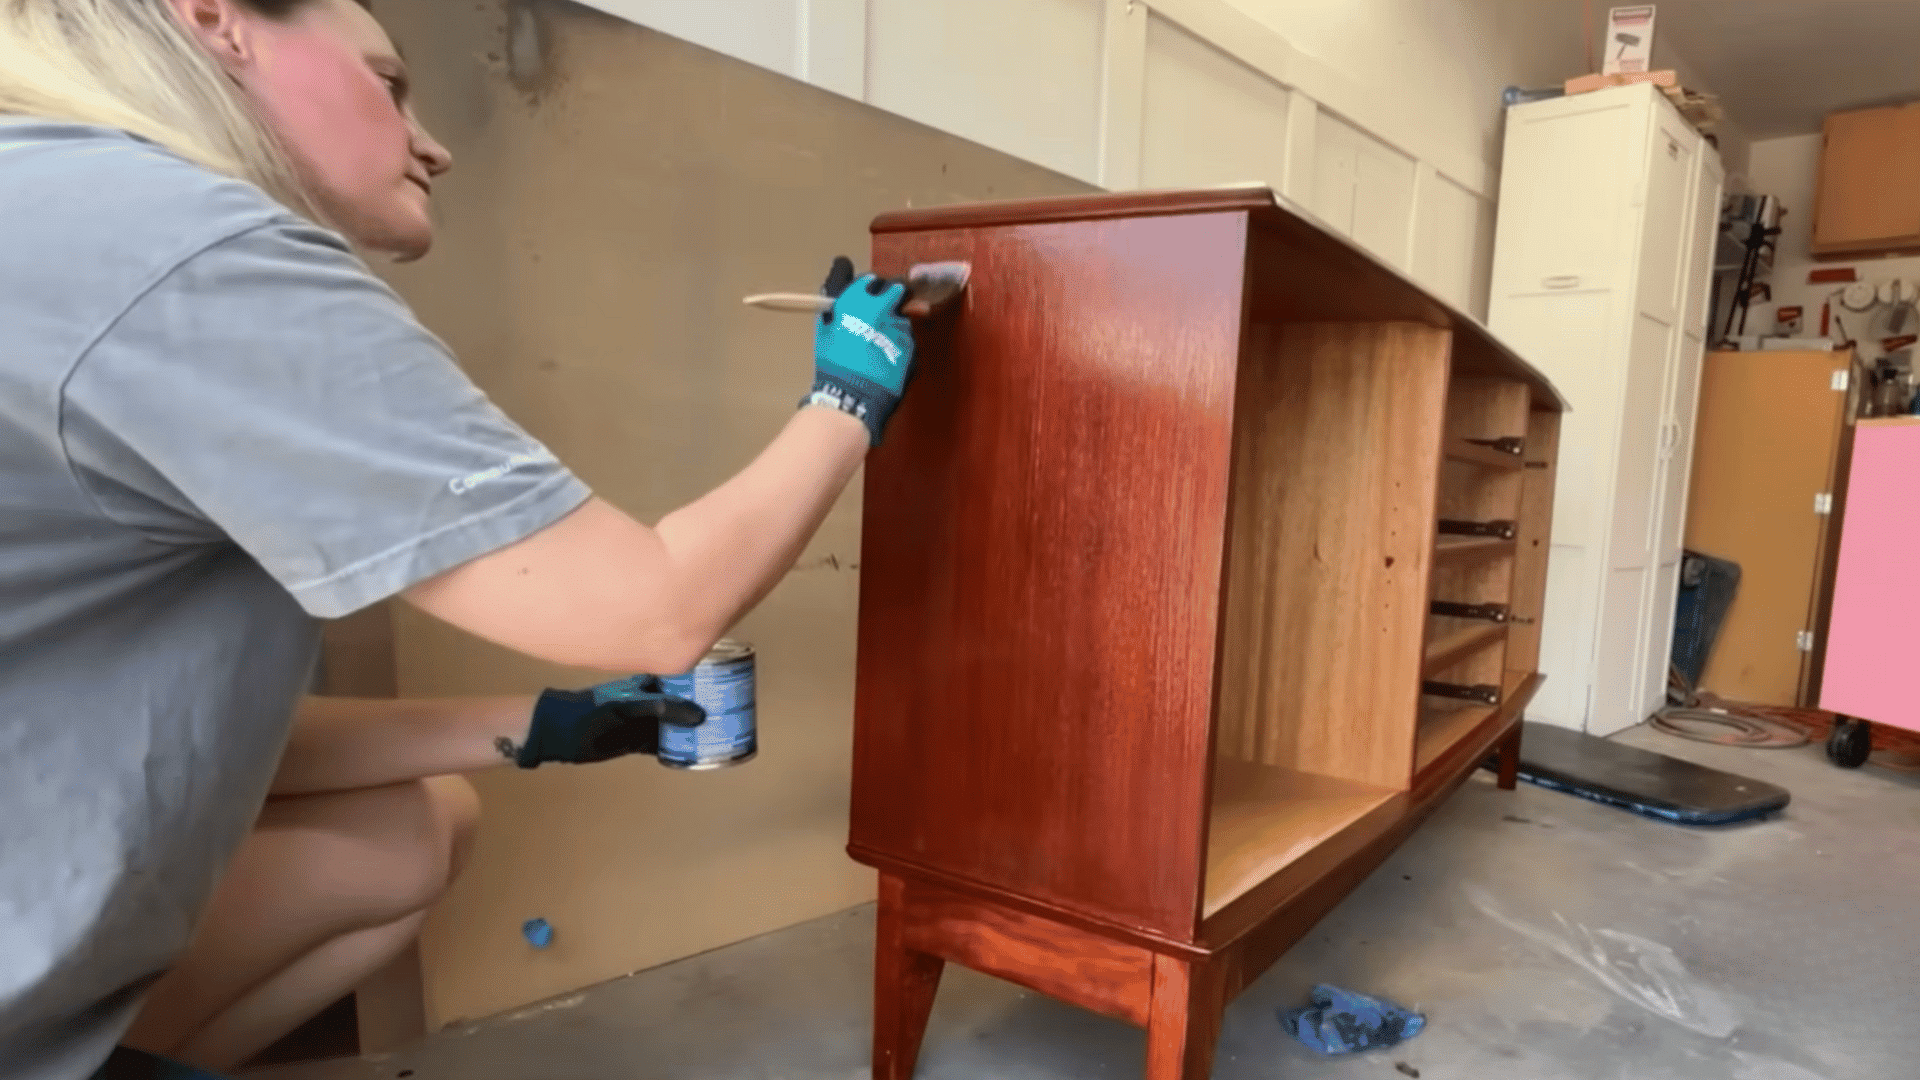
Use a top coat that pairs well with the stain to protect the finish. Spread it in thin, steady layers so the surface stays smooth.
Follow the dry times on the can so the surface firms up without smudges. A good top coat helps the piece handle daily use and keeps the finish looking clean.
Step 10: Reattach Doors, Drawers, and Magnets
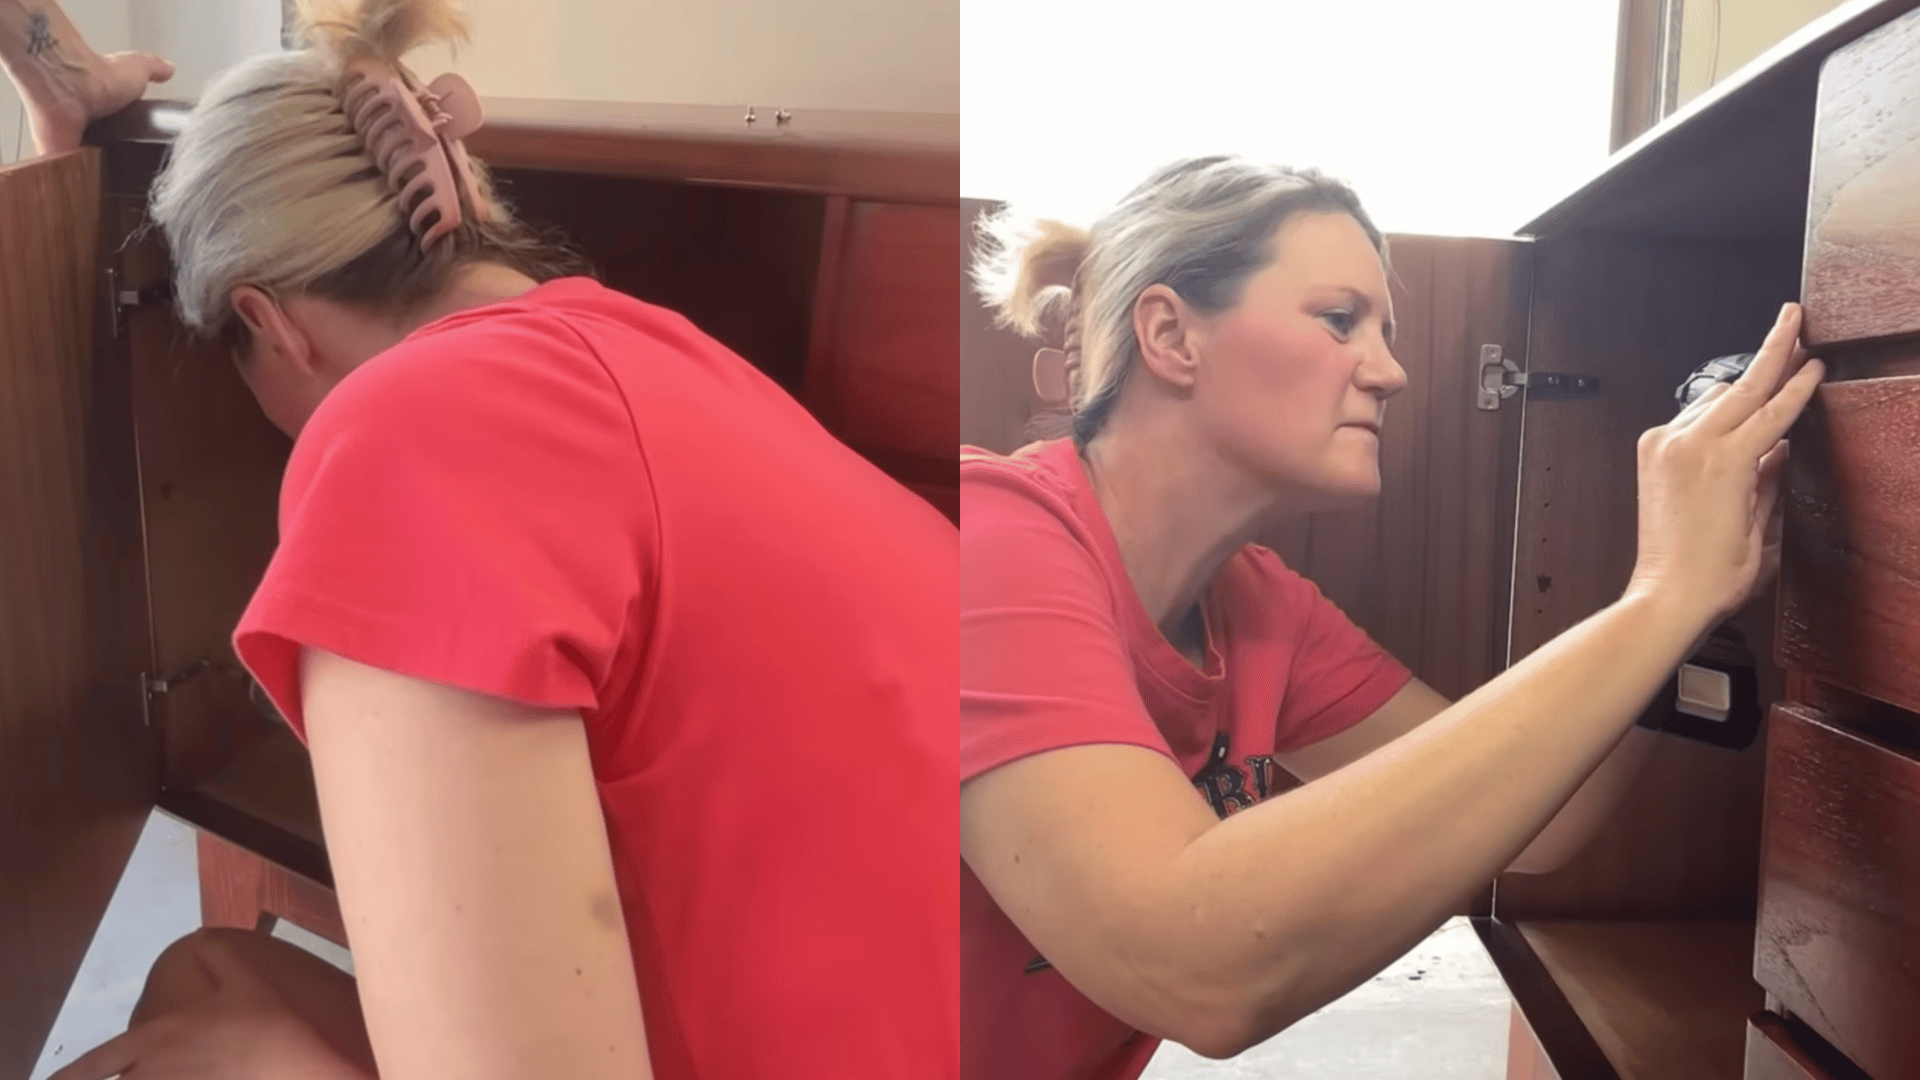
Put the doors, drawers, and magnets back once the finish is fully dry. Make sure everything lines up and moves without sticking.
Tighten any loose screws and adjust each part so it fits well into place. This final detail helps the project feel solid and complete.
Step 11: Stage and Enjoy the Finished Piece
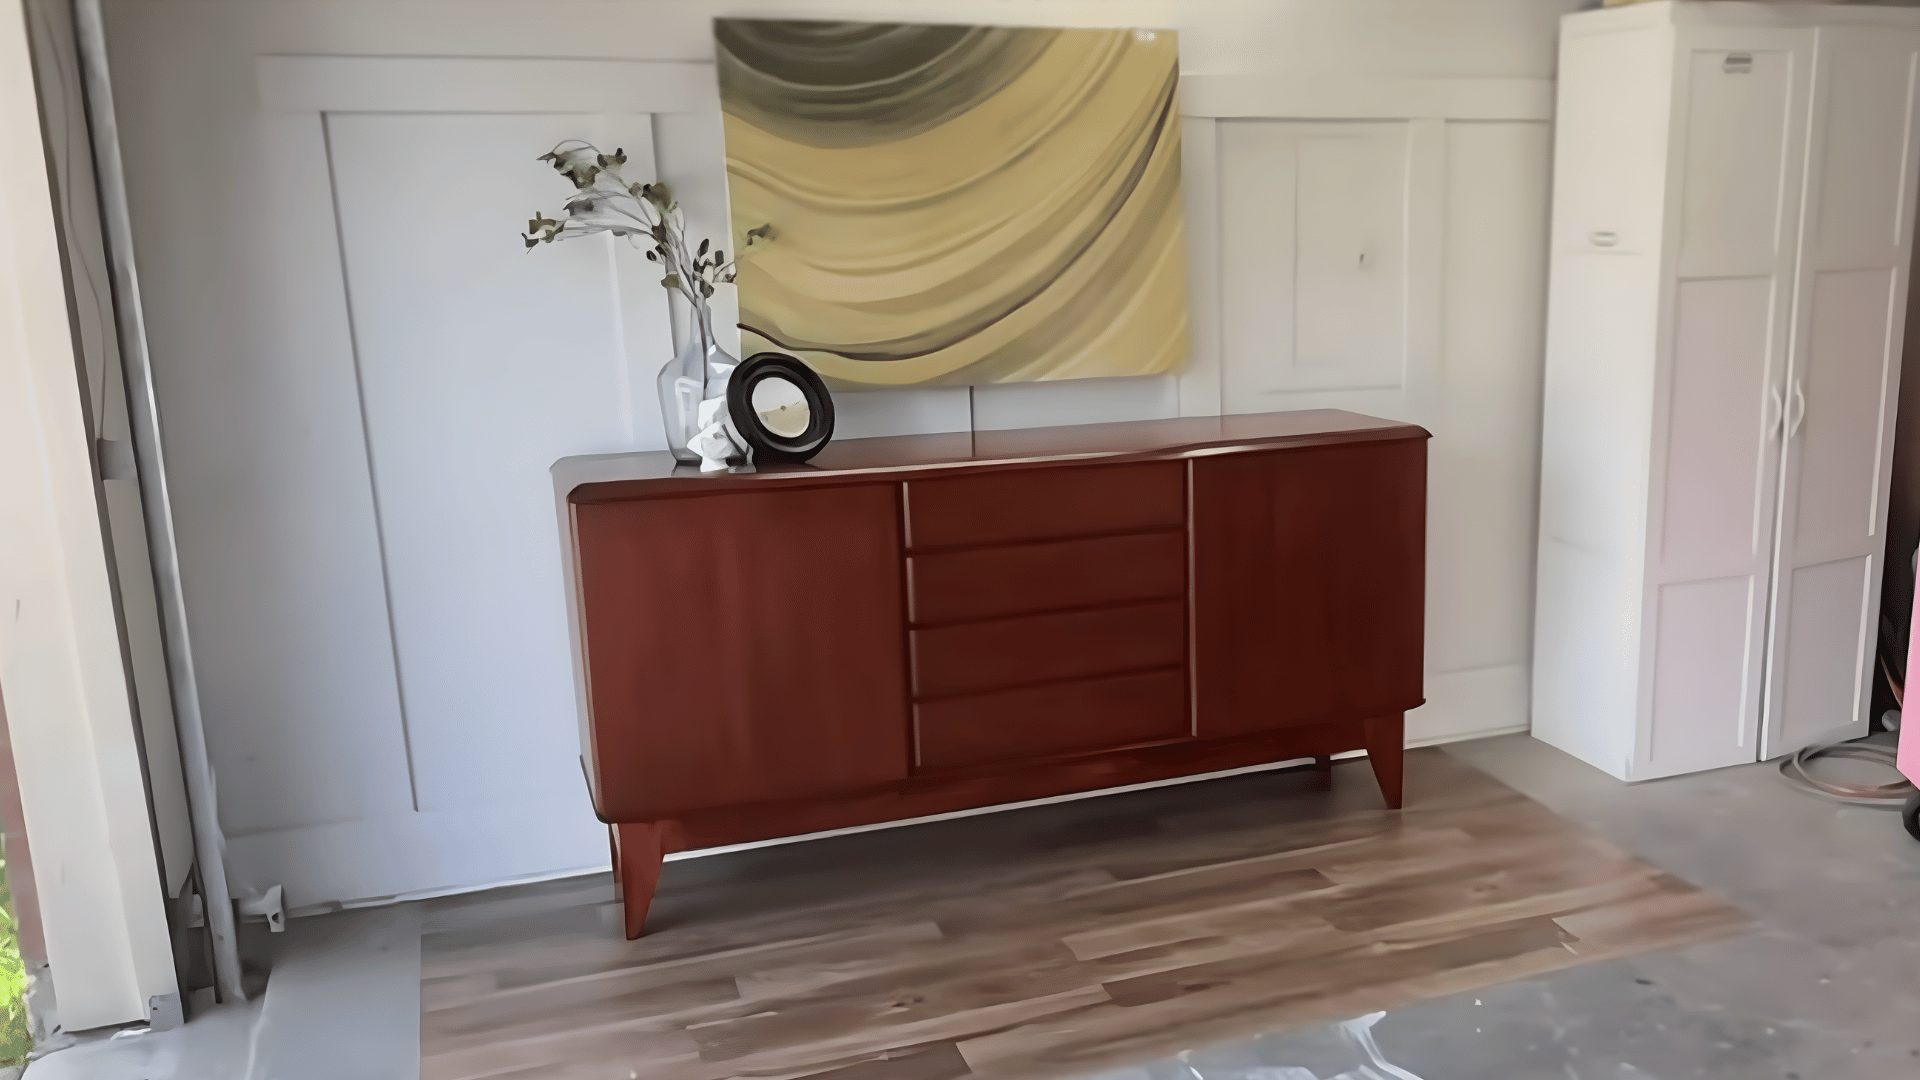
Place the piece in a bright spot so you can see the full change clearly. The new shape, stain, and finish stand out best in good light.
Take a moment to look at how each step came together in the final result. Seeing the fresh look makes all the slow work feel worthwhile.
For an in-depth walkthrough of the whole process, check out the complete video tutorial below:
Creative Upcycled Furniture Ideas
These projects are simple, practical, and full of personality. You can start small and work your way to bigger pieces as your confidence grows.
1. Dresser Turned Farmhouse Coffee Bar
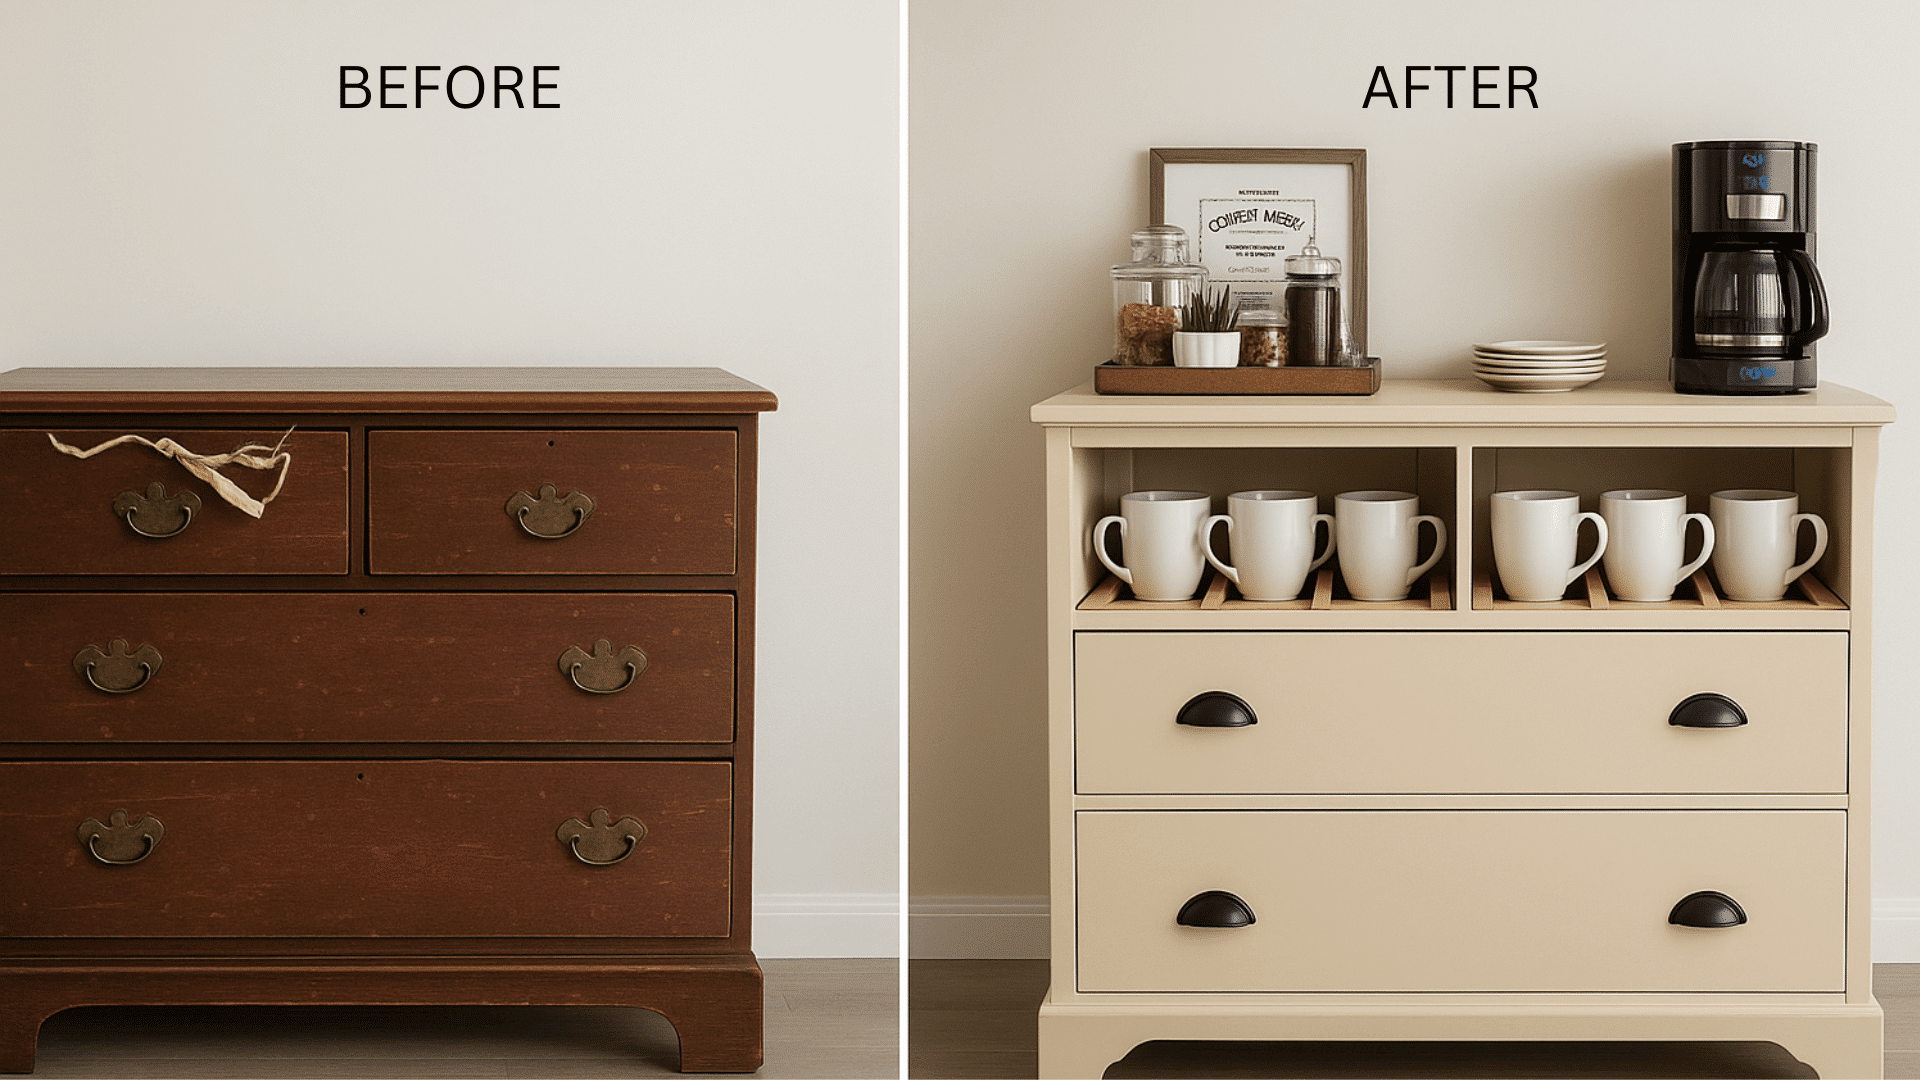
Turn an old dresser into a cozy coffee station by removing a few drawers, adding open shelves, and lightly sanding the frame. Finish with a soft, warm paint color to blend the piece naturally into the kitchen. Once done, it becomes a calm morning spot for mugs, jars, and small décor.
2. Headboard Turned Rustic Bench

Start with a worn headboard, cut and attach side panels, and a simple seat board. Give it soft distressing and gentle paint so the original texture shows through. Add a cushion, and the headboard becomes a warm, welcoming bench.
3. Antique Door Turned Dining Table
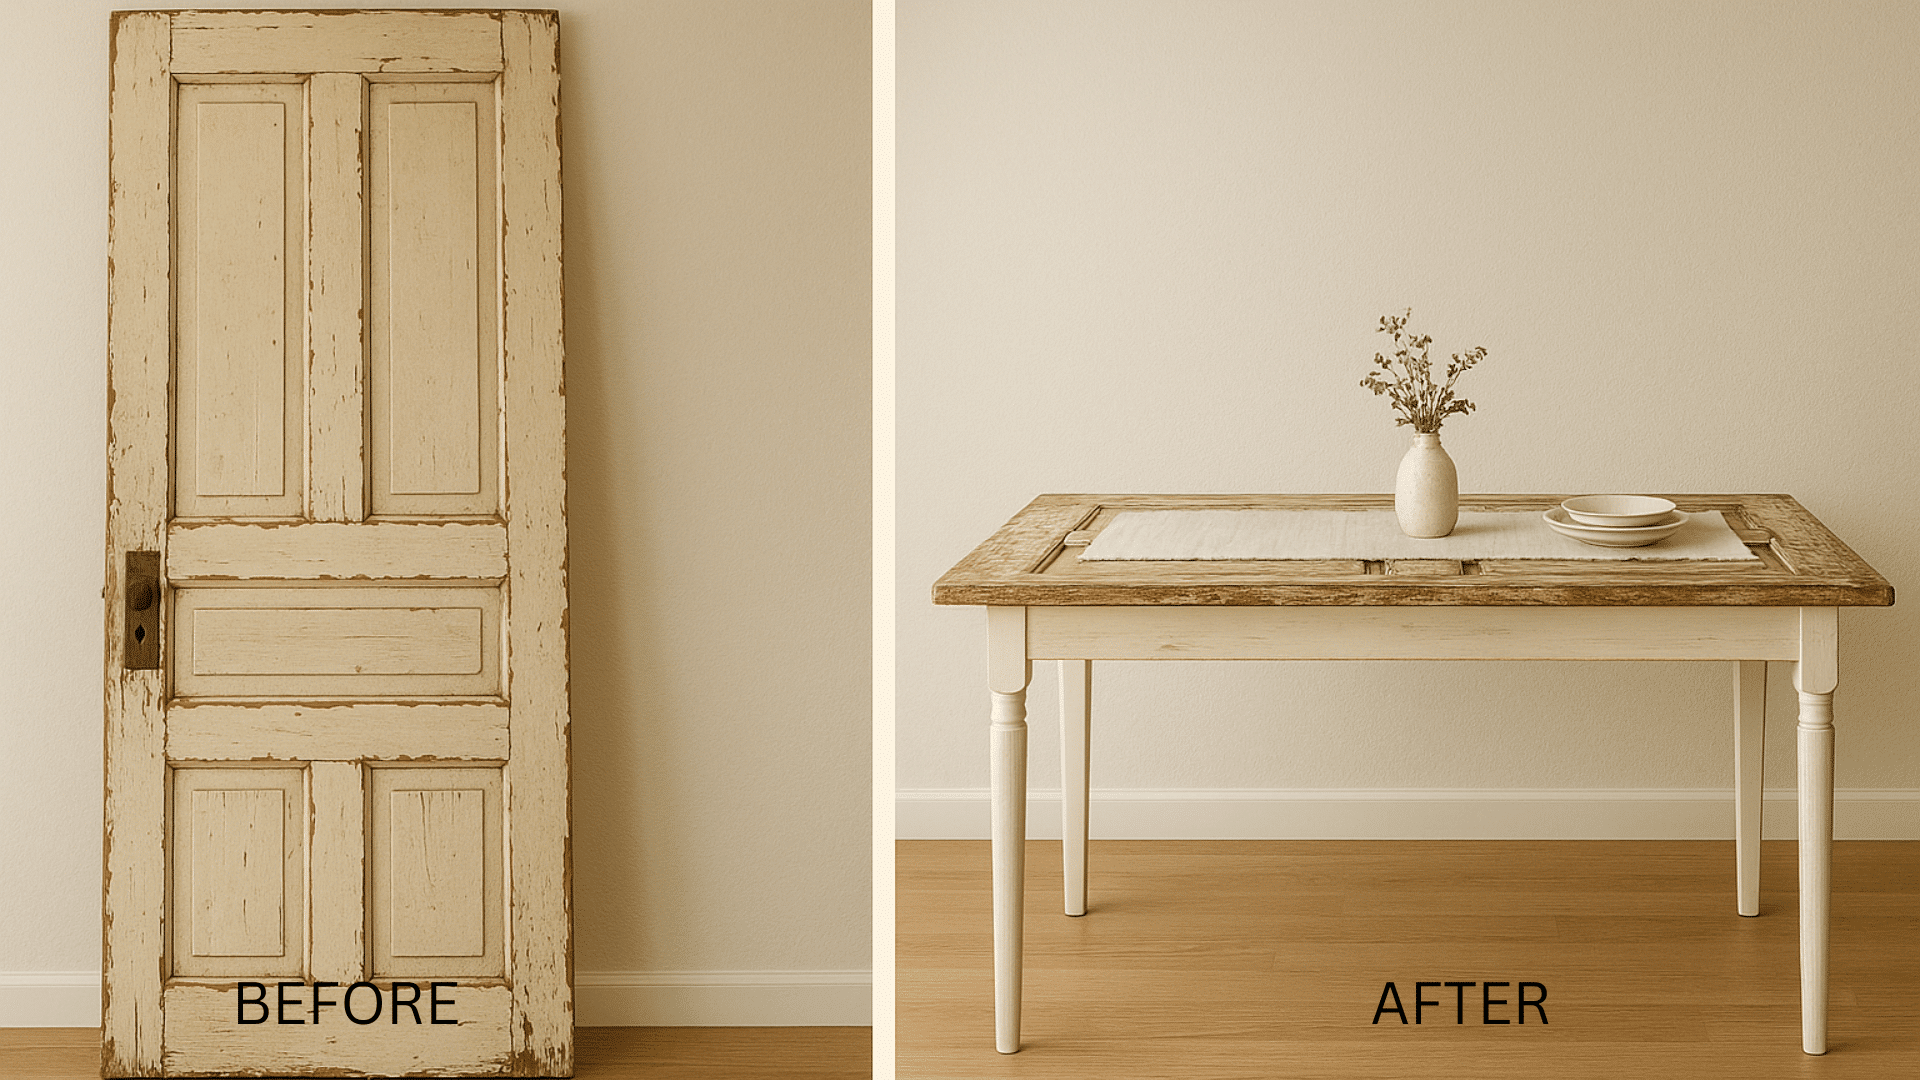
A salvaged door becomes a table when you sand the surface, fill gaps with clear epoxy (optional), and attach sturdy table legs. Seal it with a matte finish so every old mark stays visible. The door turns into a meaningful dining table with history built into every meal.
4. Old Cabinet Repurposed as a Farmhouse Pantry
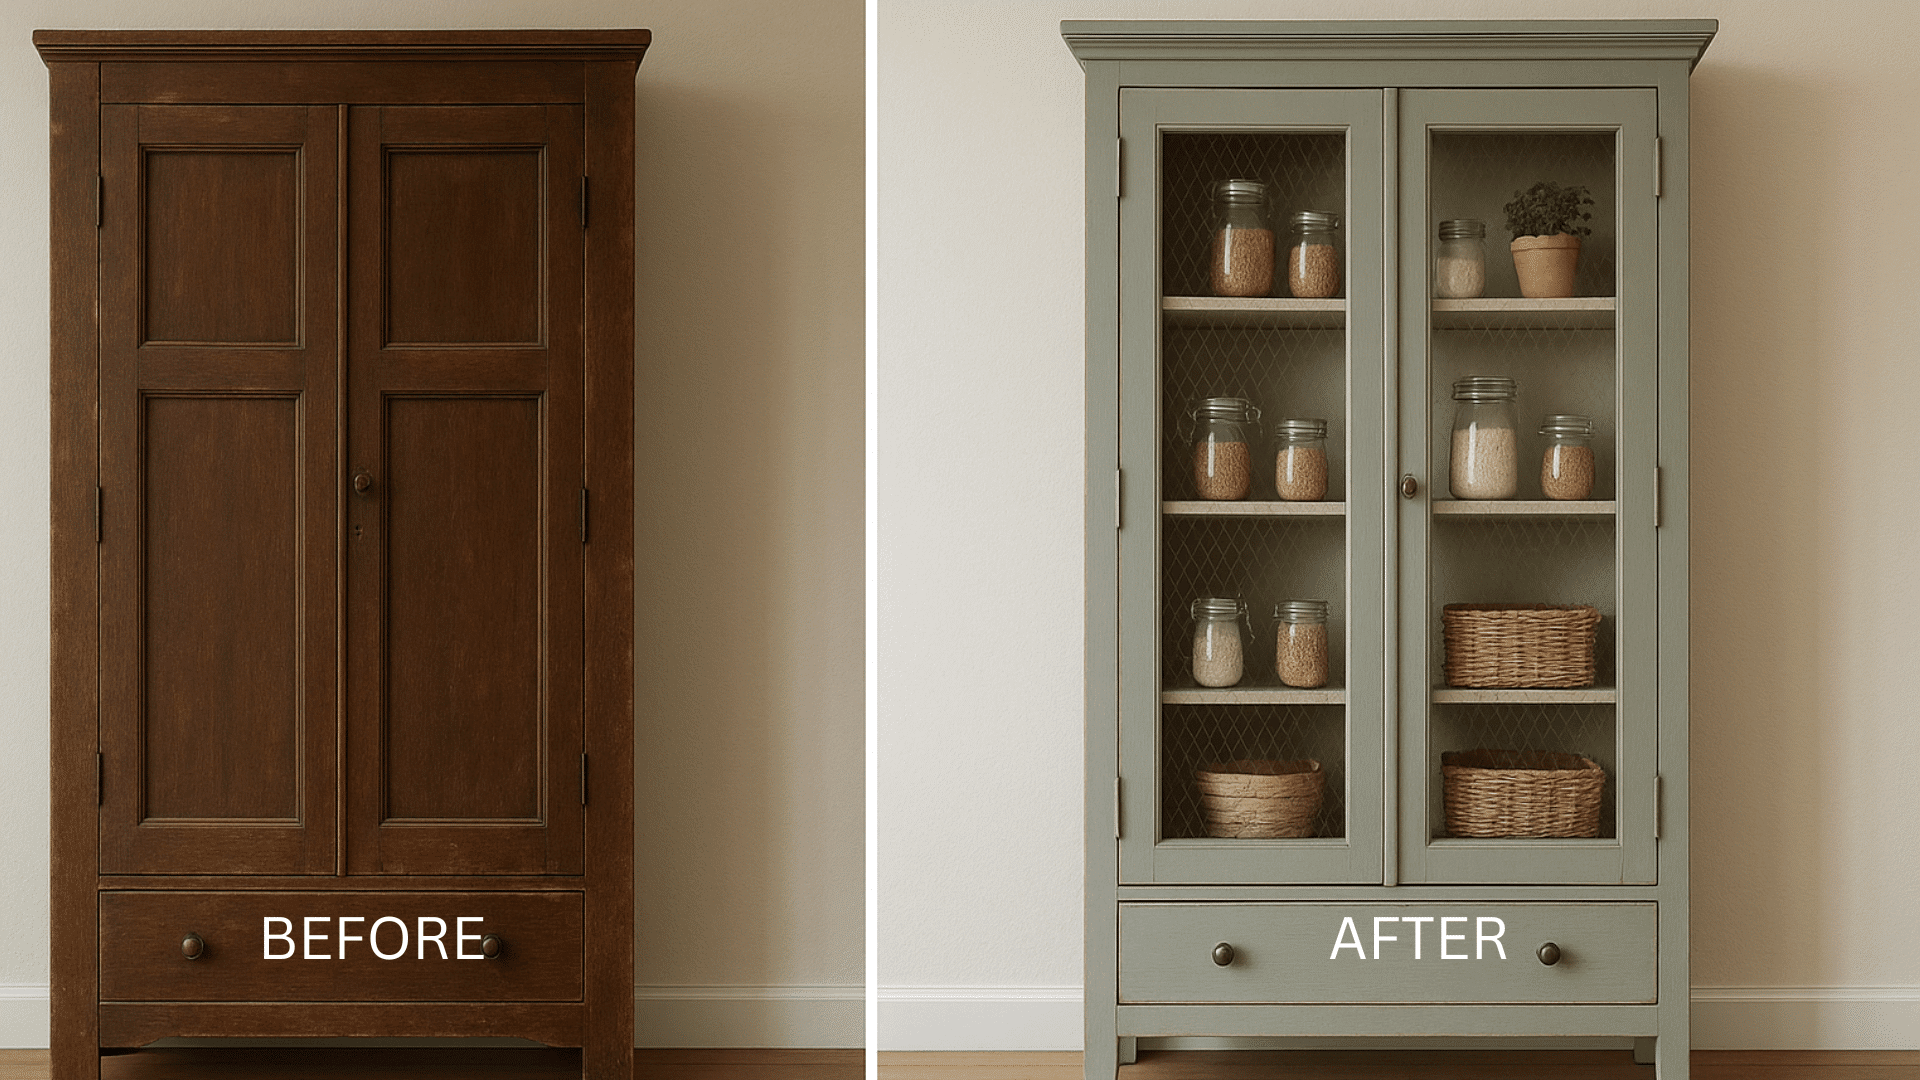
Take an old cabinet and replace solid doors with wire or glass panels for display. Give the frame a soft, muted coat of paint and keep the original hardware. The piece instantly becomes a peaceful, organized pantry full of charm.
5. Nightstand Turned Pet Bed
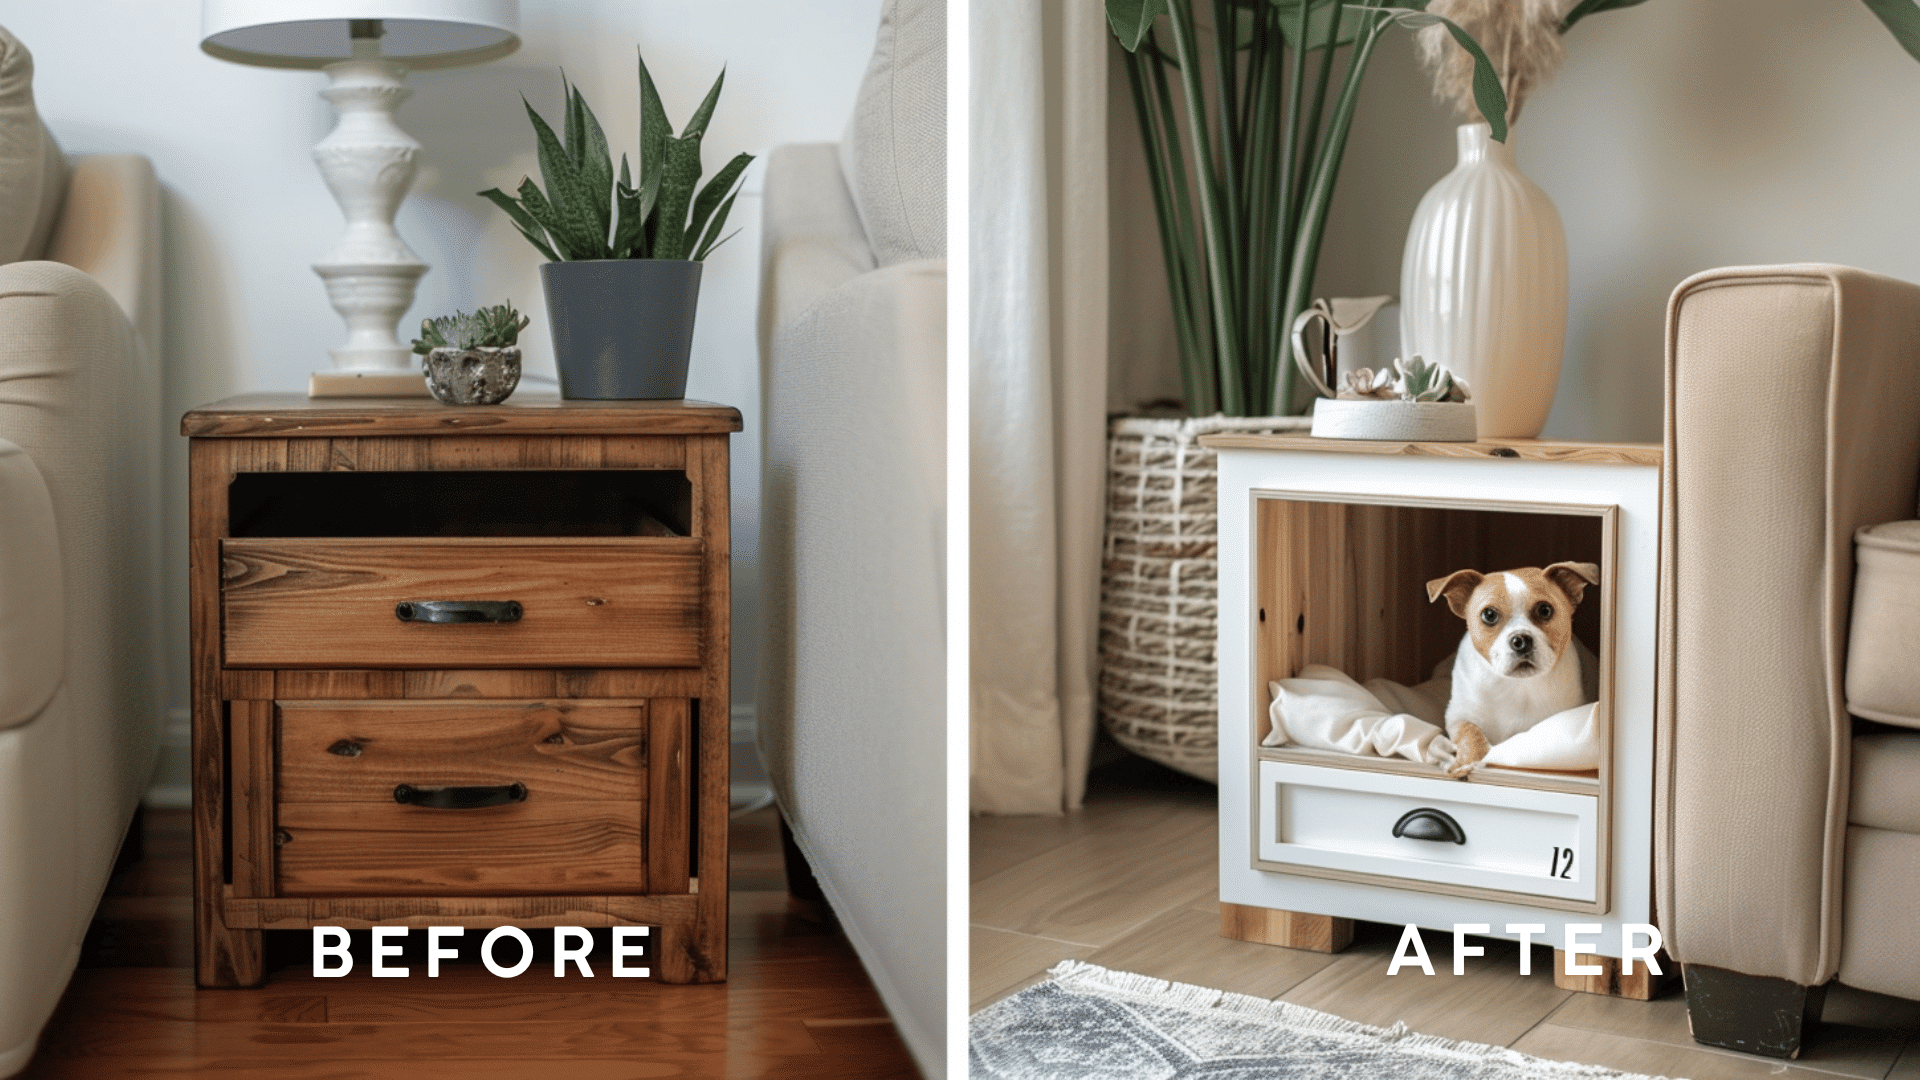
Turn a nightstand into a pet nook by removing the drawer, sanding, and painting the inside. Add a small cushion or blanket to finish the look. Voila! Your nightstand becomes a cozy everyday resting place for a pet.
6. Wooden Crates Turned Wall Shelves
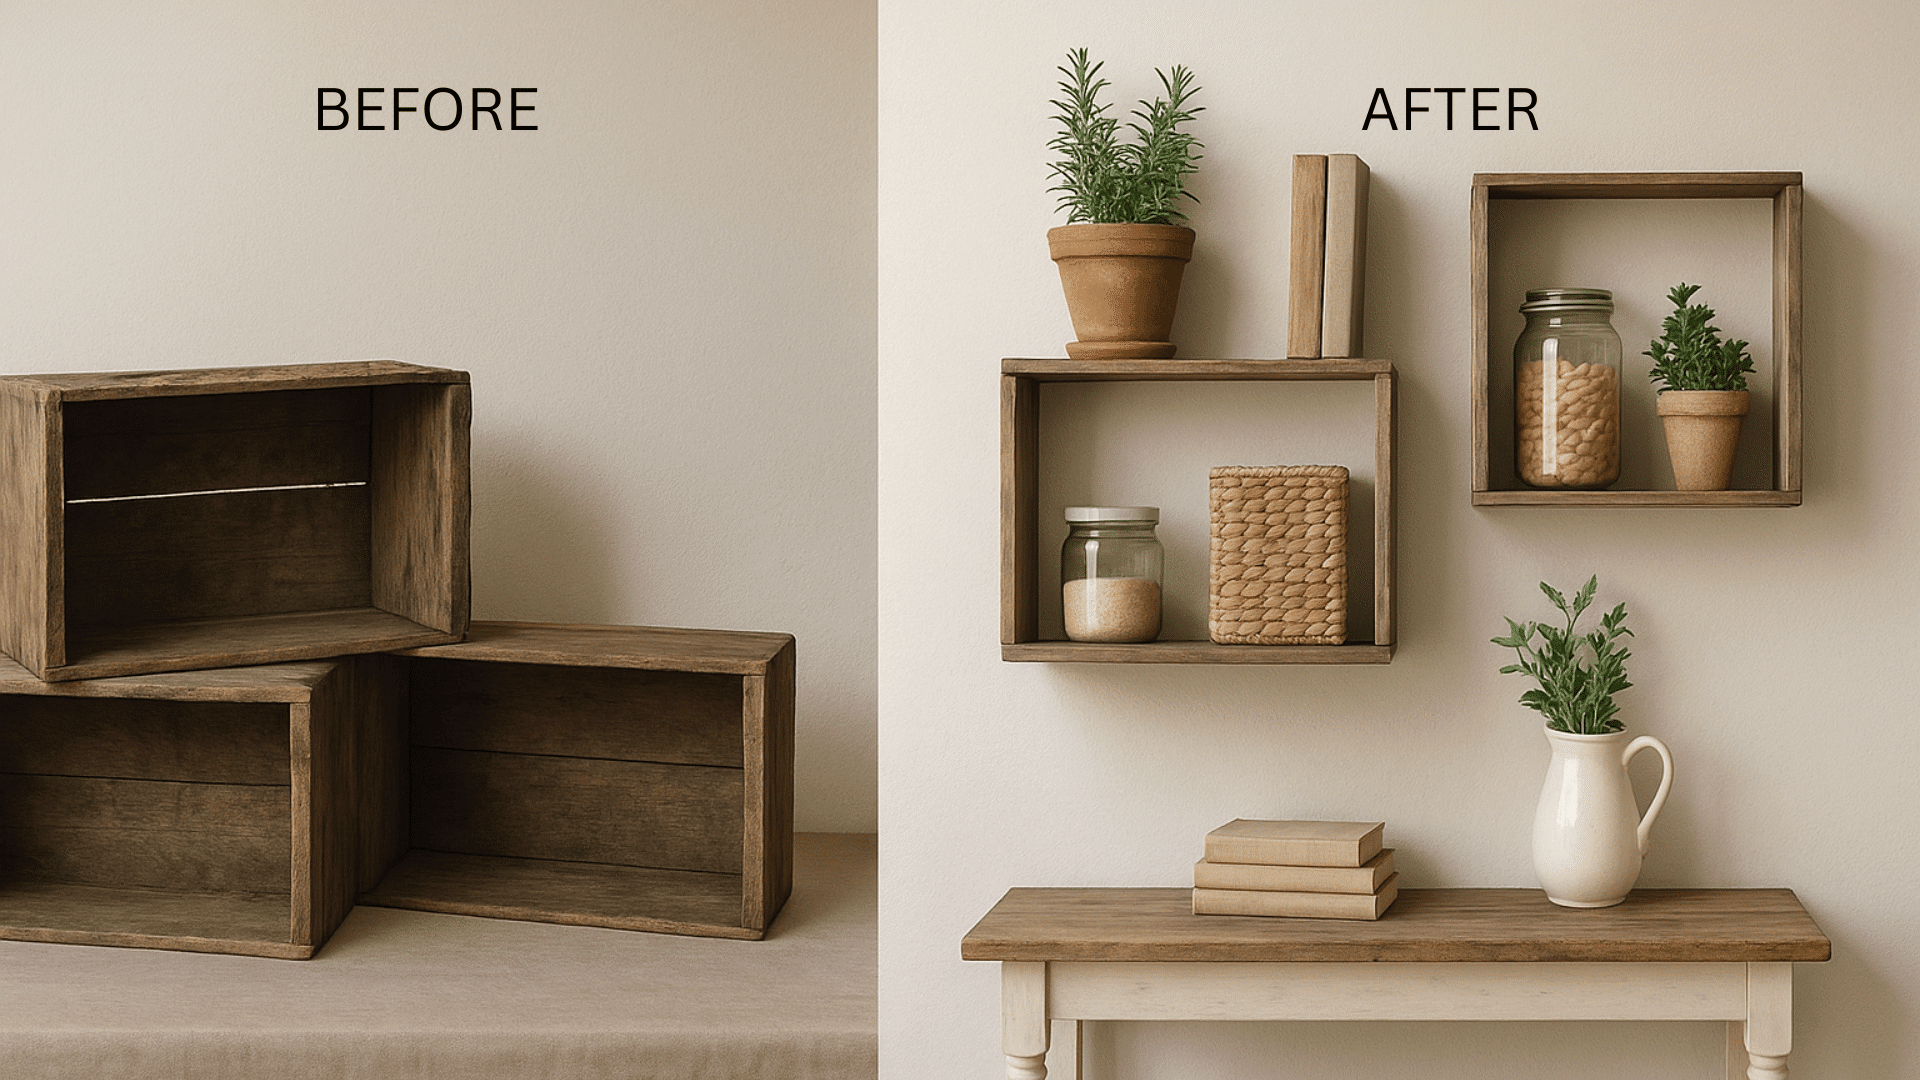
Start with old crates and clean, sand, and seal the wood. Mount each crate sideways on the wall using sturdy brackets or screws. Their raw texture becomes simple, honest shelving for herbs, jars, books, or décor.
7. Bookshelf Turned Rolling Cart
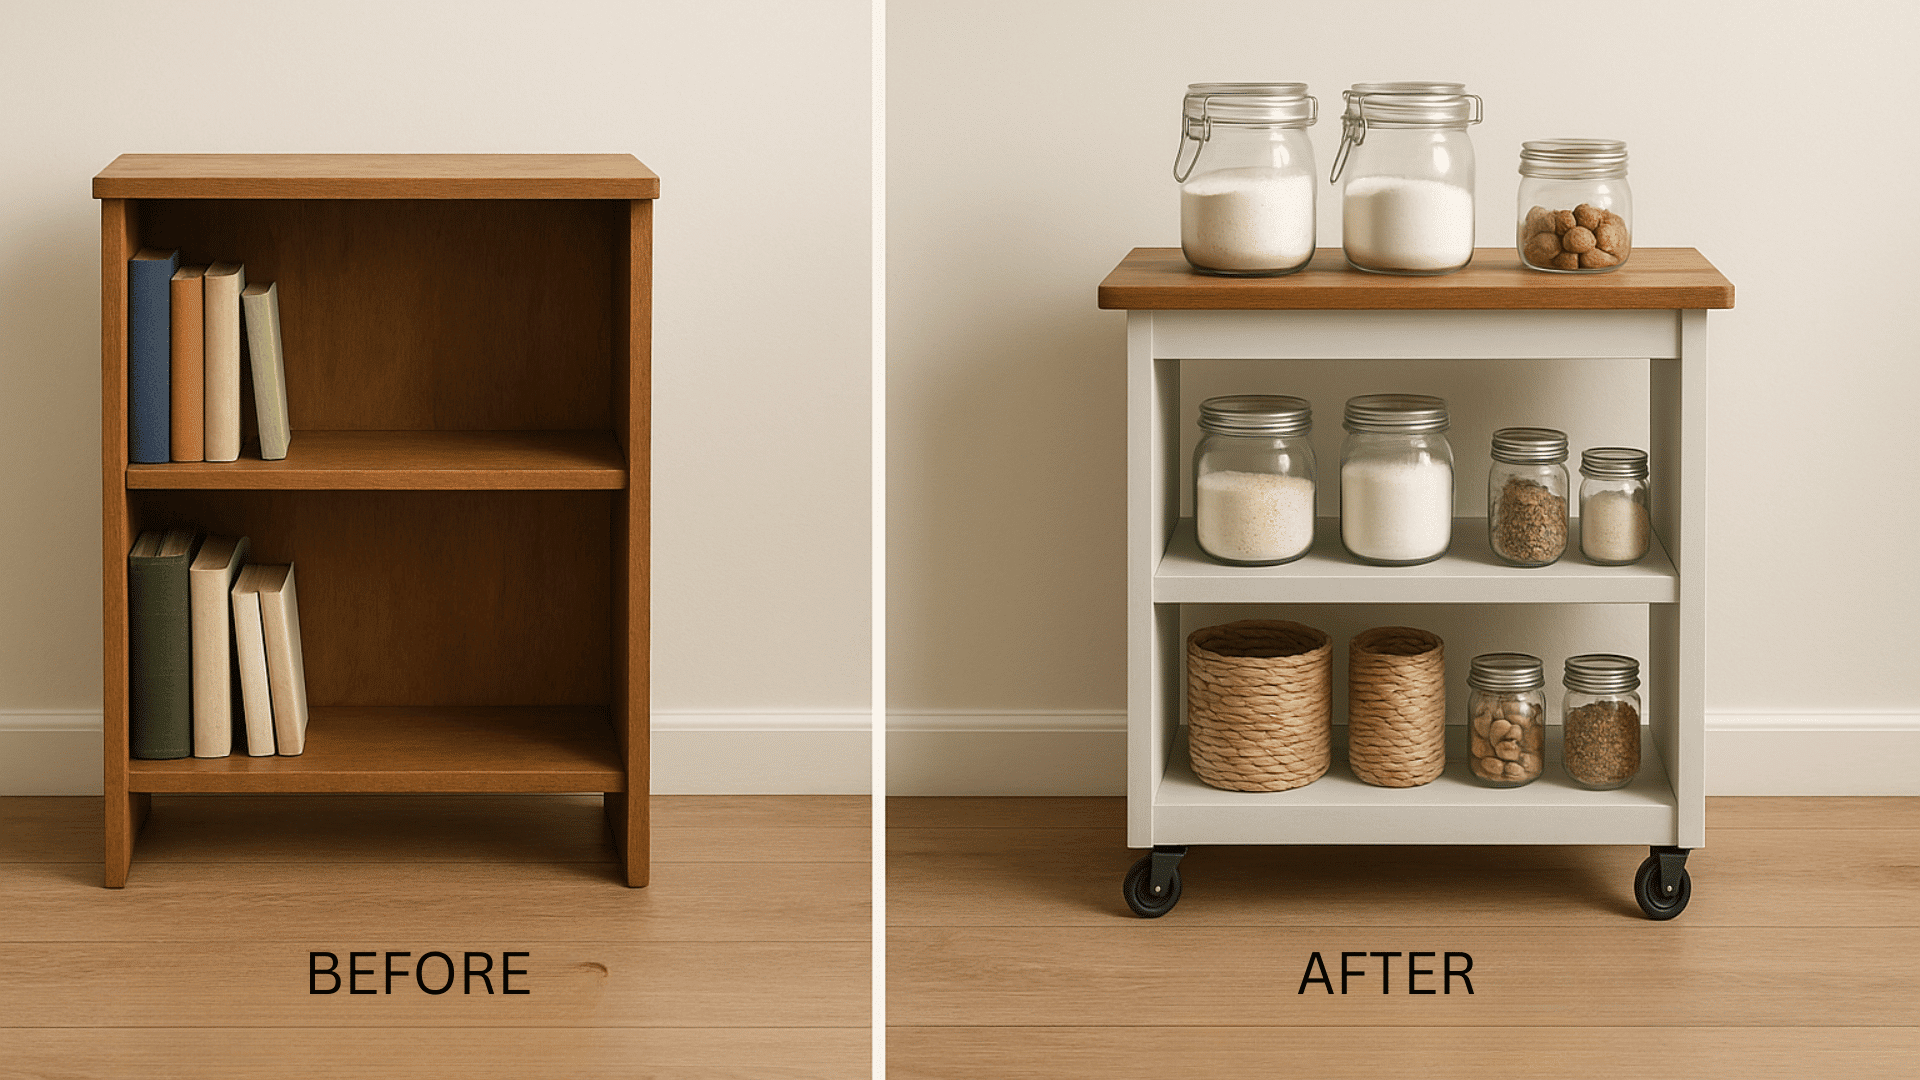
Take a simple bookshelf and add casters to the bottom, then attach a warm wooden top. Give it a soft coat of paint and a light seal. The shelf becomes a rolling cart perfect for kitchen items, crafts, or pantry storage.
8. Vanity Turned Hallway Console Table
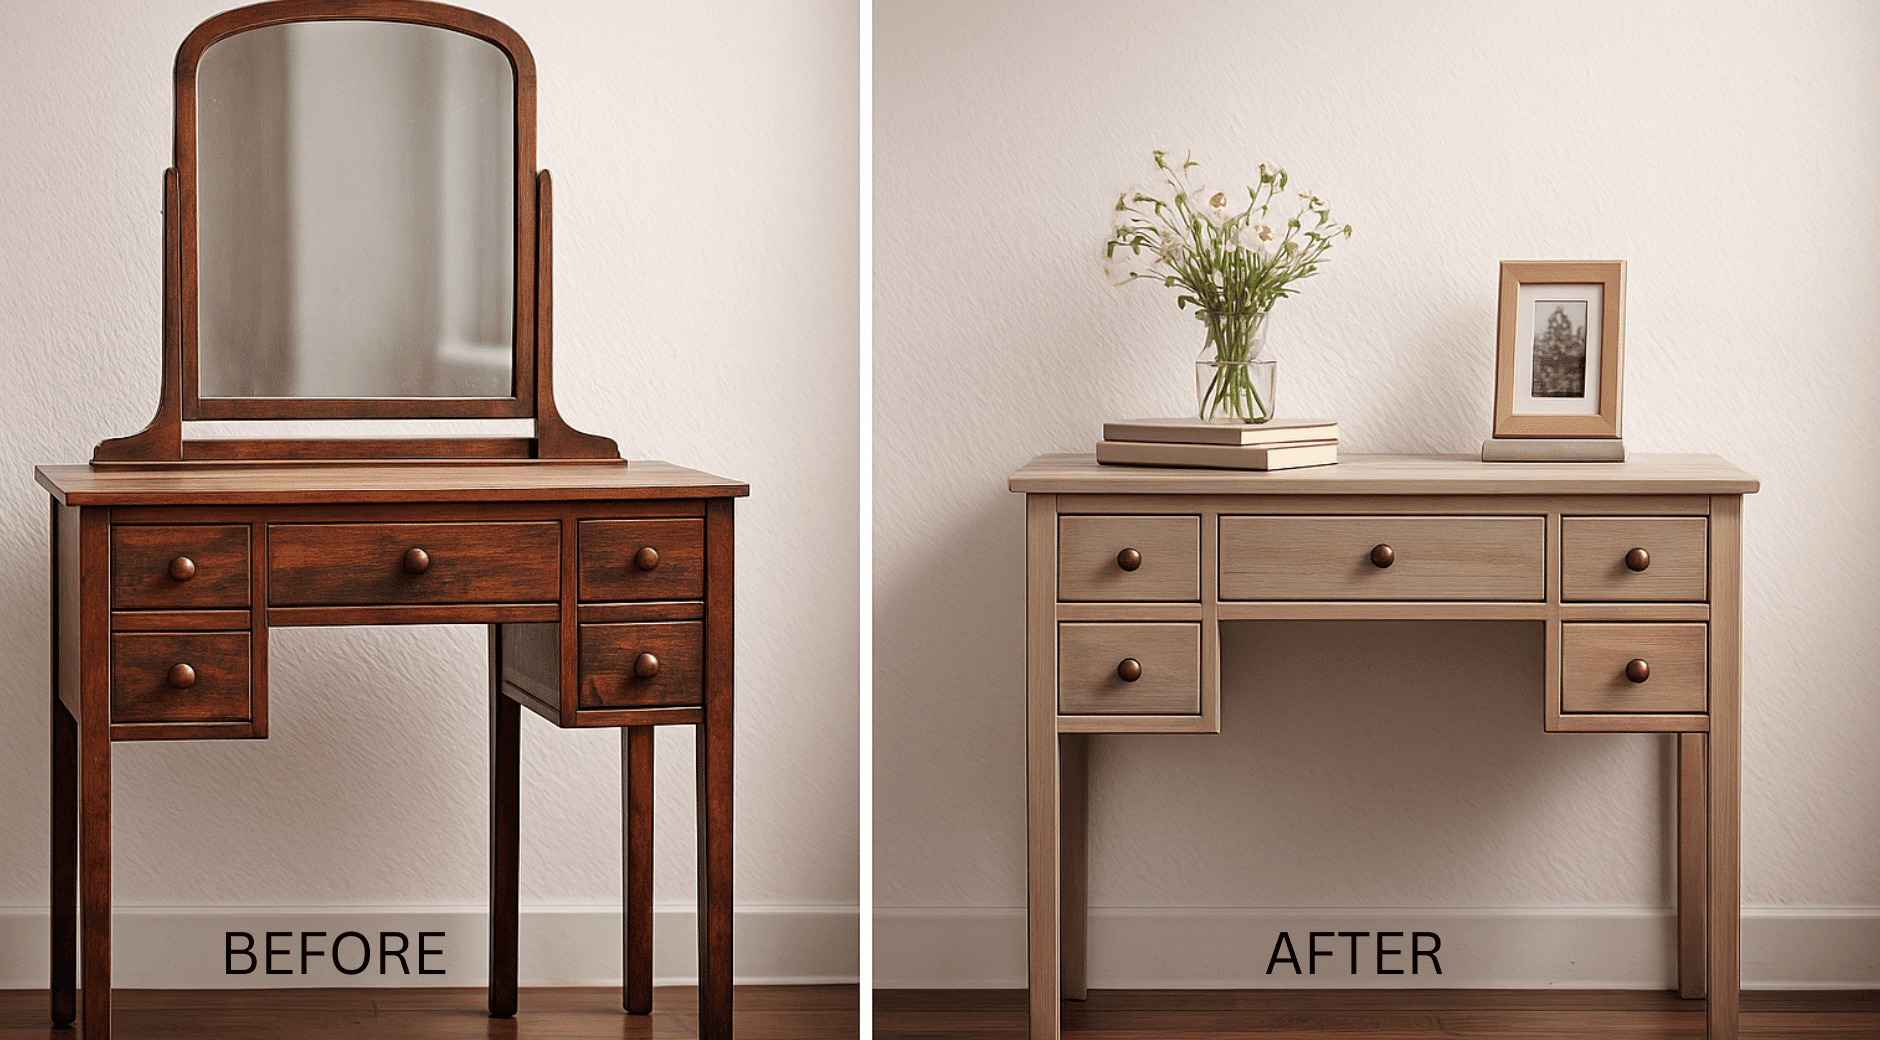
Start with an old vanity and remove the mirror, fill any holes, and refresh the wood. A clean coat of paint softens the look while the drawers remain useful. The vanity becomes a welcoming hallway console with room for books, flowers, or frames.
9. Round Tabletop Turned Large Wall Clock
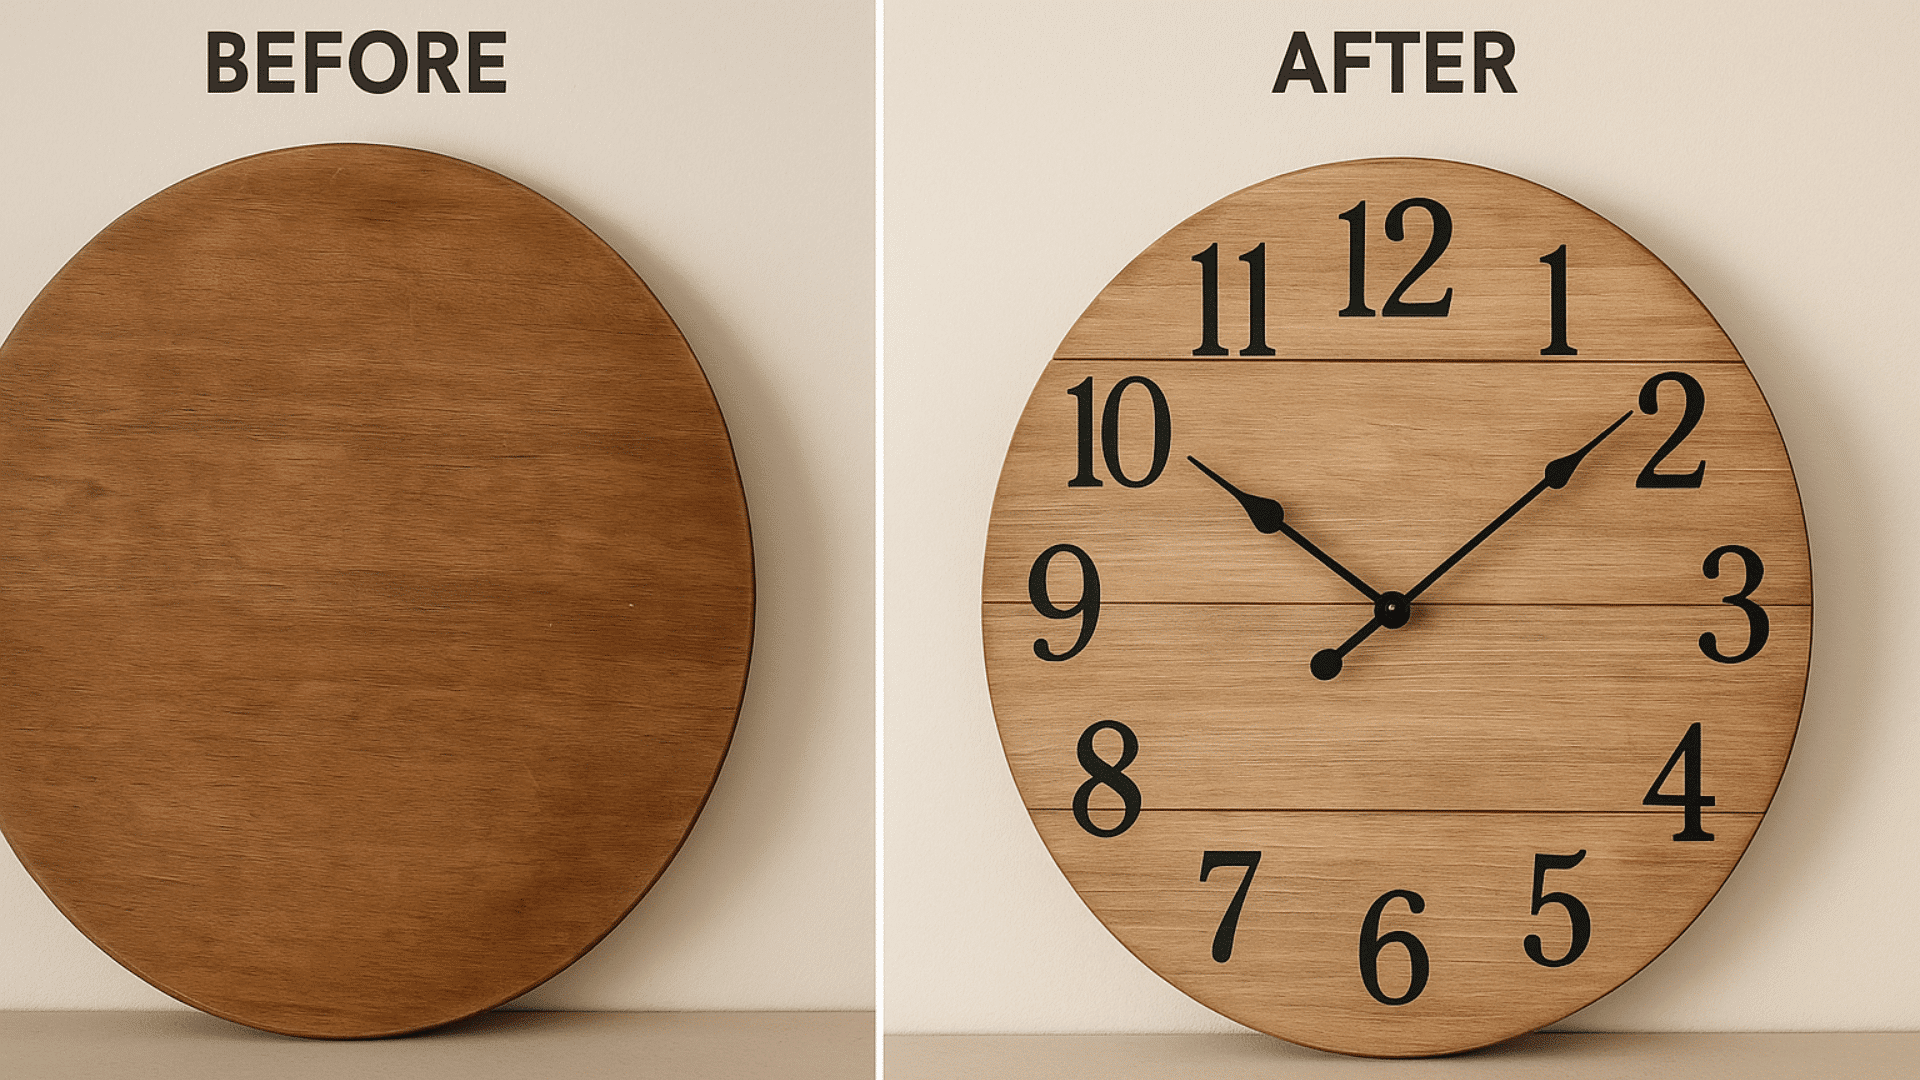
Use a round tabletop and sand it, mark out the numbers, and hand-paint them. Drill a center hole and attach a simple clock mechanism. The tabletop becomes a warm, oversized wall clock with natural wood charm.
10. Drawer Front Turned Rustic Serving Tray
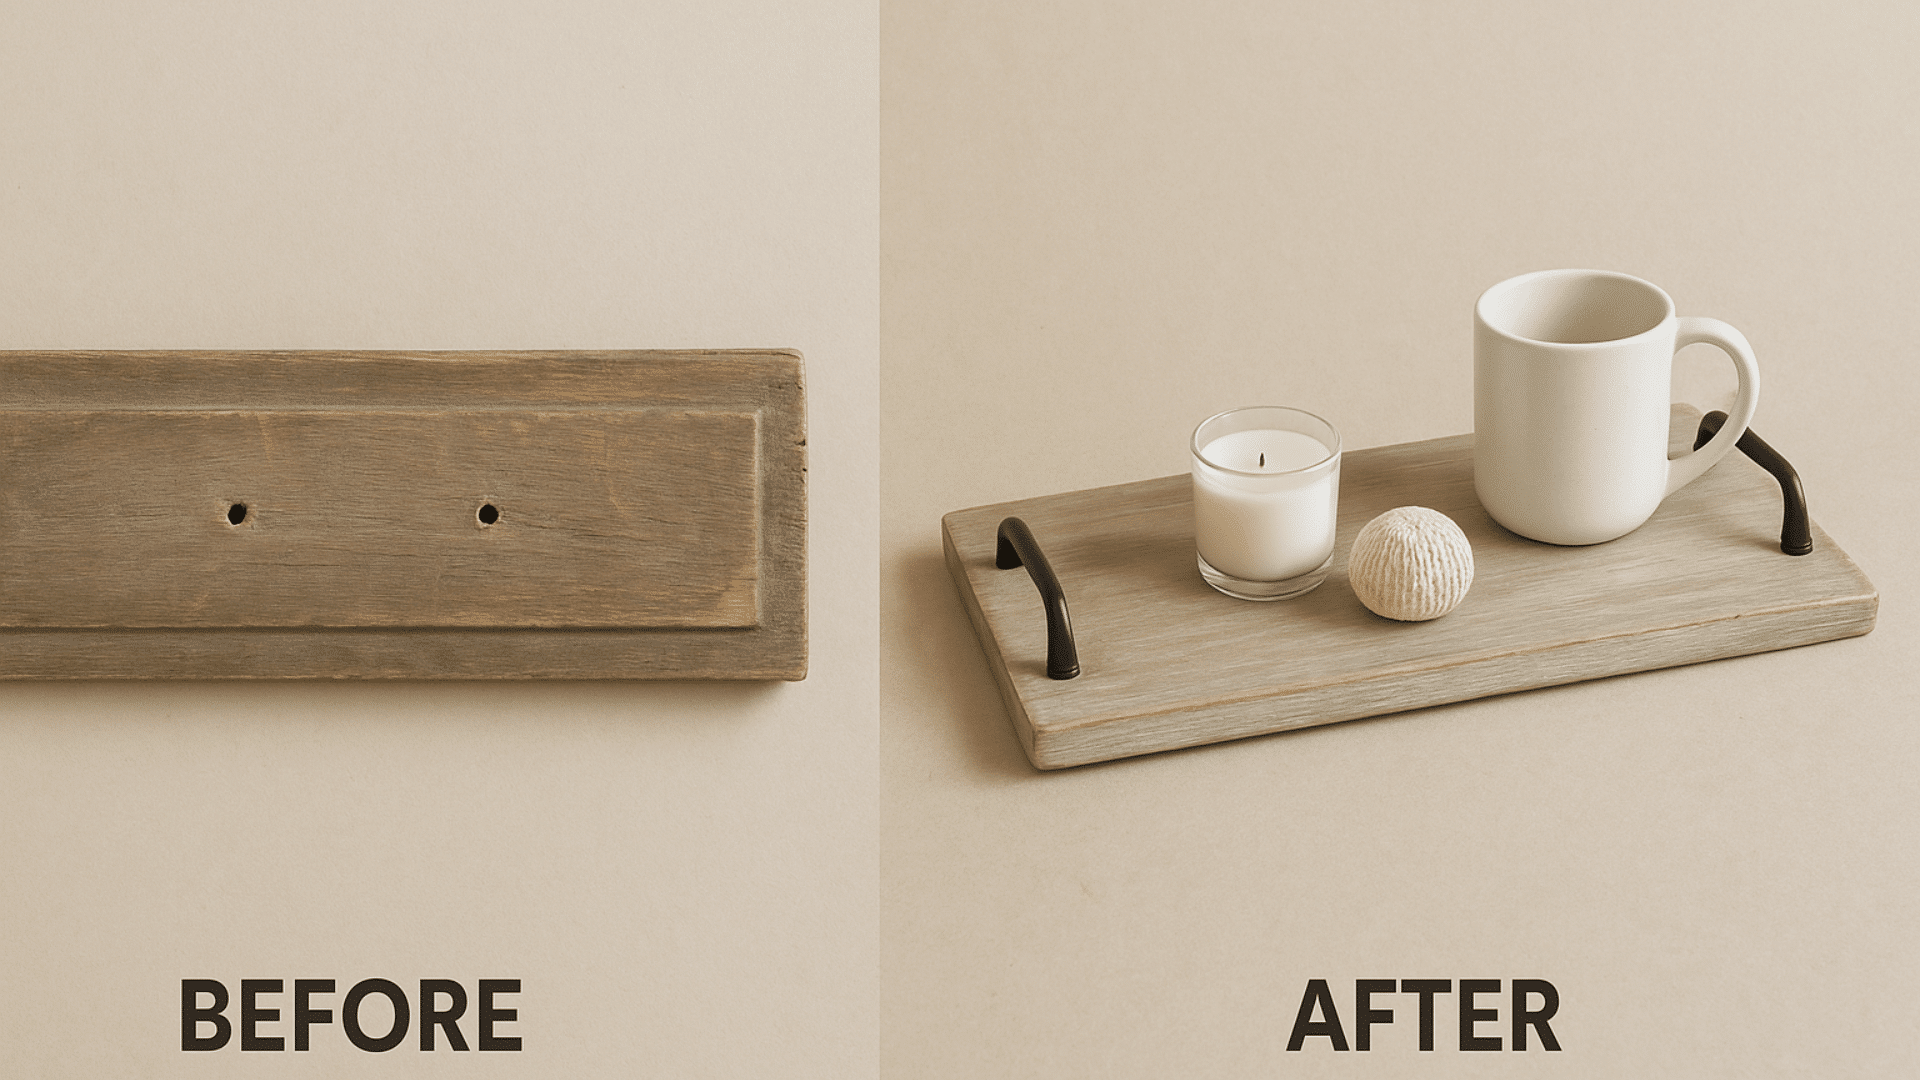
Take an old drawer front and remove the hardware, sand the surface, and attach metal or wooden handles. Add a light wash of paint or stain. The drawer front becomes a timeless rustic tray for candles, drinks, or décor.
11. Wooden Stool Turned Plant Stand
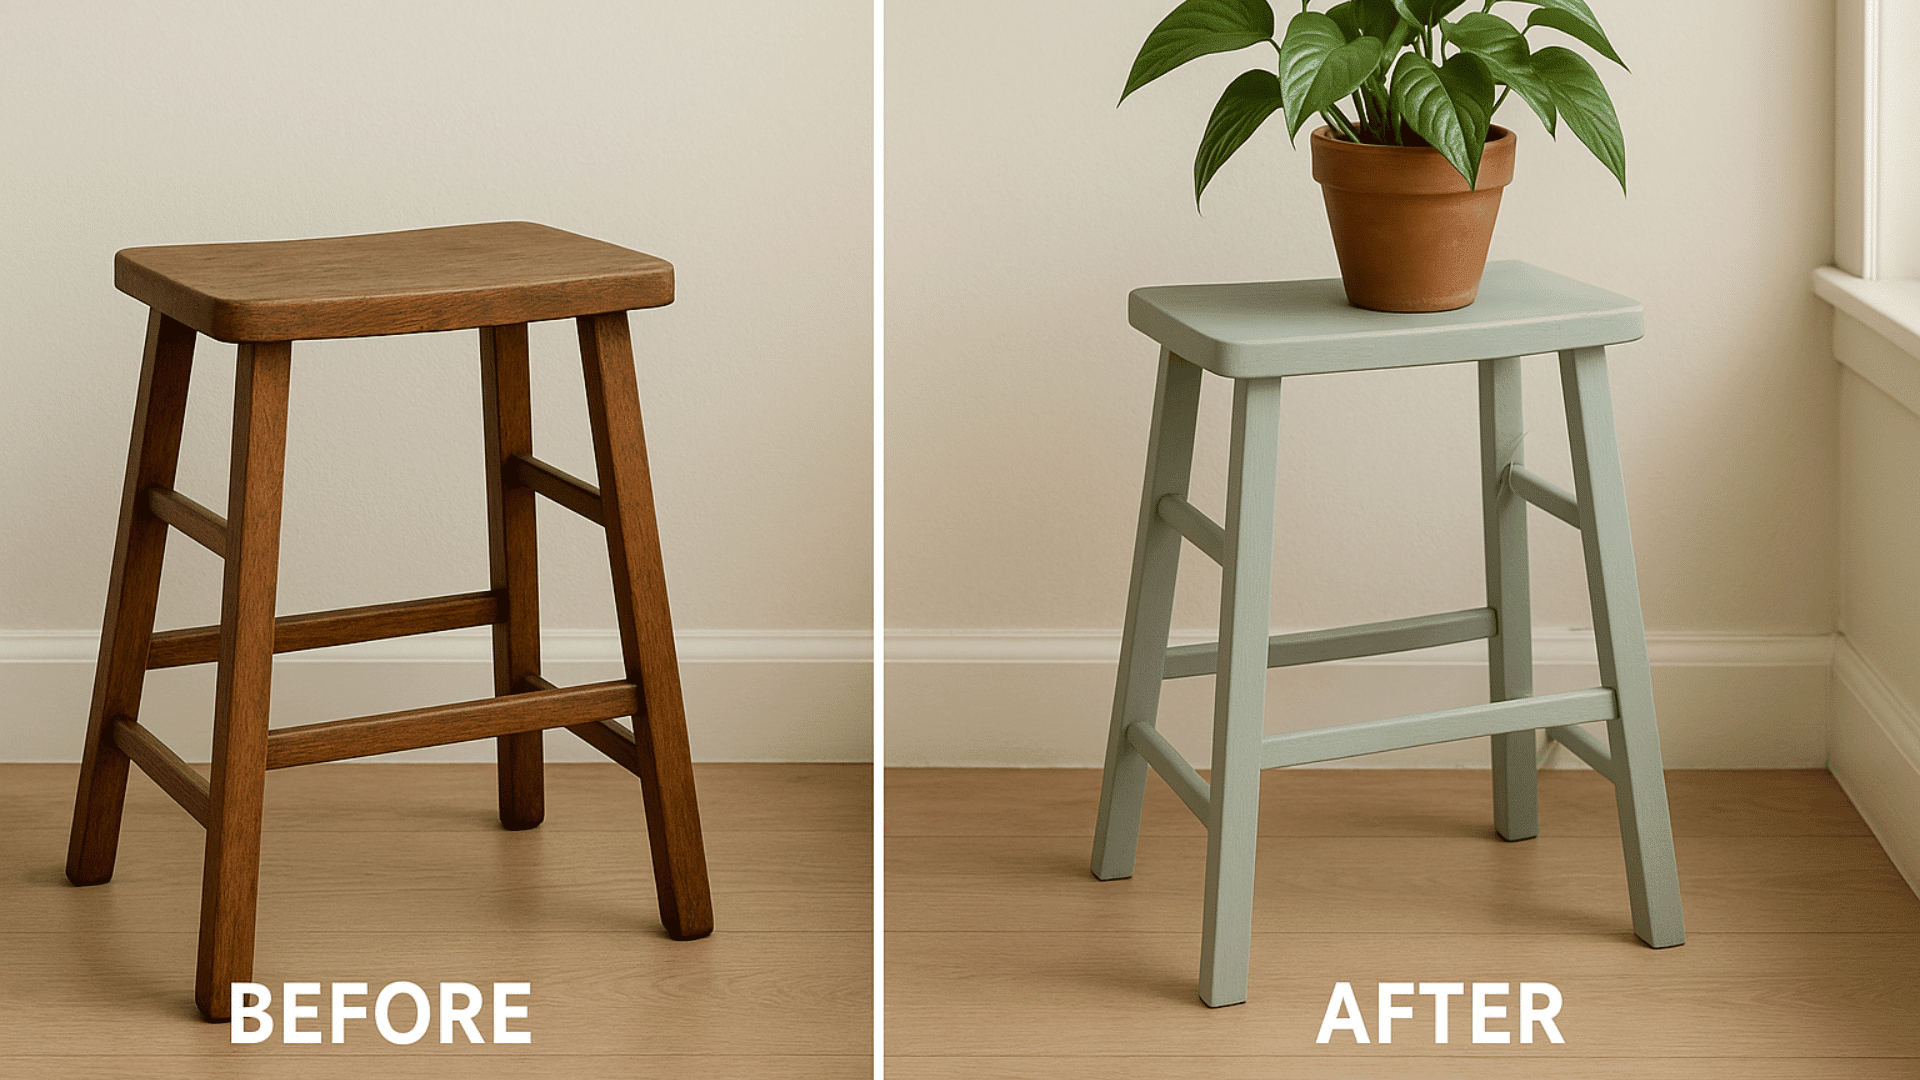
A small wooden stool becomes a plant stand by sanding, painting with chalk paint, and sealing the top. Its height makes plants feel special and elevated. The stool becomes a calming corner display when paired with greenery.
12. Old Drawers Turned Wall-Mounted Shelves
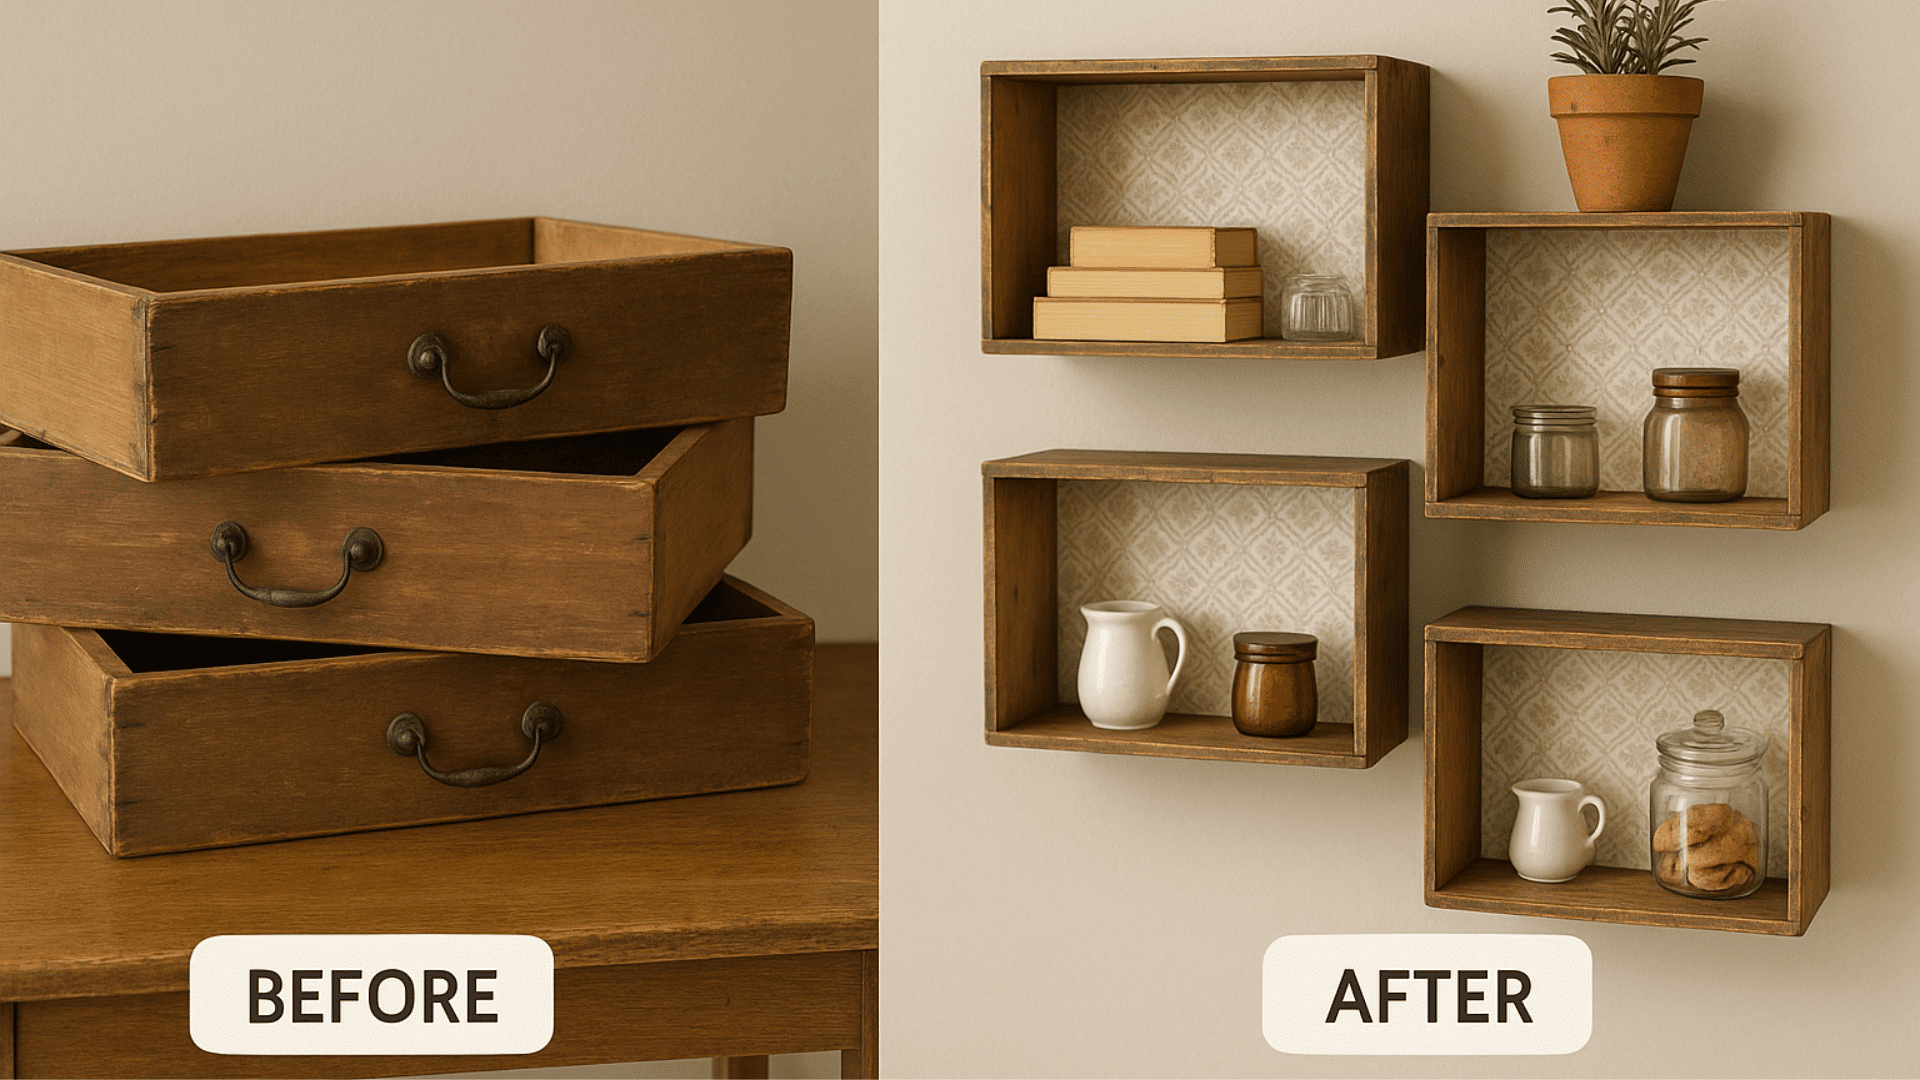
Start with loose drawers and remove the hardware, clean the inside, and paint or line the interior. Mount each drawer sideways on the wall. The worn edges and old wood become framed little displays for books, jars, or décor.
13. Chair Spindles Turned Tall Candle Holders
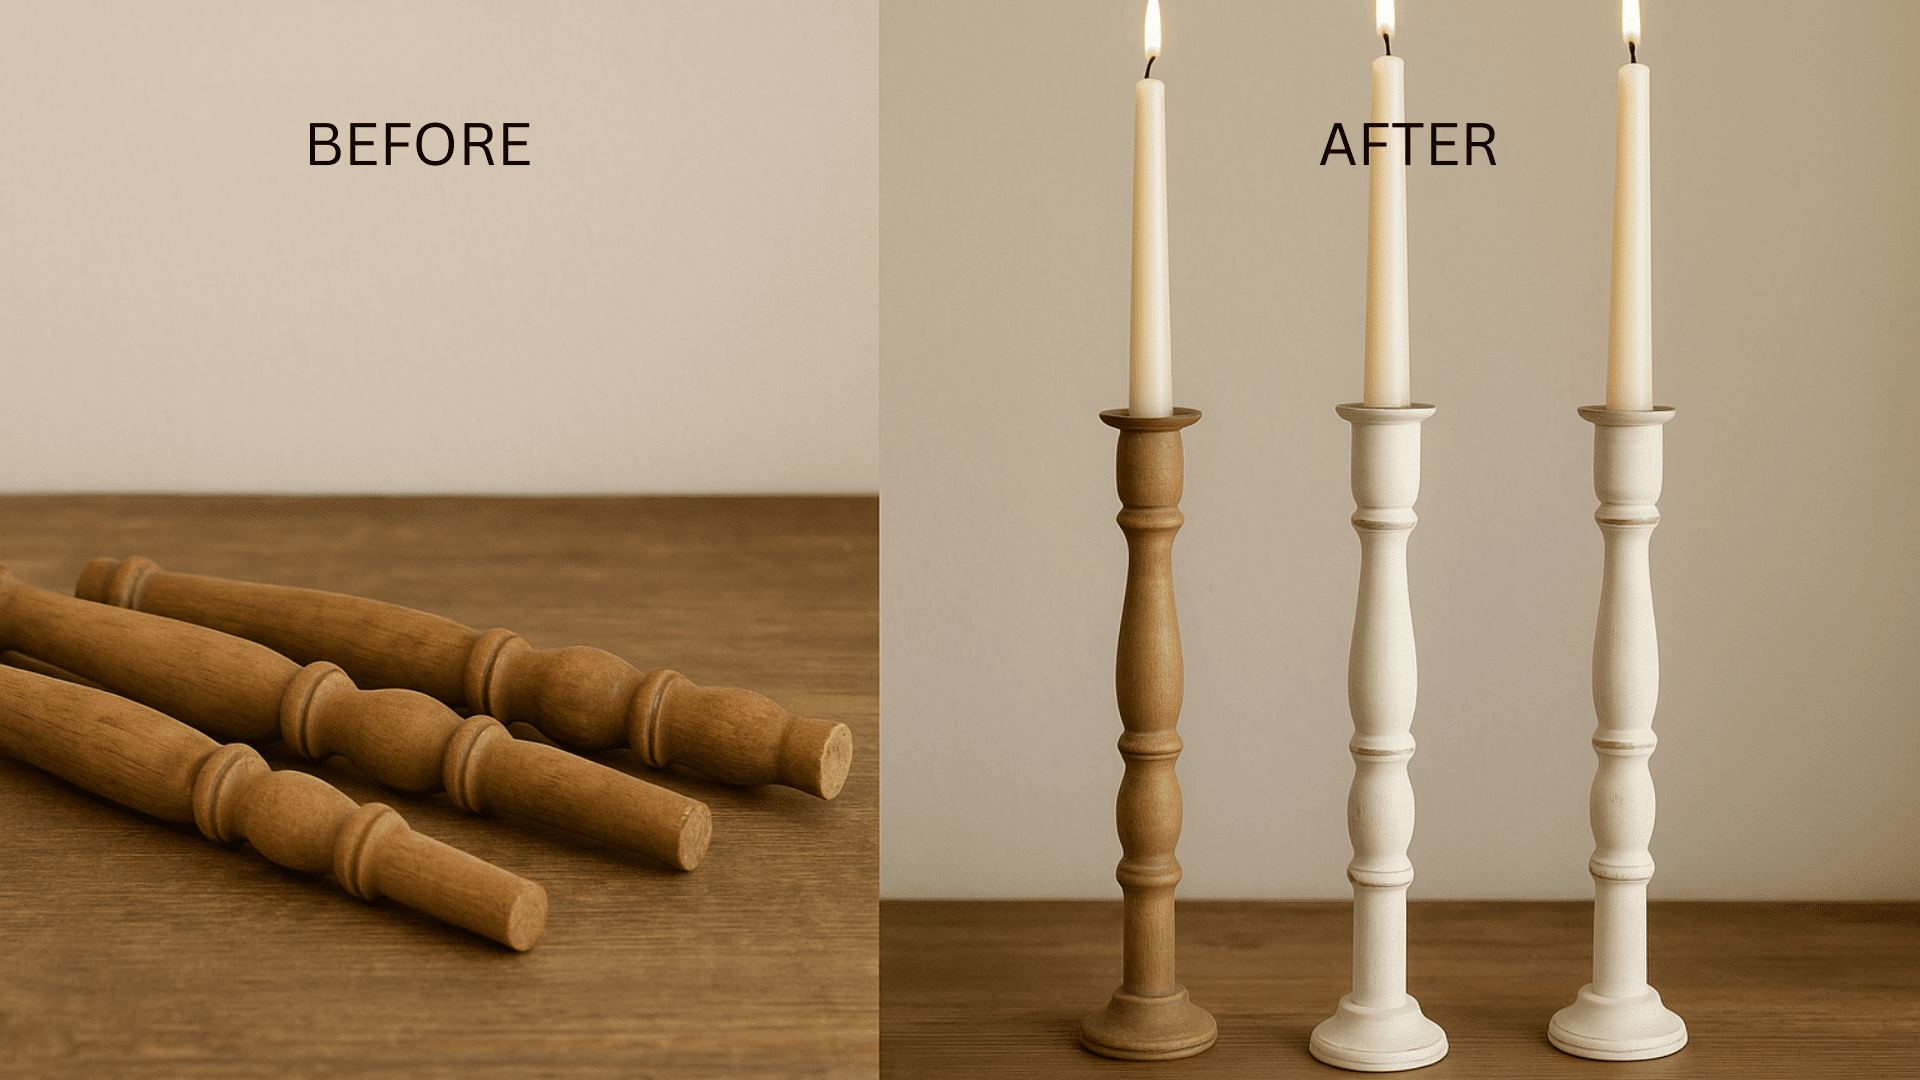
Remove spindles from an old chair and cut the bottoms flat, sand, and paint or stain them. Add small metal plates on top to hold candles. Grouped together, the spindles become elegant rustic candle holders.
14. Bed Frame Slats Turned Slim Bookshelf
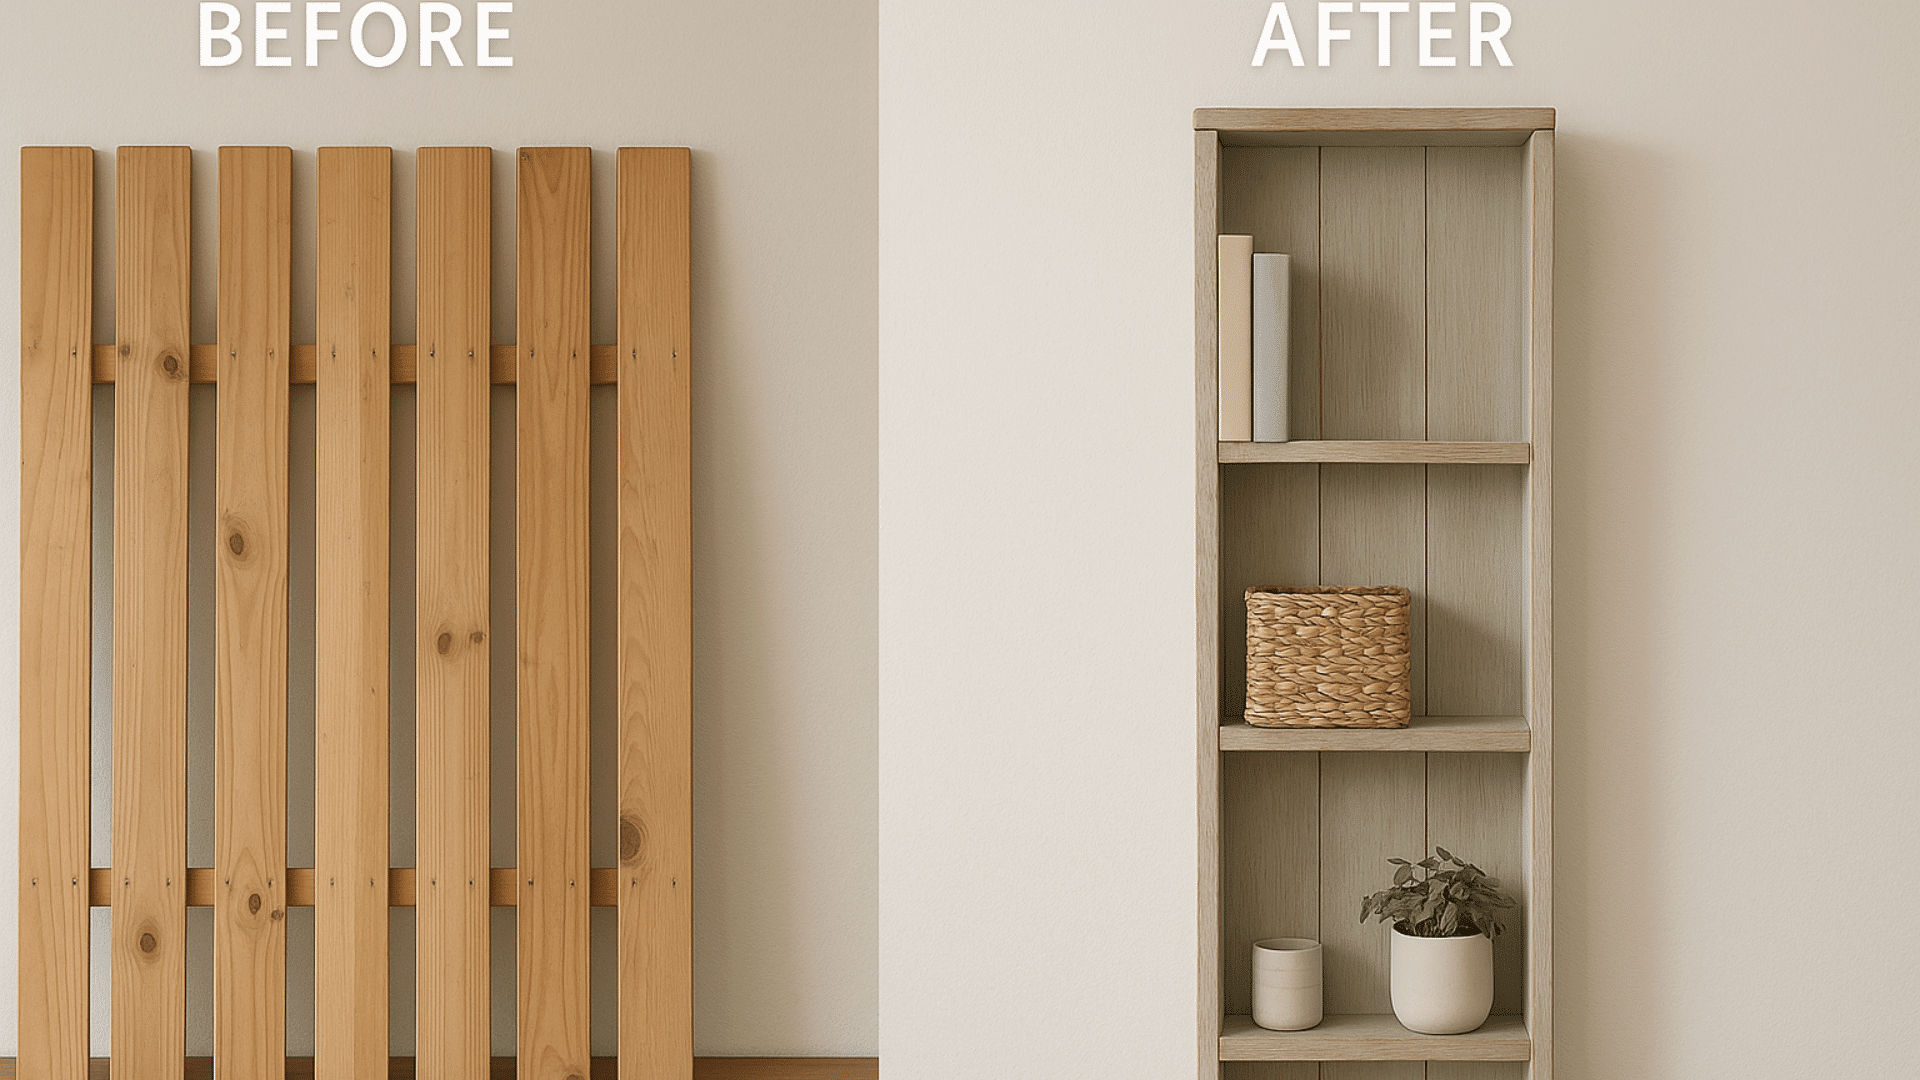
Take bed slats and cut them to matching lengths, create a simple frame, and secure the slats upright. Finish with soft paint or stain. The slats become a slim bookshelf that fits tight spaces and adds natural warmth.
Tips for Selling Upcycled Furniture
If you want to sell your pieces, presentation matters. These tips help attract buyers:
- Use the right platforms: Sell on Etsy or Facebook Marketplace to reach people who value handmade furniture.
- Write clear descriptions: Include size, color, and material details to build buyer confidence.
- Take good photos: Use natural light and clean spaces for bright, attractive shots.
- Stage your piece: Add small decor items so buyers can picture it in their home.
- Price fairly: Consider your time and materials while staying competitive.
- Tell the story: Share how you transformed the piece to make it more personal.
- Finish neatly: Smooth edges, clean paint, and sealed surfaces show quality.
- Sell locally: Join markets or fairs to connect with buyers face-to-face.
A good presentation goes a long way in this creative business. The more care you show, the more buyers will appreciate your work.
Common Mistakes to Avoid
- Skipping prep: Clean and sand thoroughly before painting.
- Wrong paint choice: Match paint to the surface material.
- Rushing coats: Give each layer enough time to dry for a smooth finish.
- No safety gear: Wear gloves and a mask.
- Overdecorating: Keep colors and details balanced.
- Skipping sealant: Don’t forget a protective coat to make your work last.
Conclusion
Upcycled furniture gives you a simple way to refresh your space without buying new, and it’s something you can grow more confident with each time you try it.
As I see it, the real value comes from noticing potential in pieces most people overlook and turning small changes into a meaningful transformation.
You’ve learned the basics, the tools to keep nearby, and the steps that guide you from prep to finish. You also picked up ideas you can try at any skill level.
Now that you know how approachable the process can be, choose one piece you already have and start your first project today.