

Building a treehouse is one of those projects that feels both magical and a little scary at the same time.
You’re not just putting boards in a tree; you’re creating a tiny hideout for games, reading, or quiet time above the yard.
In this blog, you’ll walk through building a treehouse in a calm, clear way so you always know what comes next. I’ll help you figure out where it should go, what you’ll need, and how to put it together without rushing or guessing.
Let’s get you a treehouse that feels just right for your family.
Key Factors to Consider Before Building a Treehouse
- Wind and Weather: In windy or stormy areas, keep your treehouse lower to reduce sway and stress on the tree.
- Rain and Snow: Add strong roofing, drainage, and waterproof materials to prevent rot or leaks.
- Safety Features: Use non-slip steps and ladders so no one slips in wet or icy weather.
- Height Rules: Check local codes or HOA limits on structure height before finalizing your design.
- Property Lines: Make sure your treehouse isn’t too close to a fence or neighboring yard.
- Permits and Utilities: Lights, wiring, or plumbing can trigger extra permits. Review those rules first.
- Neighbor Courtesy: Talk to neighbors about your plans early to avoid conflicts or complaints.
A little planning goes a long way. Building with weather and community in mind keeps your treehouse safe, compliant, and welcome in your neighborhood.
How to Build a Safe Treehouse: Step-by-Step Guide
This simple, step-by-step guide walks you from picking the right tree to adding the final touches, in a way that keeps both your kids and your tree safe.
Tools and Materials You’ll Need
Essential tools:
- Tape measure
- Level
- Pencil or marker
- Speed square or framing square
- Circular saw or miter saw
- Drill/driver
- Drill bits
- Hammer
- Nail gun (or just hammer + nails if needed)
- Socket set or wrench
- Work gloves
- Safety glasses
- Hearing protection
Materials:
- 2×12 boards
- 2×4 boards
- Floor plywood/OSB sheets
- Wall plywood/OSB sheets
- Roof plywood/OSB sheets
- Lag bolts or heavy-duty through-bolts
- Exterior wood screws (assorted lengths)
- Framing nails
- Roofing material (shingles or metal panels)
- Roofing nails or screws
- Joist hangers/metal brackets
- Door plywood panel
- Door hinges
- Door latch/lock
- Window unit
- Ladder
- Exterior paint or stain
- Caulk / exterior sealant
Step 1: Plan the Treehouse Layout and Design
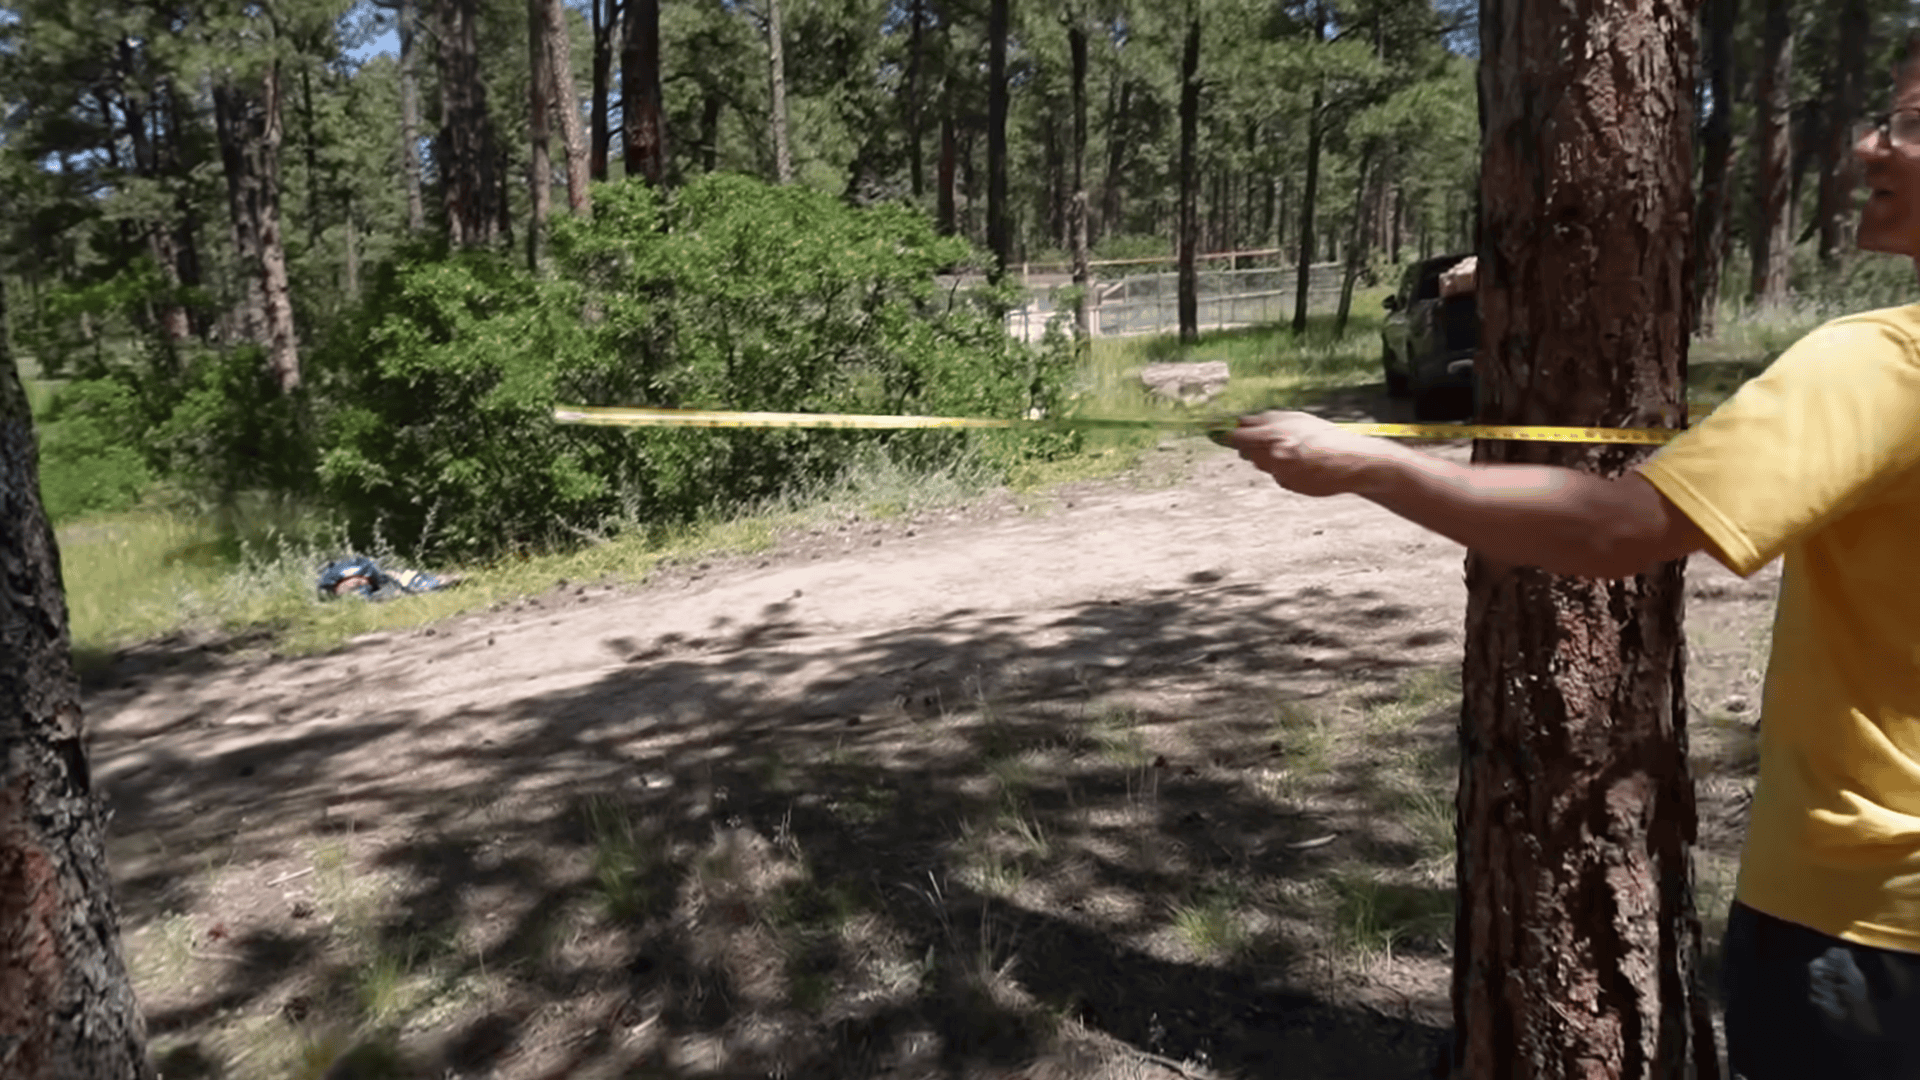
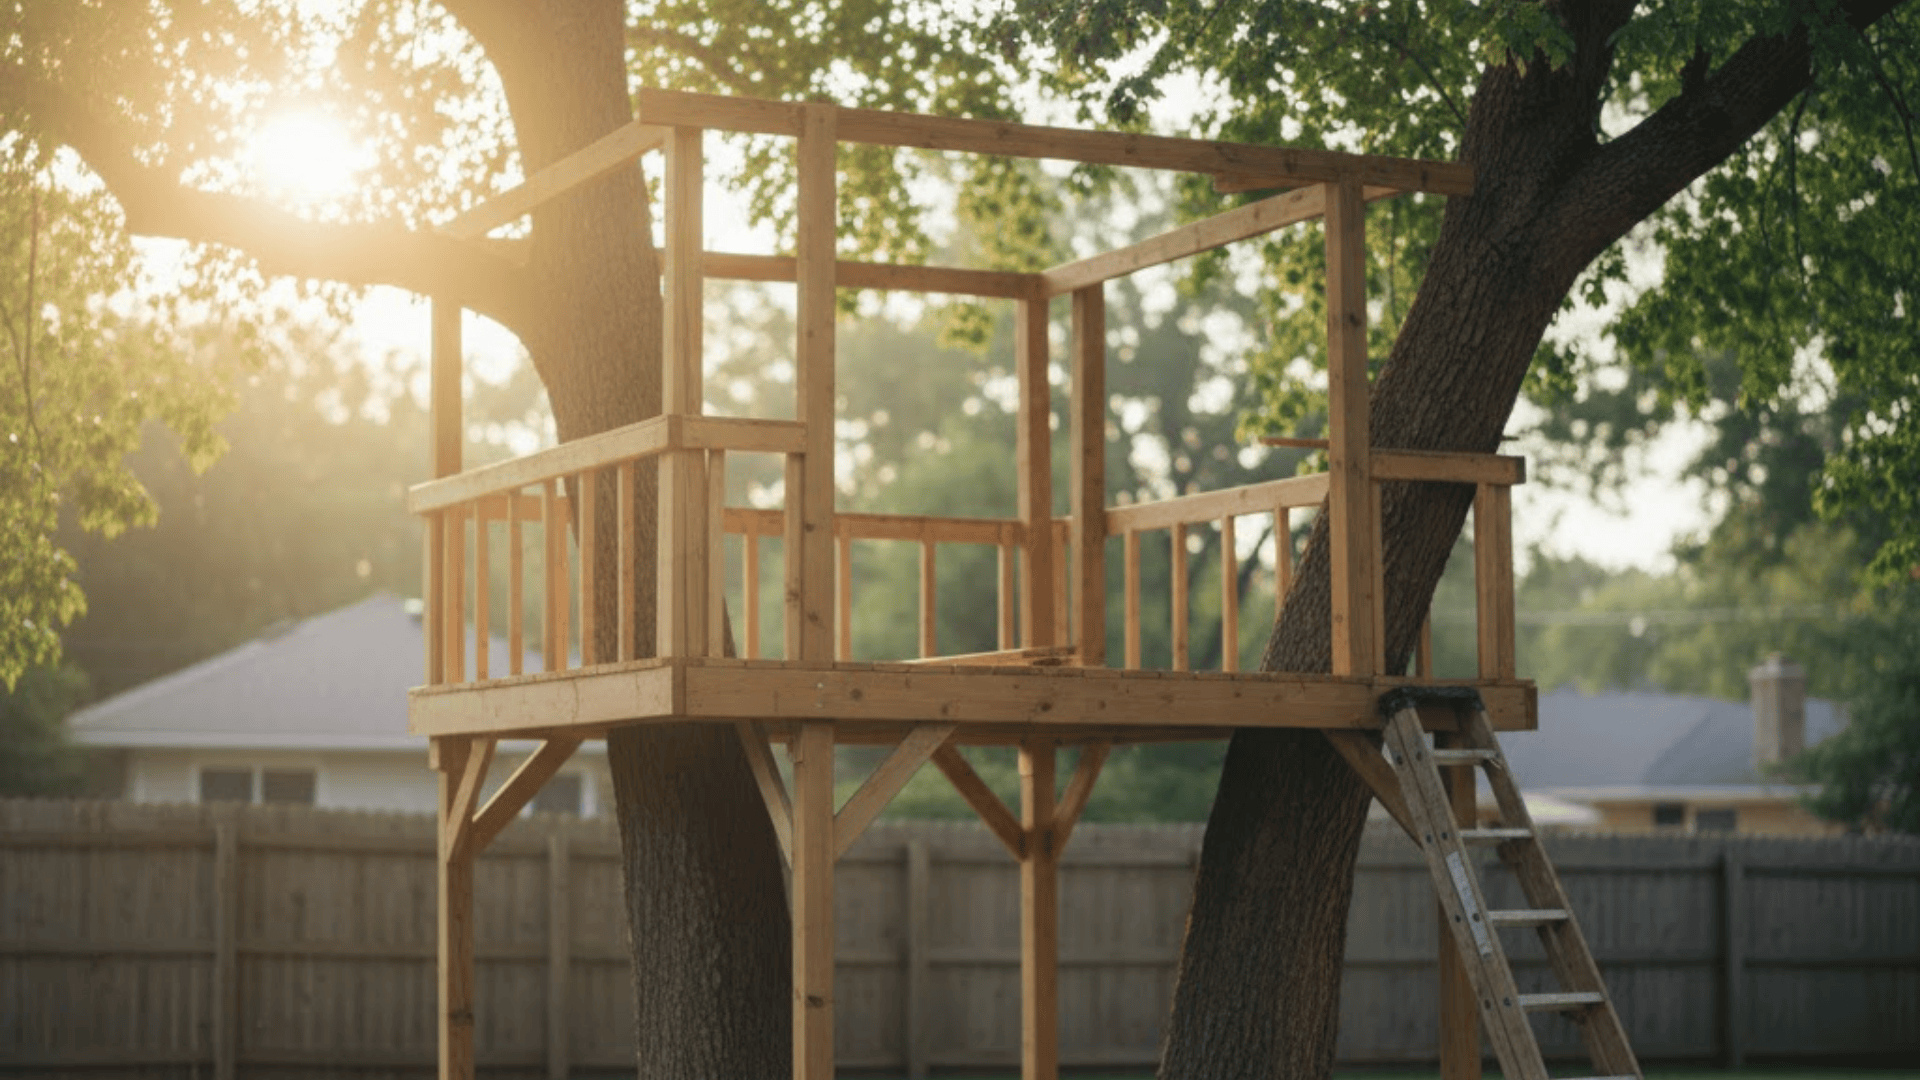
Start by choosing where the treehouse will sit, either wrapped around one tree or between two trees.
Measure the space, pick a rough floor size like 6×6 ft, and sketch a simple layout that shows where the TV, PS5, ladder, door, windows, and porch will go.
Deciding these details early helps you avoid changes later and makes building much smoother.
Step 2: Gather and Prep Your Materials
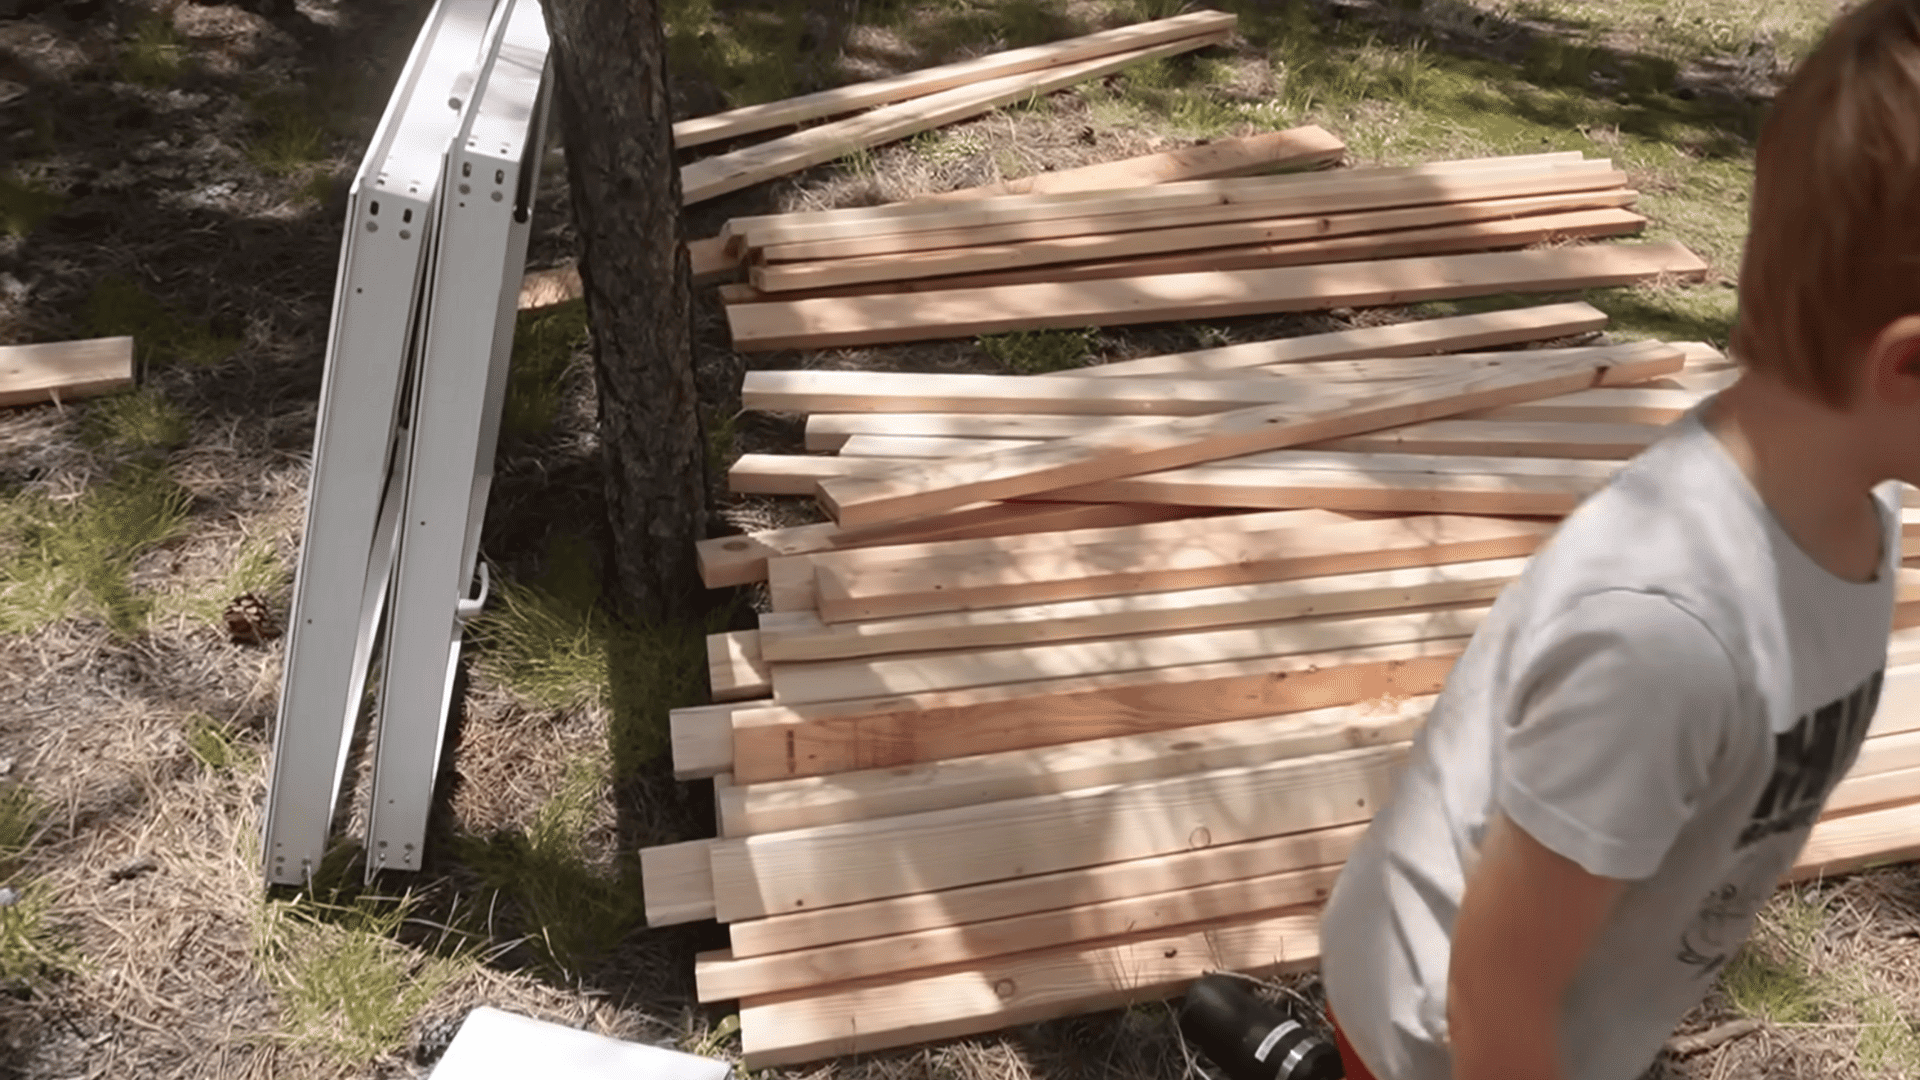
Look for wood you can reuse from old projects, and sort pieces like 2x12s for supports and 2x4s for wall frames.
Then go to the store to buy what’s missing, such as floor and wall panels, roof material, bolts, screws, and nails. Try to only buy what you truly need so you keep your costs under control while still using safe, solid materials.
Step 3: Build and Install the Floor Platform
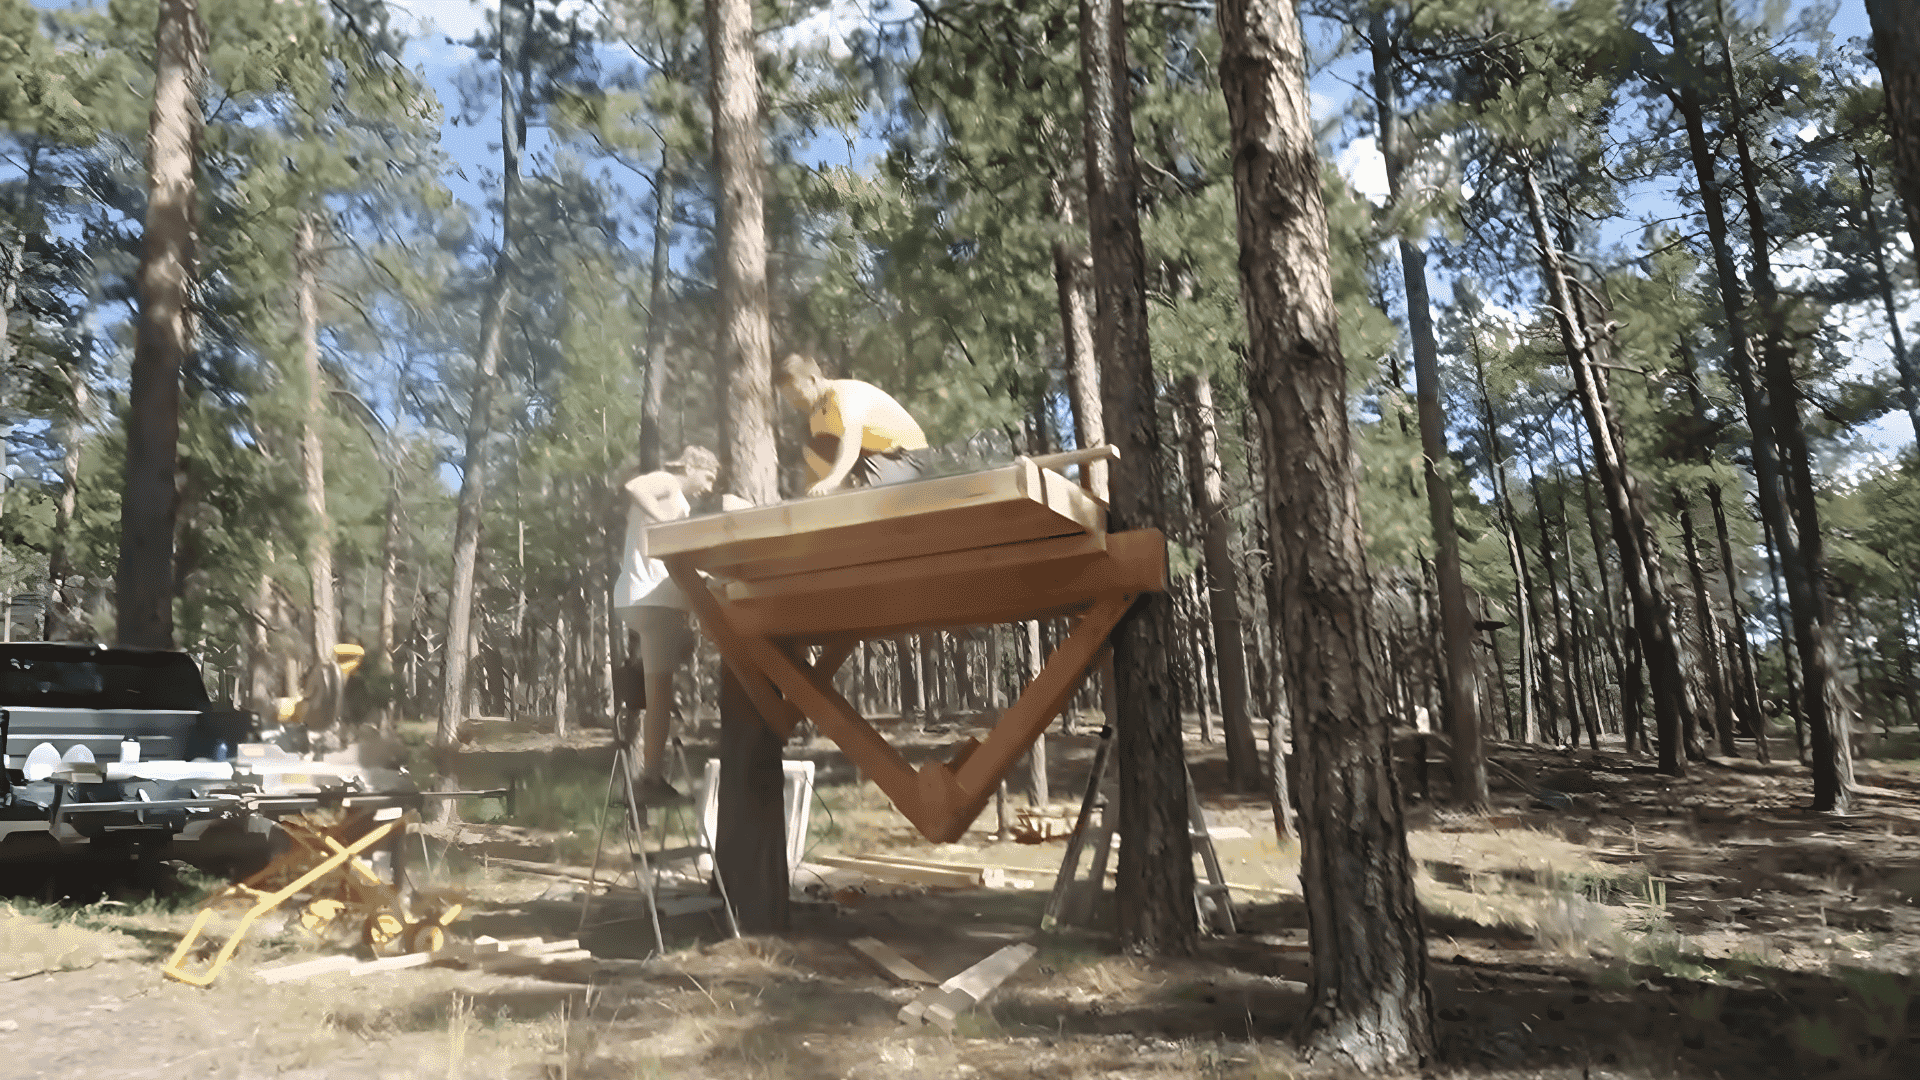
Attach strong beams between the trees and make sure they’re fairly level so your floor doesn’t tilt too much.
Add joists on top, screw or bolt everything together, and lay the floor sheets to fit your chosen size, like 6×6 ft.
When you’re done, stand on the floor, bounce a little, and test it with at least two people to check that it feels solid and safe.
Step 4: Frame and Raise the Walls
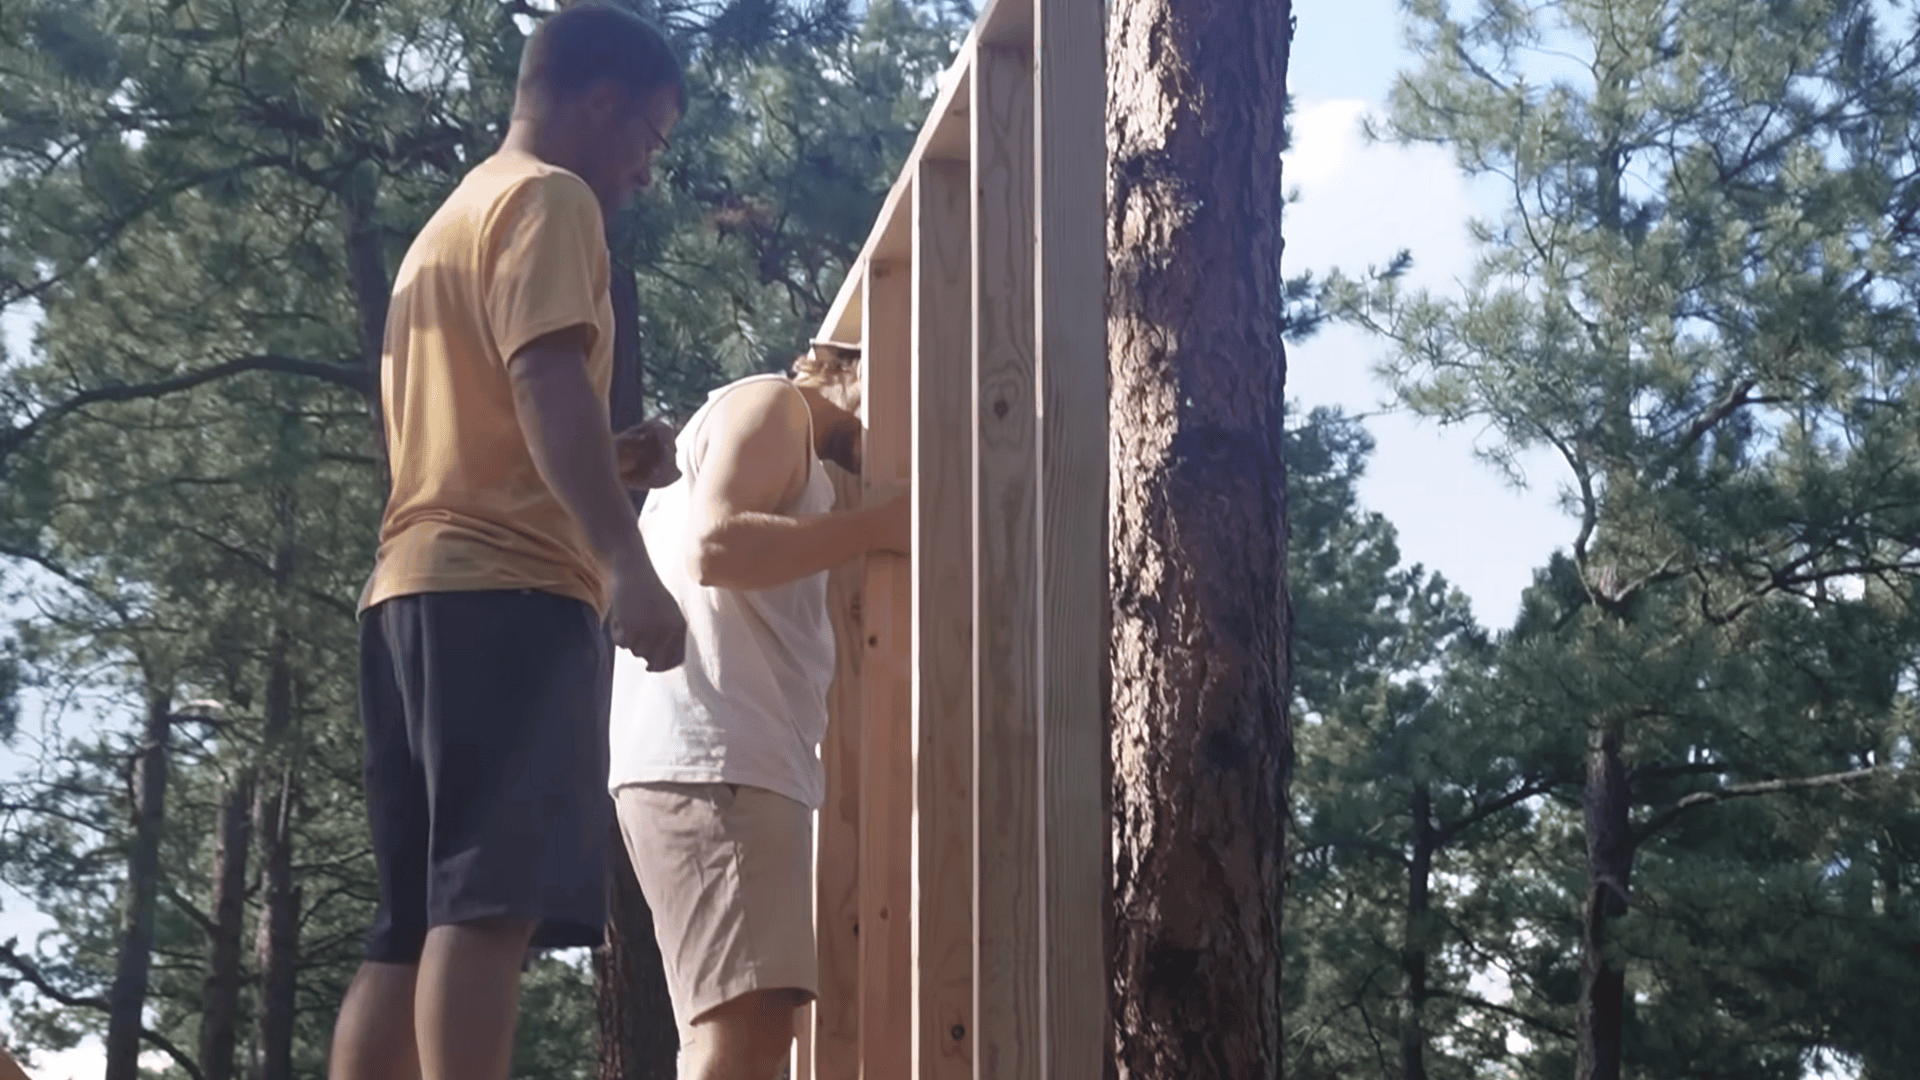
Decide how tall you want the walls, then build each wall frame on the ground using top and bottom plates with vertical studs.
Leave openings where the windows and door will go, nail the frames together, and then lift them onto the floor platform.
Once they’re standing, fasten the walls to the floor and to each other at the corners so the structure feels firm and square.
Step 5: Add the Window Safely
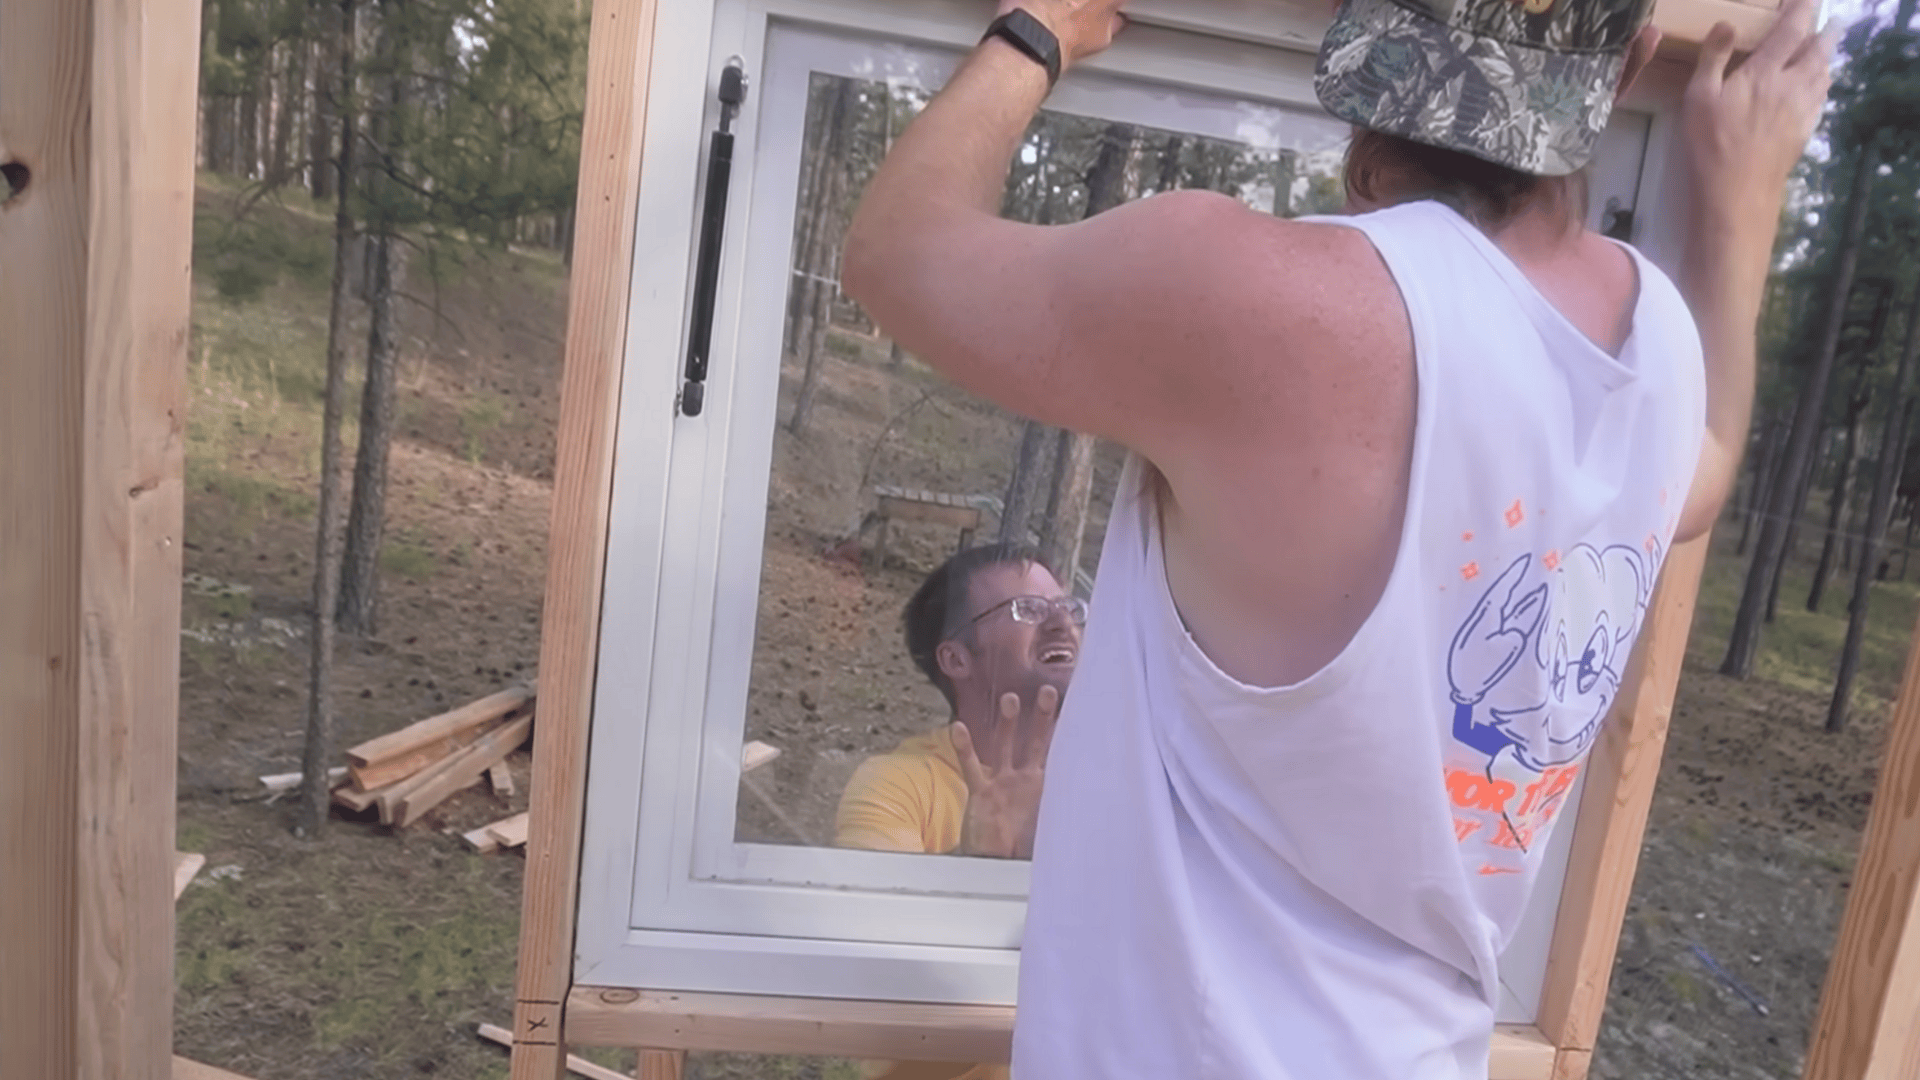
Pick a wall for your main window, usually one with a nice view, and frame the opening in that wall. Make sure the window is high enough that kids can’t easily fall through, but still low enough for them to enjoy looking out.
After you’re happy with the height, install the window frame and the window itself firmly so it stays secure during rough play and windy days.
Step 6: Frame the Roof and Front Door Wall

Place a center beam across the top of the walls to create good headroom, then cut roof rafters with the right angles and notches so they sit neatly on the beam and wall plates. Test a couple first, then add the rest until the roof frame feels complete.
At the same time, frame the last wall with the door opening, following your design, and use a temporary ladder so you can easily get in and out while you finish the build.
Step 7: Review the Build and Plan the Next Steps
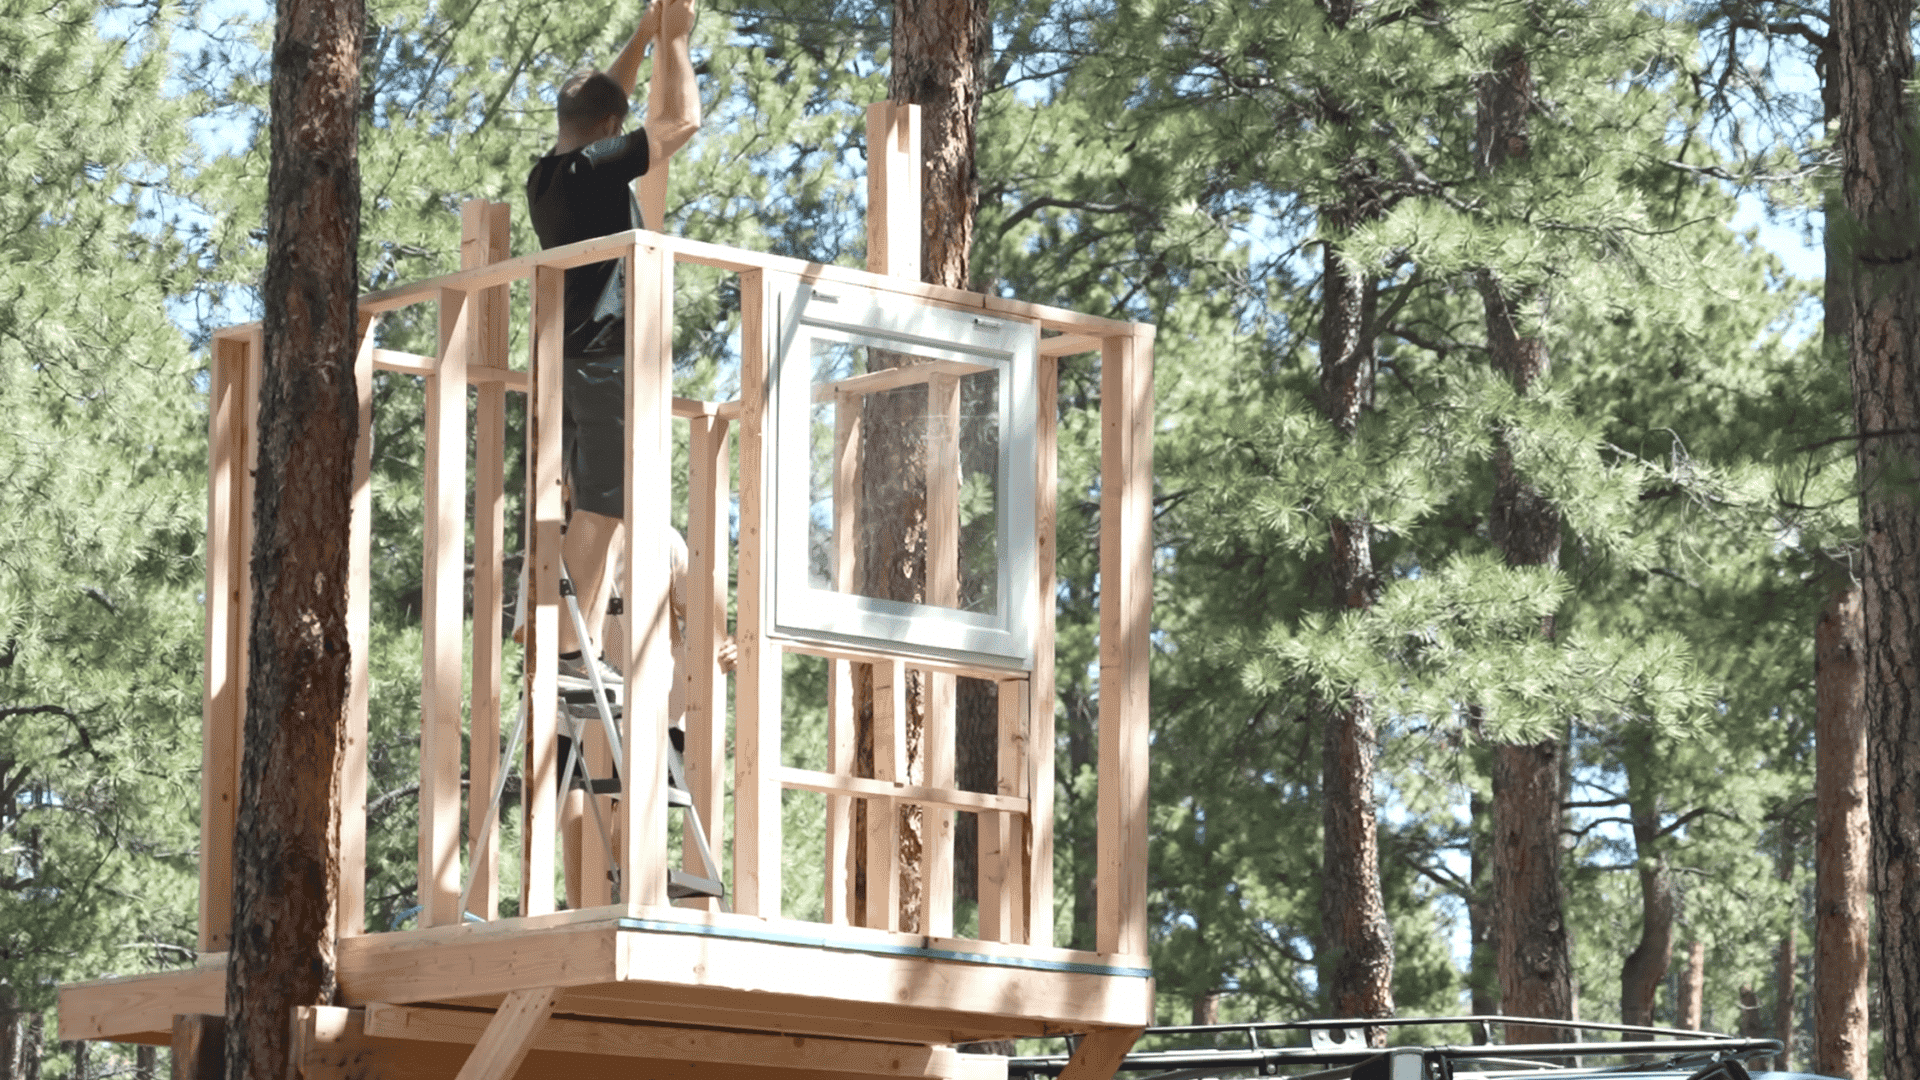
Stand inside the treehouse and see how the space feels, checking if the size works for sitting, gaming, or even sleeping. Figure out how many people it can hold and where the furniture or gaming gear will go.
Then plan your next stages, like adding roofing, siding, paint, interior walls, and decorations, and maybe finish with a fun overnight stay filled with snacks and video games.
Step 8: Close In the Treehouse

Turn the frame into an enclosed structure by installing the remaining wall panels and roof sheathing. Cut carefully around any braces or branches, leave a clear opening for the door, and make sure the walls and roof feel solid so the shell is complete.
Step 9: Gather Materials and Weatherproof the Exterior
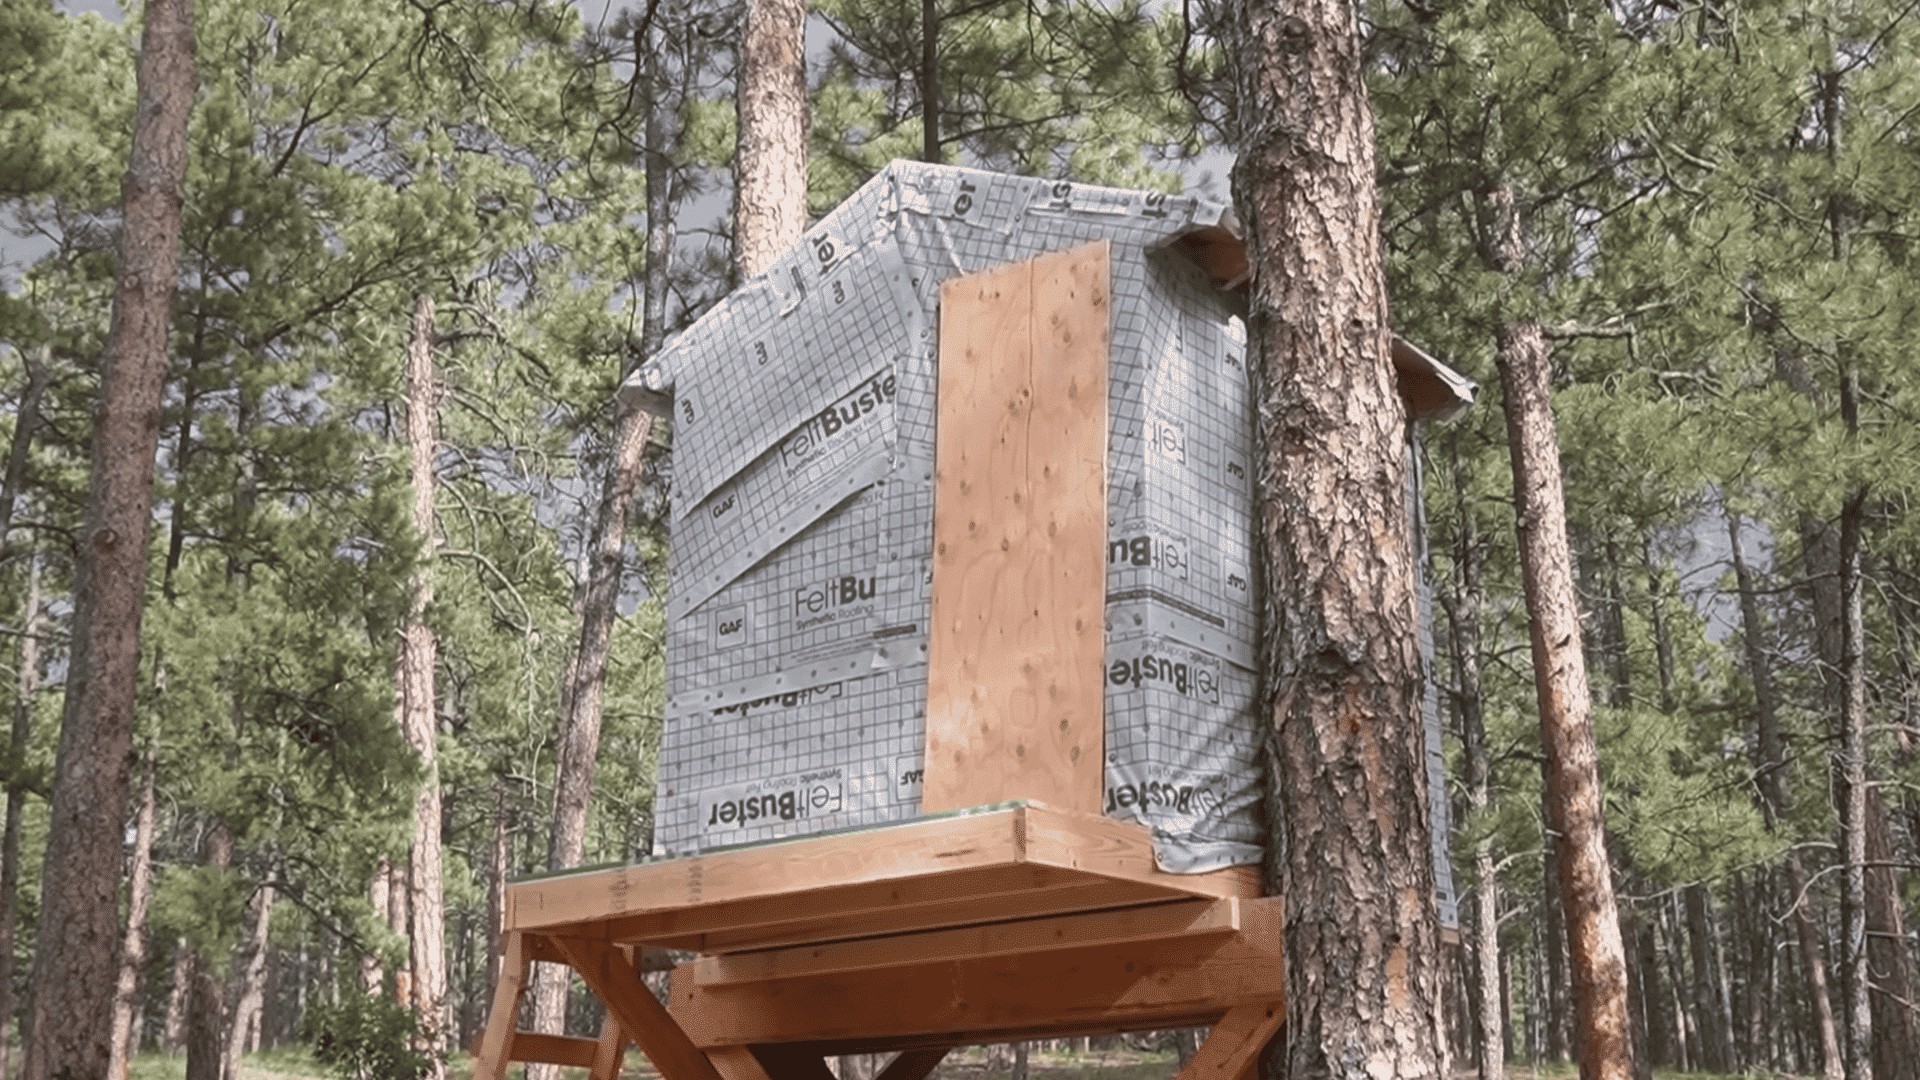
Use any downtime to pick up siding, roofing (such as metal panels), and other finishing supplies.
Once back on site, wrap the exterior with house wrap to protect against moisture and wind, preparing it for siding and final roofing.
Step 10: Add Siding, Railings, and Roofing
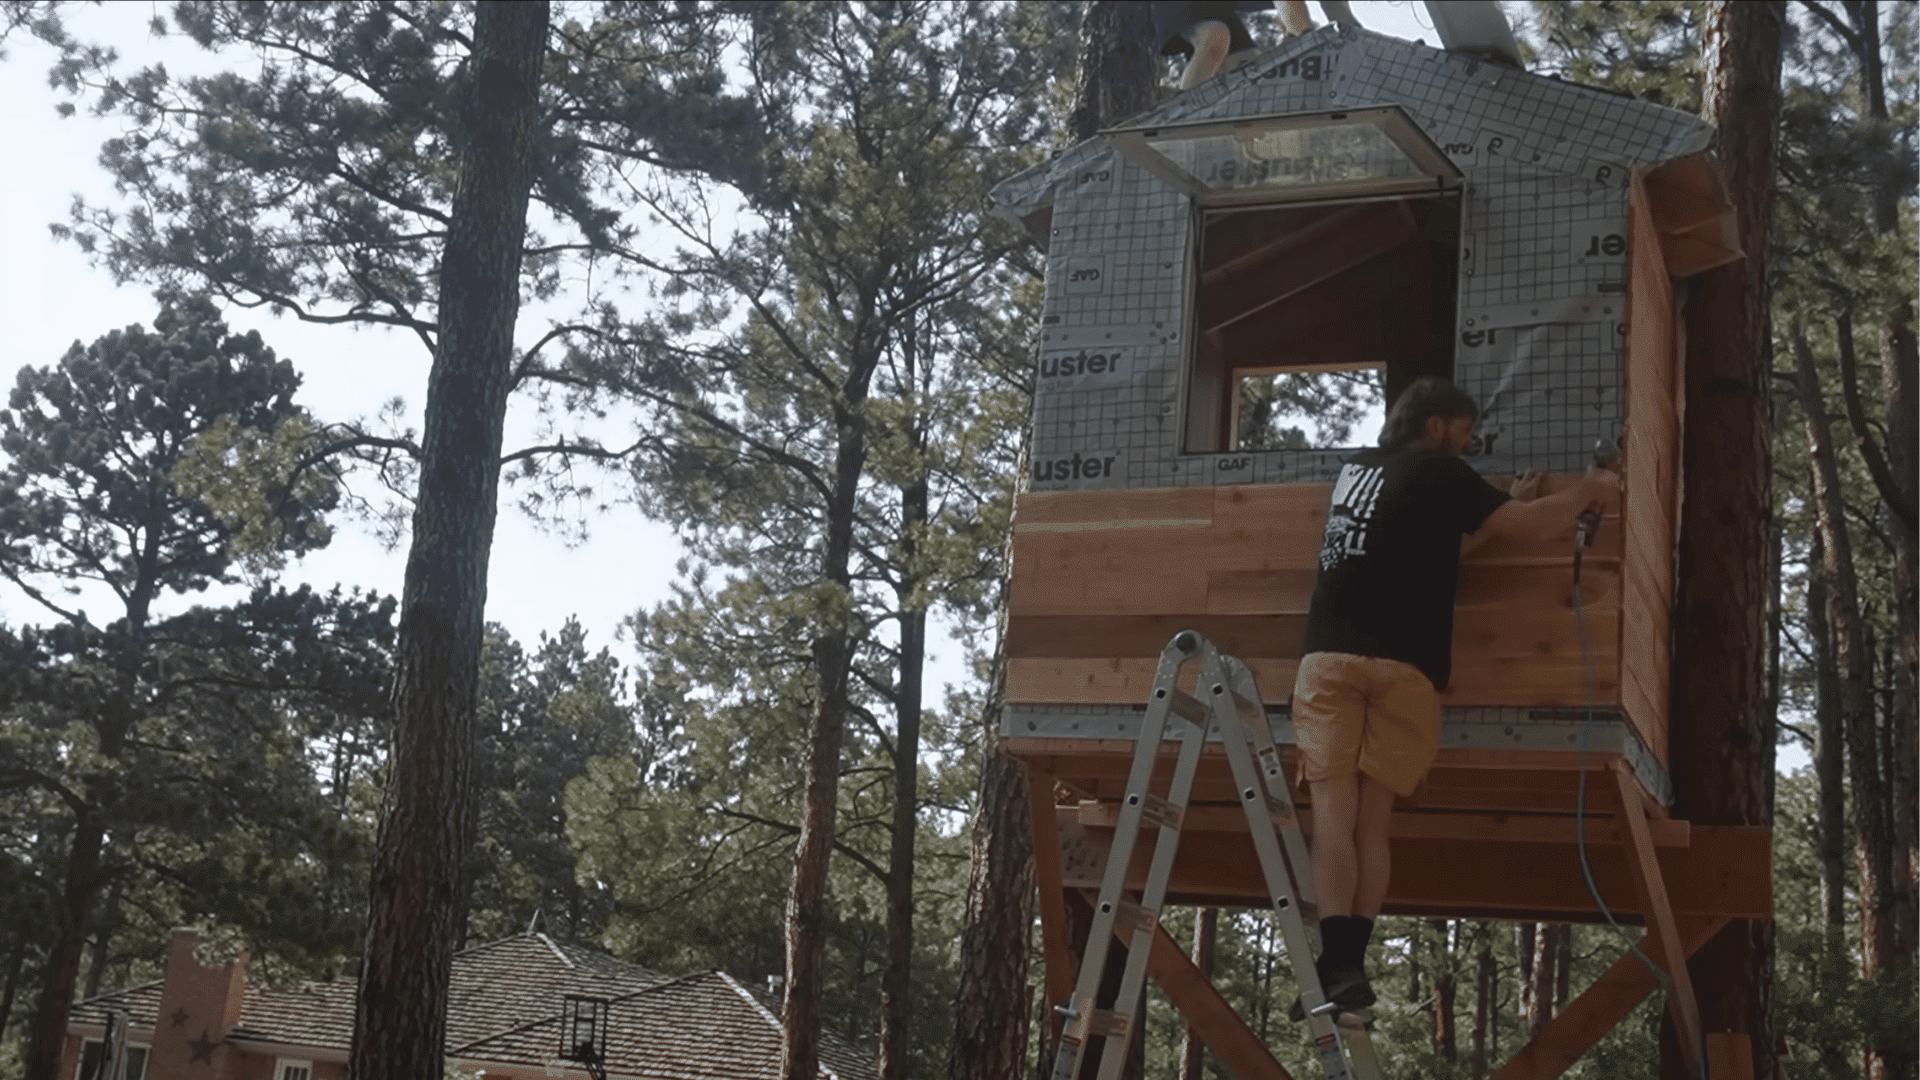
Install the siding all around the treehouse, keeping windows and the door opening clean and square.
Add railings anywhere there’s a fall risk, then finish the roof with your chosen material, using proper overlap and roofing screws with rubber washers to keep everything watertight.
Step 11: Hang the Door and Finish the Inside
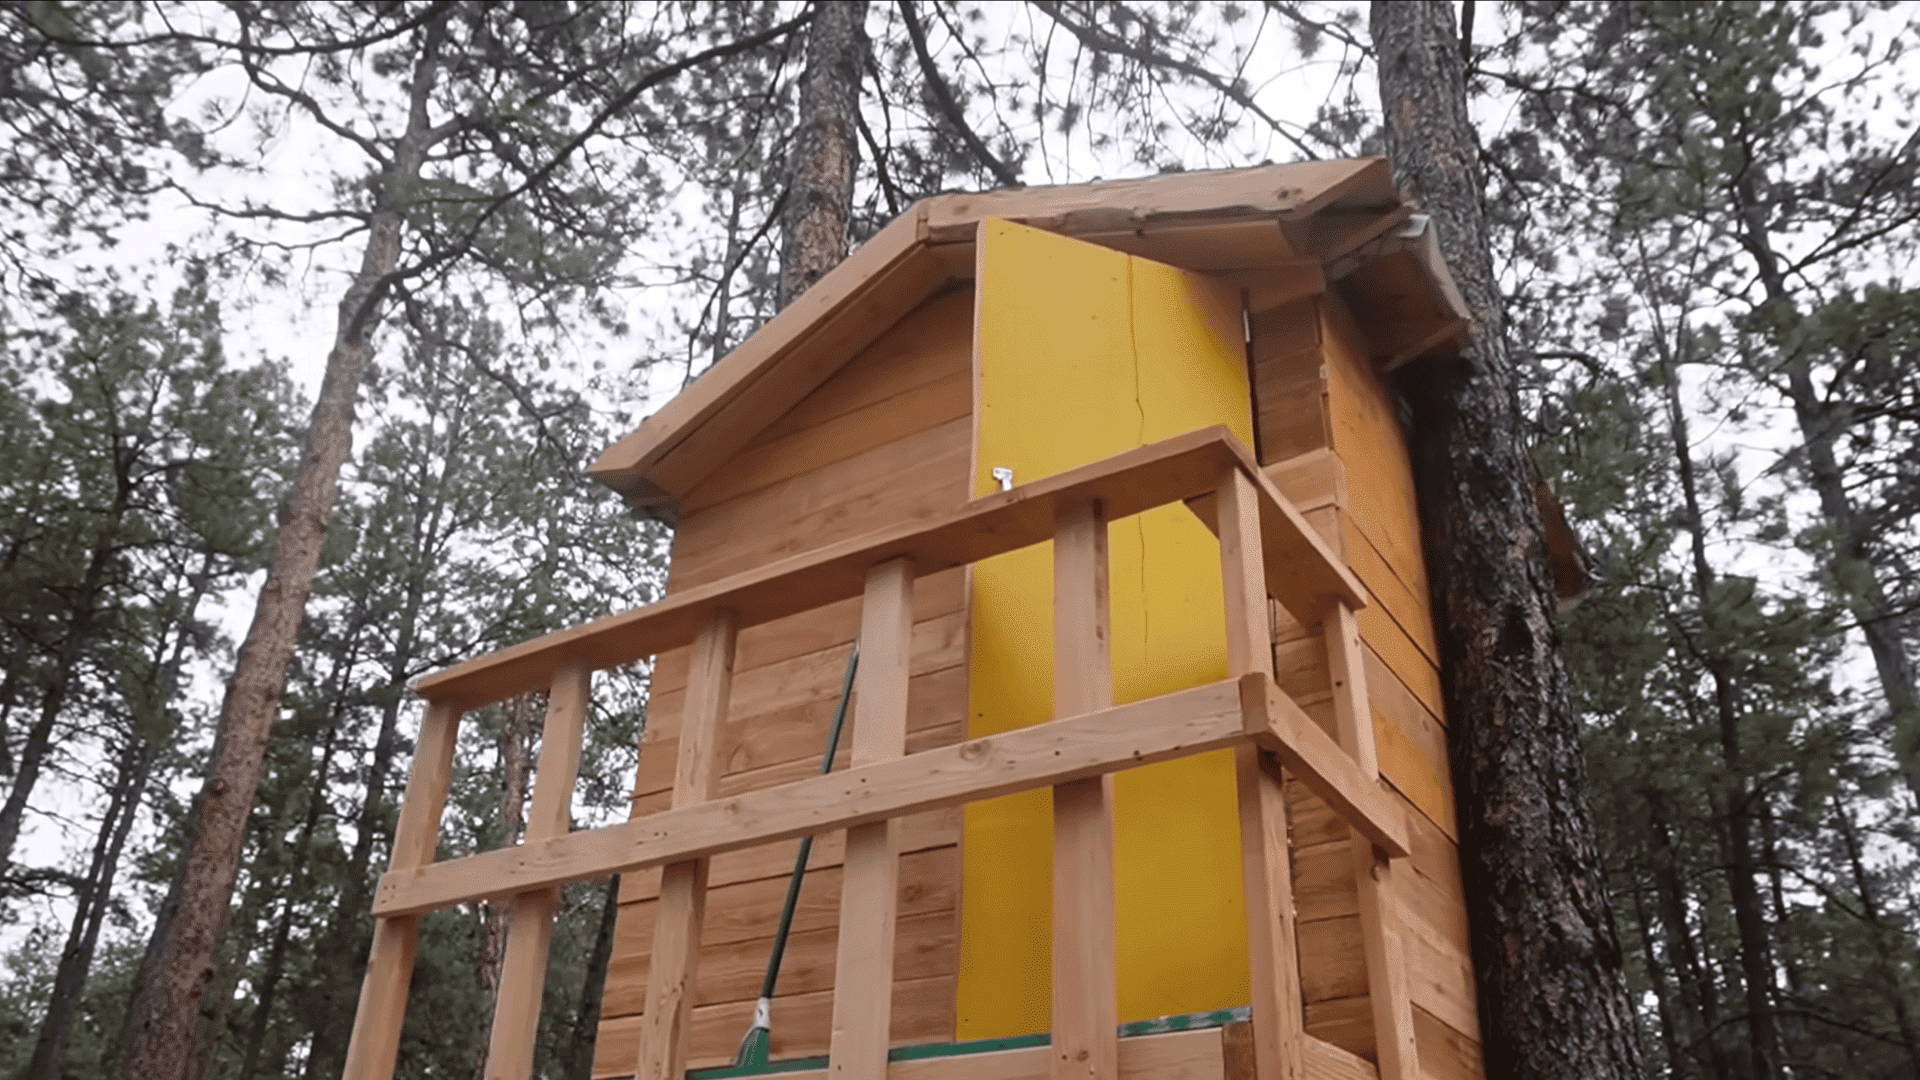
Fit and hang the door so it operates smoothly, then switch to comfort and style: paint the door, add shelves, lay carpet or a rug, and bring in the TV, console, and seating.
Do a final safety and comfort check once everything feels sturdy and cozy. The gaming treehouse is ready to use.
For a more detailed walkthrough of the build, check out the full video tutorials below:
Common Mistakes to Avoid
- Overloading a weak or sick tree: Pick a healthy, solid tree, get an arborist’s input if unsure, and share the load with multiple supports or ground posts.
- Nailing random boards directly into bark: Don’t scatter nails into the trunk; use a few planned, heavy-duty attachment points into solid wood instead.
- Not planning for tree growth and movement: Leave space around the trunk and use floating brackets or slotted holes so the treehouse can move as the tree grows and sways.
- No railings or unsafe ladder design: Add sturdy railings with small gaps and a solid ladder that extends above the platform for safe access.
- Ignoring water drainage and rot: Build a sloped roof, seal exposed wood, and keep surfaces clear so water doesn’t pool and cause rot.
Small design and safety oversights like overloading a weak tree, skipping railings, or ignoring movement and drainage can turn a fun build into a hazard, so it pays to fix them on paper before you build.
Treehouse Design Ideas
From high-tech gaming hubs to adventure forts, you can shape your treehouse to match your kid’s personality (and your backyard) with a few smart design choices.
1. Gaming HQ Treehouse
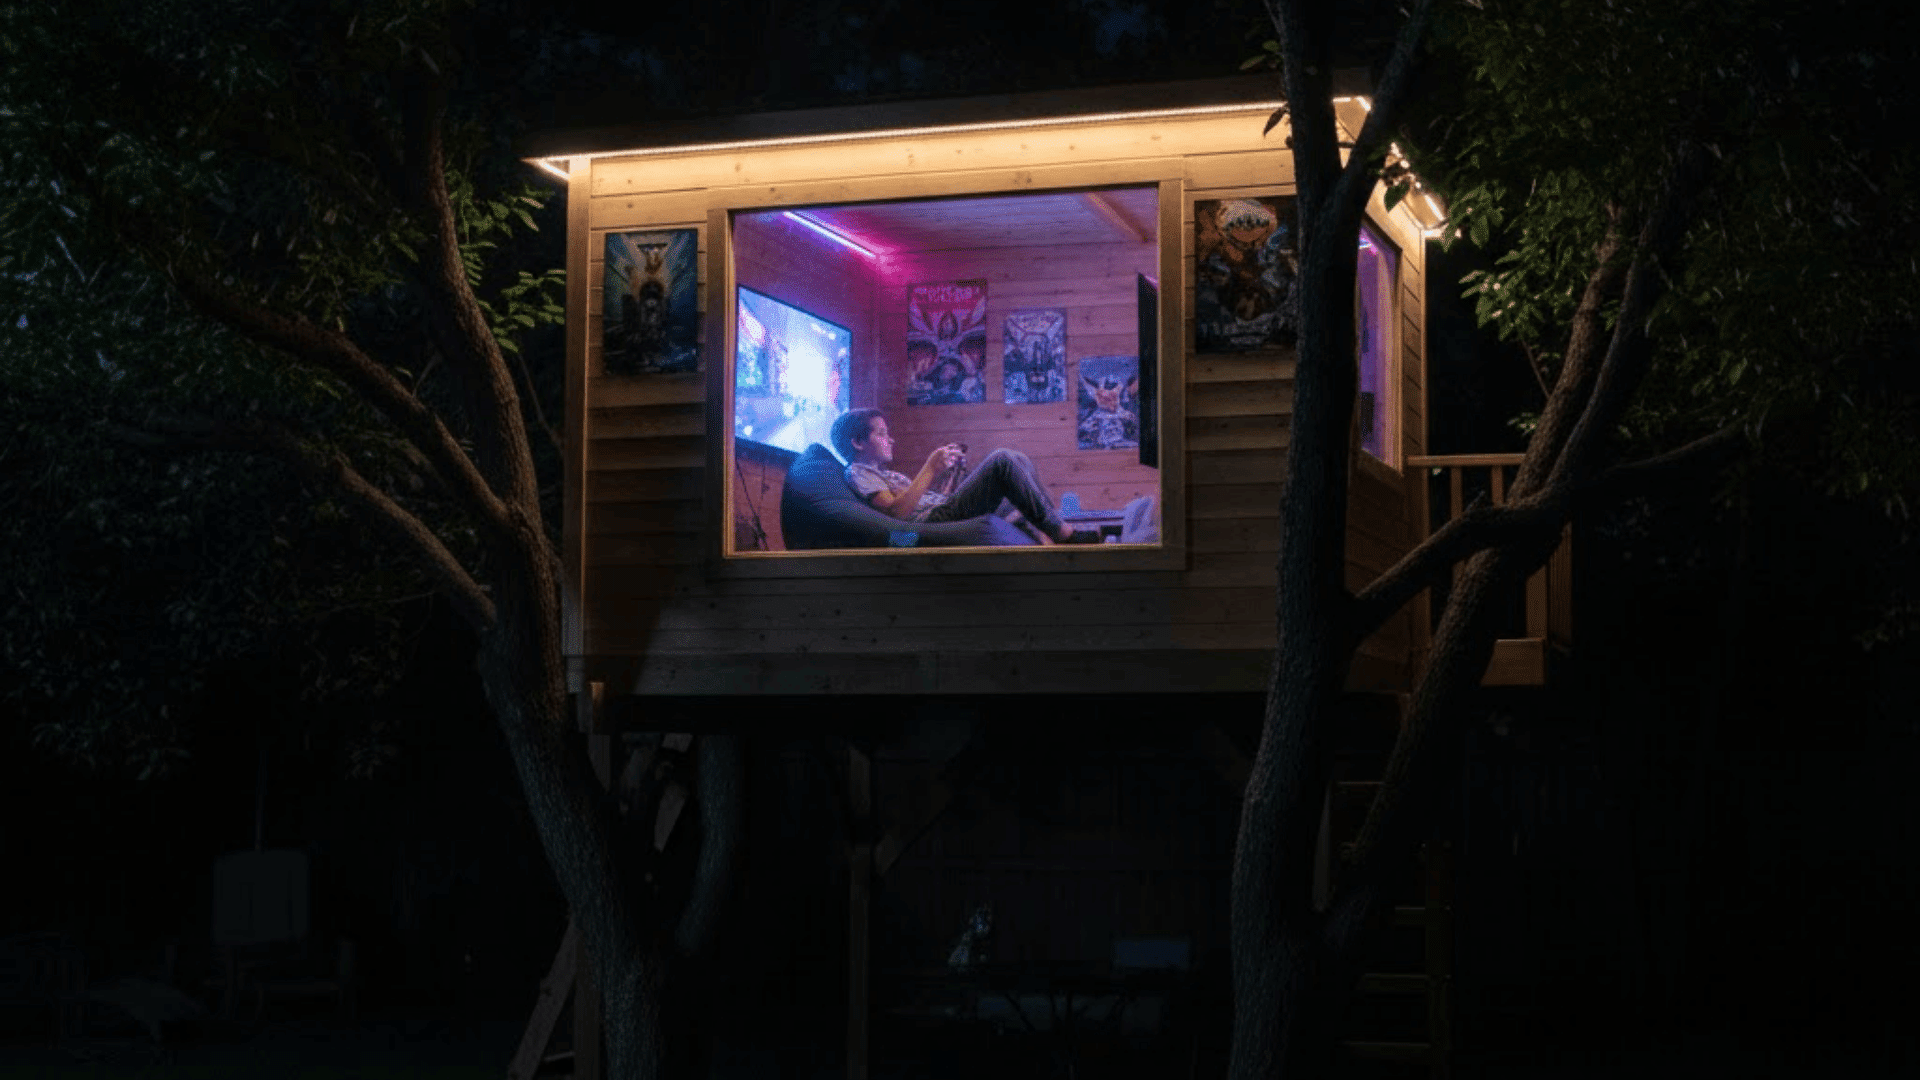
Turn one wall into a gaming zone with a wall-mounted TV or projector and a console shelf with hidden cables.
Add LED strip lights around the ceiling, swap chairs for bean bags or floor cushions, and use a dark interior with neon accents and game posters for a true in-the-trees gaming lounge.
2. Cozy Reading Nook in the Trees
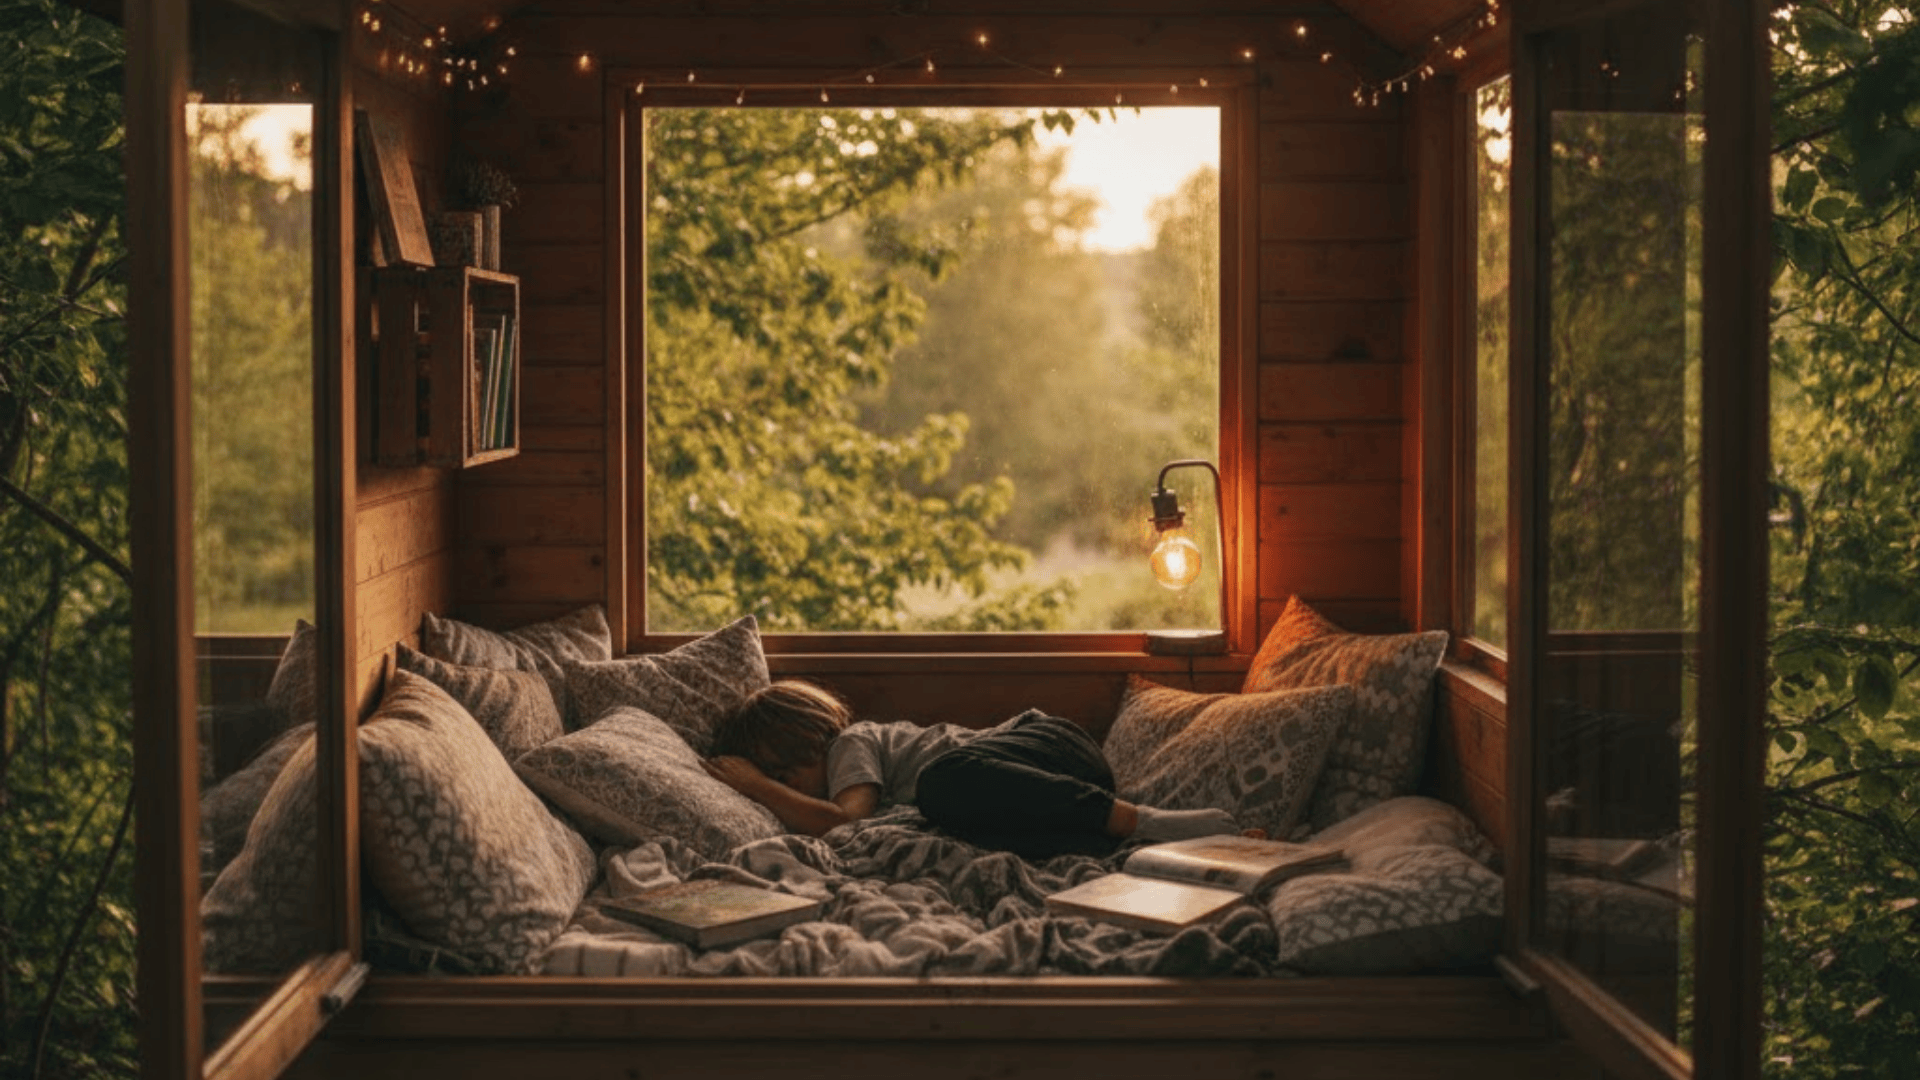
Build a bench along one wall with cushions and storage underneath, then add warm string lights and a small reading lamp.
Use crate-style bookshelves, a soft rug, blankets, and pillows, plus a big window or window seat so you can read with a view over the yard or forest.
3. Jungle / Adventure Hideout
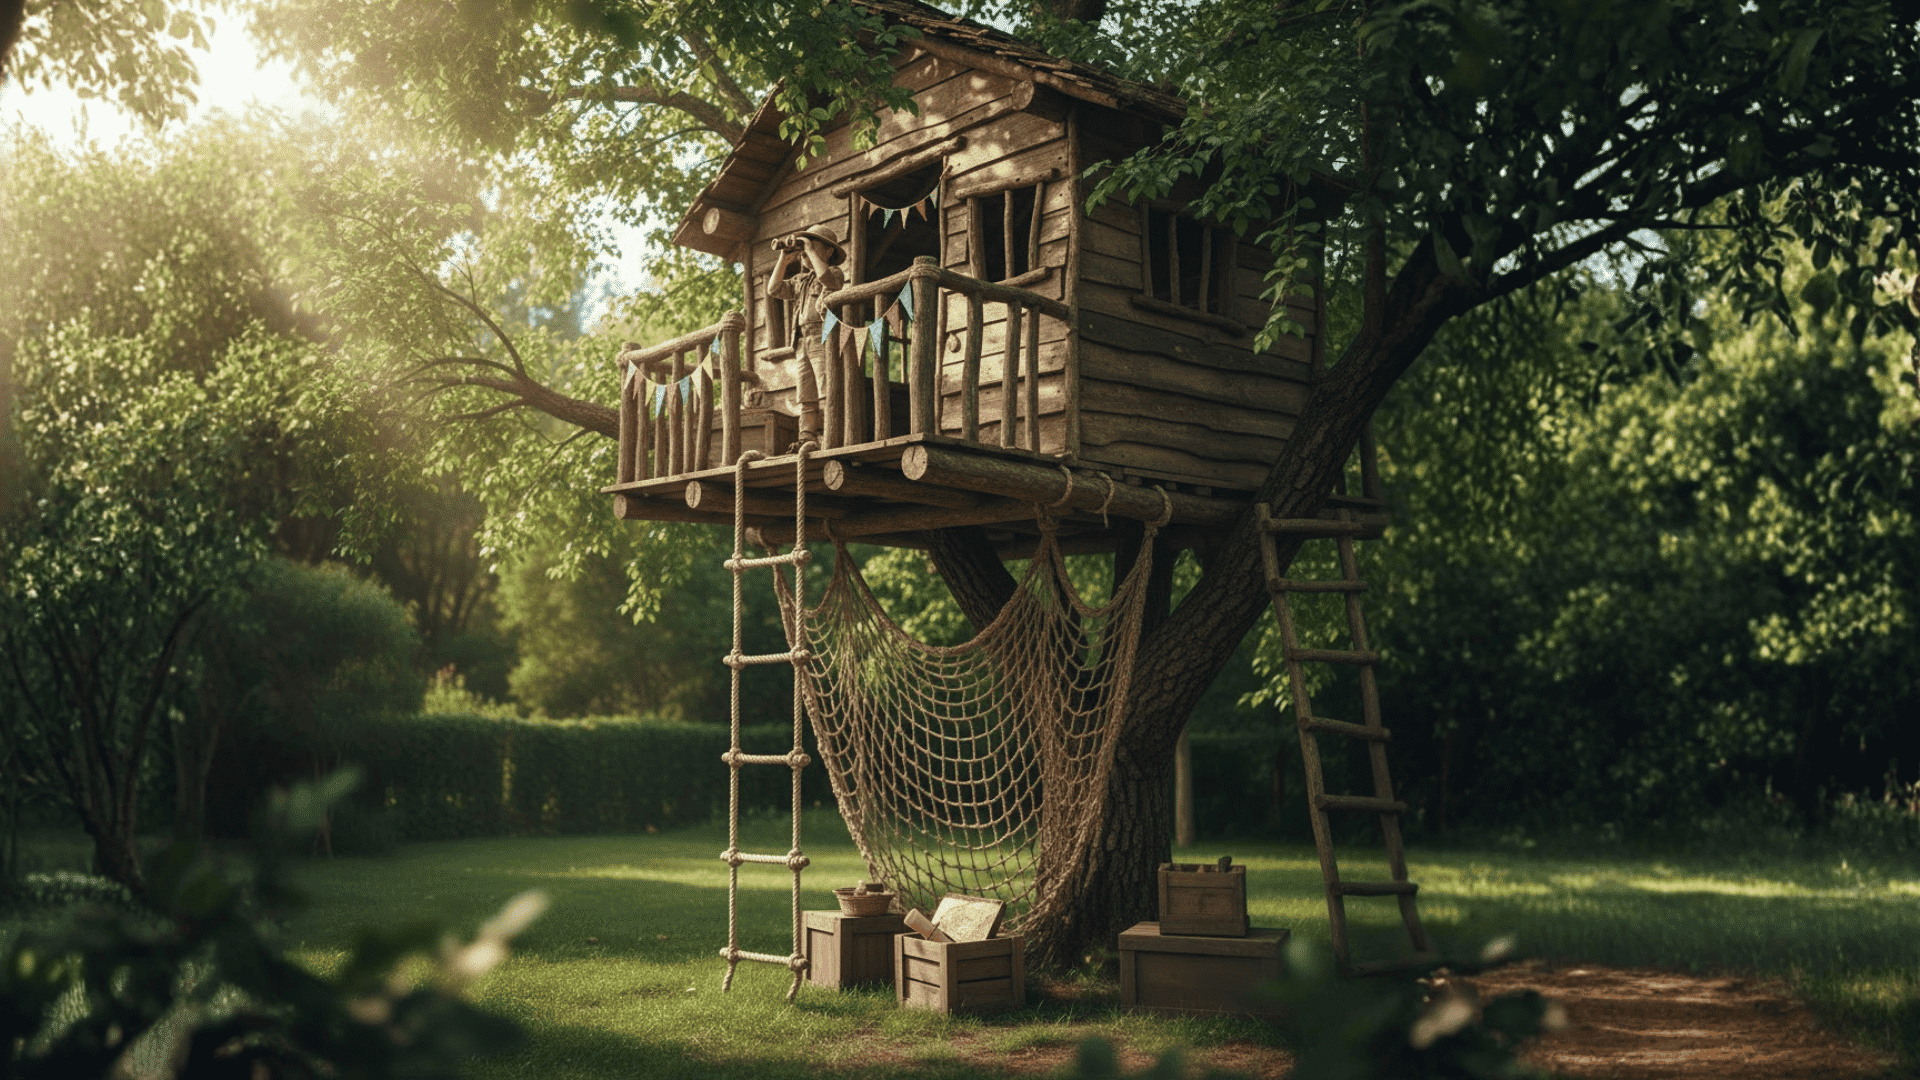
Use a rope ladder or cargo net for access, and keep the exterior rustic with stained wood.
Decorate with flags, maps, and “expedition” props like binoculars and crates, add a small balcony as a lookout deck, and use camo fabric or bamboo panels so it feels like a hidden jungle base.
4. Sleepover Loft Treehouse
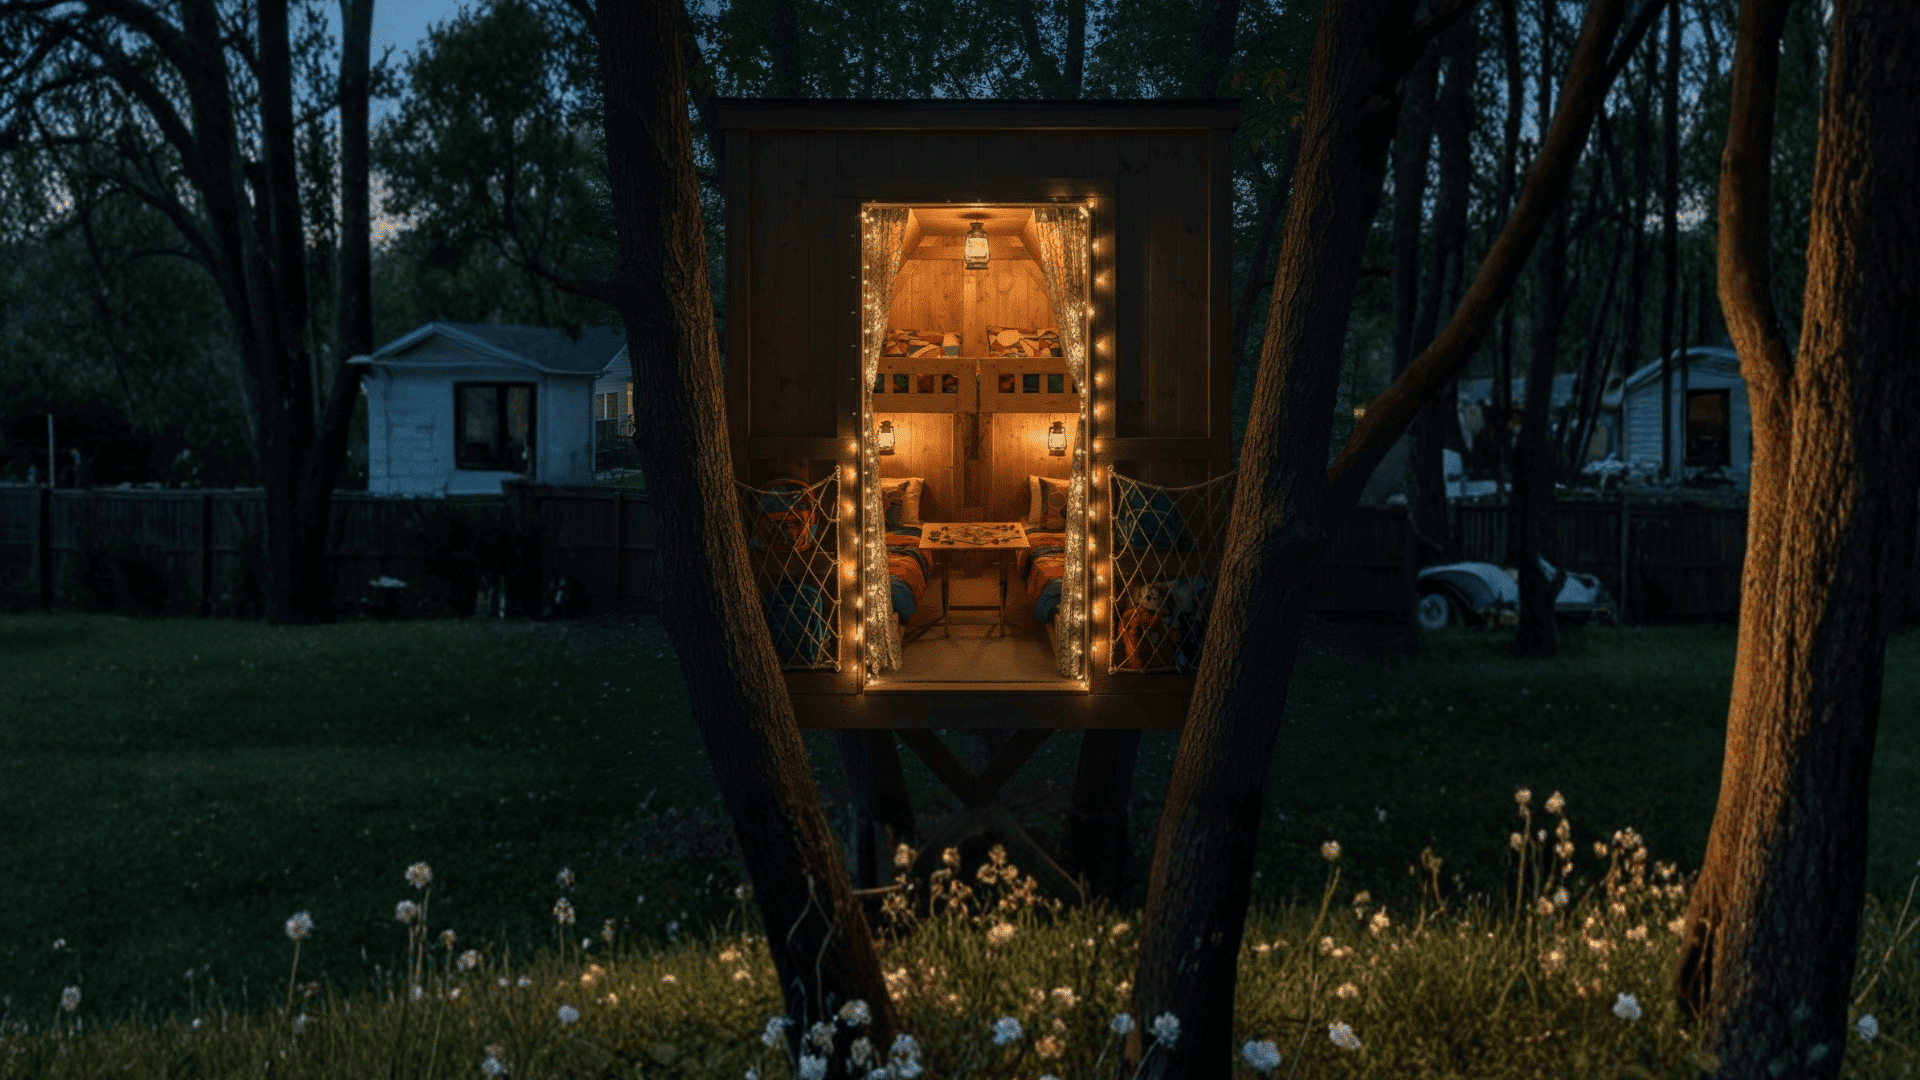
A Sleepover Loft treehouse is all about overnight fun, with two sleep platforms or a raised loft bed for cozy tree “camping.”
Add a fold-out table for board games, hooks for lanterns, and storage nets for bags, blackout curtains for movie nights, and plenty of cubbies for blankets, snacks, and flashlights so everything’s within reach.
Styling Tips for Your Treehouse
- Use bold exterior colors: Paint the outside with a simple palette (one main color plus trim and an accent) and add a fun sign above the door to give it personality.
- Layer in cozy lighting: Add battery-powered fairy lights, LED strips, or a lantern-style light to make the space feel magical and safe for evenings.
- Plan a smart interior layout: Keep one wall for the TV/console, use bean bags or cushions for flexible seating, and include a small shelf or crate for snacks and controllers.
- Add themed decor: Use posters, stickers, a rug, and maybe a chalkboard/whiteboard for scores and drawings to reinforce your chosen theme
- Let kids personalize it: Give kids one wall, the inside of the door, or specific spots to decorate with their own art, doodles, or logos so the treehouse truly feels like theirs.
Thoughtful styling theme, color, lighting, layout, and kid-made details can easily turn a simple treehouse into a unique, cozy hangout everyone loves spending time in.
Conclusion
When you step back, you can see that building a treehouse is really about creating a special little world above the grass. It’s a place for your kids to laugh, play, and feel brave, and a place where you can slow down and enjoy the view with them.
You now have a clear idea of what needs to happen and how each part fits together. If you feel that spark of excitement, don’t let it fade.
Grab a notebook, sketch a simple plan, walk out to the tree that could hold it all, and start turning that empty space into a real treehouse!