



Noise from the hallway, TV, traffic, or a busy home can make a quiet room feel anything but quiet. A thin door and small gaps around the frame can let more sound through than you might expect.
I’ve found that the biggest improvements often come from simple fixes rather than expensive equipment.
Learning how to soundproof a door starts with finding those weak spots and sealing them properly. From door sweeps and weatherstripping to renter-friendly options, there are several ways to cut down unwanted noise.
The right approach depends on your door, the gaps around it, and how much noise you need to reduce.
Why Do Doors Leak Sound?
Many interior doors have lightweight or hollow-core construction, which provides less sound isolation than a heavier solid-core door. Gaps around the door can make the problem worse by giving sound an easy path through the doorway.
Sound can travel through the air and through solid materials like the door as vibrations, so both the door itself and its seal affect how much noise gets through.
Hollow-core doors are less effective at blocking sound because they have less mass than solid-core doors.
Even small gaps around the sides, top, or bottom can allow noticeable noise through. That is why sealing these openings is one of the most important first steps when soundproofing a door.
How to Soundproof a Door: Step-by-Step
Learn how to soundproof a door by sealing gaps, adding a door sweep, and improving insulation around the frame to cut down noise in a simple, effective way.
Tools and Materials
You don’t need many specialized tools to soundproof a door. Most of the work involves measuring, cutting, cleaning, and installing seals around the door.
| Tool or Material | Purpose |
|---|---|
| Door Sweep | Seals the gap beneath the door to reduce sound leakage |
| Screwdriver or drill | Installs screw-on door sweeps |
| Foam or Rubber Weatherstripping | Seals gaps between the door and frame |
| Mild Cleaner | Cleans the frame before applying adhesive weatherstripping |
| Heavy Curtain (Optional) | Adds another layer that can provide modest noise reduction |
| Measuring Tape | Measures the door, frame, and gaps |
| Marker or Pencil | Marks measurements and cutting points |
| Scissors or Utility Knife | Cuts weatherstripping and other materials to size |
| Paper Strip | Checks whether the door seal has enough compression |
| Decibel Meter (Optional) | Compares sound levels before and after the work |
These tools and materials cover the basic soundproofing work. Start by measuring the gaps, then clean the surfaces before installing the seals so everything fits properly and stays in place.
Step 1: Identify Where Sound Leaks Are Coming From

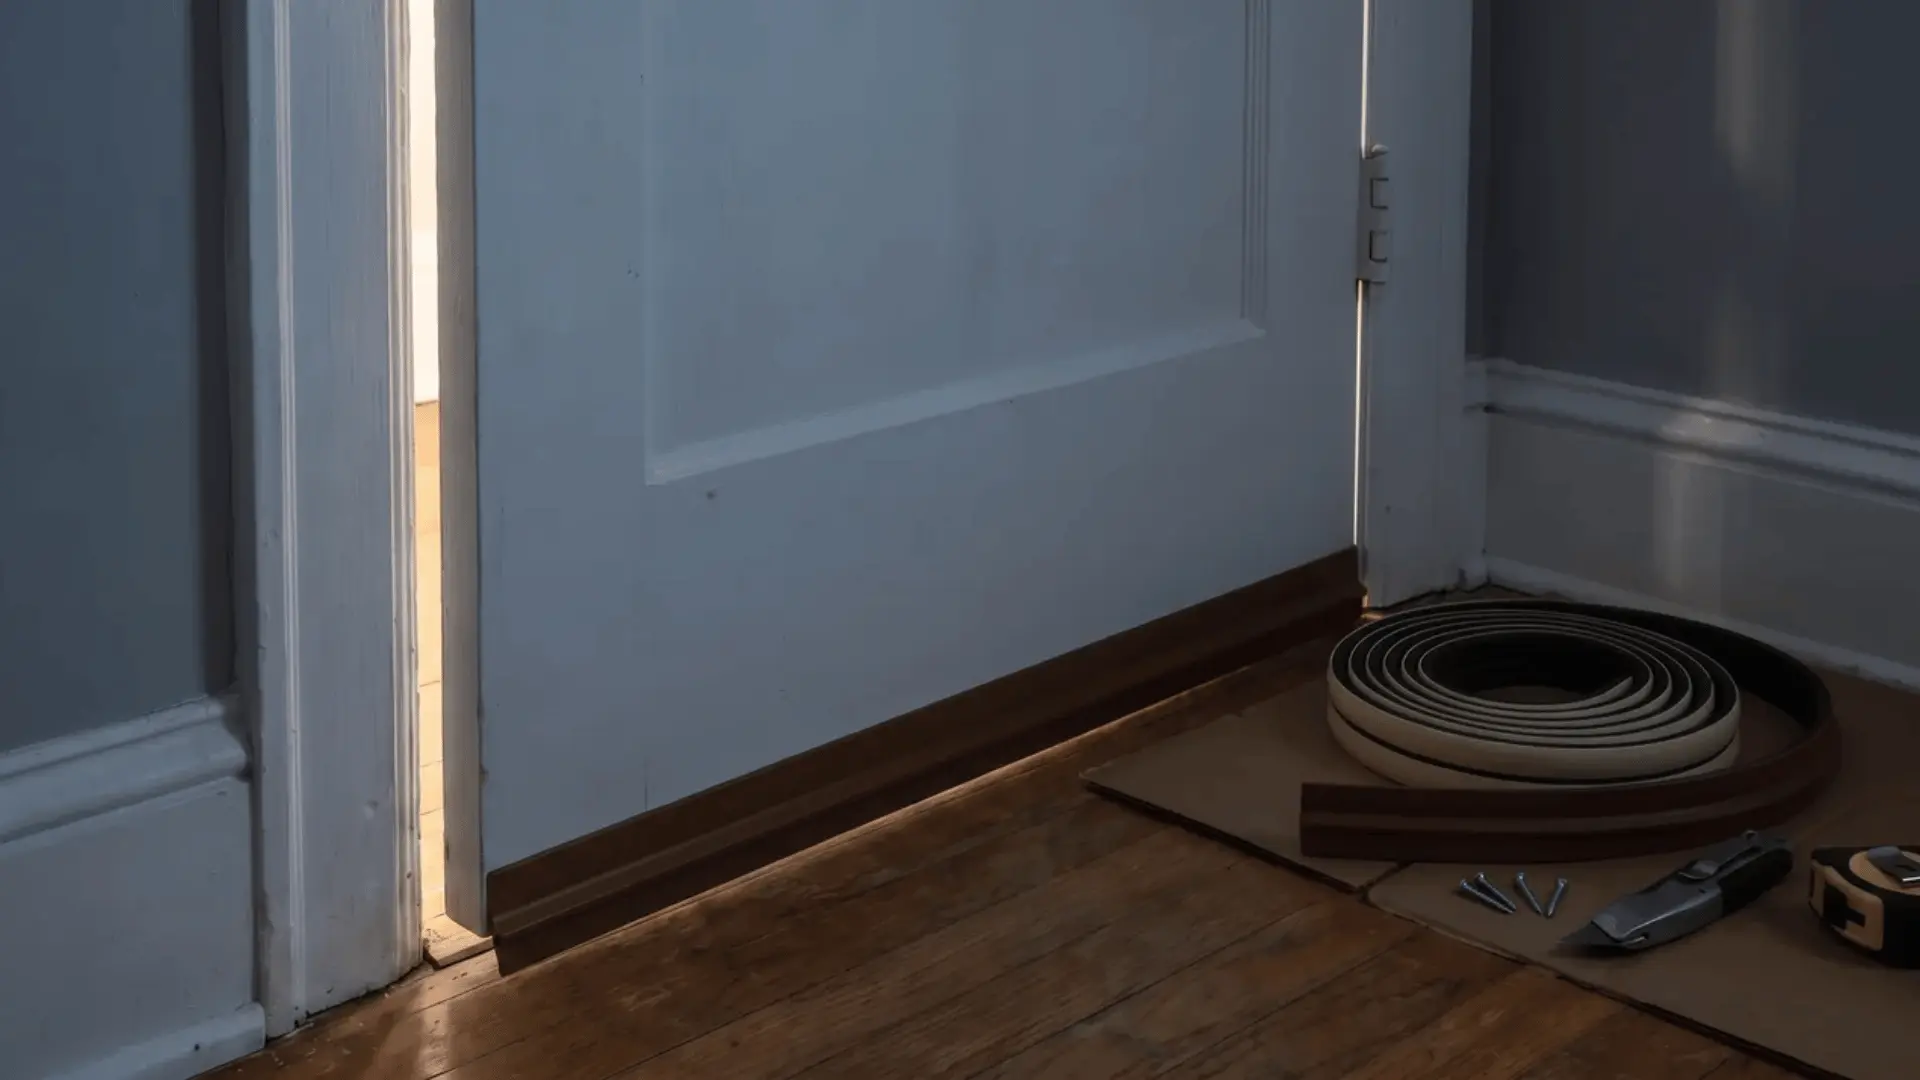
Start by checking the door for gaps. Turn off the lights inside the room and look for light coming through the edges, bottom, and frame. Any visible light usually means air leakage, which also means sound leakage.
Focus on the bottom gap first, then the sides, and finally the top. It helps decide where sealing is needed before buying or installing anything. No tools are required, but a flashlight can help in darker conditions.
Step 2: Install the Door Sweep at the Bottom Gap
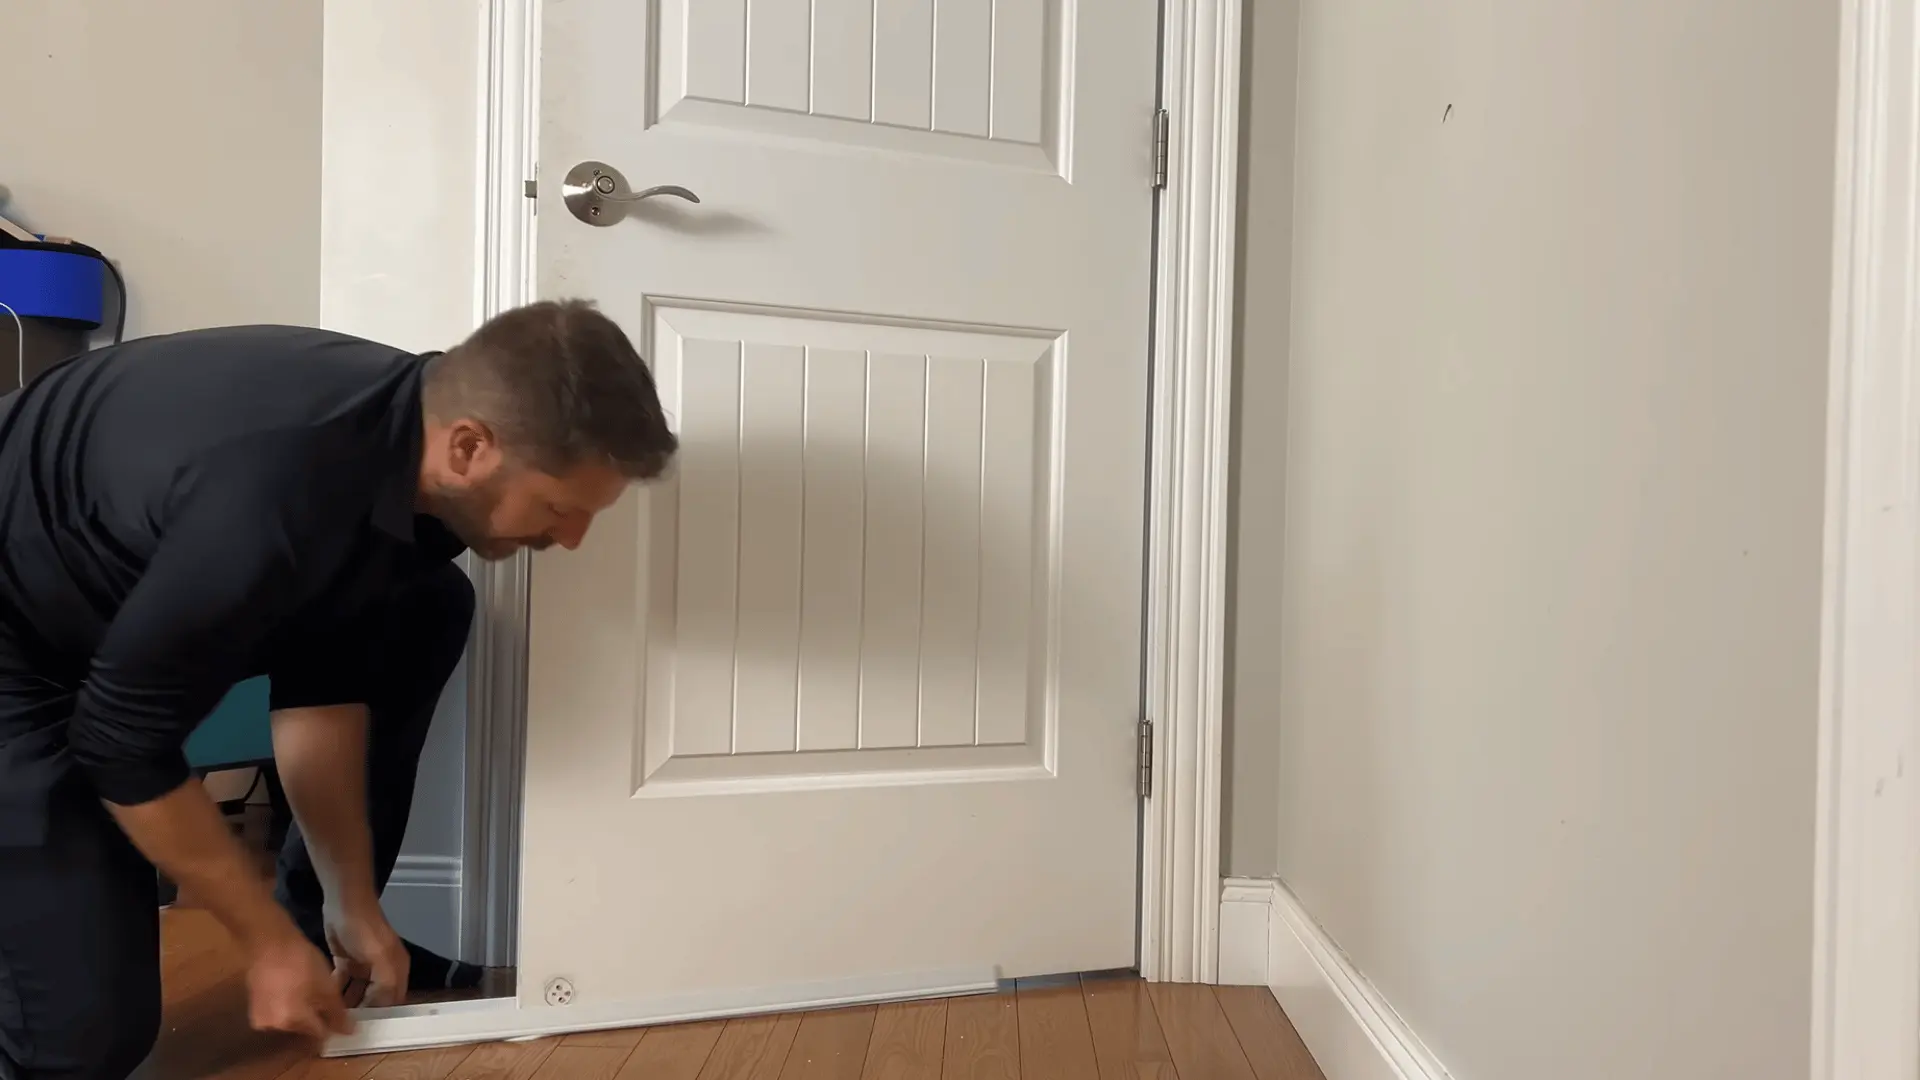
Measure the width of the door using a measuring tape and mark the door sweep size with a marker. Cut it to fit using scissors or a utility knife. Attach it to the bottom edge of the door using screws or adhesive, depending on the type.
A screwdriver or drill is used for screw-on versions. It focuses on the biggest sound leak in most doors, often leading to an immediate reduction in noise.
Step 3: Clean the Door Frame Before Sealing
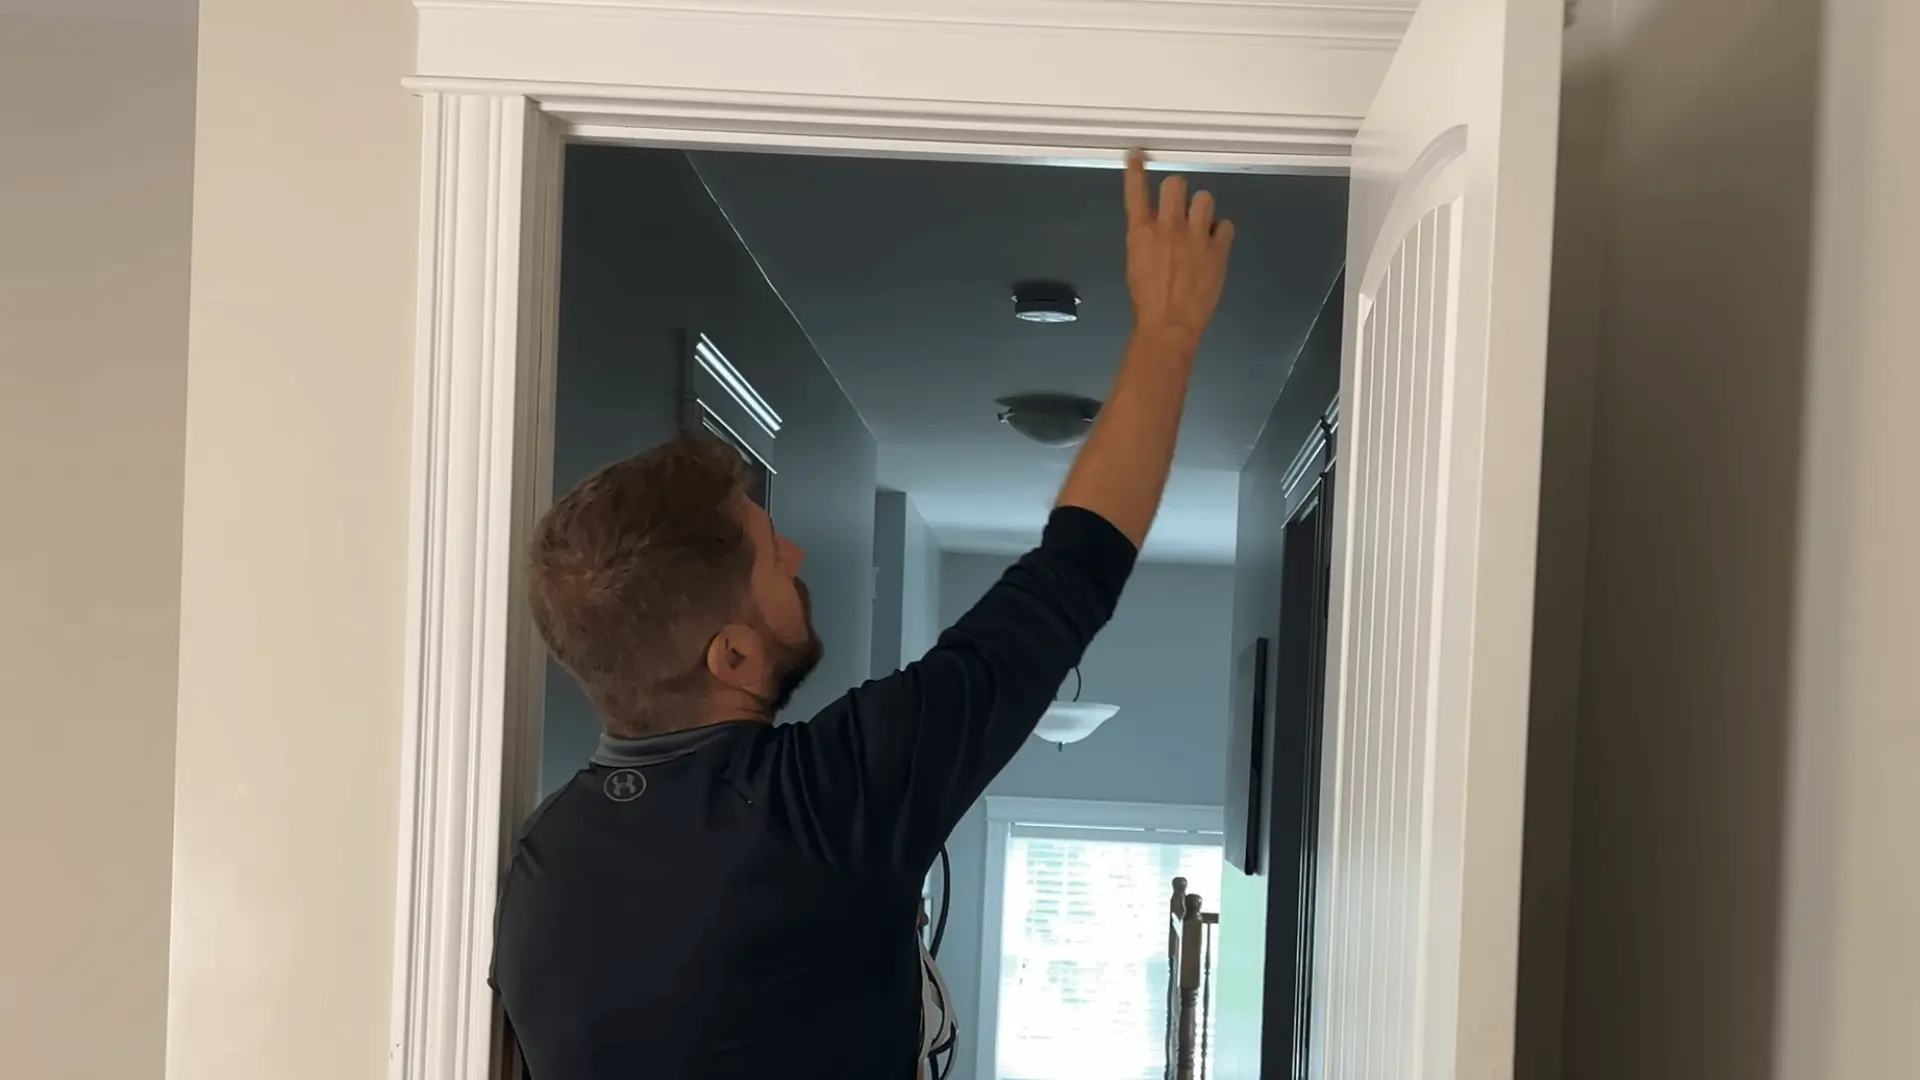
Wipe down the door jambs and top frame using a cleaning cloth and alcohol or mild cleaner. Dust and oil prevent weatherstripping from sticking properly.
Let the surface dry completely before moving forward. This is important because poor adhesion reduces the effectiveness of the seal and causes it to peel off over time.
Step 4: Apply Weatherstripping Around the Frame
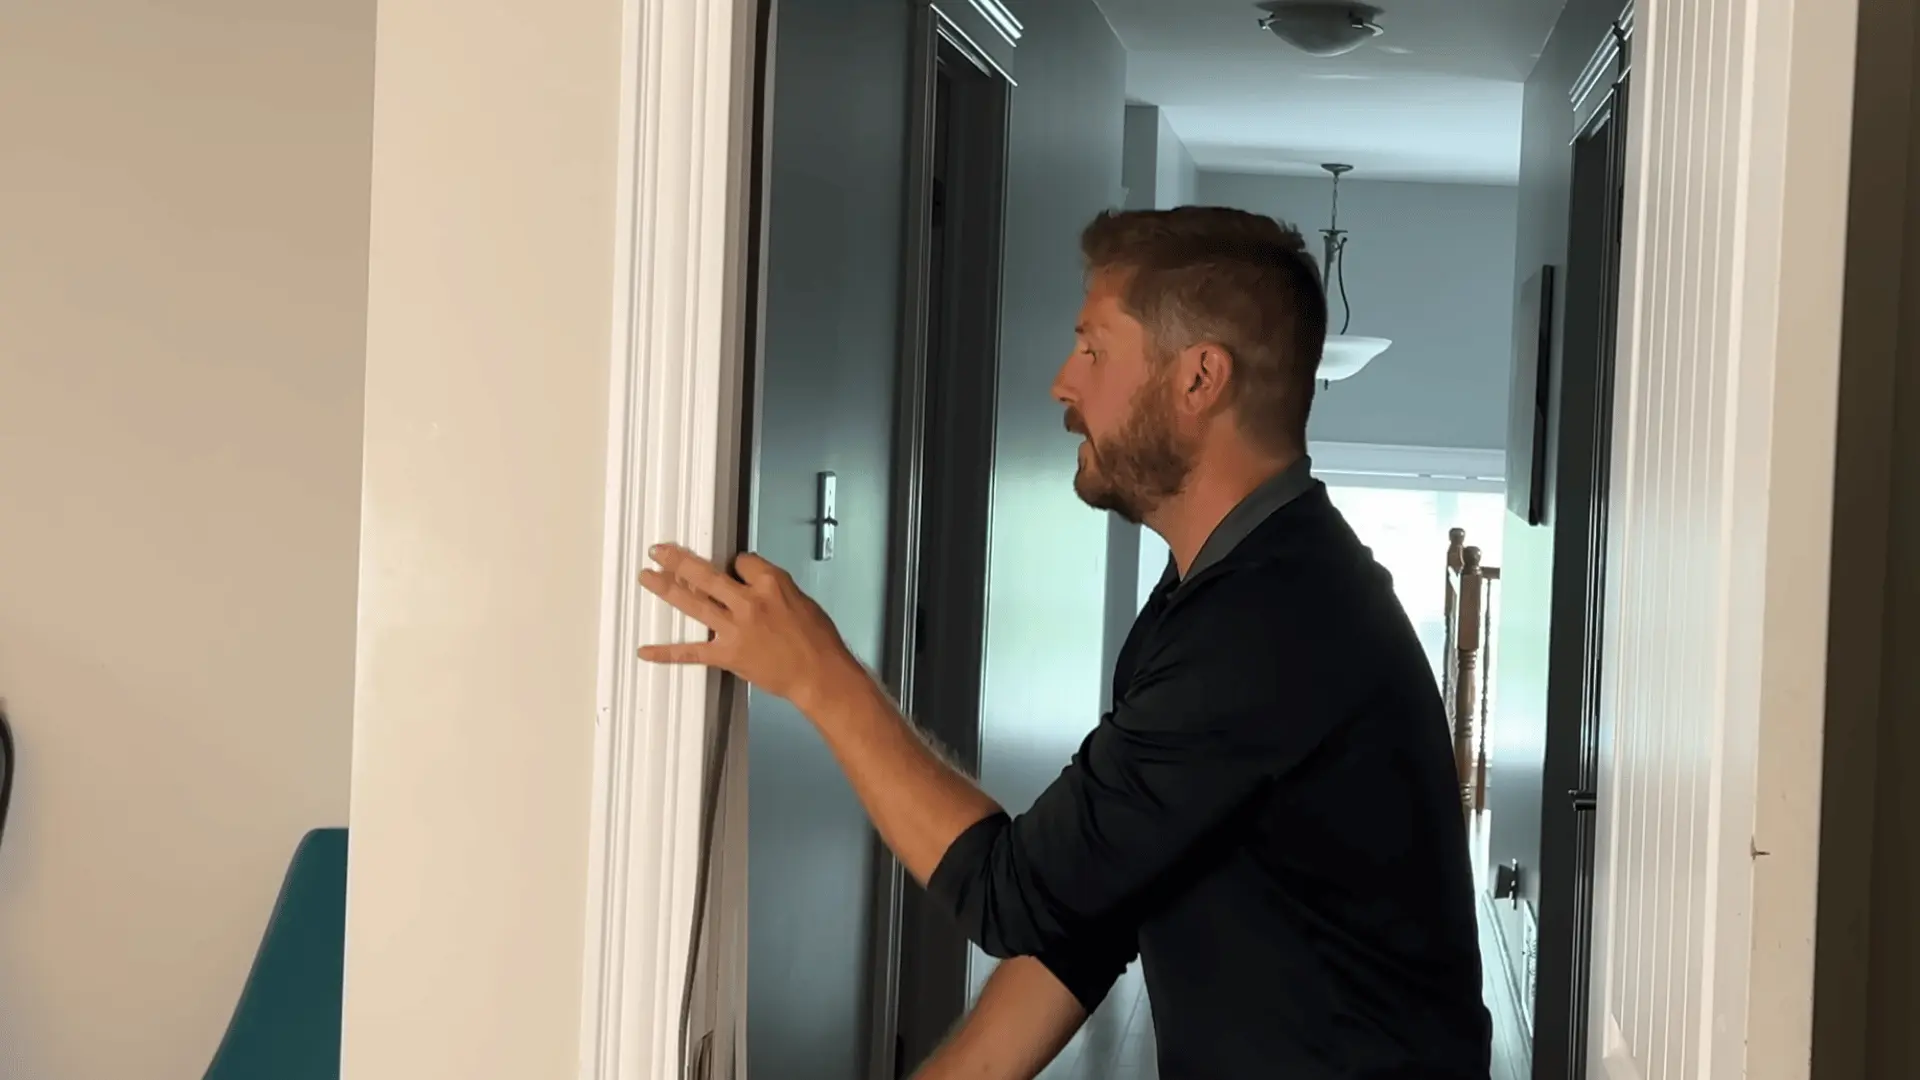
Stick foam or rubber weatherstripping along both sides of the frame and across the top edge. Cut strips to size using scissors. Close the door slowly while applying pressure to ensure proper placement.
The strip should compress when the door shuts, creating an airtight seal. If needed, use a marker to adjust alignment. This blocks air gaps that allow most sound leakage.
Step 5: Test the Seal and Adjust Weak Points
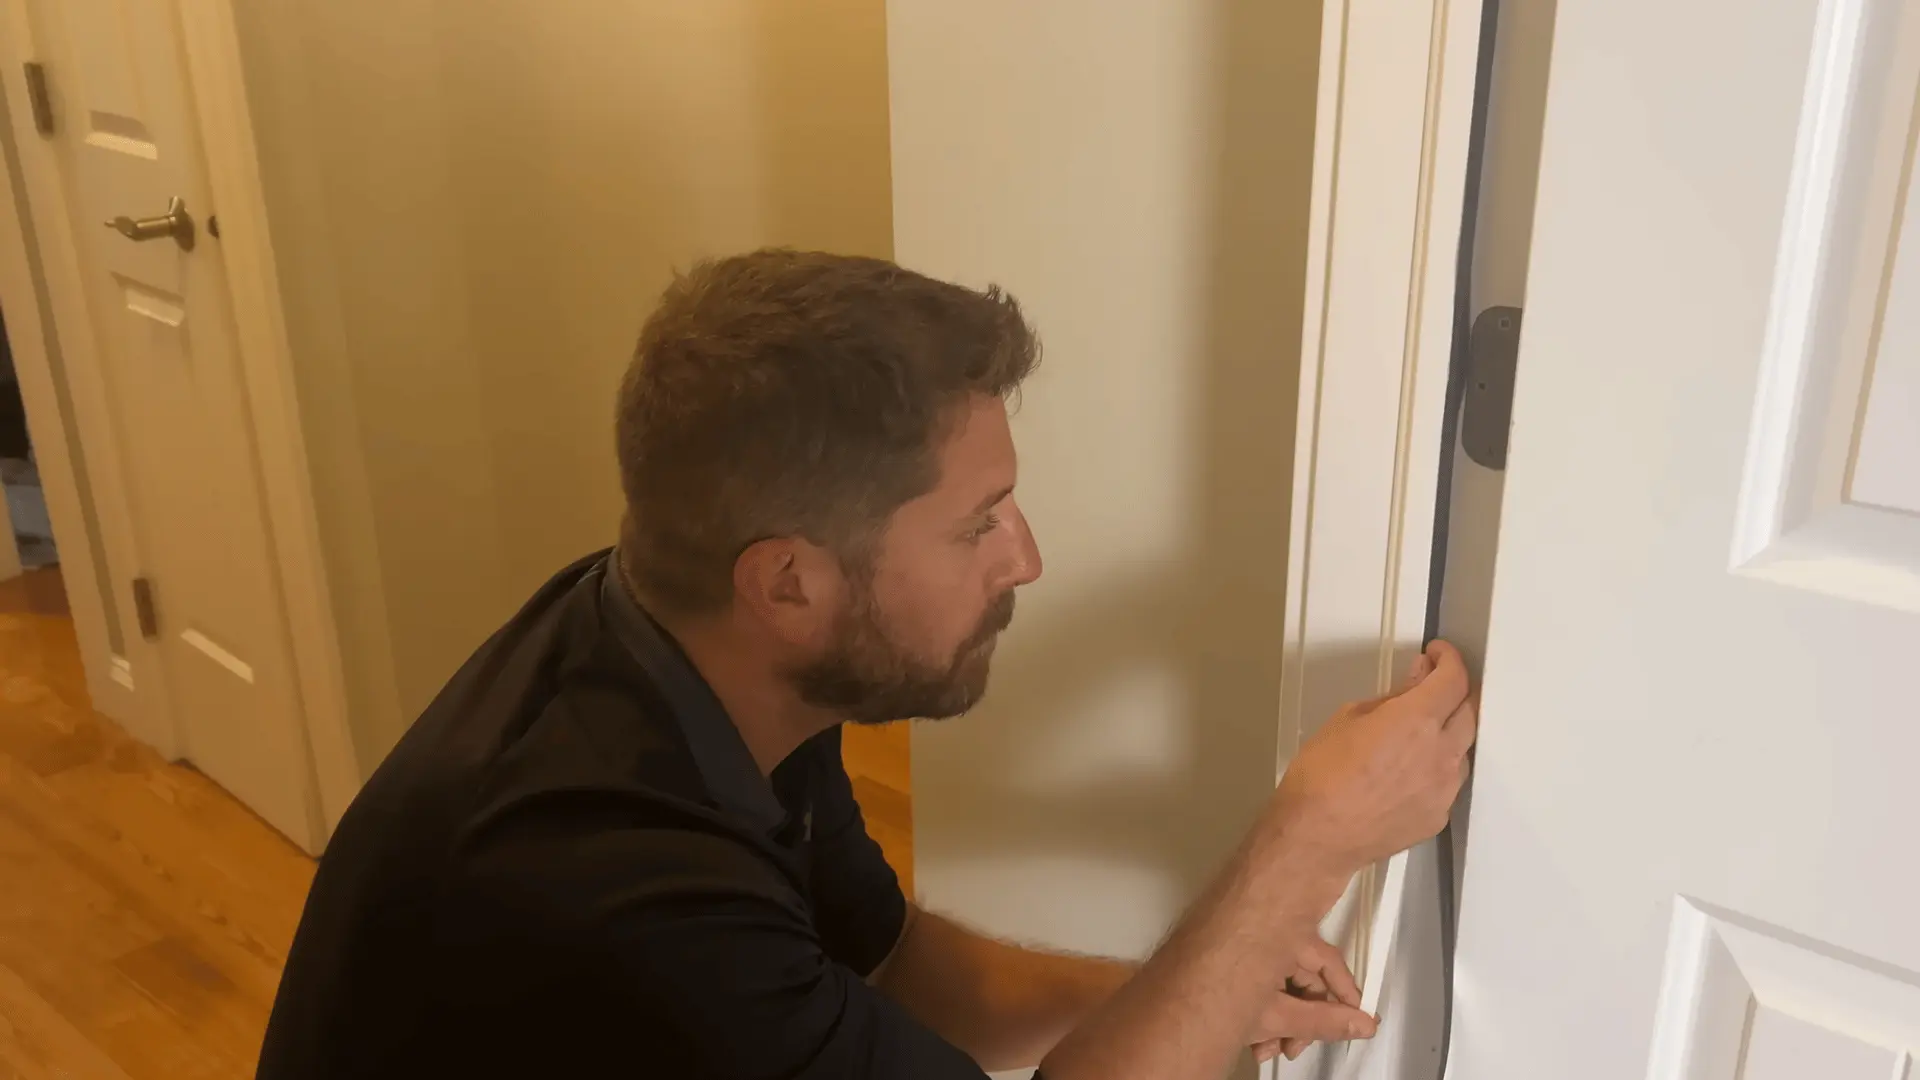
Use a paper strip test by closing the door on a sheet of paper at different points along the frame. If the paper slides out easily, the seal is too loose in that area.
Press or reposition the weatherstripping until resistance is consistent around the entire frame. This ensures even sealing and prevents sound from bypassing small unsealed sections.
Step 6: Add an Optional Curtain and Check the Improvement
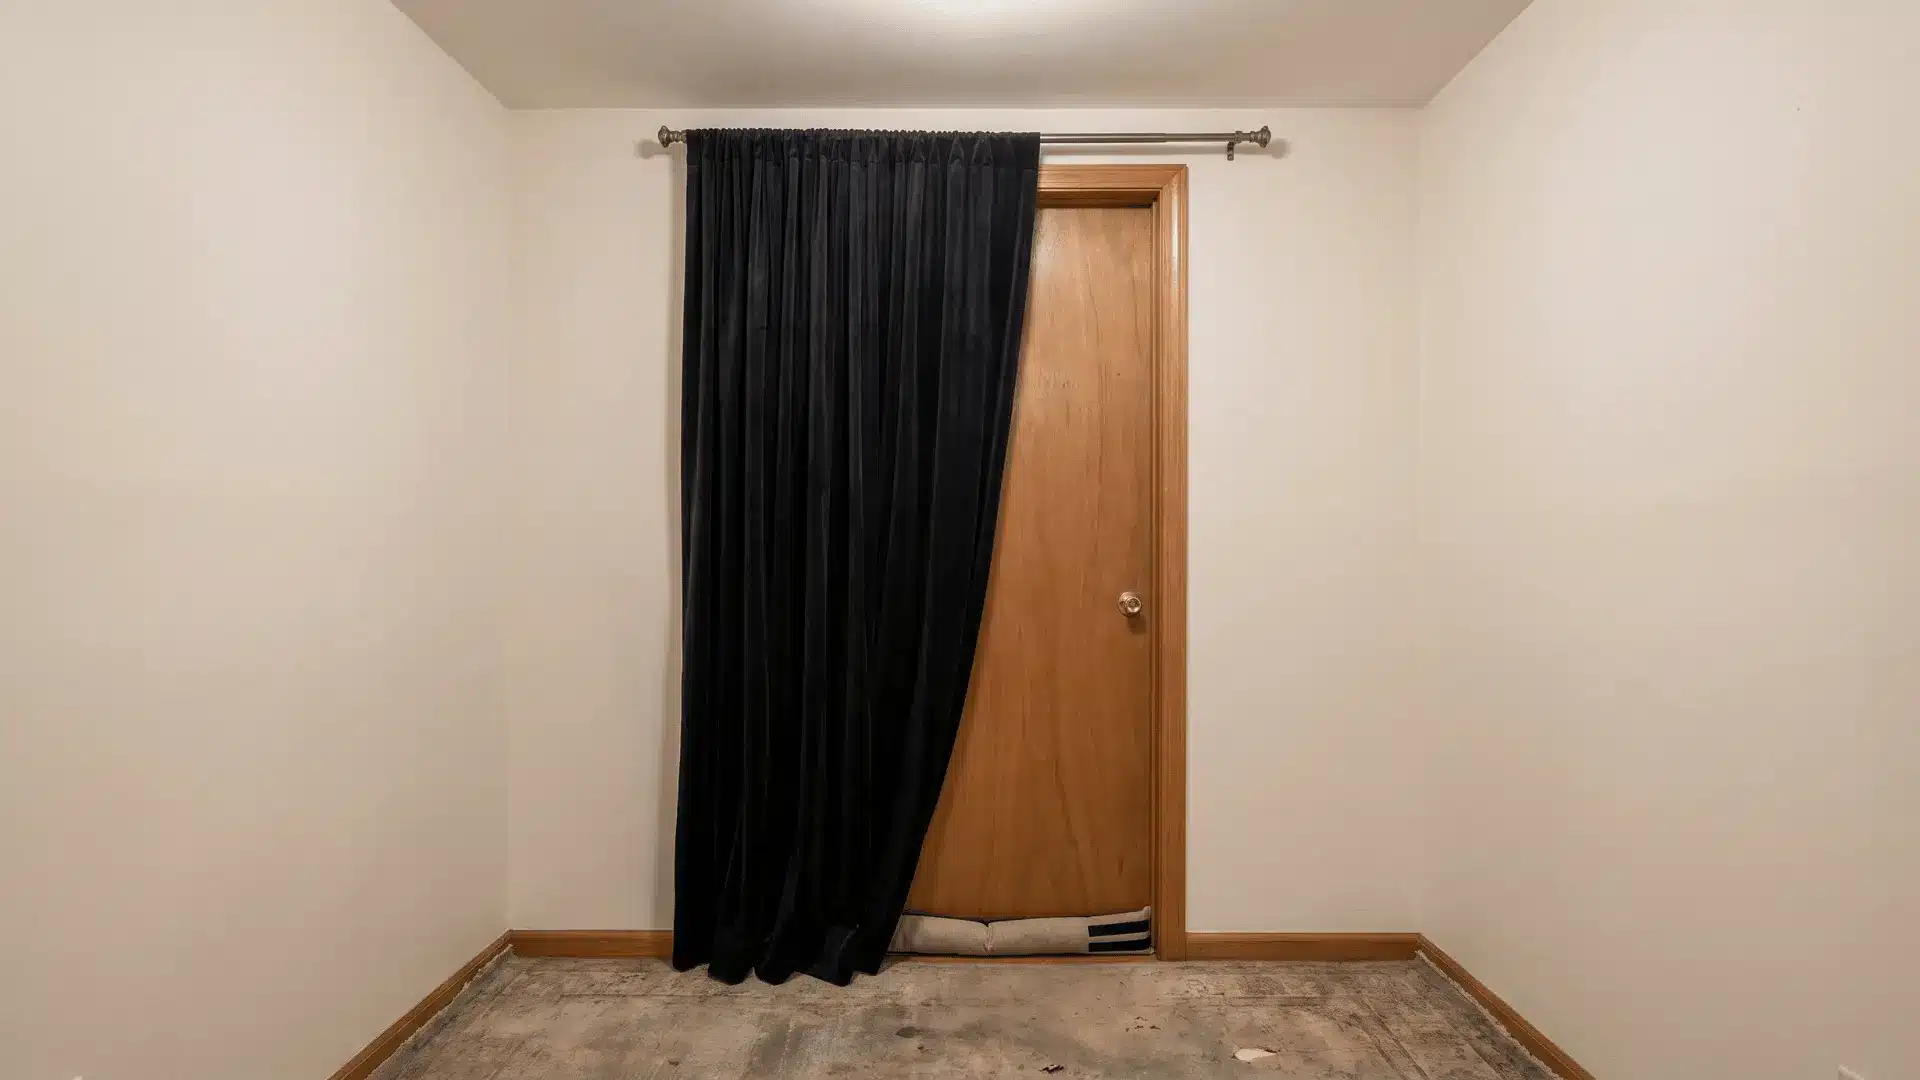
Hang a heavy curtain over the full door area using a rod placed above the frame.
The curtain should extend beyond the sides of the door to cover exposed edges. This adds mass and reduces some sound transmission and echo, a simple layer also useful in many guest bedroom ideas.
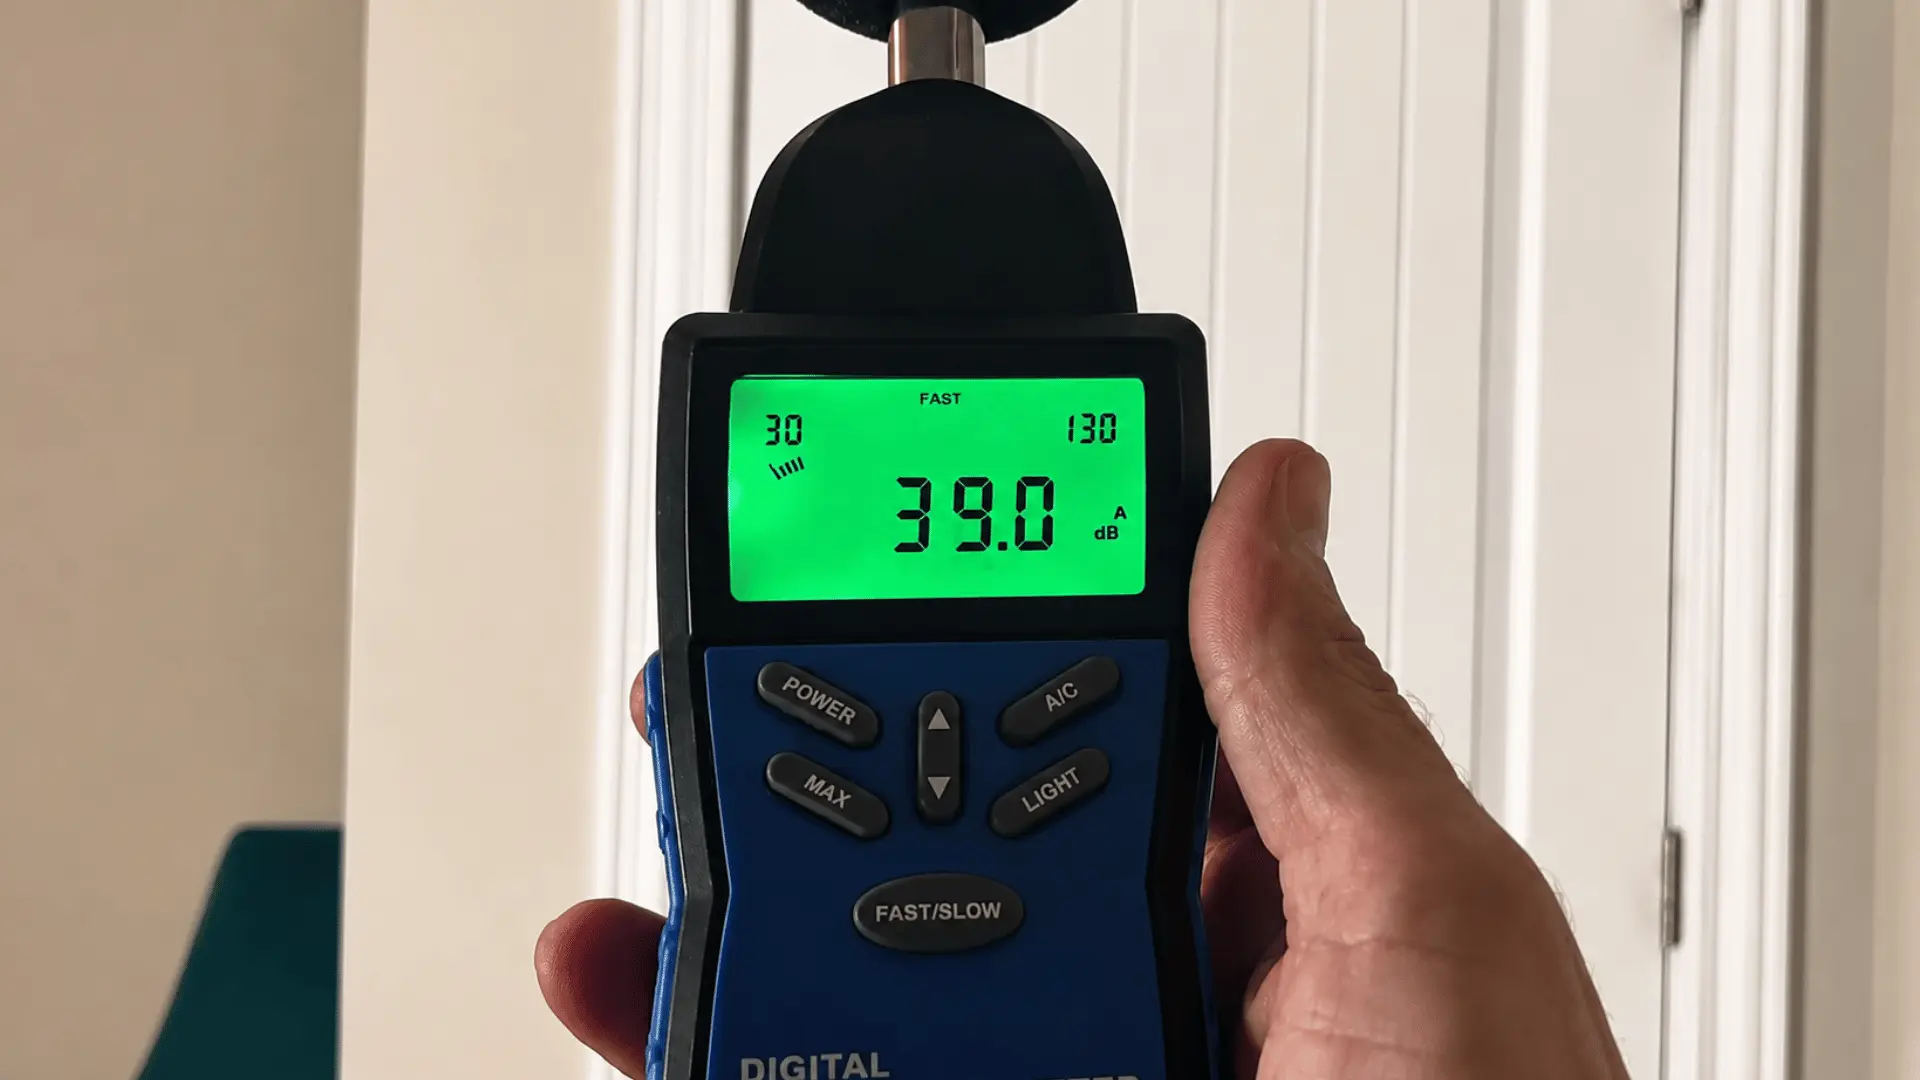
A decibel meter can be used to compare before-and-after readings, but even without one, reduced noise should be noticeable after sealing and adding the sweep.
For a quick visual guide, take a look at this video:
Budget and Renter-Friendly Door Soundproofing
You can reduce some door noise without replacing the door or making permanent changes. Simple options like draft stoppers, door sweeps, weatherstripping, and heavy curtains can help, especially when used to address gaps around the door.
| Fix | What It Does | Best For | Key Limitation |
|---|---|---|---|
| Removable draft stopper | Blocks the gap beneath the door | Renters and temporary setups | Only covers the bottom gap |
| Door sweep | Seals the gap between the door and floor or threshold | More consistent bottom-gap sealing | Must fit properly without interfering with the door |
| Weatherstripping | Seals gaps between the door and frame | Sides and top of the door | Requires adhesive, nails, or another mounting method depending on the product |
| Heavy curtain | Adds another layer that can absorb and reduce some sound | Additional, removable noise reduction | Less effective than sealing gaps or using a heavier door |
For a renter-friendly setup, start by sealing the bottom, sides, and top of the door. Add a heavy curtain for extra noise reduction, but these fixes will not block as much sound as a properly sealed, solid-core door.
When Should You Replace the Door?
A hollow-core door has less mass than a solid-core door, so it usually provides less sound insulation. Sealing the gaps and adding mass can improve it, but its lightweight construction still limits the overall result.
A solid-core door is a better choice when you need stronger noise reduction between rooms.
If sealing the bottom and frame does not provide enough improvement, replacement may be worth considering. A solid-core interior door can cost roughly $70 to $500 for the door itself, while current prehung options often cost a few hundred dollars or more.
Professional installation can add hundreds of dollars, so compare the total cost with upgrading your existing door.
Closing Thoughts
Learning how to soundproof a door does not have to mean replacing the entire door or spending a lot of money. Sealing the bottom gap, adding weatherstripping, and addressing cracks around the frame can make a noticeable difference.
I recommend starting with the simplest fixes and testing the door before moving on to heavier solutions. If noise still gets through, adding mass or switching to a solid-core door may provide better results.
Even small improvements can make a room feel quieter and more private. Have you tried any of these door soundproofing methods? Share your experience in the comments and let me know what worked best for you.
Frequently Asked Questions
Does Soundproofing a Door Actually Work?
Yes, but results vary by the door, gaps, frame, and materials used. Sealing gaps reduces sound leakage, while adding mass or replacing a hollow-core door can provide further improvement.
What Is the Most Effective Thing I Can Do to Soundproof a Door?
Start by sealing the gaps in the door. Use weatherstripping around the sides and top, then install a properly fitted door sweep to close the bottom gap and reduce sound leakage.
Can I Soundproof a Door Without Permanent Changes?
Yes. A removable draft stopper, temporary weatherstripping, or heavy curtain can reduce some noise without permanently modifying the door. These options provide less sound isolation than permanent upgrades.
Do Acoustic Foam Panels on a Door Reduce Outside Noise?
Not much. Acoustic foam mainly absorbs sound and reduces reflections inside a room. For outside noise, focus on sealing gaps first, then consider adding mass or using a heavier door