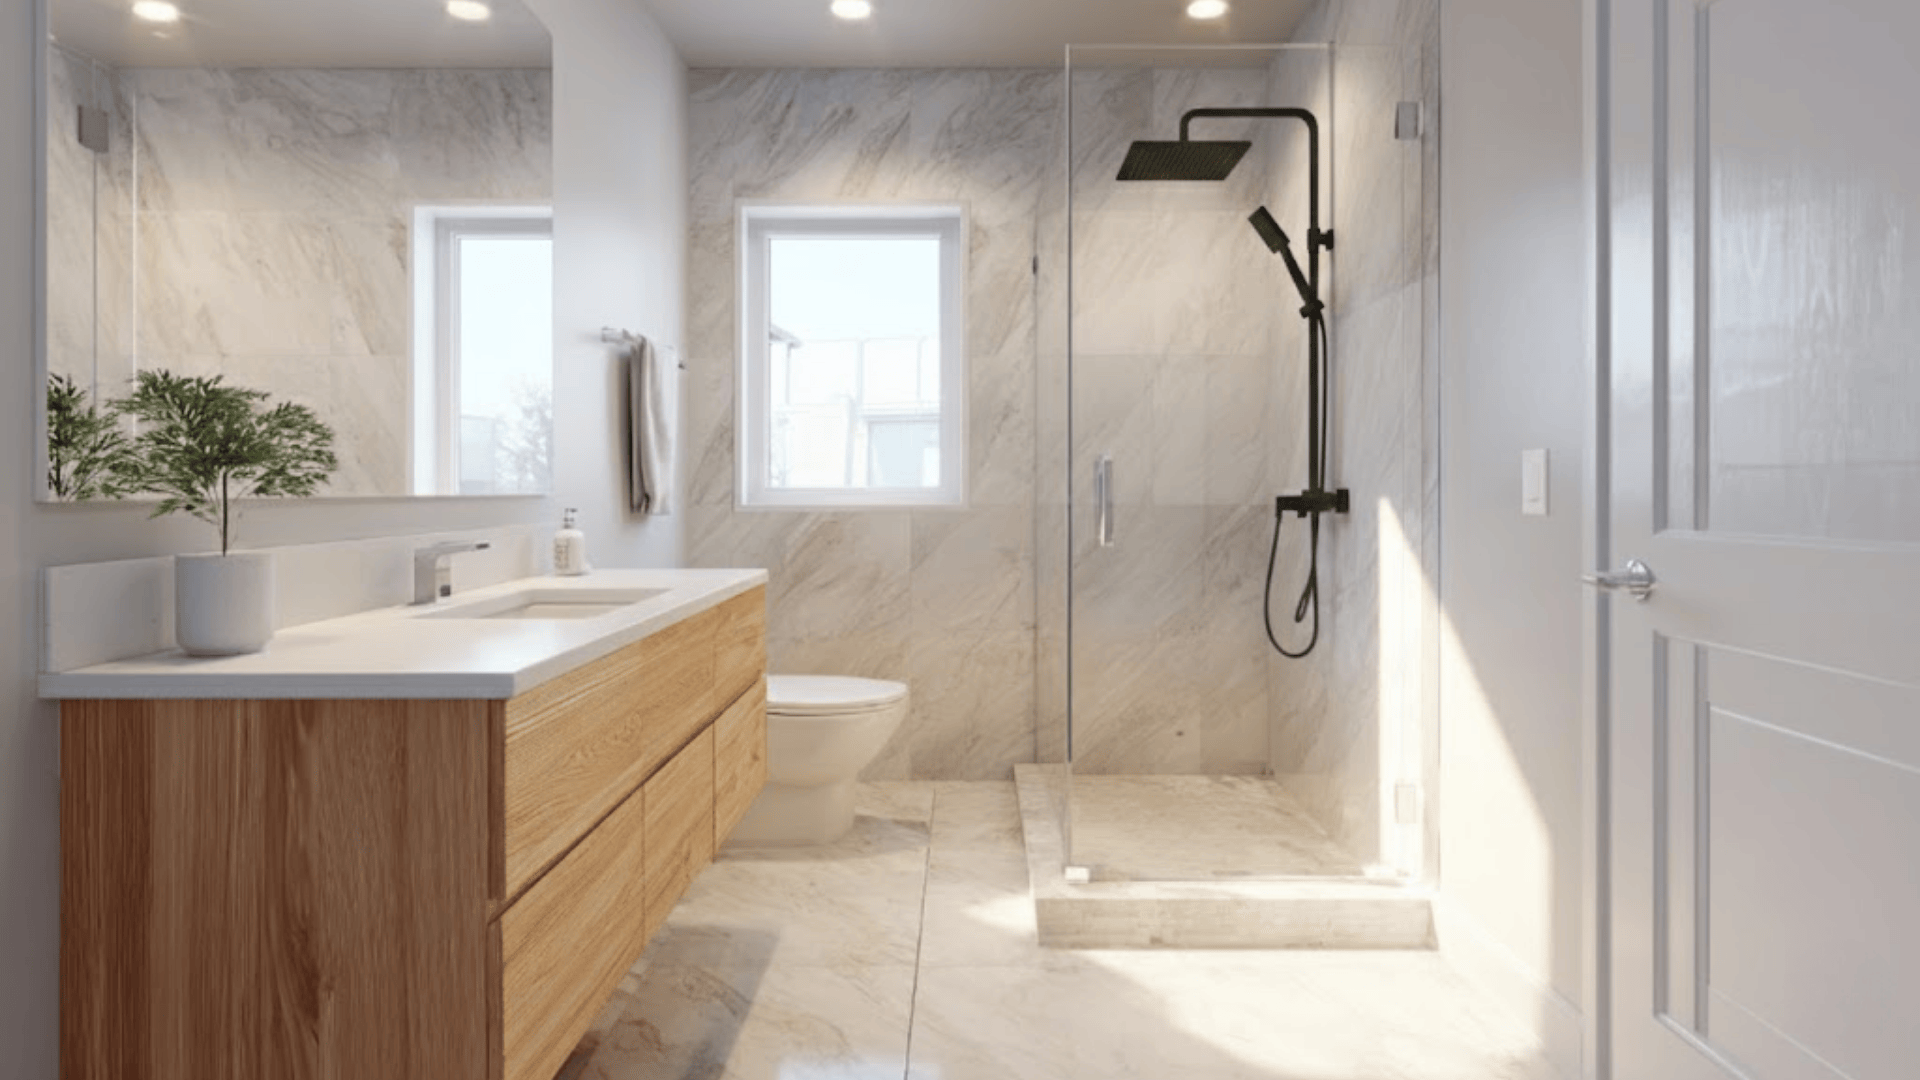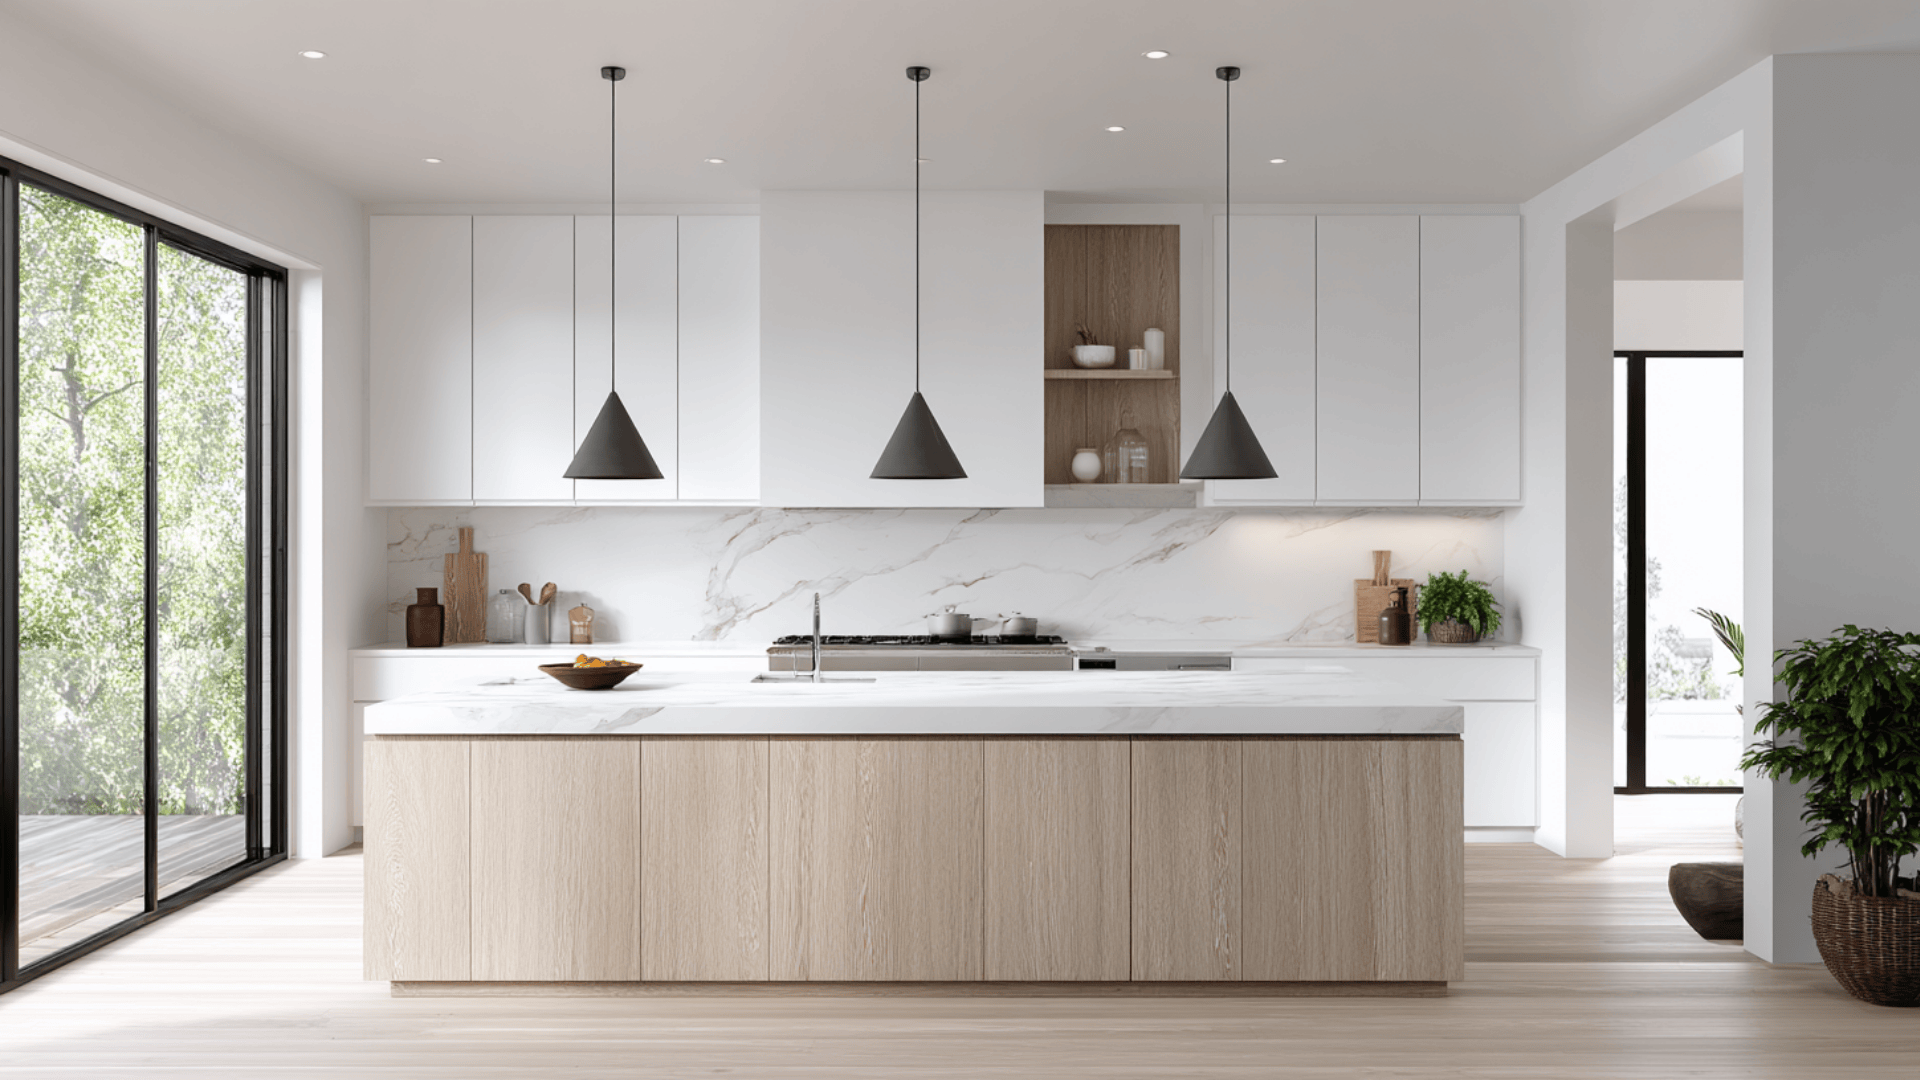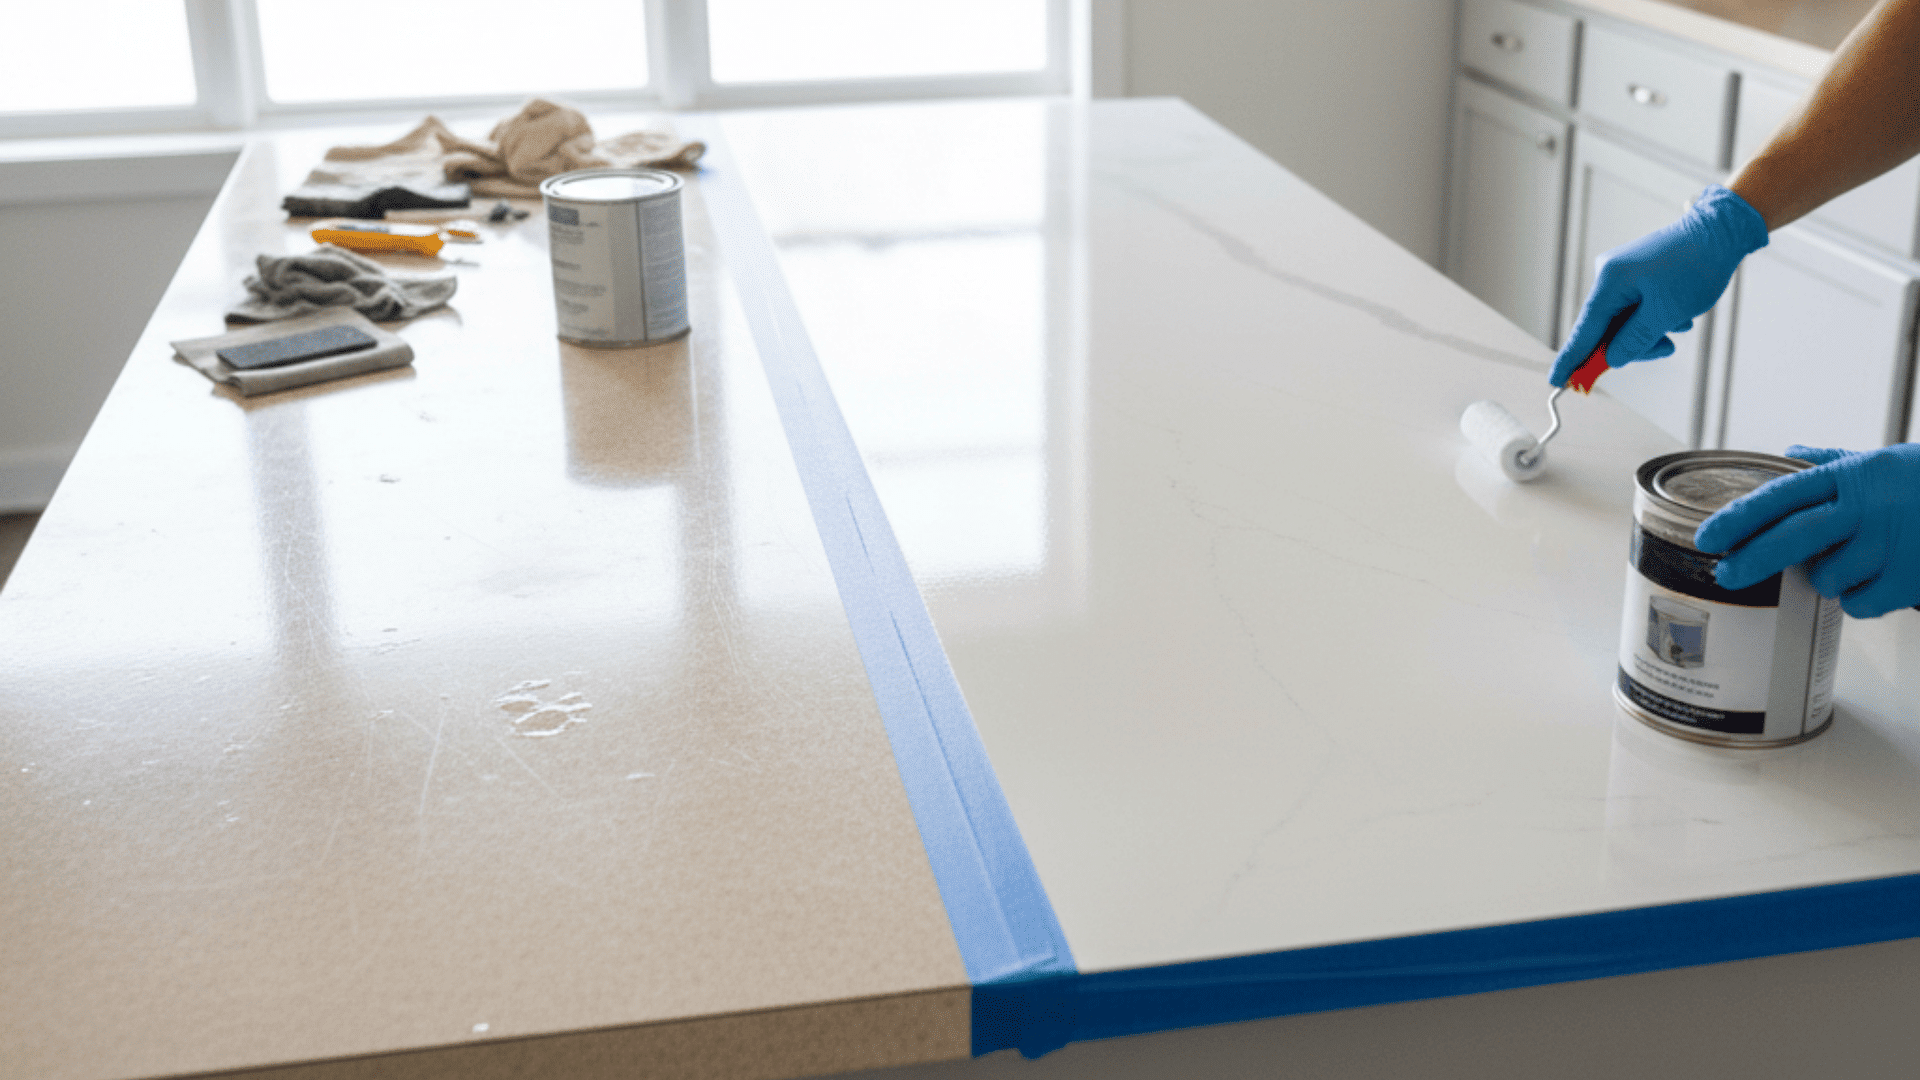


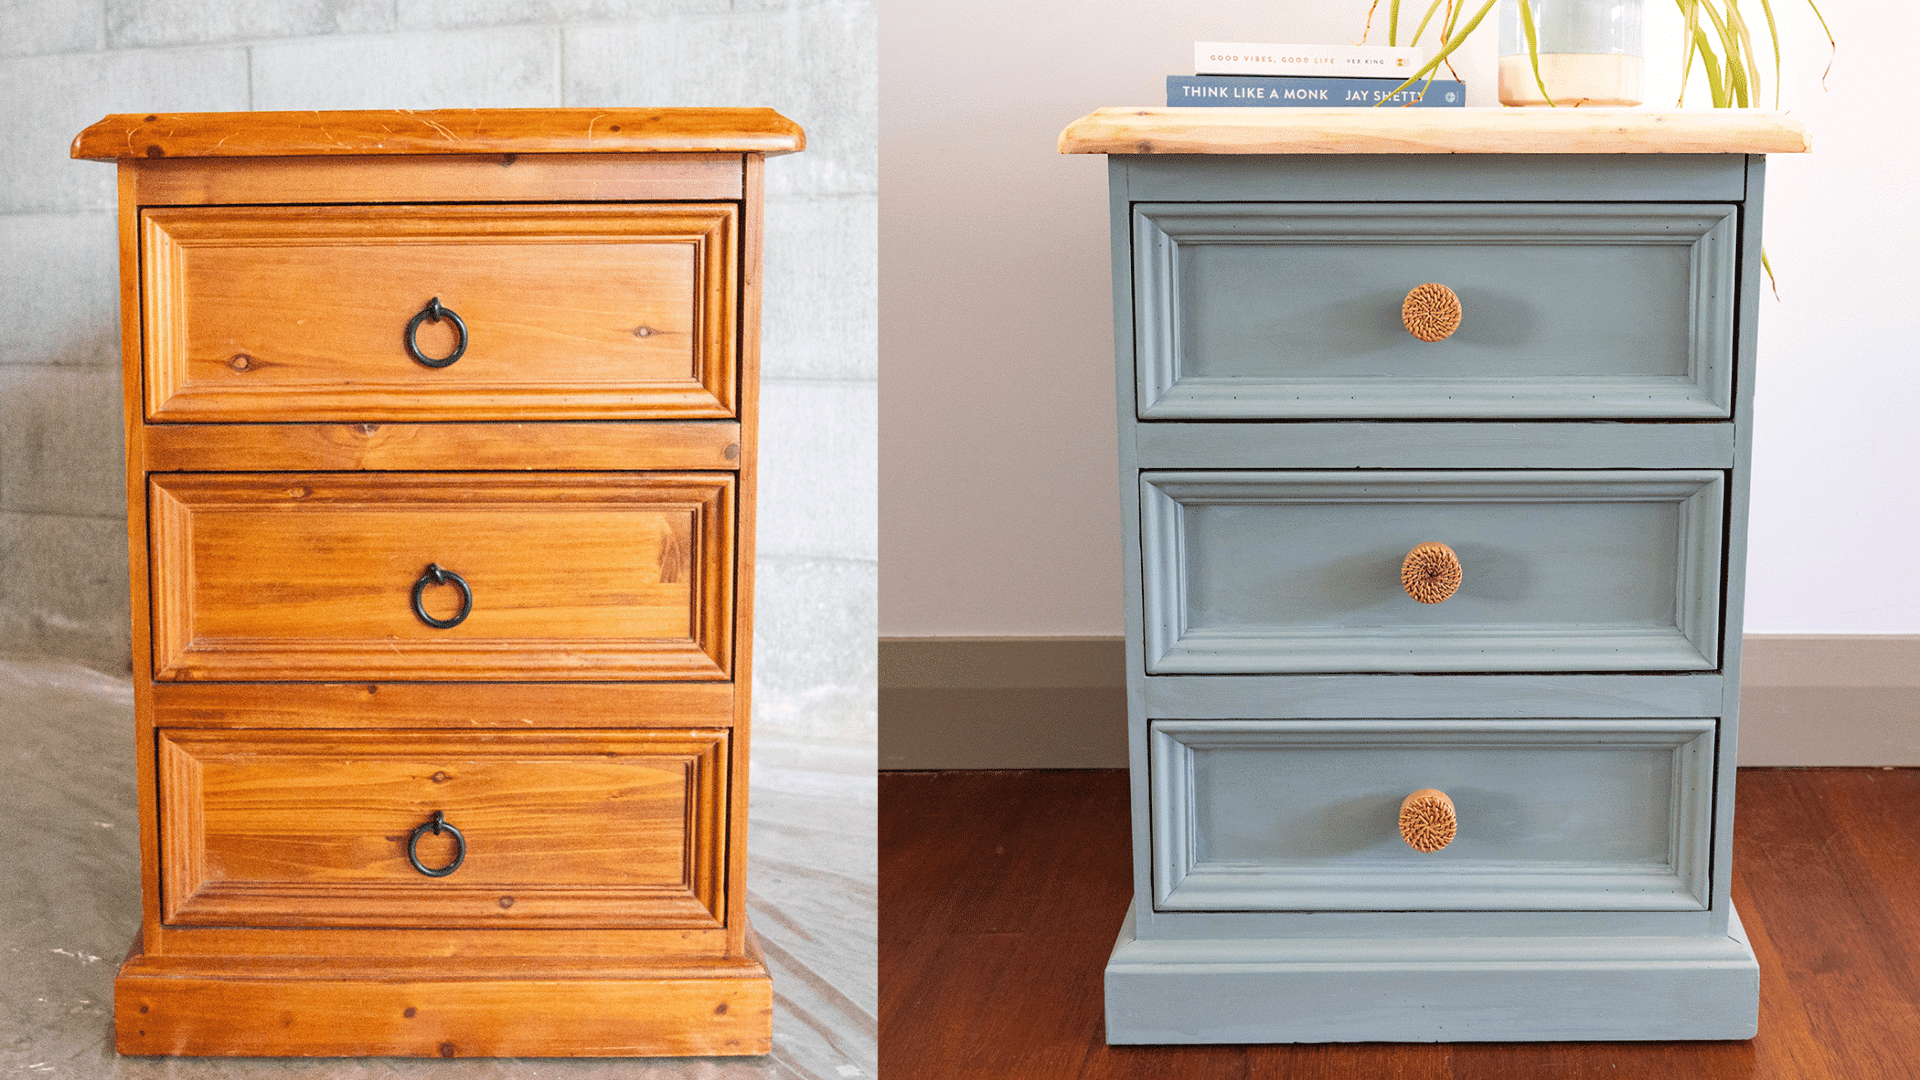
Old laminate counters can drag down the look of a kitchen, even when everything else feels fresh.
The good news? You don’t need a full remodel to bring them back. Resurfacing laminate countertops is an easy, budget-friendly way to give your space a modern, durable finish without tearing anything out.
I’ve seen how a weekend project can turn dull, worn surfaces into something that looks custom-made.
In this guide, you’ll learn the most effective resurfacing methods, how to apply each finish step-by-step, and how to keep your new surface looking great for years.
Best Resurfacing Methods
- Paint-Based Resurfacing: A simple and low-cost option that involves sanding, priming, painting, and sealing. It’s great for quick makeovers and color flexibility, but it may need resealing after a few years.
- Epoxy Coating: Creates a glossy, stone-like surface that’s durable and water-resistant. The process includes sanding, mixing, and pouring epoxy evenly. It can mimic marble or granite and offers a long-lasting, heat-resistant finish.
- Vinyl Wraps or Contact Paper: A temporary and affordable fix ideal for rentals or small updates. Easy to apply and replace, though not heat-resistant. Choose waterproof vinyl for better durability.
- Re-laminate or Add New Surface: Involves gluing a new laminate sheet over the old one for a professional, long-lasting finish. Works best on smooth, undamaged surfaces and may require professional help for precision.
With these resurfacing options, you can choose the method that fits your budget, skill level, and style.
How to Resurface Laminate Countertops
Resurfacing laminate countertops follows four simple steps that turn old, dull surfaces into something fresh and modern. Each method varies slightly, but the process is easy to follow and works for any skill level.
Tools and Materials Required
- Sandpaper (120–220 grit and fine 320-grit)
- Sanding block or orbital sander
- Bonding primer for laminate
- Countertop paint or enamel/urethane countertop coating
- Clear sealer or polyurethane
- Foam paint rollers with extra covers
- Epoxy countertop kit (resin + hardener)
- Notched trowel or epoxy spreader
- Heat gun or small torch (for bubble removal with epoxy)
- Vinyl wrap or countertop-grade contact paper
- Squeegee or plastic smoothing tool
- New laminate sheet (for re-laminating)
- Contact cement for laminate
- J-roller or laminate roller
- Router with laminate trim bit or laminate file/rasp
- Nitrile gloves
- Dust mask or respirator
Step 1: Preparation
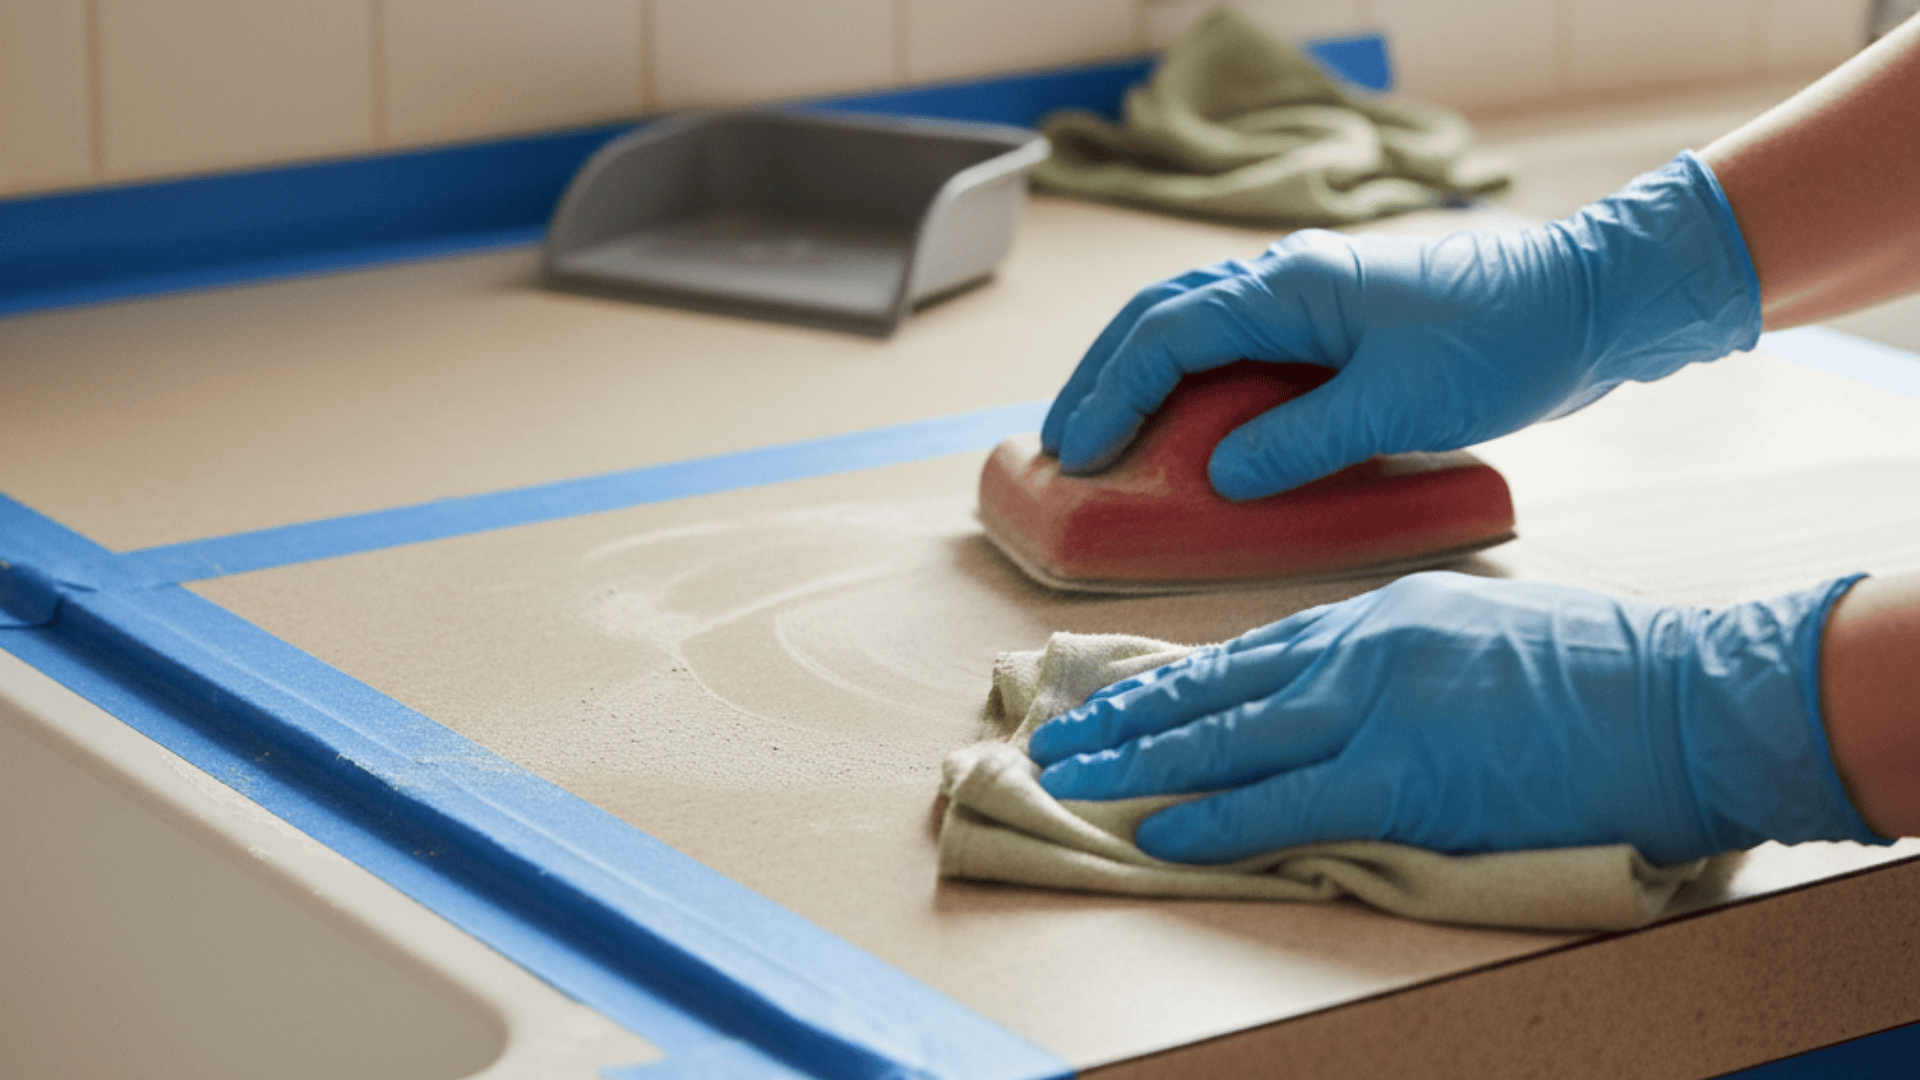
Good prep work ensures your new surface sticks properly and lasts longer.
- Clear the countertops and remove caulk or debris.
- Clean with warm soapy water or a degreaser, then rinse and dry.
- Sand the surface lightly (120–220 grit) to remove gloss and help the new material stick.
- Wipe clean with a damp cloth and tape off edges, backsplash, and nearby surfaces.
Step 2: Apply Bonding Agent or Primer
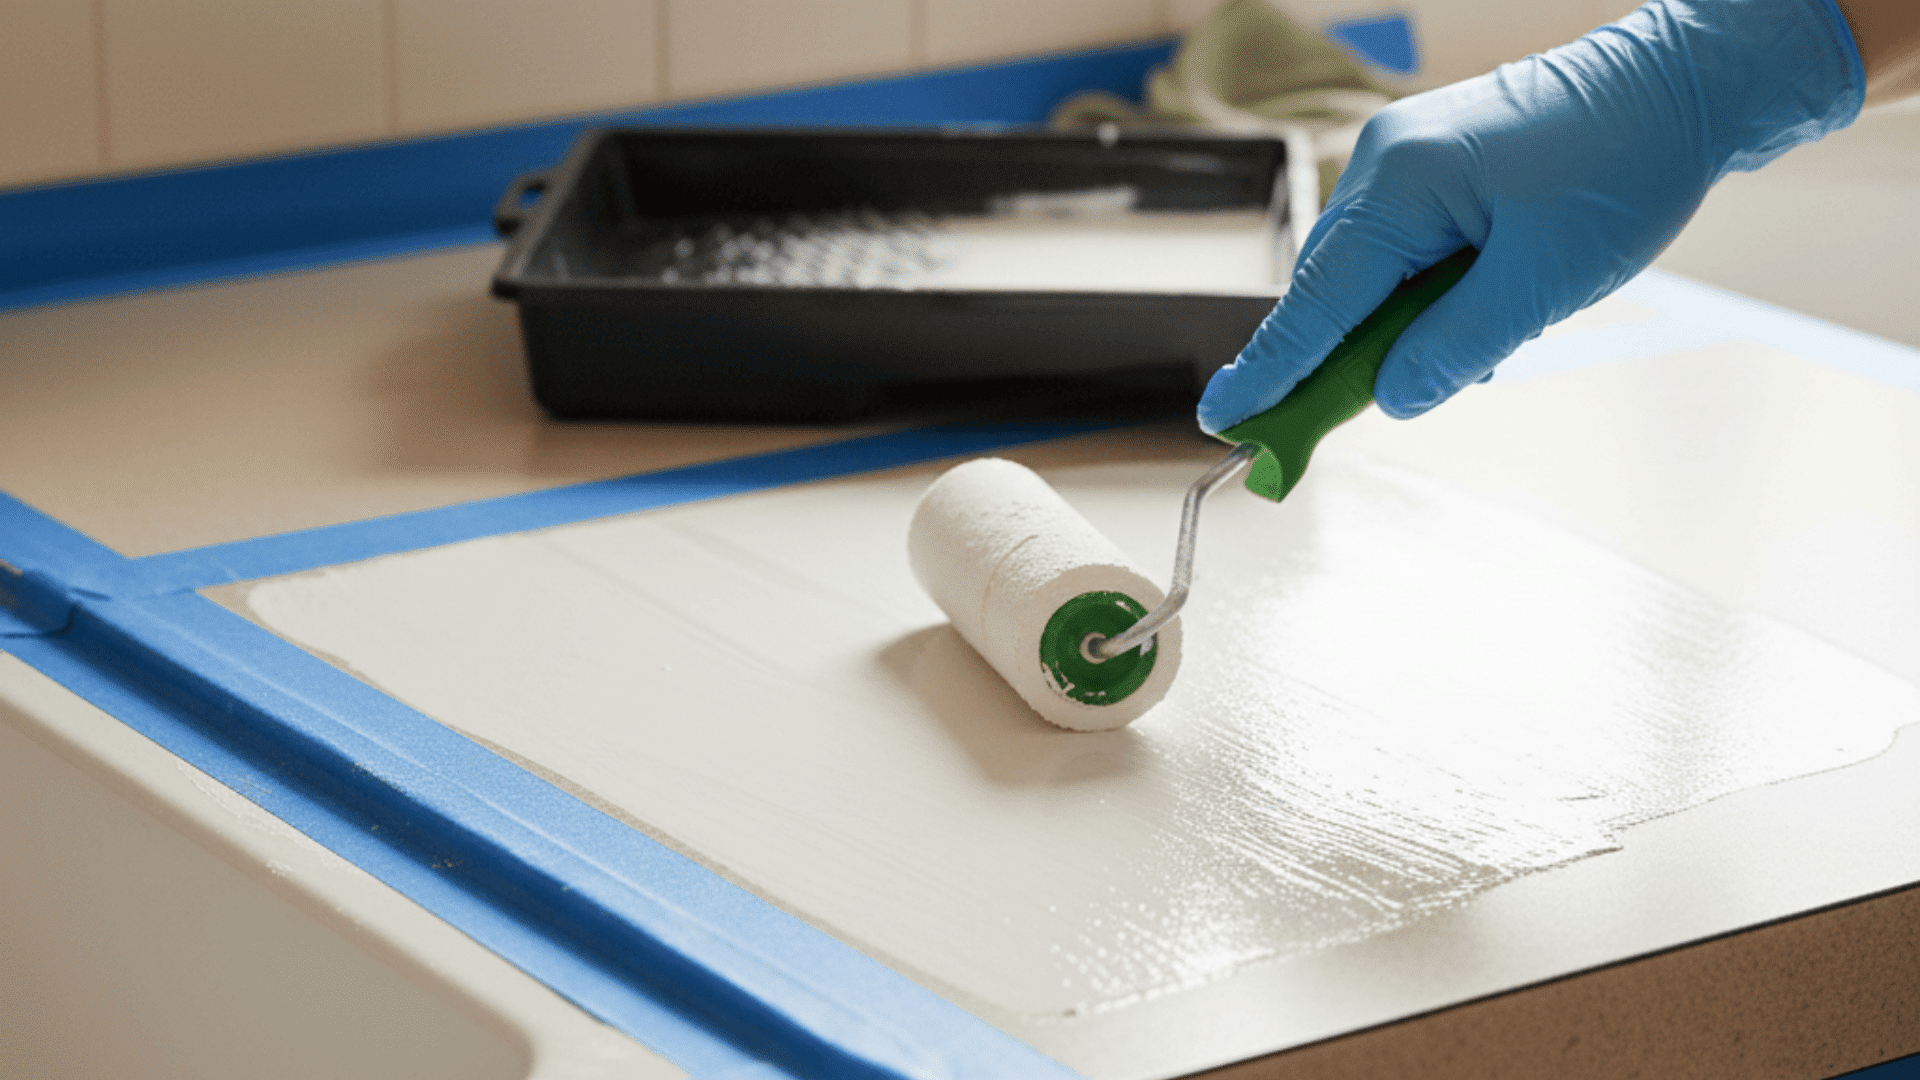
This step helps create a strong bond between the old surface and the new material.
- For Paint-Based Resurfacing: Apply a bonding primer in thin, even coats with a foam roller and let it dry completely.
- For Epoxy Coating: Some epoxy kits include a bonding primer; apply it before mixing the resin for better adhesion.
- For Vinyl Wraps: No primer needed, just ensure the surface is smooth, clean, and dry.
- For Re-laminate: Apply contact cement evenly on both the old and new laminate surfaces.
Step 3: Apply the Finish Layer
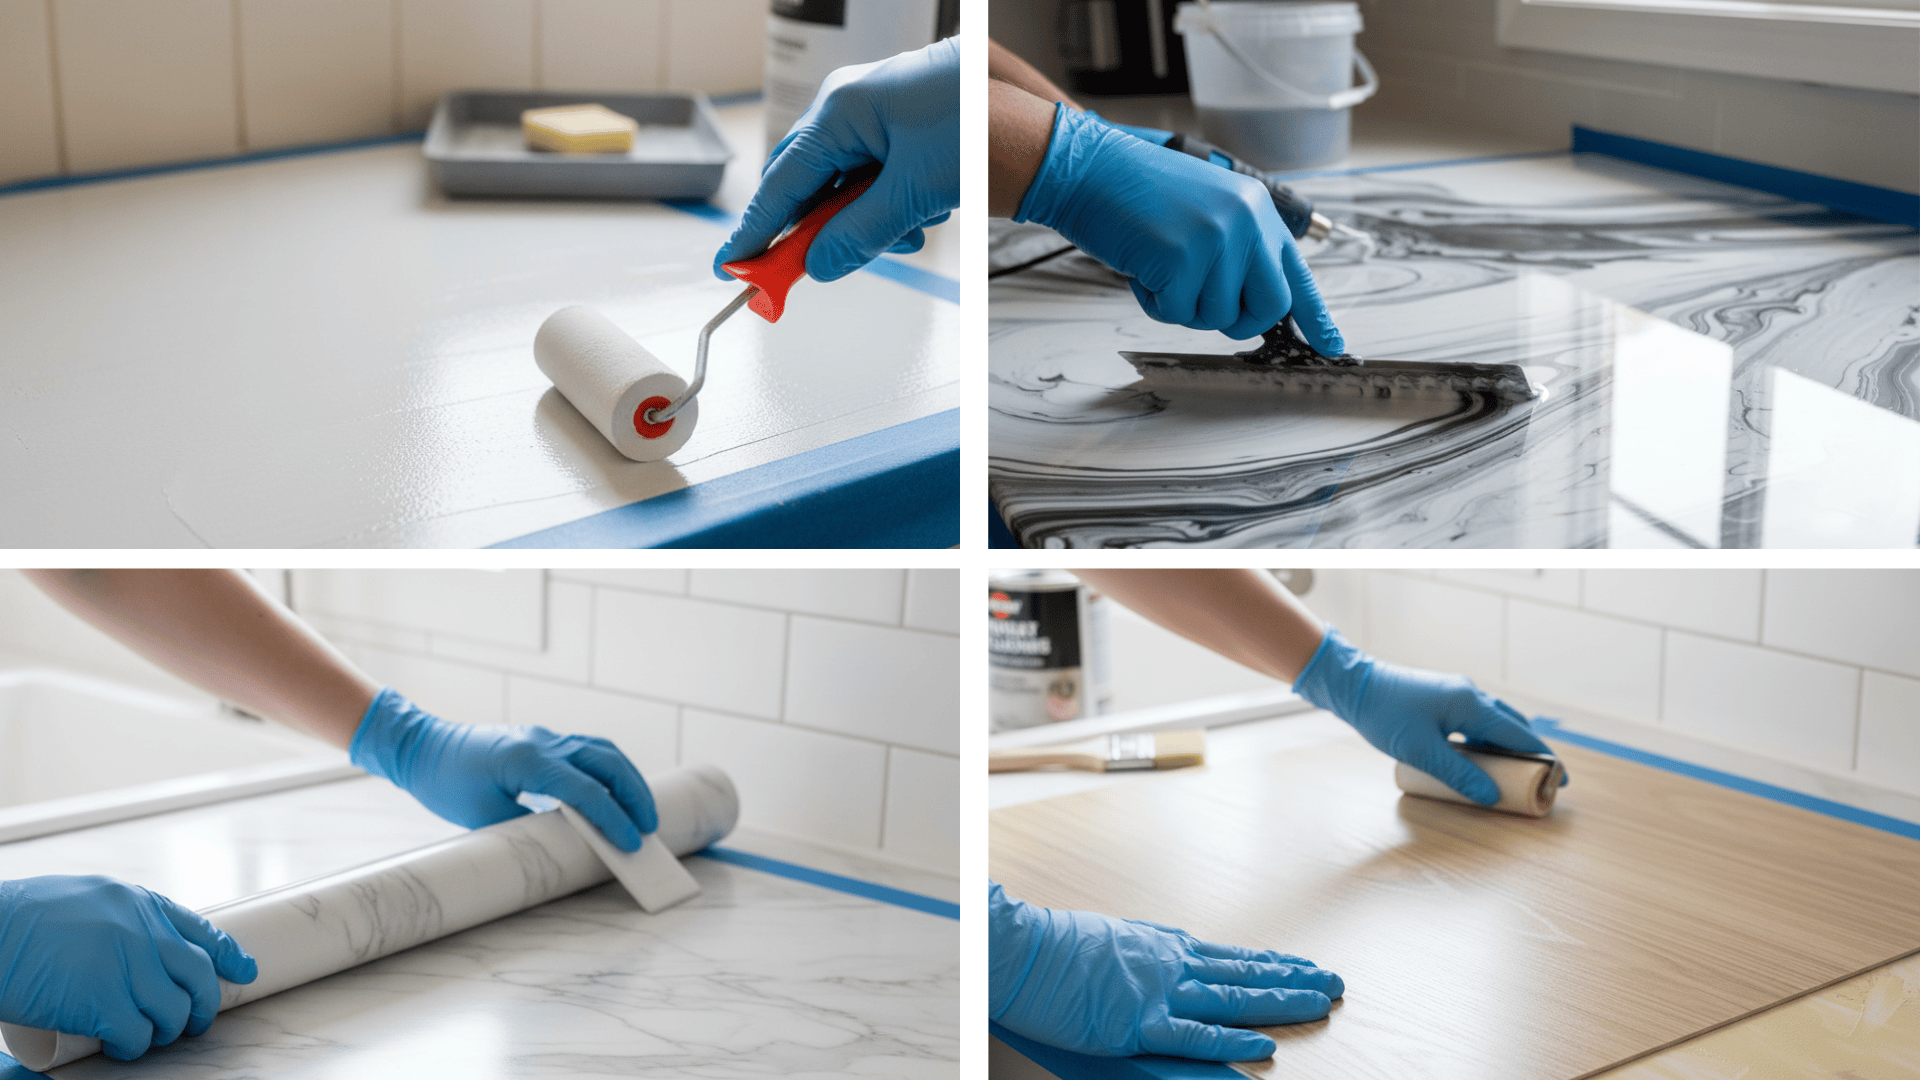
This is where your countertop gets its new look and texture.
- Paint-Based Resurfacing: Roll on two thin coats of countertop paint, sanding lightly between coats.
- Epoxy Coating: Mix and pour epoxy evenly, spreading with a notched trowel. Use a heat gun to remove air bubbles.
- Vinyl Wraps: Carefully stick the vinyl to the surface, smoothing out air bubbles with a squeegee.
- Re-laminate: Align and press the new laminate sheet onto the glued surface, applying firm pressure to remove bubbles.
Step 4: Seal and Cure
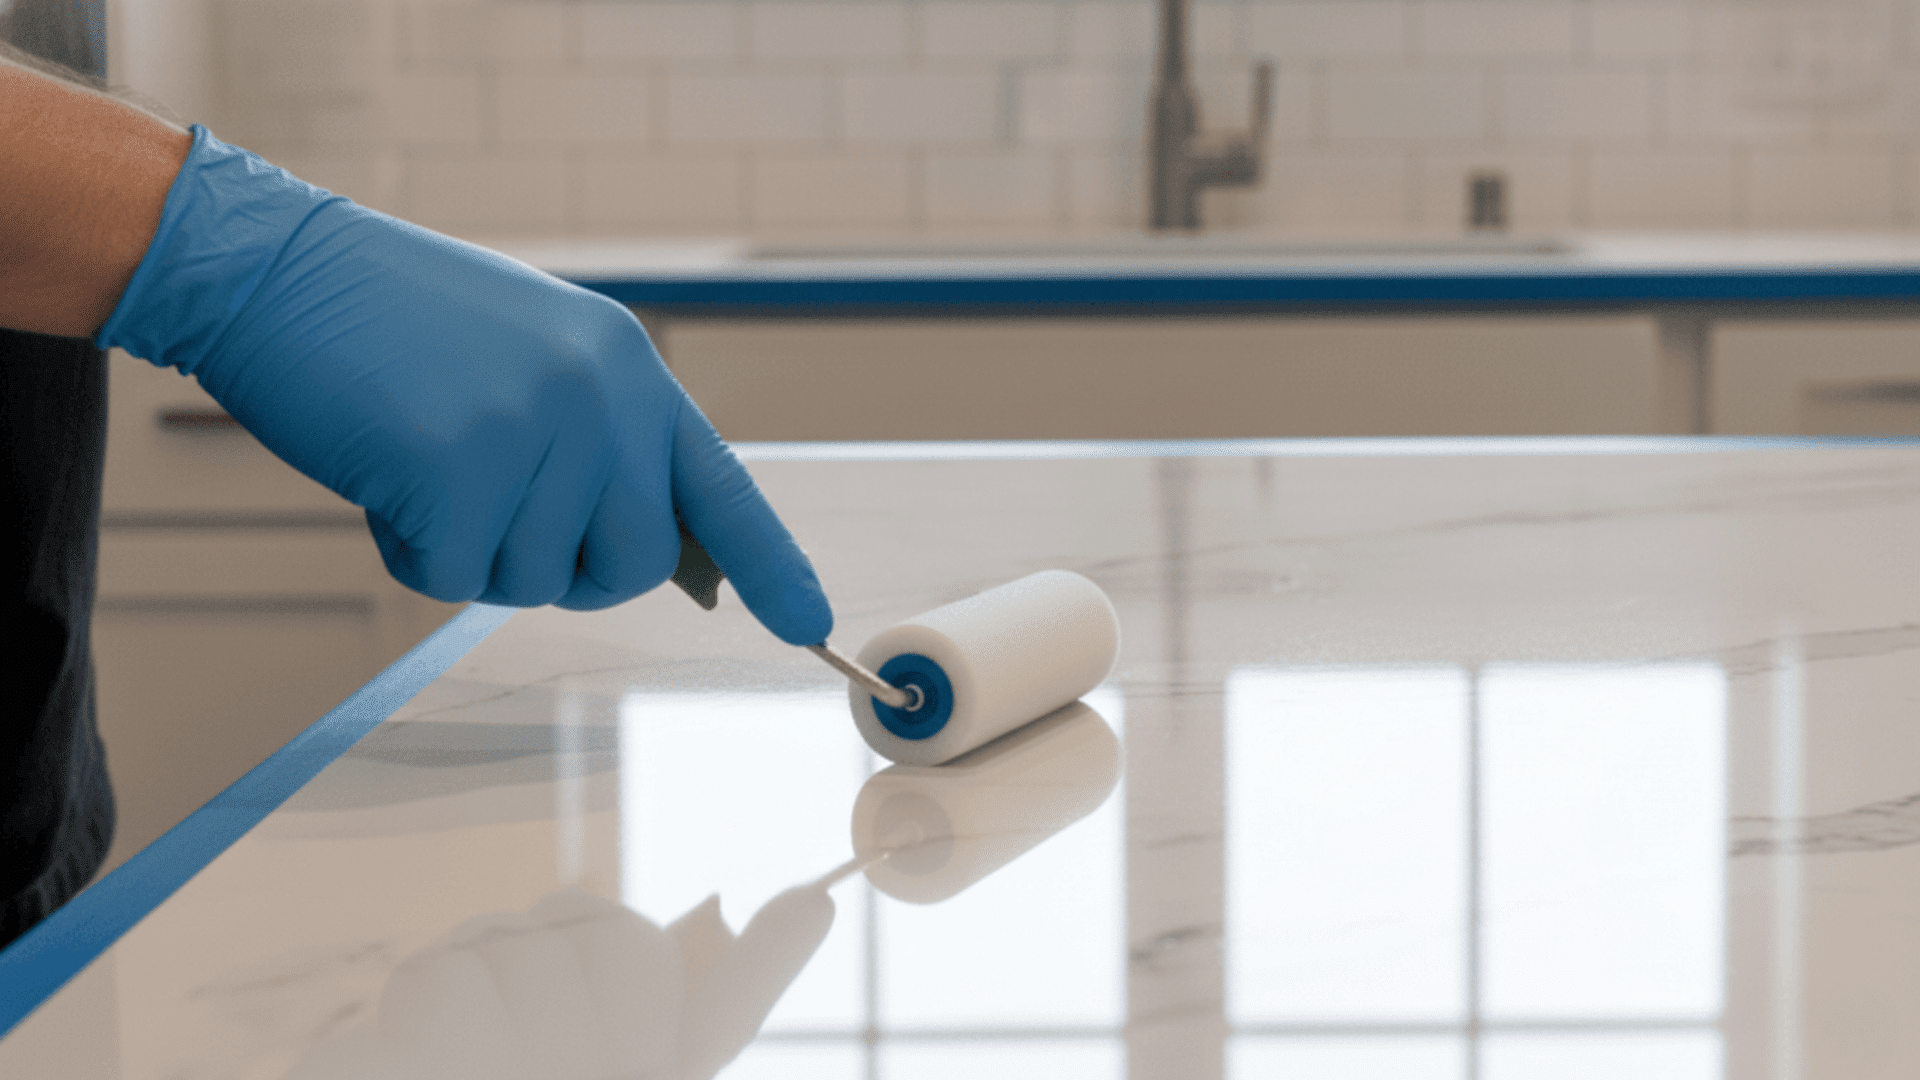
This final step protects your resurfaced countertops and adds long-term durability.
- Paint-Based Resurfacing: Once dry, apply two to three thin coats of clear sealer or polyurethane. Let each coat dry before adding the next, and avoid use for 48 hours.
- Epoxy Coating: Let the epoxy cure in a clean, dust-free area. Allow 72 hours before light use and one week before heavy use.
- Vinyl Wraps or Contact Paper: No sealer needed. Press down edges firmly and avoid heat or moisture for 24 hours.
- Re-laminate or Add New Surface: Once bonded, roll the surface again for a tight seal, trim edges, and re-caulk seams. Let the adhesive cure for 24 hours before regular use.
By following these four steps carefully, you can achieve smooth, durable, and professional-looking countertops without replacing them. It’s an affordable way to give your kitchen a whole new look.
Common Mistakes to Avoid
Skipping sanding or priming: This prevents the new coating from bonding well, leading to peeling or flaking.
Applying epoxy too thickly: Thick layers cause bubbles, drips, and uneven texture that are hard to fix once cured.
Ignoring humidity or temperature: High humidity or cold air can slow curing, leaving a dull or rough finish.
Rushing between steps: Not allowing enough drying time can weaken the bond and reduce durability.
Using the wrong tools: Low-quality rollers or brushes can leave marks and uneven coating.
Taking your time and following product instructions ensures a smooth, professional-looking result.
Cost to Resurface Countertops
| Method | Average Cost Range (USD) | Skill Level | Durability | Look / Finish |
|---|---|---|---|---|
| Paint-Based | $8–$15 per sq. ft. (≈ $120–$300 total for small kitchens) | Easy / DIY | Moderate | Matte or semi-gloss finish |
| Epoxy Coating | $4–$8 per sq. ft. (≈ $250–$600 professionally) | Intermediate | High | Glossy, stone-like appearance |
| Vinyl Wrap | $3–$10 per sq. ft. (≈ $100–$250 total) | Easy | Low–Moderate | Smooth, patterned surface |
| Re-Laminate | $3–$15 per sq. ft. (≈ $300–$1,000 total) | Advanced / Pro | Very High | Fresh laminate finish |
Care and Maintenance Tips for Long-Lasting Countertops
- Avoid heat: Always use trivets or heat pads to protect the surface from hot pans or pots.
- Prevent water damage: Wipe spills immediately and keep seams and sink areas dry to stop moisture from seeping in.
- Use cutting boards: Cutting directly on the surface can cause scratches and dull spots over time.
- Re-seal occasionally: Refresh the sealant every few years to keep the finish smooth and durable.
- Clean daily: Wipe with a soft cloth and mild soap or an all-purpose cleaner to remove dirt and grease.
- Rinse and dry: Always rinse away residue and dry the surface to prevent streaks or buildup.
- Avoid harsh products: Skip bleach, ammonia, and abrasive pads that can scratch or dull the finish.
- Handle stains gently: Use a baking soda and water paste for stubborn spots instead of harsh chemicals.
With consistent care and gentle cleaning, your resurfaced laminate countertops will stay smooth, glossy, and look new for years.
Conclusion
Refreshing your kitchen doesn’t have to mean a full renovation. With the right prep, patience, and materials, resurfacing laminate countertops can completely change the feel of your space for a fraction of the cost.
Each method, whether paint, epoxy, vinyl, or re-laminate, offers its own balance of style, durability, and skill level.
The key is choosing what fits your budget and lifestyle while following each step carefully for a smooth, lasting result. A little effort now can save you years of wear and keep your counters looking brand new.
So, pick the resurfacing method that fits your goals and give your kitchen the upgrade it deserves today.