

There’s something peaceful about shaping clay with your hands. A pinch pot might look simple, but it’s where creativity really starts.
With just a small ball of clay and a few easy steps, you can make pieces that feel personal and full of character.
In this guide, you’ll find inspiration, hands-on ideas, and a few tricks to help your first pot look like it came straight from the studio.
Let’s start learning and see how many creative pinch pot ideas you can bring to life.
What is a Pinch Pot?
A pinch pot is one of the oldest and simplest ways to shape clay by hand. It starts with a small ball of clay that you slowly press and pinch into a bowl-like form.
This method has been used for thousands of years by different cultures to make cups, bowls, and small decorative pieces. You don’t need a pottery wheel for this technique- just your hands and a few basic tools.
Best Clay Types:
- Air-dry clay: Perfect for beginners. No kiln needed, just paint once it’s dry.
- Kiln-fired clay: Ideal for pottery that needs strength and durability.
- Polymer clay: Great for small decorative projects; it hardens in a home oven.
Experimenting with different clays helps you understand their textures and how they behave when pinched and shaped.
Creative and Inspiring Pinch Pot Ideas
Pinch pots are simple, creative, and practical to make. You can craft decorative pieces or useful items while learning basic clay-shaping skills.
Simple Pinch Pot Ideas for Beginners
Start with these approachable projects that let you get familiar with shaping clay evenly and controlling thickness:
1. Classic Clay Bowl
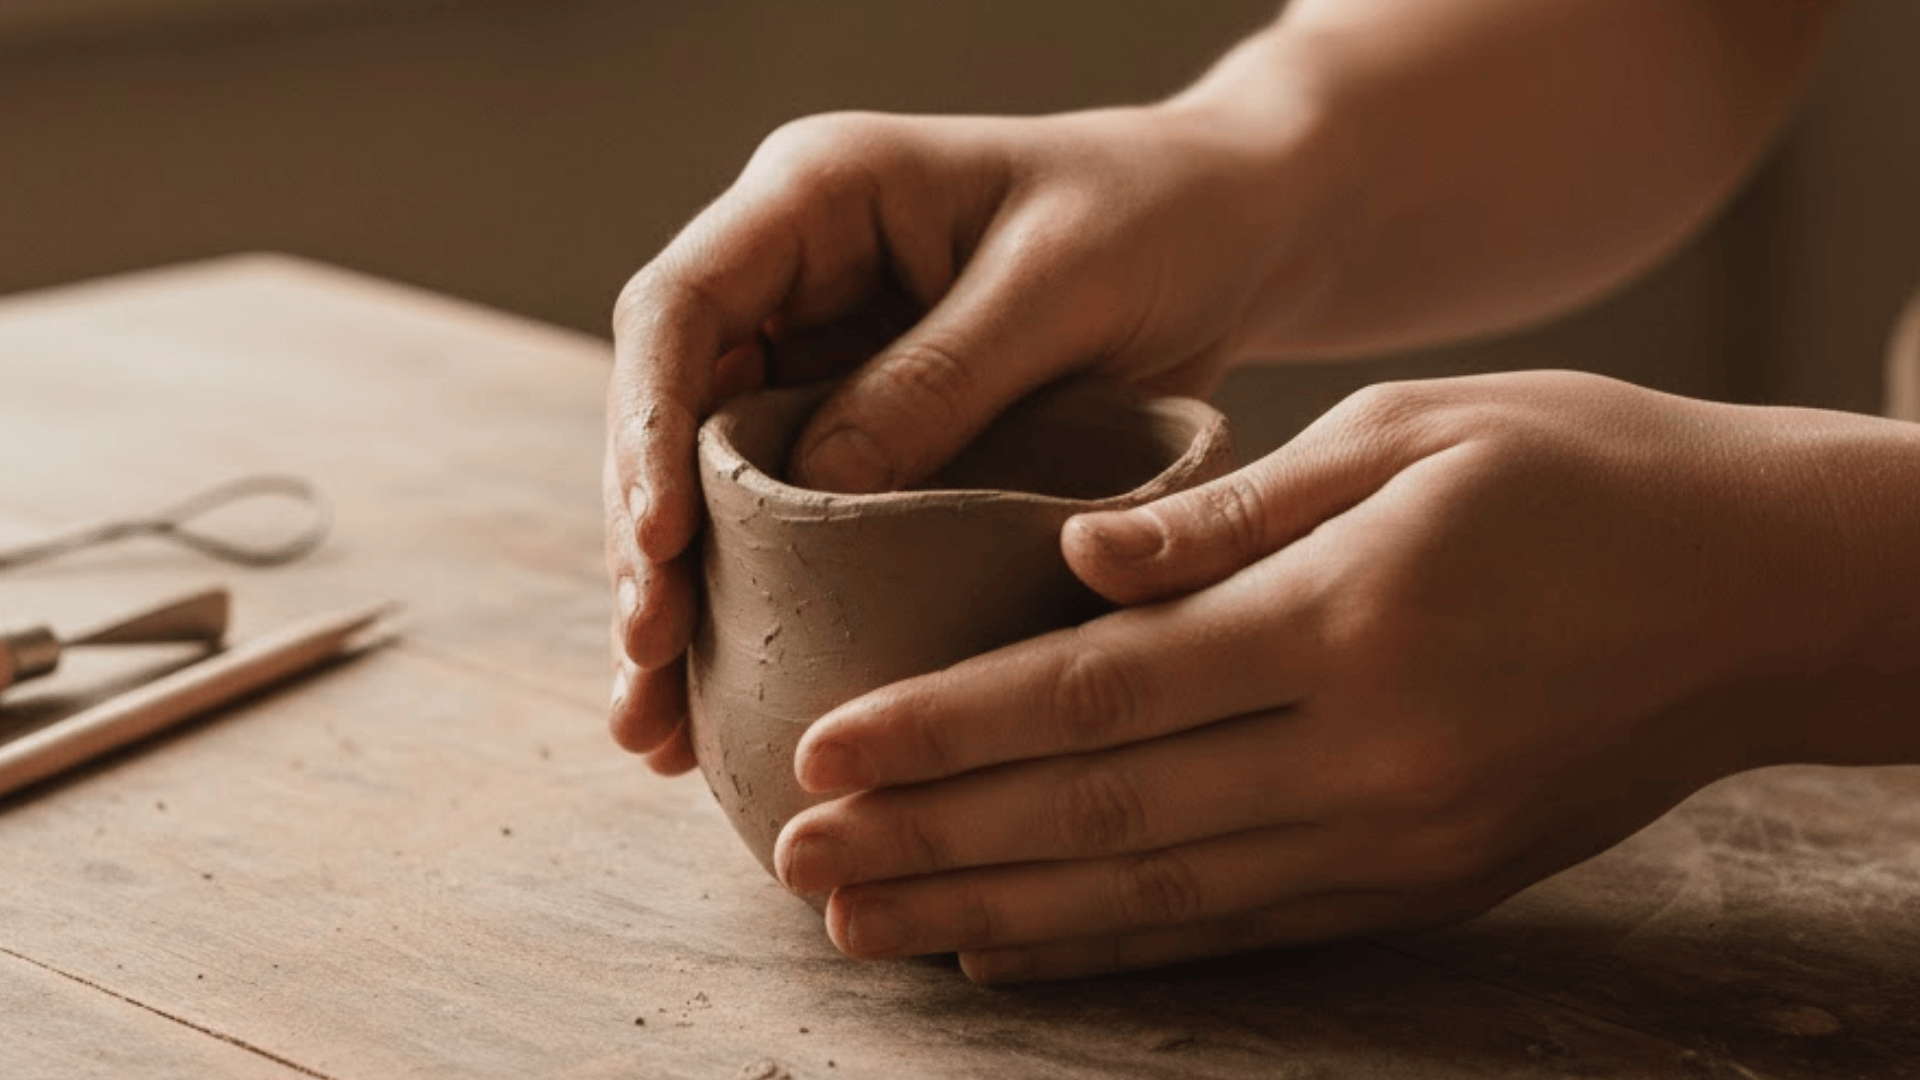
This is the simplest way to start with pinch pottery. Roll a small ball of clay between your hands until it’s smooth.
Press your thumb gently into the center, then use your fingers to pinch outward, turning the pot slowly as you go.
Keep the wall thickness even to prevent cracks while drying. Once you have a rounded bowl shape, smooth it with a damp sponge.
Let it dry completely before painting, glazing, or sealing. It’s simple, sturdy, and great for learning hand control.
2. Textured Thumbprint Dish
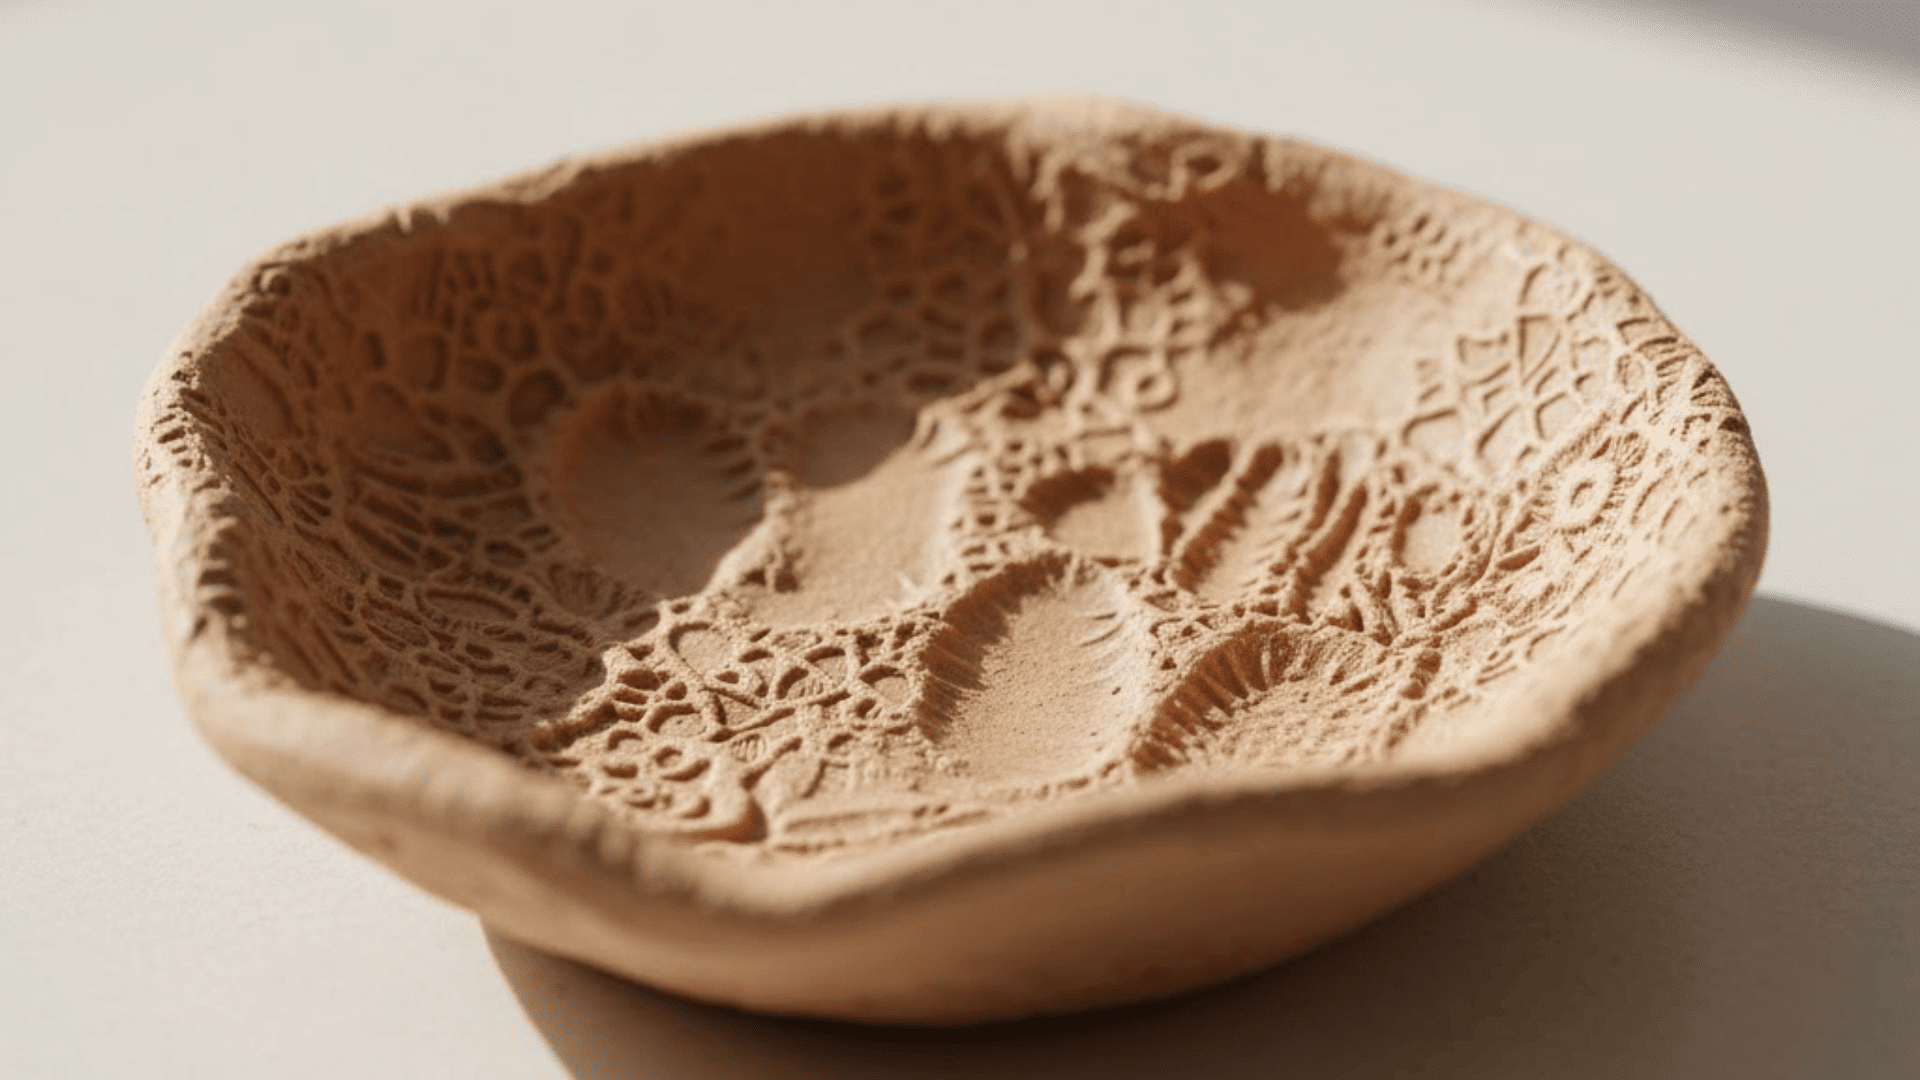
This idea adds personality to a basic form. Begin with a small clay ball and pinch it into a shallow dish. While it’s still damp, press your thumb in different spots to create natural dips and impressions.
You can also use small tools, lace, or leaves to press subtle textures around the surface. Use a sponge to smooth rough edges.
Once it dries, paint or glaze it to highlight the textures. It’s perfect for holding rings, coins, or other small items.
3. Mini Succulent Planter
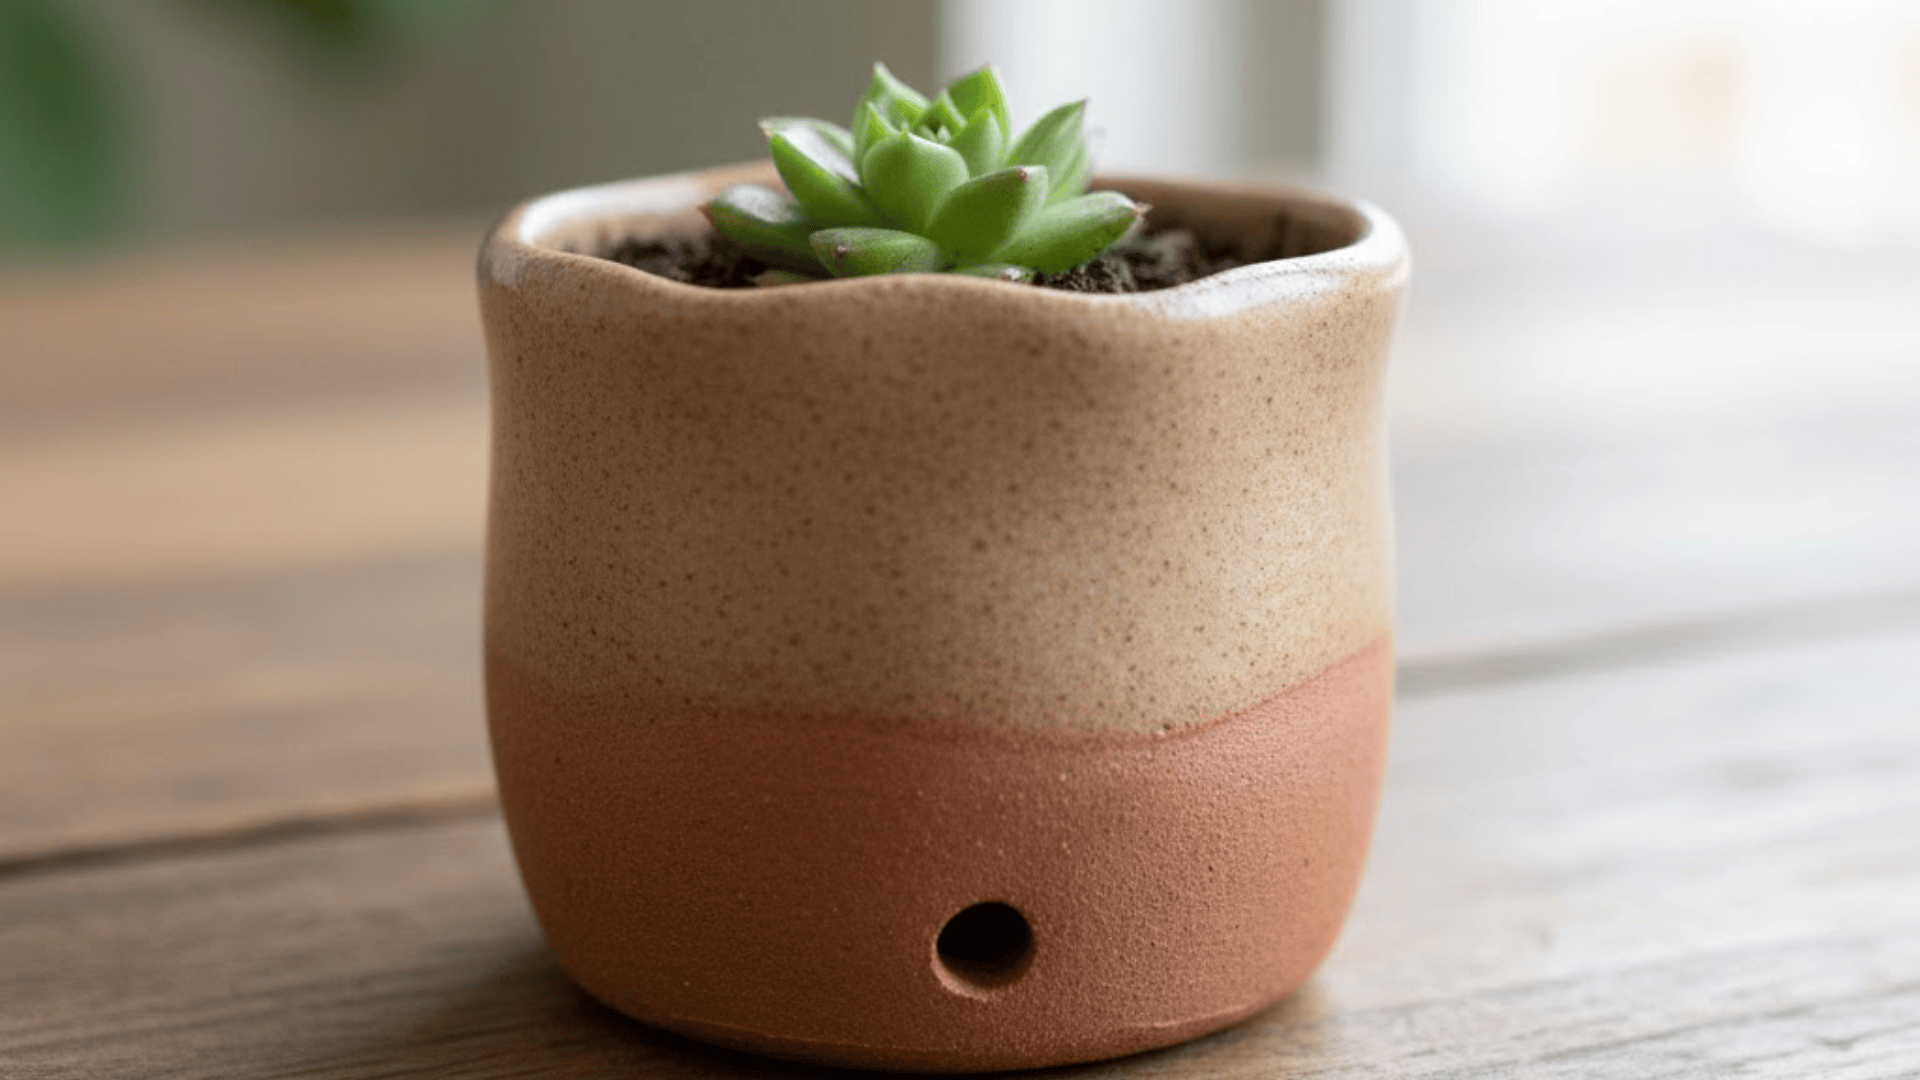
Start by shaping a medium-sized clay ball into a deeper pinch pot. Rotate it slowly while pressing outward to form an even bowl with thicker walls, as planters need strength.
If you’re using real plants, poke a small drainage hole in the bottom using a pencil or skewer. Smooth the rim and sides with a damp sponge.
Once it’s fully dry or fired, paint it with earthy tones or patterns. It’s a simple project that gives you a functional, handmade planter.
4. Trinket or Jewelry Holder
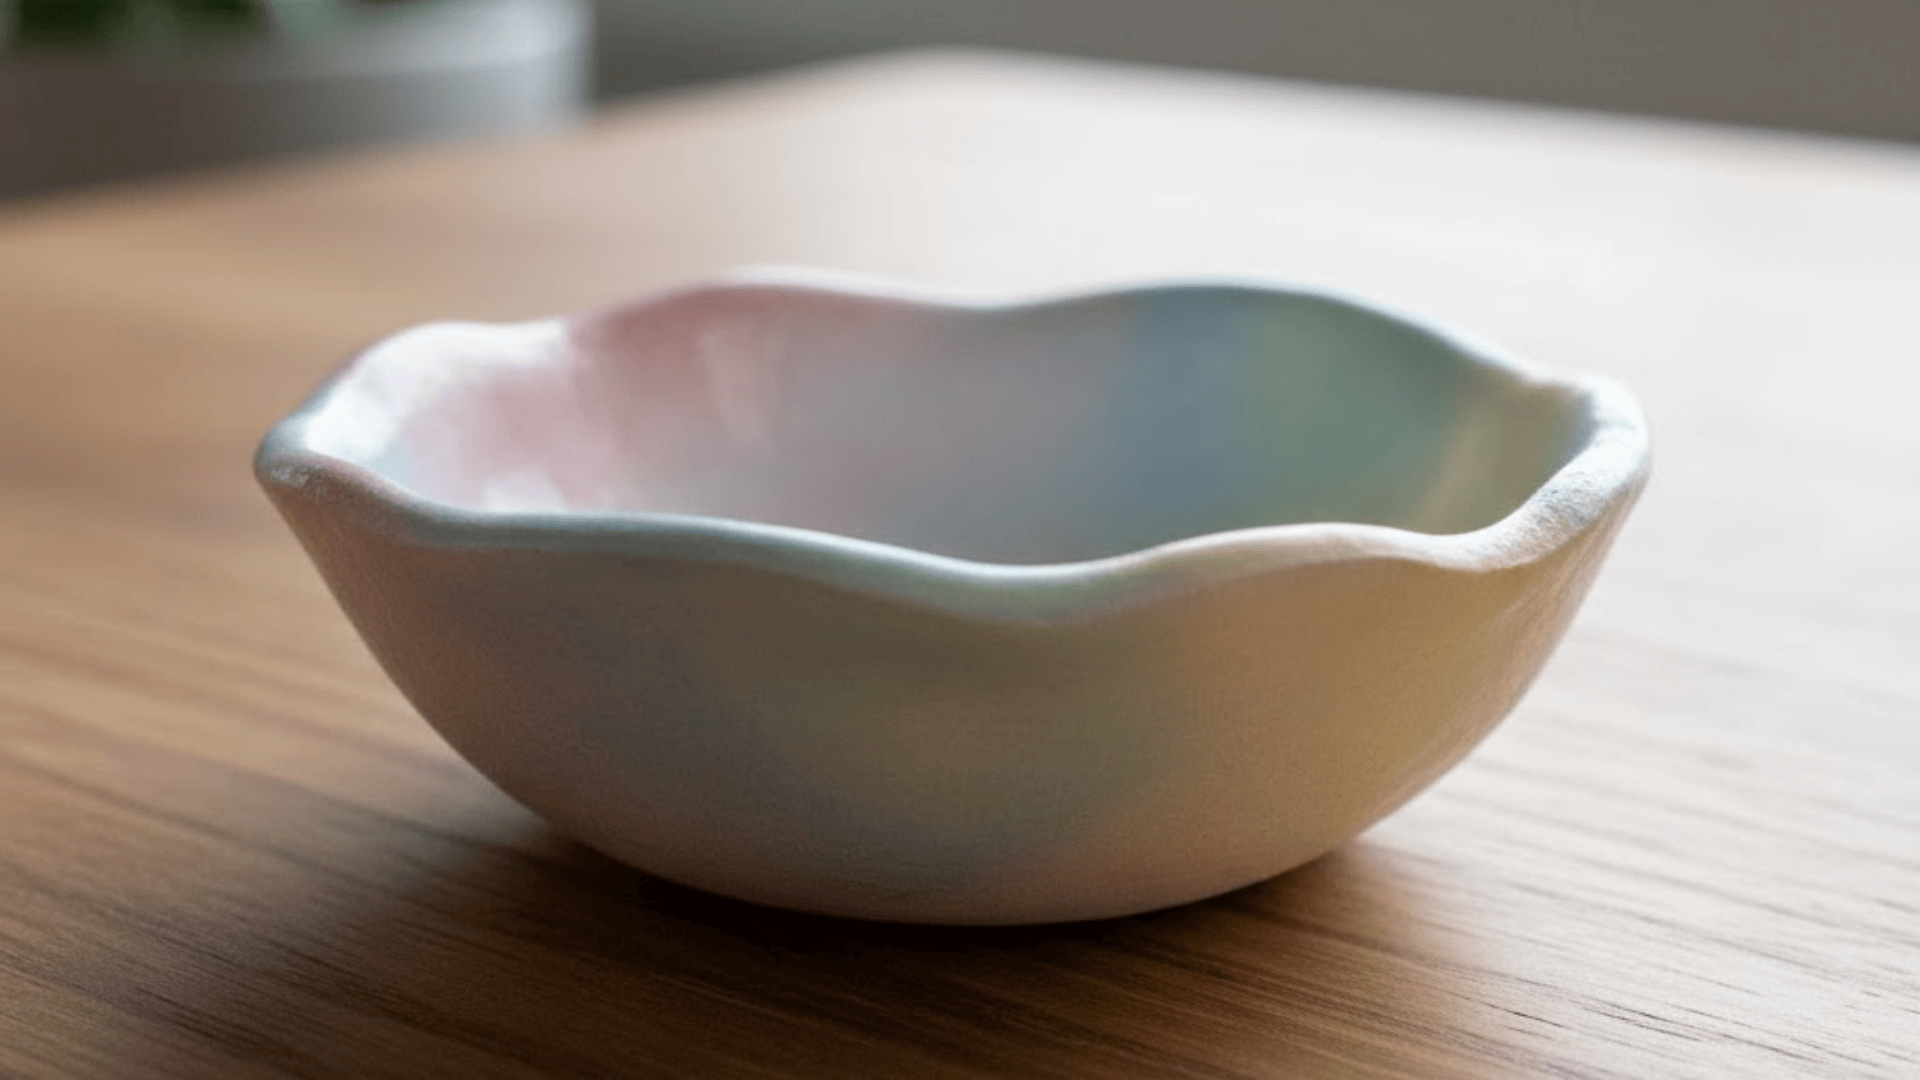
Roll a small ball of clay and flatten it slightly, then press your thumb into the center. Gently pinch the sides outward to create a shallow dish. Keep rotating it so the shape stays balanced.
Use your fingers or a sculpting tool to shape the rim into a wavy or flared edge for a more decorative look.
Let the piece dry evenly, then sand or smooth any rough spots. Once dry, add paint or glaze. It’s perfect for everyday jewelry or small keepsakes.
Artistic and Decorative Pinch Pot Ideas
You can easily turn simple pinch pots into small works of art with creative shapes, colors, and finishes. These projects let you learn texture, paint, and form while practicing control and detail:
5. Animal-Themed Pinch Pots
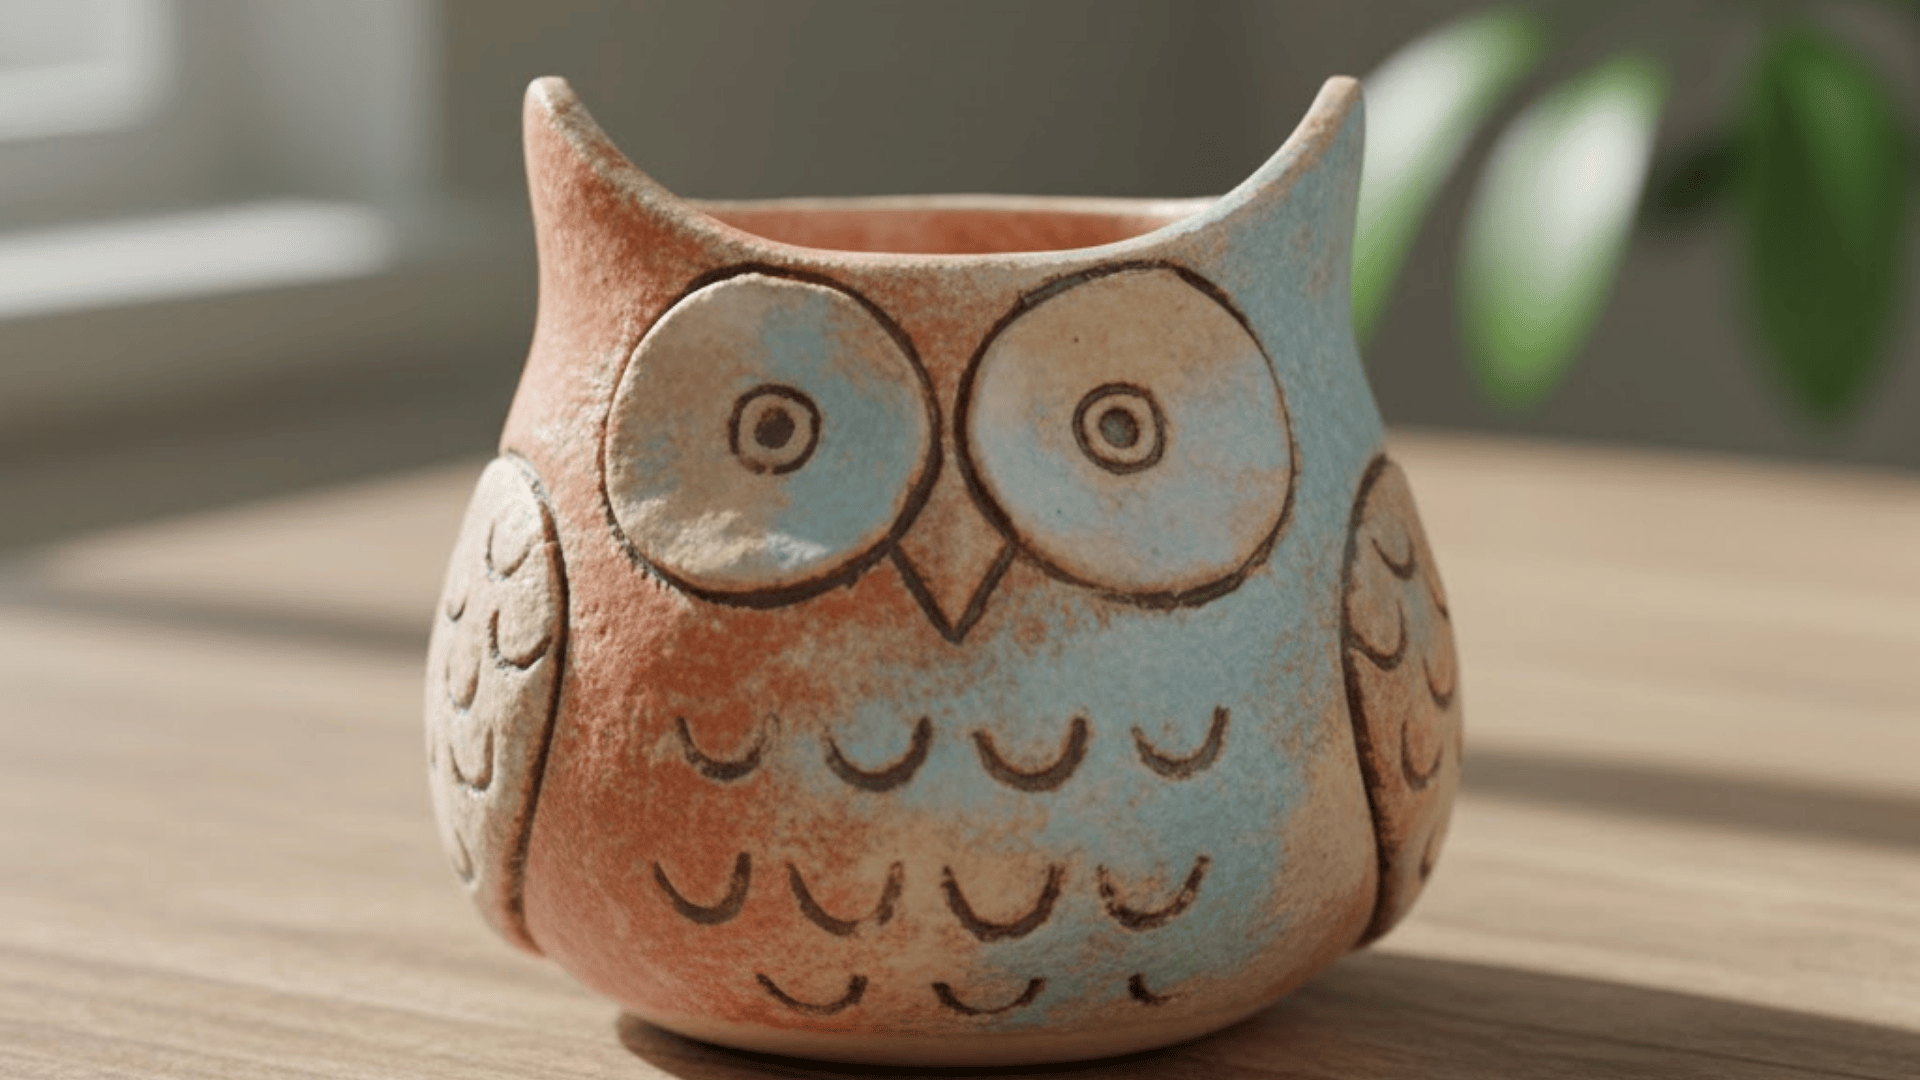
Start by forming a basic pinch pot bowl. Then roll small coils or shapes from extra clay to build ears, feet, or tails- depending on the animal you want.
Use the score-and-slip method to attach the pieces securely. Once dry, paint on features like eyes or fur textures using fine brushes.
Try making cats, owls, or turtles for a fun variety. Each one has its own personality, making them great for display or as handmade gifts.
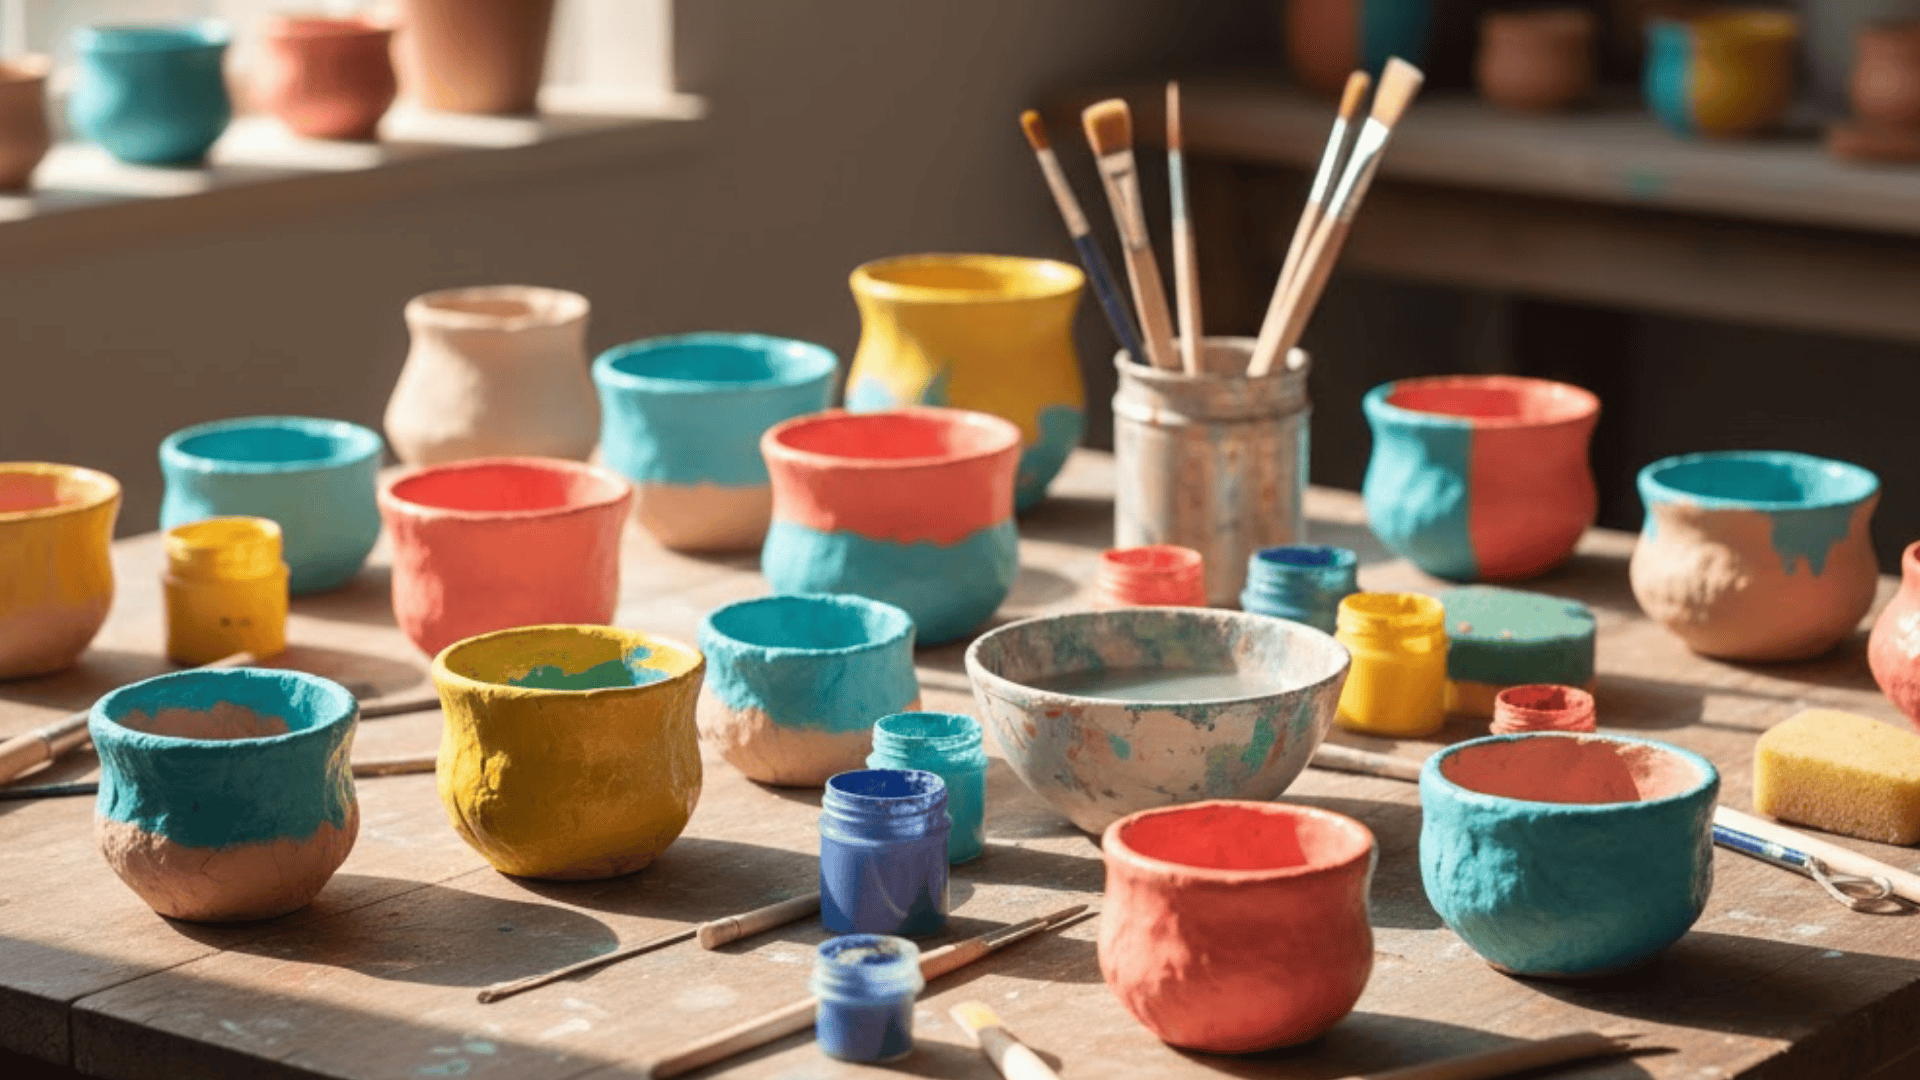
6. Pinch Pots with Painted Patterns
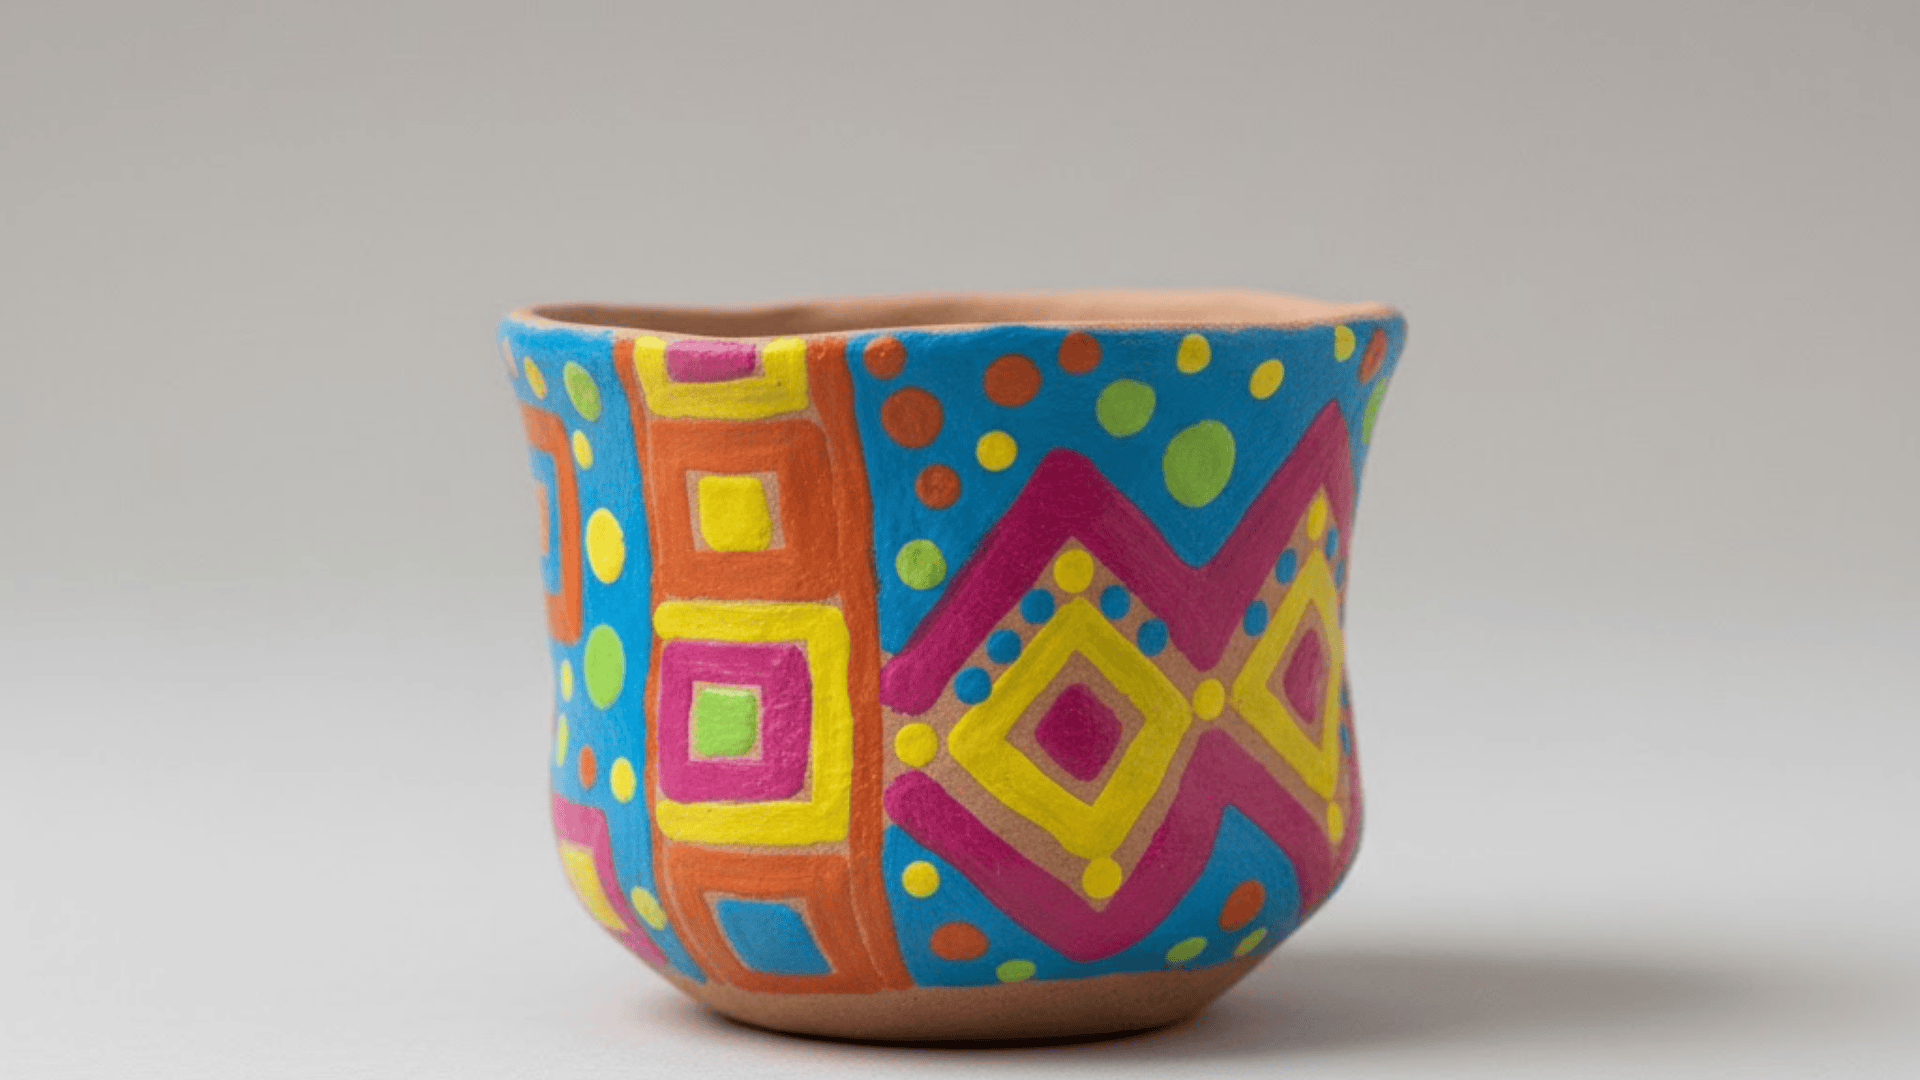
Make a smooth, even pinch pot and let it dry completely before decorating. Use acrylic paints or ceramic glazes to create stripes, dots, geometric shapes, or hand-drawn designs.
For a neat look, apply painter’s tape before painting to form clean lines. You can also use a sponge for blended or faded effects.
Once painted, seal it with a clear varnish if using air-dry clay. These patterned pots add color and character to shelves or tables.
7. Multi-Color Marble Clay Pots
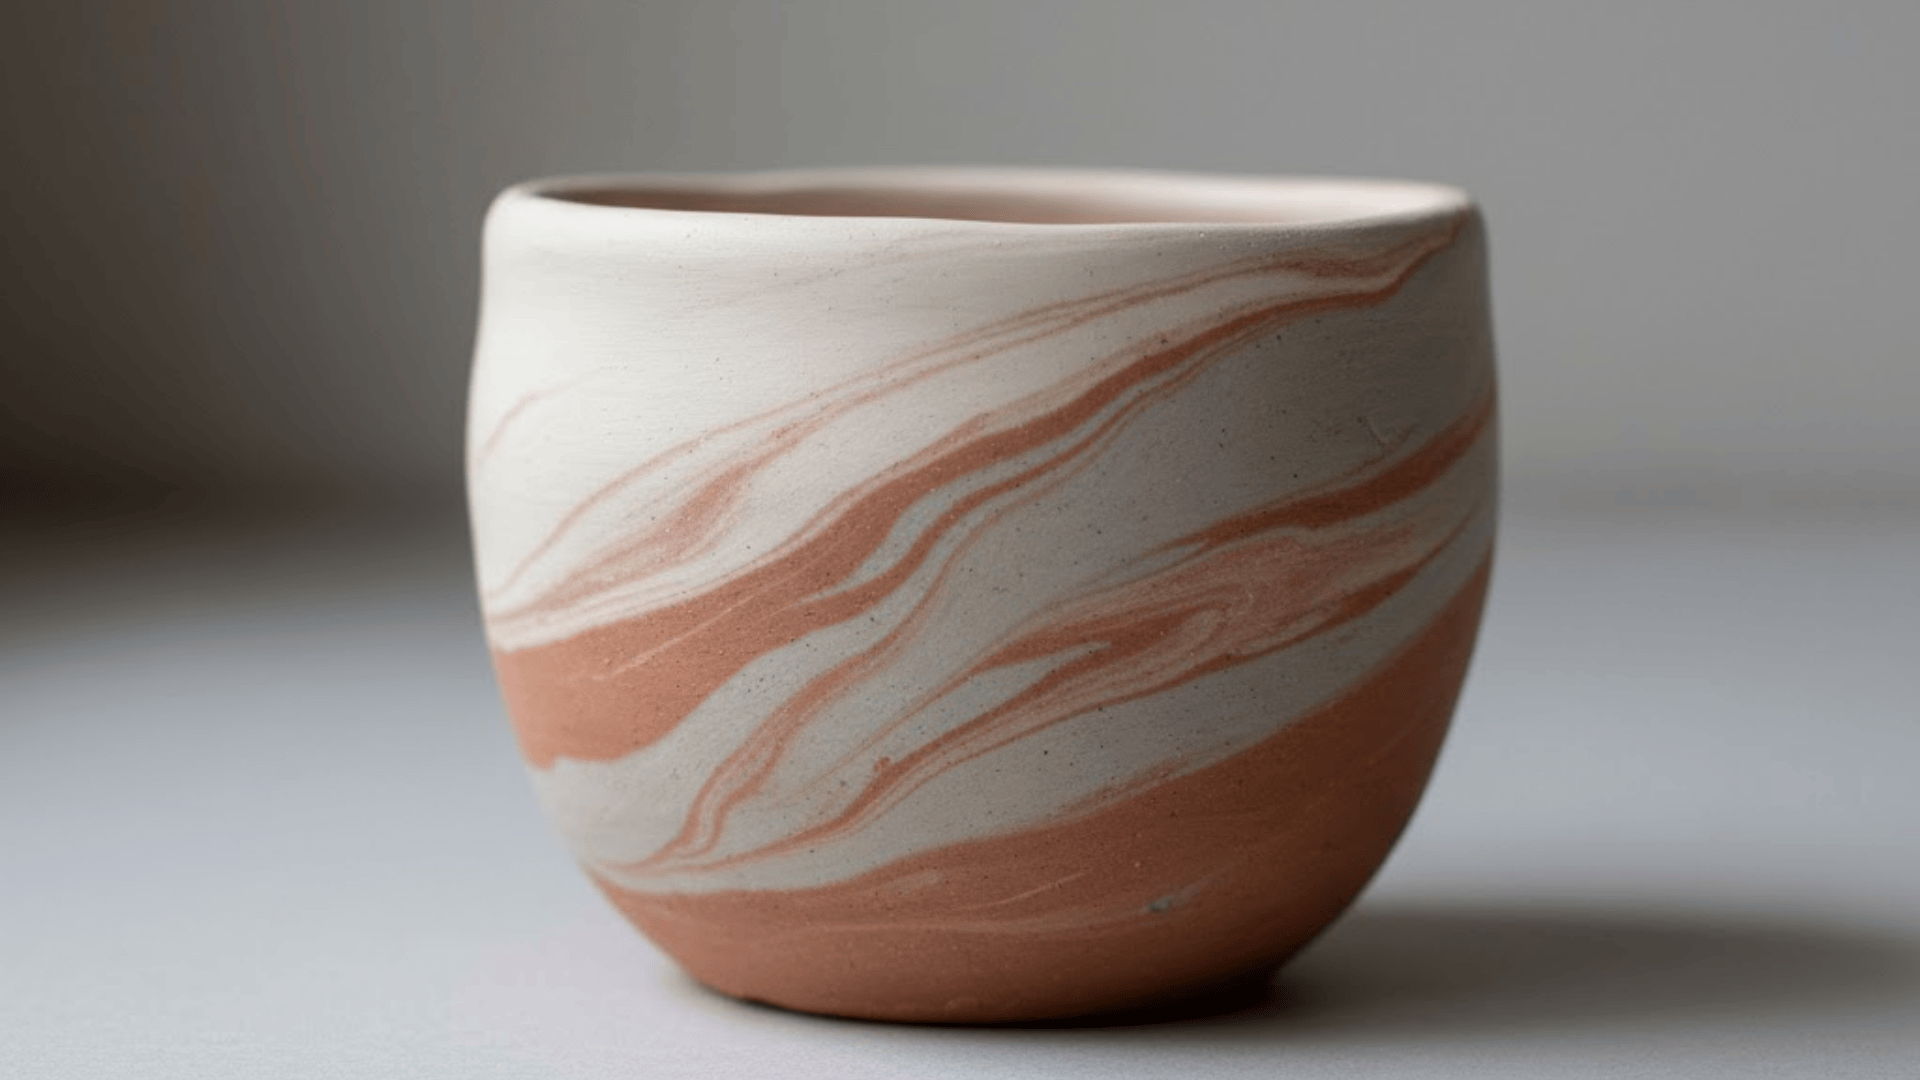
This idea gives a beautiful blended look without paint. Take small pieces of different-colored clays, like white, gray, and terracotta, and roll them together lightly until they form streaks, not a single solid color.
Shape the marbled mix into a ball, then form it into a pinch pot as usual. Avoid over-kneading, or the colors will mix too much.
When dry, sand gently and finish with a matte or glossy sealant. The natural swirl patterns make every pot unique.
8. Nature-Inspired Leaf Impressions
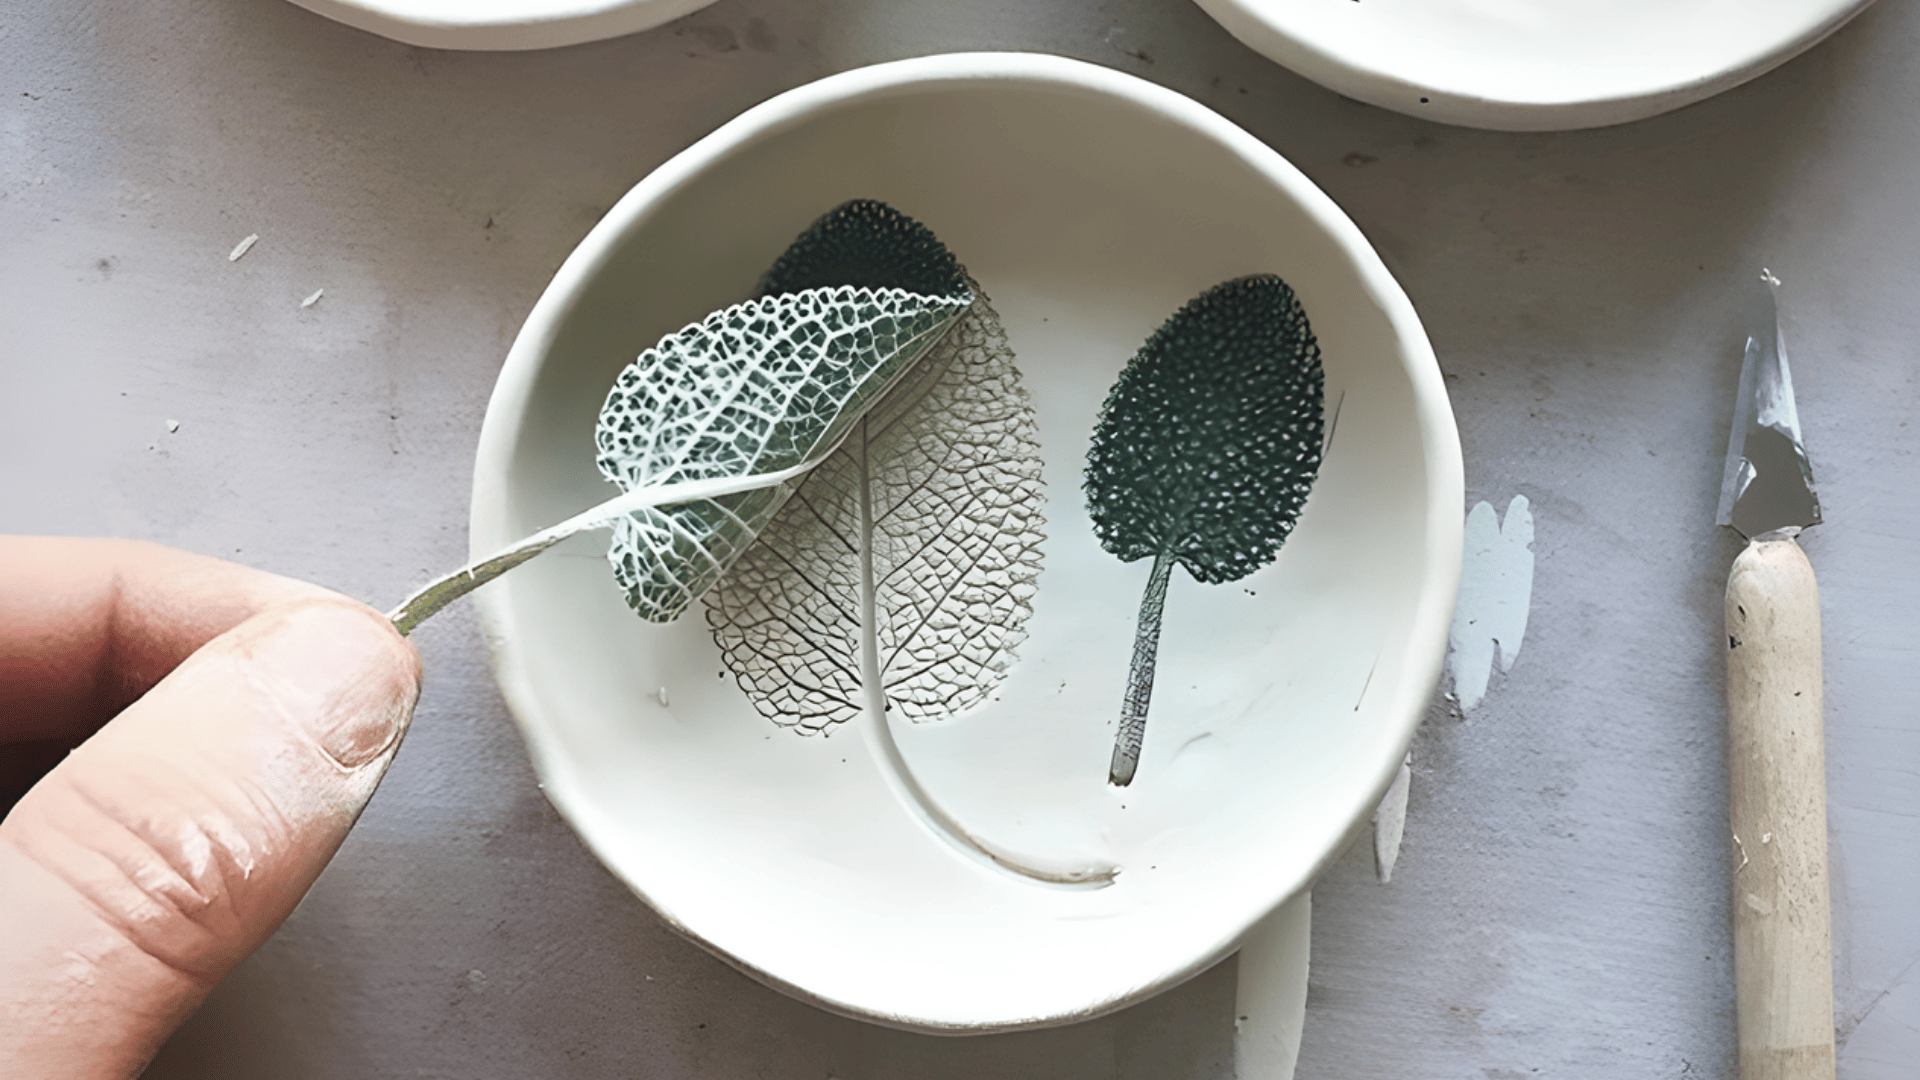
Roll a ball of clay and press your thumb into the center to start shaping. Before it dries, place a leaf on the surface, vein-side down, and press it gently so the texture transfers.
Carefully peel it off, leaving the imprint behind. Let the pot dry fully, then paint or glaze to highlight the leaf pattern.
You can experiment with different leaves, such as ferns or maples, for varied textures. These pots have a calm, earthy feel, perfect for natural décor.
Functional Pinch Pot Ideas for Everyday Use
Pinch pots can be more than decorative pieces- they can also be practical. These ideas let you make items that fit into your daily routine while still being fun to create:
9. Candle Holders
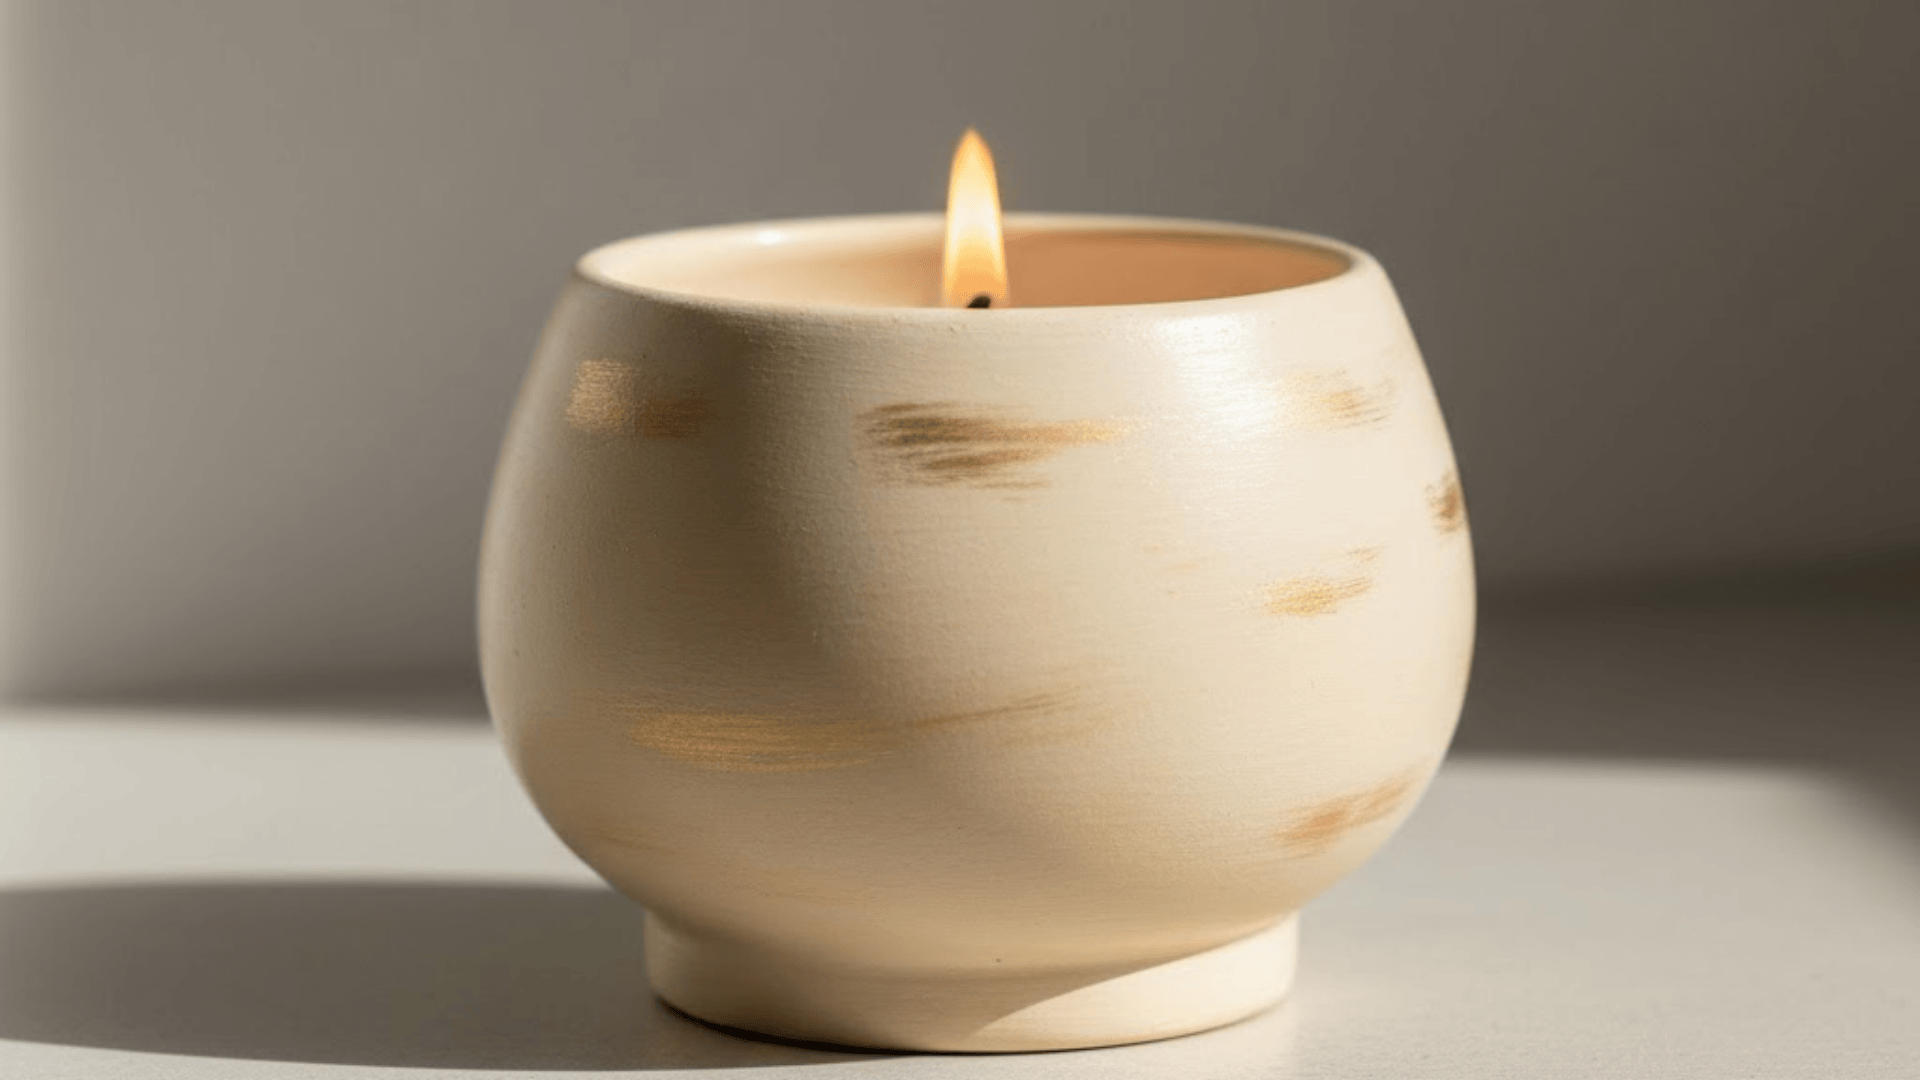
Start with a medium-sized clay ball and pinch it into a shallow bowl or cup shape. Keep the base slightly thicker for stability.
While the clay is still damp, press a candle base or tealight gently into the center to size the opening. Smooth the edges with a damp sponge and let it dry completely.
Once dry, paint or glaze it with soft, warm tones, or you can use metallic as well. These handmade candle holders add a cozy and personal touch to any space.
10. Salt and Spice Bowls
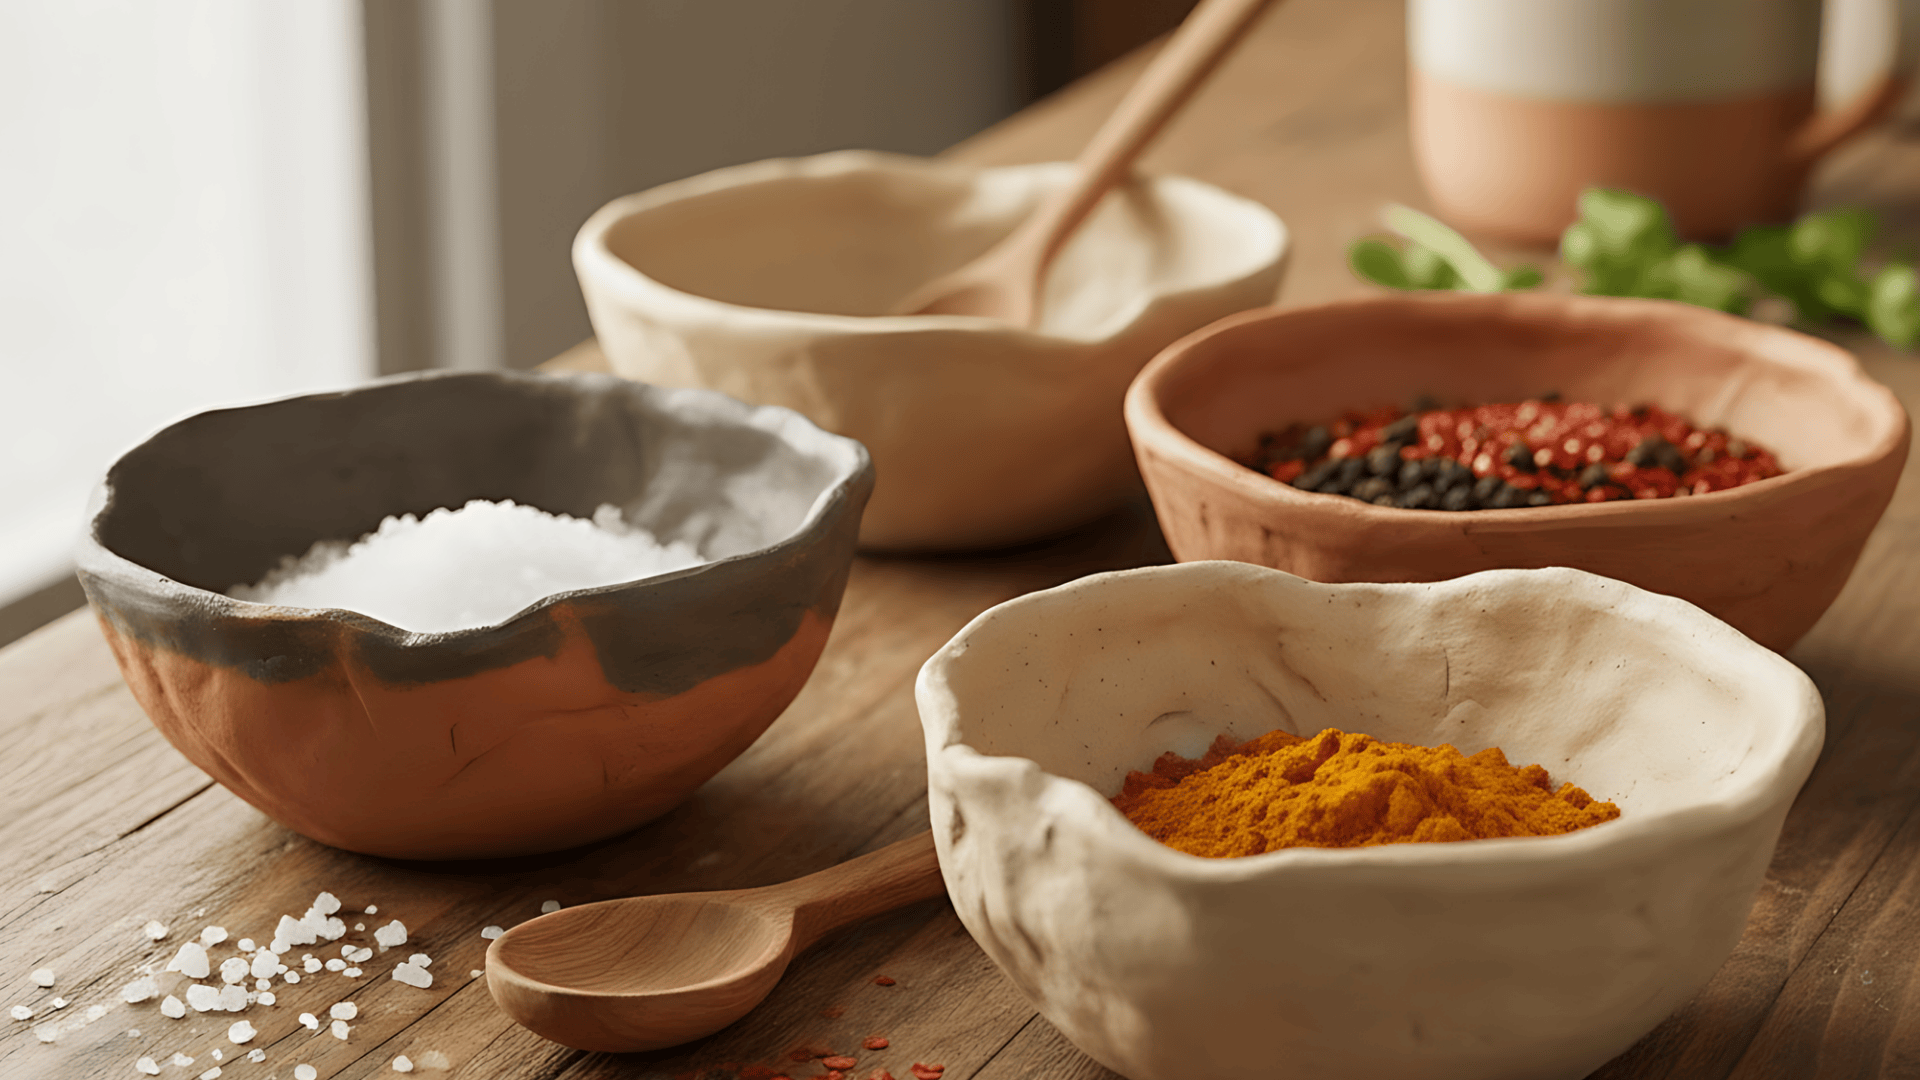
Roll two or three small clay balls to make a set of matching bowls. Pinch each one evenly into a shallow form that fits in your palm.
Use your fingers or a spoon handle to press a small dip for easy scooping. Smooth rough areas with a damp sponge.
After drying, paint or glaze them with food-safe finishes if you plan to use them for real spices. They’re great for serving salt, sugar, or herbs right at the table.
11. Soap or Sponge Dish
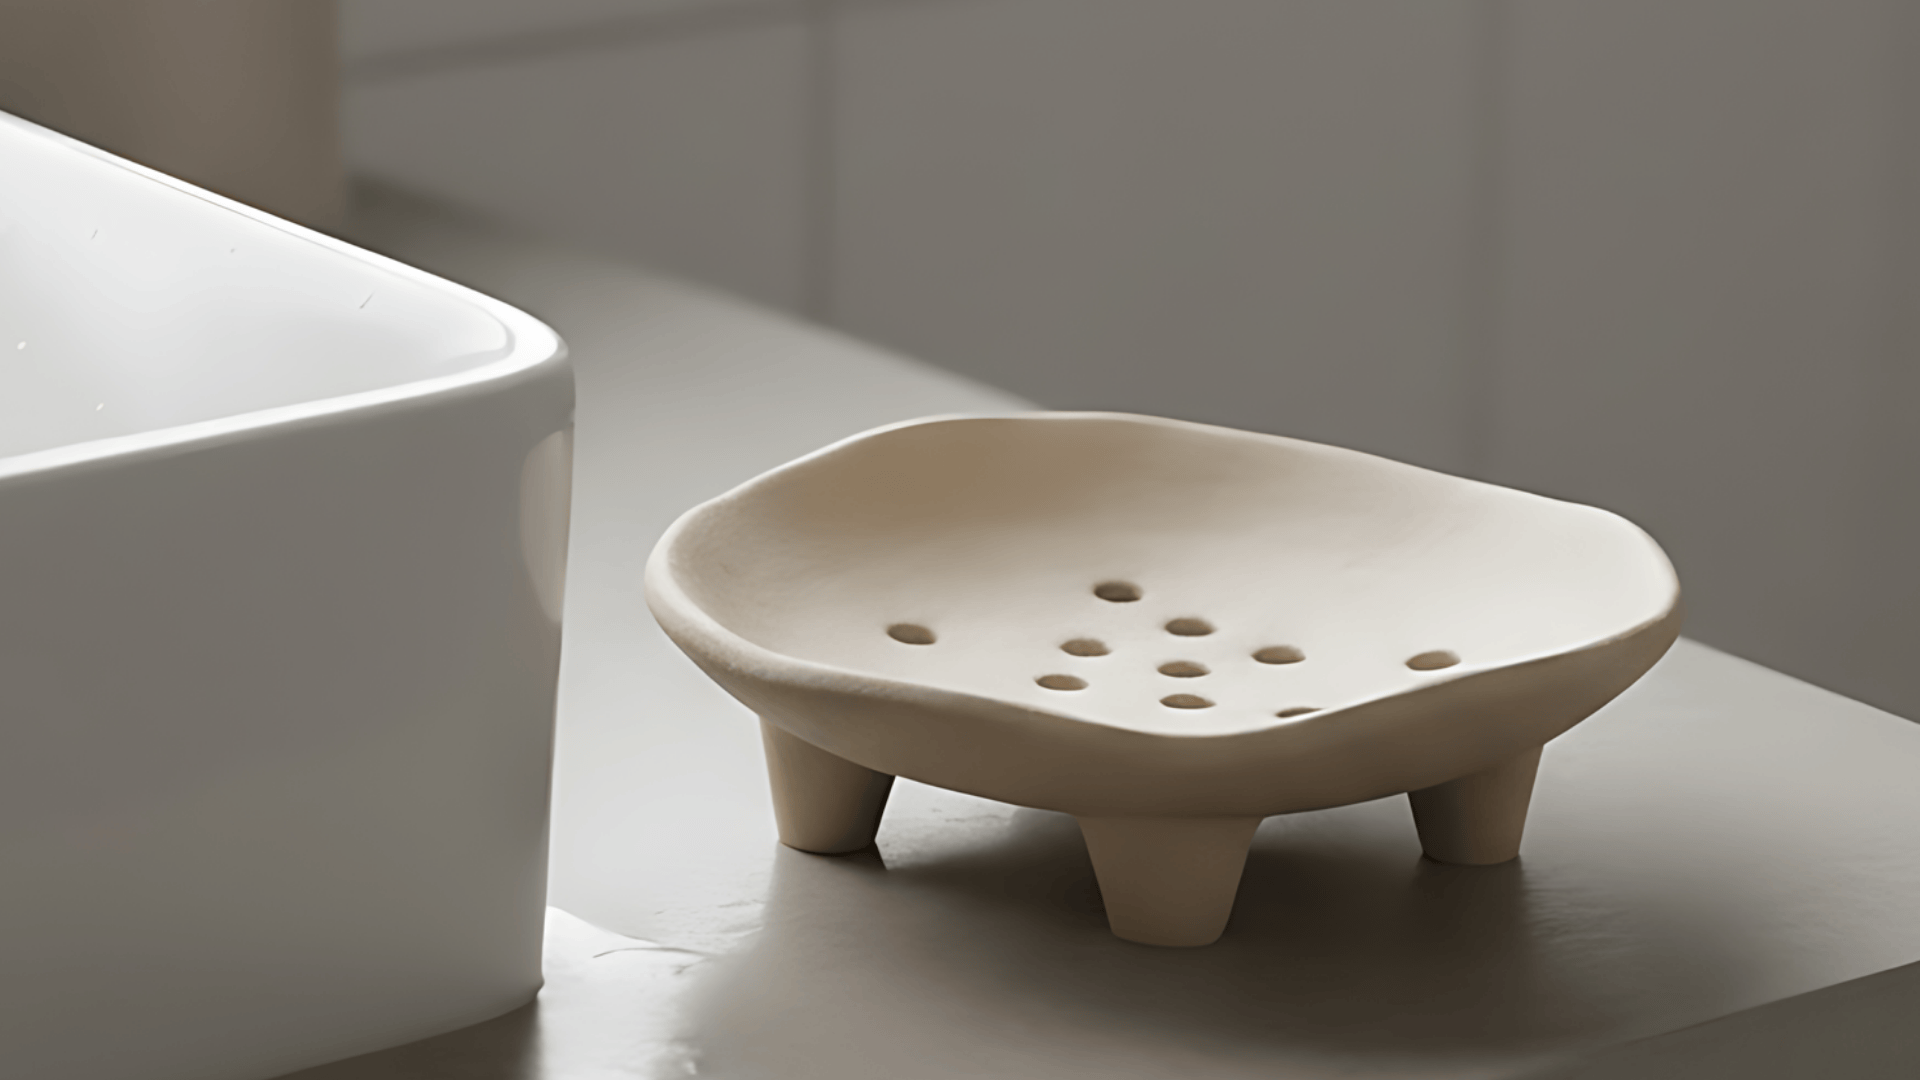
Start with a larger clay ball and pinch it into a shallow, oval shape. While it’s still moist, use a tool or straw to create small drainage holes in the bottom.
Shape short clay coils into feet and attach them using the score-and-slip method. Once dry, sand gently and paint or glaze as you like.
This dish keeps your soap or sponge dry while adding a handcrafted charm to your bathroom or kitchen sink area.
12. Desk Organizer or Pen Cup
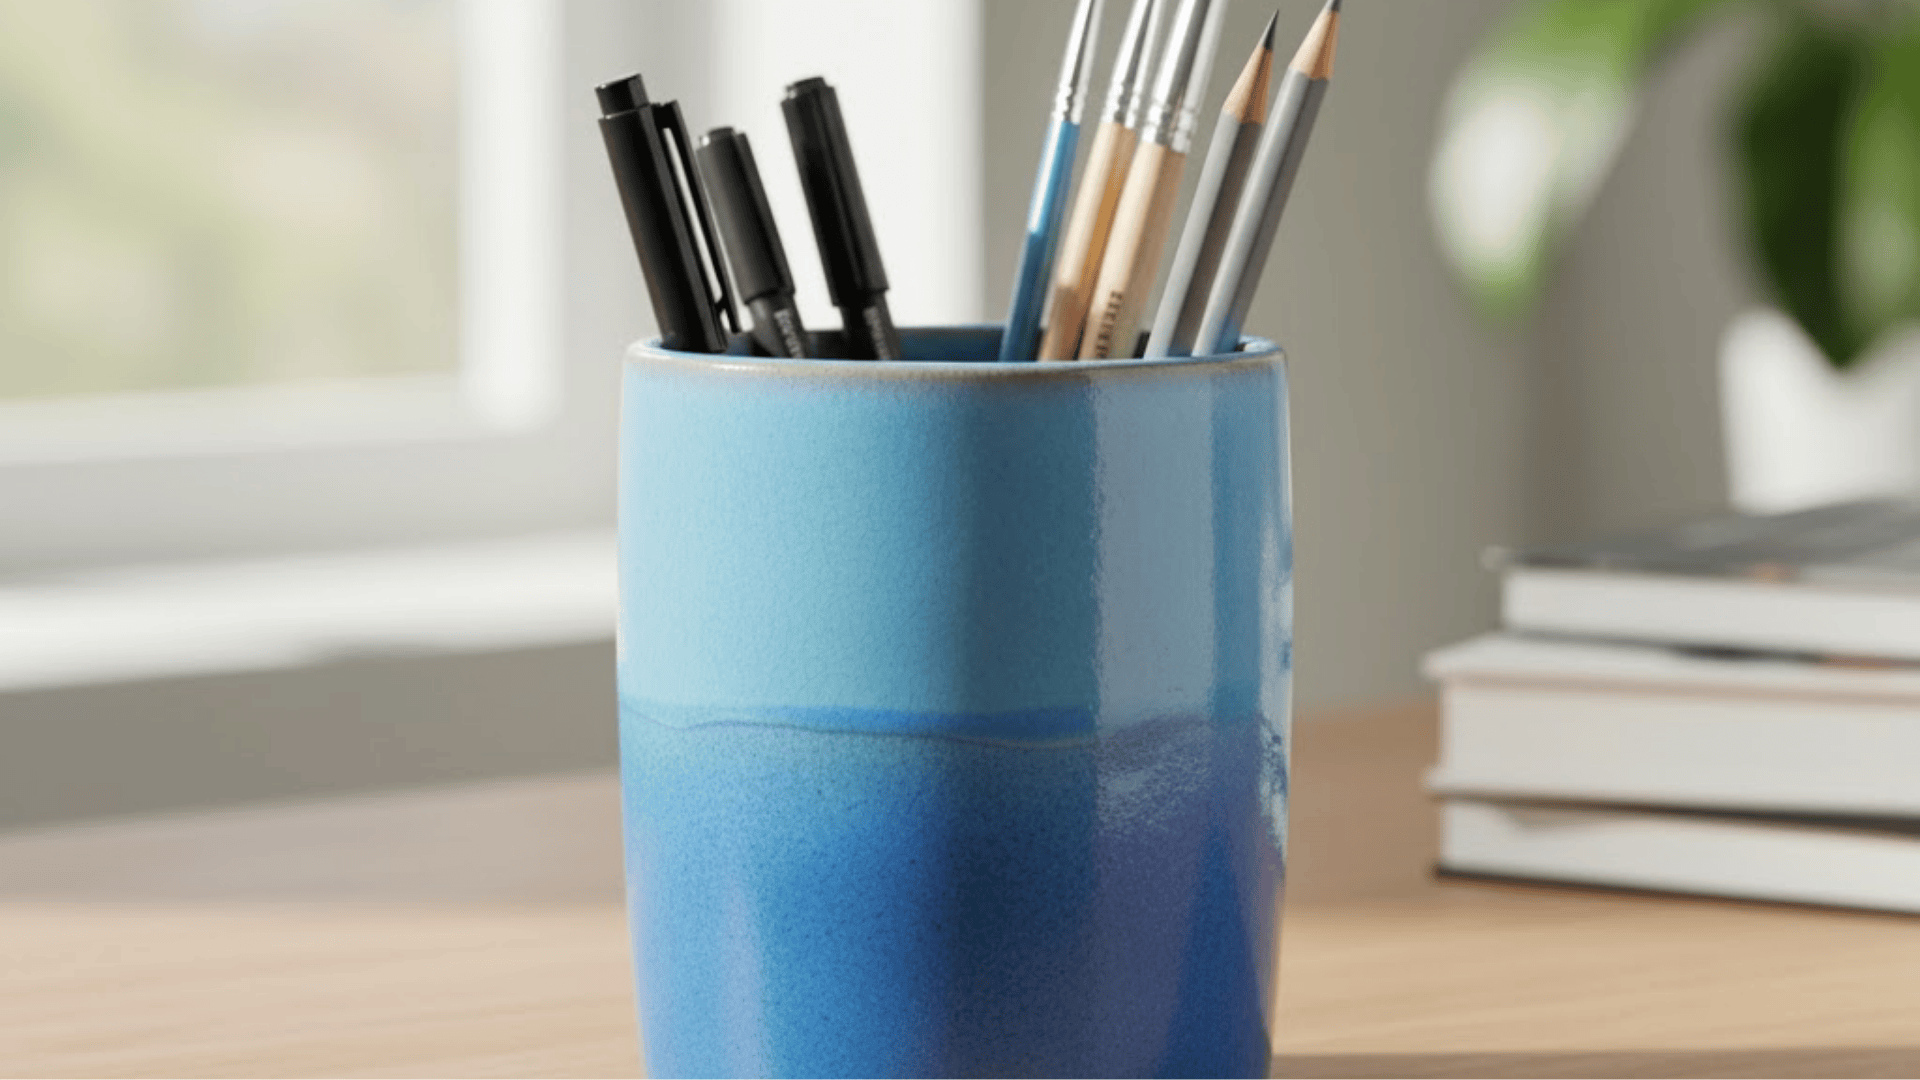
Form a medium clay ball into a taller, cylindrical pinch pot. Rotate it slowly as you pinch upward to build even walls.
Keep the bottom thick to reduce tipping. Smooth the sides with a damp sponge and use a wooden tool to level the rim.
Once dried, paint or glaze it in calming or bright colors. This handmade cup works perfectly for pens, brushes, or other small desk items while adding a creative touch.
Modern and Trendy Pinch Pot Designs
Modern pinch pots are all about clean shapes, subtle textures, and stylish finishes. These ideas help you experiment with new looks that fit perfectly into today’s décor styles:
13. Matte Black Minimalist Pinch Pot
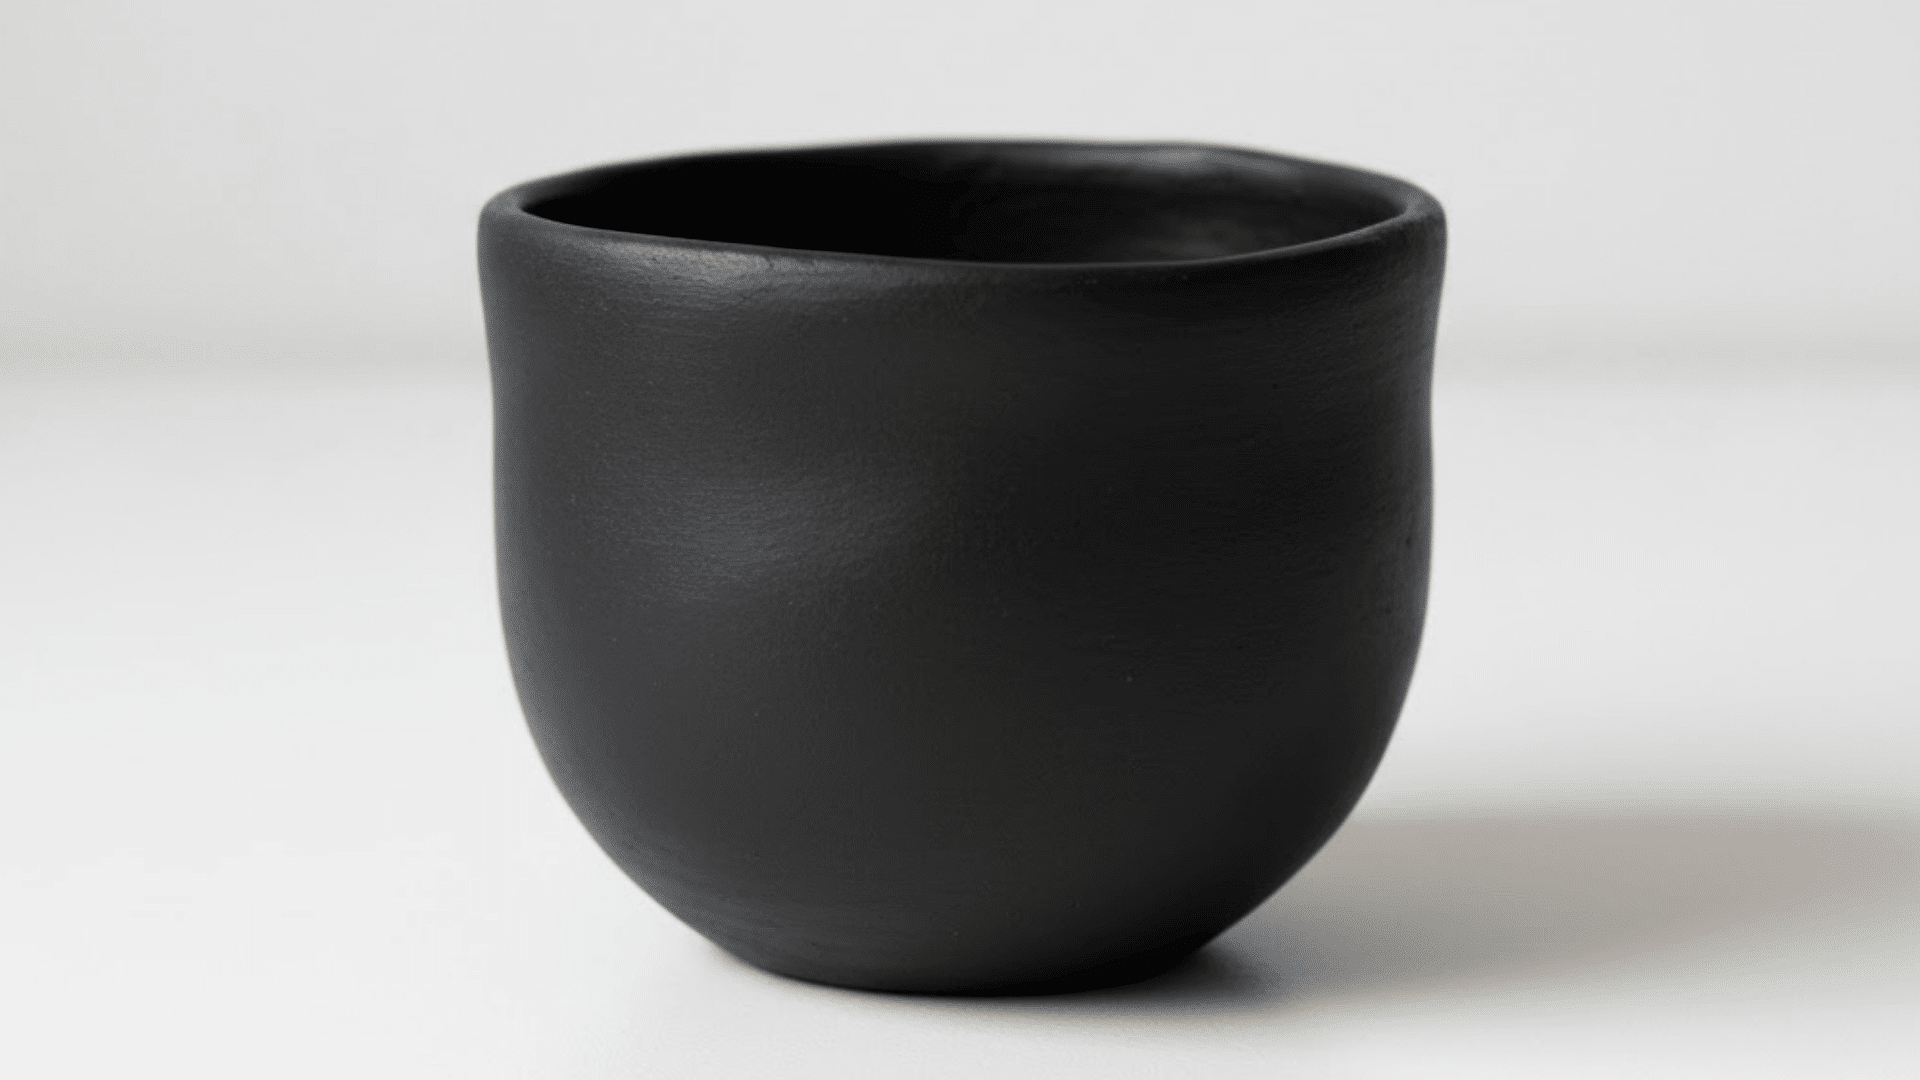
Start by shaping a smooth, symmetrical bowl using air-dry or kiln clay. Focus on getting clean lines and even walls for a refined look.
Once dry or fired, apply a matte black paint or glaze evenly across the surface. You can leave the rim unpainted for contrast or add a soft texture using a sponge before finishing.
The matte black finish gives it a modern, understated vibe that works well for small planters or tabletop accents.
14. Speckled Glaze Design
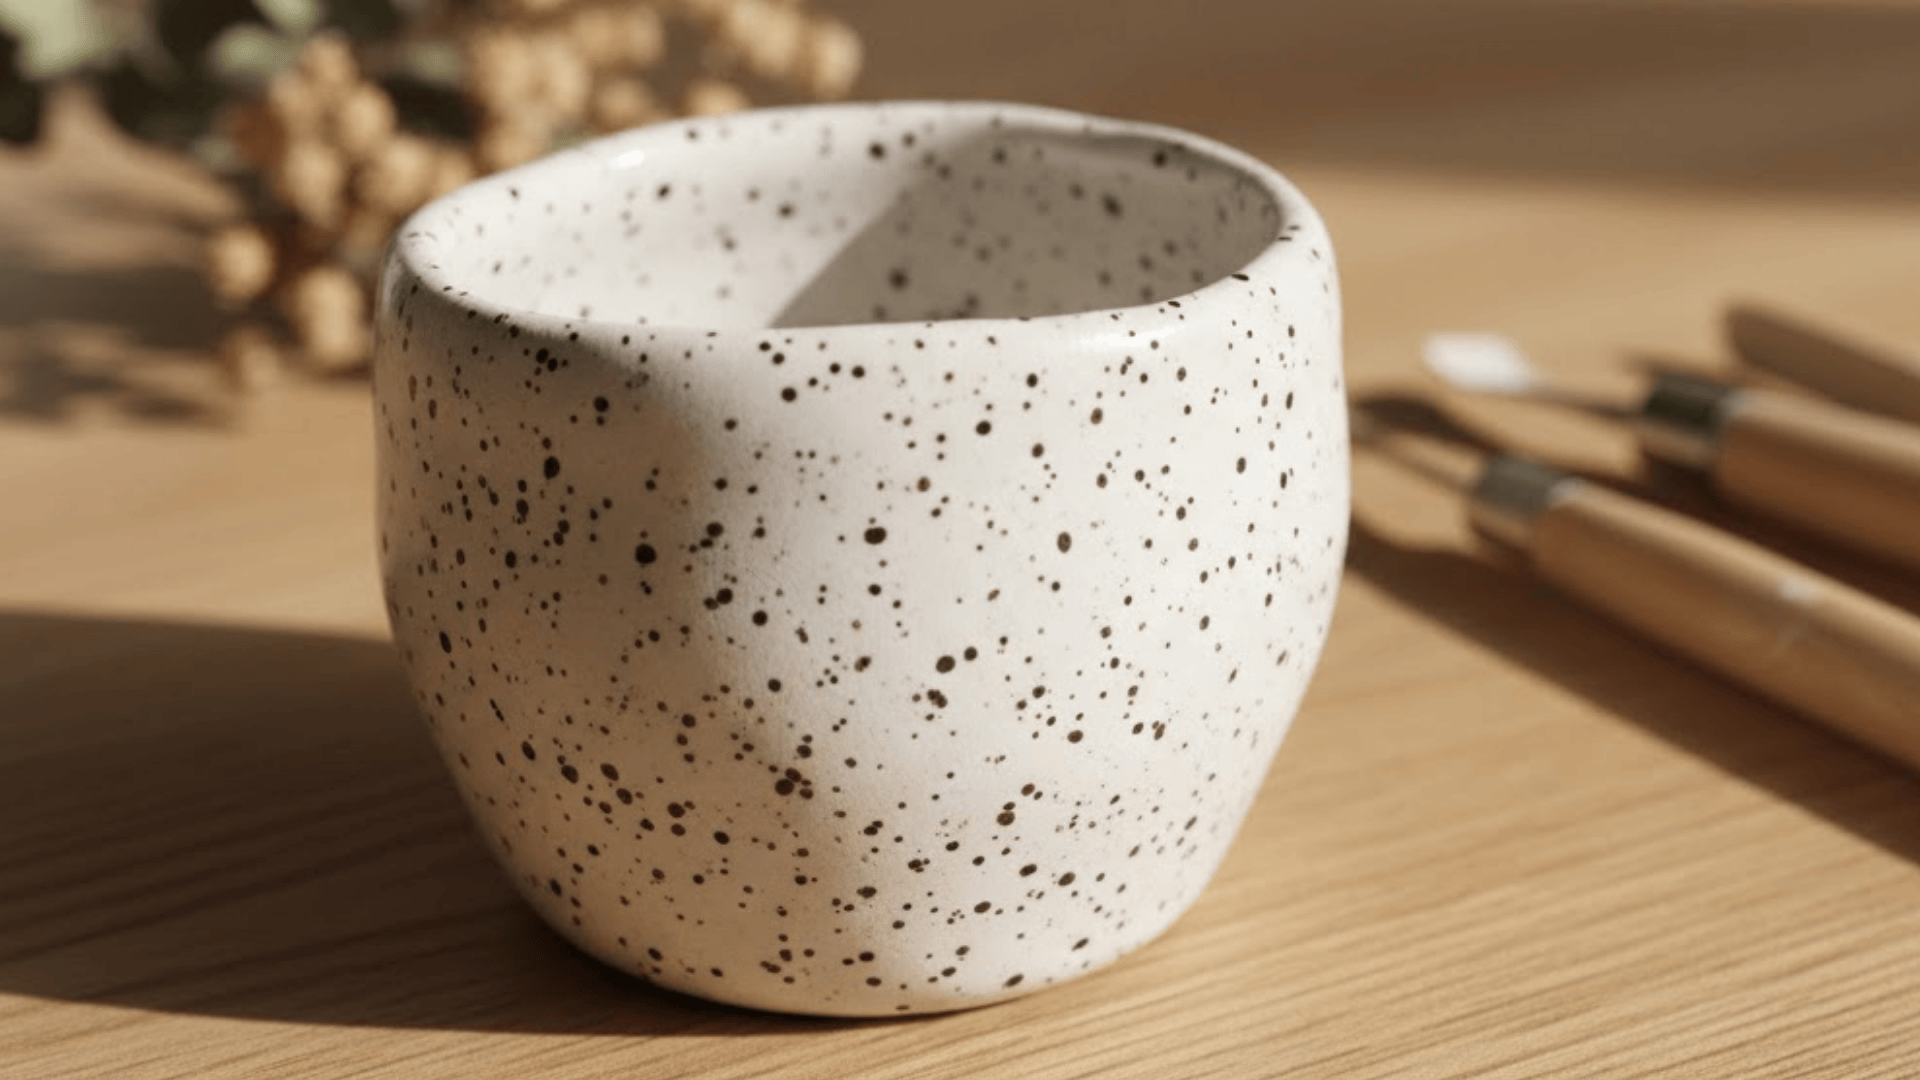
Make a simple pinch pot and let it dry completely before applying glaze or paint. Choose a neutral base color, such as white, beige, or gray.
Once dry, lightly flick a contrasting color (like brown, black, or blue) using a toothbrush or stiff brush to create natural speckles.
This technique adds a subtle, handmade look without overdoing it. After sealing or firing, the result is a stylish, organic finish that fits beautifully in modern or minimalist interiors.
15. Wavy Rim Pot
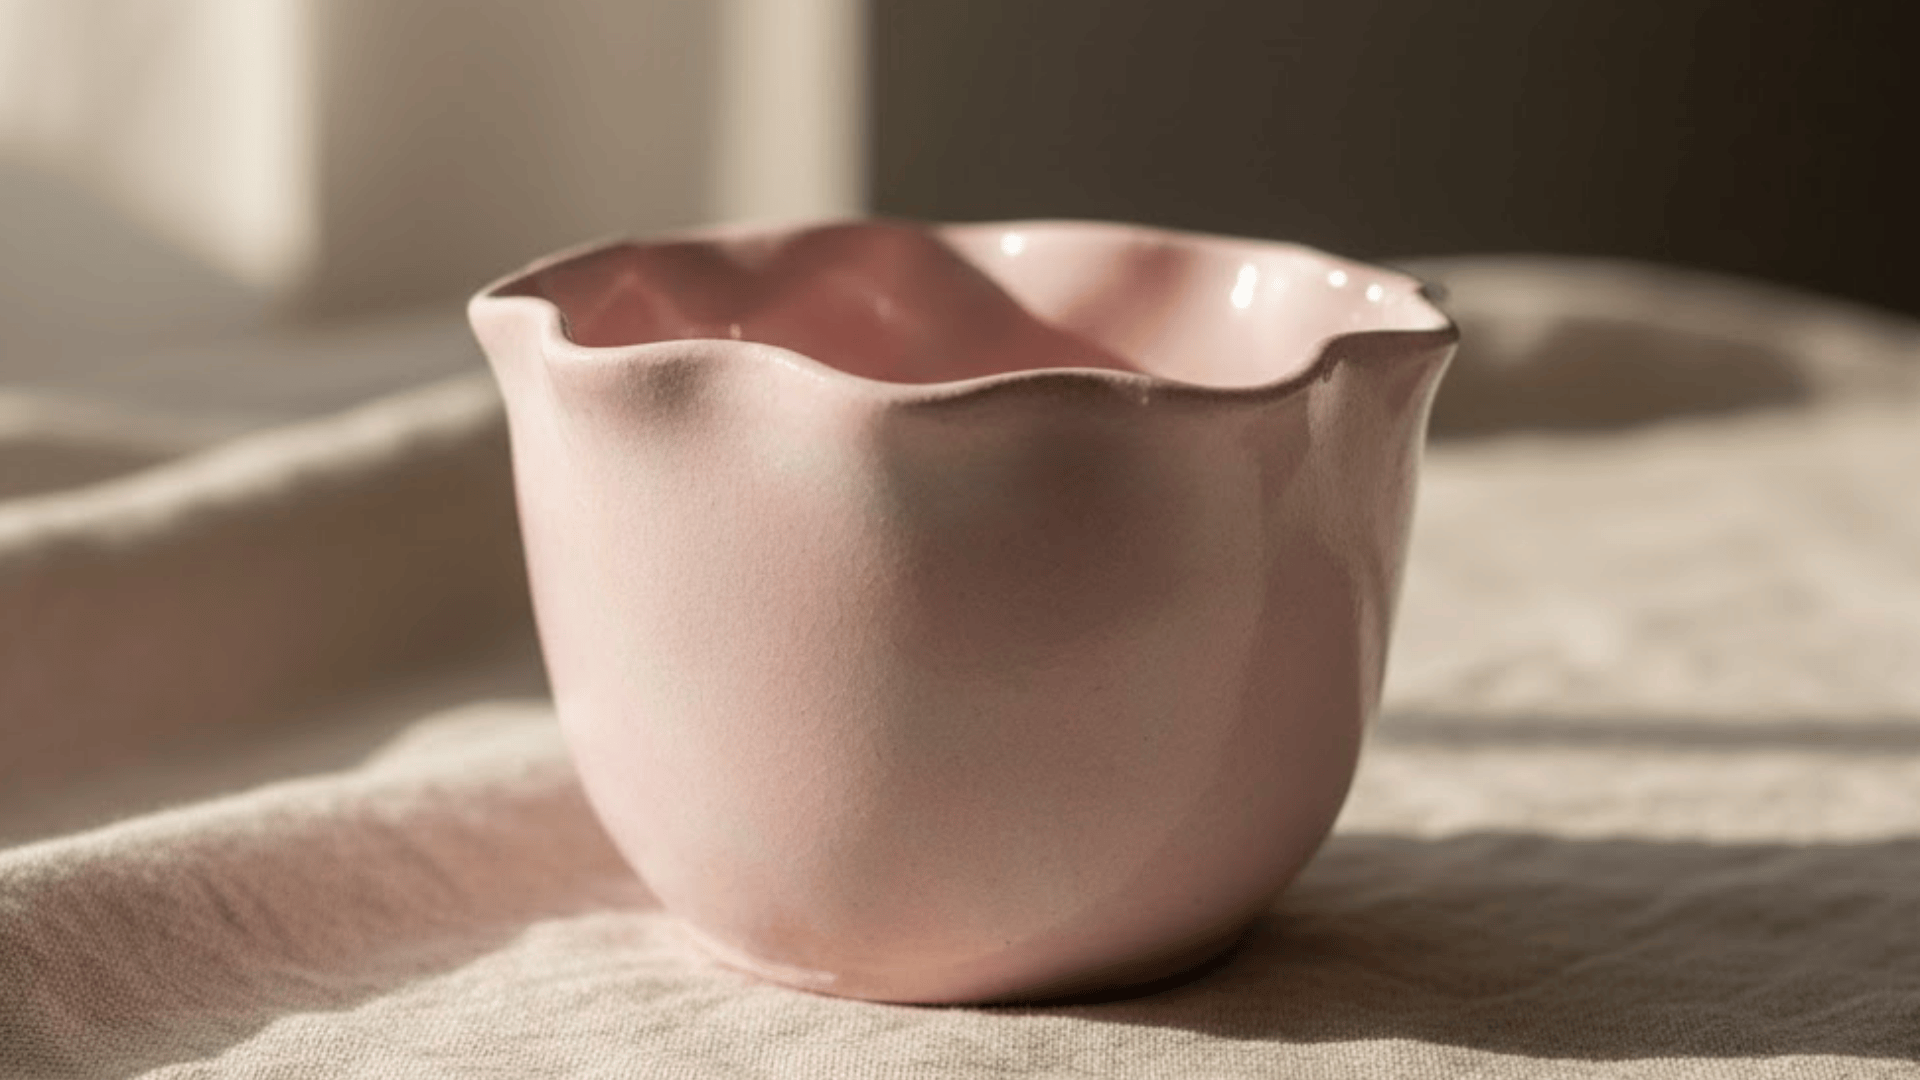
Shape a basic pinch pot, then use your fingers or a sculpting tool to gently push and pull along the rim to form soft waves.
Try to keep the wave spacing even while maintaining a balanced wall thickness. Smooth the edges with a damp sponge to keep the curves clean.
Once dry, finish it with pastel or glossy paint to highlight the rim. The wavy edge adds movement and gives the pot a soft, modern look that stands out on shelves.
16. Two-Tone Dip-Dye Clay
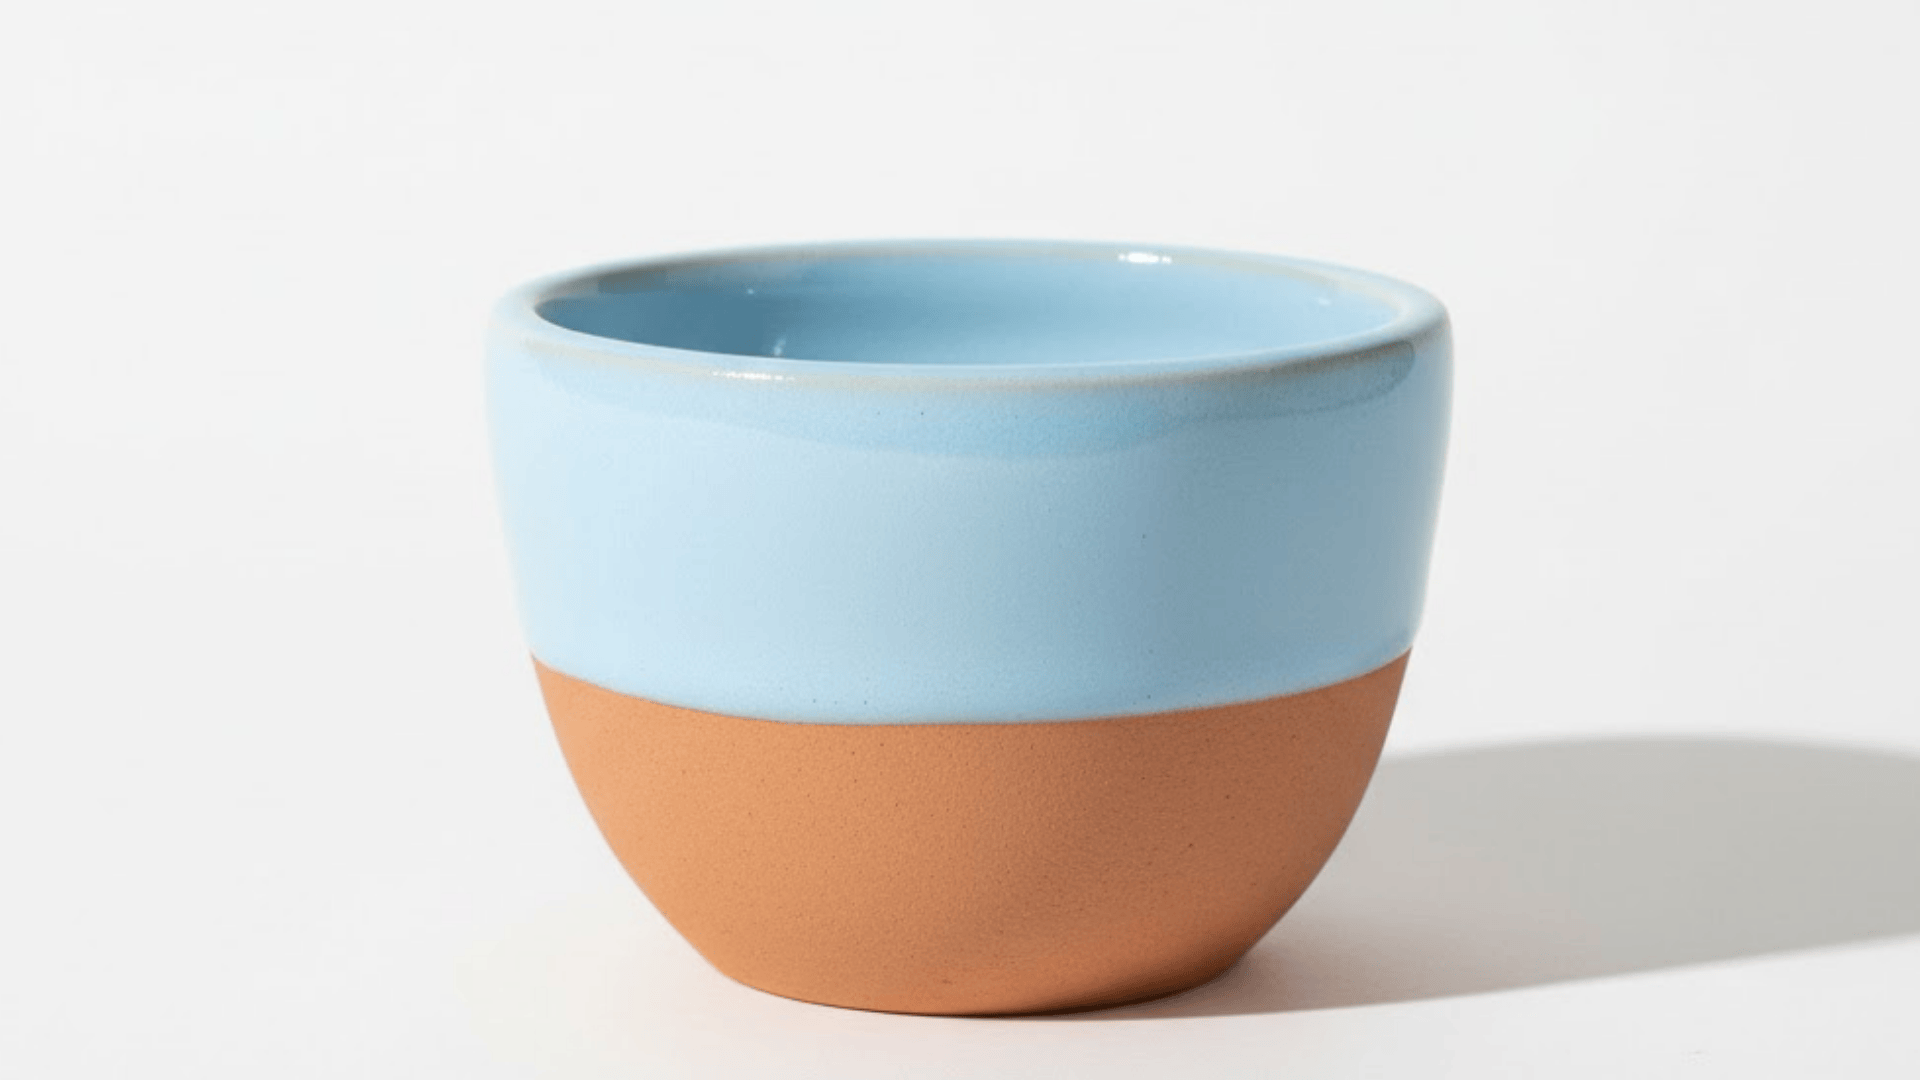
Form a smooth pinch pot and let it dry completely before painting. Pick two coordinating colors- one light, one bold.
Dip the bottom half of the pot into paint or glaze, letting it naturally fade where the colors meet. You can tilt the pot slightly for an angled design.
Once the paint sets, seal with a clear coat for a sleek finish. The result is a simple yet stylish two-tone effect that looks fresh and modern without needing extra detail.
Kids’ Pinch Pot Craft Ideas
Pinch pots are perfect for kids because they’re hands-on, colorful, and easy to shape. These cute pinch pot ideas encourage creativity and let children have fun while learning basic pottery techniques:
17. Rainbow-Painted Pinch Pots
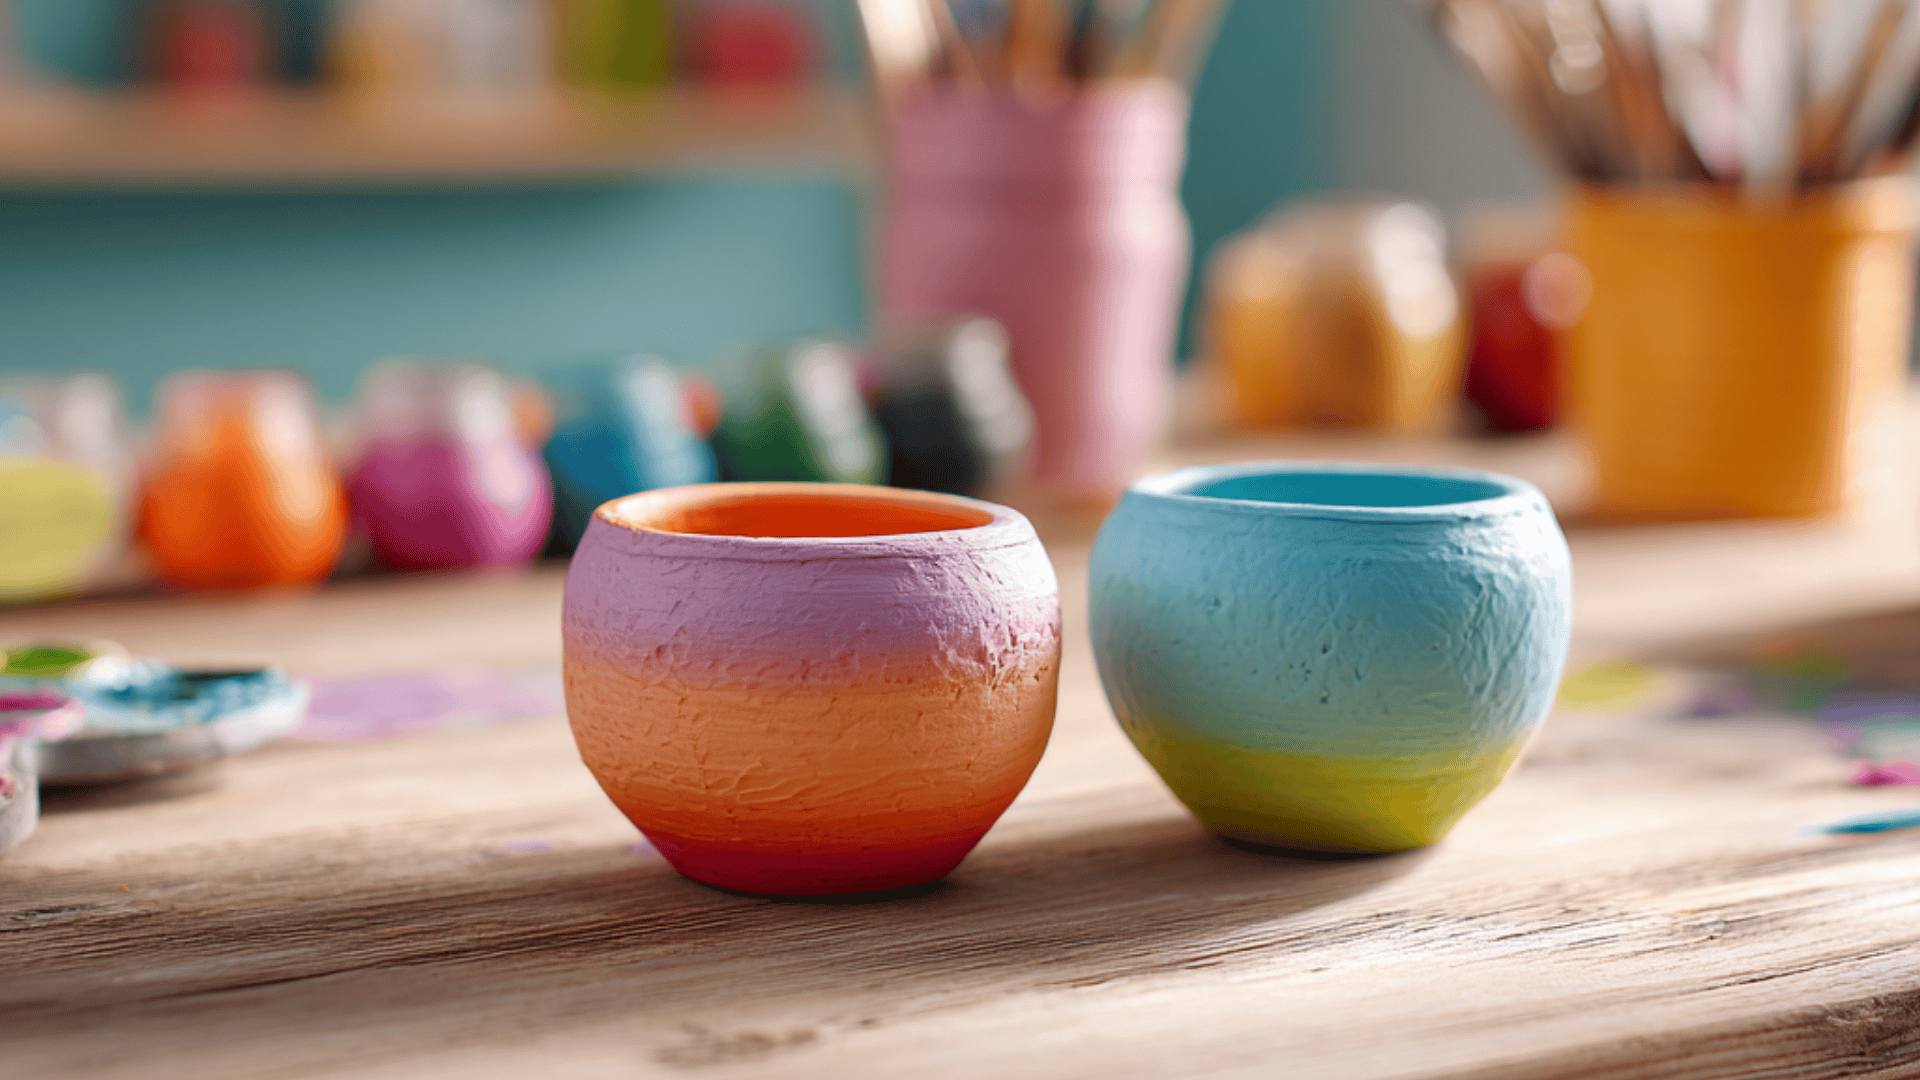
Begin by helping kids form small pinch pots from air-dry clay. Once dry, give them a set of bright, washable paints.
Let them paint each section in rainbow colors, blending where the shades meet. Encourage them to use a sponge for a softer look or brushes for bolder stripes.
When finished, seal the pot with a clear, non-toxic varnish. These rainbow pots are cheerful, fun to make, and perfect for holding crayons, beads, or small treasures.
18. Emoji Expression Pinch Pots
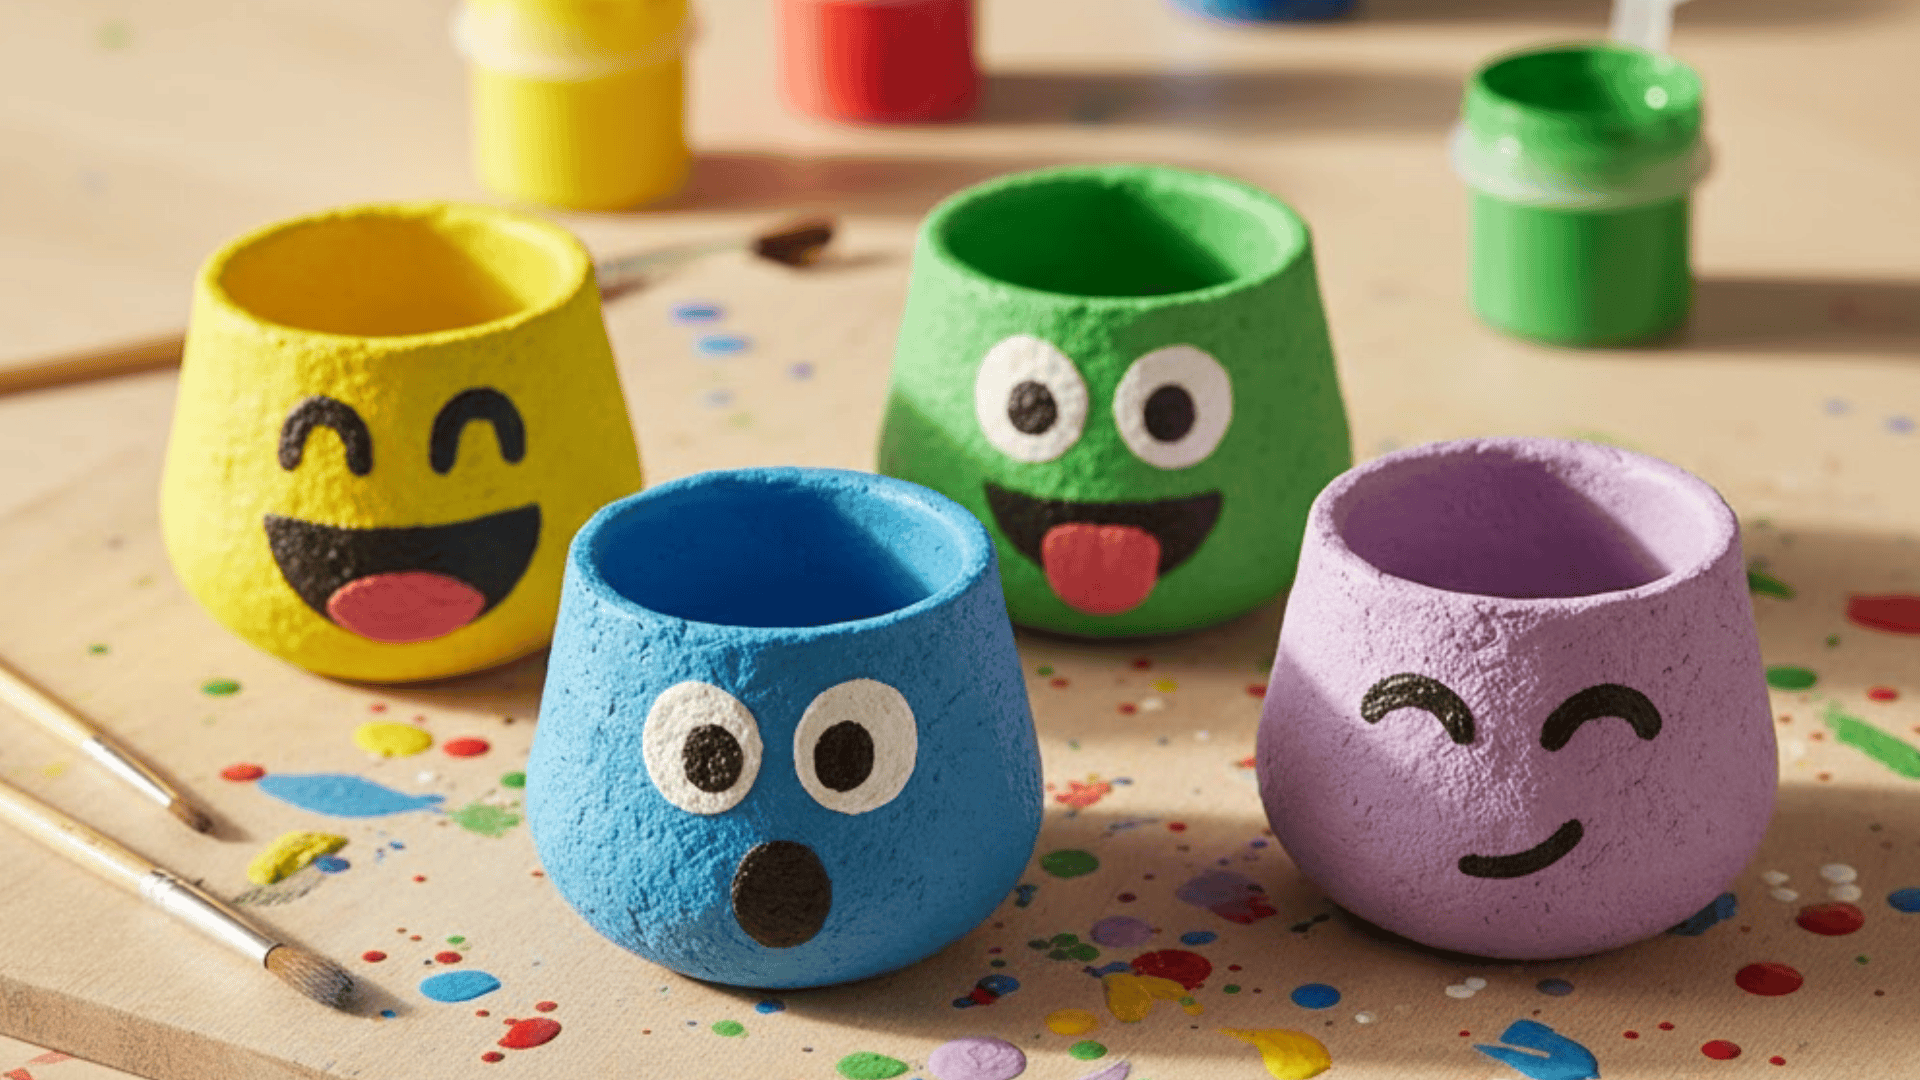
Kids love showing emotions through art, and these emoji-themed pinch pots make it fun and personal.
Start with a small clay pot and smooth the surface after shaping. Once dry, let kids paint faces inspired by emojis- happy, silly, surprised, or sleepy. Use bright, bold colors and fine brushes for expressions.
When finished, seal the pots with non-toxic varnish for shine. These little emoji pots look adorable on desks and help kids express their moods in a creative way.
19. Handprint Memory Pots
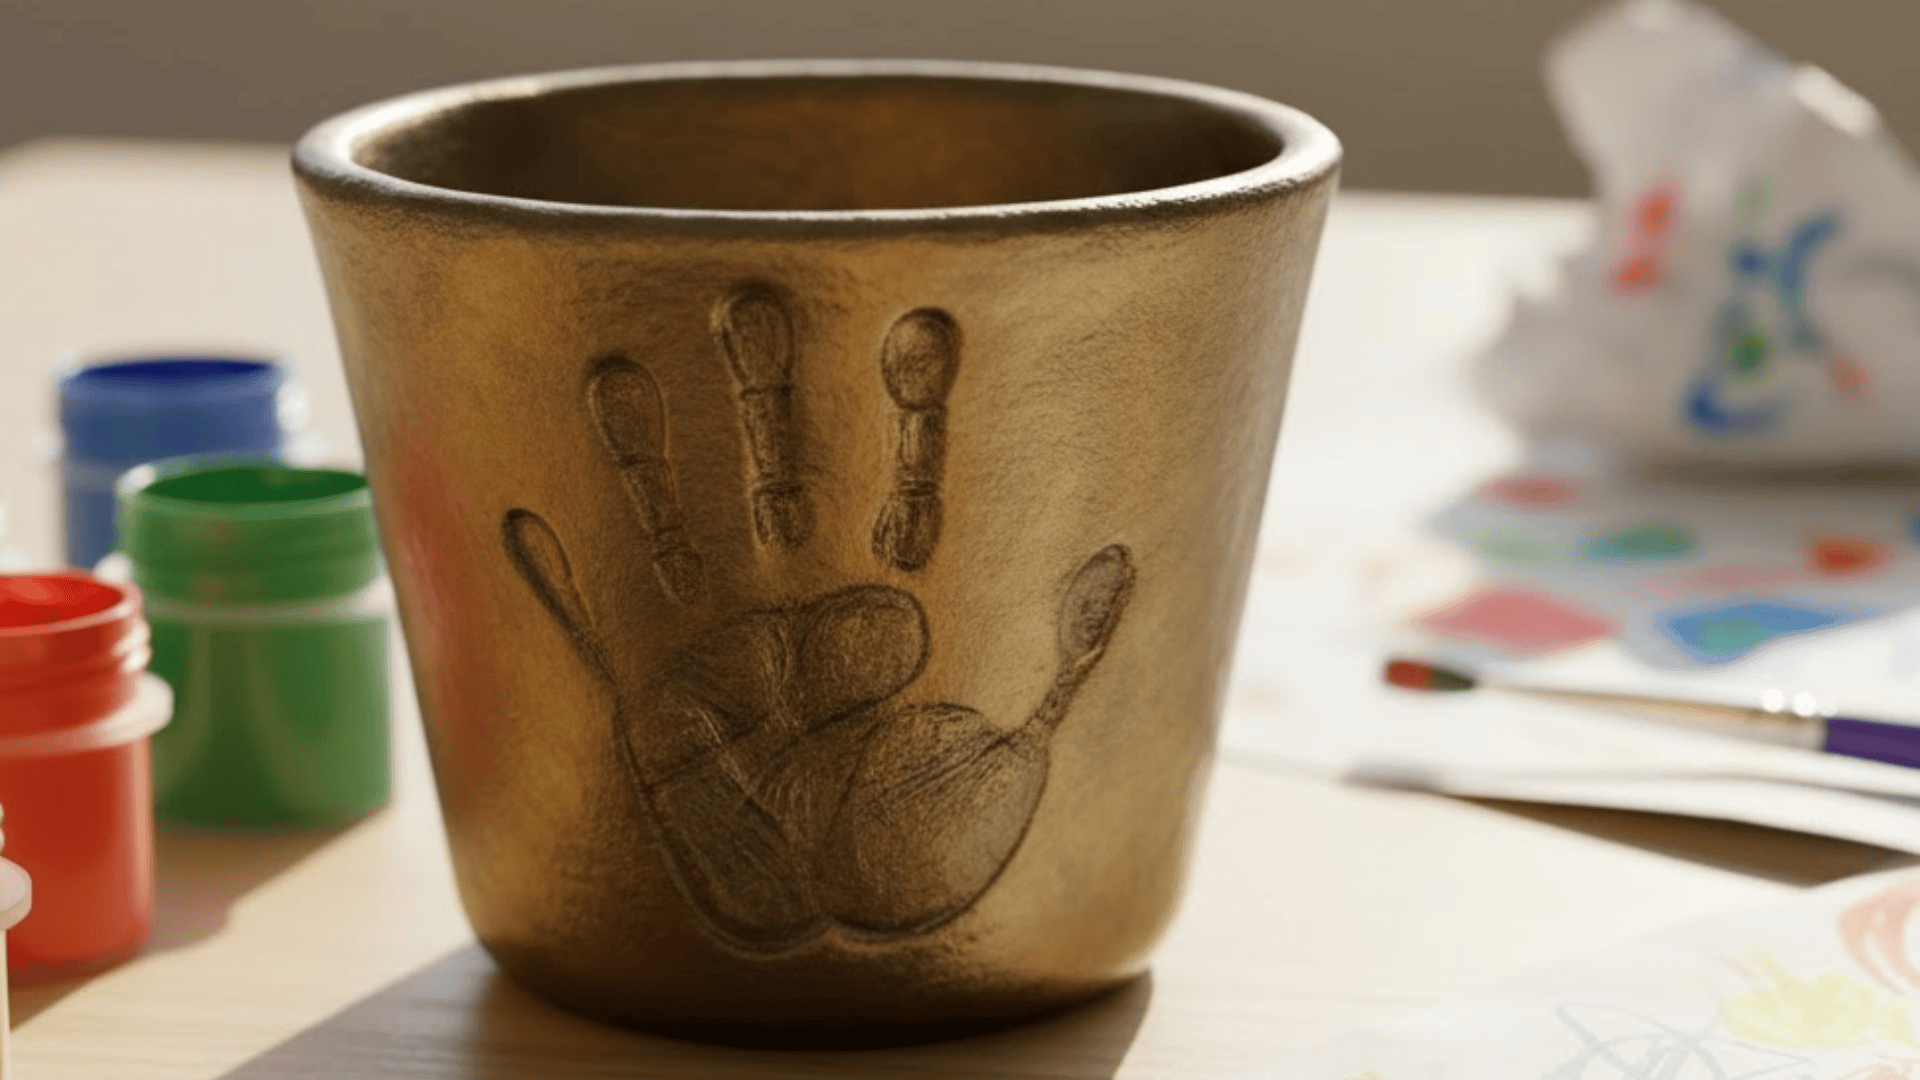
These make meaningful keepsakes for parents or teachers. Help kids form a simple pinch pot and smooth the inside with a damp sponge.
Before it dries, gently press a child’s hand into the outer surface to leave an impression. Once it’s set, they can paint the handprint in bright or metallic colors.
Seal with a clear finish after drying. The result is a sweet memory pot that captures a moment in time and makes a thoughtful, handmade gift.
These pinch pot ideas prove how simple clay can turn into something creative and useful. Try a few of them, and you’ll get to know your own favorite ways to shape and decorate.
DIY to Make a Basic Pinch Pot
Making a pinch pot is simple, relaxing, and doesn’t require fancy tools. You just need a bit of patience, some clay, and your hands. Here’s how you can shape one from start to finish:
Materials You’ll Need:
- Clay
- Water and slip
- Sponge or cloth
- Needle tool or craft knife
- Wooden or metal rib tool
- Plastic wrap
Steps to Follow:
- Prepare the Clay: Wedge about a pound of clay to remove air bubbles and shape it into a smooth ball.
- Make the Opening: Press your thumb into the center to create a hollow while keeping the base thick for support.
- Pinch the Walls: Pinch and rotate the clay to thin the walls evenly to about the width of your little finger.
- Shape the Form: Set the pot on a table or banding wheel to keep it stable while adjusting the sides and bottom.
- Smooth the Rim: Use damp fingers or a sponge to smooth the surface and trim the rim level.
- Refine Details: At the leather-hard stage, smooth the pot and add features like a handle or foot ring using score-and-slip.
- Dry and Finish: Let the pot dry slowly, then paint, glaze, or fire it once fully dry.
Making a pinch pot is all about patience and simple handwork. If you’d like to see each step in action, check out the full tutorial on @oysterphish311’s YouTube channel and follow along as it walks you through the process in detail:
How to Add Texture and Personality
Add small details to make your pinch pot unique. Use simple tools, natural materials, or color finishes to give it character:
- Tools for texture: Use wooden sticks, forks, or sculpting tools to score lines, dots, or pressed patterns. Work on damp clay and smooth edges with a sponge.
- Natural materials: Press leaves, lace, shells, or fabric onto soft clay for natural impressions. Peel away carefully and let dry before painting or glazing.
- Painting and glazing: Use acrylics for air-dry clay or ceramic glazes for fired pieces. Try layering colors, dry brushing, or leaving areas natural for contrast.
Adding texture makes each pinch pot one-of-a-kind. Try mixing these ideas and watch your pot come to life with its own look and feel.
Tips for Making and Decorating Pinch Pots
A few small tips can make a big difference when shaping or decorating your pinch pots. These apply to beginners and experienced makers alike:
- Clay type: Air-dry clay is easy to use and great for kids or home projects. Kiln-fired clay is stronger and ideal for long-lasting, functional pieces.
- Tools: Use your hands first, then simple tools like wooden sticks, sponges, and needle tools to shape, trim, and add detail.
- Finishing: Acrylic paints work best for air-dry clay; use ceramic glazes for kiln pieces. Always seal the surface once dry for extra protection.
- Drying: Let the clay dry slowly under loose plastic wrap to prevent cracking. Avoid direct sunlight or heat sources, which can cause uneven drying.
With the right clay, tools, and drying care, every pinch pot turns out stronger and smoother. Take your time, and each one will show your personal touch.
Conclusion
Making pinch pots is one of those simple crafts that feels both calming and rewarding.
You’ve seen how a small ball of clay can turn into creative, functional, or even decorative pieces with just a few thoughtful touches.
From shaping and texturing to painting and finishing, you now know how to bring your own pinch pot ideas to life.
Take a moment to try it yourself- you’ll see how each pot, from simple bowls to cute pinch pot ideas, reflects your creativity and personal touch!