

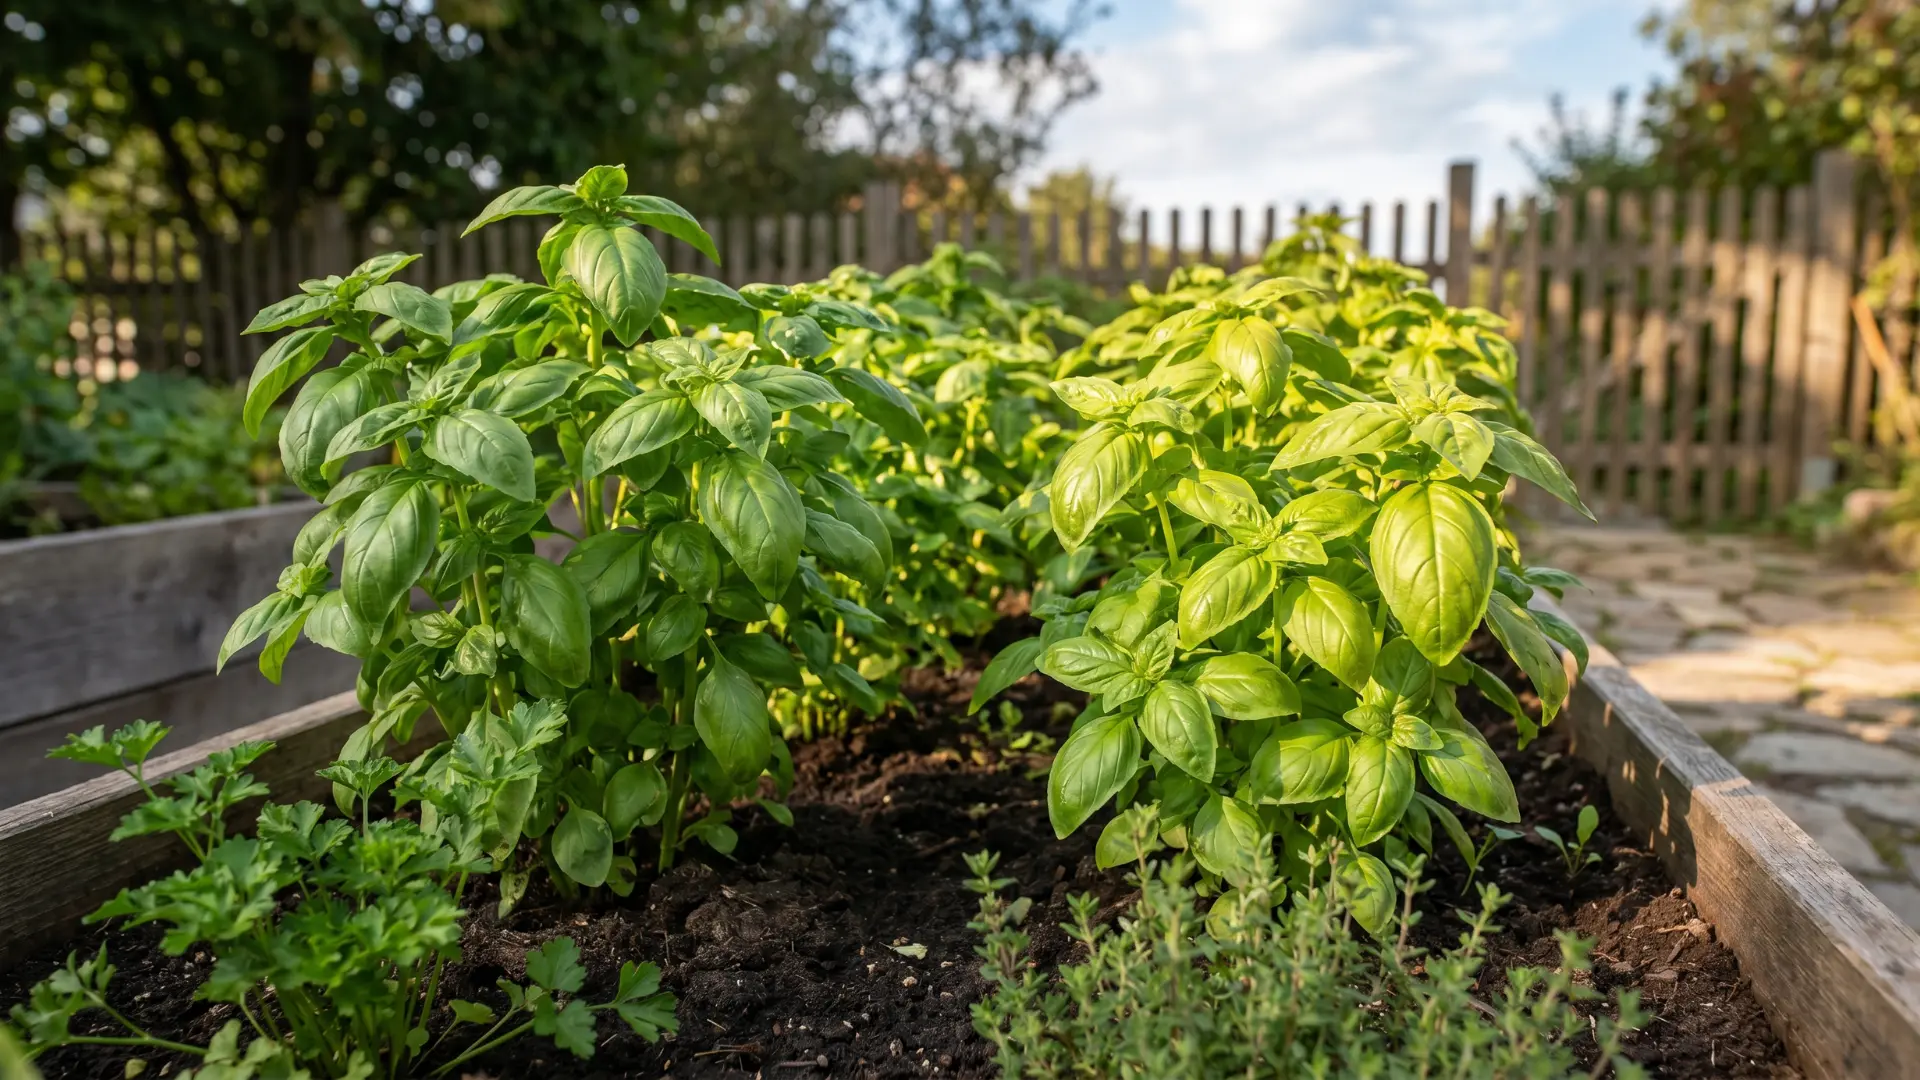
A DIY mirror frame is one of those small upgrades that makes a big difference. It turns a plain, frameless mirror into a stylish accent that instantly refreshes your space.
Whether you’re reworking a bathroom, bedroom, or entryway, framing your own mirror lets you customize size, color, and finish without spending much.
This project also gives you full control to choose from classic wood trims, modern minimal edges, or creative textures that match your decor.
In this blog, I’ll walk you through materials, step-by-step instructions, cost ideas, and design options to help you get it right the first time. Let’s start by gathering what you’ll need to succeed.
Tools and Materials You’ll Need
Materials:
- Wood trim or molding: Choose the style and width that fits your mirror.
- Mirror-safe adhesive: Look for adhesives labeled safe for mirrors or construction-grade glue.
- Painter’s tape: Holds pieces in place while the adhesive dries.
- Sandpaper: For smoothing edges and prepping surfaces.
- Paint, stain, or sealant: To finish and protect the frame.
- Optional: Backing board, corner brackets, or clips for added support.
Tools:
- Measuring tape and pencil for marking cuts.
- Miter saw or miter box to cut clean 45° angles.
- Level to ensure your frame lines up perfectly.
- Brushes or rags for applying paint or stain.
| Project Type | Estimated Cost |
|---|---|
| Basic (MDF trim, paint, adhesive) | $10–$20 |
| Mid-Range (wood trim, stain, sealer) | $25–$35 |
| Custom Finish (premium wood, backing board, clips) | $40–$50 |
Once you’ve gathered everything, you’re ready to start planning your frame’s size and layout.
How to Frame a Mirror: Step-by-Step DIY Tutorial
Building your own mirror frame is easier than it looks. Follow these steps to measure, cut, attach, and finish your frame for a polished, custom look.
Step 1. Measure and Plan
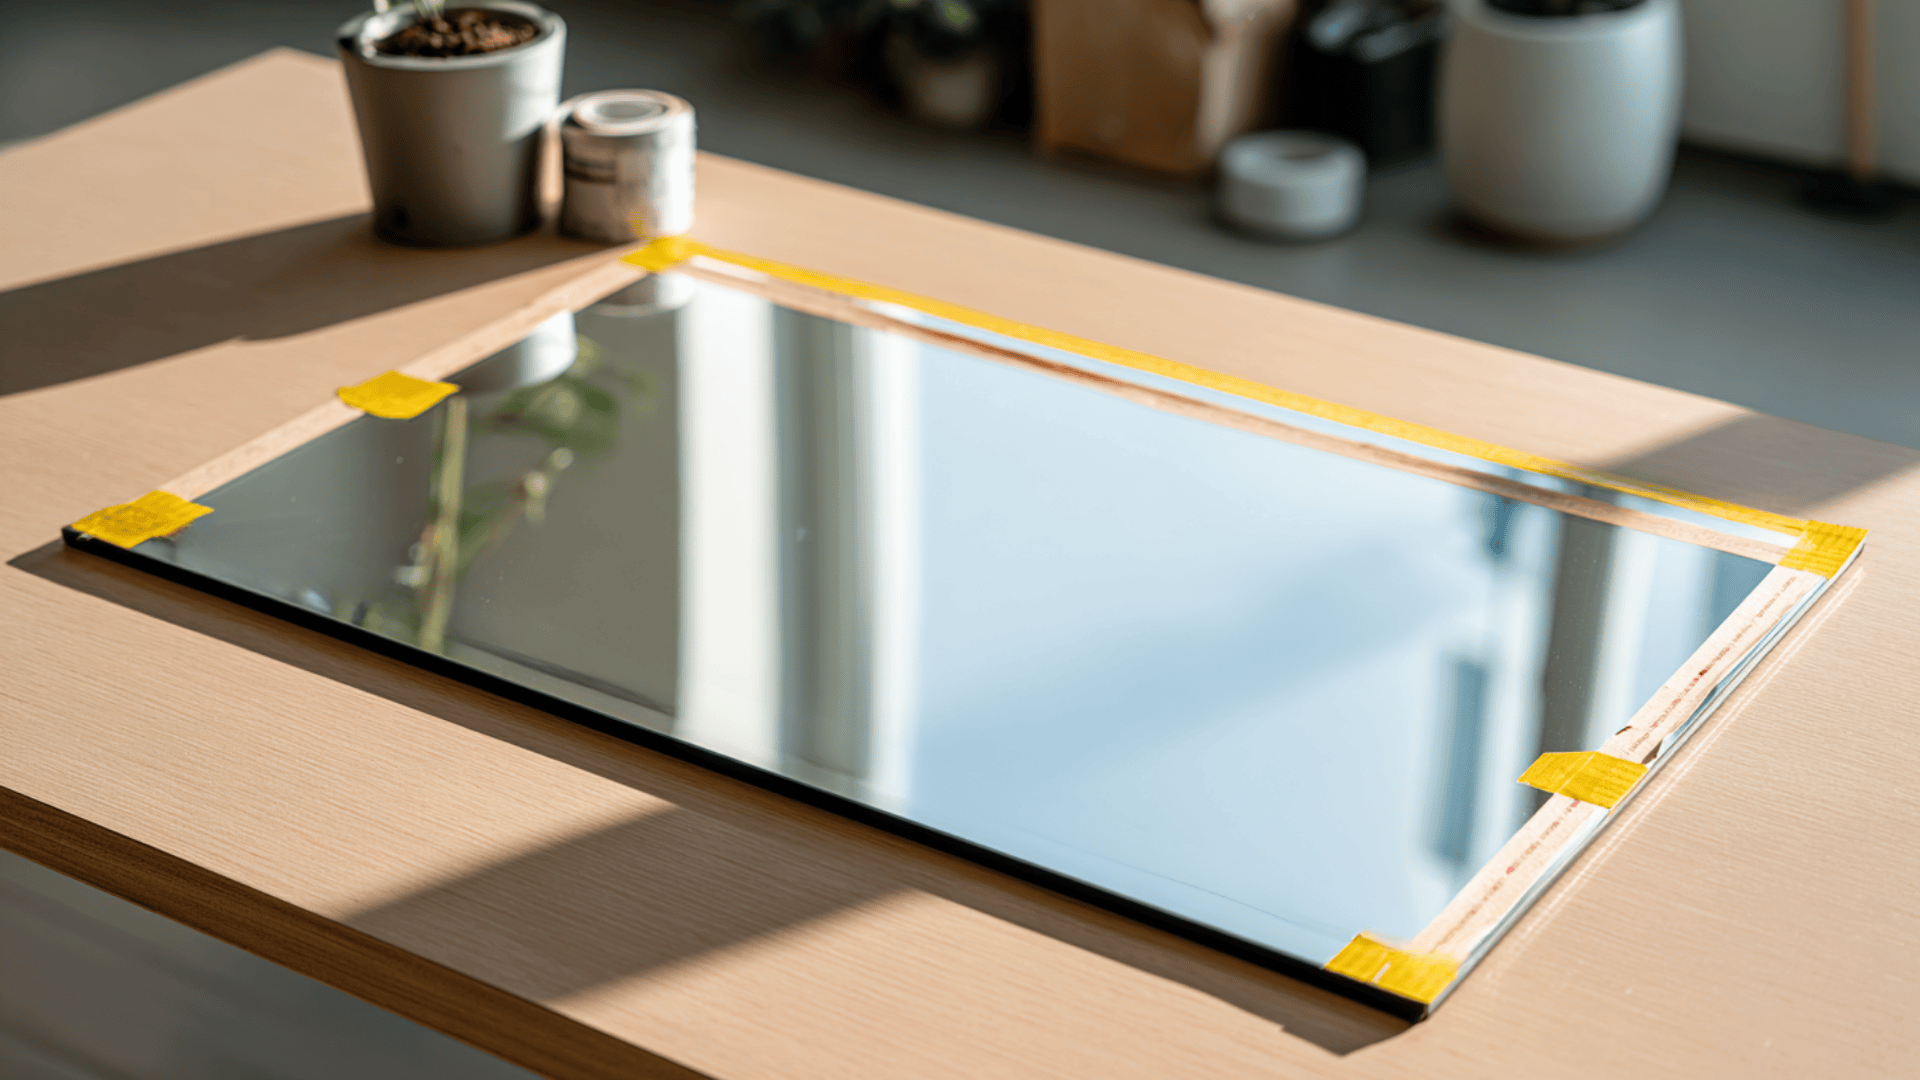
Start by measuring the exact height and width of your mirror. Note down each side carefully, as even small errors can cause uneven corners. Use these measurements to determine how long each piece of trim should be.
Tip: Use painter’s tape to outline the frame directly on the mirror before cutting. This helps you visualize how wide the frame will look and ensures the proportions fit your space.
Step 2. Cut the Trim
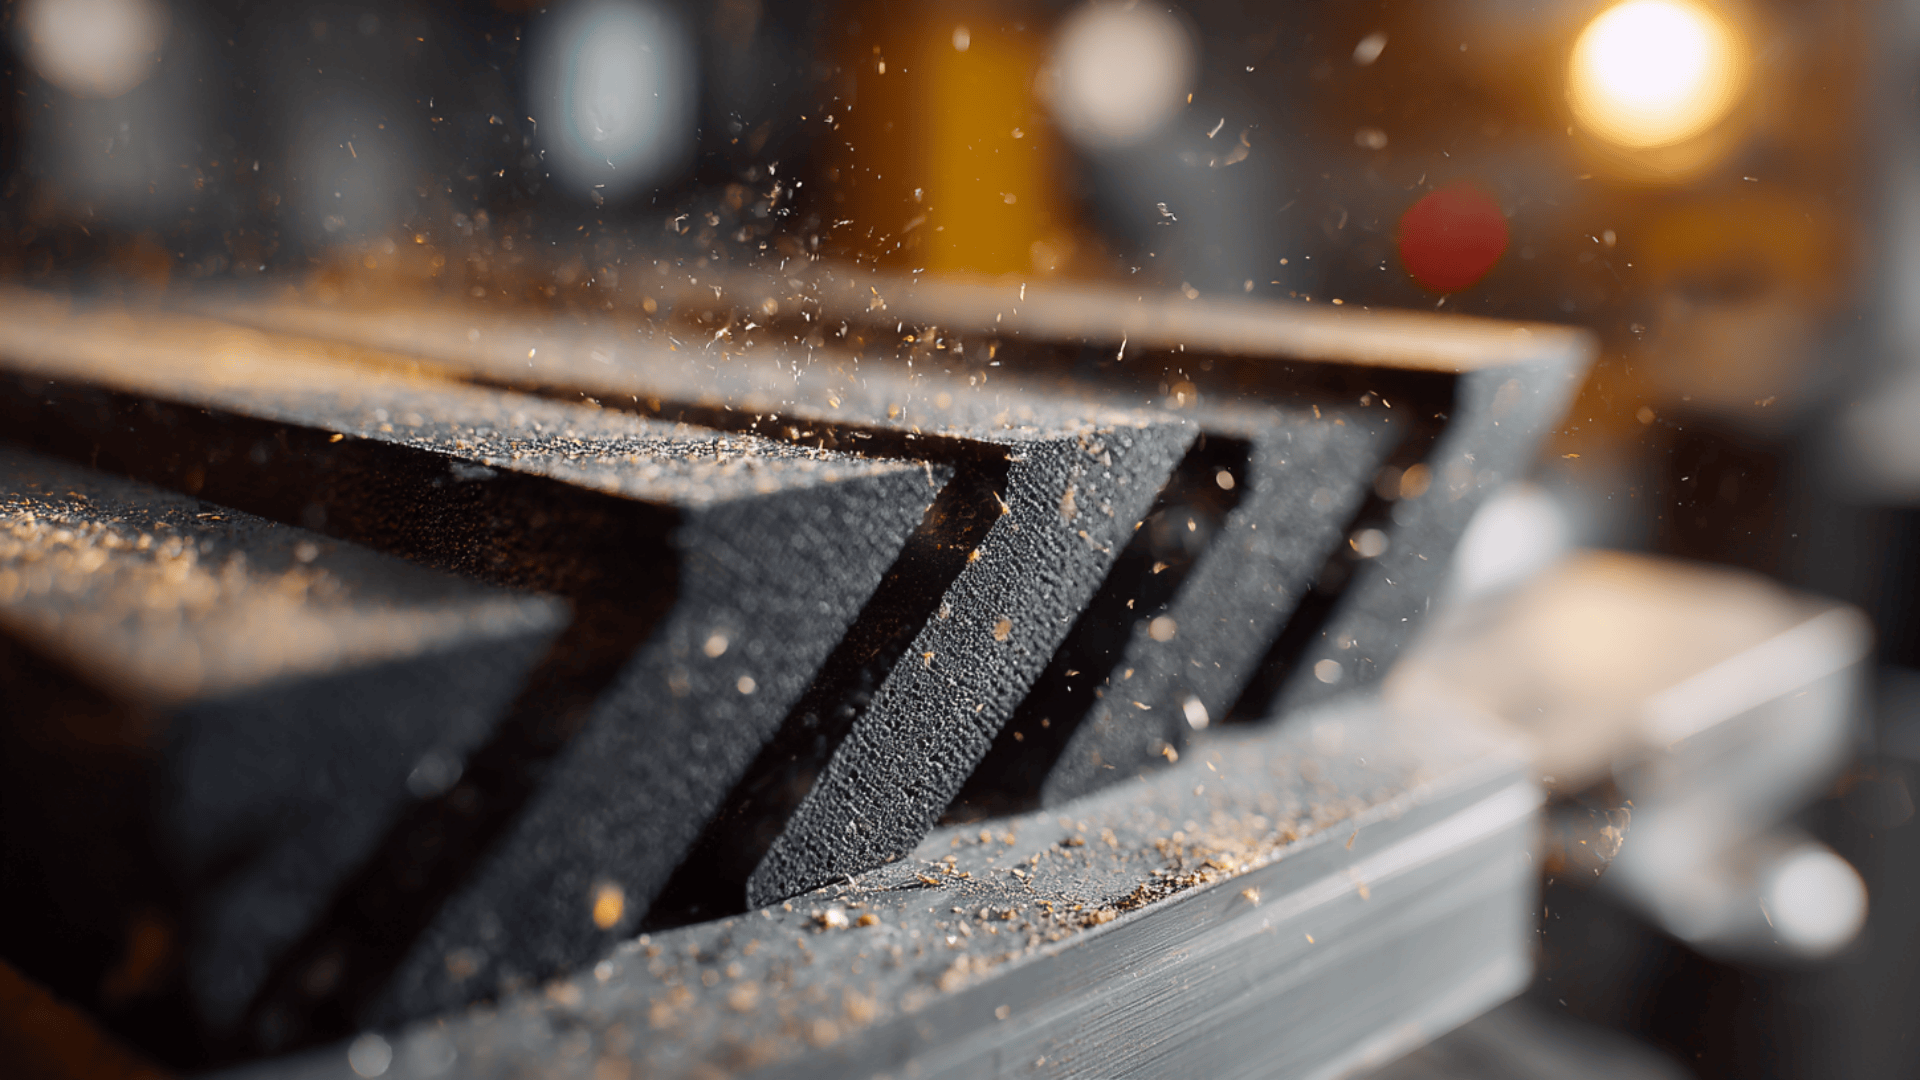
Cut each piece of trim at a 45° angle so the corners meet cleanly. A miter saw gives the most precise cuts, but a miter box with a hand saw works just as well for beginners.
Check that your cuts align properly by placing the pieces around the mirror before gluing. Always wear safety glasses and work on a stable surface to avoid slips or jagged edges.
Step 3. Attach the Frame
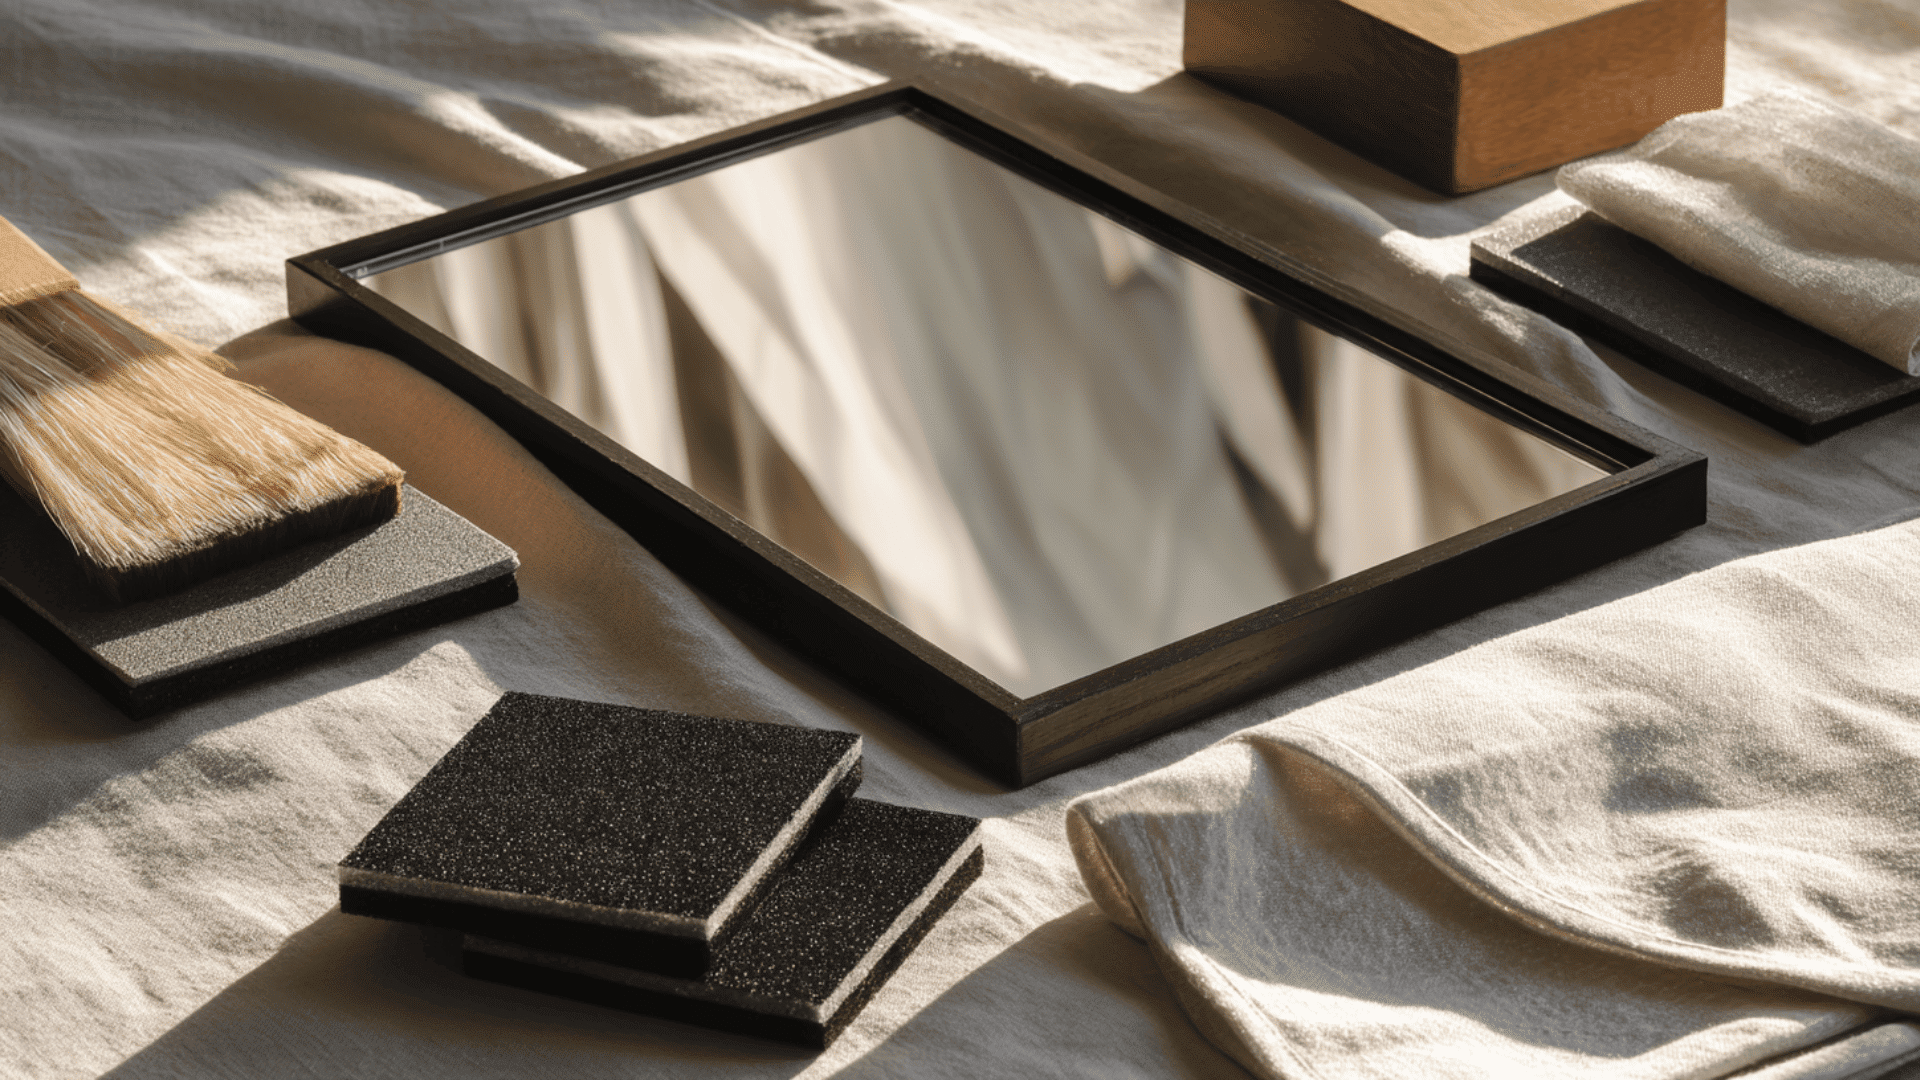
You can attach the frame in two simple ways, depending on your mirror’s weight and placement.
Direct Mount (Adhesive Only):
- Apply a thin, even bead of mirror-safe adhesive to the back of each trim piece.
- Press each piece directly onto the mirror’s edge.
- Use painter’s tape to hold everything in place while it dries (usually 24–48 hours).
Backing Board Method (for Heavier Mirrors):
- Cut a plywood board to match your mirror’s size.
- Build and attach the frame around the plywood.
- Once dry, use adhesive or mounting clips to secure the mirror onto the board.
Step 4. Finish and Style
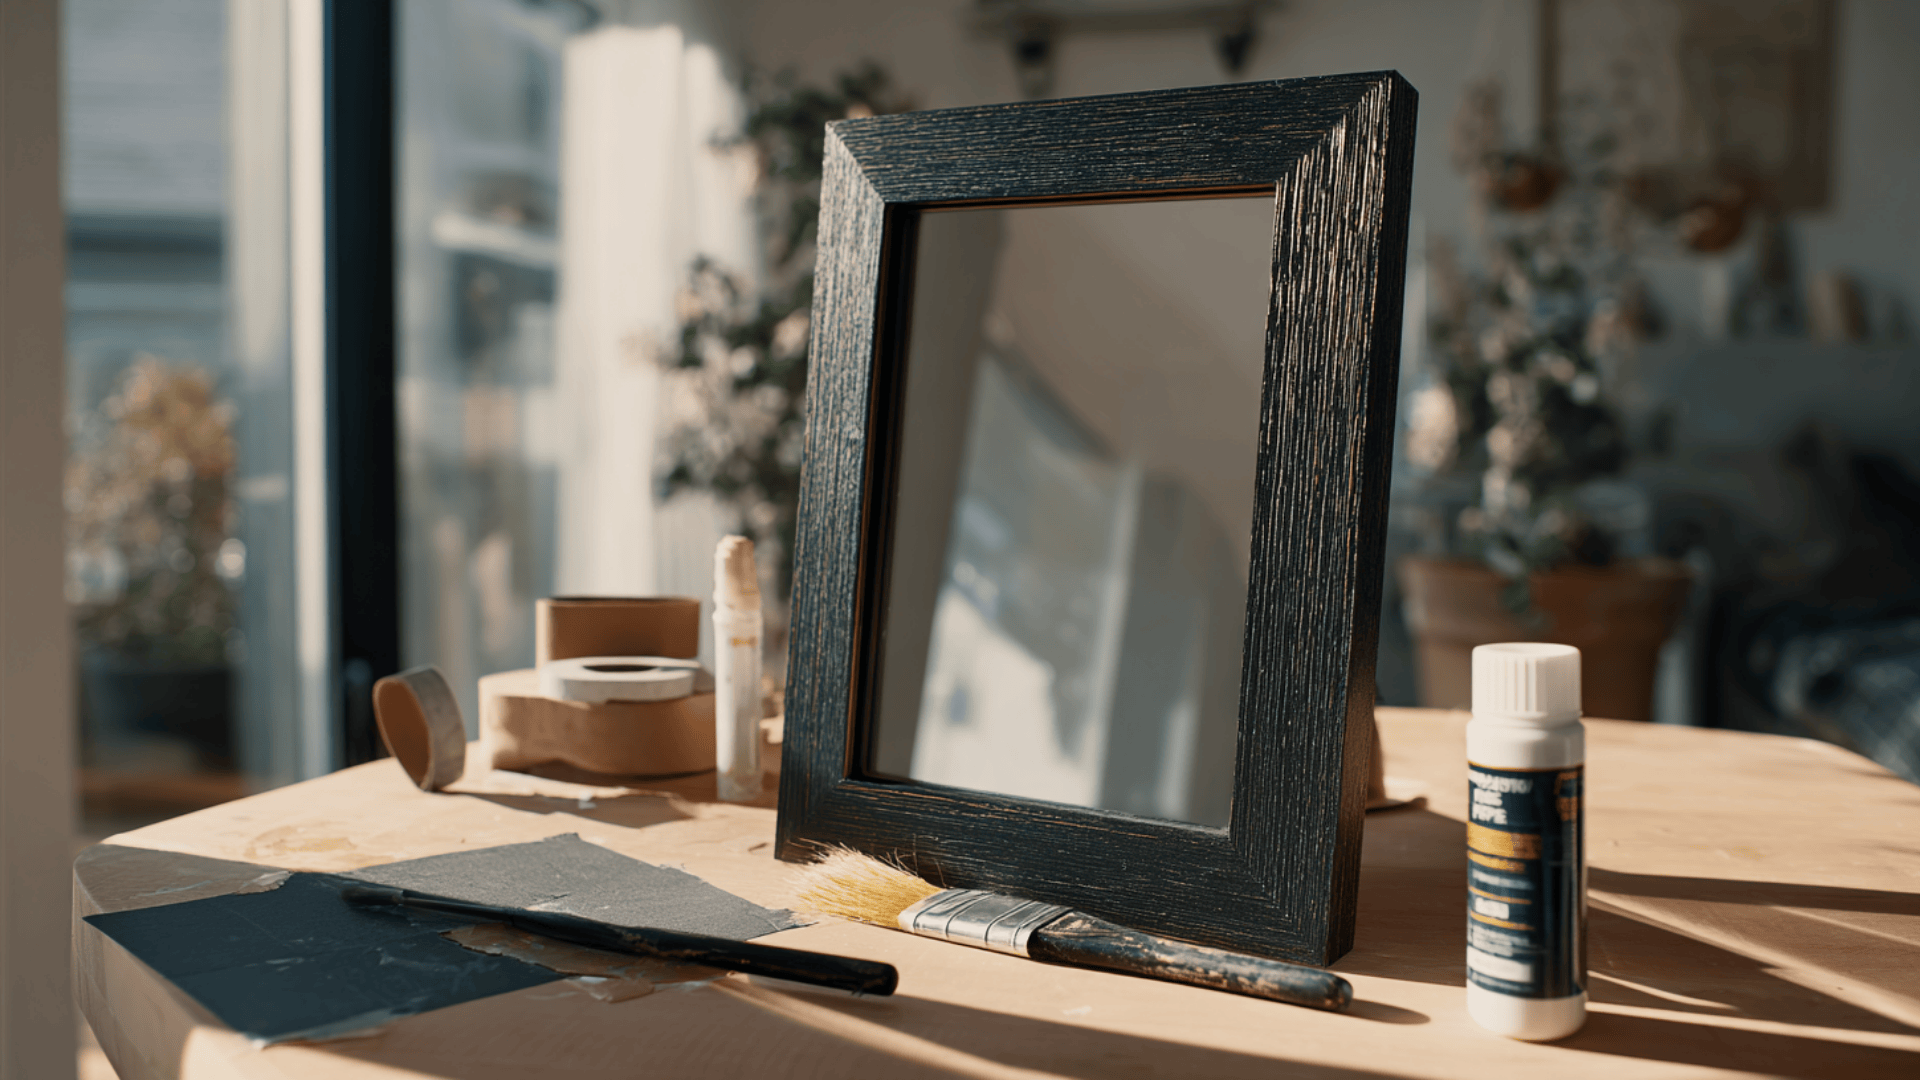
Once the adhesive has fully cured, remove the painter’s tape. Paint, stain, or wax the frame to match your decor. A matte black finish gives a modern edge, while distressed wood adds a rustic touch.
For extra character, try metal corner accents, air-dry clay designs, or contrasting inner edges. A quick coat of clear sealant will protect your finish and make it easy to clean.
Your mirror frame is now complete and ready to hang, or leave as-is for a simple wall upgrade. Next, let’s look at some creative style ideas you can try.
Common Mistakes to Avoid
- Incorrect angle cuts: Misaligned 45° cuts lead to visible gaps at the corners. Always double-check your measurements before sawing.
- Using the wrong adhesive: Regular glue can damage mirrors or fail to hold. Choose a mirror-safe or construction-grade adhesive only.
- Skipping sealant: Unsealed wood can absorb moisture, especially in bathrooms, causing warping or discoloration over time.
- Uneven mounting: Not leveling the trim before the adhesive dries can make the frame look crooked. Use a level after each piece.
- Rushing the drying time: Removing painter’s tape or applying weight too soon can shift the frame. Allow at least 24–48 hours to cure fully.
Taking your time with measurements, alignment, and drying will make all the difference. A little patience ensures your DIY mirror frame looks neat, secure, and professionally finished.
Design and Style Ideas
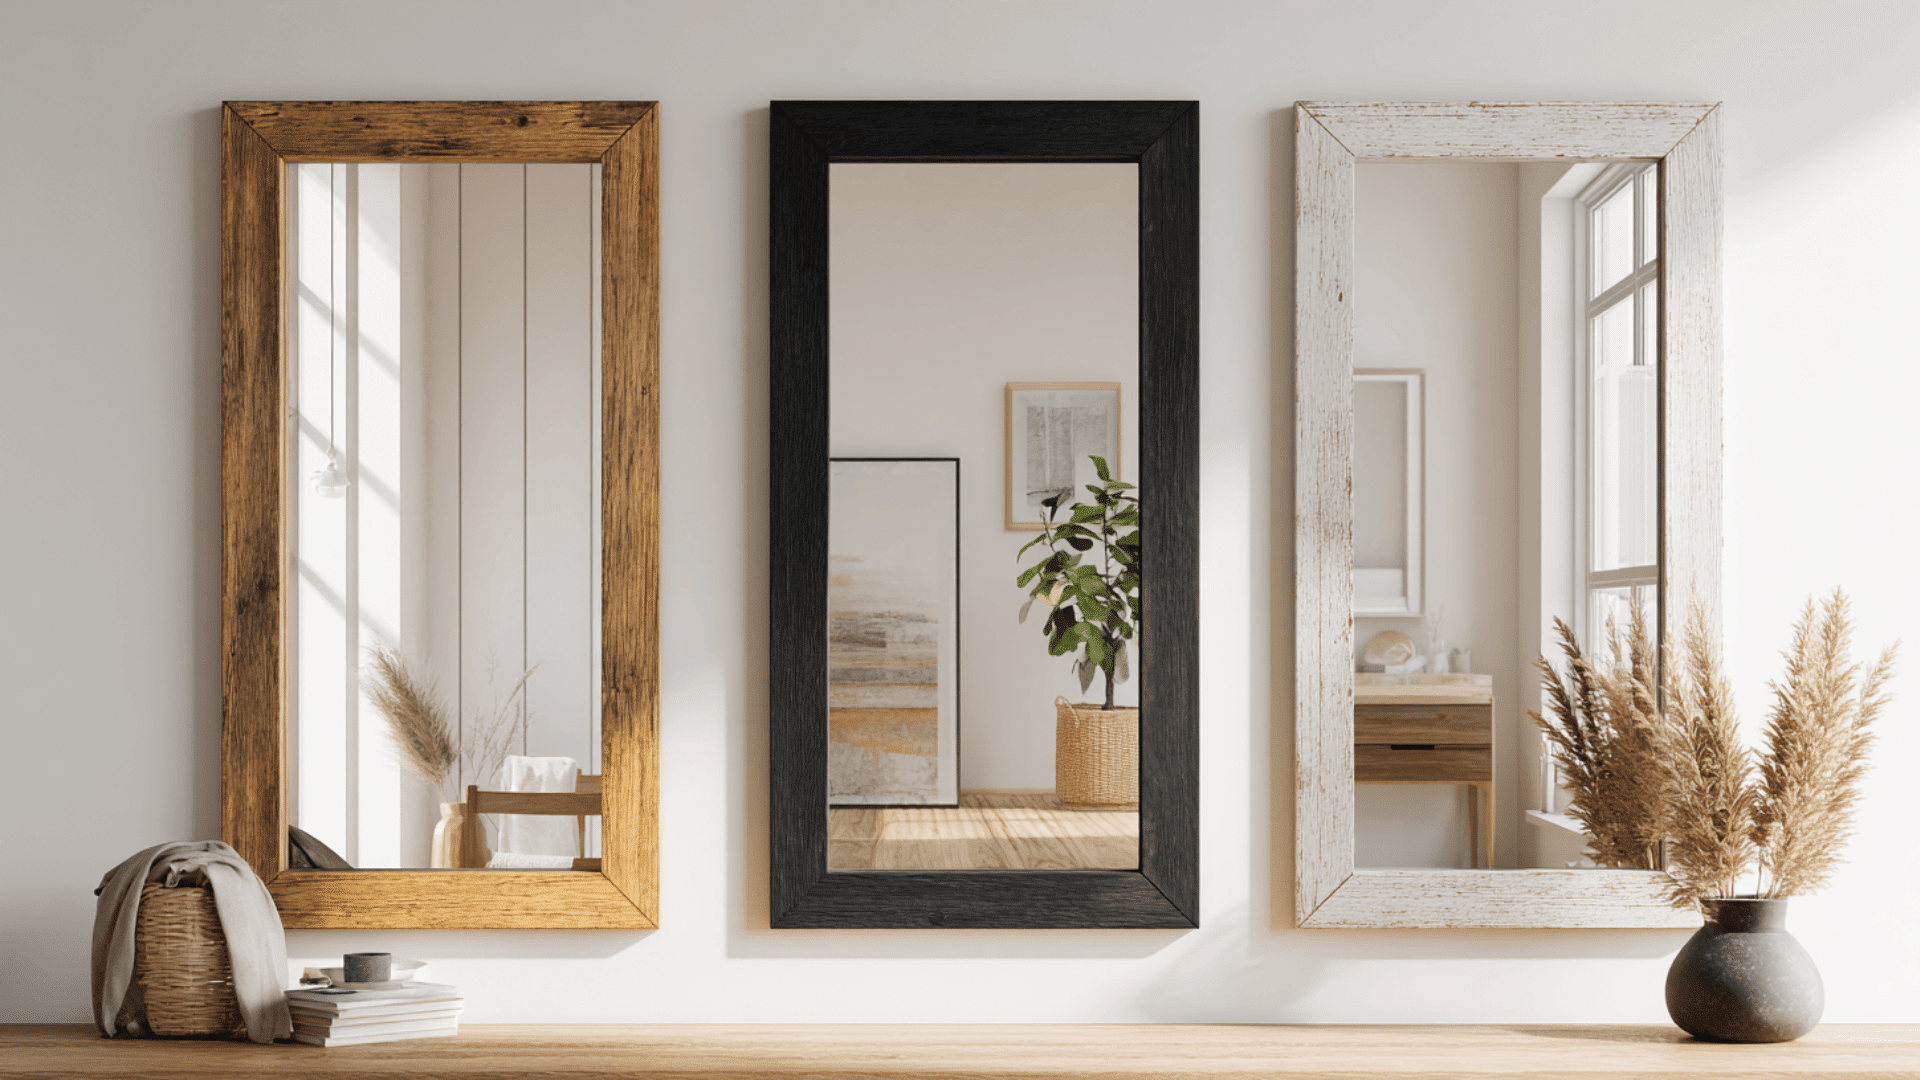
Your mirror frame’s style sets the tone for the entire room. Here are a few design options to inspire your project, each offering a distinct look and feel:
1. Rustic Wood Frame
Use reclaimed or distressed wood to create a warm, farmhouse-inspired look. The textured grain and natural stain add cozy character that pairs perfectly with vintage or country-style interiors.
2. Modern Black Frame
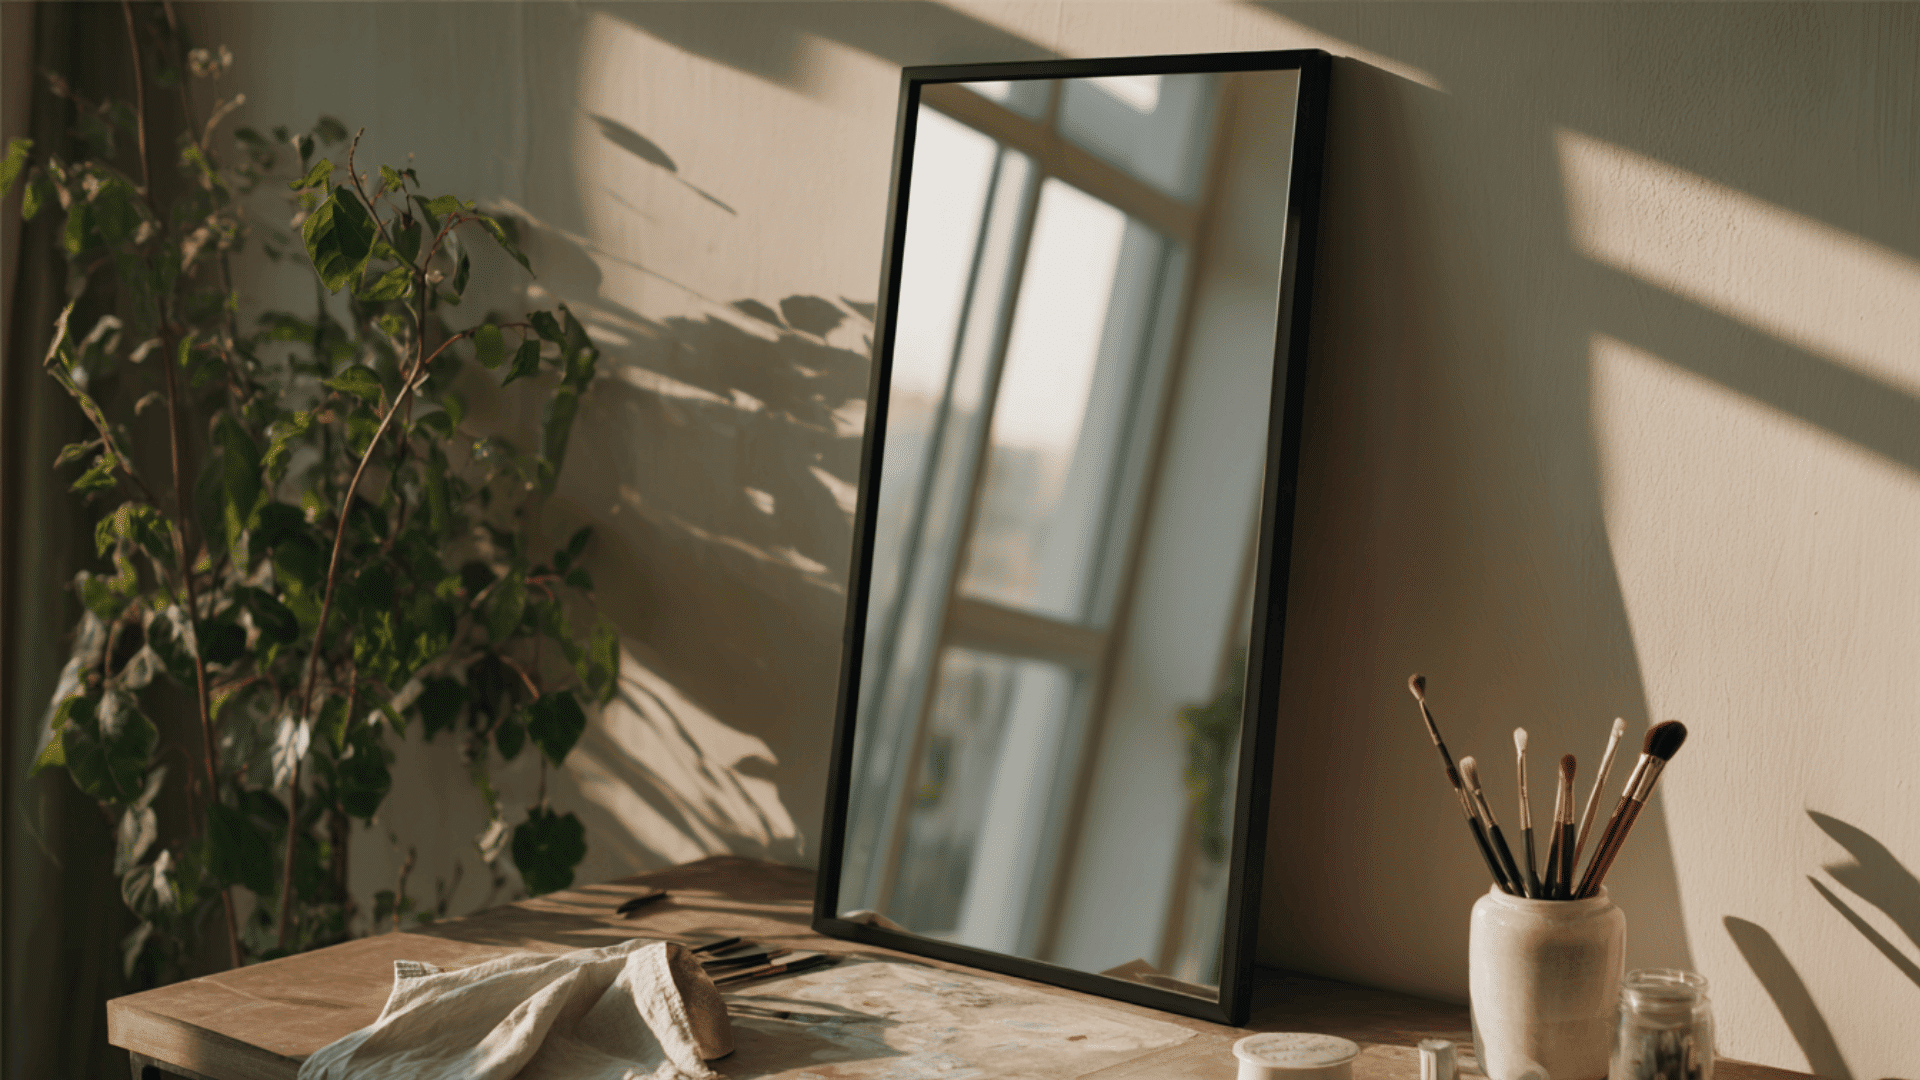
A matte black frame with clean edges gives your mirror a bold, polished finish. It’s ideal for minimalist or contemporary spaces that favor simple lines and neutral tones.
3. Beachy Whitewash Frame
A whitewashed frame brings an airy, coastal touch that brightens up bathrooms or bedrooms. It works beautifully with light colors, natural textures, and seaside-inspired decor.
4. Artistic Clay or Rope Frame
Add creativity with sculpted clay or wrapped rope accents. This playful, handmade style suits boho spaces or kids’ rooms where personality and color make the decor stand out.
5. Minimal Classic Frame
A flush, trimless frame delivers sleek simplicity without visual clutter. Perfect for modern or small spaces, it lets the mirror blend seamlessly into the wall for a refined finish.
Costs that Go Into a Mirror Frame Project
I’ve broken down the typical costs based on the same project steps I shared earlier. Prices can vary slightly depending on where you shop and how big your mirror is.
Line-Item Estimates
| Item | Notes | Budget Option | Mid/Upgrade Option |
|---|---|---|---|
| Wood trim or molding (8–12 ft total) | MDF or pine vs. decorative molding | $4–$10 | $12–$25 |
| Mirror-safe adhesive (tube) | Construction-grade, mirror-rated | $4–$7 | $7–$10 |
| Painter’s tape | Holds trim while it dries | $2–$4 | $3–$5 |
| Sandpaper (assorted grits) | For smoothing and prep | $1–$3 | $2–$4 |
| Paint, stain, or finish | Small sample pot or spray | $3–$6 | $6–$12 |
| Clear sealer (optional) | Helps resist moisture | $0–$4 | $4–$8 |
| Backing board or clips | For heavier mirrors | $0 | $6–$12 |
If you already have basic tools like a tape measure, level, and miter saw (or miter box), you’re good to go. If not, plan for about $10–$18 to pick up a simple starter set.
Scenario A: $10 Bathroom Refresh
If you’re just giving a frameless bathroom mirror a quick upgrade, stick with MDF trim, mirror-safe adhesive, painter’s tape, and a small paint sample. You’ll likely spend $10–$20 total.
This setup works great for renters, small spaces, or when you want a fast weekend project.
Scenario B: $25–$50 Wood Molding Upgrade
For a sturdier, long-lasting frame, choose real wood molding, stronger adhesive, stain, and a moisture sealant. If your mirror is large, add a backing board or clips for extra support.
Expect to spend around $25–$50 total. The result will look more high-end and hold up beautifully over time.
My Cost-Saving Tips
- Check the off-cut bin at your local hardware store; you can often find short trim pieces for a fraction of the price.
- Small paint or stain samples go a long way on a frame.
- If your mirror is in a bathroom, sealing just the back and edges is usually enough to keep moisture out.
If you know your mirror’s exact size and the trim you plan to use, I can help you estimate your total cost more precisely before you start.
Alternatives to Full DIY
If cutting wood and measuring angles isn’t your thing, there are easier ways to get a custom-framed look without building it from scratch.
One of the most popular options is MirrorMate framing kits. These kits come with pre-cut, stick-on frames that attach directly to your existing mirror, no power tools or precise cuts needed.
They’re available in dozens of styles, from rustic wood to sleek modern finishes, and you can order custom sizes to fit almost any mirror. It’s a great option if you want a polished result in just an hour or two.
You can check out MirrorMate Frames or similar options on sites like MirrorMate.com or Amazon for inspiration and easy installation ideas.
Wrapping Up
Framing your own mirror is a simple project that adds instant character to any space.
A DIY mirror frame gives you freedom to choose colors, textures, and finishes that match your home’s style, without paying custom-frame prices.
Beyond the savings, it’s also a quick way to make even basic mirrors look intentional and high-end.
Once it’s up, you’ll have a mirror that reflects more than just your image; it shows your creativity and attention to detail.