



If you have ever cried while chopping store-bought onions, just wait till you shed happy tears harvesting your own. Learning how to grow onions does not have to be complicated.
It is one of those garden wins that is kind on your wallet, kind on the planet, and surprisingly easy to pull off even if you are just starting out.
No plastic packaging, no cold-chain transport, and no unnecessary chemicals, just fresh produce grown your way. If you have a sprawling backyard or a single sunny balcony, this guide has got you covered. Let us get growing!
Choosing the Right Onion Variety
Before anything else, picking the right variety is the single most important step in the whole process. Get this part right and everything that follows becomes a whole lot easier.
Onions are more sensitive to daylight hours than most people realize.
- Short-day varieties: suit warmer southern regions with 10 to 12 hours of light.
- Long-day varieties: perform best in cooler northern climates with 14 to 16 hours.
- Day-neutral varieties are the flexible middle ground that work across most climates.
If you are new to planting onions, look up your latitude before buying, it saves a lot of guesswork.
Popular Varieties to Consider
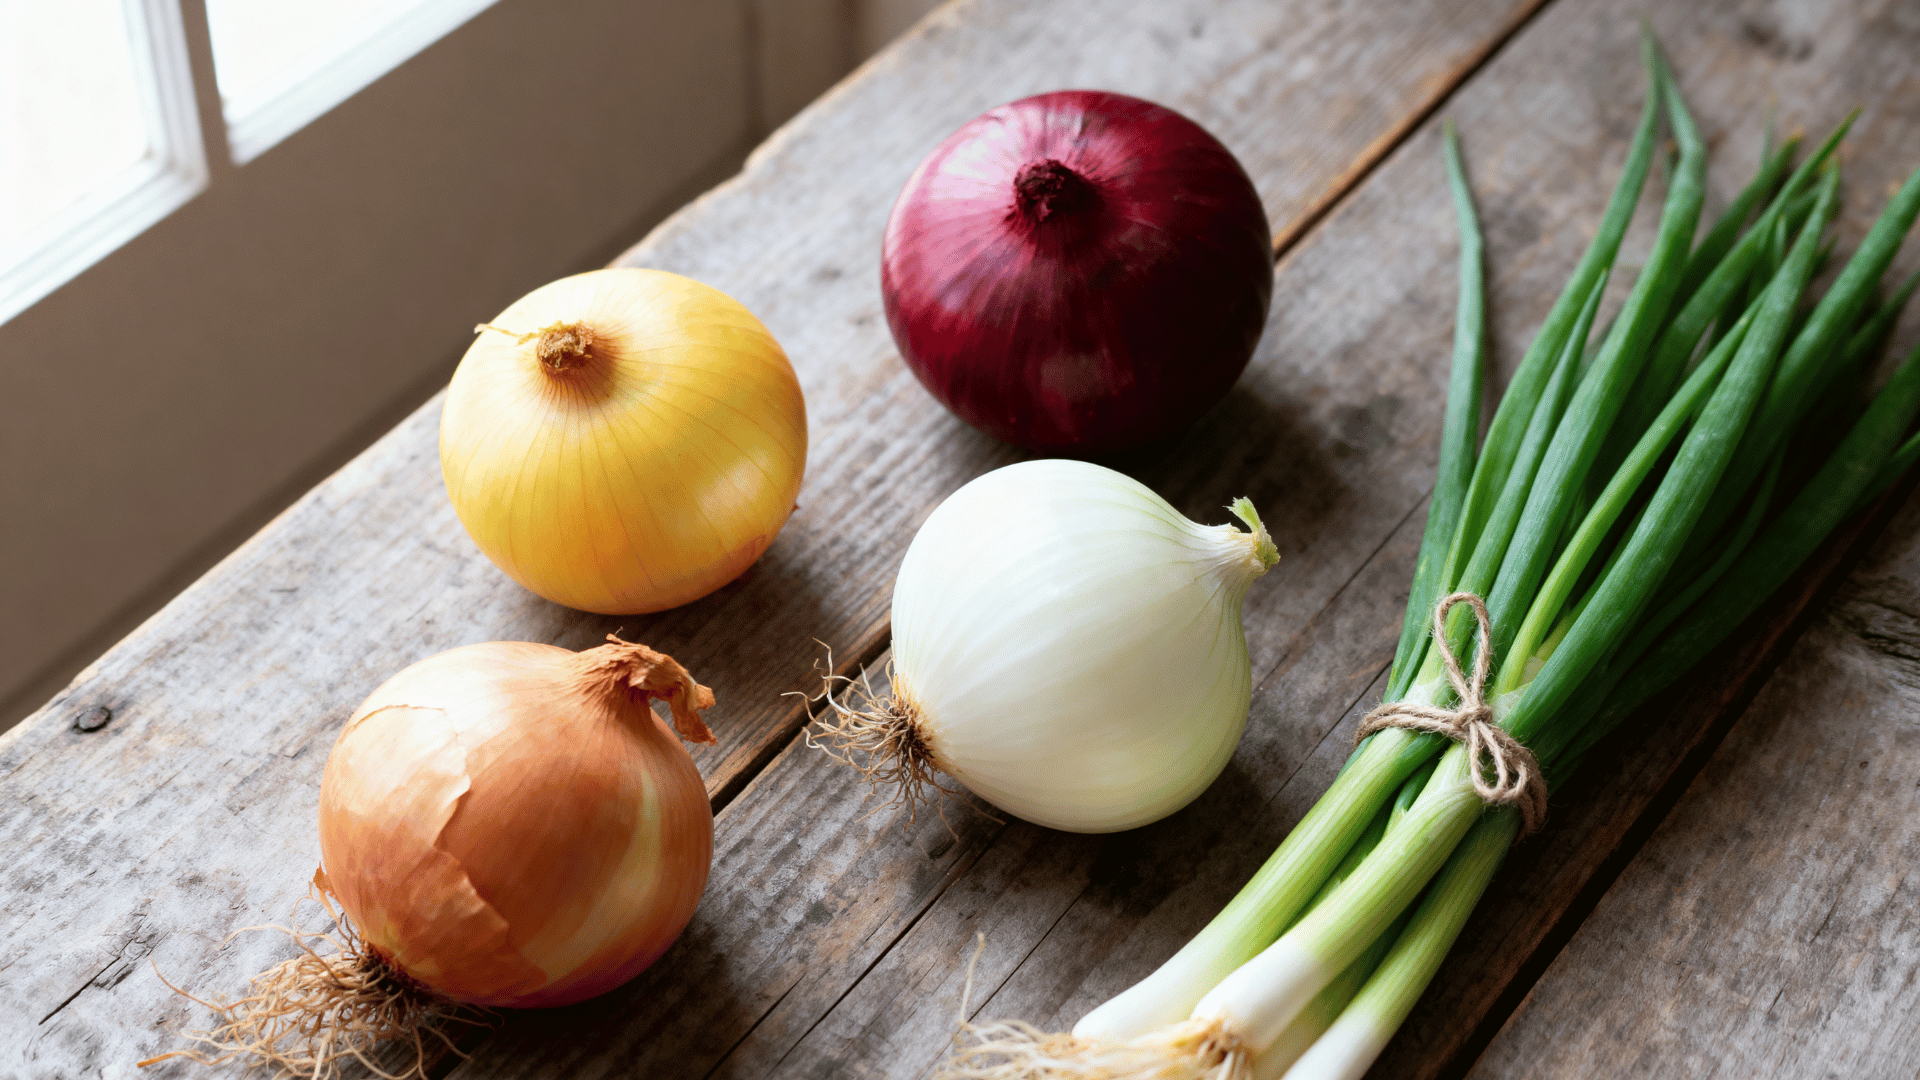
Knowing how to grow onions well starts with understanding which variety actually suits your needs. Here are some popular options worth considering for your garden:
- Yellow onions: all-purpose, beginner-friendly, great storage life
- Red onions: mild flavor, ideal raw in salads
- White onions: sharp and pungent, best for cooking
- Sweet onions (Vidalia-style): low pungency, family-friendly
- Green Onions / Scallions: mild in flavor, perfect for garnishes, stir-fries, and salads
Not sure where to start? Begin with the yellow onion, the most adaptable, forgiving, and widely available.
What is the Best Month to Plant Onions?
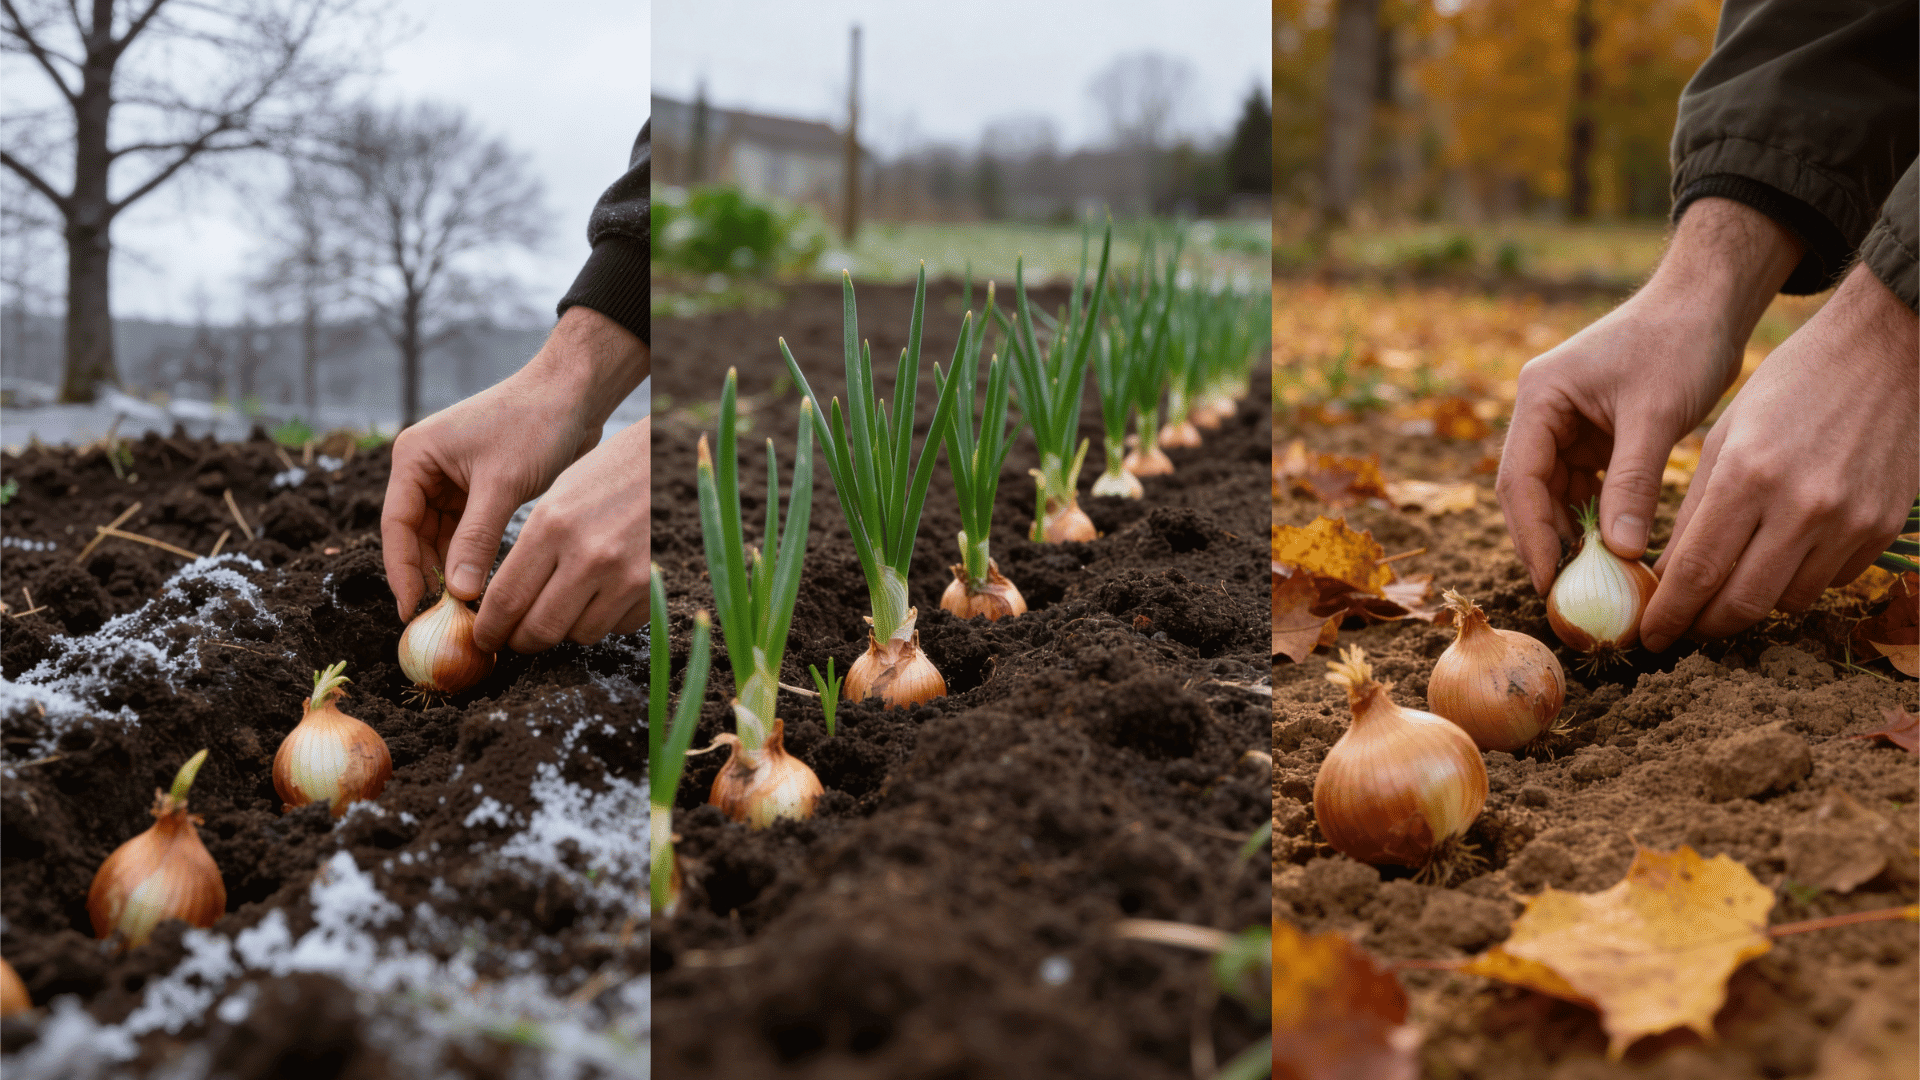
The answer depends on your climate. Onions need cool weather early on to develop strong roots before warmer months trigger bulbing.
- Cool climates: February to April, 4 to 6 weeks before the last frost
- Warm climates: October to December works best
- Indoor containers: start seeds 8 to 10 weeks before transplanting
How to Grow Onion: 3 Methods Explained
There is more than one way to get onions in the ground, and the method you choose can make a real difference to your experience as a grower. Here is a look at all three options so you can pick what suits you best.
| Feature | Seeds | Sets Recommended for Beginners | Transplants |
|---|---|---|---|
| What It Is | Grown from scratch indoors in seed trays | Small dormant bulbs pushed directly into the soil | Young seedlings bought from a nursery |
| Effort Level | High | Low | Medium |
| Best For | Patient growers who want full control | Beginners who want quick, visible progress | Gardeners who want a head start without starting from scratch |
| Availability | Widely available online and in stores | Widely available at garden centers and online | Available at most nurseries seasonally |
| Disease Risk | Moderate | Low | Low to moderate |
| Time to Transplant | 6 to 8 weeks after sowing indoors | Plant directly, no waiting | Ready to plant on purchase |
| Variety Selection | Widest range available | Limited to common varieties | Moderate selection depending on nursery |
Pro Tip: Just getting started with how to grow onion at home? Go with sets. Minimum effort, maximum reward.
Soil Prep & Planting Onions Step-by-Step
Good soil is the foundation of a healthy onion crop and a little prep work before you plant goes a long way. When the soil is right, onions tend to grow with far fewer problems.
Step 1: Check and Prepare Your Soil
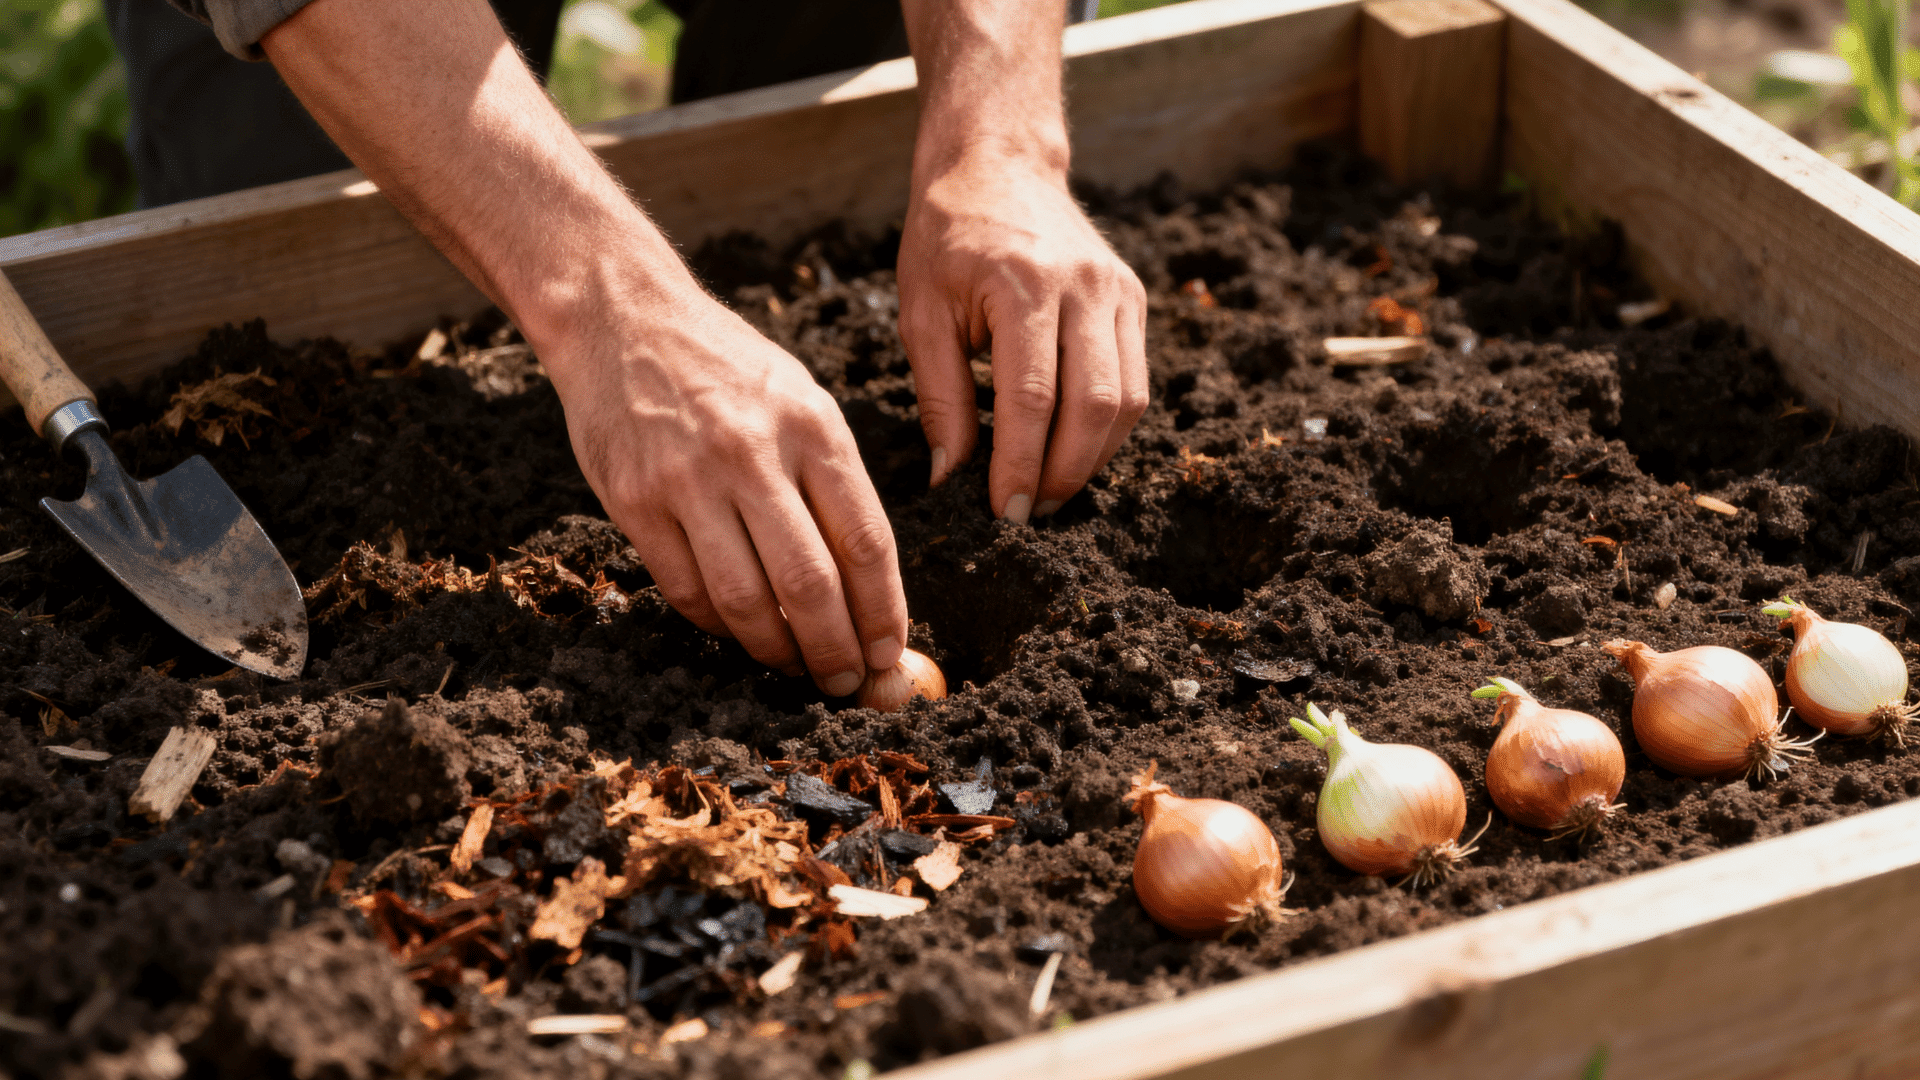
Onions do best in loose, well-draining soil with a pH of around 6.0 to 7.0. They cannot tolerate sitting in waterlogged ground, so if your soil is heavy or clay-like, work in some sand or perlite to improve drainage.
A generous mix of well-rotted compost will give the bed a real nutrient boost before anything goes in the ground.
Step 2: Feed Your Soil 2 to 3 Weeks before Planting
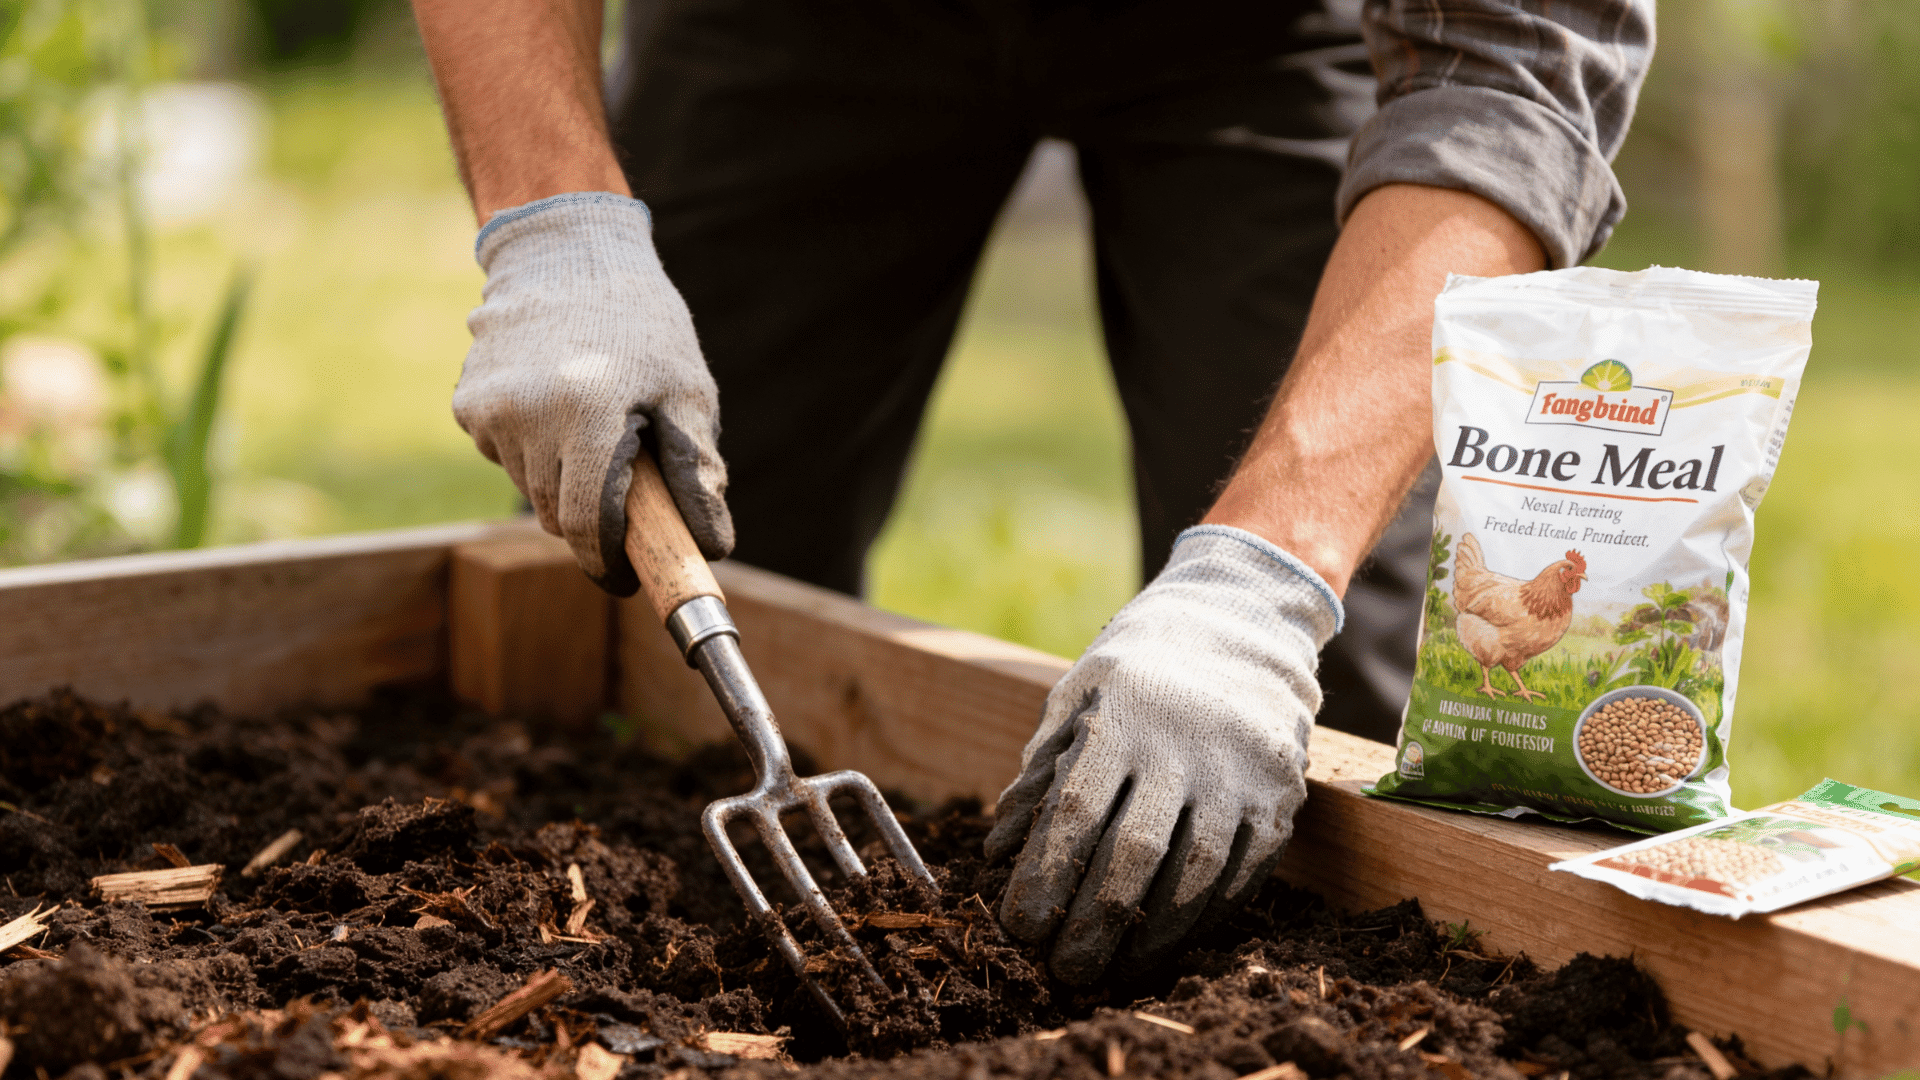
Well-rotted farmyard manure is one of the best choices. Dig it in a few weeks ahead of time to give it time to settle into the soil properly. Fresh manure is a hard no as it burns roots and introduces disease. Other good options include:
- Bone meal: great for phosphorus and root development
- Balanced granular fertilizer (10-10-10): a reliable all-round option
- Compost tea: gentle, organic, and easy to apply
Step 3: Space and Plant with Precision
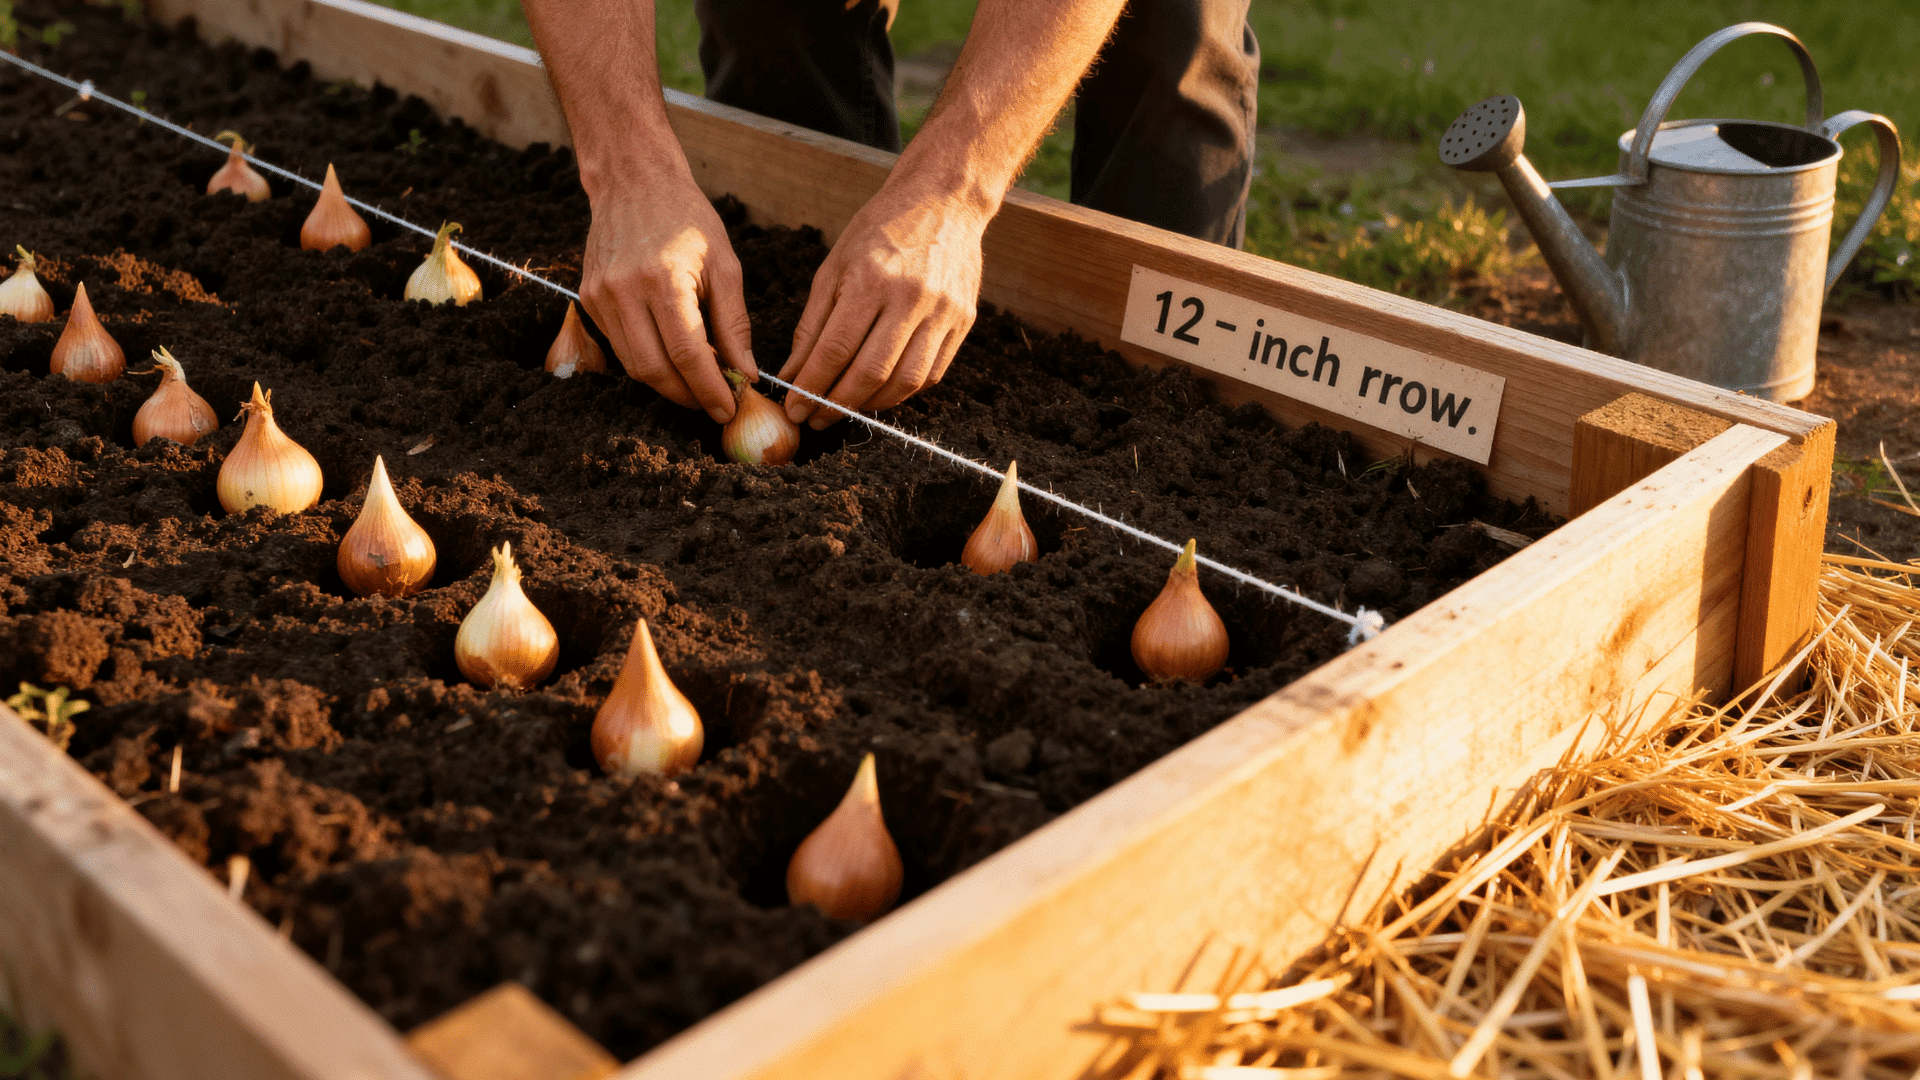
Plant sets or transplants about 1 inch deep and 4 to 6 inches apart with rows spaced 12 inches apart for good airflow. Planting too deep slows bulb formation, so keep it shallow. Before you put anything in the ground, run through this quick checklist:
- Soil loosened and fertilized
- Sets placed pointy-end up
- Covered with no more than 1 inch of soil
- Watered in gently after planting
- Mulch layer added to retain moisture
Container Planting Tips: Short on space? No problem. Use a pot at least 10 inches deep, space bulbs 3 to 4 inches apart and you are good to go. Containers work brilliantly on patios and balconies as long as they get plenty of sunlight.
How to Care for Onions: Watering and Pests
Once your onions are in the ground, consistent care is what takes them from average to impressive. The good news is that onions are pretty low-maintenance once you know what they need.
Should You Water Onions Every Day?
The clear answer is NO. Overwatering is one of the most common mistakes beginner growers make and it does more harm than good.
Onions need about 1 inch of water per week and deep infrequent watering always beats shallow daily watering. Always water at the base and avoid wetting the foliage to reduce disease risk.
- Early growth stage: keep moisture consistent to help roots establish
- Bulbing stage: ease off slightly and let the topsoil dry between waterings
- Pre-harvest: stop watering completely 1 to 2 weeks before you plan to harvest
Common Pests & Diseases to Watch For
Onions are fairly resilient, but like any crop, they have a few vulnerabilities. Catching problems early makes them much easier to manage, so it is worth knowing what to look for.
Keep an eye out for:
- Onion fly/maggots: use row covers as a preventive barrier
- Thrips: treat with neem oil or insecticidal soap
- Downy mildew: maintain good airflow between plants
- Pink root: choose resistant varieties and avoid waterlogged soil
- Botrytis (neck rot): always cure your onions properly after harvest
Healthy soil and good spacing will prevent most of these issues before they even start.
Harvesting and Storing Onions
All that care and patience is about to pay off. Knowing when and how to harvest makes the difference between onions that last for months and ones that rot within weeks.
How to Know When They’re Ready
Onions will tell you when they are ready. You just need to know what to look for.
Watch for these signs:
- Tops turn yellow and begin to fall over naturally.
- Neck feels thin, dry and papery rather than thick and firm.
What to do: Stop watering 1 to 2 weeks before your planned harvest date to help the outer skin dry out properly. Pulling too early is one of the most common mistakes so resist the urge and let the plant finish the job.
How to Harvest without Damage
Rushing this step is where a lot of growers go wrong. Take it slow and your bulbs will thank you in storage.
Follow these steps:
- Loosen the soil gently around each bulb using a garden fork.
- Never pull by the tops as this bruises the bulb and speeds up rot.
- Ease each bulb out from underneath with care.
- Lay them out in a single layer straight away to begin curing.
Curing and Storing Correctly
Curing helps onions last longer, so it is worth doing carefully.
Place freshly harvested onions in a warm, shaded, and well-ventilated spot for 2 to 4 weeks until the tops turn fully dry and papery.
Once cured, store them in mesh bags so air can move around each bulb. Keep the bags in a cool, dry place between 50 and 65°F.
Check them often and remove any soft or sprouting onions right away.
Conclusion
You have got everything you need now . From the right variety for your climate and a well-prepped bed, to a solid watering routine and the ultimate harvesting process, on planting onions.
Growing onions is a skill that genuinely gets better every season as you learn what works for your space and soil. Start small, stay patient, and enjoy the process.
Share your harvest with someone, save this guide for next season, and keep growing.