

A DIY pergola is one of the easiest ways to make your backyard feel like an outdoor room. It adds structure and purpose, turning empty space into a comfortable place to relax or spend time with family.
What I like most about this kind of project is how flexible it is; you can build it to fit any style, size, or budget.
In this blog, I’ll share how simple planning and the right materials can help you create something both beautiful and long-lasting.
With a bit of patience and creativity, your DIY pergola can become a space that feels personal, welcoming, and perfectly suited to your everyday outdoor life.
What is a Pergola?
A pergola is a simple outdoor structure made of upright posts and crossbeams that create partial shade. It’s often built over patios, decks, or walkways to add comfort and style to outdoor spaces.
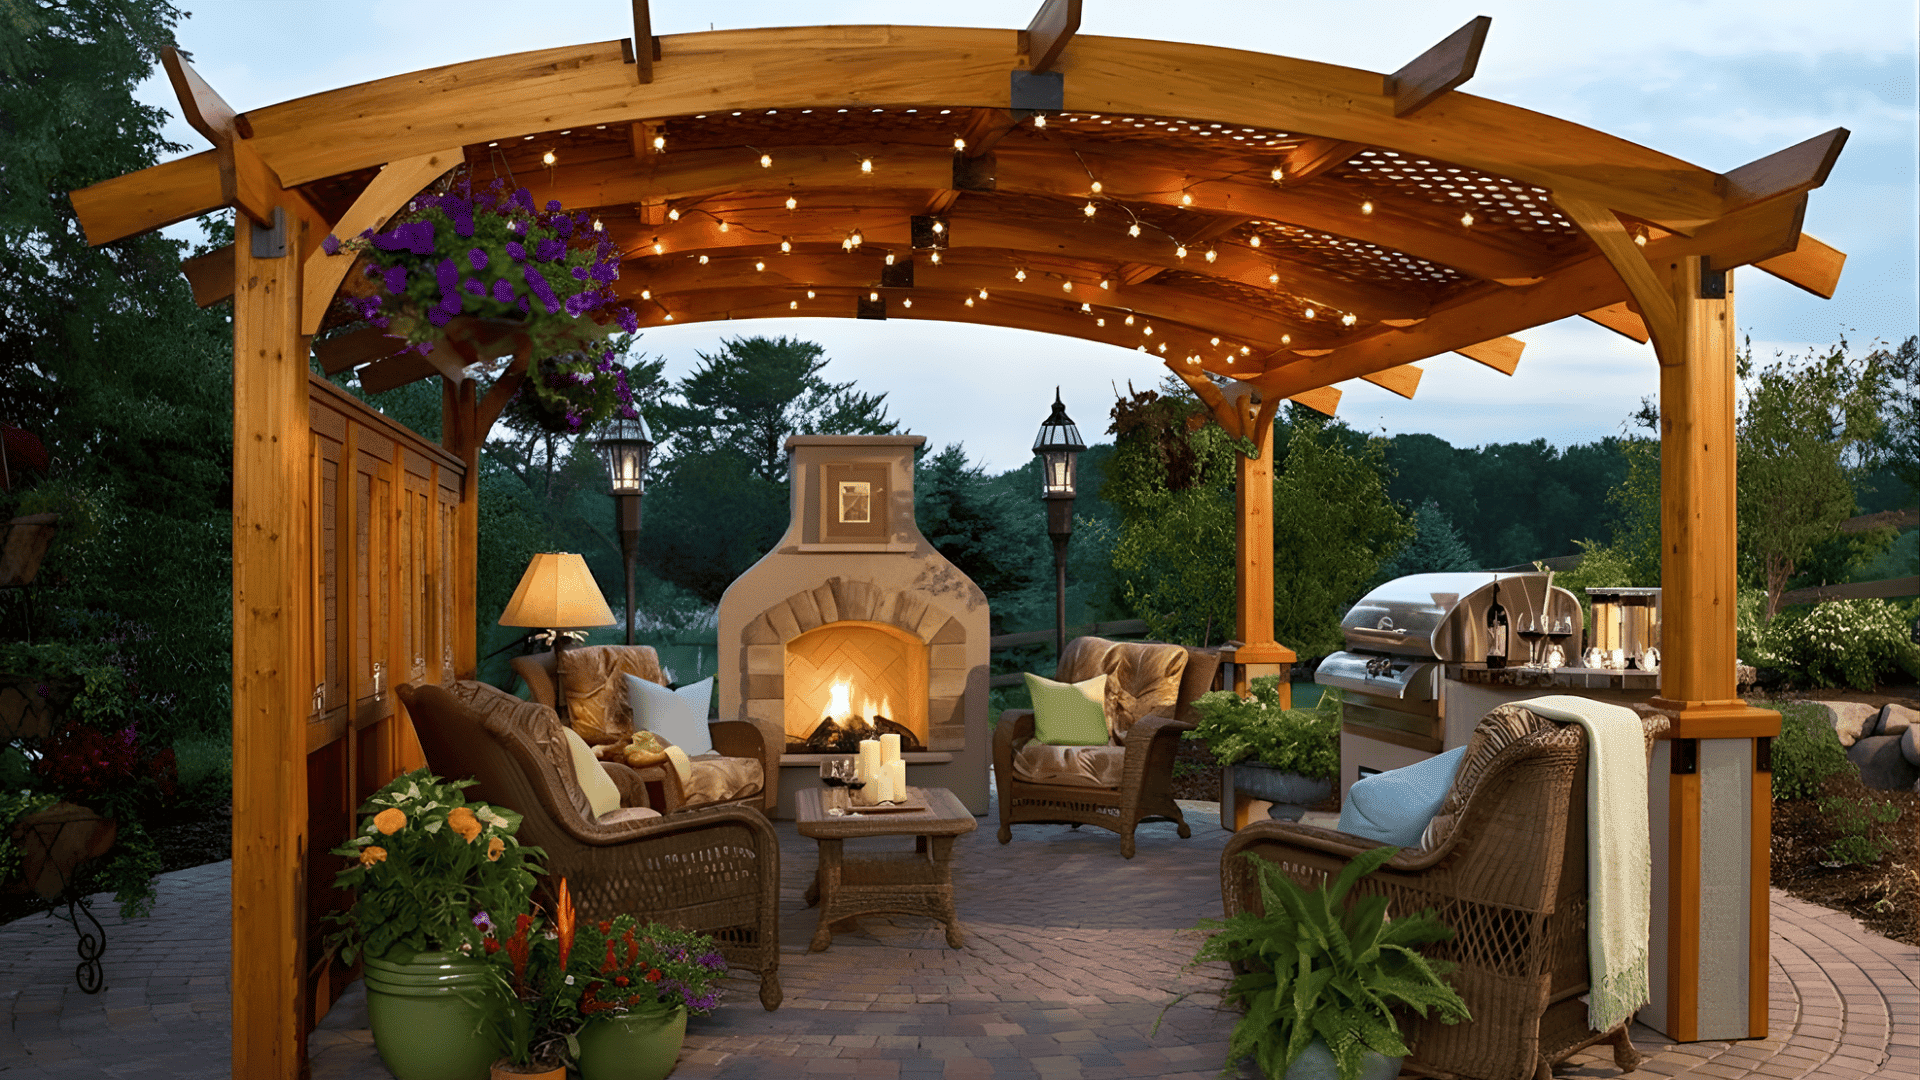
Pergolas offer light shade while keeping the area airy and open. They make great spots for relaxing, dining, or entertaining, and can easily be dressed up with lights, plants, or curtains.
Unlike gazebos, which have solid roofs, or arbors, which are smaller garden arches, pergolas blend openness and shade for a balanced outdoor living upgrade.
Preparing for DIY Pergola
- Find the Best Spot: Choose a location with the right balance of sun and shade. A sunny spot suits plants, while a shaded one feels better for seating. Go for an attached pergola near your home or a freestanding one in the yard.
- Check Local Rules: Some areas require permits for large or attached pergolas. In Florida, small freestanding ones under 10×10 ft may not need one. Bury posts one-third of their length and use concrete anchors for stability.
- Plan Your Design: Pick a size like 8×8, 10×10, or 12×12 ft. Choose between open, covered, or louvered roofs depending on your light and shade needs.
Pick your material based on your budget, style preference, and how much maintenance you’re willing to handle.
Step-by-Step DIY Pergola Build
Each step is designed to be easy to follow, even if you’re new to DIY projects.
Gather Tools and Materials
- Power drill
- Saw (miter or circular)
- Level
- Post-hole digger
- Measuring tape
- Clamps
- Wood (Cedar, Pine, Redwood)
- Vinyl
- Aluminum
Step 1. Mark and Measure Your Area
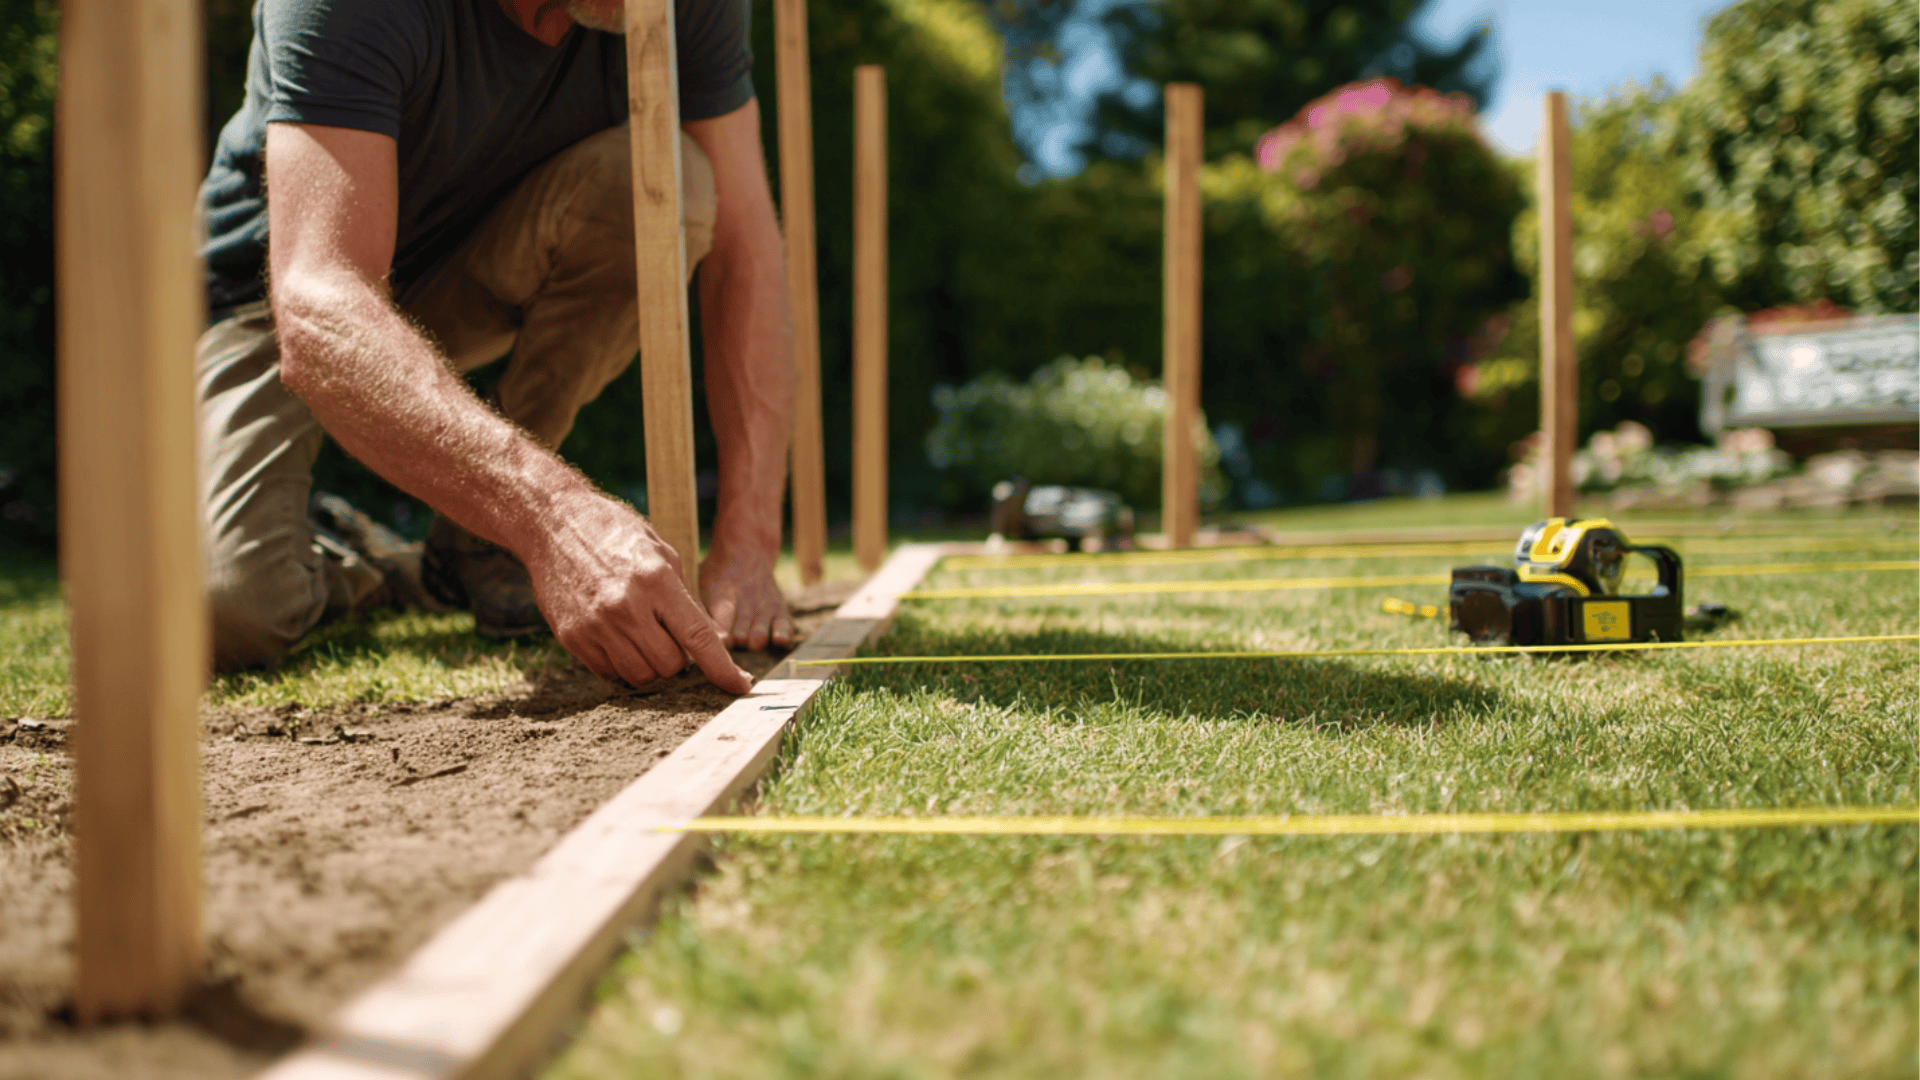
Start by outlining where your pergola will go. Use stakes and string to mark the boundaries and check that the area is level. Measure carefully to keep all sides even.
This helps your frame stay square and balanced. Taking time to double-check measurements now will prevent errors later when installing posts or beams.
Step 2. Set the Posts and Base
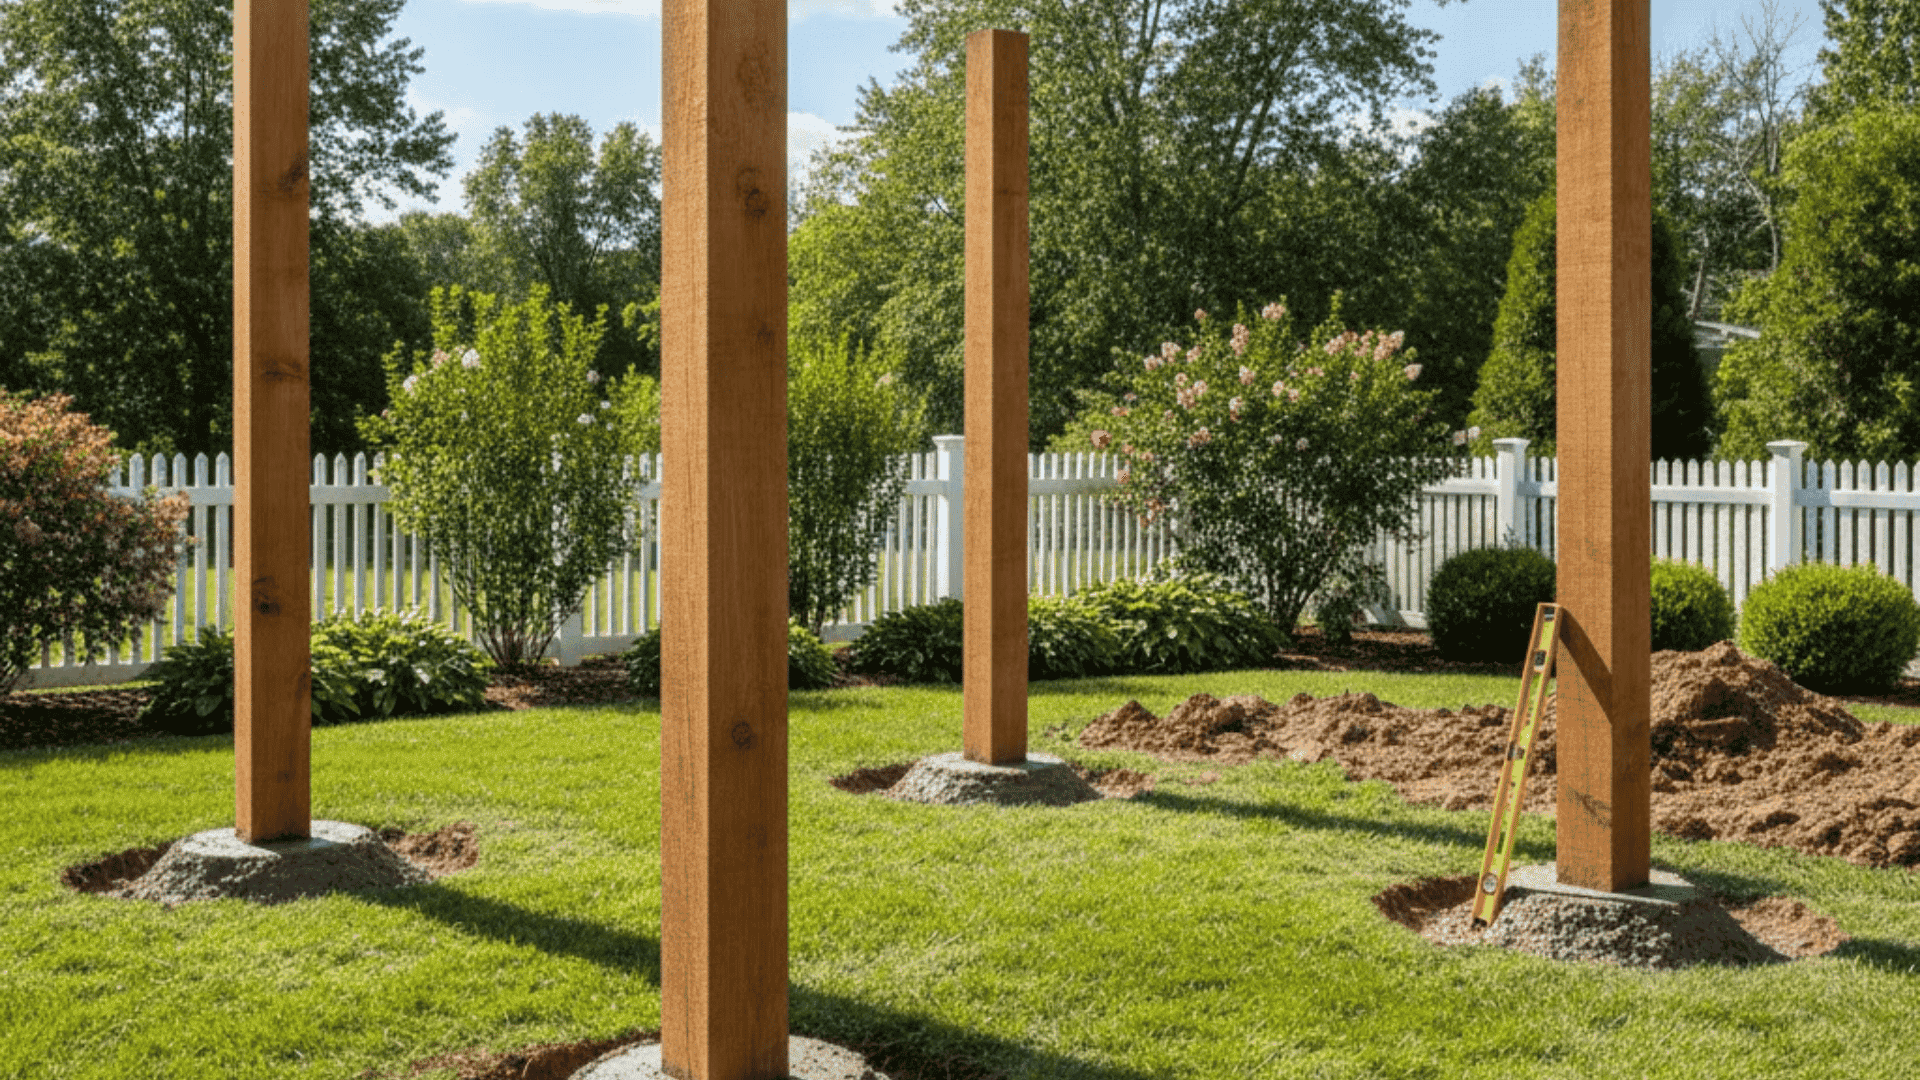
The posts form the backbone of your pergola, so make sure they’re secure. Dig holes that are about one-third the length of each post and pour in concrete for support.
Allow the concrete to set for at least 24 hours before continuing. Use a level to ensure each post stands straight.
If you prefer a movable design, mount posts in large planters filled with gravel or concrete instead of digging holes.
Step 3. Install Beams and Cross Rafters
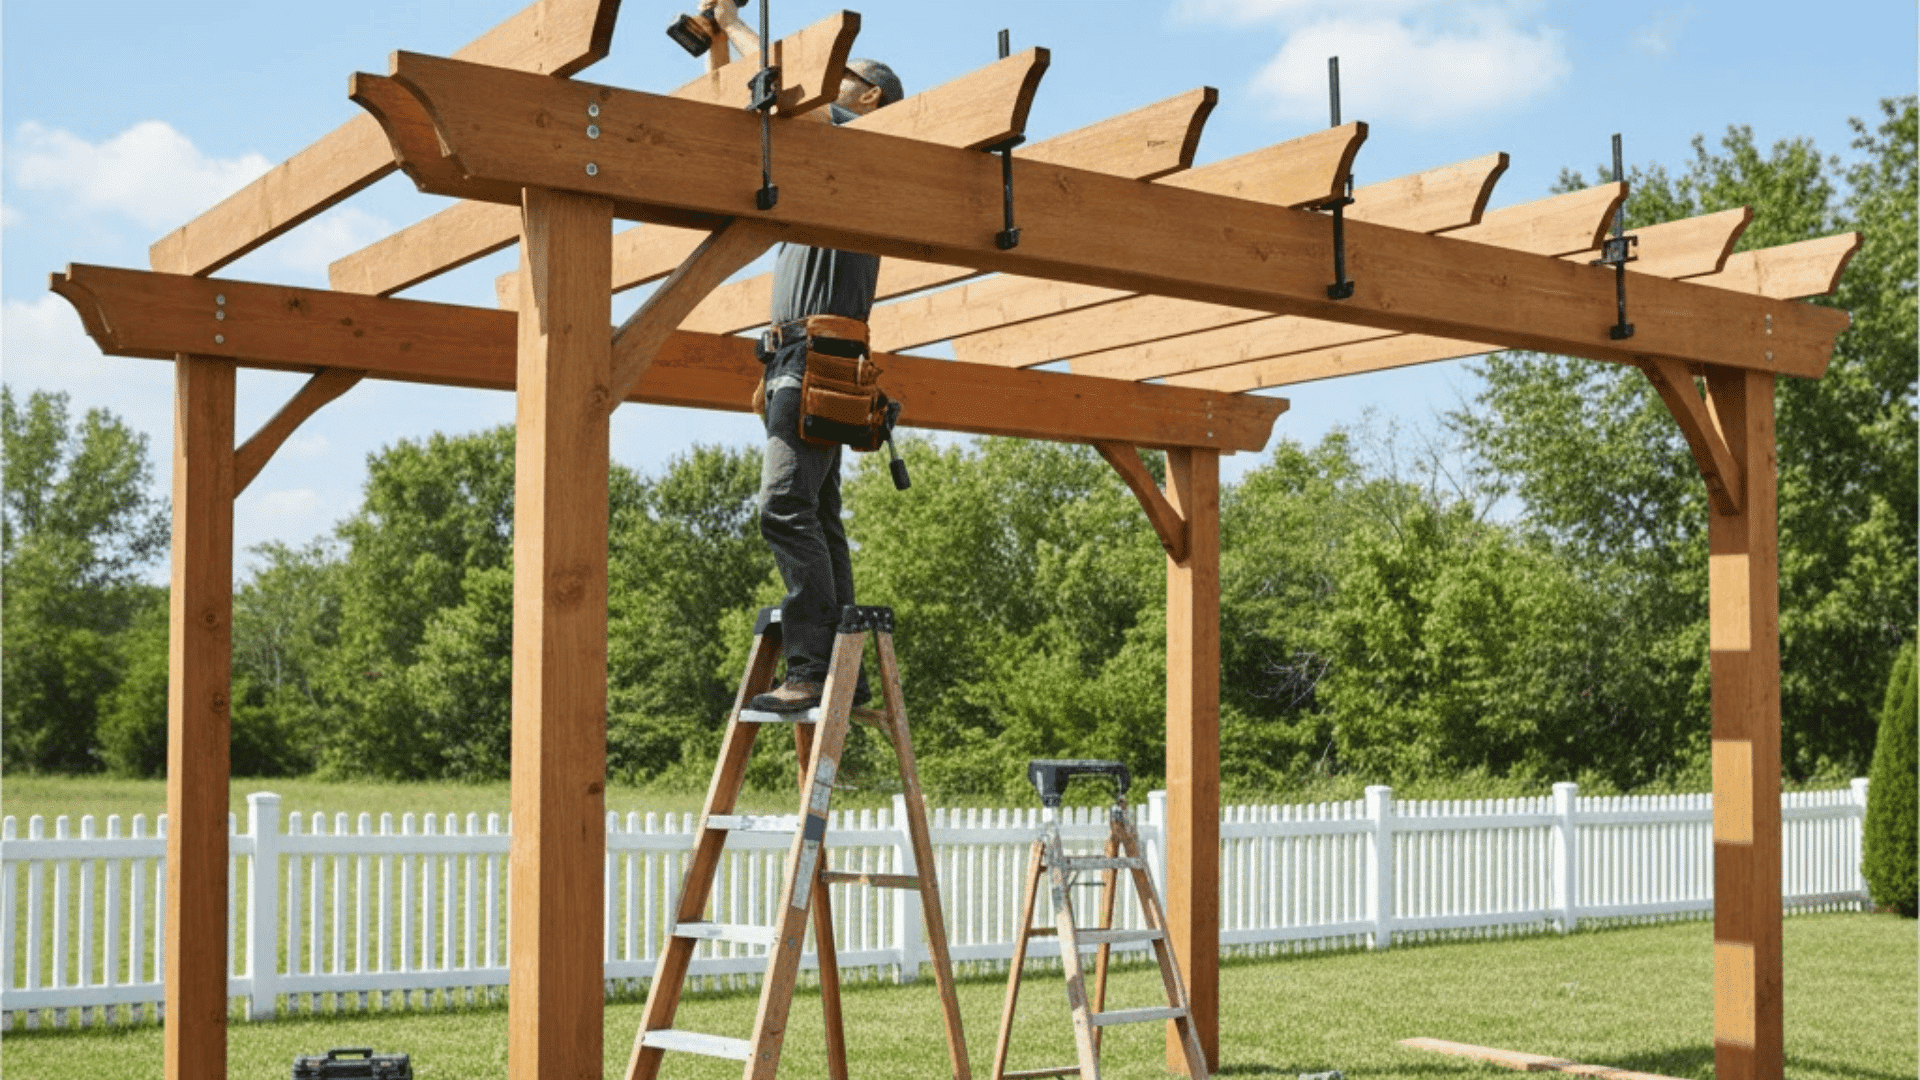
Once your posts are set, you can start attaching the beams and rafters. Fix the horizontal beams to the tops of the posts using screws or sturdy metal brackets.
Then, add cross rafters evenly spaced across the top to form the roof grid. Use clamps to hold pieces in place while fastening them.
Pre-drilling holes before inserting screws will help prevent the wood from cracking and keep your frame sturdy.
Step 4. Add Roof or Shade Material

Next, add your roof or shade covering. You can use wood slats, lattice panels, or outdoor fabric for partial shade. If you want more coverage, try clear polycarbonate or metal panels.
Secure your chosen material tightly to handle wind and rain. Tilt the roof slightly so rainwater can drain away easily. For extra character, you can hang string lights, add climbing plants, or install outdoor curtains.
Step 5. Finishing Touches and Painting
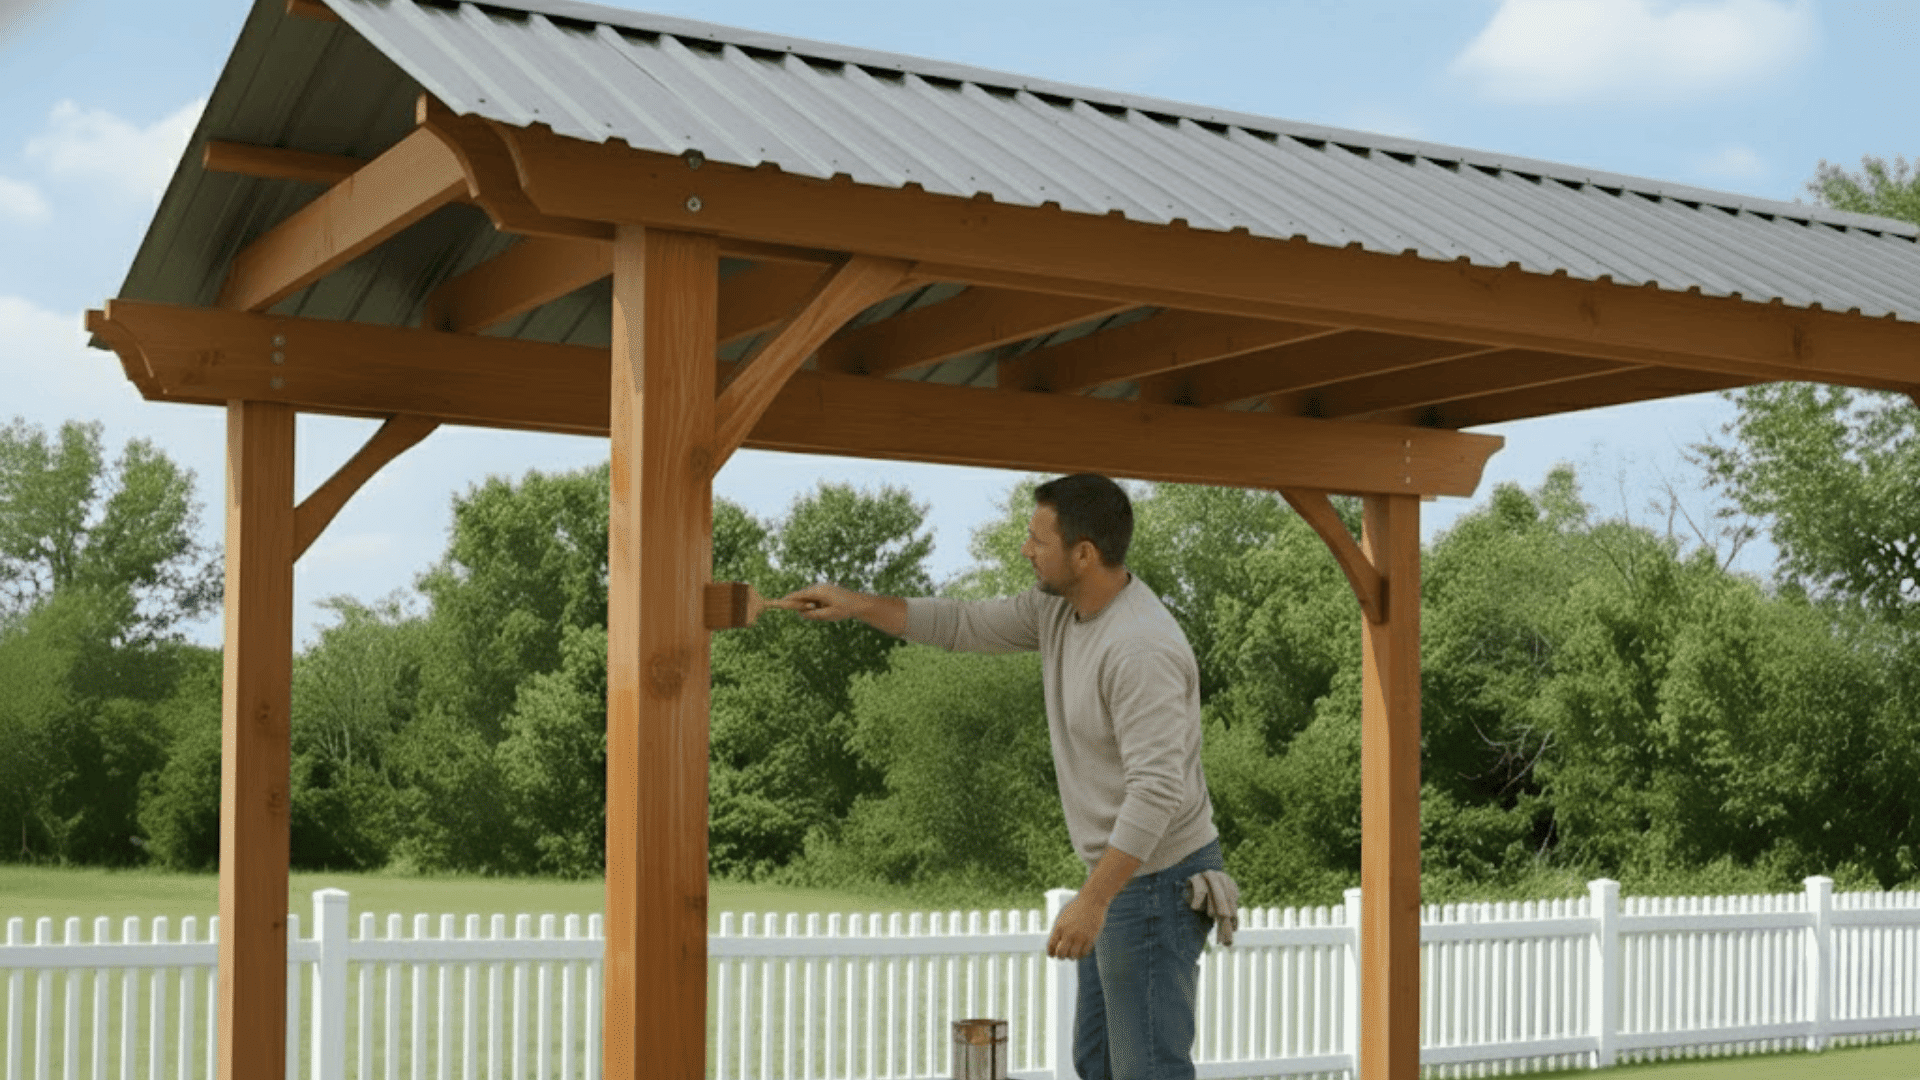
Finish by sanding down any rough edges and applying paint, stain, or a waterproof sealant to protect your pergola from the weather. Let it dry completely before use.
You can also add decorative touches like trim, lights, or small shelves to personalize your outdoor space. A quick final check for stability ensures everything is solid and ready to enjoy.
DIY Pergola Design Ideas for Every Backyard
DIY pergola design ideas can help you make the most of any outdoor space, from tiny patios to spacious backyards, by matching the size, style, and layout to how you actually live and relax outside.
1. Small-Space Pergola
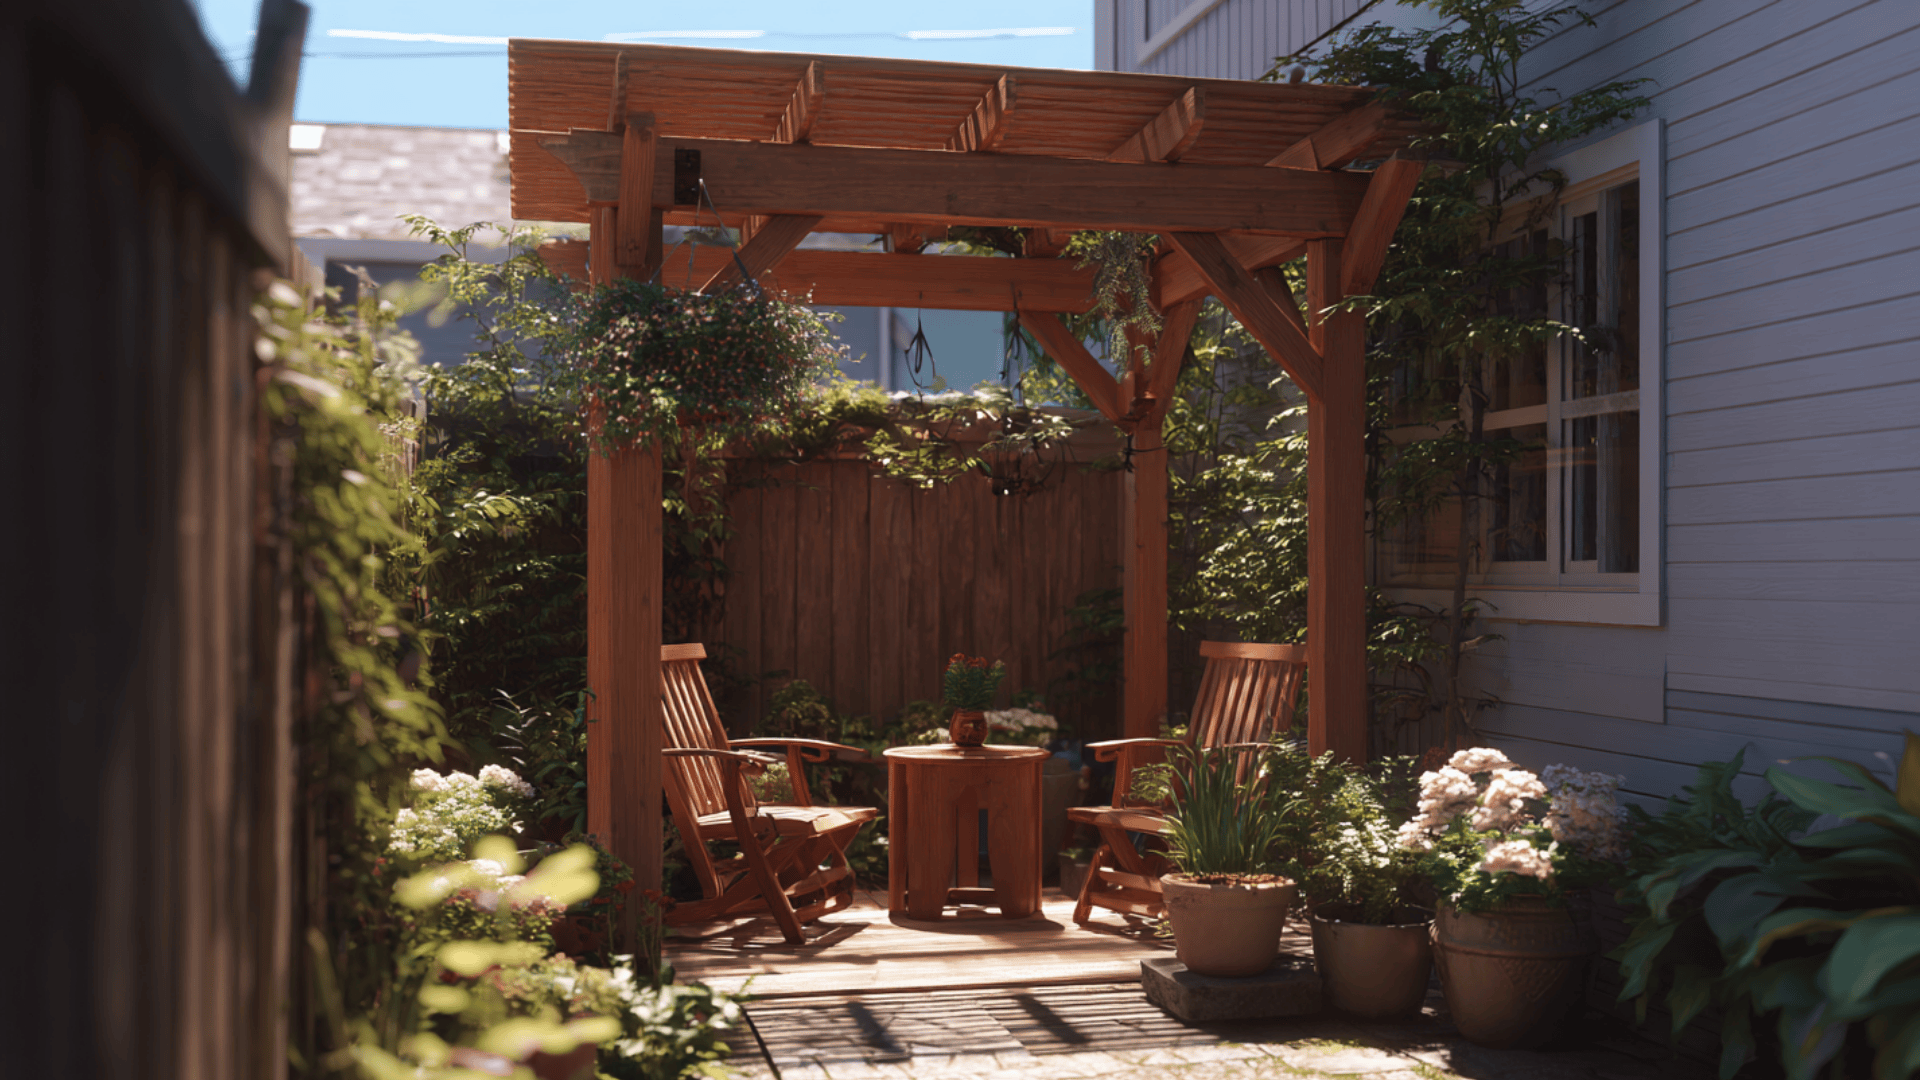
Perfect for compact patios, balconies, or narrow yards. This design uses fewer posts and slimmer beams, making it lightweight yet sturdy.
It fits comfortably in areas around 8×8 ft and creates just enough shade for a small seating corner or garden nook. Use cedar or pine boards for a natural look, and keep the layout simple with a square or rectangular frame.
2. Modern Pergola
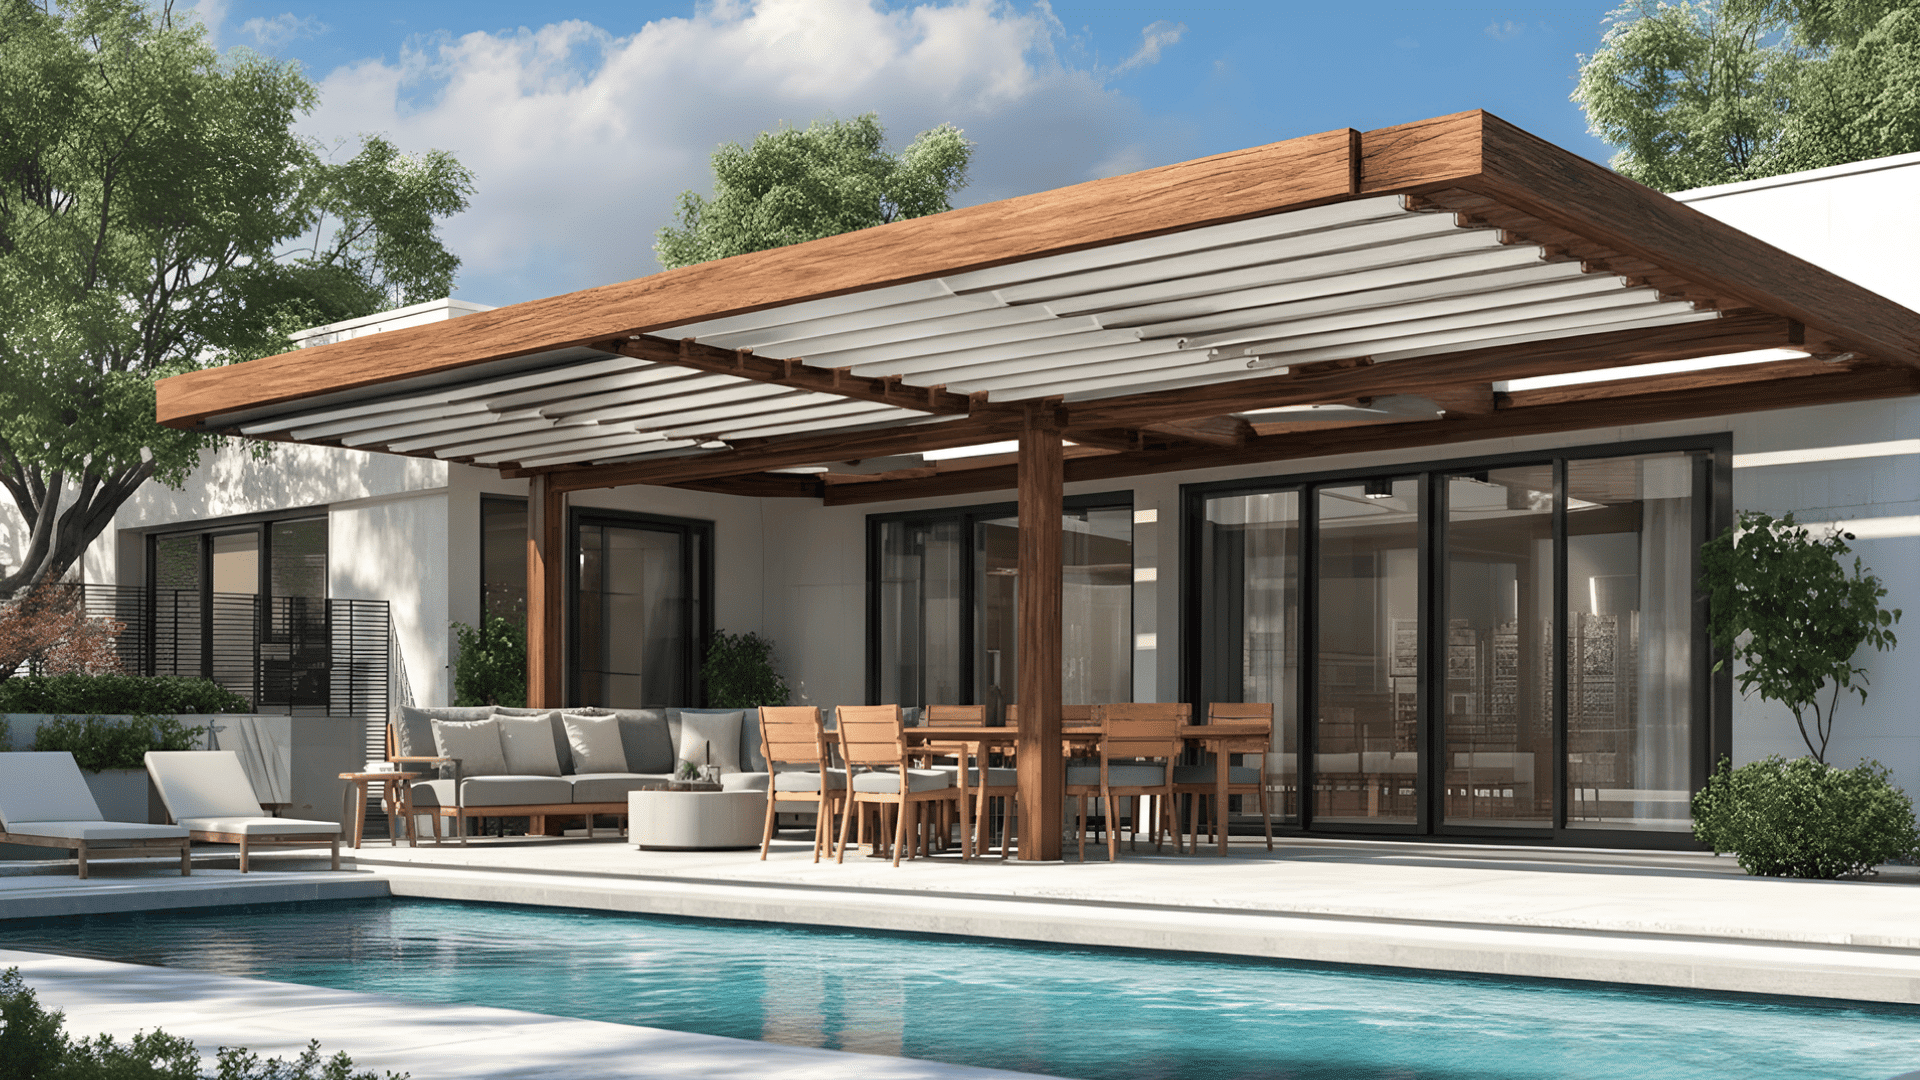
This style suits contemporary homes with its clean lines and open structure. It often features metal brackets, smooth lumber, and wide spacing between beams for a minimalist appearance. You can include slatted roofing or partial covers for adjustable light and airflow.
Use pressure-treated wood or aluminum for a sleek finish and long-term durability. It’s ideal for patios or poolside areas where a modern touch fits the overall design.
3. Rustic Pergola
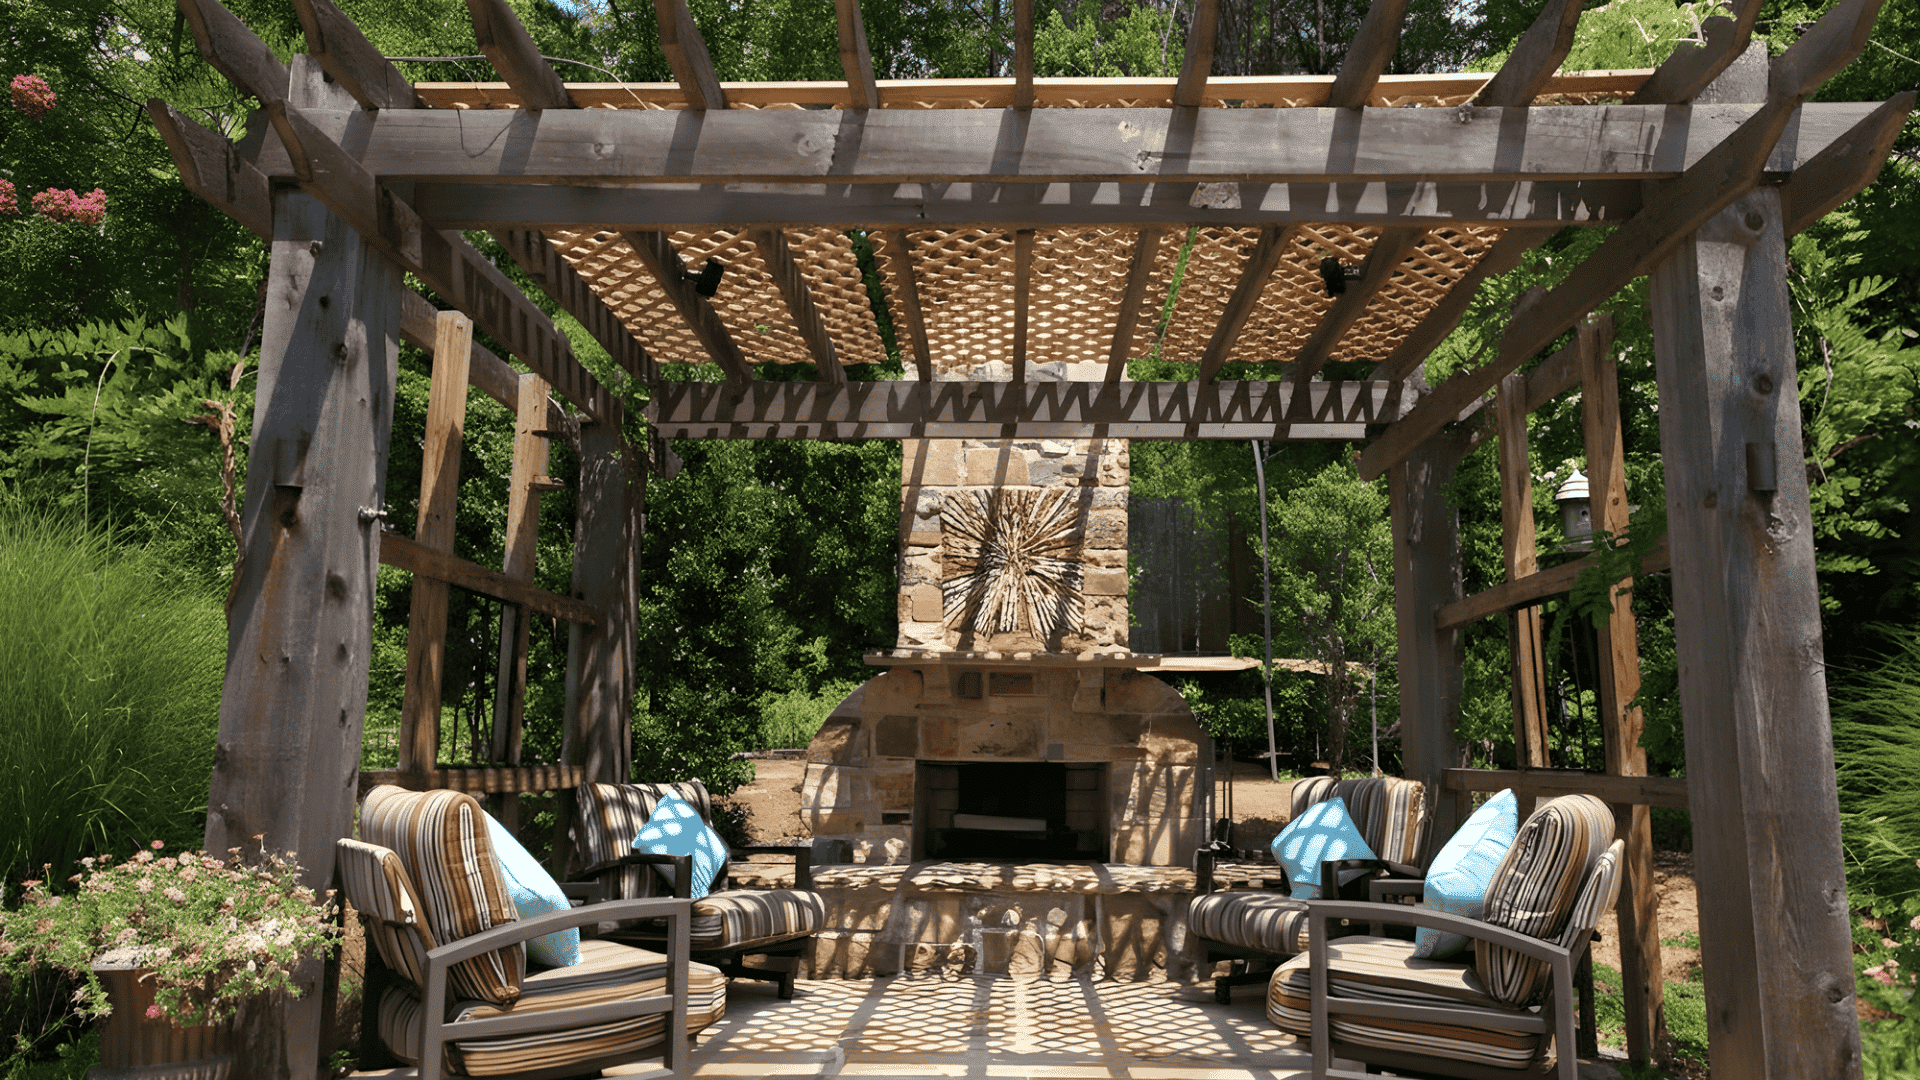
A rustic pergola adds warmth and character to outdoor spaces like gardens or farmhouse patios. It works best with reclaimed wood or rough-cut beams that highlight natural grain and texture.
Pair it with climbing vines, string lights, or hanging planters for a cozy, inviting setup. This version is simple to build but has a timeless look that blends beautifully with nature and older homes.
Easy Pergola Options and Cost Breakdown
If building a pergola from scratch feels like too much work, there are easier options that still let you enjoy the project.
| Pergola Option | Estimated Cost | Description / Best For |
|---|---|---|
| DIY Build (raw materials) | $400–$1,000 | Most budget-friendly; full control over design and materials; ideal for hands-on builders. |
| DIY Pergola Kit | $800–$2,000 | Pre-cut and pre-drilled parts; quicker, easier setup; great for beginners. |
| Prefab / Contractor Build | $3,000–$6,000+ | Professionally built or ready-made; minimal effort; best for turnkey convenience. |
You can check out Pergola Depot and Home Depot for more inspiration, ready-to-assemble kits, and easy installation ideas.
Maintenance and Upgrade Tips
With a little consistent care and a few thoughtful upgrades, your pergola will stay looking great and feeling comfortable season after season.
- Protect wooden pergolas: Stain or seal every few years to shield the wood from moisture, sunlight, and insects so it stays strong and attractive.
- Clean vinyl or aluminum designs: Wash regularly with mild soap and water to remove dirt and mildew, and avoid harsh chemicals that could damage the finish.
- Add comfort and style upgrades: Install curtains for privacy, hang string lights for a cozy atmosphere, and use hanging plants for a natural, welcoming touch.
- Boost shade and weather protection: Add roof panels or shade sails to increase protection from the sun and light rain, keeping your pergola functional and inviting throughout the year.
Conclusion
Finishing your DIY pergola isn’t just about building something; it’s about creating a space that truly feels like part of your home.
A well-built pergola adds comfort, shade, and a welcoming spot to spend more time outdoors. I’ve found that projects like this bring lasting satisfaction because you get to enjoy the results every day.
With a little care and creativity, your pergola will stay strong and stylish for years.
Ready to start your own project, gather your tools, plan your layout, and build a DIY pergola that turns your backyard into your favorite place to relax!