


Building a planter box is one of those projects that feels simple but gives you a lot of control over how your space looks and works.
In my experience, the wood you pick decides how long the box holds up and how easy it is to maintain later.
You also get room to match the style you want, manage your budget, and choose how hands-on you want the build to be
Here, you’ll see clear steps, practical tips, design options, and a breakdown of cost and time so you can build with confidence.
Choosing the Right Wood for Your Planter Box
The type of wood you use affects how long your planter lasts and how it looks. Some woods are better for outdoor use, while others work best for decorative or indoor planters.
Cedar: Durable, naturally weather-resistant, and rich in color. It resists rot and insects, making it a great choice for outdoor use.
Treated Lumber: Budget-friendly and easy to find, but needs proper sealing to prevent chemical leaching and extend its life.
Composite: Made from recycled materials, it’s long-lasting, low-maintenance, and won’t rot or warp like real wood.
Upcycled Wood: A creative and eco-friendly choice. Use old pallets, furniture, or fencing for a rustic and sustainable touch.
Pick a wood type that fits your climate, budget, and style. For outdoor planters, cedar or composite is the most reliable choice.
How Much It Costs and How Long It Takes
Here’s a simple estimate to help you plan your budget and time before starting your project:
| Size / Type | Material | Estimated Cost | Build Time |
|---|---|---|---|
| Small | Cedar fence pickets | $40–60 | 2 hrs |
| Large | Treated lumber | $80–120 | 4 hrs |
| Medium | Composite – made from recycled materials, long-lasting, low-maintenance, and won’t rot or warp | $90–140 | 3 hrs |
| Custom | Upcycled wood – pallets, barrels, or old furniture for a creative, eco-friendly build | $20–50 | 2–3 hrs |
How to Build a Planter Box: Step-by-Step DIY Tutorial
Here are simple steps to help you build a durable planter box from start to finish. Each step is easy to follow, even for beginners.
Tools and Materials You’ll Need
- Saw (miter or circular): Used to cut wood pieces to size.
- Drill and drill bits: For making pilot holes and fastening screws.
- Screws or nails: Keep the structure firm and stable.
- Clamps: Hold pieces together while assembling.
- Tape measure: Ensures accurate measurements for clean cuts.
- Square and pencil: Help mark straight, precise lines.
- Sandpaper or sander: Smooths edges and surfaces before finishing.
- Wood boards (cedar, pine, pressure-treated, or recycled wood)
- Corner posts or sturdy supports
- Landscape fabric or heavy-duty liner
Step 1: Measure and Cut the Wood
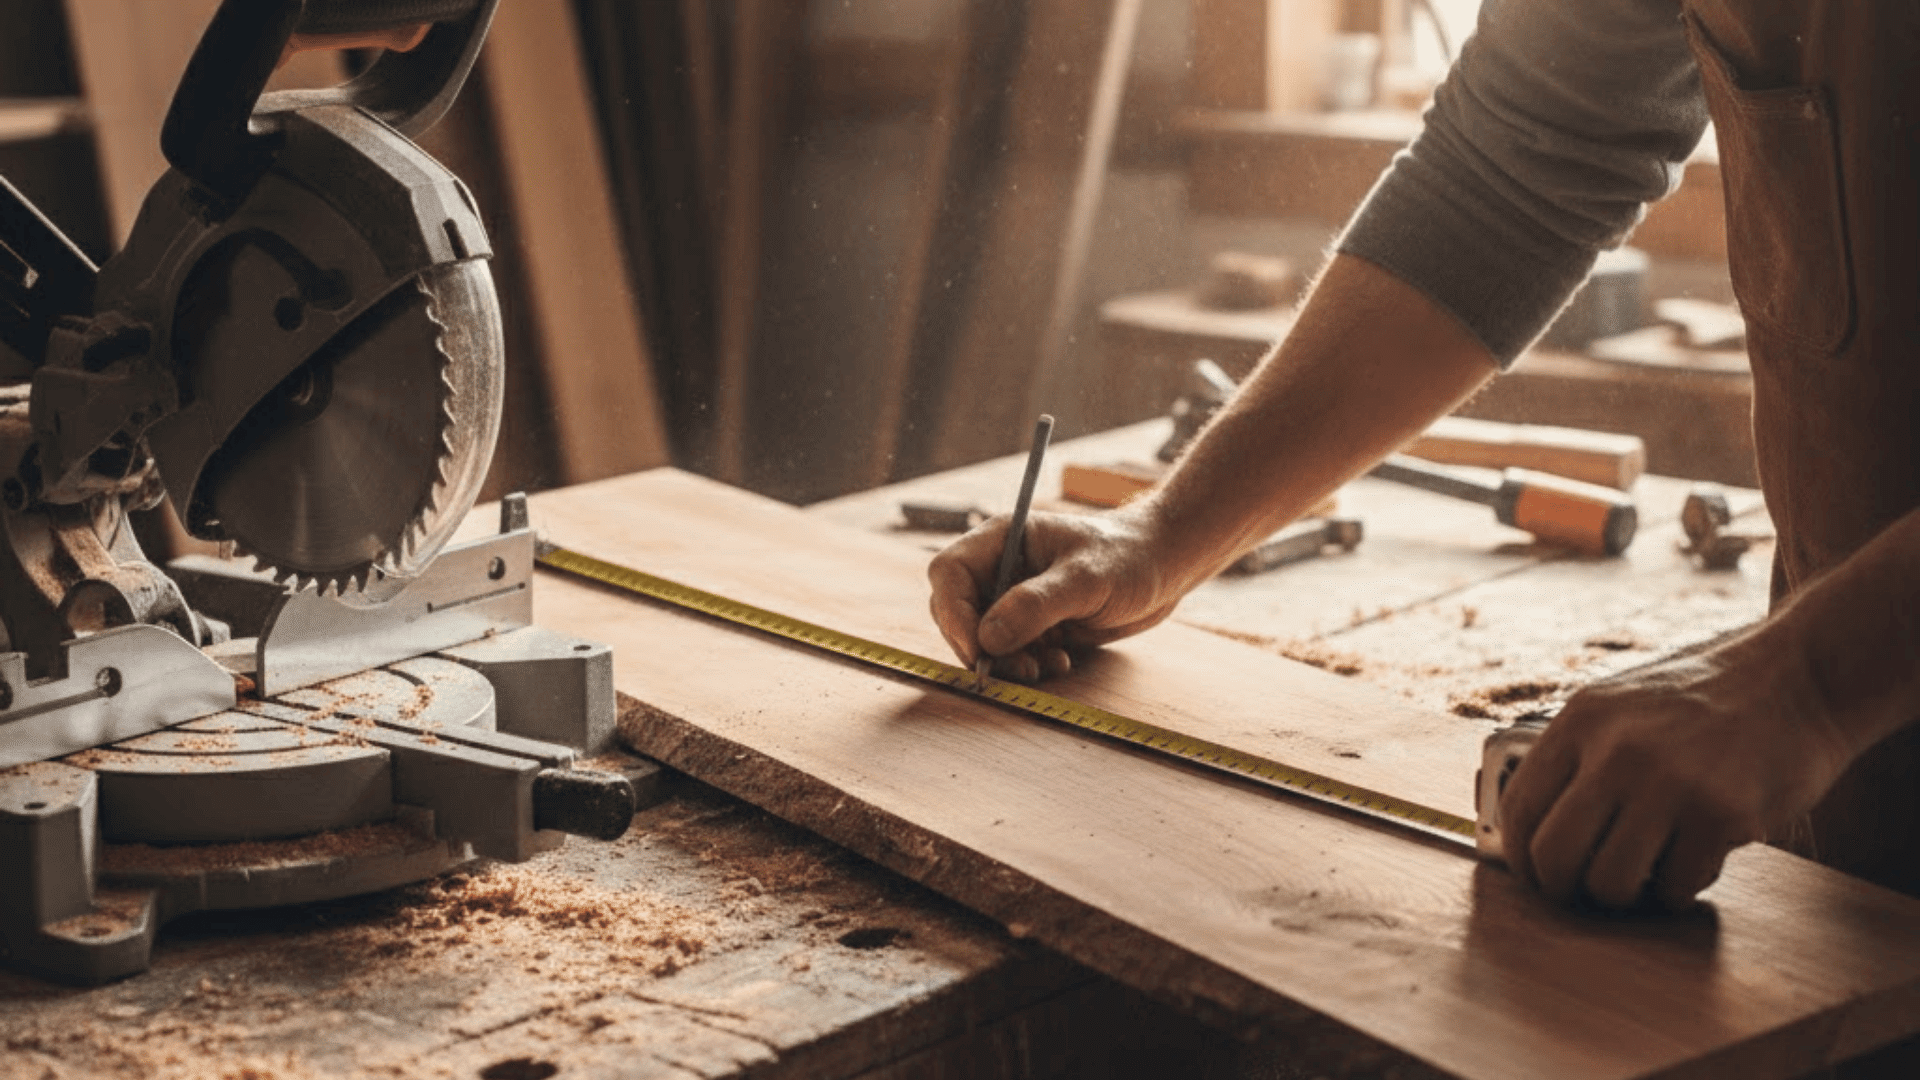
Start by measuring and cutting your boards according to the planter size you want. Keep your cuts straight and double-check each length before sawing. Use a miter saw for clean edges and sand lightly to remove splinters.
Tip: Create a quick layout sketch or diagram before you begin cutting to visualize your build.
Step 2: Assemble the Frame
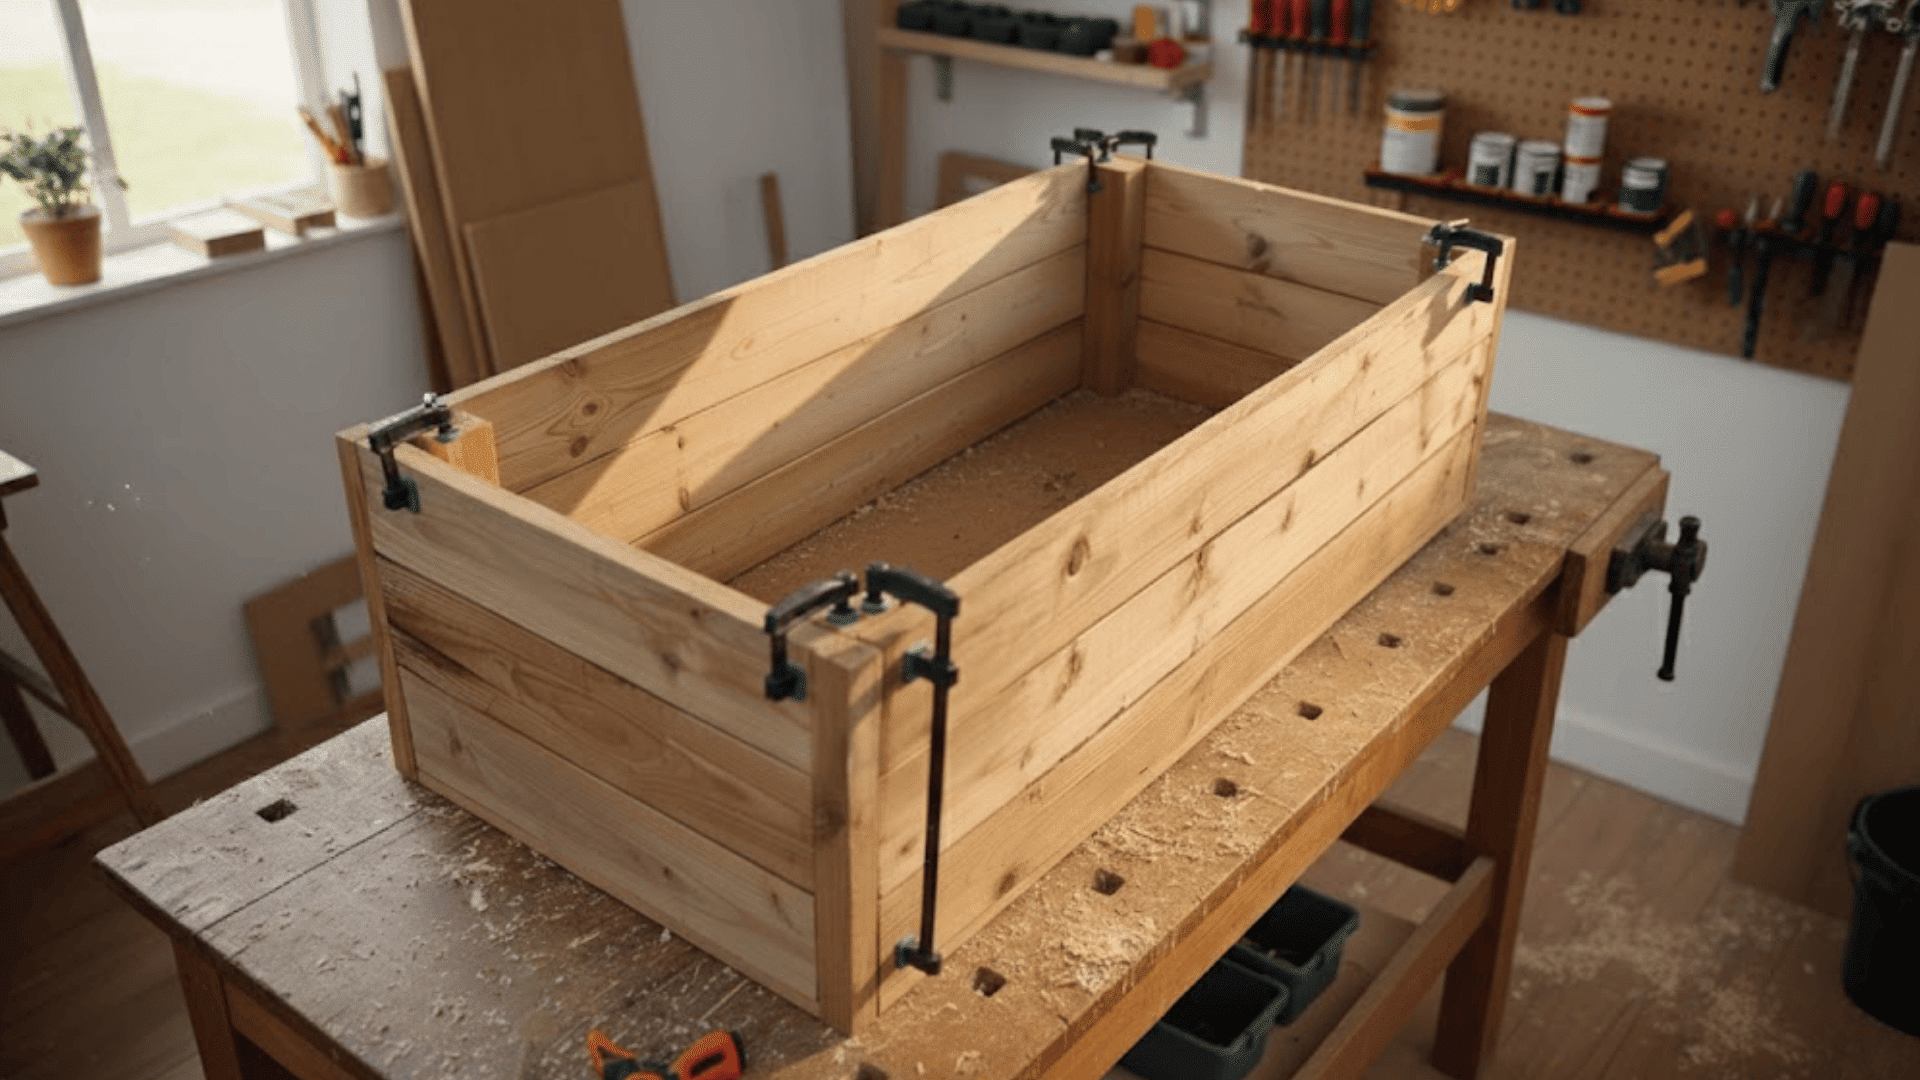
Lay two sideboards parallel, attach end boards between them, and secure with screws or wood glue. Add corner posts inside each corner for extra stability.
Use clamps to keep everything square as you fasten. Reinforce the joints with metal brackets if you want a sturdier structure. Once done, you’ll have a rectangular box frame ready for the bottom boards.
Step 3: Add Bottom and Liner
Attach 2–3 support slats across the base, leaving small gaps for drainage. Then screw down the bottom boards, spacing them slightly apart to let water escape.
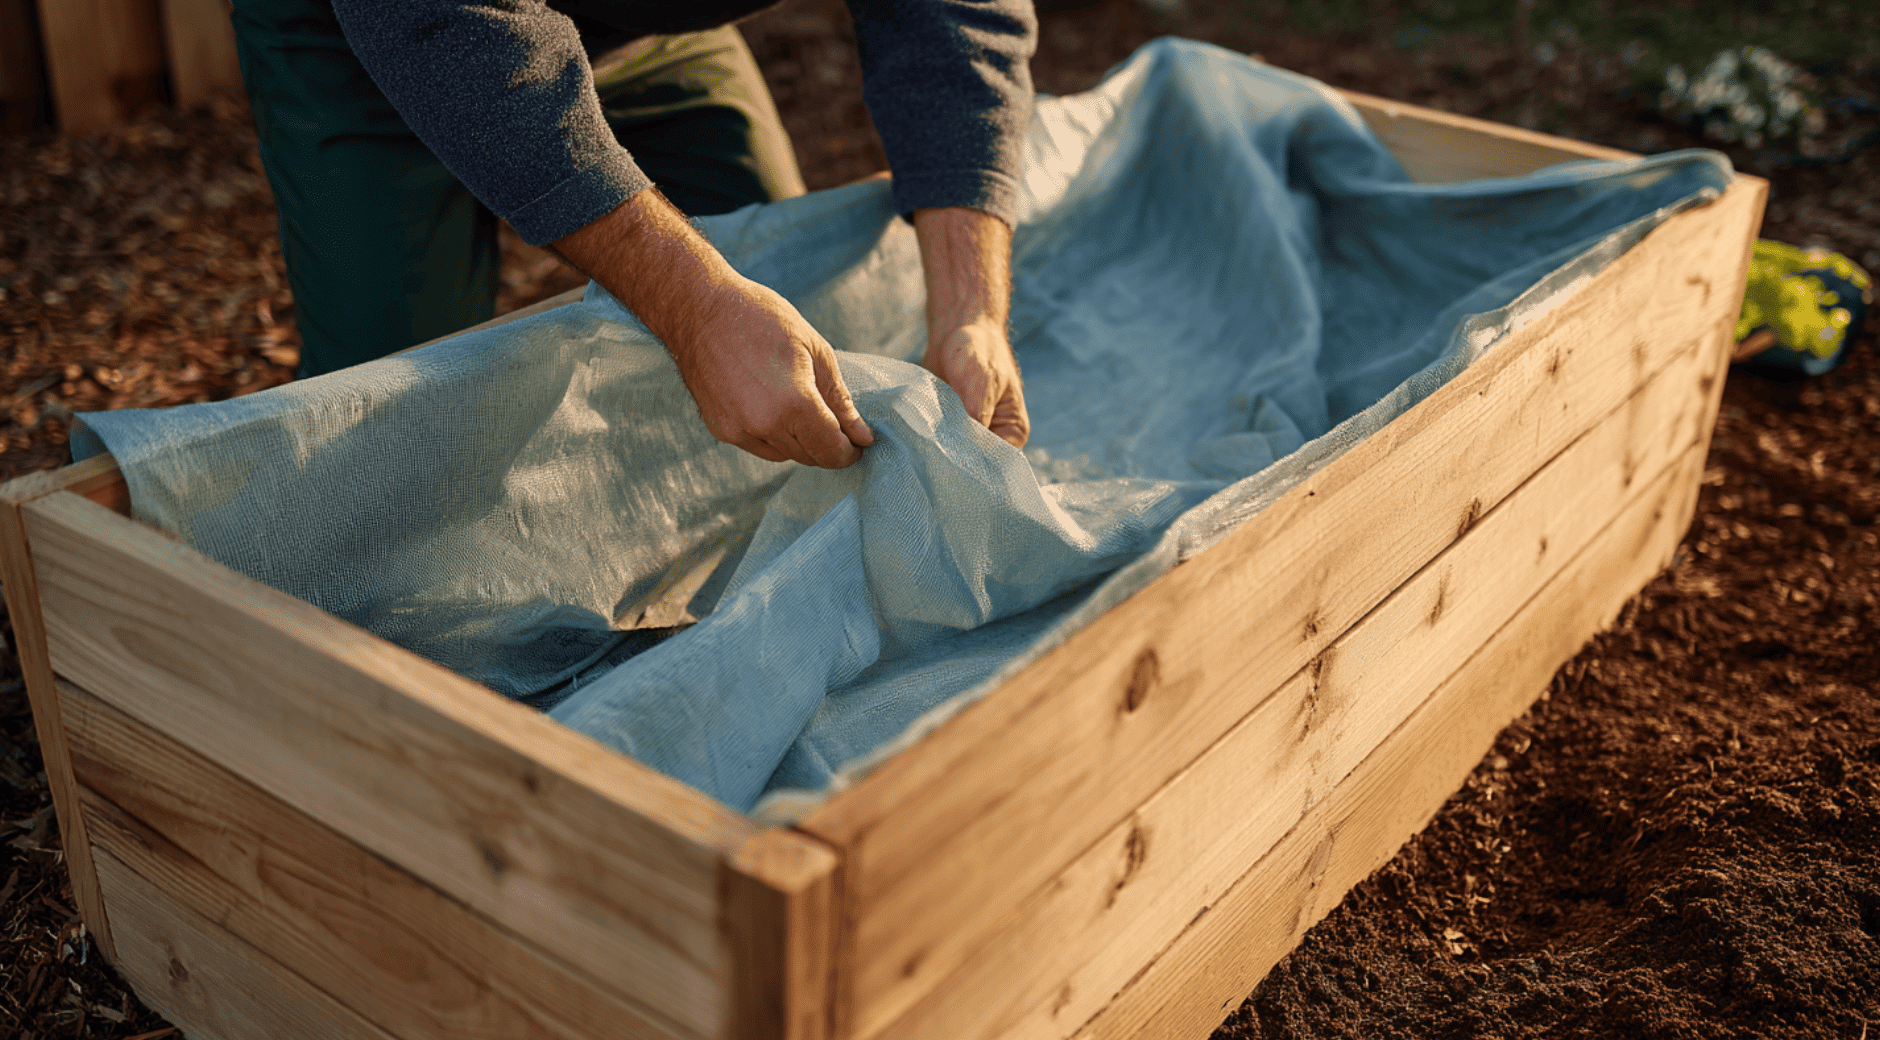
Line the interior with landscape fabric or heavy plastic. This helps protect the wood from moisture and keeps the soil contained neatly inside. Wrap and secure the liner with a staple gun for a tidy finish.
Step 4: Sand, Stain, and Seal
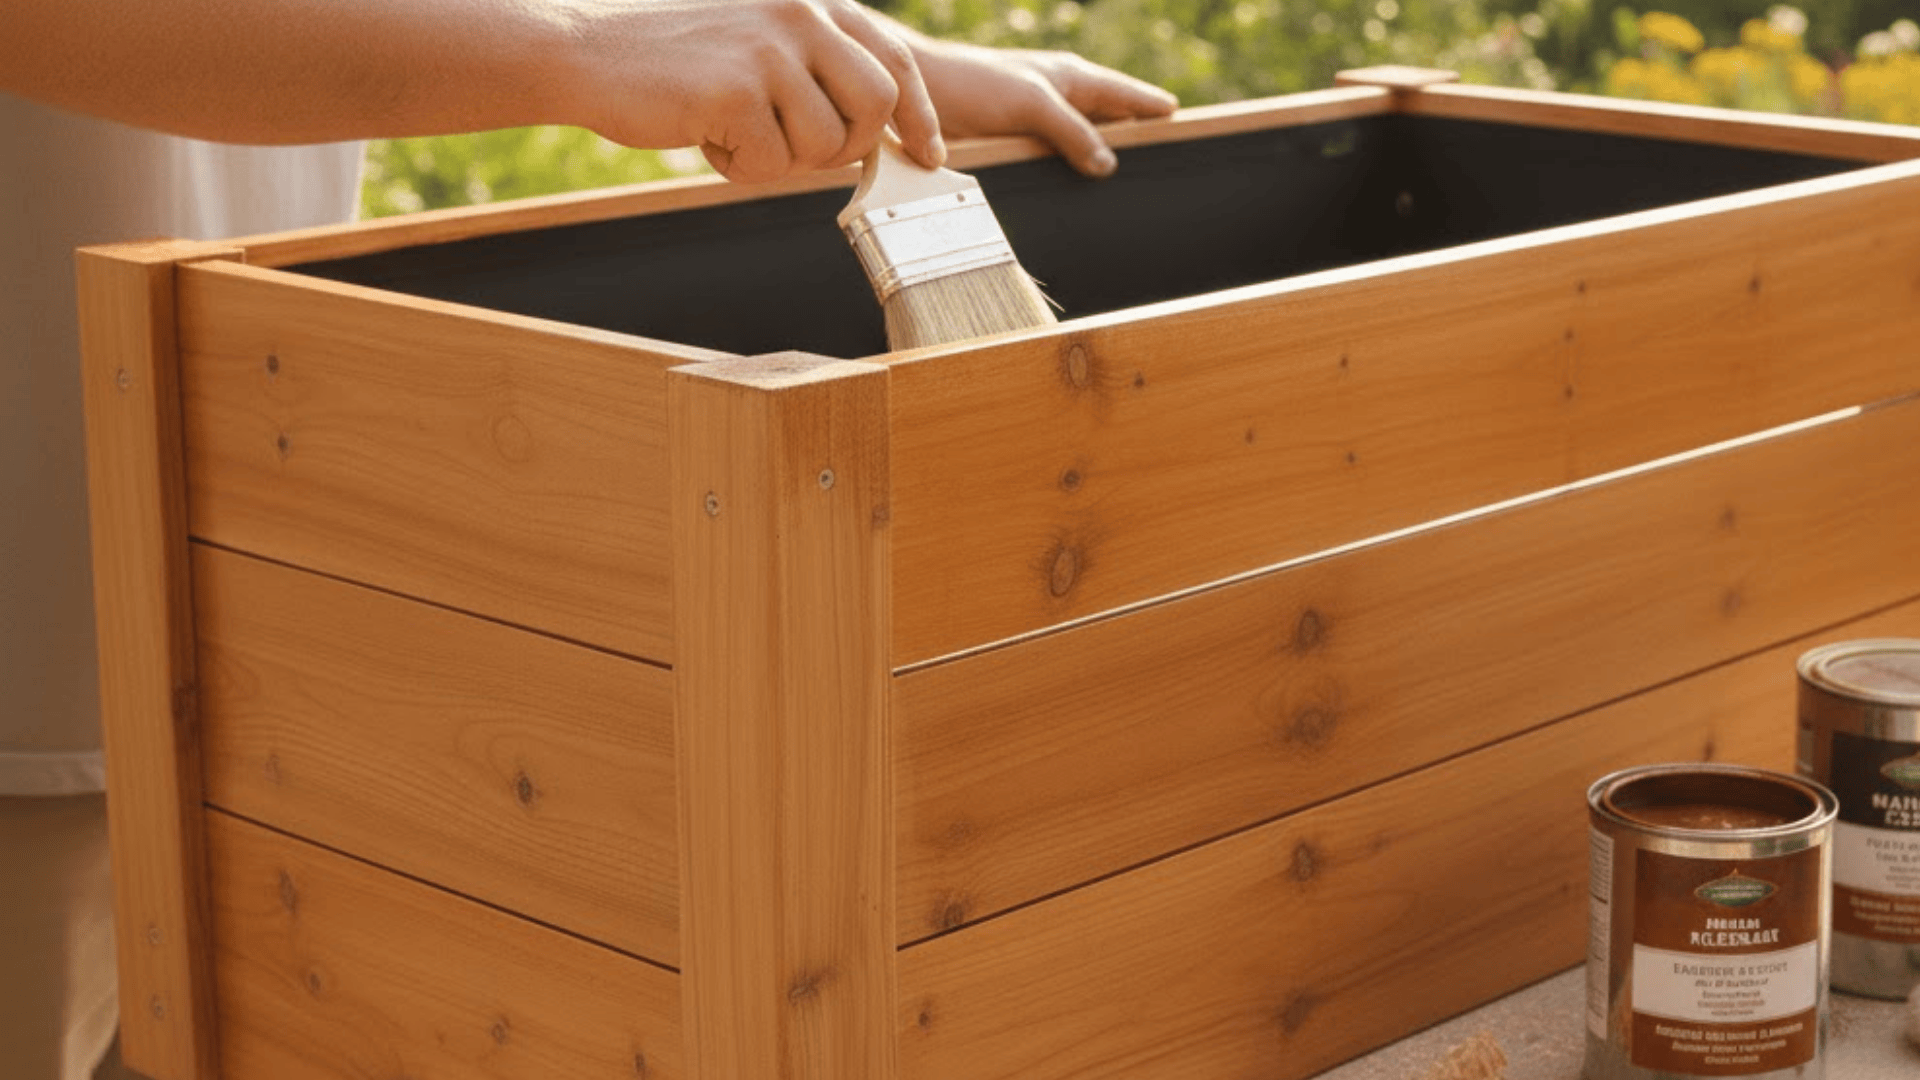
Smooth out rough spots with fine-grit sandpaper, especially on corners and edges. A clear sealant keeps the wood natural and highlights its grain.
A rustic stain adds warmth with a soft matte finish. A painted finish brings color and weather protection. Choose the one that matches your style and space.
Allow the finish to dry completely before adding soil or plants. A good sealant keeps your planter looking fresh through the seasons.
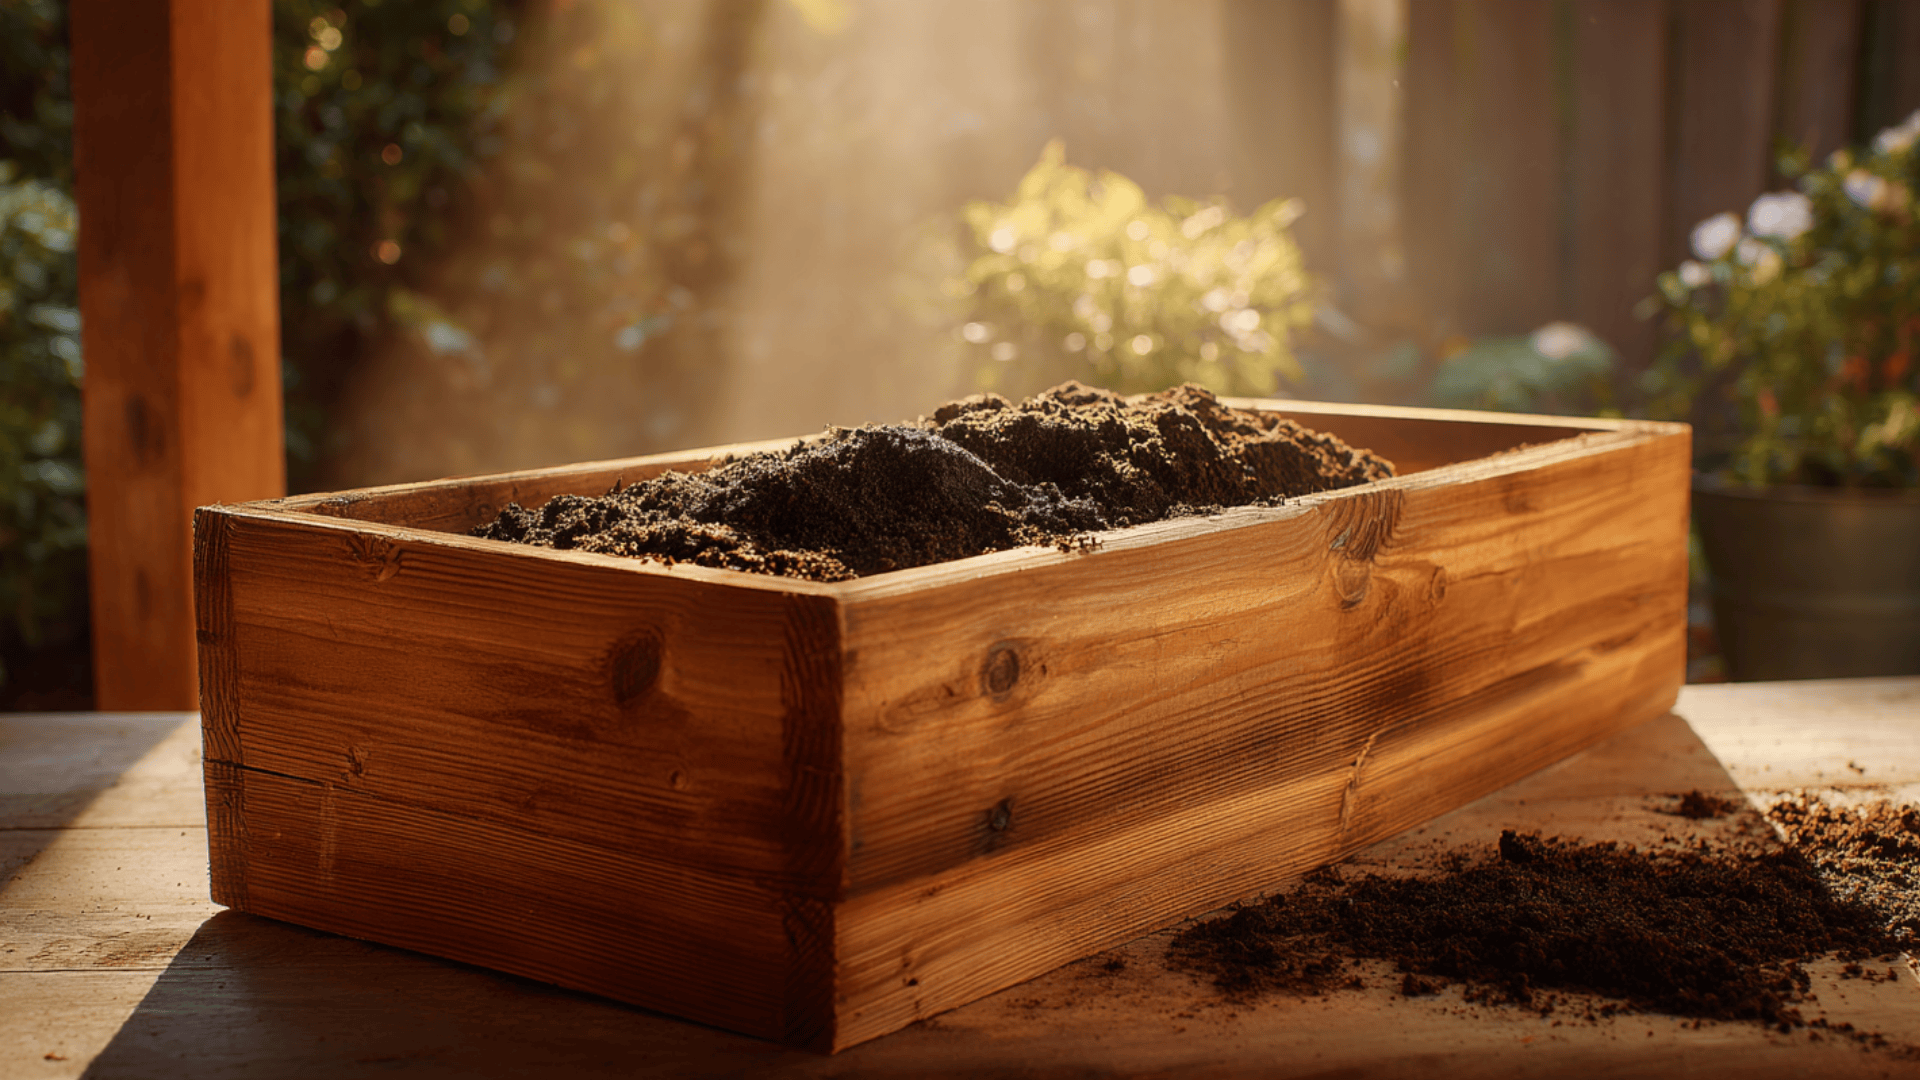
Step 5: Add Soil and Plants
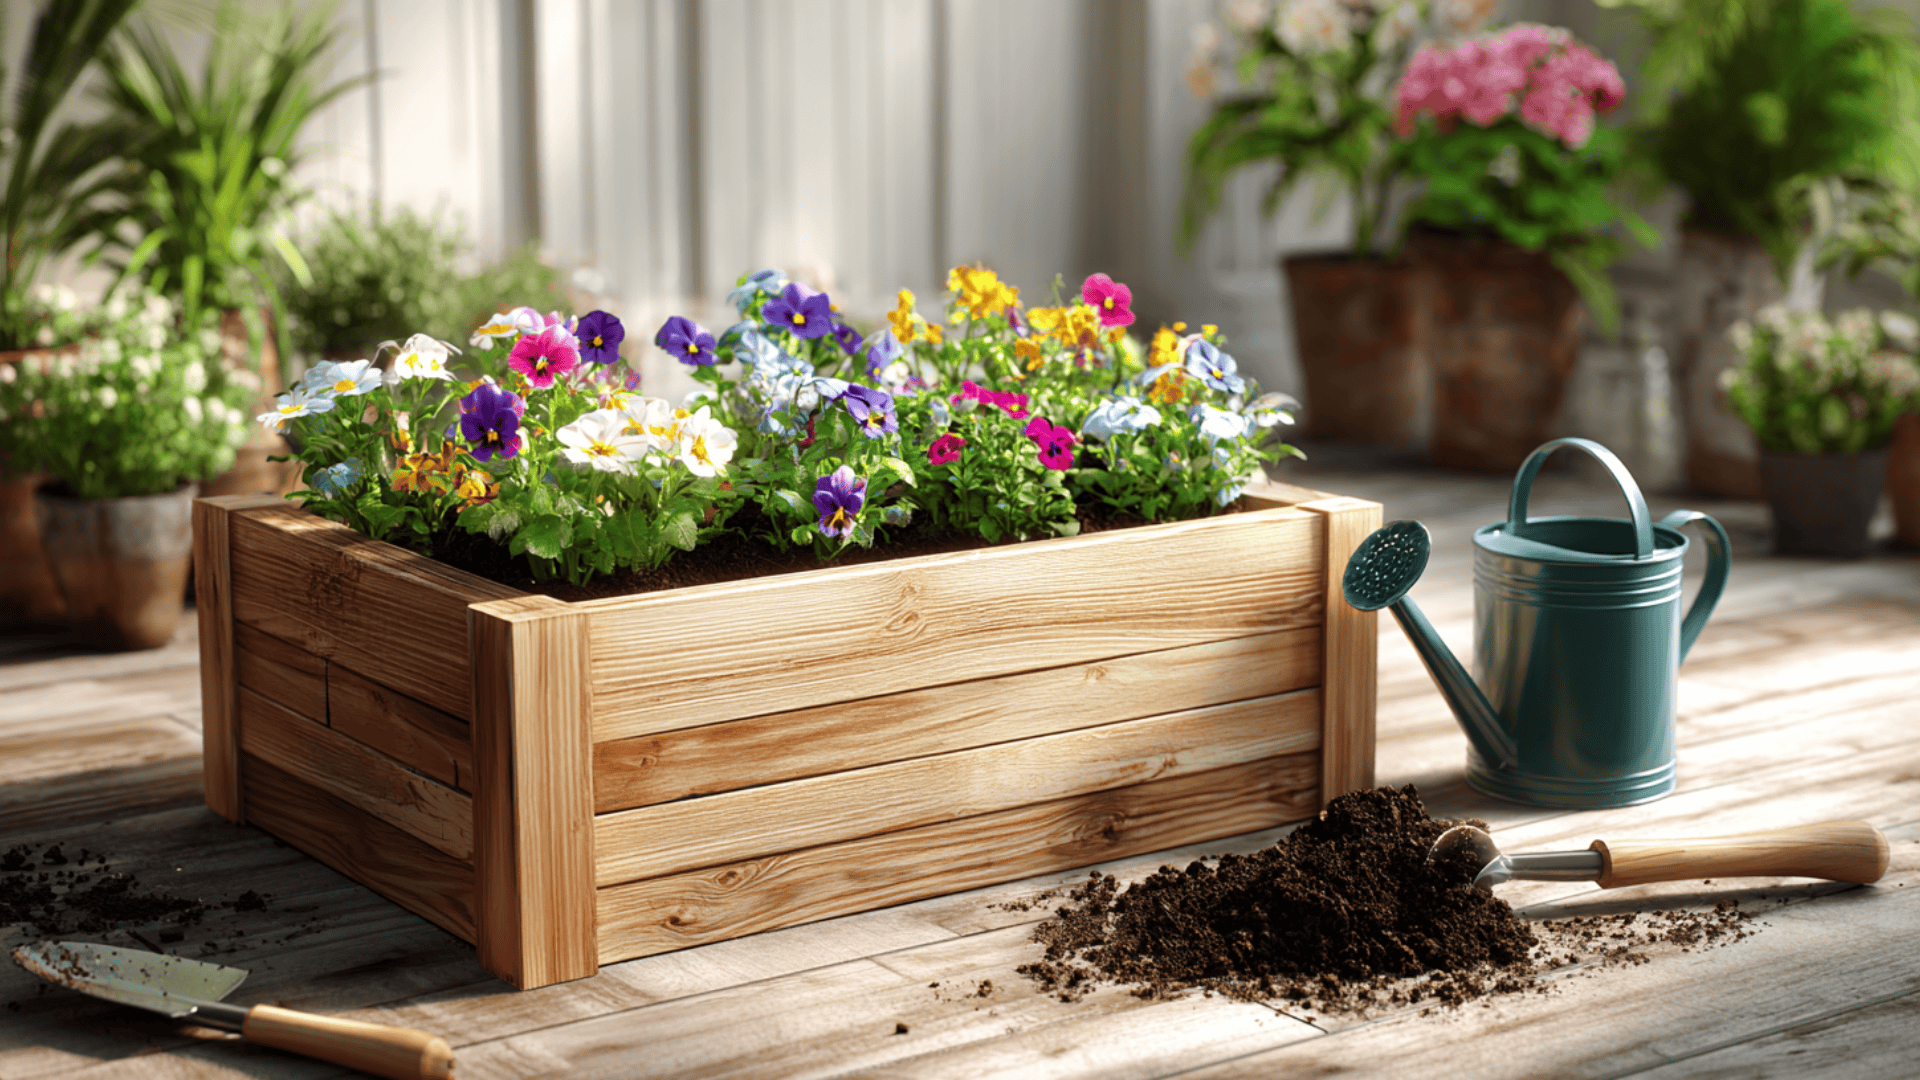
Fill your planter about three-quarters full with quality potting mix. Add compost for nutrients and ensure proper drainage by mixing in perlite or coarse sand.
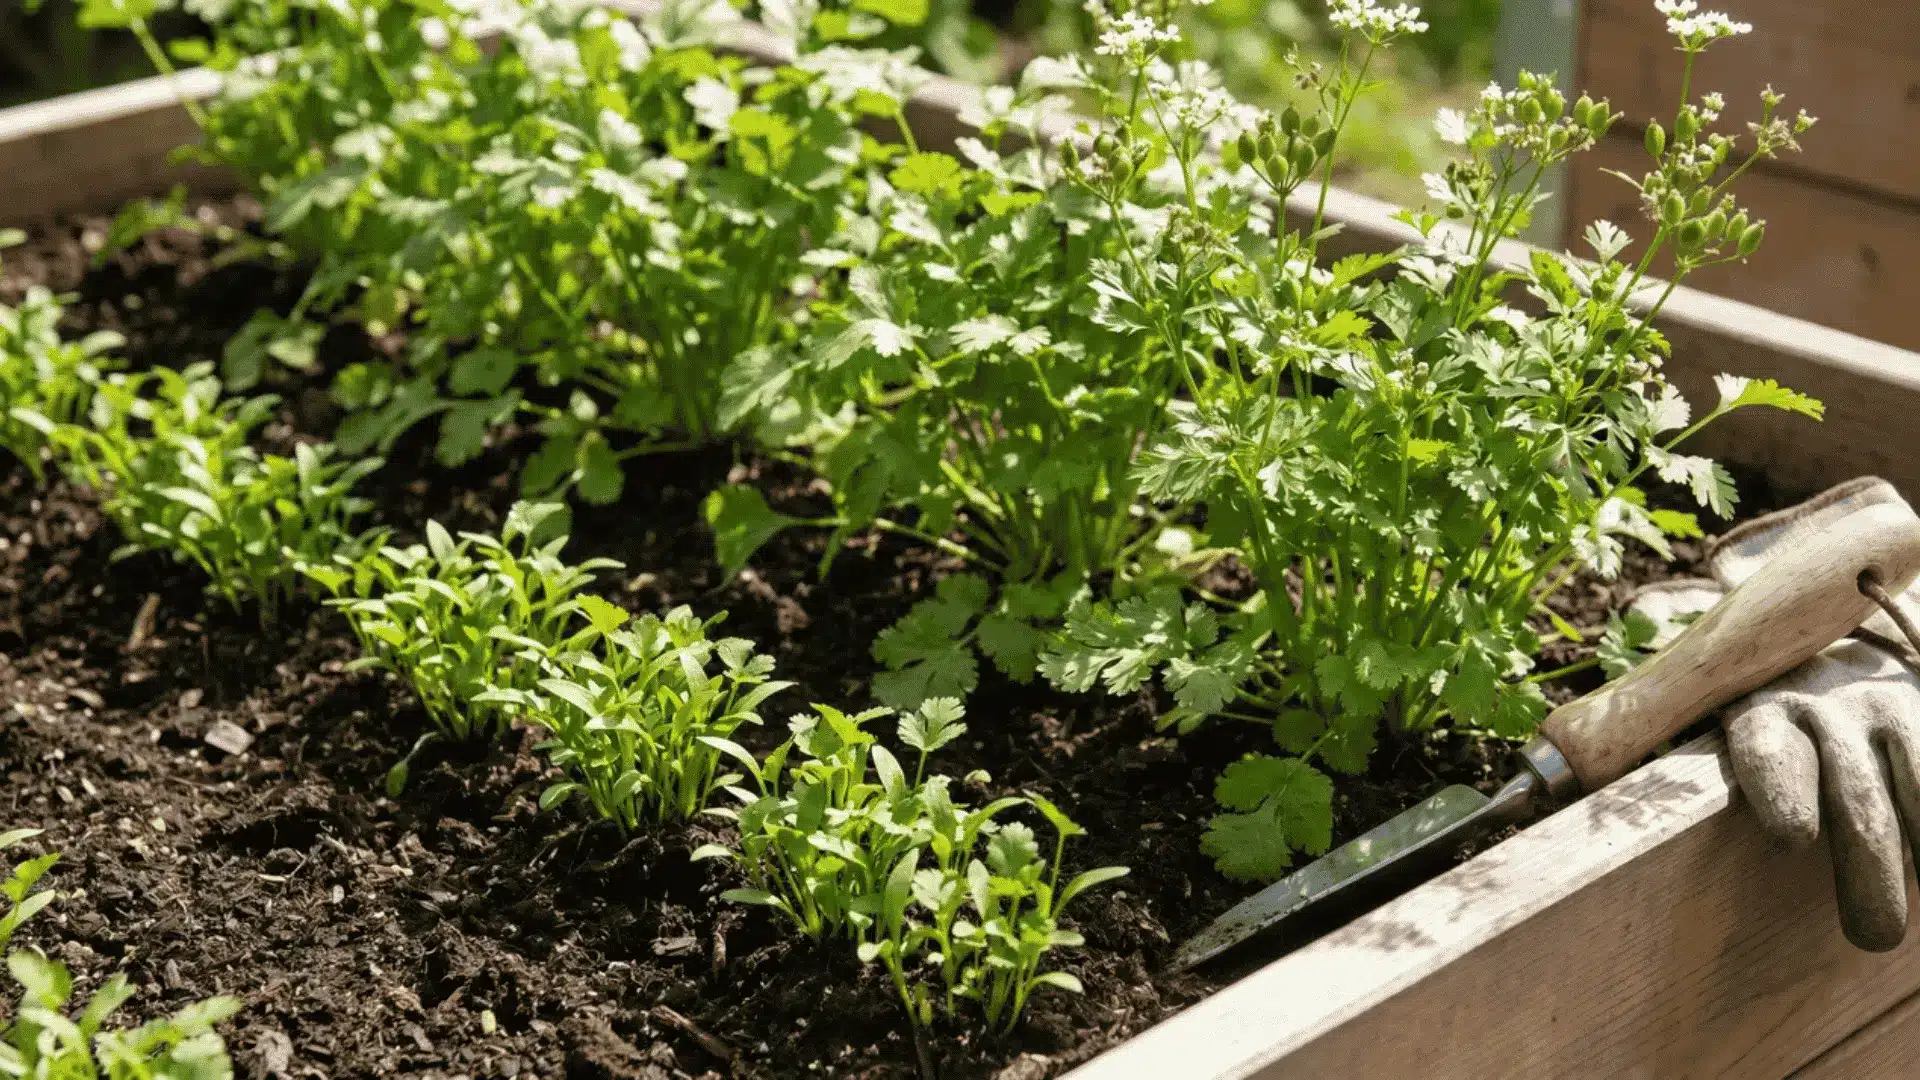
Plant your flowers, herbs, or vegetables, leaving space for roots to grow. Water thoroughly after planting and place your box where it gets the right amount of sunlight.
Design Variations to Try
Once you’ve mastered the basics, try experimenting with different planter box designs. Each variation serves a unique purpose and can fit different spaces or gardening needs.
1. Raised Planter Box

A raised planter box is a gardening container that sits above ground level, usually built from wood, metal, or stone. It’s like a small open-top box filled with soil where you can grow plants, herbs, or vegetables.
2. Modern Planter Box
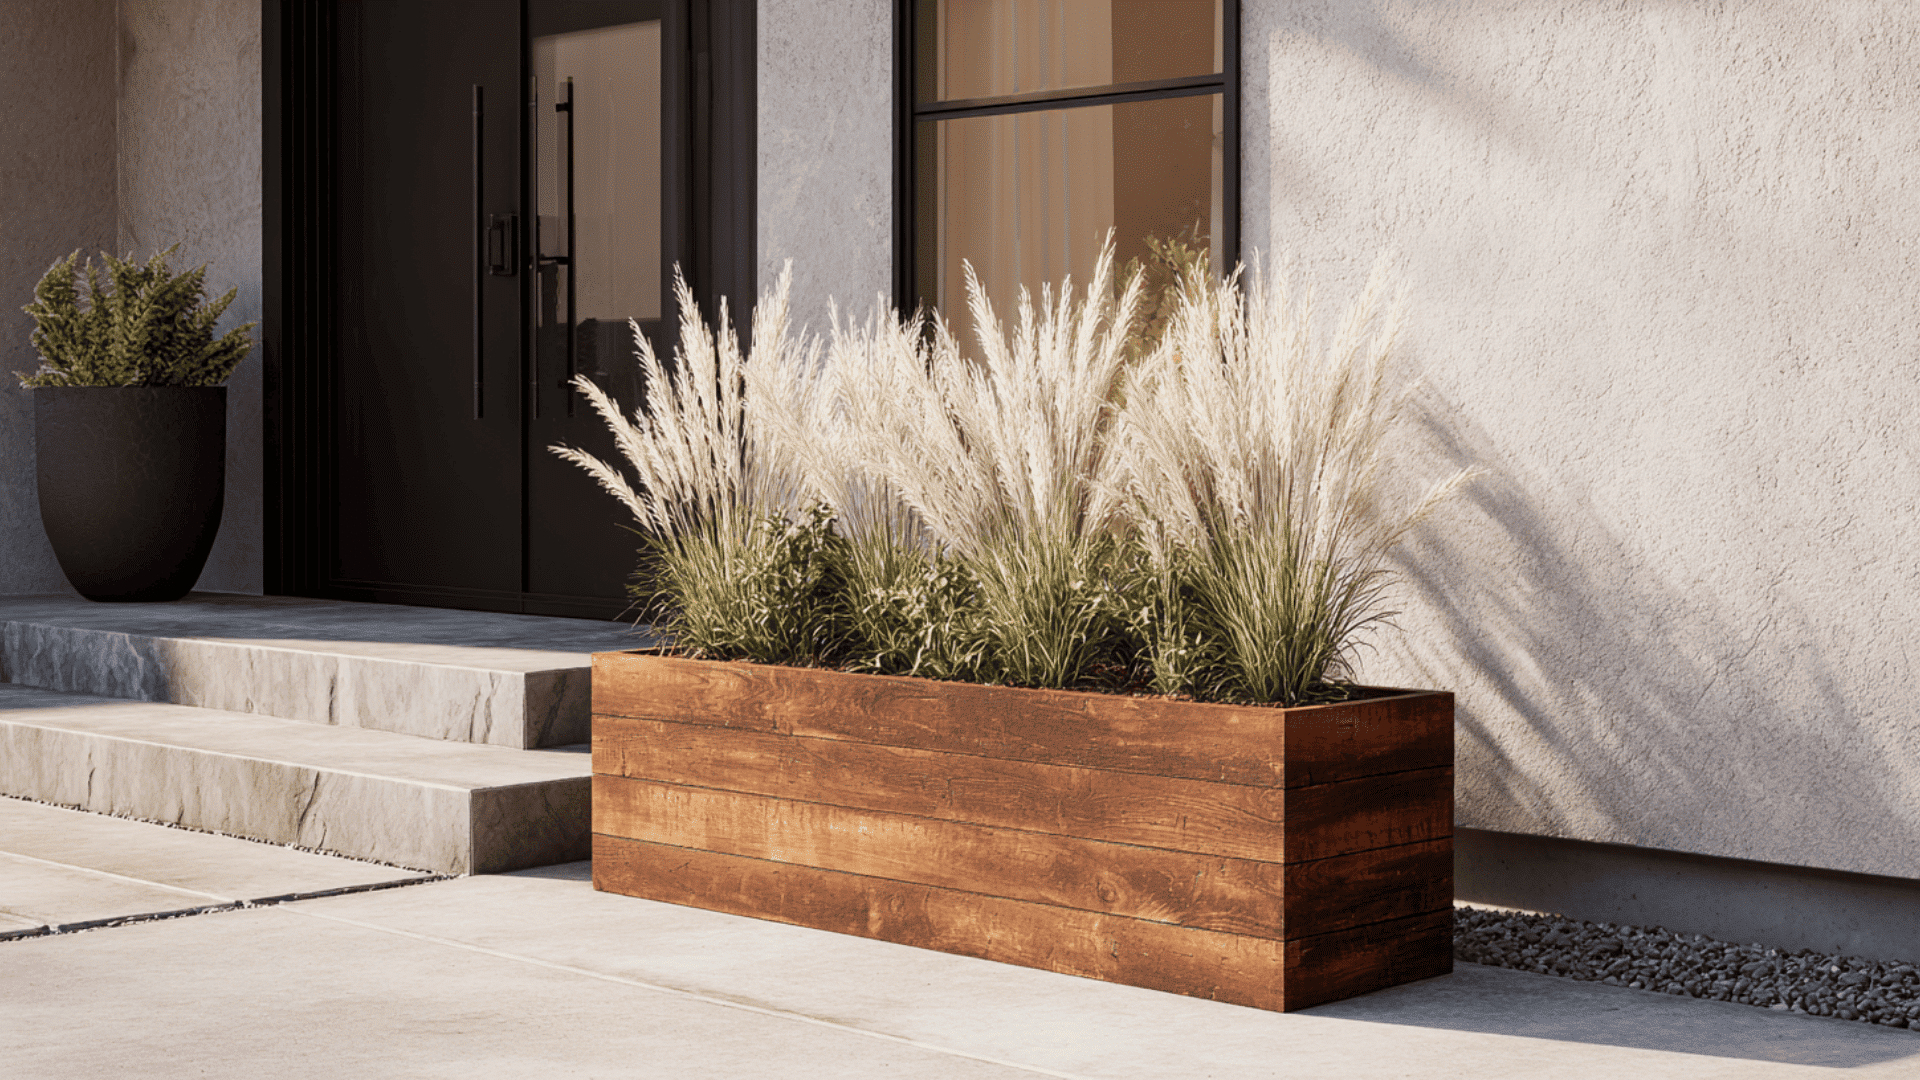
Clean lines, hidden screws, and a minimalist style give this design a sleek, contemporary look. It fits beautifully in modern homes and urban gardens. Use cedar or composite wood and neutral paint tones for a polished finish.
3. Rolling Planter Box
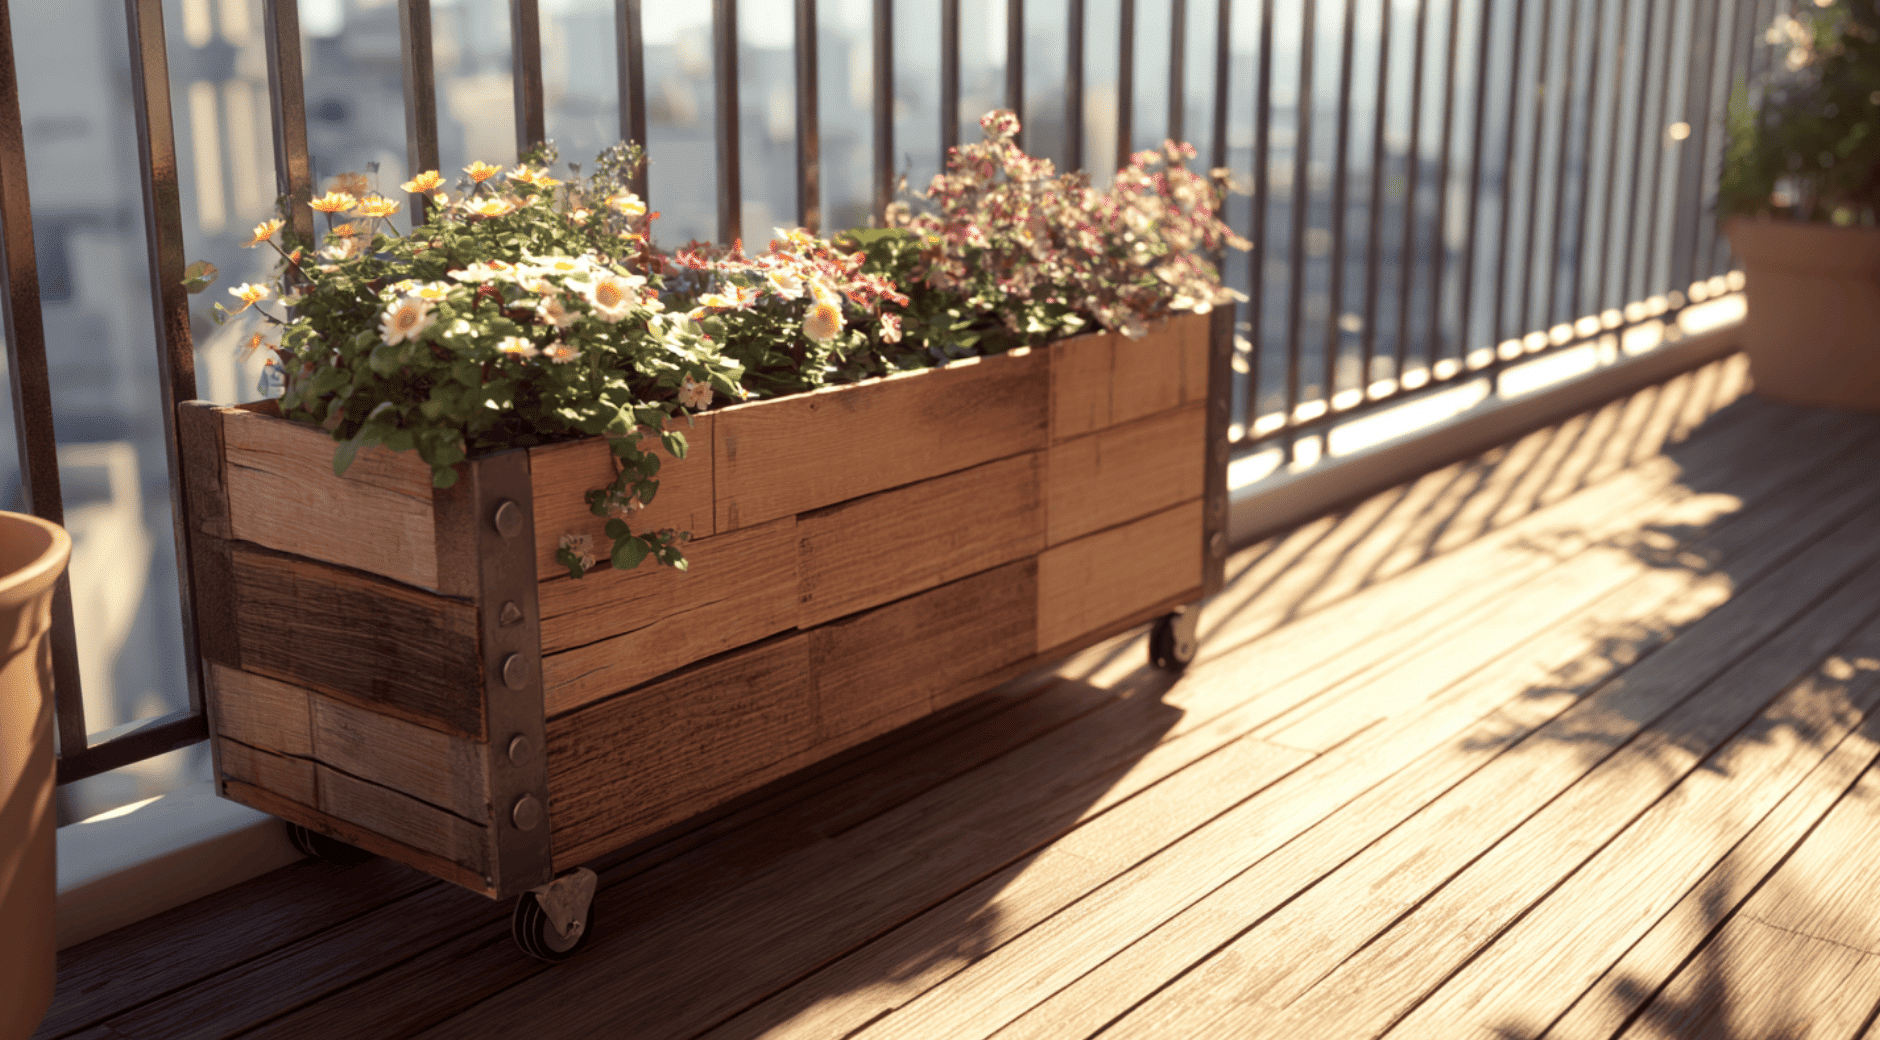
Add casters to the base so you can move your planter anywhere sunlight hits best. It’s great for small patios, balconies, or renters who need flexible gardening options. Make sure to use locking wheels for stability.
4. Upcycled Planter Box
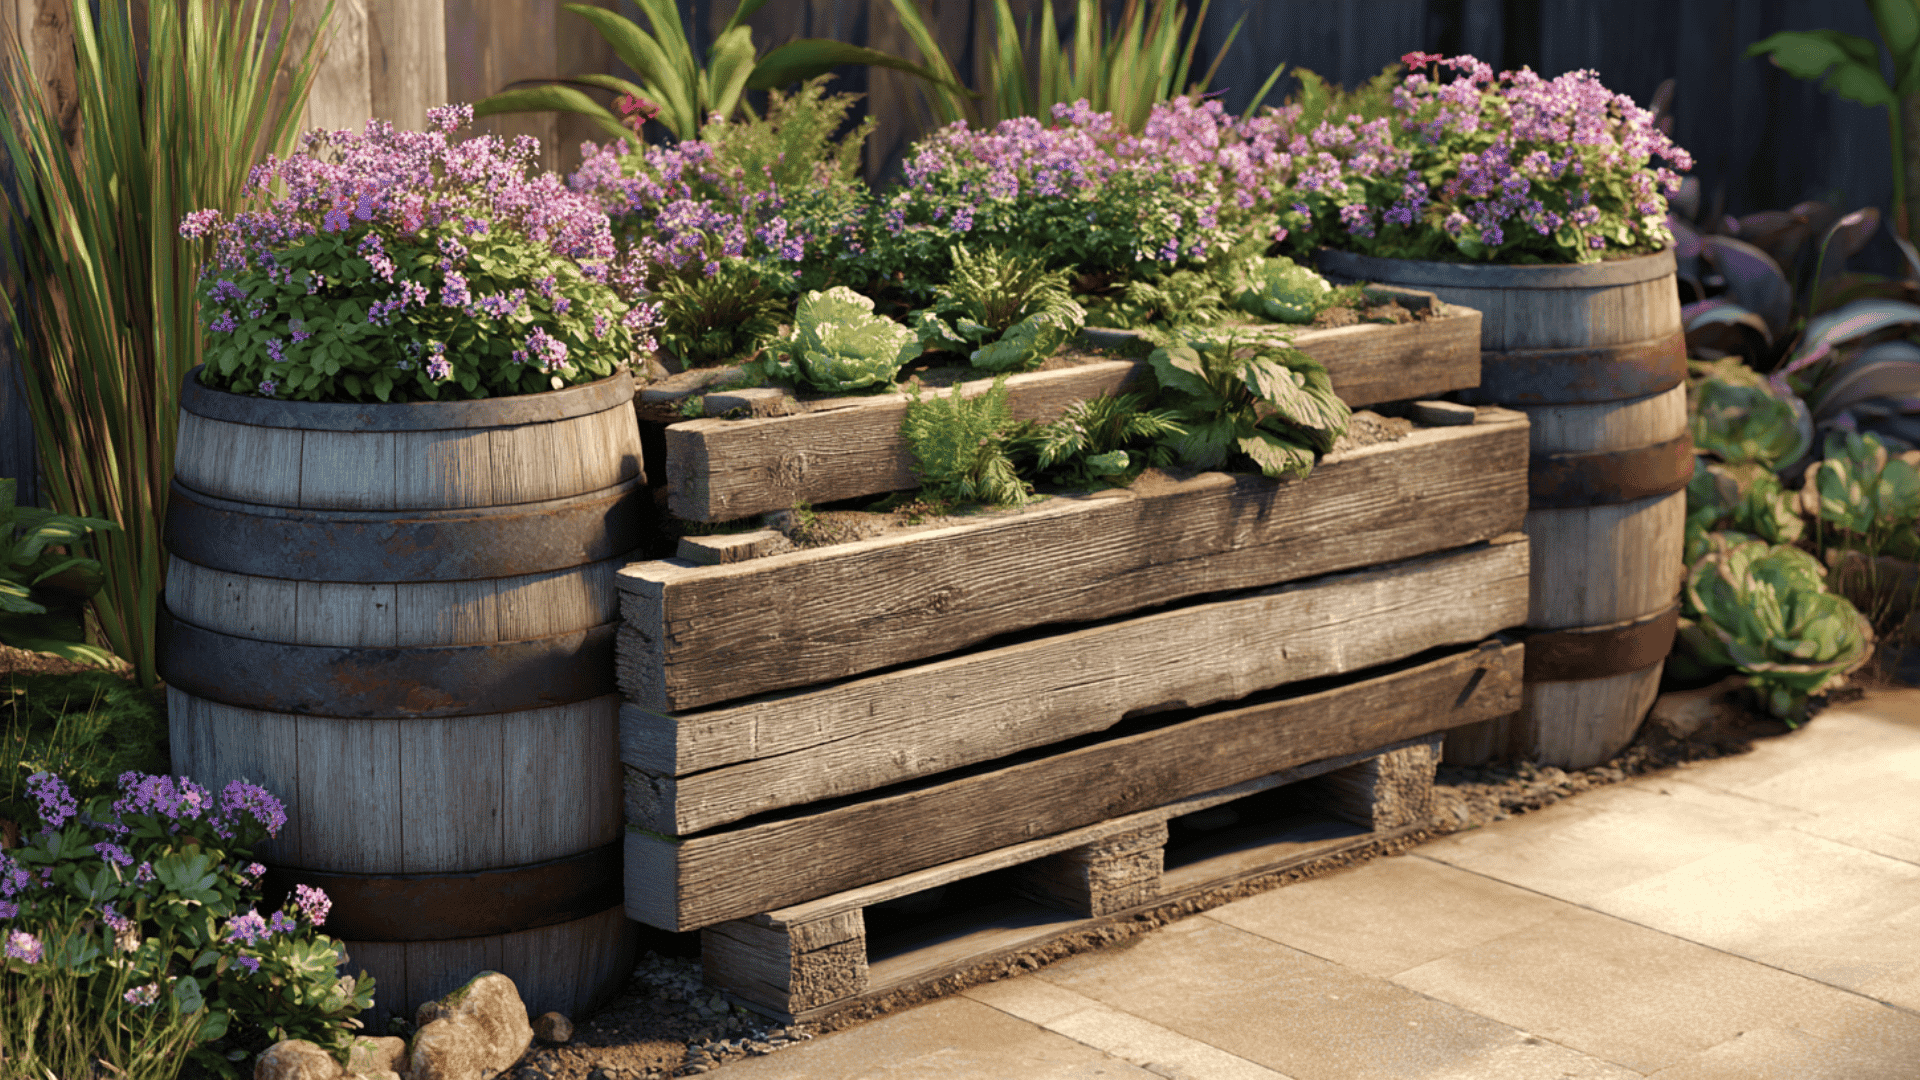
Use old pallets, barrels, or even furniture pieces to craft a one-of-a-kind planter. It’s a sustainable way to give new life to discarded materials. A quick sanding and coat of sealant can transform any scrap wood into a charming garden piece.
Each design brings a different look and function to your space, so choose one that matches your needs and style.
Maintenance & Longevity Tips
A little care goes a long way in keeping your planter box sturdy and beautiful. Follow these easy tips to extend its life and keep it looking fresh.
- Prevent rot and pests: Keep your planter raised for airflow, line it with landscape fabric, and apply a waterproof sealant once a year.
- Reseal or repaint regularly: Refresh the surface every 6–12 months by sanding lightly and applying outdoor-grade paint or sealant.
- Store properly in winter: Move it to a dry, covered space, empty the soil, and let the wood dry completely before storage.
- Maintain soil drainage: Check that drainage holes are open, add gravel under the soil, and avoid overwatering your plants.
These simple habits will help your planter box stay strong, weather-resistant, and ready for planting each new season.
Alternatives to Full DIY
If building a planter box from scratch feels like too much work, there are several easier alternatives that still let you enjoy gardening creativity.
You can buy DIY kits that come with pre-cut and pre-drilled wood pieces, making assembly quick and simple with just a few tools.
Prefabricated planter boxes are another great choice. They arrive ready to use, so you can start planting right away.
For flexible layouts, modular planter systems let you stack or connect boxes to fit your space perfectly.
You can also upcycle old containers like barrels, crates, or drawers into planters by adding drainage holes and a liner. These options save time and effort while still giving your garden a personal, handmade touch.
You can check out Maker Table and Home Depot for more inspiration and easy installation ideas.
Conclusion
Creating a DIY planter box is a satisfying way to bring a personal touch to your outdoor space. It’s affordable, beginner-friendly, and lets you choose the size, shape, and finish that fit your style.
Even small builds like this can turn a plain balcony or yard into a relaxing spot filled with greenery. The joy of watching plants thrive in something you built yourself is unmatched.
You don’t need professional tools or skills, just a few hours and some creativity. It’s a fun weekend project that adds warmth and charm to your home.
Ready to give it a try? Gather your materials, follow the steps, and start building your DIY planter box today.