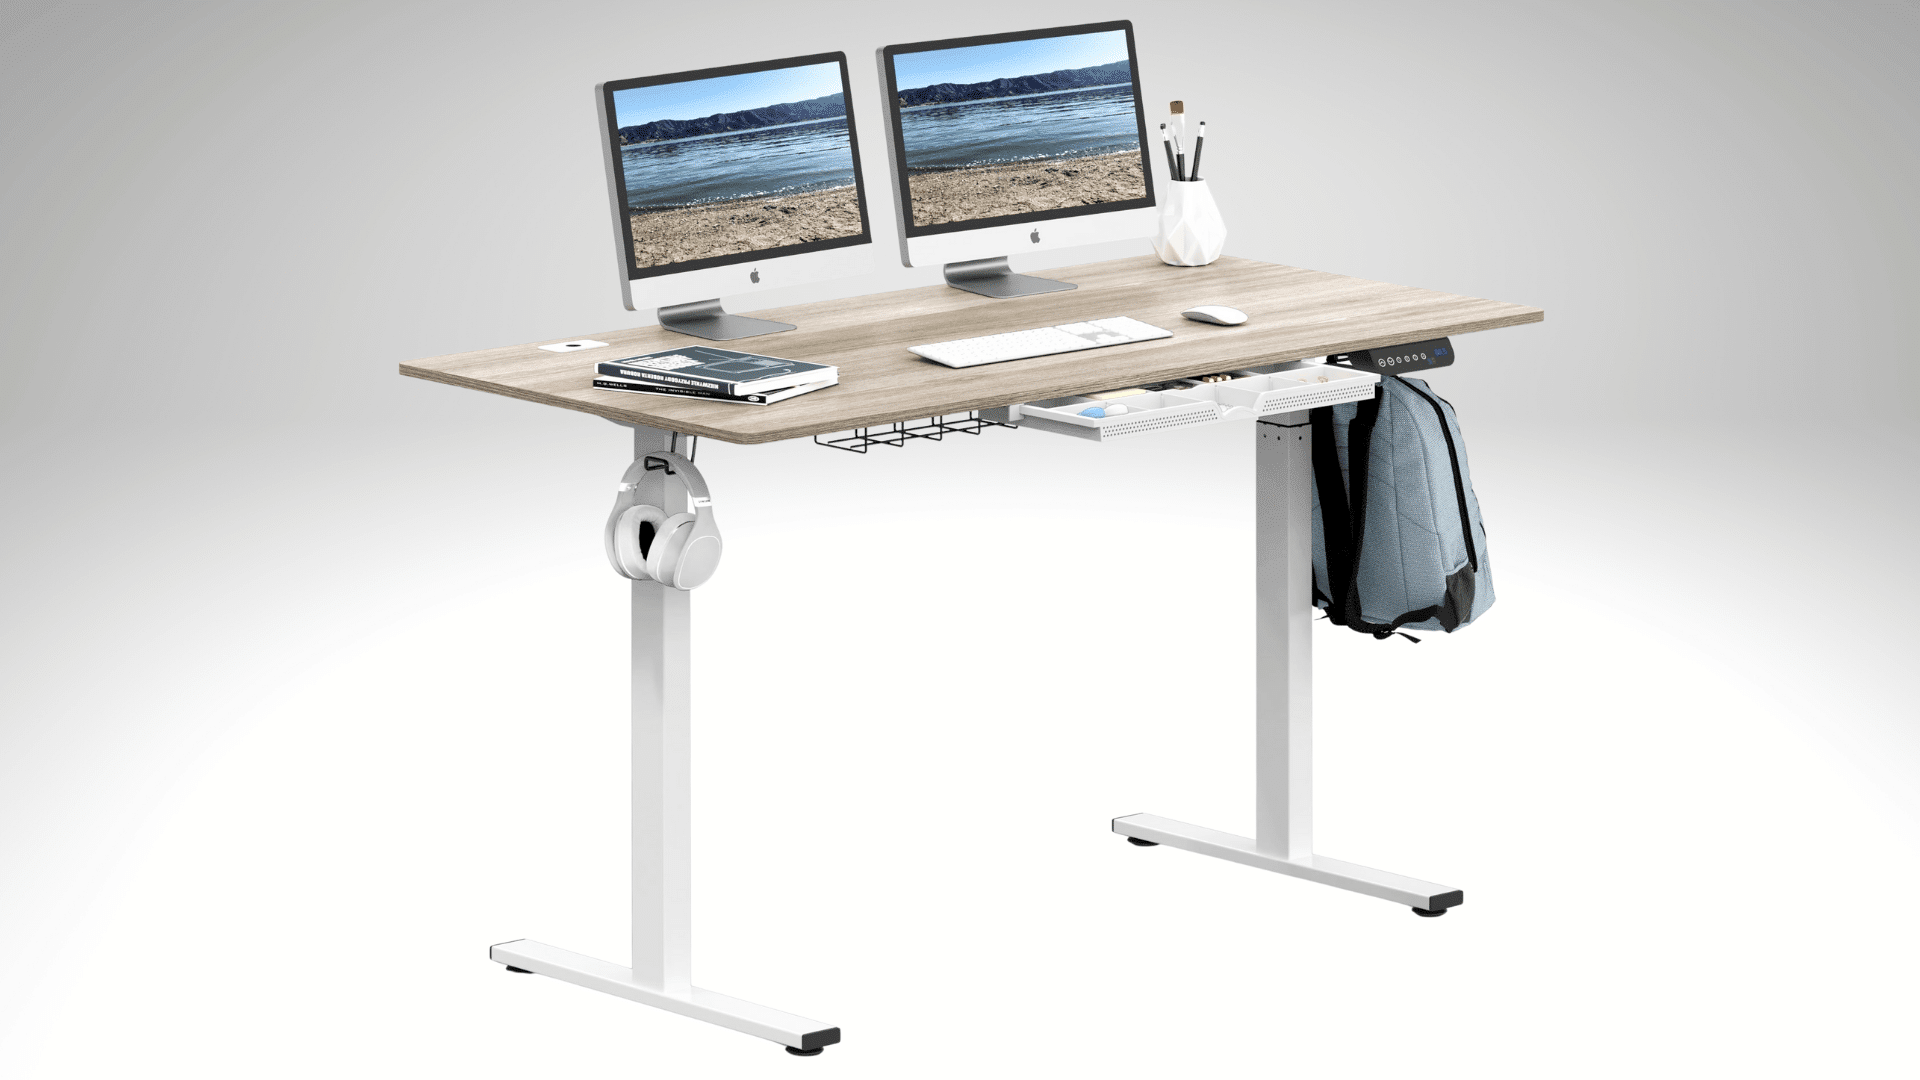




Putting together your own DIY standing desk is an easy way to shape a workspace that actually feels good to use every day.
Instead of relying on one-size-fits-all setups, you get to choose the height, materials, and features that match your habits and the way you like to work.
This article will walk you through the planning steps, simple build methods, and practical ideas that help you create a desk that’s sturdy, comfortable, and tailored to your space.
I’ll also give you tips that make the process feel manageable, even if you’re new to building.
Planning Your DIY Standing Desk
Before you build anything, it helps to plan your project with care. A few simple steps can save time, prevent mistakes, and make sure your desk fits your daily needs.
Measure for Comfort: Find the Right Desk Height
Your desk height should match your body so you stay comfortable while working.
- When you stand, your elbows should sit at a 90-degree angle.
- Your screen should sit at eye level so your neck stays straight.
- If you plan to switch between sitting and standing, measure both heights.
Most people find that a standing desk height between 38 and 44 inches works well, depending on their height. Use this as a starting point and adjust as needed.
Choose a Design Type
- Fixed-height: Best for simple, low-cost builds. Strong and easy to make.
- Adjustable (manual crank): Lets you switch heights without electricity. Good for shared setups.
- Electric (motorized lift): The easiest and most comfortable option if you switch positions often.
Each style has strengths and limits, so choose the one that fits your comfort, routine, and workspace.
DIY Standing Desk: Step-by-Step Build Guide
Follow these simple steps to make your DIY standing desk sturdy, smooth, and ready for everyday use:
Tools and Materials You’ll Need
- Drill
- Saw
- Clamps
- Measuring tape
- Butcher block or plywood for the top
- Metal frame or wood legs
- Screws and brackets
- Stain, finish, or paint for sealing
Step 1: Build the Leg Frames
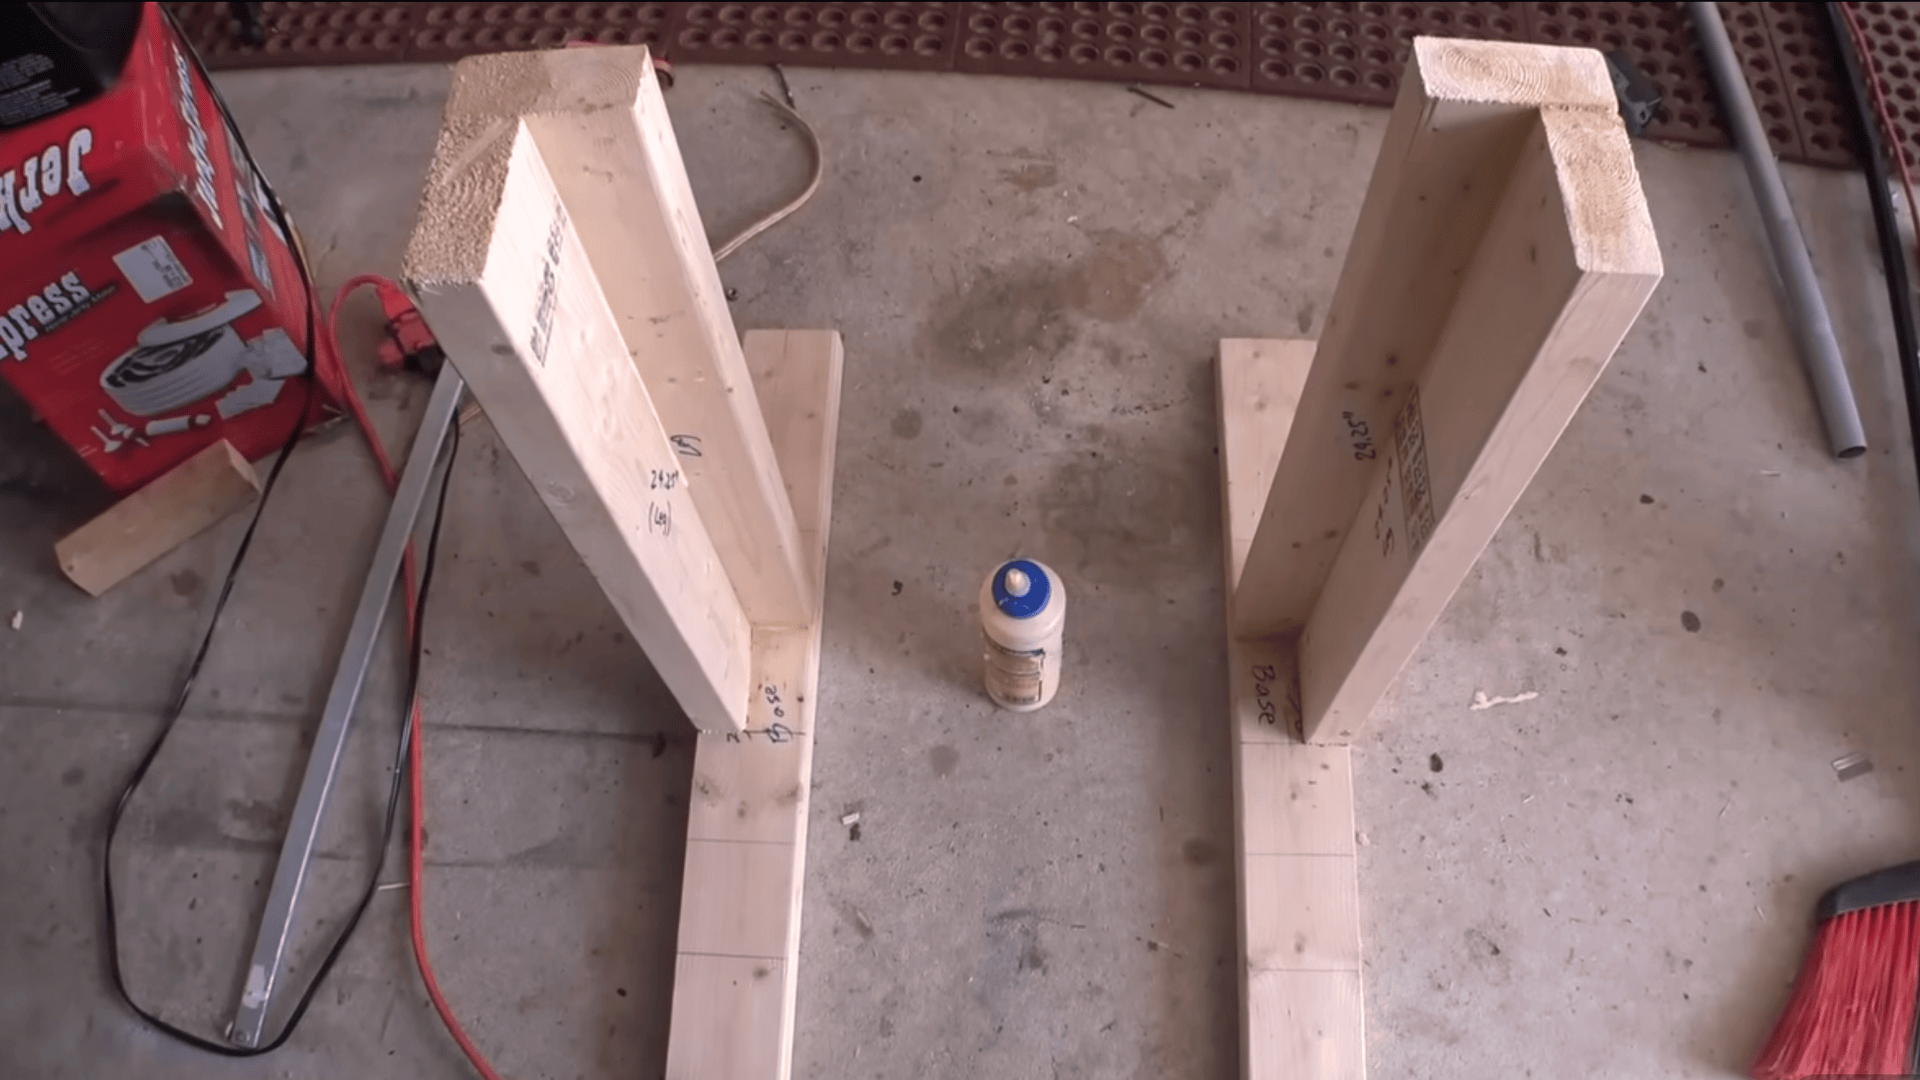
Build two matching leg frames that lift the desk. Make sure both legs are the same height, straight, and stable since they support all movement.
Step 2: Install the Drawer Sliders
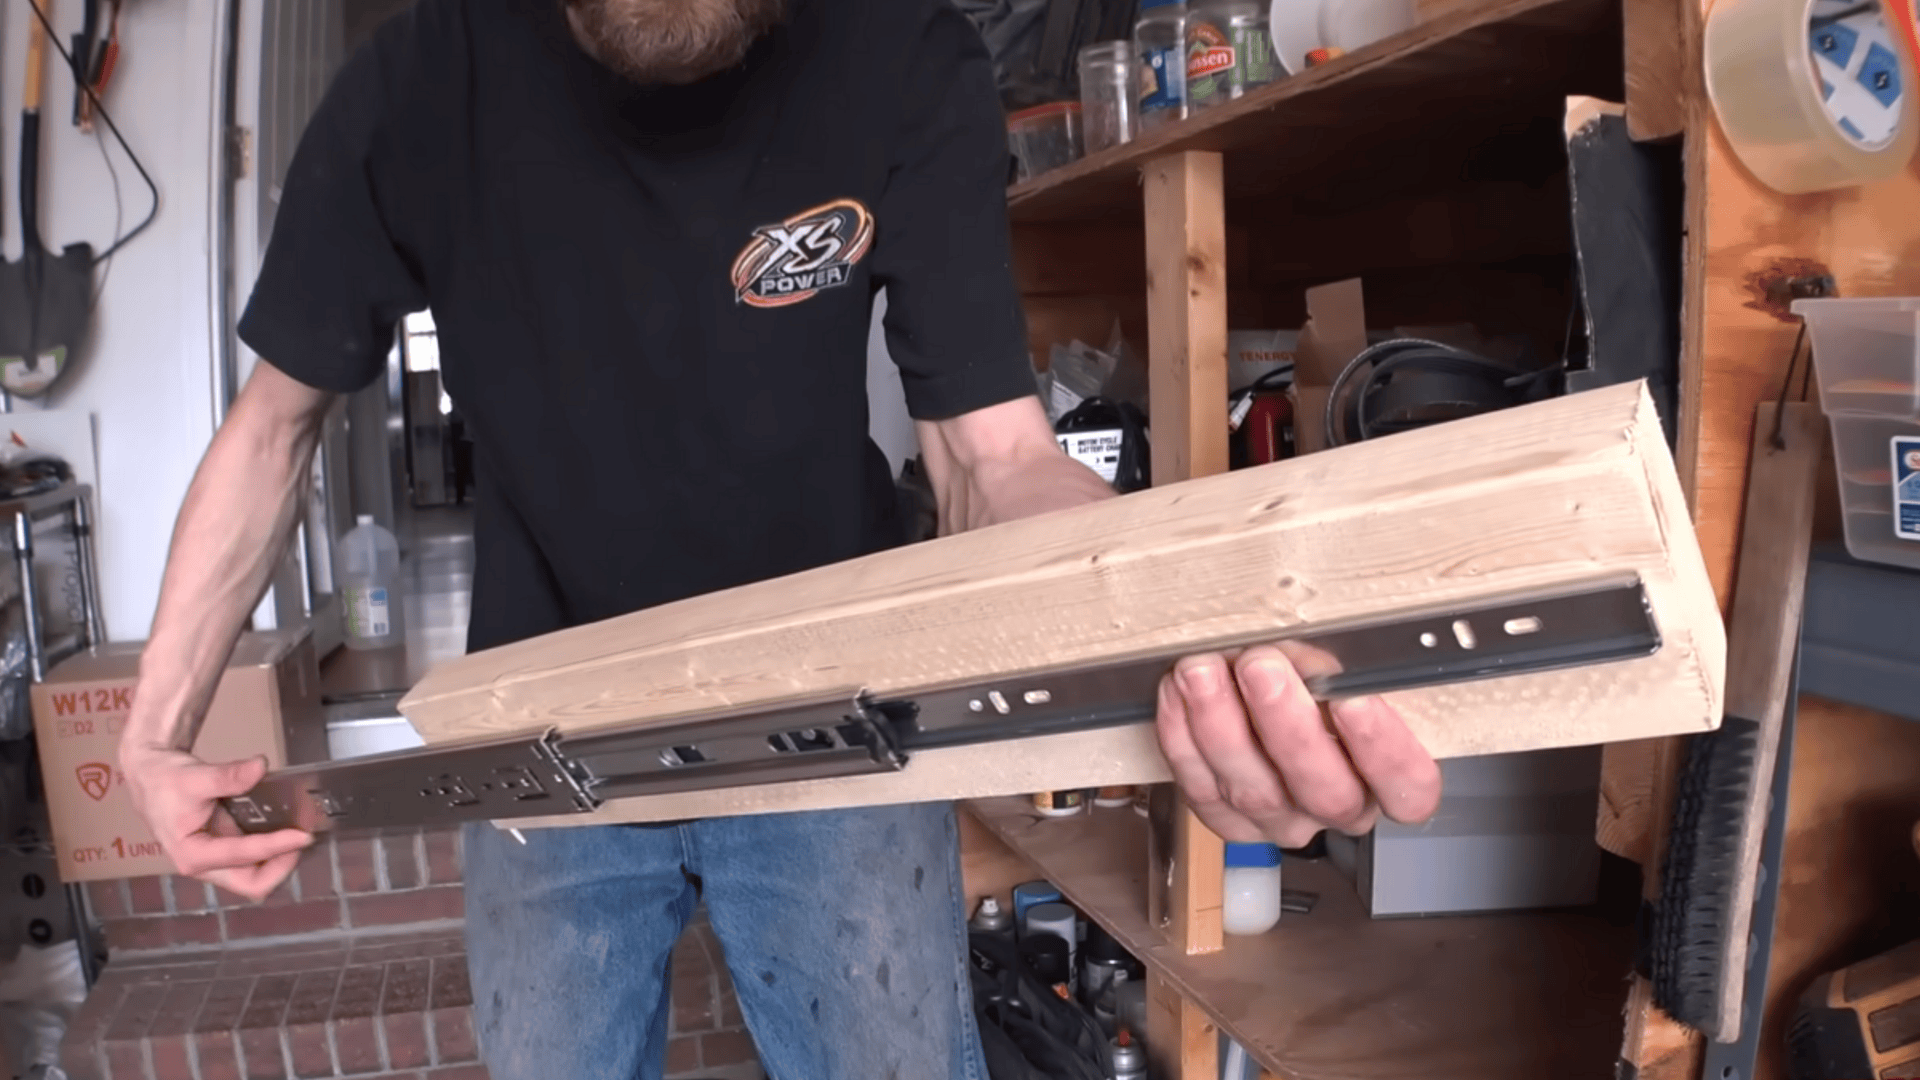
Use 20-inch drawer sliders as tracks. Mount one part on the base and the other on each leg. Keep them aligned so the legs move up and down smoothly.
Step 3: Add Actuator Mounts and Safety Stops
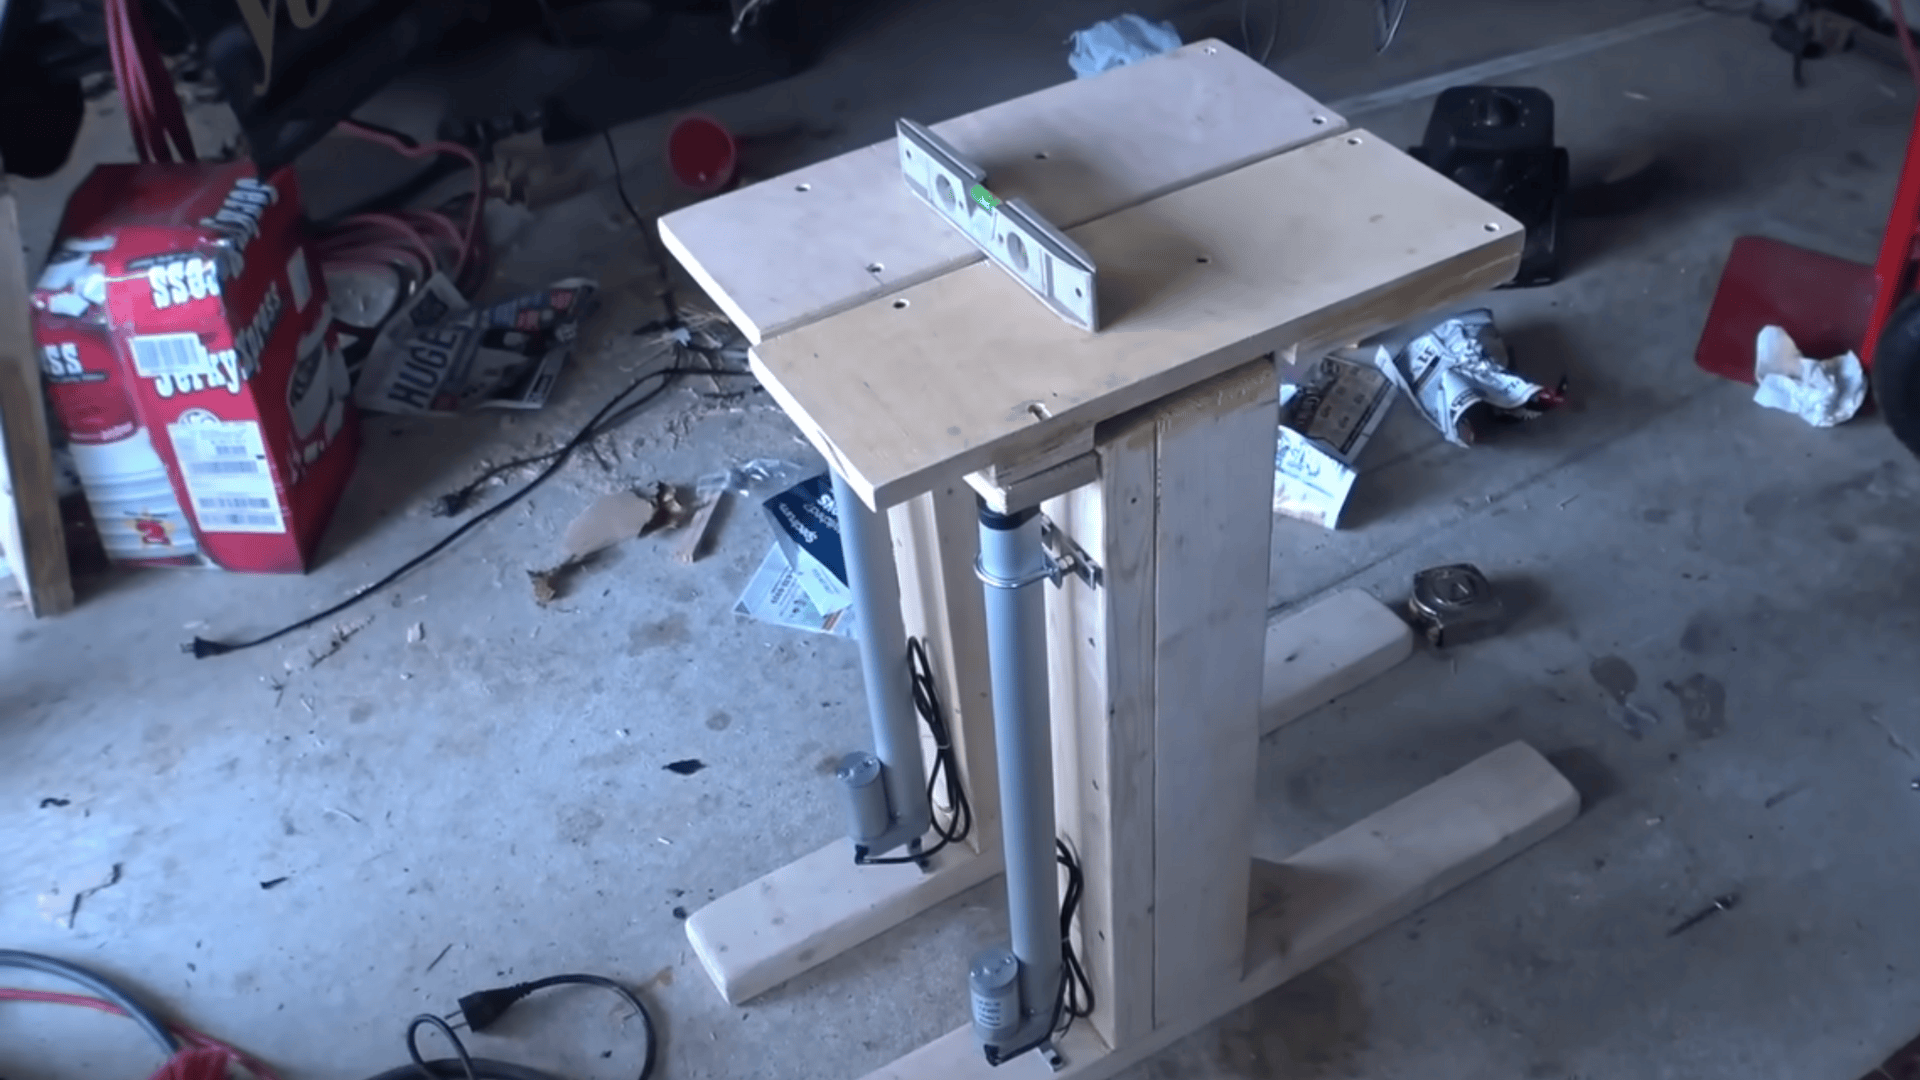
Create openings so the 12-volt actuators can move freely. Add a wood block in front of the sliders so the actuators don’t push the legs too far. Use a U-bolt to hold the lower end of each actuator so it stays secure but removable.
Step 4: Build the Floating Support
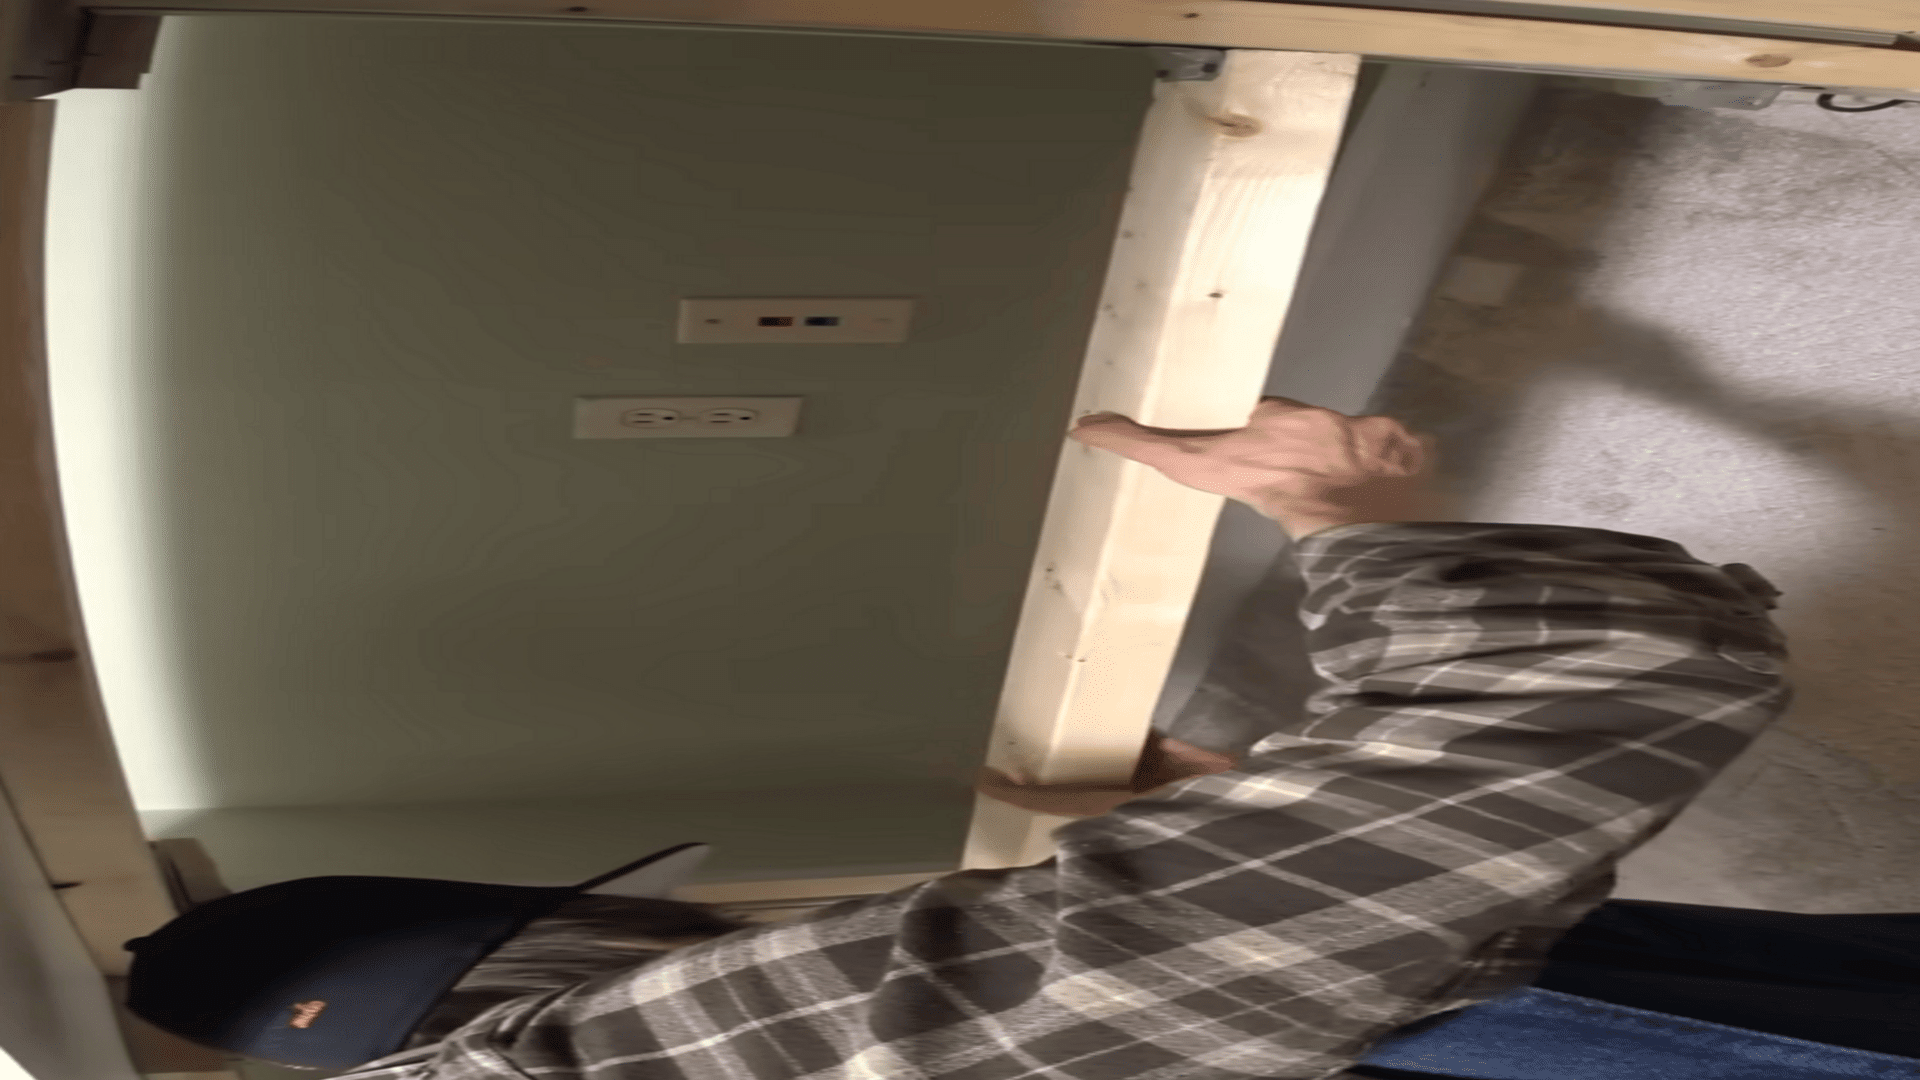
Make a floating support piece that sits between the actuators and the tabletop. It lifts the desk but isn’t fixed to the frame, which prevents the actuators from pulling the desk down and helps keep both sides aligned.
Step 5: Prepare and Reinforce the Tabletop
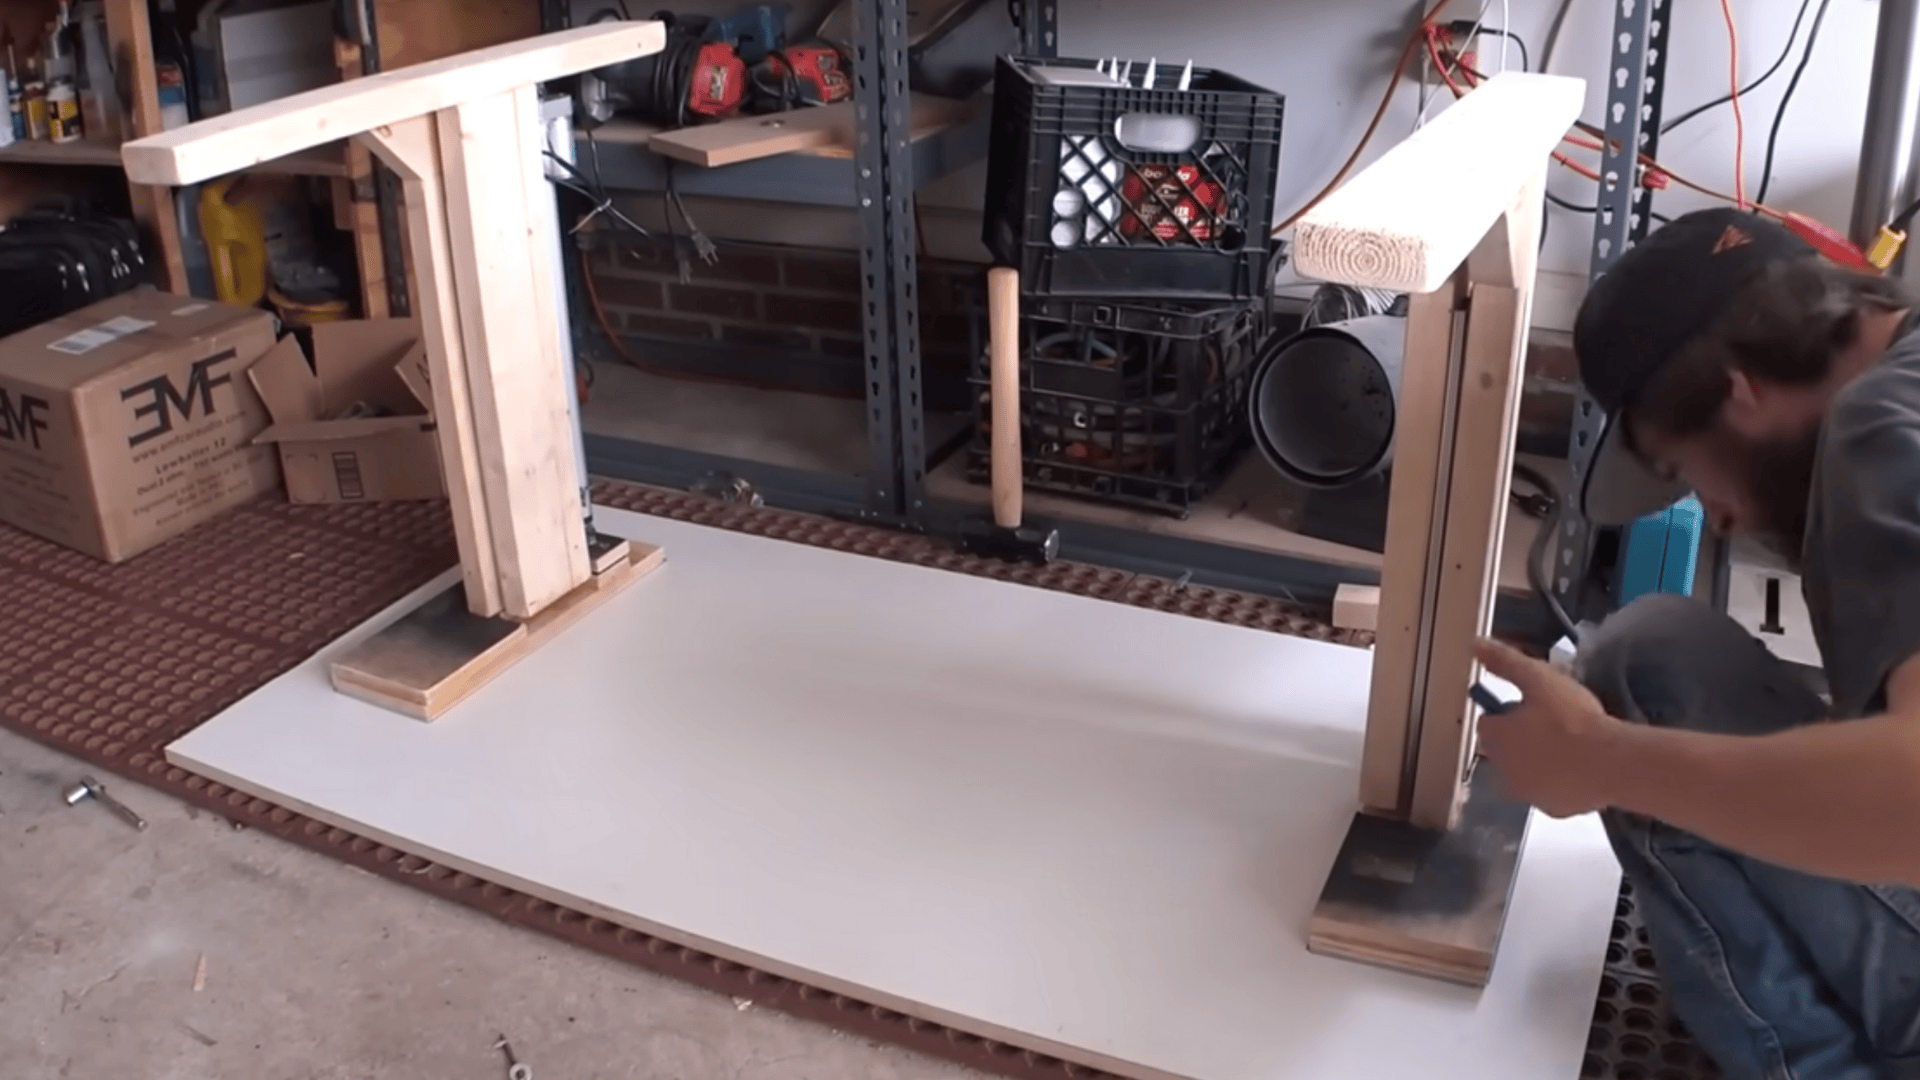
Cut the tabletop to size and support it while cutting. Add an extra plywood layer at the back and a center brace to prevent sagging.
Step 6: Wire and Assemble
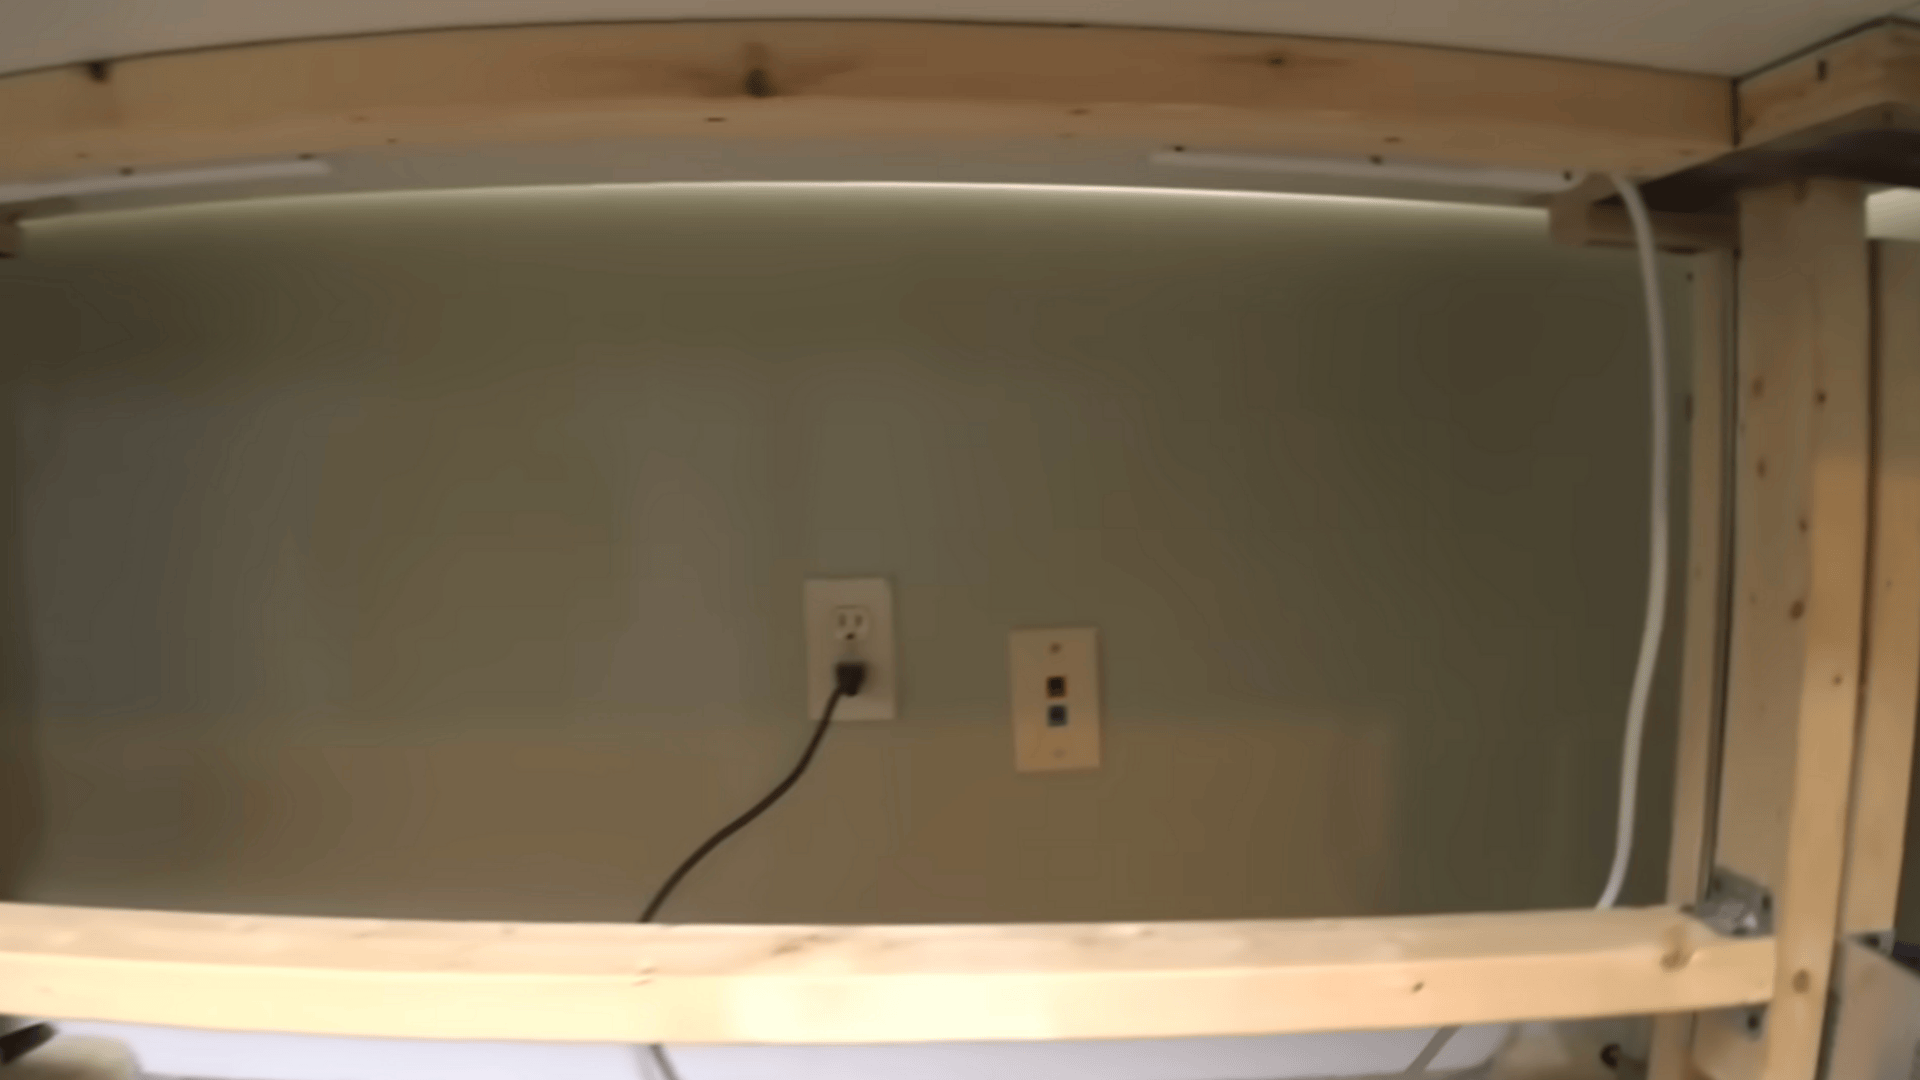
Install the power supply and run the wiring neatly. Use quick-connect plugs for the actuators. Mount the switch, attach the tabletop, and test the desk through its full range to confirm smooth movement and proper reset at the bottom.
For a more detailed walkthrough of the whole build, check out the complete process below:
DIY Standing Desk Ideas
Here are five simple ways to build a standing desk that fits your space, budget, and comfort level. Each one is easy to customize and practical for everyday use.
1. Budget Desk
- Gather the Basics: You’ll need a frame, a tabletop, and optional wheels for mobility.
- Choose a Strong Frame: Select a dual-motor frame for smooth, quiet movement and better strength. Prices range from $220 to $259.
- Pick a Tabletop: Choose a budget-friendly IKEA tabletop or a custom butcher block, ensuring the size matches your frame.
- Add Wheels (Optional): If you want mobility, install caster wheels. Make sure to use the correct bolts and brackets for stability.
- Assemble and Secure the Top: Adjust the frame to match the tabletop, then secure it with screws. Basic tools are sufficient.
- Manage Cables and Power: Mount a power strip under the desk and organize cables with zip ties or Velcro for a tidy setup.
2. DIY Industrial Pipe Desk
- Plan the Wood Layout: Choose ambrosia maple and arrange your boards so the grain looks consistent. Mark your biscuit locations for strong, tight seams.
- Glue and Shape the Desktop: Use Titebond III for a longer open time. Clamp the boards, let them dry, then cut clean edges, fill imperfections with epoxy, and sand everything smooth.
- Prepare the Pipe Base: Remove stickers and strip the factory coating with acetone. Thread and adjust every pipe carefully so all legs match in length before assembling the frame.
- Drill, Paint, and Finish: Drill a hole for hidden wiring. Apply primer, black enamel, and clear enamel coats to protect the pipe frame and give it a clean industrial look.
- Add Hidden Power and Hardware: Rout a cable channel on the underside, thread the wire through the pipe leg, and install a power box. Secure the pipe base to the desktop using screws.
- Finish and assemble the Desk: Apply several coats of triple-thick polyurethane, attach the legs, flip the desk, and finish the top. Run the power cable discreetly for a clean, cable-free setup.
Tips for a Stable and Ergonomic Setup
- Adjust monitor height and keyboard position: Keep your monitor at eye level to prevent neck and shoulder strain. Your elbows should stay at a 90-degree angle while typing. Use a riser or stand if your screen is too low.
- Use an anti-fatigue mat: Standing for long hours can cause discomfort. A thick, cushioned mat helps reduce leg pressure and fatigue. Choose one with a non-slip base for better stability.
- Organize cables and reduce clutter: Use cable trays, clips, or Velcro ties to keep cords neat and out of the way. Mount a power strip under the desk to save space and keep your workspace tidy.
- Fix desk wobbling: Check and tighten screws, bolts, and brackets regularly. Add rubber pads under the legs or a stabilizing bar if your desk feels unsteady.
A stable and ergonomic setup keeps your workspace neat and supports better productivity throughout the day.
Wrapping Up
Building your own DIY standing desk gives you the chance to shape a workspace that feels personal, comfortable, and practical.
When you plan your setup carefully, you get a desk that supports good posture, keeps you organized, and fits how you work each day.
The real benefit comes from choosing materials and features that match your routine, whether that means a simple frame, a custom tabletop, or added tools to improve comfort.
Take your time with the build, and the desk will stay reliable long term. If you’re ready to upgrade your workspace, start mapping out your design and begin your build today!