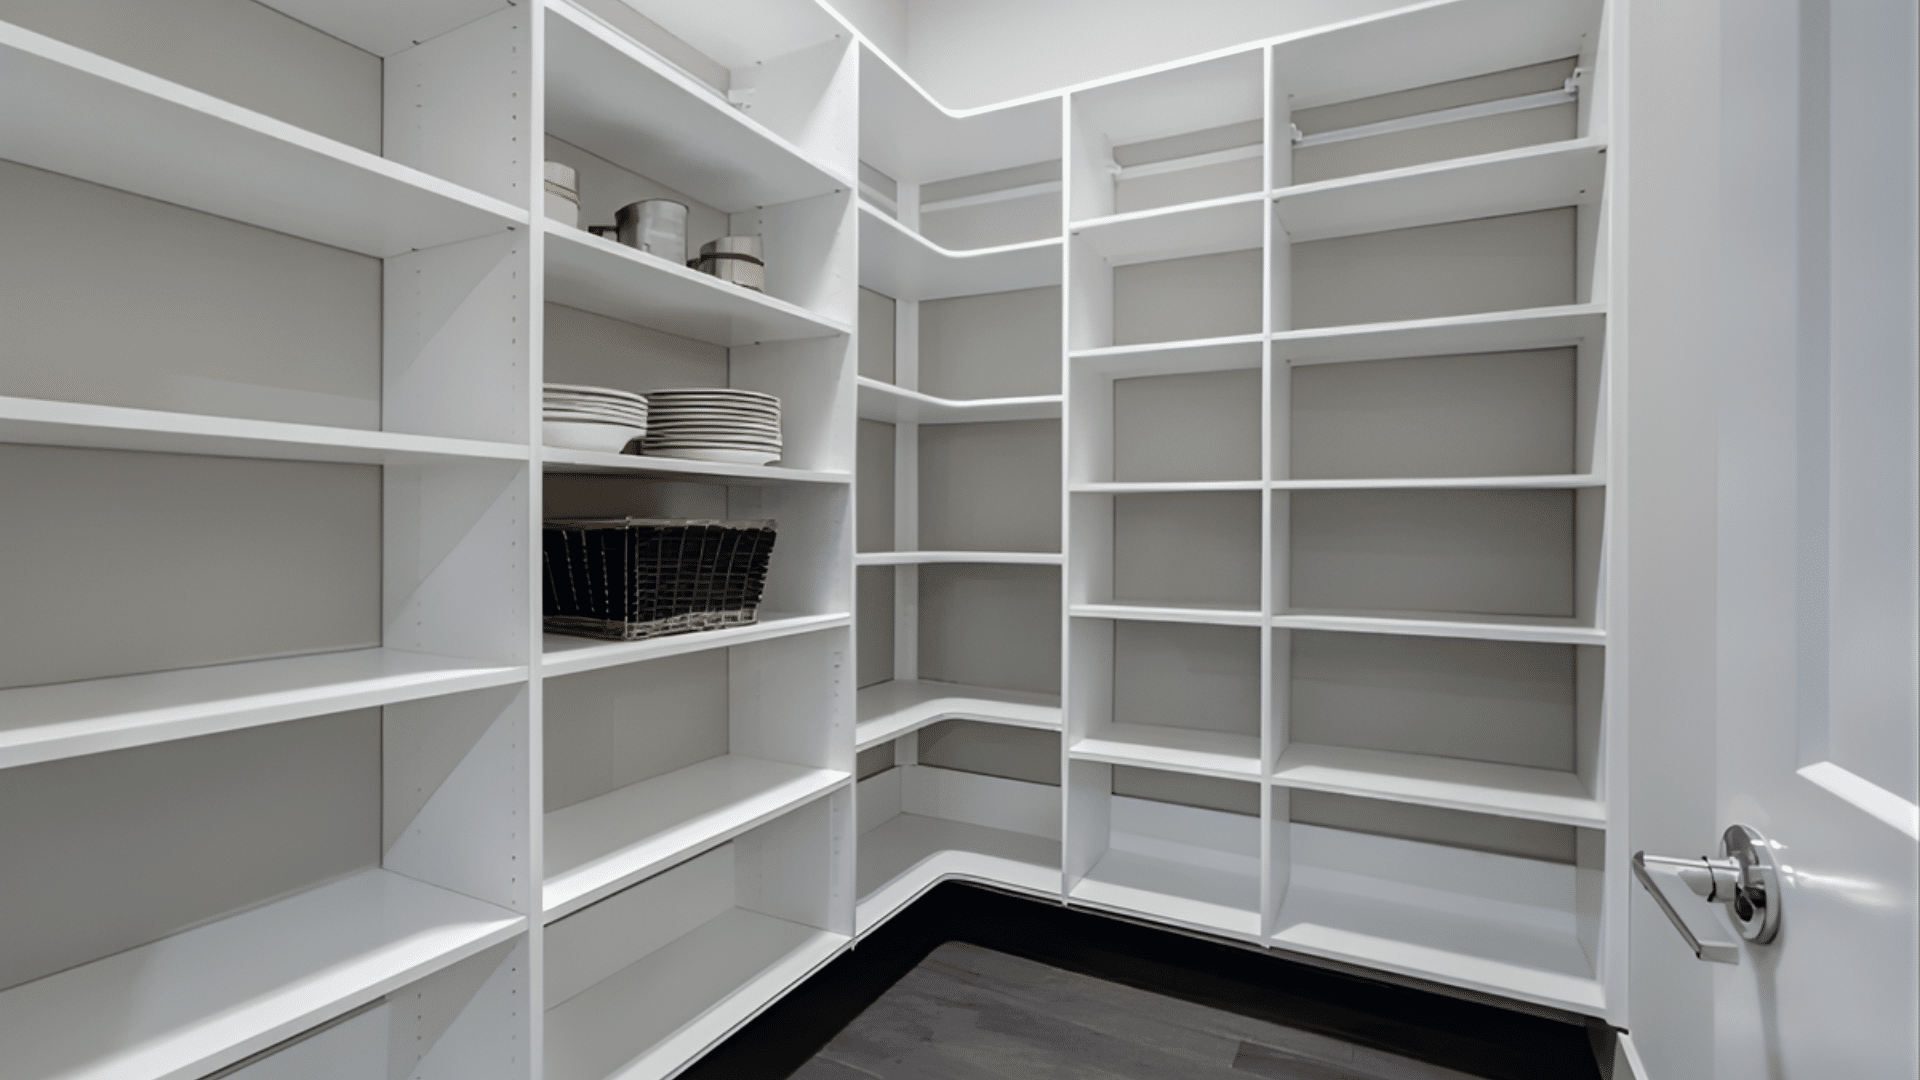


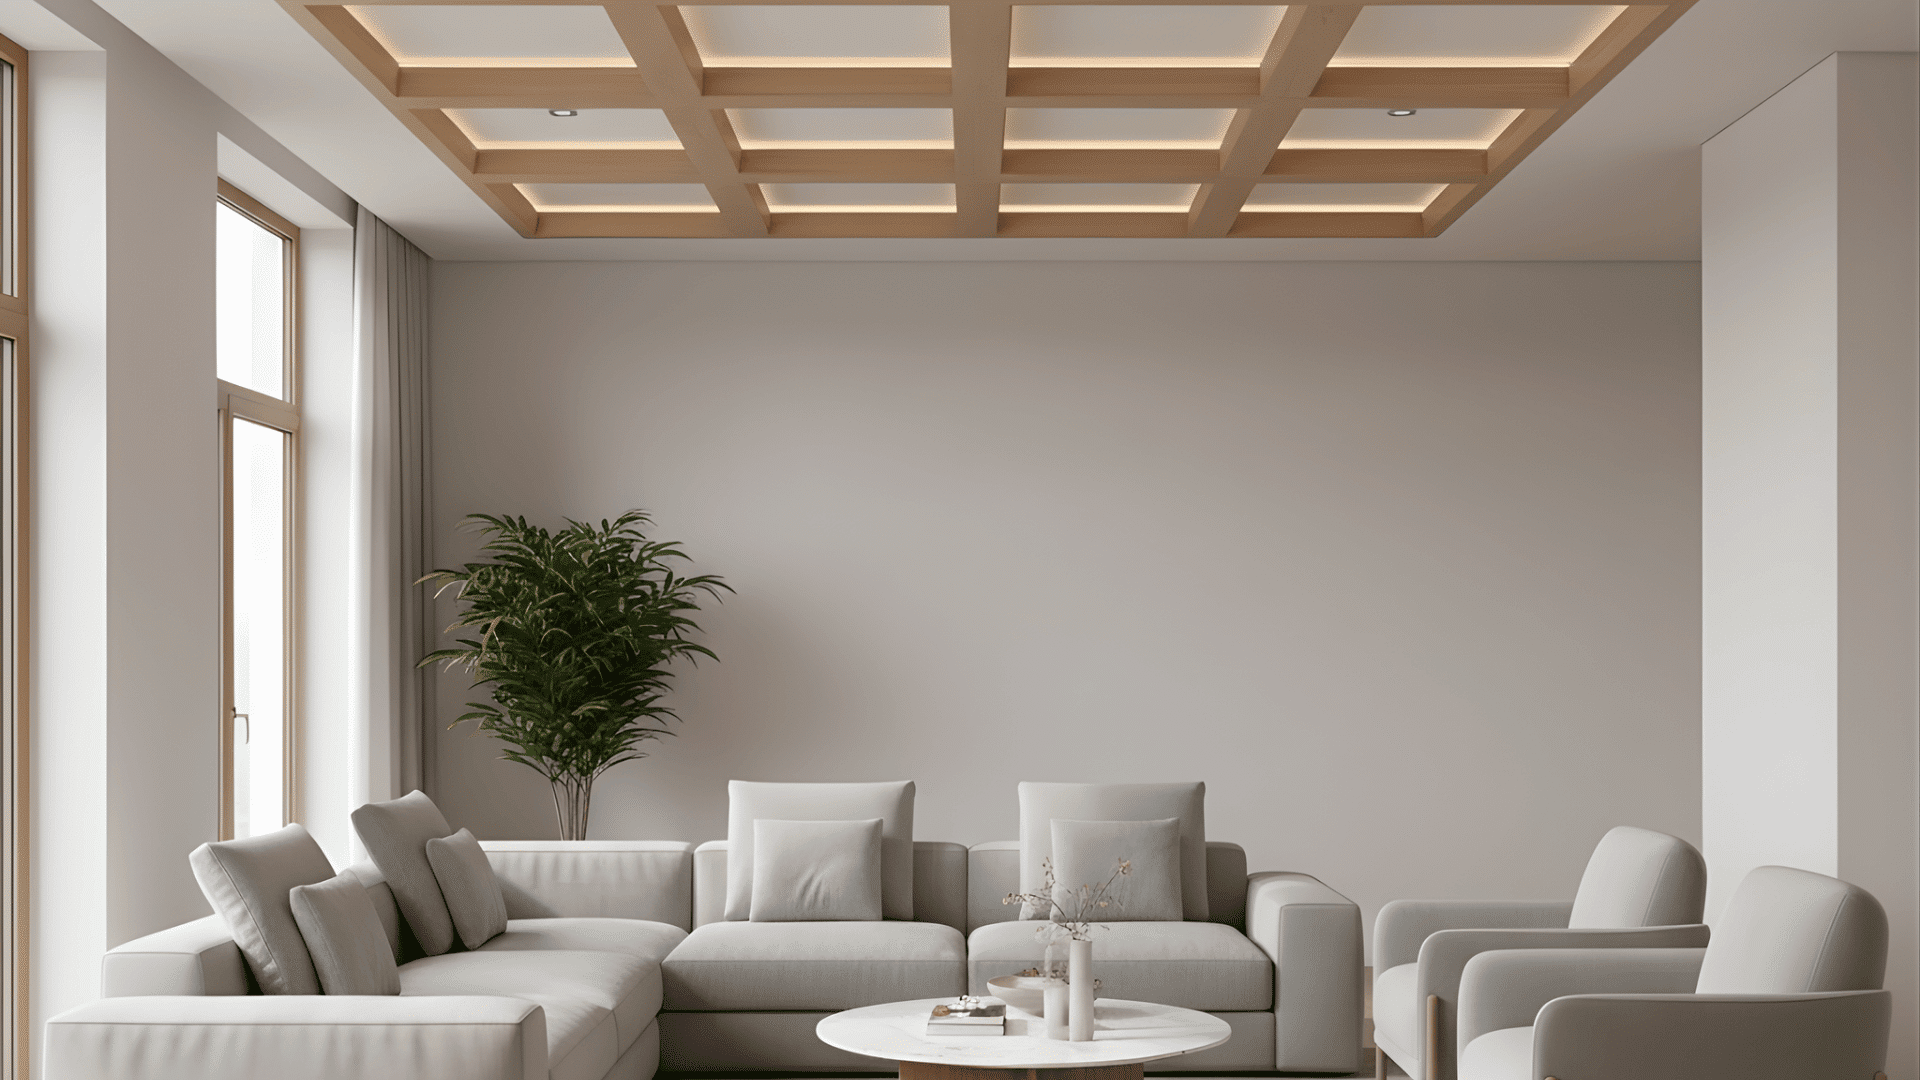
If you’ve been thinking about adding more storage, building DIY pantry shelves is a great place to start.
You don’t need special skills or expensive tools, just some time, basic materials, and a bit of patience.
With a few boards and the right steps, you can create sturdy shelves that fit your space perfectly and make organizing easier.
I’ll show you how to plan, build, and finish your own shelves without overcomplicating the process. Let’s get started and make your pantry more functional and durable today.
Why Build Your Own Pantry Shelves
Building your own DIY pantry shelves is one of the most practical upgrades you can take on.
It costs far less than buying pre-made shelving and gives you full control over design, size, and finish.
Most store-bought shelves are limited in shape and strength. When you build your own, you choose solid wood or plywood that fits your space and holds real weight.
It’s also rewarding. You end up with durable, customized shelves that look great and suit your kitchen’s exact needs, all built by you.
Building Floating Pantry Shelves: Step-by-Step
Building floating pantry shelves is an easy way to add more storage without taking up extra space. These shelves look clean, feel sturdy, and turn any closet into a functional pantry.
Tools & Materials
- Drill/driver (implied because she screws everything in)
- Clamps (used to hold the front support)
- 2×2 lumber (for wall supports and frame)
- 2½-inch screws (to attach supports to studs)
- Extra wood pieces/scrap pieces (for center supports)
- Pocket hole screws (used for middle supports)
- ¾-inch plywood (for the tops of the shelves)
- 1×3 pine boards (for the face frames)
- ¼-inch plywood (for the bottoms of the shelves)
- White paint (final finishing step)
Step 1: Remove the Existing Shelving
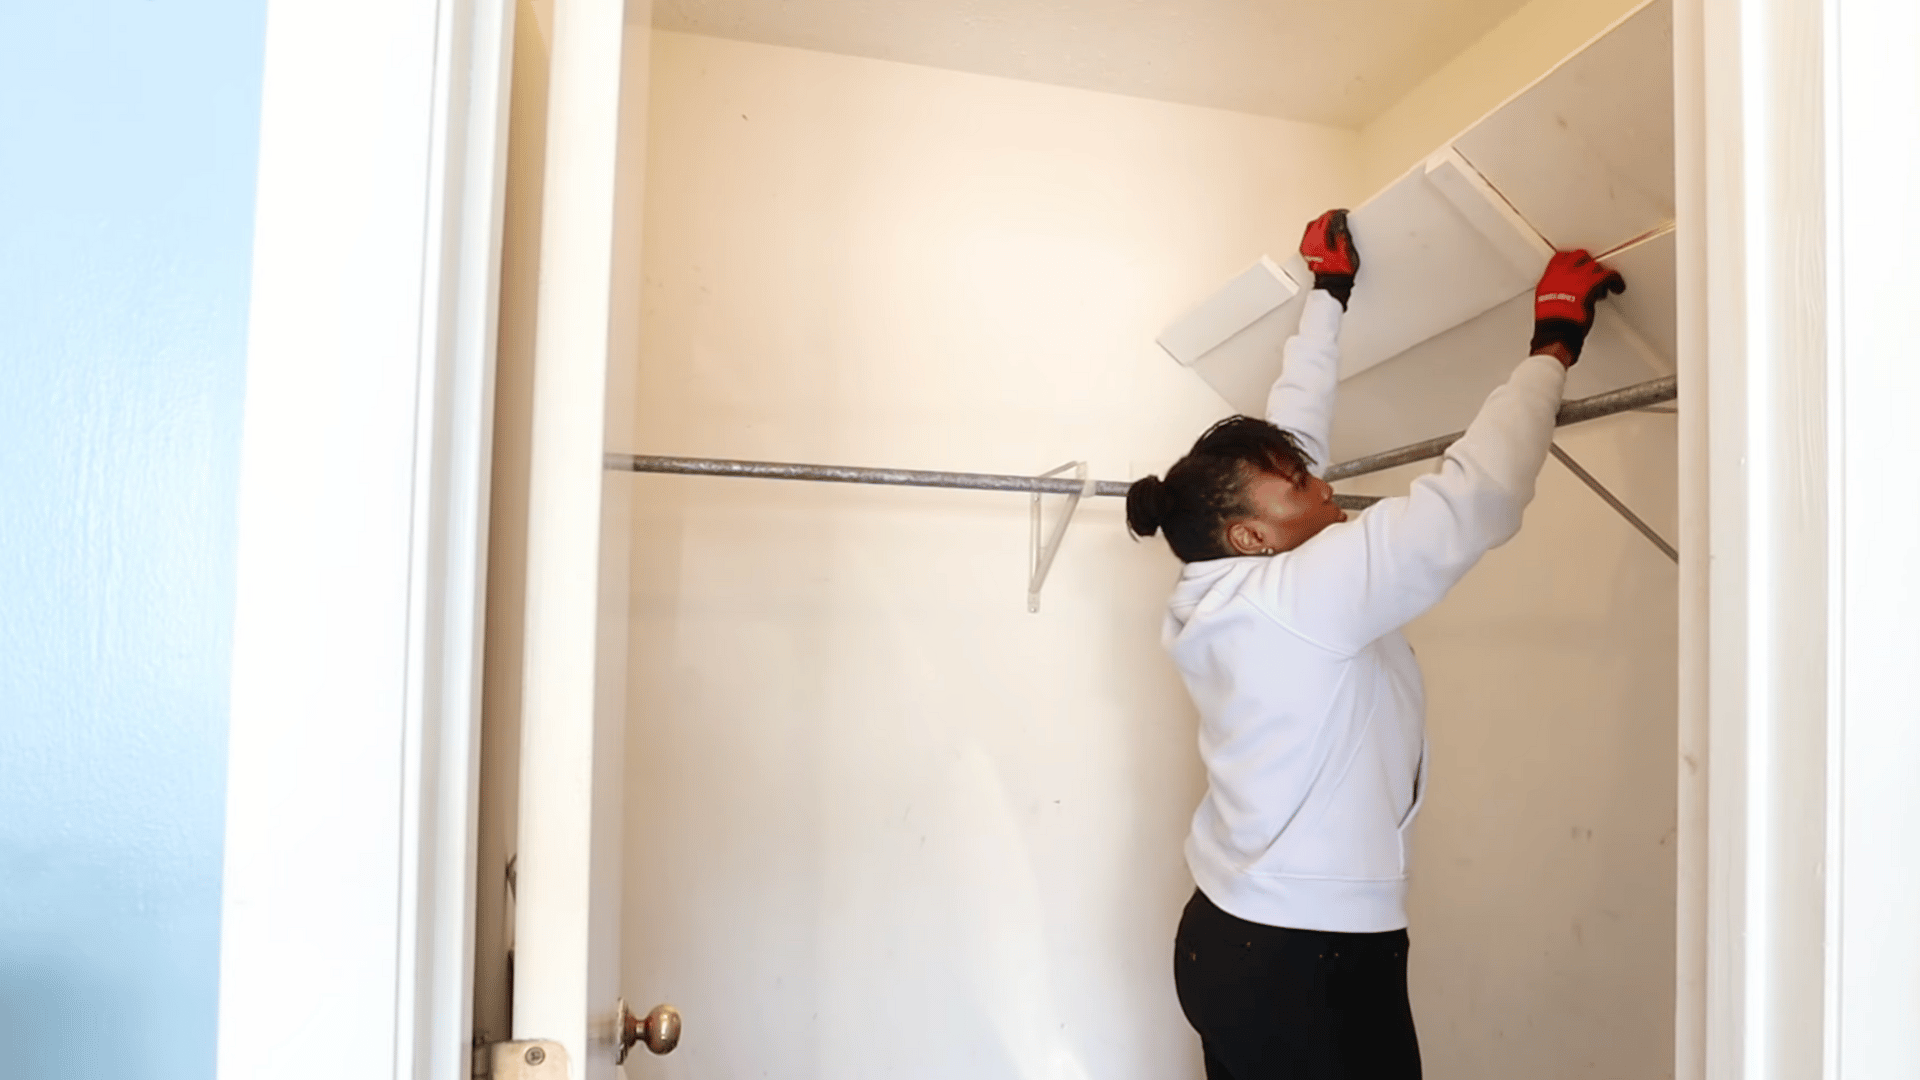
Start by clearing the closet and pulling out the old shelves. These often come out quickly, especially if they aren’t fully secured to the floor.
Work through the removal process until the closet is completely empty. This creates a clean space and a solid starting point for installing the new floating shelves.
Step 2: Mark the Studs and Plan Shelf Placement
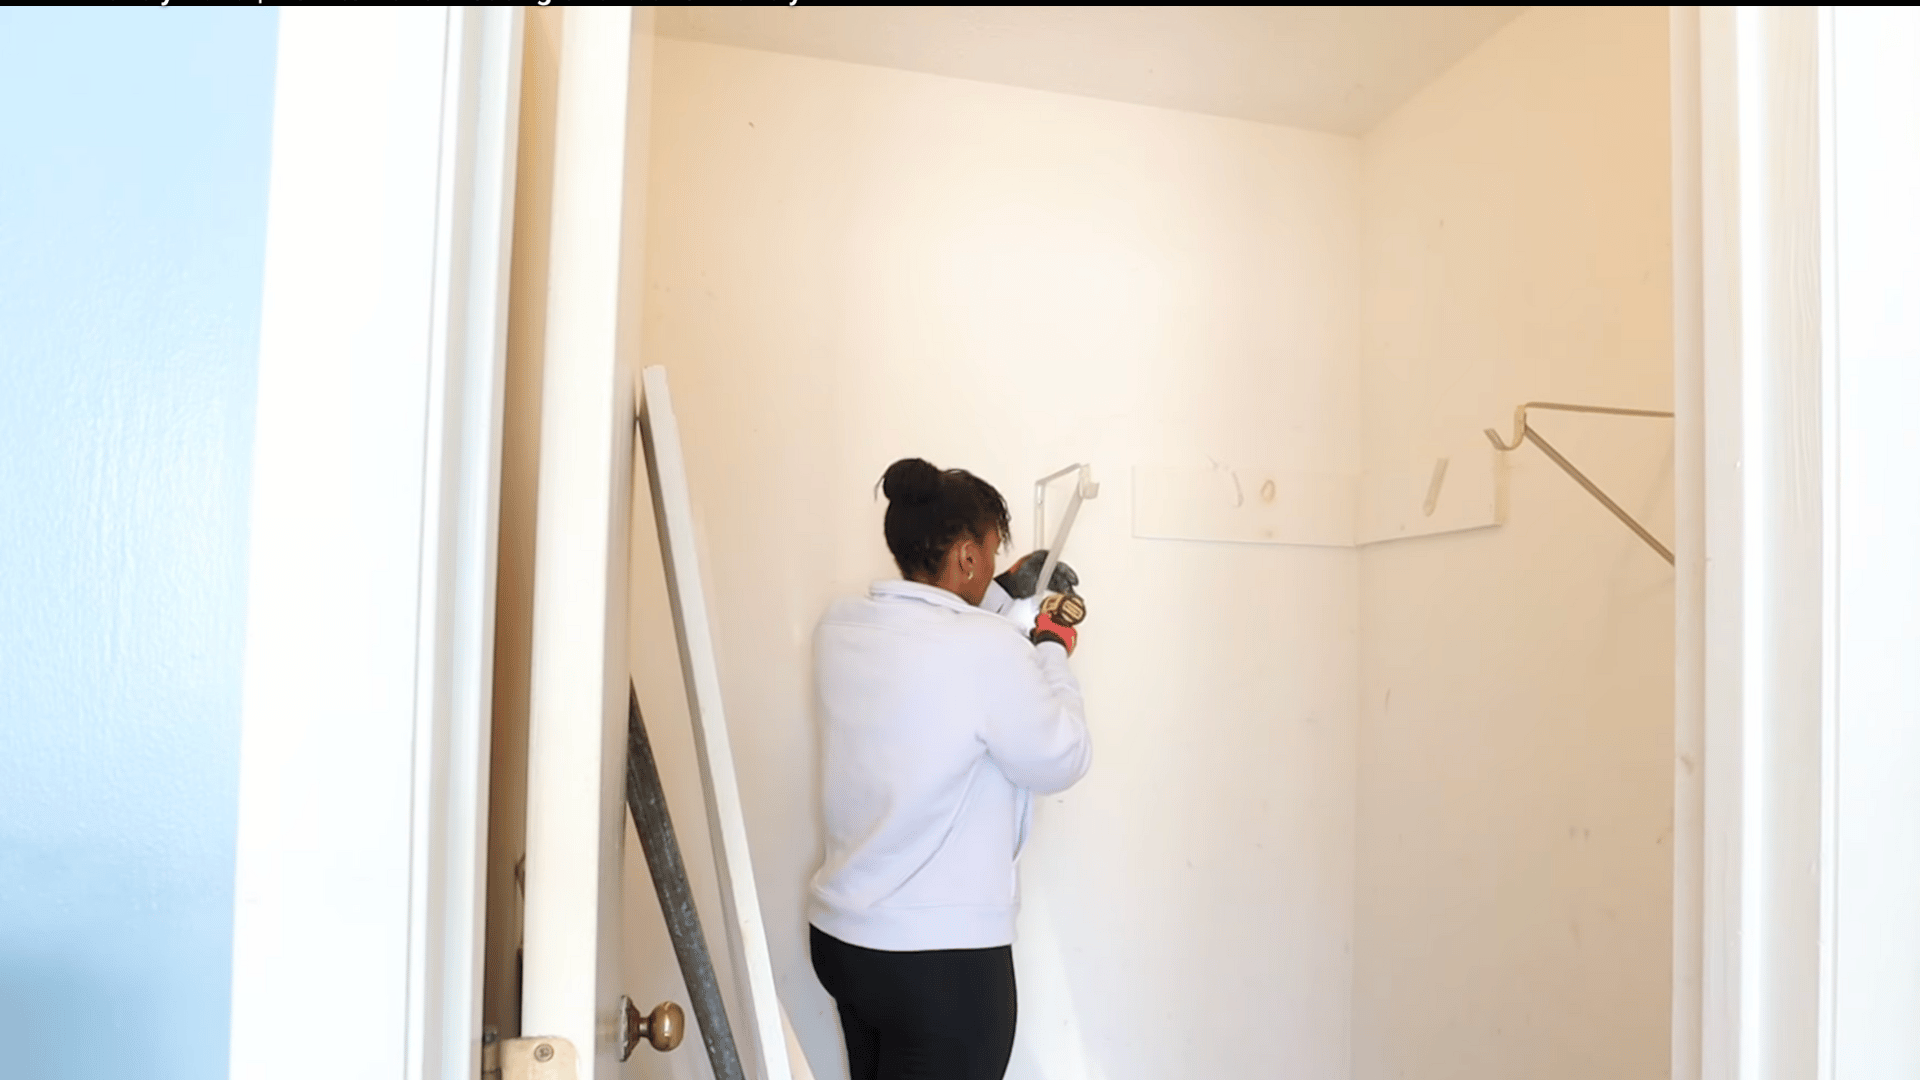
Mark all the stud locations along the wall, along with the height and placement for each shelf support. This step ensures every board will anchor into strong framing.
Use these marks as a guide to keep the shelves level, sturdy, and strong enough to hold pantry items without sagging.
Step 3: Install the 2×2 Wall Supports
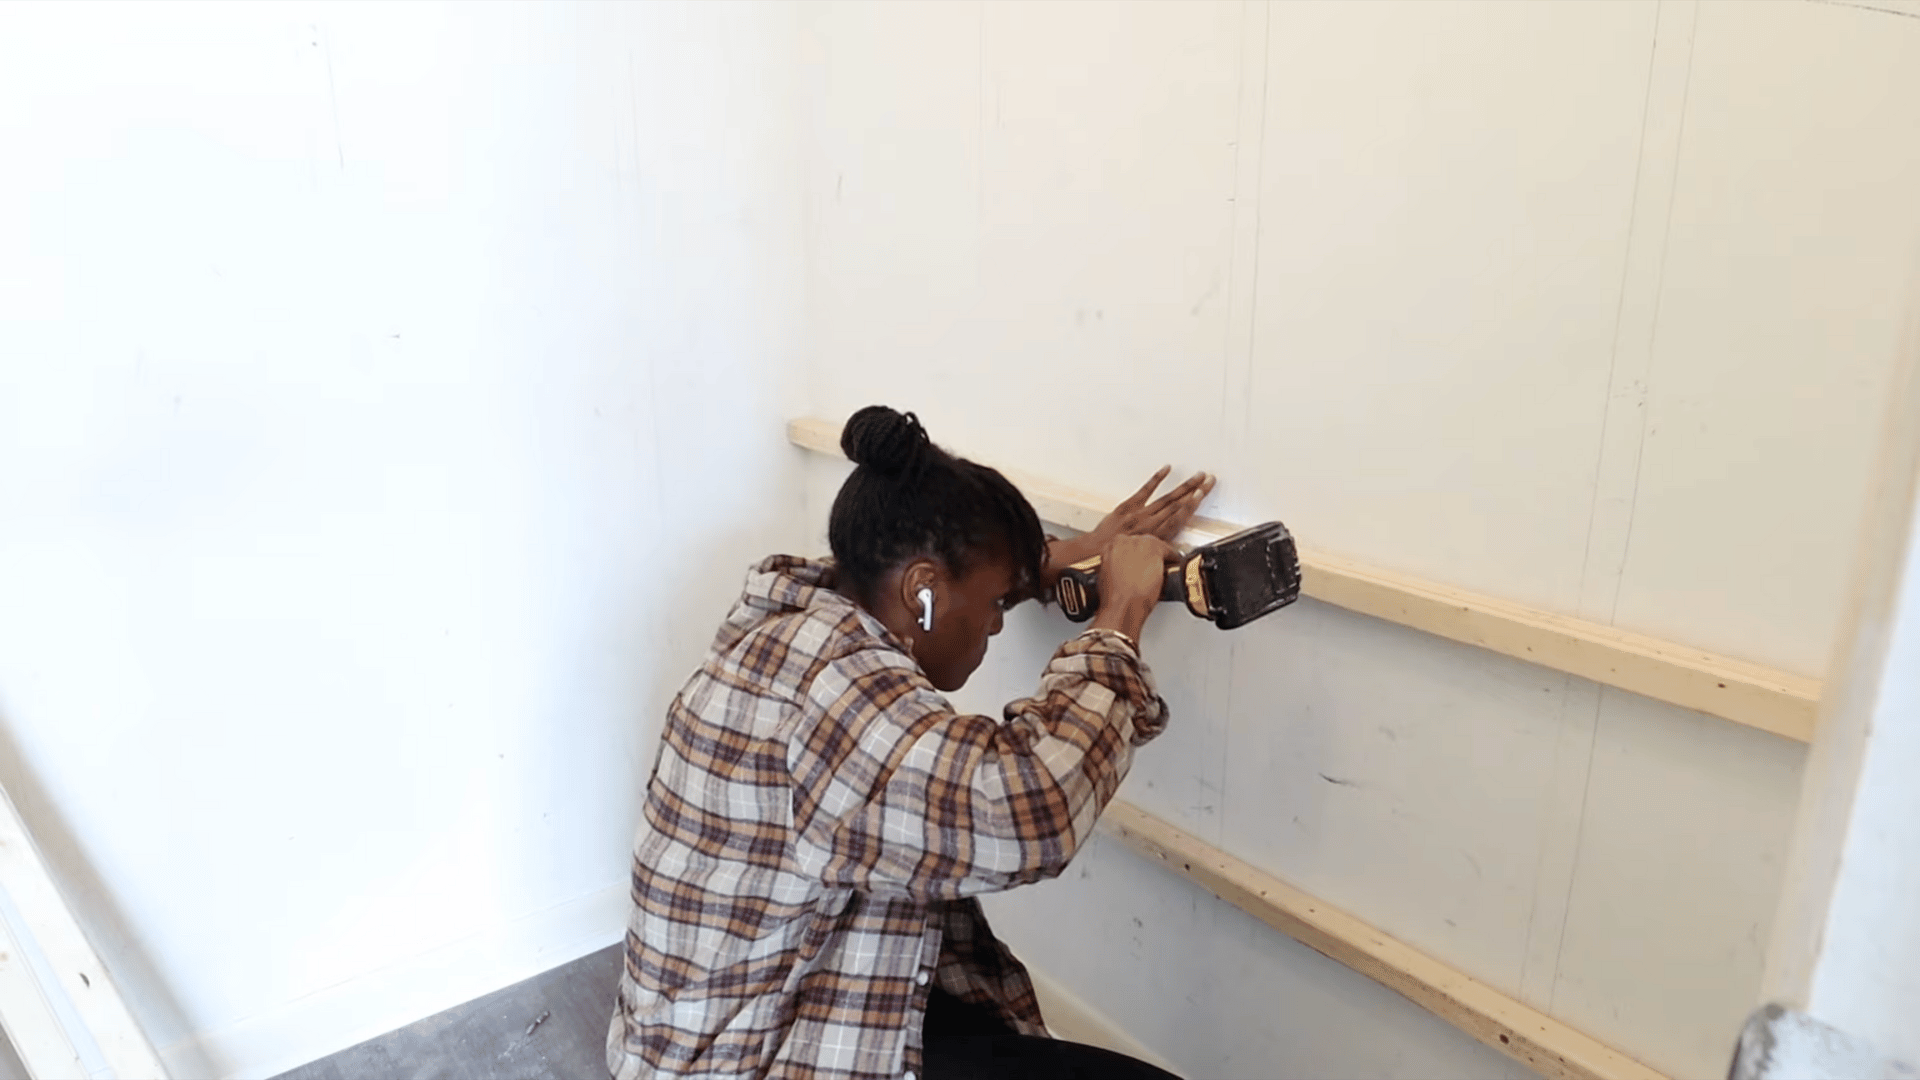
Hold a 2×2 board against the wall at the marked location and secure it directly into the studs using 2½-inch screws. Remember that a 2×2 measures only 1.5 inches thick.
Make sure each screw penetrates at least one inch into the stud. This creates a strong foundation for the floating shelf frame and ensures long-term durability.
Step 4: Attach the Front Support Using Clamps
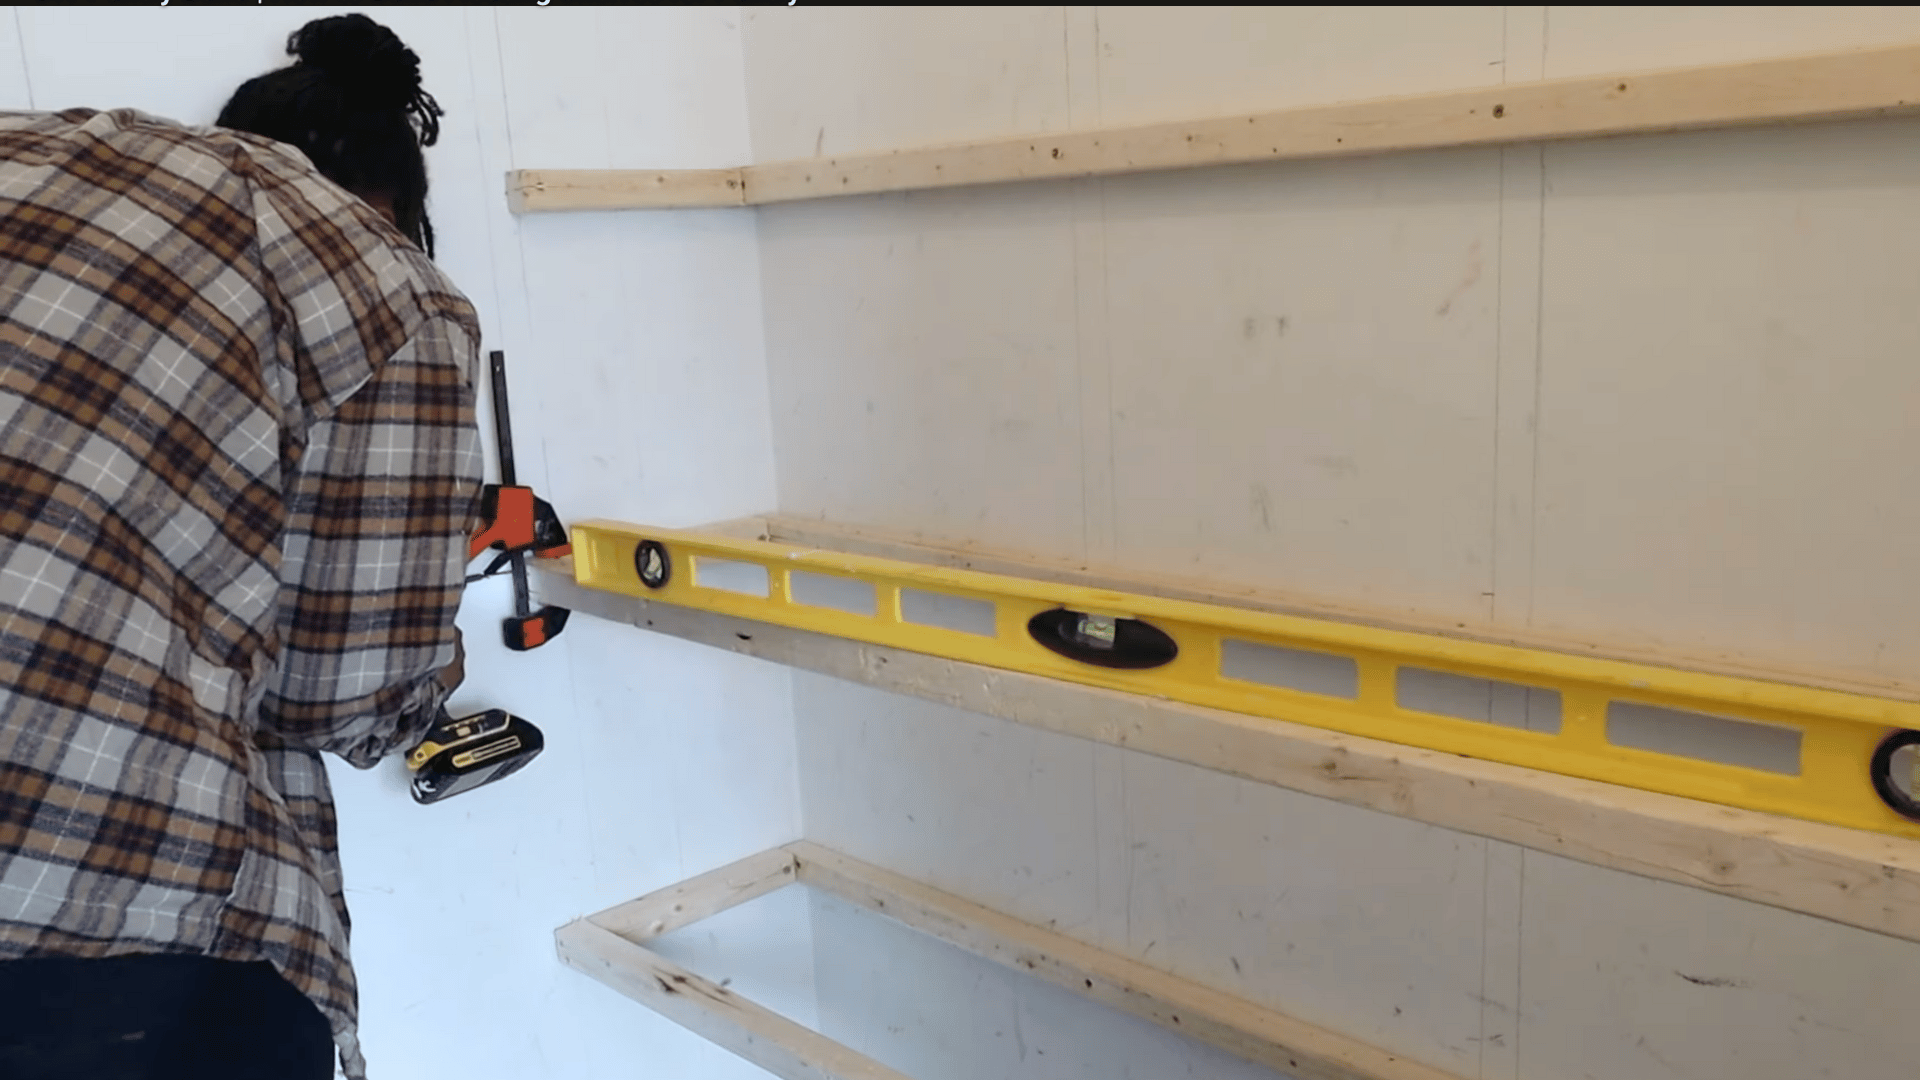
Clamp another 2×2 board to the front of the frame, lining it up with the side supports. Adjust it until everything is straight and matches the height of the other shelves.
This front board completes the basic shelf frame, giving the plywood a solid surface to rest on and creating the clean floating-shelf look.
Step 5: Add Extra Support Pieces in the Middle
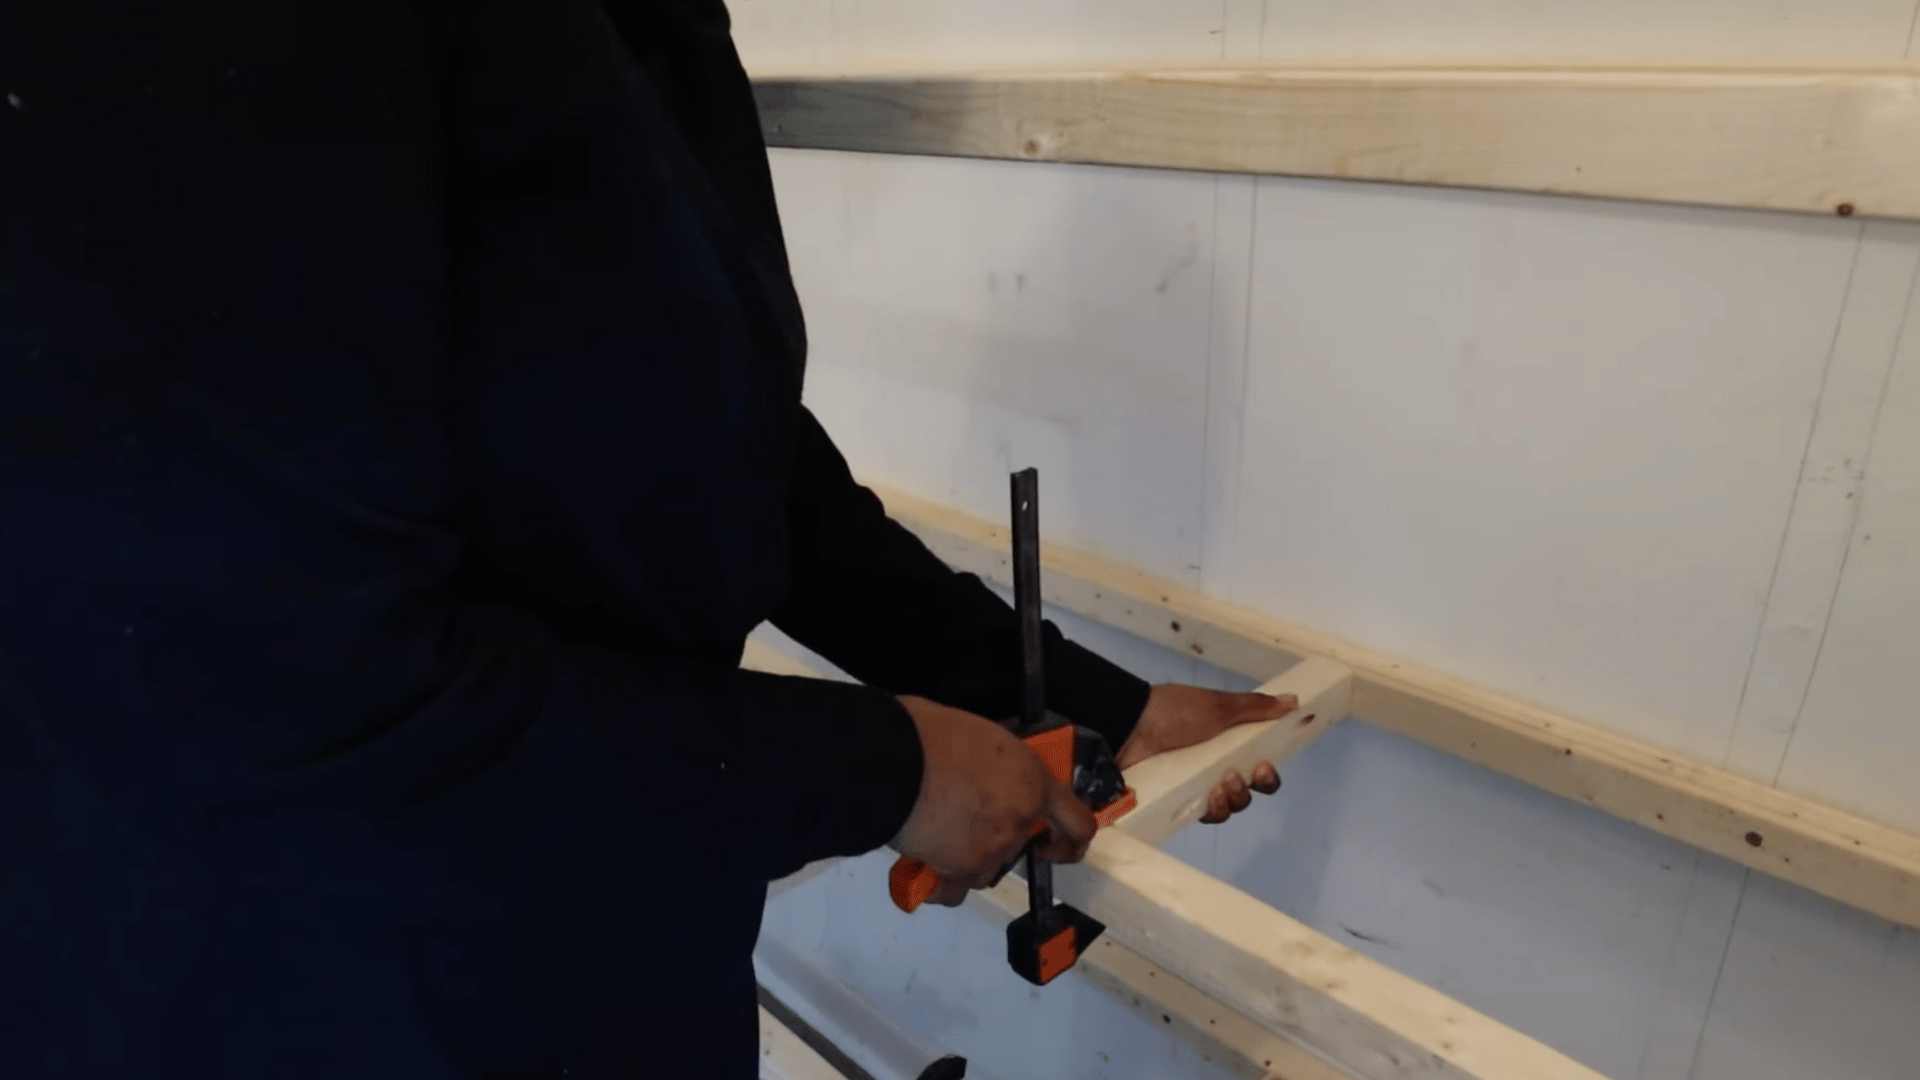
Add small support pieces in the center of the frame to prevent the shelf from sagging. These can be made from leftover wood and should fit snugly within the frame.
Attach the supports using a combination of pocket hole screws and screws driven from the front. This reinforcement helps the shelves stay stable under heavy pantry loads.
Step 6: Install the ¾-Inch Plywood Shelf Tops
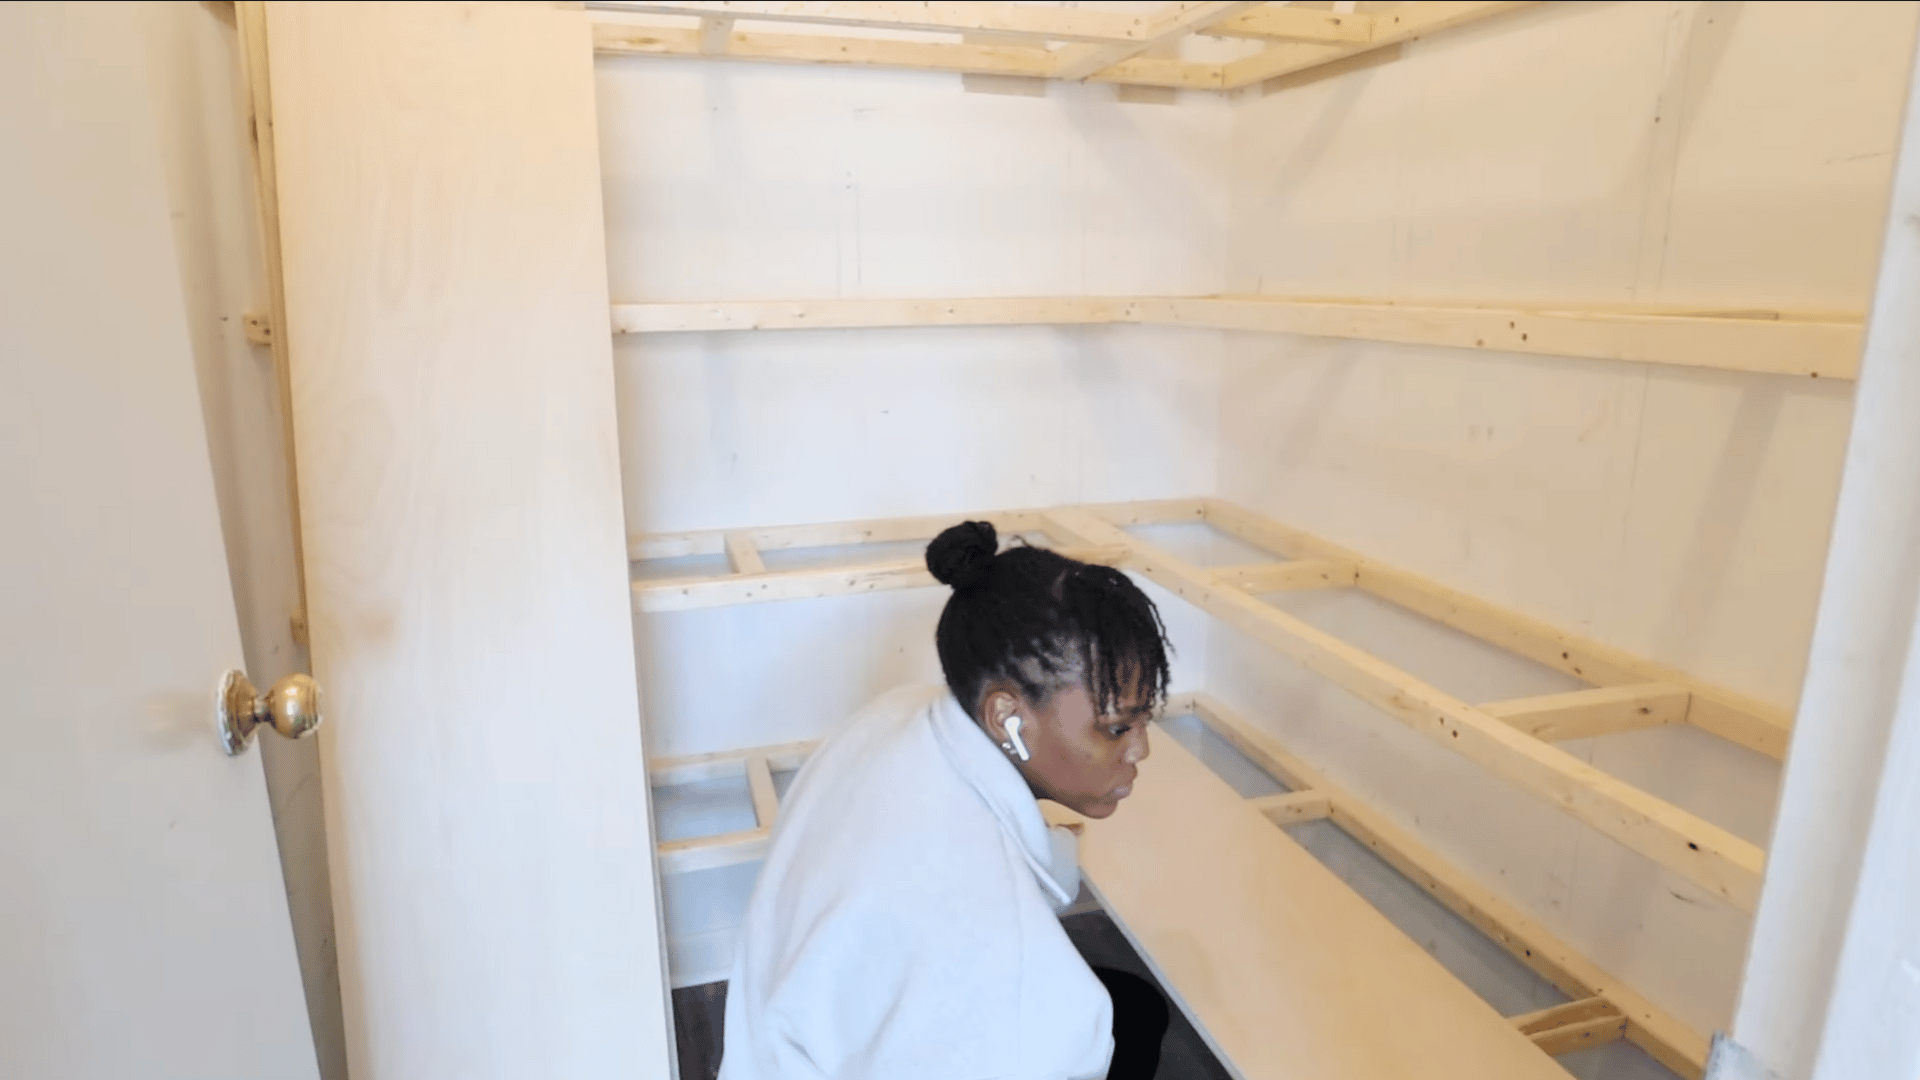
Place the ¾-inch plywood panels on top of the frame to form the shelf surface. Make sure each piece sits flat and covers the frame evenly.
Check that the plywood is supported on all sides. This creates a strong, smooth surface for storing pantry items of all sizes.
Step 7: Add 1×3 Pine Face Frames
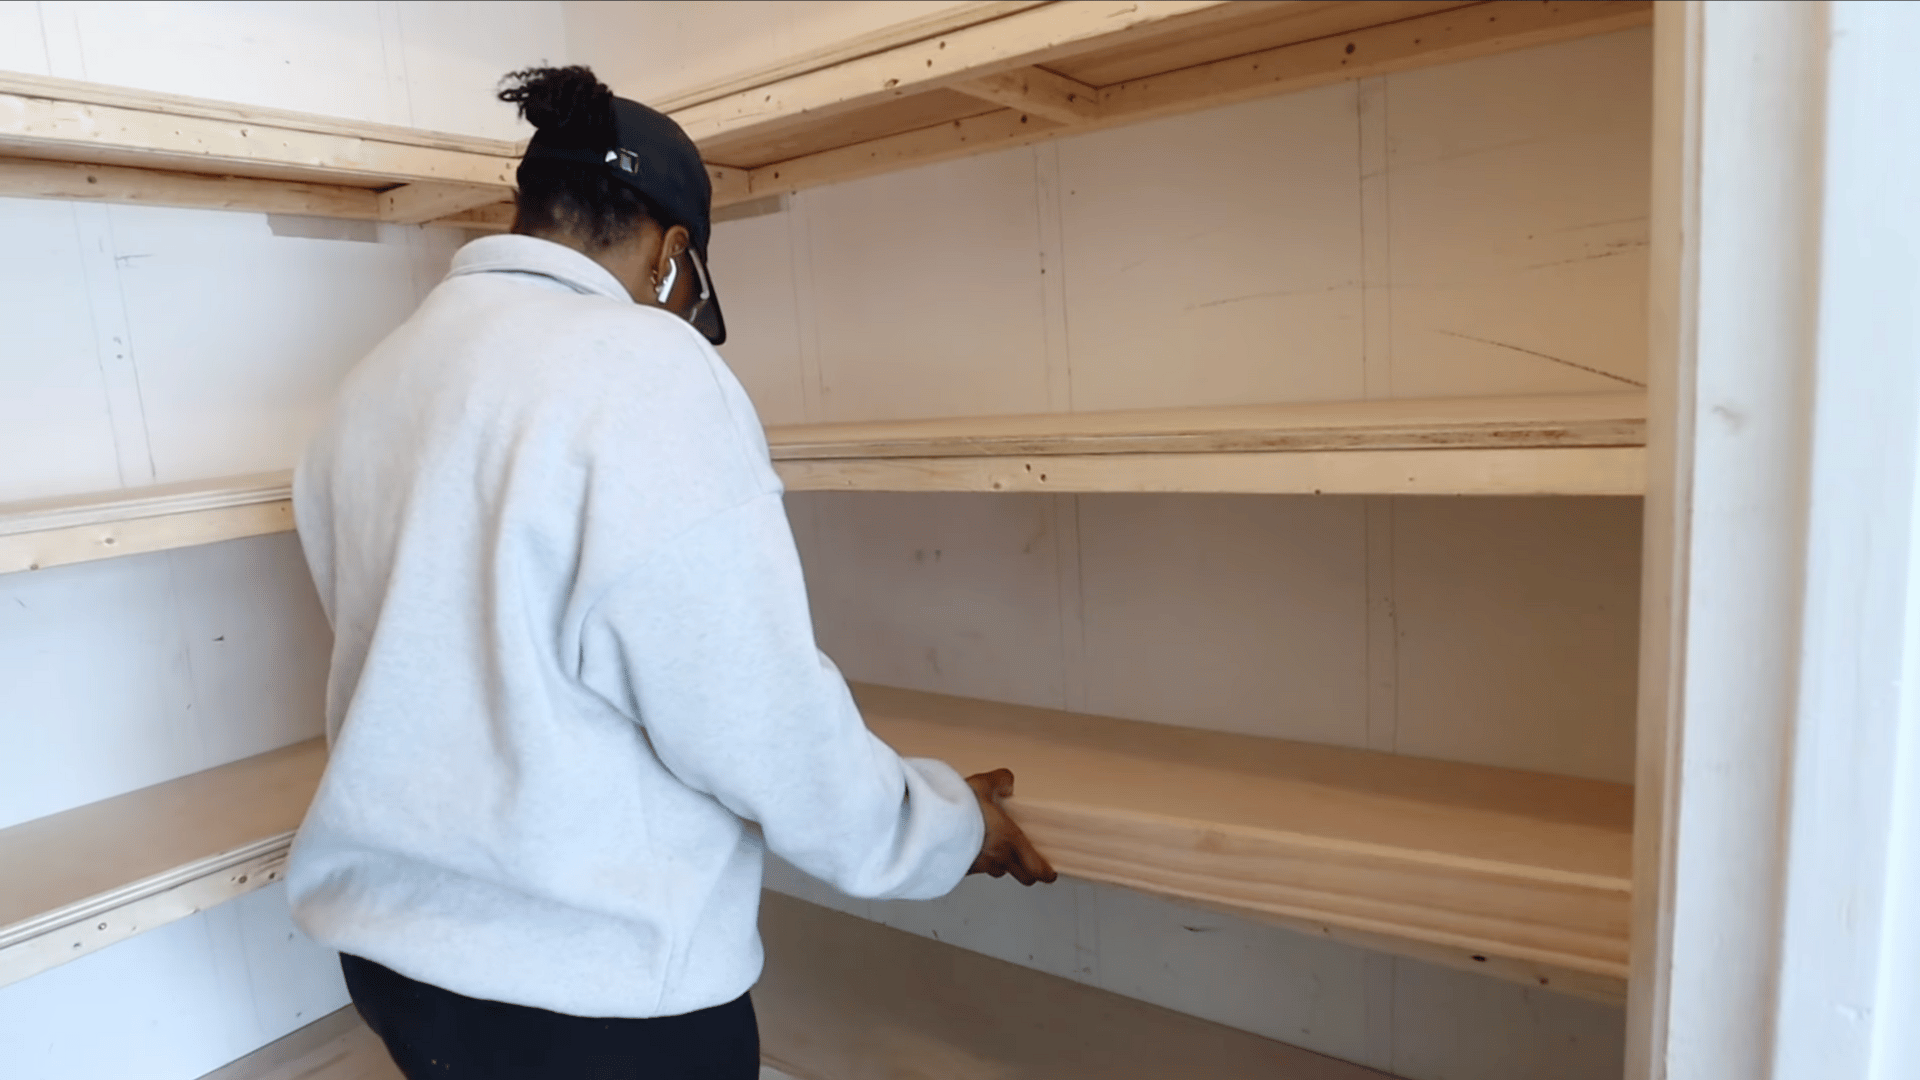
Attach 1×3 pine boards to the front edge of each shelf to create a face frame. This step hides the frame structure and makes the shelf look thicker and more finished.
Secure the boards firmly so the edges line up cleanly. This gives the shelves a polished, built-in appearance.
Step 8: Attach ¼-Inch Plywood to the Bottoms
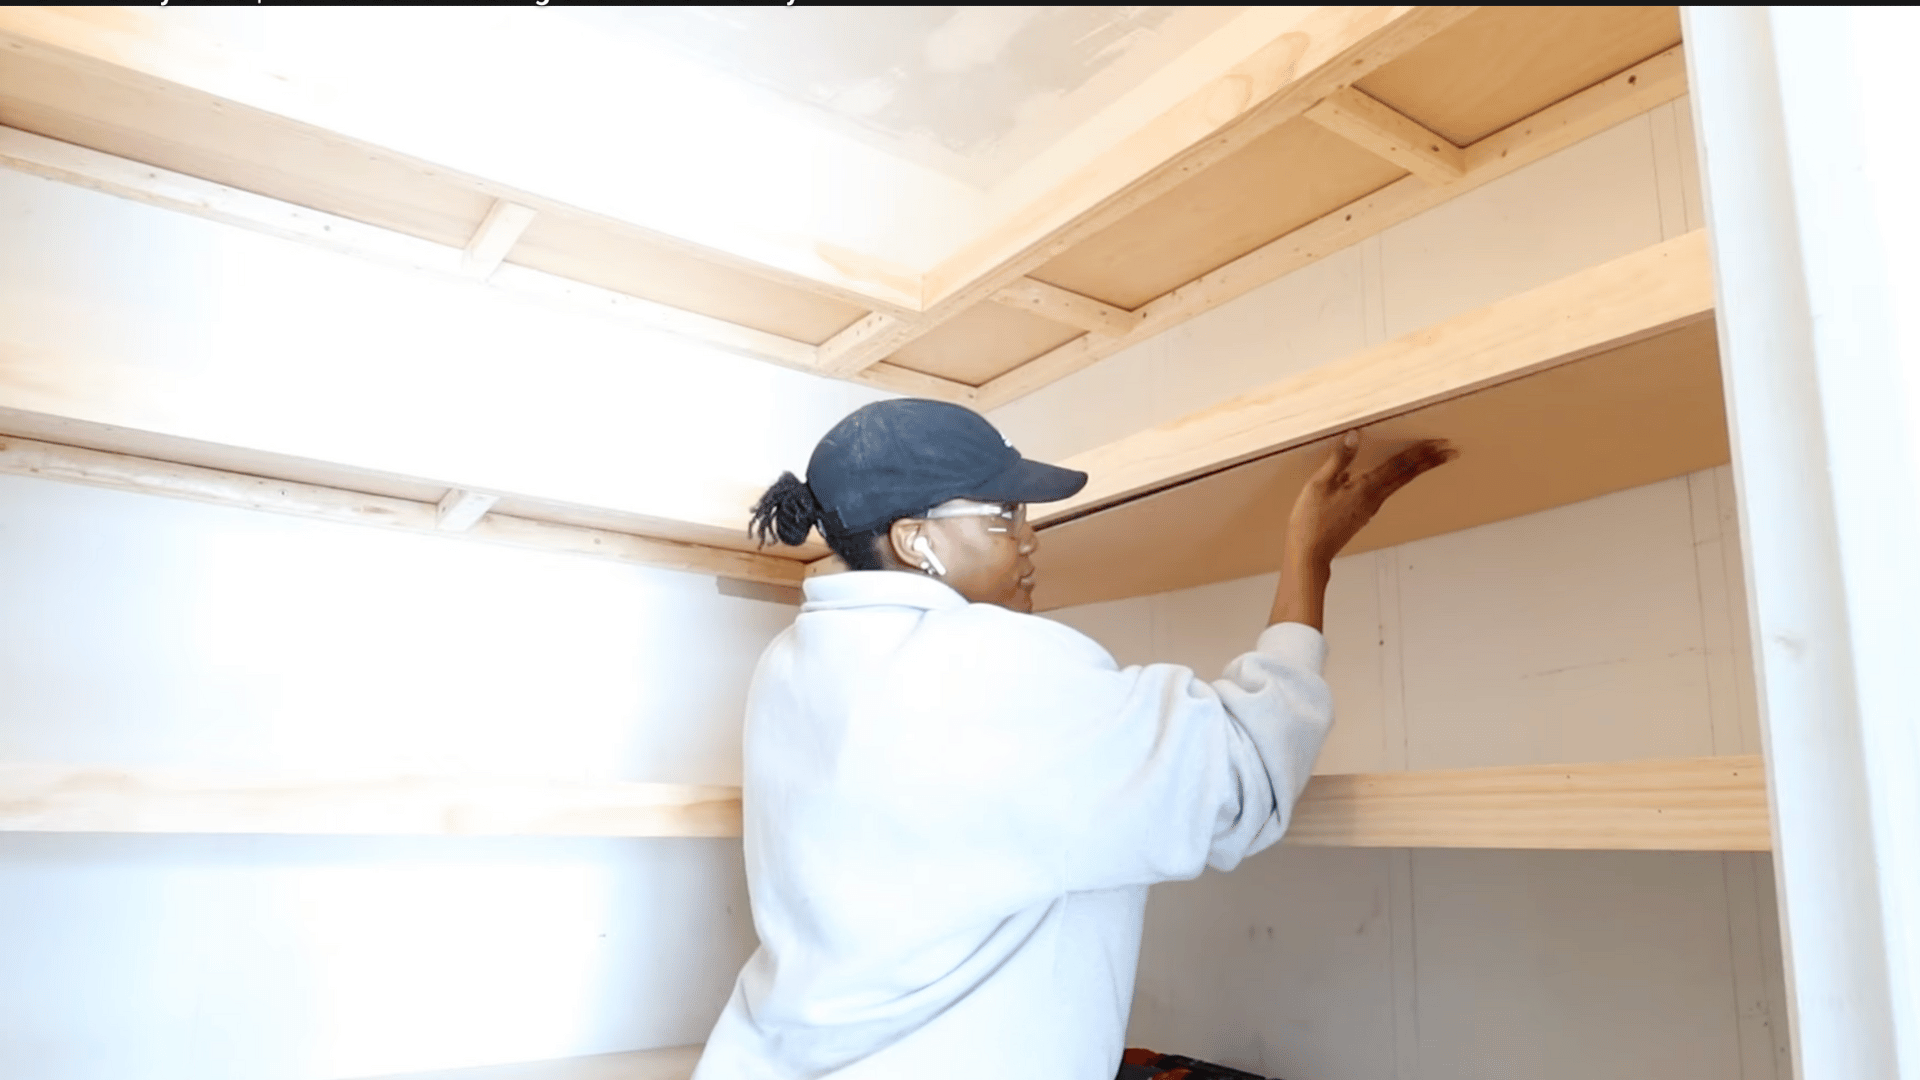
Cut pieces of ¼-inch plywood and attach them to the underside of the shelves. This closes off the frame and makes the shelves look fully enclosed.
Once installed, the bottoms look clean and seamless, with no visible gaps or framing underneath.
Step 9: Paint the Shelves White
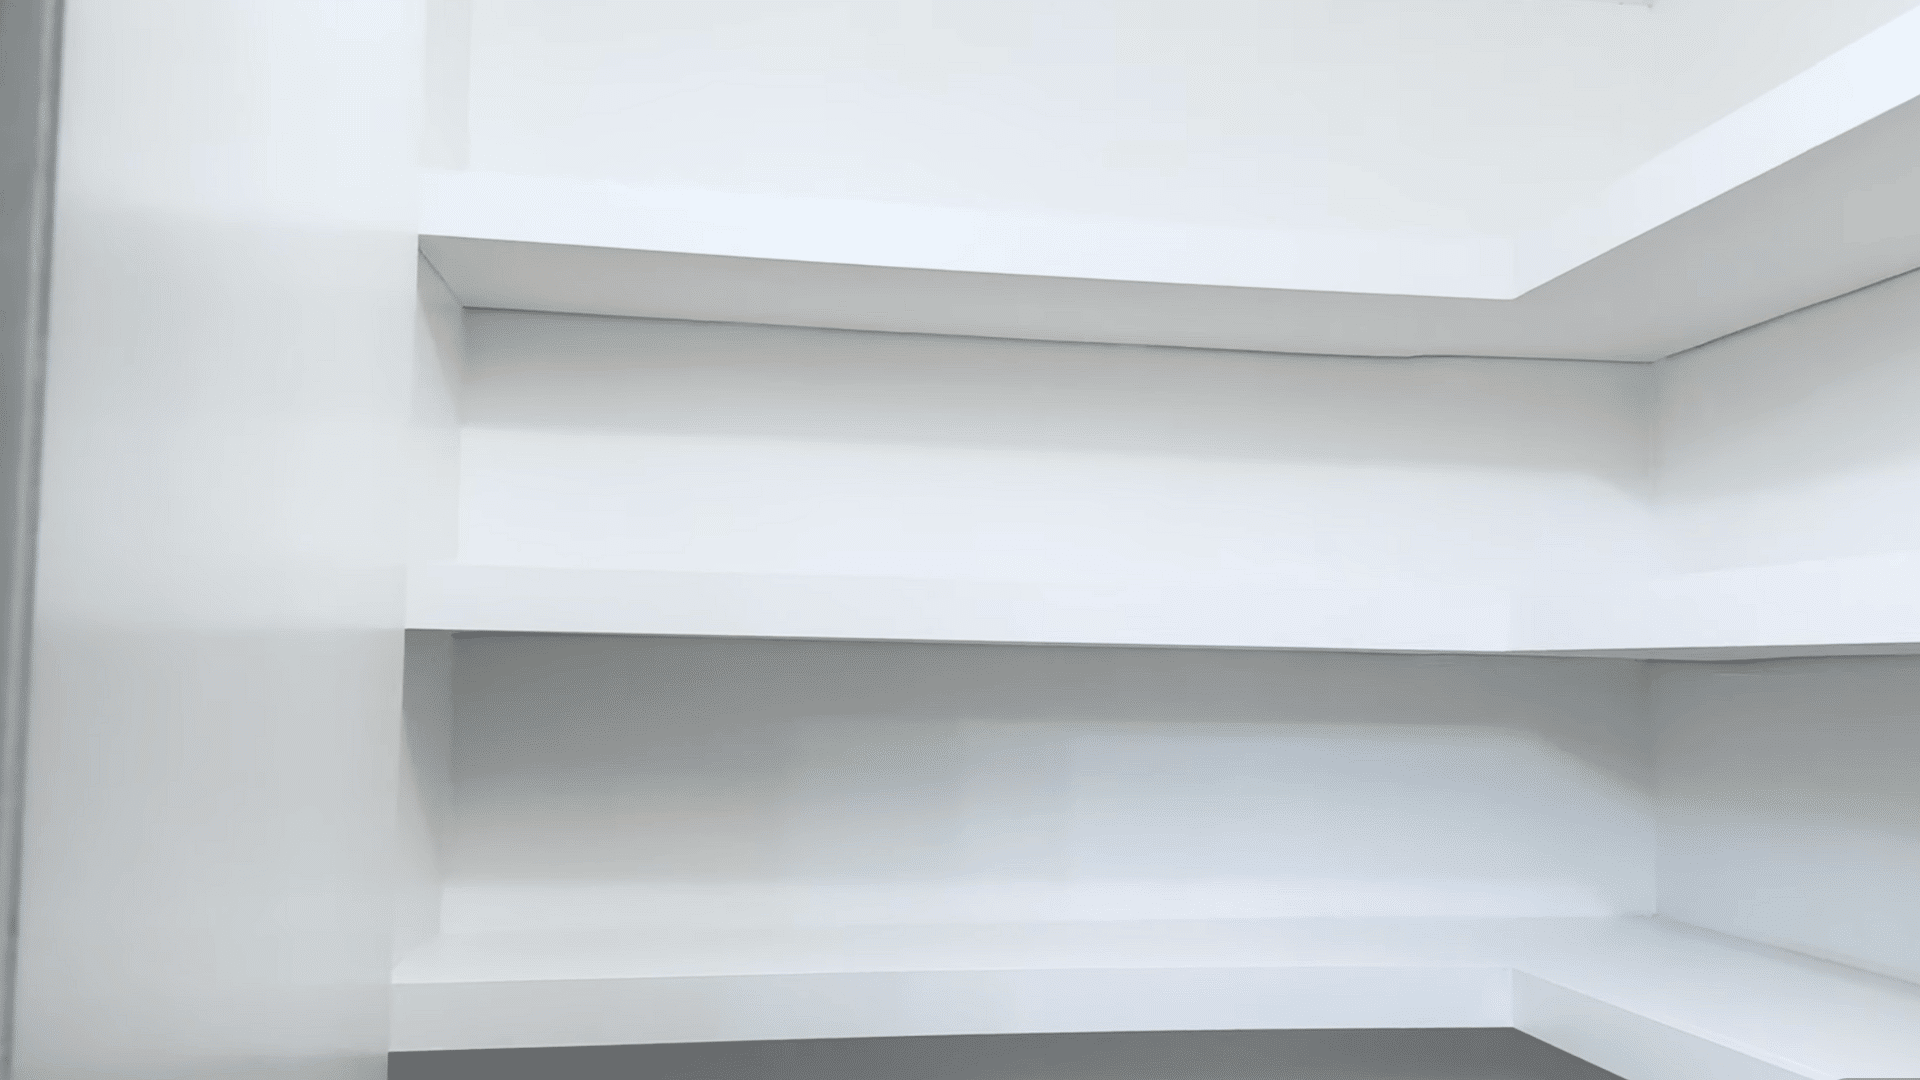
Finish by applying white paint over the shelves. This brightens the pantry and gives everything a clean, cohesive look.
Once the paint dries, the pantry is fully transformed, offering strong, stylish shelving and plenty of new storage space.
This tutorial is based on the pantry shelf project shared by @RemodelHandz, the creator behind the original video.
Floating Pantry Shelves Variation
If you prefer a modern, open look, floating shelves are a great alternative to standard supports. They’re sleek, space-saving, and easy to build with basic tools.
- Design advantage: Floating shelves create a clean look without visible brackets. They attach to hidden cleats anchored into studs for strong, simple support.
- Installation step: Cut cleats to match your wall width and screw them securely into place. Slide your hollow shelf frame over the cleats, then fasten from underneath.
- Finishing tip: Cover the bottom with a thin sheet of plywood for a smooth, seamless surface. Sand gently, then paint or stain to match your kitchen’s finish.
- Safety note: Keep heavy items on lower shelves and lighter ones higher up. This helps maintain balance and keeps your floating pantry shelves sturdy.
Finishing and Styling Tips
Once your DIY pantry shelves are built, the right finish and styling can make them look professional and last longer. These tips will help you get the best results:
- Surface prep: Lightly sand all shelves before finishing. This removes dust and rough spots so the paint or stain goes on evenly.
- Paint or stain: Choose paint for a clean, modern look or stain to highlight natural wood grain. Always let each coat dry completely before adding another.
- Protective coating: Use polyurethane or a clear sealer to protect shelves from moisture and everyday wear. It also makes cleaning easier over time.
- Color coordination: Match your finish to your kitchen cabinets or flooring for a cohesive design. Neutral tones work best for small or darker spaces.
- Organization add-ons: Add baskets, jars, or under-shelf lighting to improve function. These simple details make your pantry both useful and attractive.
Conclusion
Building DIY pantry shelves is one of the most rewarding home projects you can do.
With simple materials, patience, and the right plan, you can create strong, custom shelves that make your pantry more organized and practical.
If you’ve been wondering how to build pantry shelves, now’s the perfect time to try.
Gather your tools, follow each step, and build storage that fits your kitchen perfectly. Start today and enjoy the satisfaction of a space you designed and built.