

If you’ve ever wanted a flower that fills your garden with color from summer to fall, dahlias are hard to beat.
Growing them starts with one simple step: planting dahlia tubers the right way. Once you understand how these tubers work, the rest of the process becomes effortless.
Today, I’ll walk you through everything you need to know, from the right time and place to plant, and keeping them healthy for next year.
Whether you’re a first-time grower or looking to refine your approach, you’ll find practical advice here.
About the Dahlia Plant
| Characteristic | Details |
|---|---|
| Plant Type | Tender perennial (grown as annual in cold zones) |
| Growth Habit | Upright, branching stems from tubers |
| Bloom Season | Mid-summer to first frost |
| Sunlight | Full sun (6–8 hours daily) |
| Soil Type | Well-draining, rich, slightly acidic (pH 6.5–7.0) |
| Height Range | 1–6 feet, depending on variety |
| Spread | 1–3 feet |
| Cold Tolerance | Sensitive to frost |
| Overwintering | Lift and store tubers in cold zones; leave in the ground in mild areas |
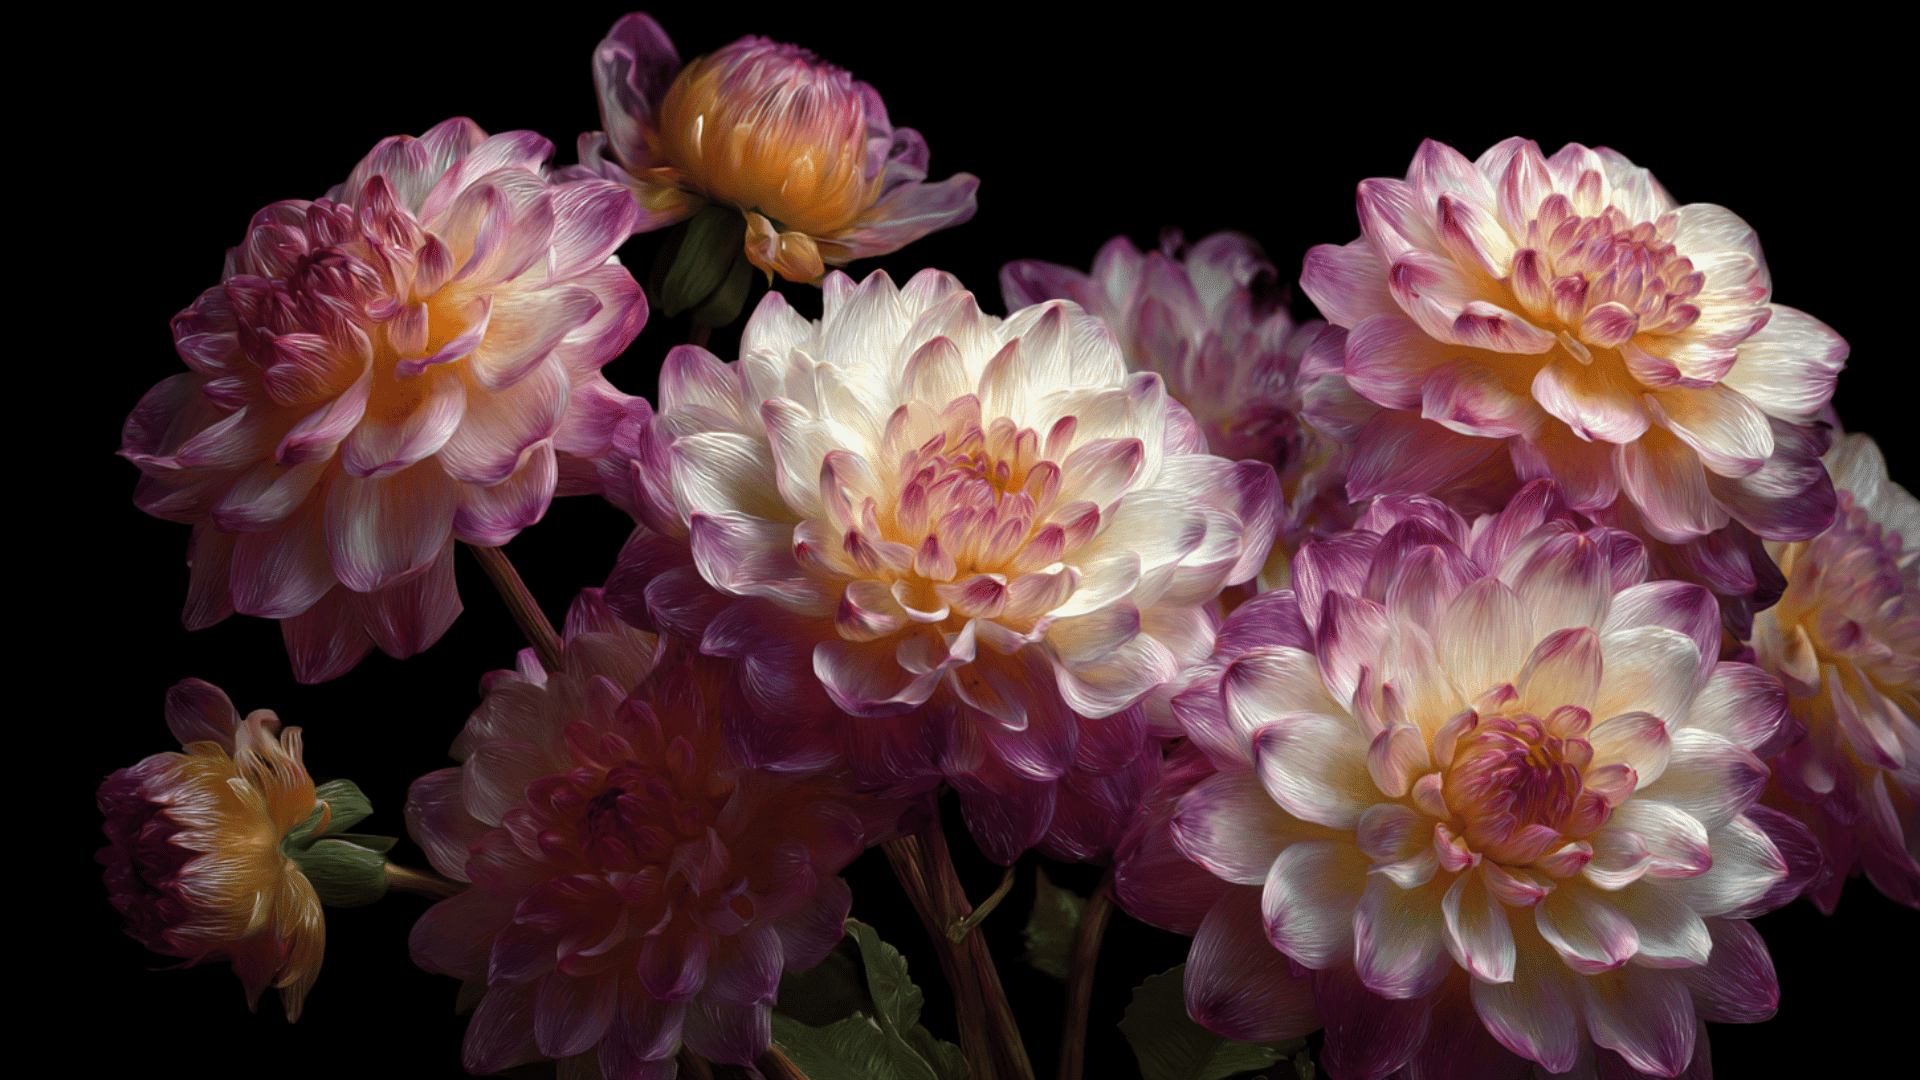
Dahlias thrive when the weather is warm and reward you with blooms that keep coming until frost, one reason I always make space for them in my garden.
When and Where to Plant Dahlia Tubers
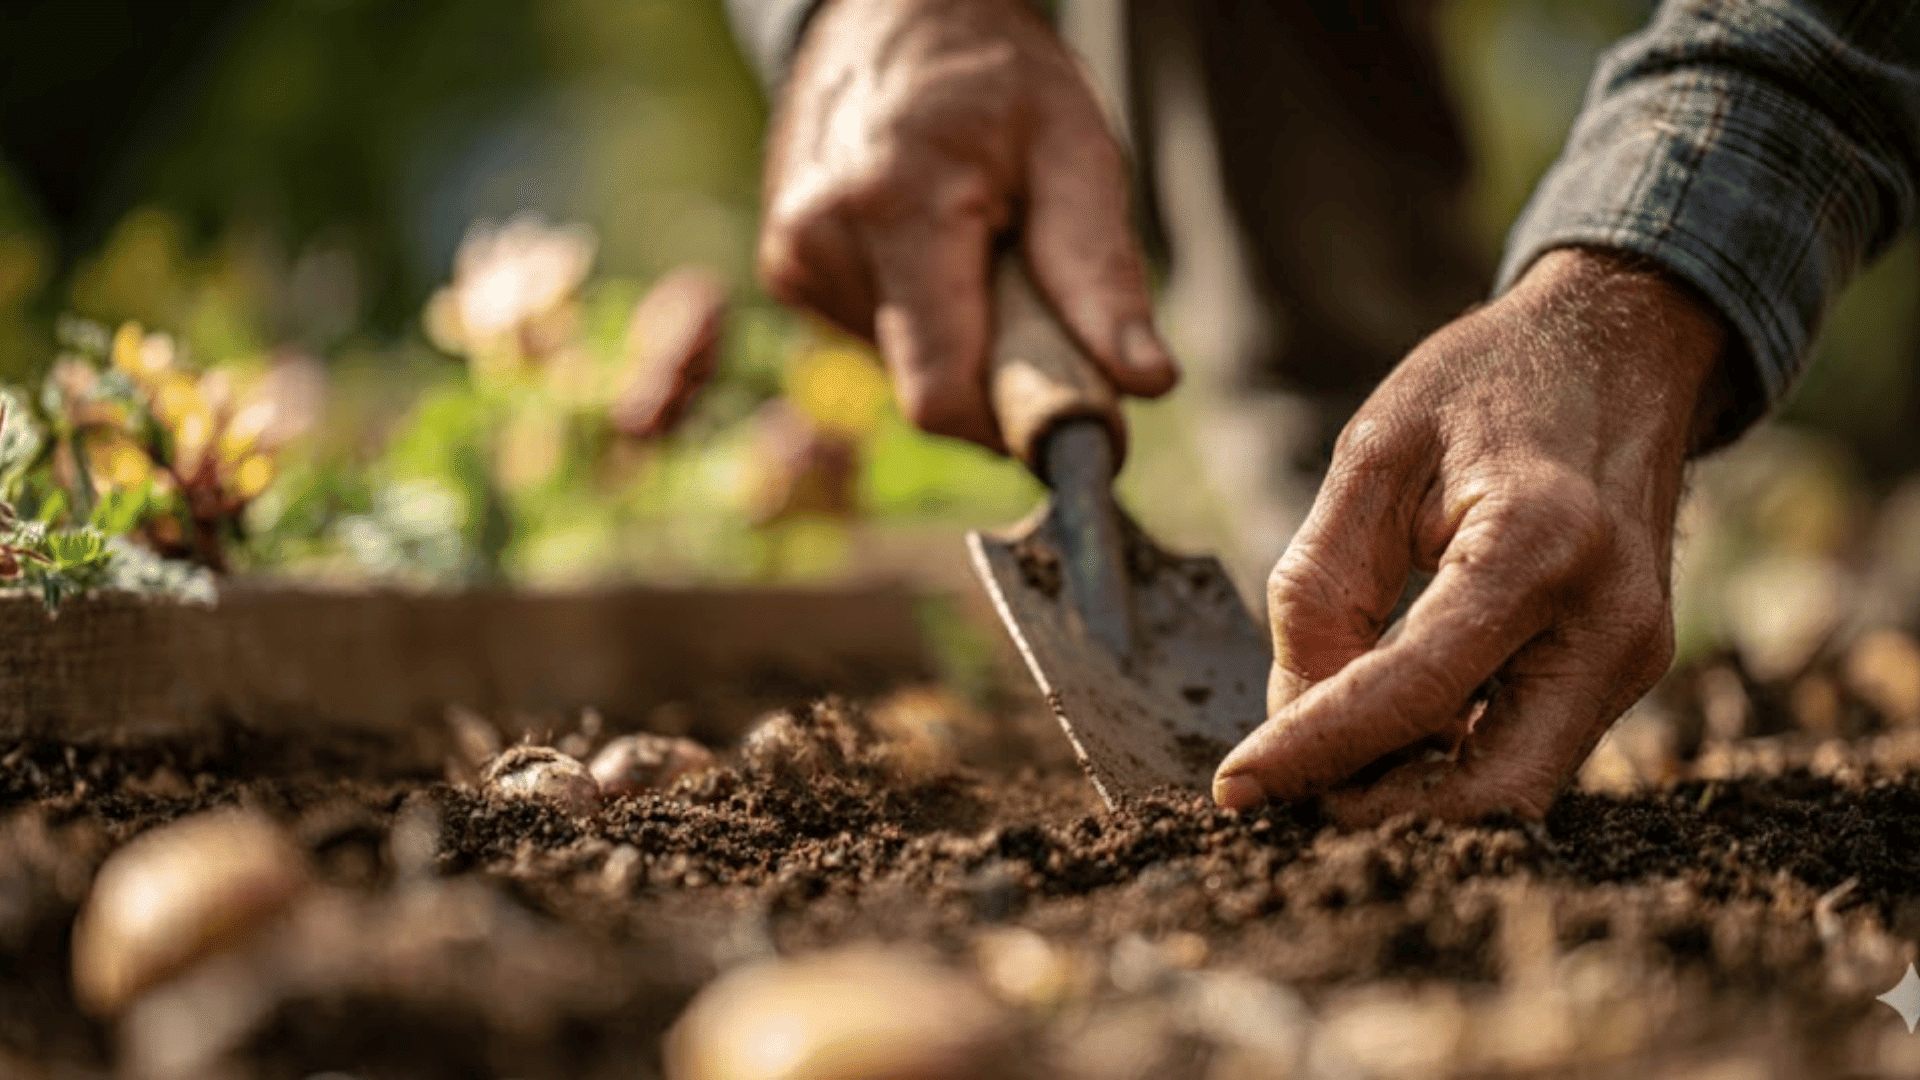
Timing makes all the difference when planting dahlias. If you get it right, your plants will grow faster and bloom longer.
Dahlias love warmth. Wait until the last frost has passed and your soil feels warm to the touch, ideally above 60°F. Planting too early in cold or soggy soil often leads to rot or slow sprouting. You’ll get better results if you’re patient and let the soil warm up first.
They also need full sunlight, at least 6 to 8 hours a day. If you’re planting in partial shade, try to choose a spot that gets strong morning sun.
And just as important, make sure the soil drains well. Dahlias don’t like sitting in water. If your soil holds moisture, mix in compost or sand to help with drainage.
Here’s a quick guide to help you figure out the best time to plant based on your growing zone:
| USDA Zone | Best Planting Time | Notes |
|---|---|---|
| Zone 3–4 | Late May to early June | Wait until all frost danger is gone. |
| Zone 5–6 | Mid to late May | Soil should be warm and dry. |
| Zone 7–8 | Late April to early May | Can start indoors earlier if preferred. |
| Zone 9–10 | March to early April | Watch for rare late frosts. |
| Zone 11+ | February to March | Dahlias can often stay in the ground year-round. |
If you’re unsure, aim to plant around the same time you’d plant tomatoes in your area; that’s usually a safe bet.
Once you’ve chosen your spot and your timing, you’re ready to prepare the soil for planting.
Preparing the Soil and Location
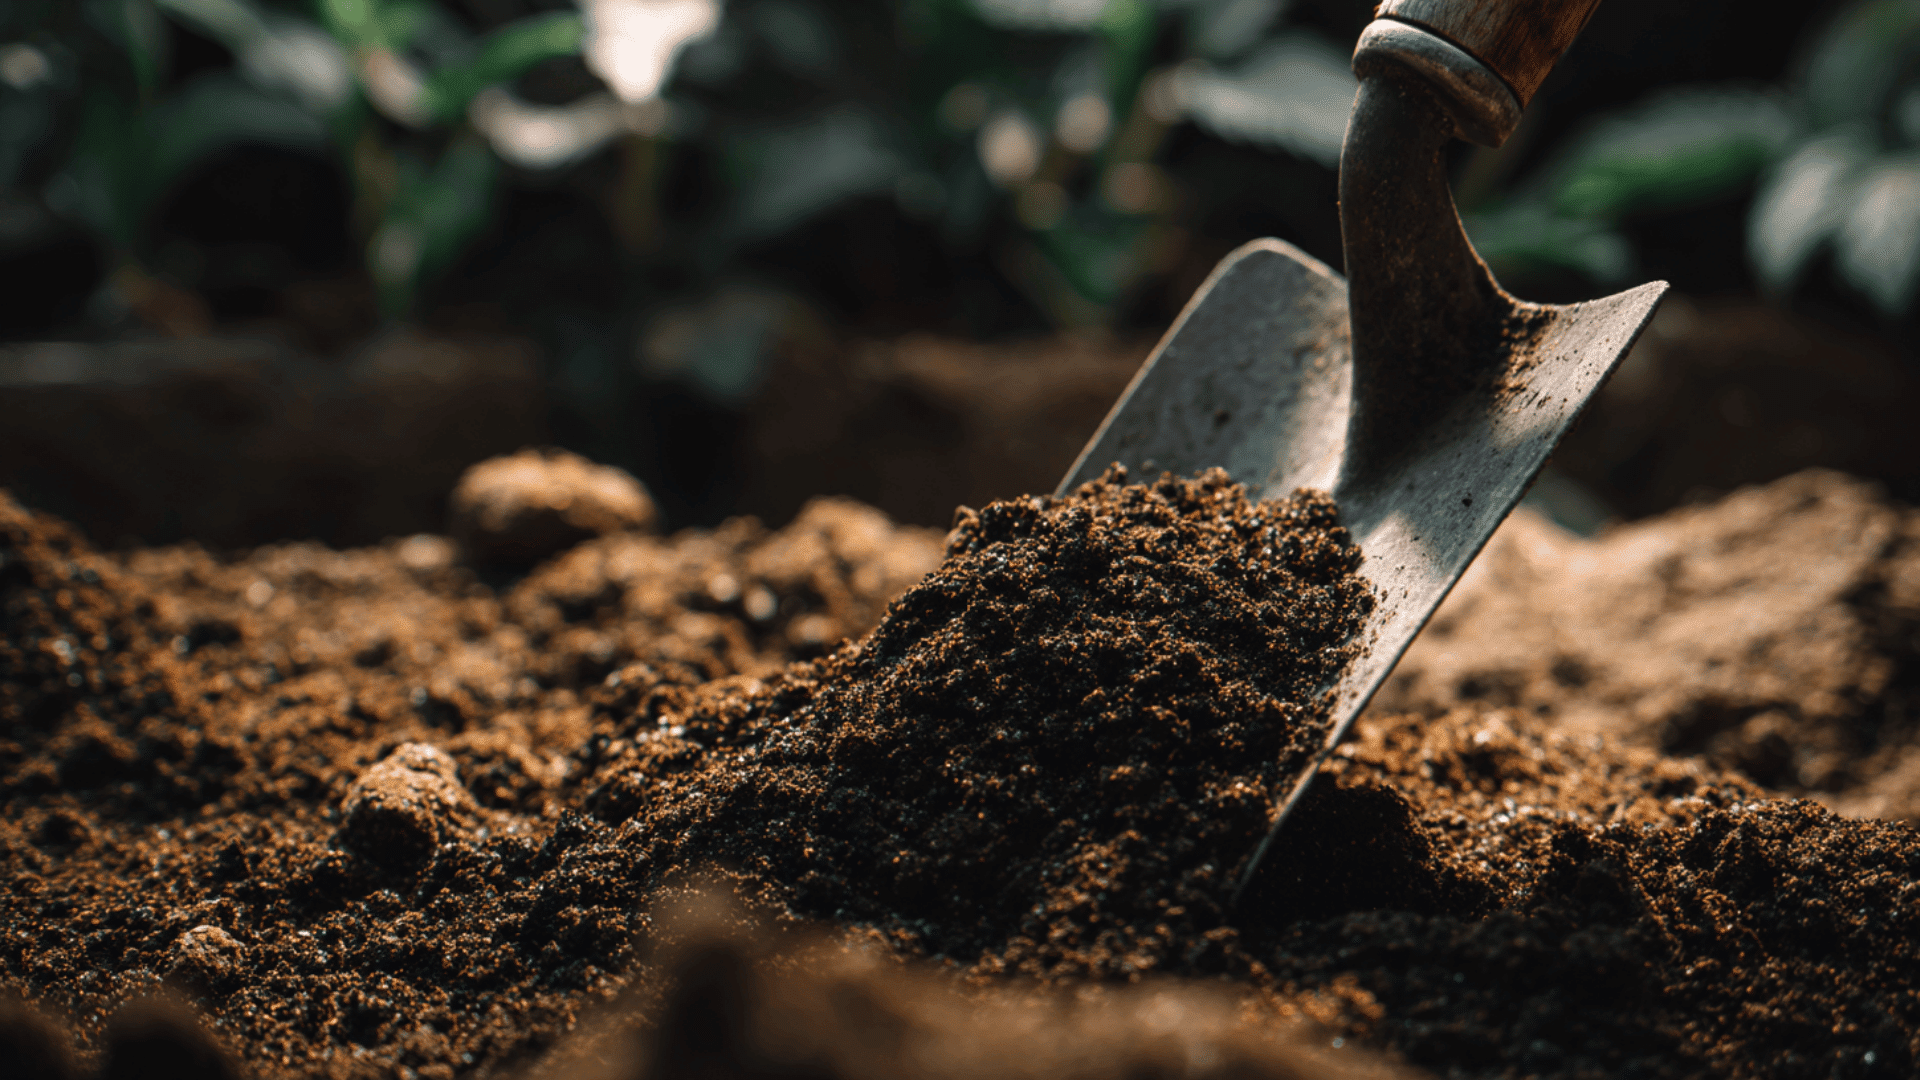
Good soil is the foundation for strong, healthy dahlias. When the soil is loose and rich, the plants grow faster and produce more blooms.
Start by loosening the soil to a depth of about 12 inches. This gives the roots plenty of space to spread out and develop. Use a shovel or garden fork to break up clumps and remove any rocks or debris.
Next, mix in compost or aged manure to add nutrients and improve texture. Dahlias love organic matter, which helps the soil hold moisture without getting soggy. If your soil feels heavy or sticky, work in some coarse sand to help with drainage.
Aim for a pH between 6.5 and 7.0. Slightly acidic to neutral soil keeps nutrients balanced and supports healthy growth. You can test this easily with a basic soil kit from your local garden center.
Tip: Avoid planting in heavy clay soil unless you’ve improved it with compost and sand. Poor drainage is one of the most common reasons dahlia tubers rot before they sprout.
Once your soil feels soft, crumbly, and well-drained, you’re ready to start planting.
Step-by-Step Guide to Planting Dahlia Tubers

How you plant your tubers has a big impact on how well they grow. Getting the depth and direction right makes a huge difference. It helps the plant sprout quickly and stay strong through the season.
Step 1 – Dig and Space Properly
Start by loosening the soil so the roots can grow easily.
- Dig a hole about 4–6 inches deep.
- Place the tuber with the eye or bud facing upward.
- Space each tuber 12–18 inches apart so they have room to spread.
Cover lightly with soil, but don’t pack it down too hard. Loose soil helps the first shoots break through.
Step 2 – Watering and Early Care
After planting, give the area one good watering to remove air pockets. Then stop watering until you see new growth. Keeping the soil too wet early on can cause the tuber to rot before it sprouts.
Once shoots appear, water deeply once a week if it hasn’t rained. The goal is moist, not soggy, soil.
Step 3 – Staking Tall Varieties
If you’re planting tall or dinner-plate dahlias, add stakes right at planting time. It’s easier now than later when roots are growing.
You can use bamboo stakes, metal supports, or tomato cages. Tie the stems loosely with soft garden twine as they grow; that extra support keeps heavy blooms from bending or snapping.
Pre-Sprouting Tubers Indoors

If you want your dahlias to bloom earlier, pre-sprouting is a great option. I’ve done this for years, and it really helps jump-start growth and improves your success rate, especially in cooler regions.
To pre-sprout, place your tubers in a shallow tray or pot filled with a few inches of damp (not wet) soil or compost. Keep the tray in a warm, bright spot, around 60–70°F, and make sure there’s plenty of light.
Within a couple of weeks, you’ll see small shoots forming. Once the danger of frost has passed and the soil outside feels warm, you can transplant the sprouted tubers into your garden. Handle them gently to avoid breaking the new shoots.
End-of-Season Care for Dahlia Tubers
When the first frost hits, your dahlias will start to fade; that’s your signal that it’s time to wrap up the season. Handling this step carefully helps you keep healthy tubers for next year.
1. Cutting Back and Digging Up Tubers
Wait until the foliage turns brown after the first frost. Then cut the stems down to about 4 inches above the soil. Gently dig around the base with a garden fork, lifting the clump without damaging the tubers.
2. Cleaning, Drying, and Labeling
Shake off the loose soil and rinse the tubers gently. Let them dry for a few days in a cool, airy place, out of direct sunlight. Once dry, label each variety so you’ll know what’s what next spring.
3. Storage Conditions
Store your tubers in a box or crate lined with dry peat moss, sawdust, or vermiculite. Keep them at 40–50°F with moderate humidity. Too much moisture causes rot; too little causes shriveling.
4. Replanting Next Spring
When spring returns and the soil warms above 60°F, your stored tubers are ready to go back in the ground.
Check for any soft or damaged ones, divide large clumps if needed, and follow the same planting steps you used this season. Each healthy tuber will reward you with another round of blooms.
Common Problems and Fixes
| Problem | Likely Cause | Fix |
|---|---|---|
| Tubers not sprouting | Soil is too cold or tubers have rotted | Wait until soil warms to 60°F before planting; avoid overwatering early on |
| Plants growing tall and floppy | Missed staking or too much water | Add supports early; reduce watering; pinch tips to encourage branching |
| No blooms or few flowers | Too much nitrogen or not enough sunlight | Use low-nitrogen fertilizer; move to a sunnier spot with at least 6 hours of sun |
| Leaves turning yellow | Poor drainage or nutrient imbalance | Improve soil drainage; feed every 3–4 weeks with balanced fertilizer |
| Powdery mildew or rot | Overhead watering or poor air flow | Water at soil level; space plants properly; remove affected leaves |
With a few small adjustments, most dahlia problems are easy to fix, and once they’re happy, they’ll keep blooming beautifully right through fall.
Wrapping Up
Planting dahlia tubers isn’t complicated; it’s about timing, care, and patience. Once you find the right balance of warmth, sunlight, and well-drained soil, the rewards are incredible.
The best blooms come from paying attention to small details like staking early and storing tubers properly for the next season. Each year, your dahlias grow stronger and more beautiful, turning into a reliable centerpiece in your garden.
If you’ve been thinking about giving dahlias a try, now’s the time to start. Gather your tubers, prepare your soil, and enjoy the process. You’ll be glad you did when those first blooms appear.