


Growing your own onions is honestly one of the most satisfying things you can do in a garden. And the best part? It’s not complicated at all.
If you’ve been wondering how to plant onion bulbs but didn’t know where to start, you’re in the right place.
No fancy tools. No prior experience needed. Just some good soil, the right bulbs, and a little patience.
This guide breaks it all down into simple, practical steps. Let’s get those bulbs in the ground.
Why Choose Bulbs Over Seeds or Seedlings?
I always used to pick up a packet of seeds from the store, thinking that was just how you grow onions. But a friend suggested trying bulbs instead, and I gave it a shot. And honestly, after that first time, I never looked back.
Here’s why bulbs are the better pick, especially if you’re just starting out:
- Bulbs are ready to harvest in just 8 to 10 weeks, and seeds can take 20 or more weeks
- They have a much higher success rate for beginner gardeners
- Bulbs carry less risk of soil-borne diseases compared to seeds
- No indoor germination needed, bulbs go straight into the ground
- They are more forgiving if your soil or watering routine isn’t perfect yet
Onion Bulb Varieties You Should Know
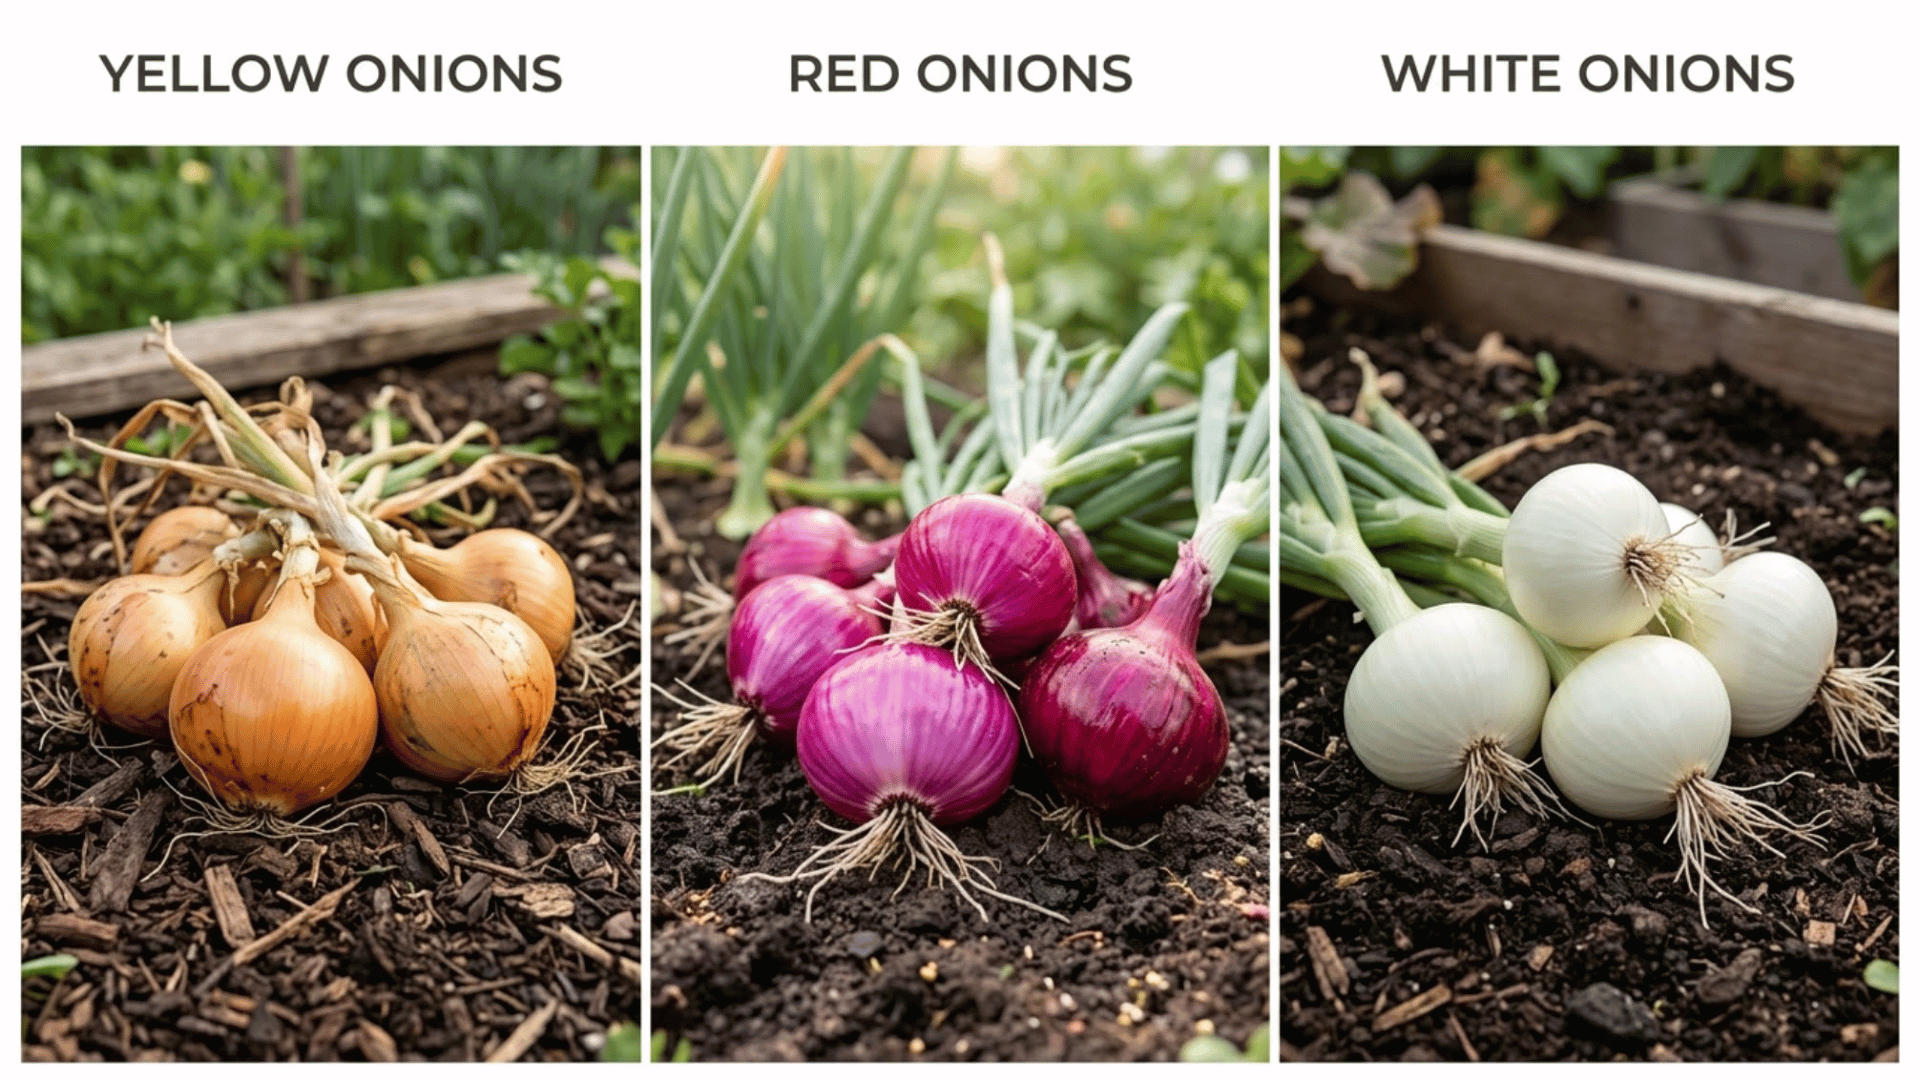
Not all onion bulbs are the same. Before you buy, it helps to know which variety suits your cooking needs and growing conditions. Here’s a quick look at the most common ones.
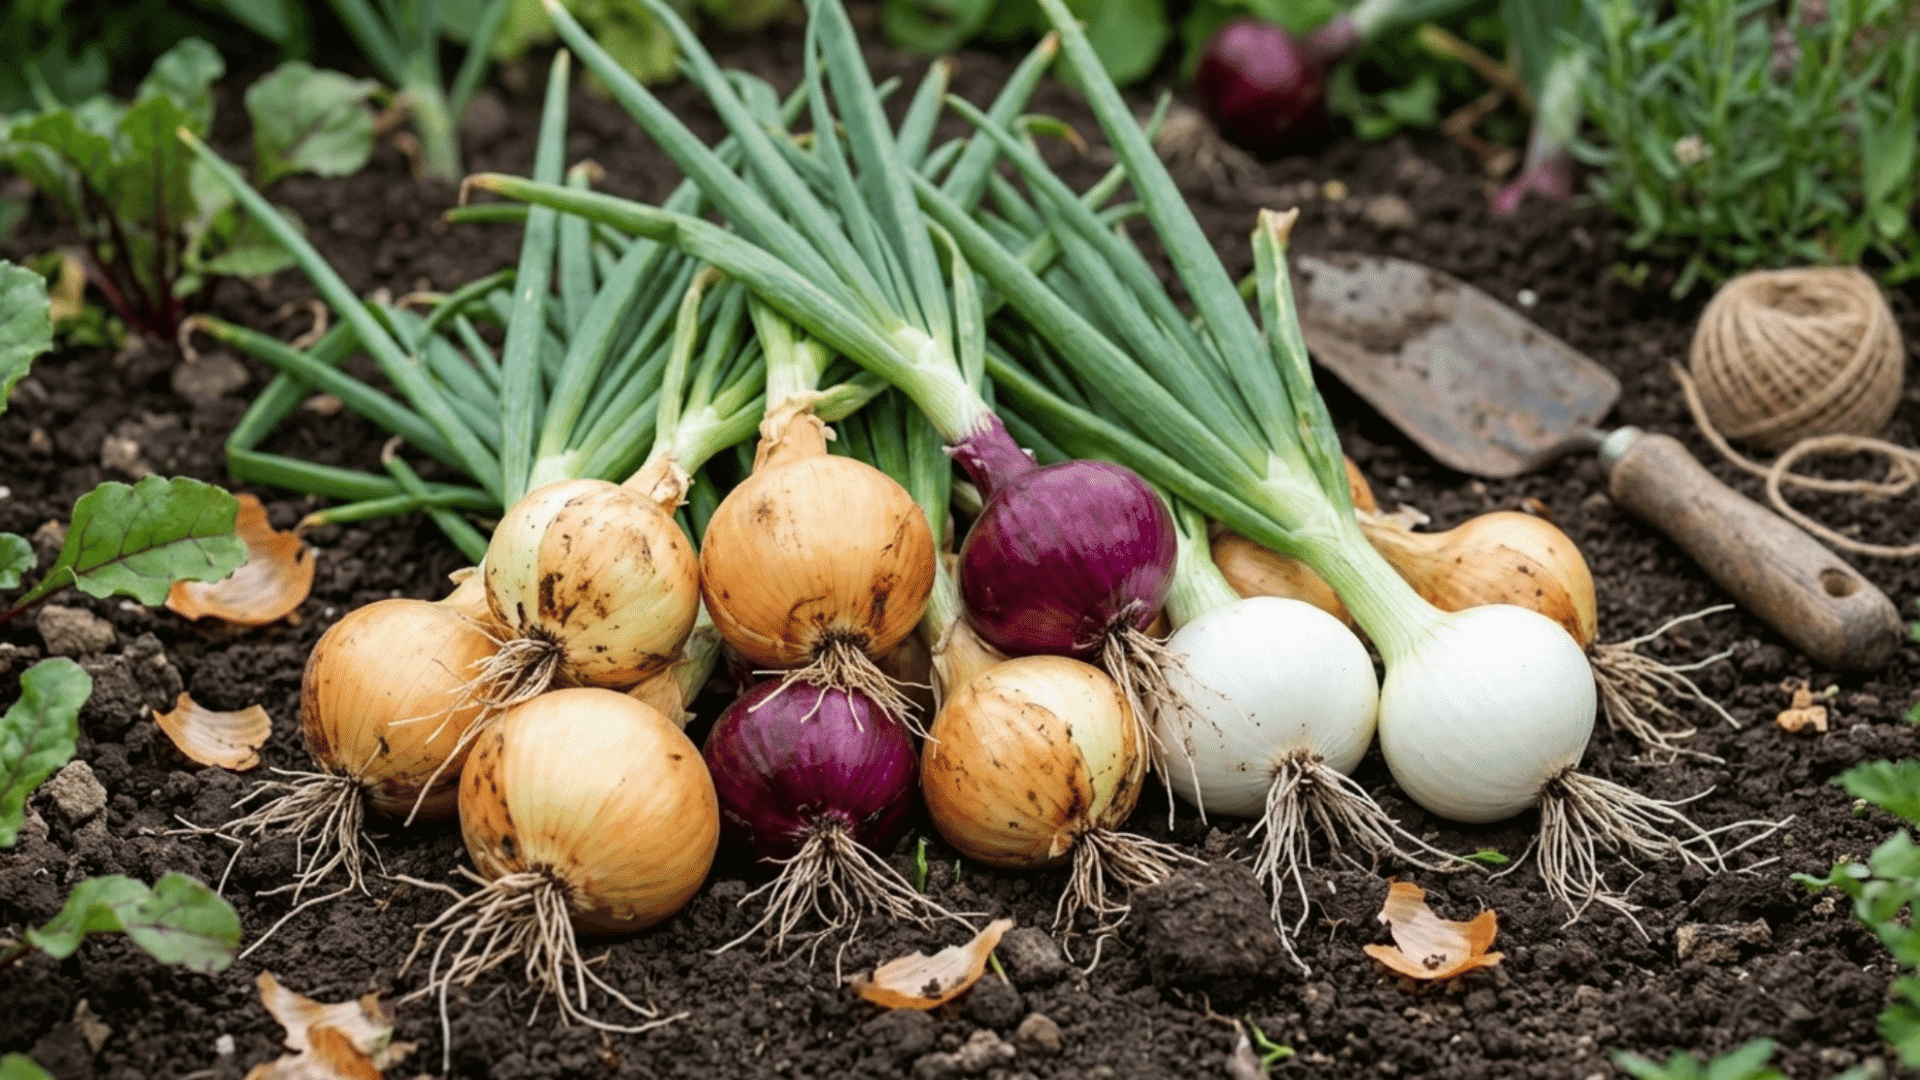
- Yellow Onions are great for long-term storage and work well in almost every cooked dish
- Red Onions have a mild, slightly sweet flavor and are perfect eaten raw or lightly cooked
- White Onions are sharper in taste and a go-to choice for cooking, especially in savory recipes
Which Onion Type Works for Your Region?
Onions are also grouped by how much daylight they need to form bulbs. Picking the right type for your region makes a big difference in your harvest.
Type | Daylight Needed | Best For | Examples |
Long-Day | 14-16 hours | Northern regions | Walla Walla, Yellow Sweet Spanish |
Short-Day | 10-12 hours | Southern regions | Vidalia, Red Creole |
Intermediate | 12-14 hours | Most regions | Candy, Super Star |
Best Time to Plant Onion Bulbs
The best time to plant onion bulbs depends on the climate in your area. In most places, onions grow best when planted in cooler weather, as this helps the bulbs develop properly.
Most gardeners plant onion bulbs in early spring, once the soil is easy to work after winter. This gives the plants enough time to grow before the weather gets too hot.
For healthy growth, onions need:
- Soil temperature around 50°F or higher
- Cool weather during early growth
- Plenty of direct sunlight
In warmer regions, fall planting is also common. Planting onions in the fall can lead to an earlier harvest the following season and often gives bulbs more growing time.
What You’ll Need Before You Start
Before you plant onion bulbs, keep these basic items ready. These are the things you’ll actually use while preparing the soil, spacing the bulbs, planting, and watering.
Tools | Materials |
Garden fork or trowel | Healthy onion bulbs or onion sets |
Measuring tape or ruler | Organic compost or balanced fertilizer |
Watering can or garden hose | Well-draining soil |
pH tester | Raised bed, garden bed, or container |
Gardening gloves | Mulch (optional) |
How to Plant Onion Bulbs Step-by-Step
Planting onion bulbs is simple when the soil, spacing, and watering are done right. Follow these five easy steps to give your onions a strong start and support healthy bulb growth.
Step 1: Choose a Sunny Planting Spot
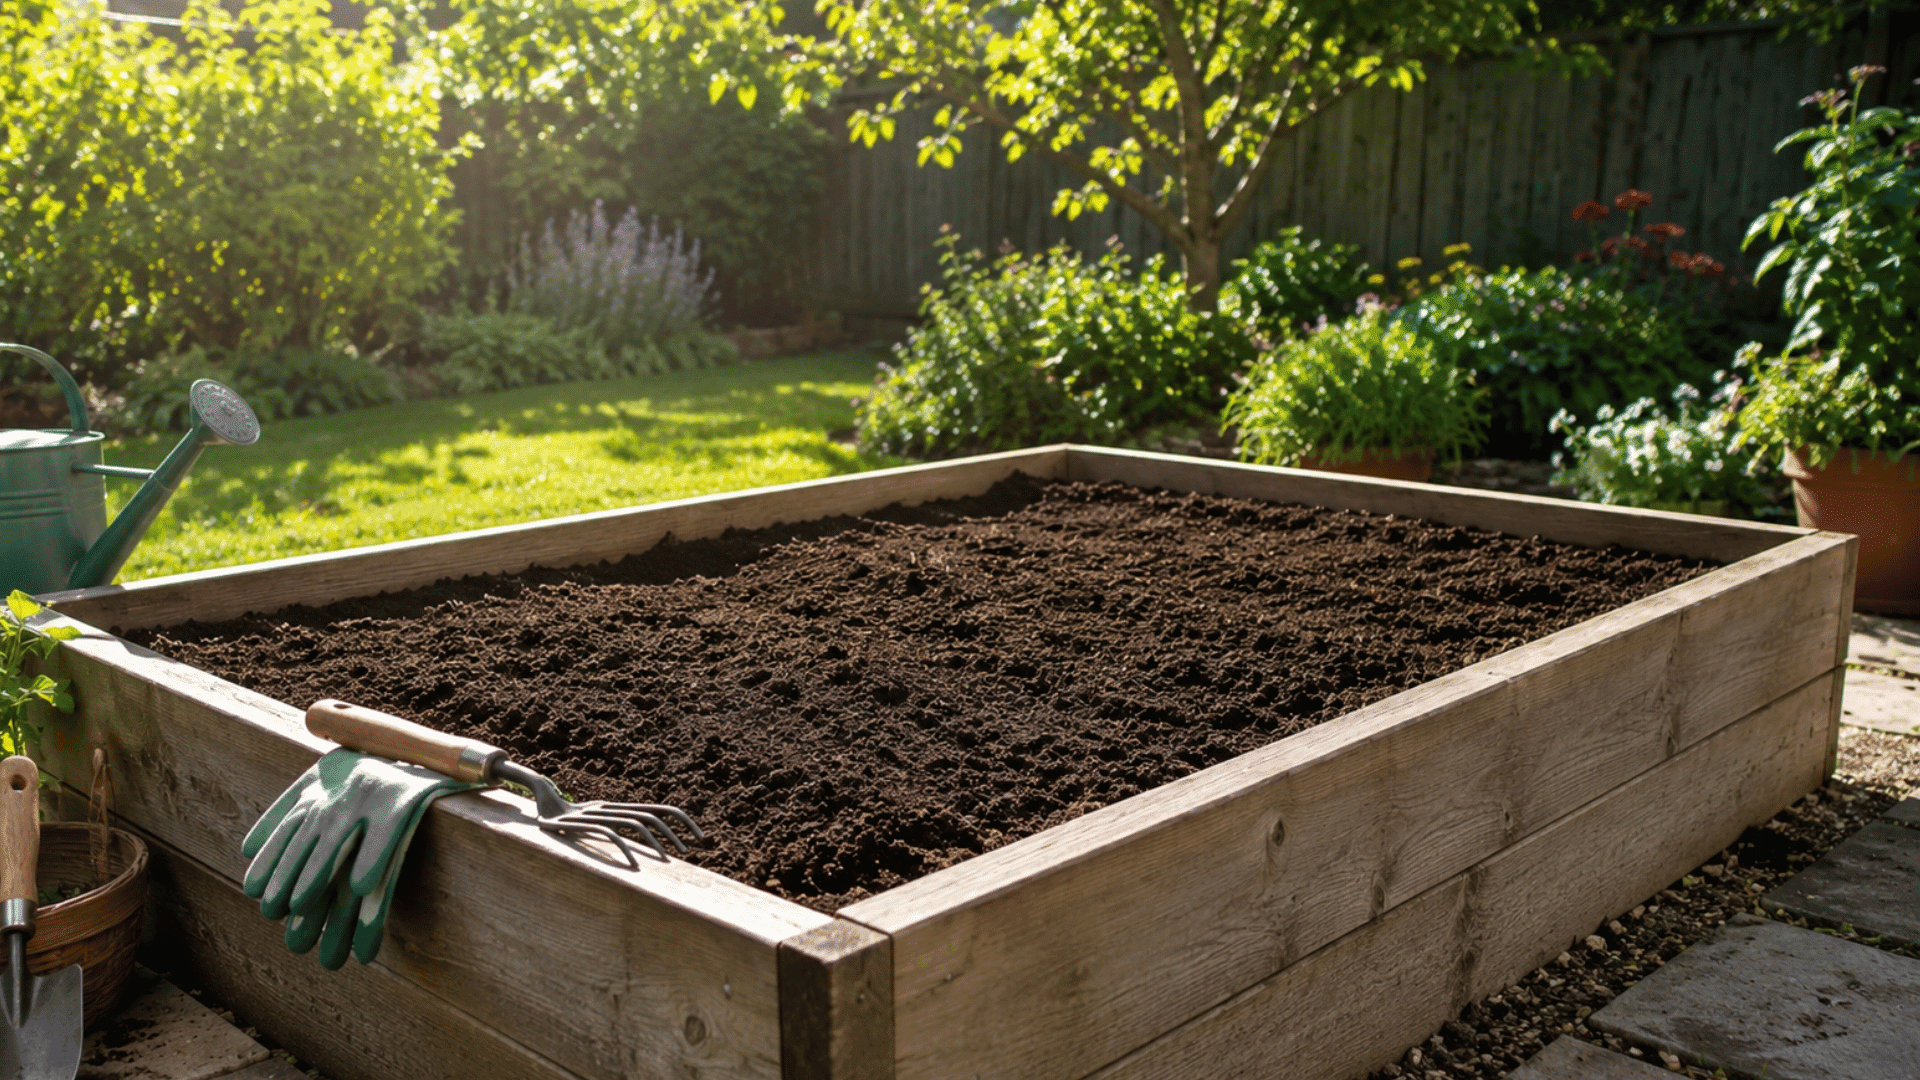
Pick a spot that gets at least 6 to 8 hours of direct sunlight each day. Onions need plenty of light to grow strong tops and form good-sized bulbs.
A garden bed, raised bed, or deep container can all work well. Just make sure the area drains properly because soggy soil can cause onion bulbs to rot.
Avoid shaded spots near large plants, fences, or walls, as too much shade can slow growth.
Step 2: Prepare the Soil Properly
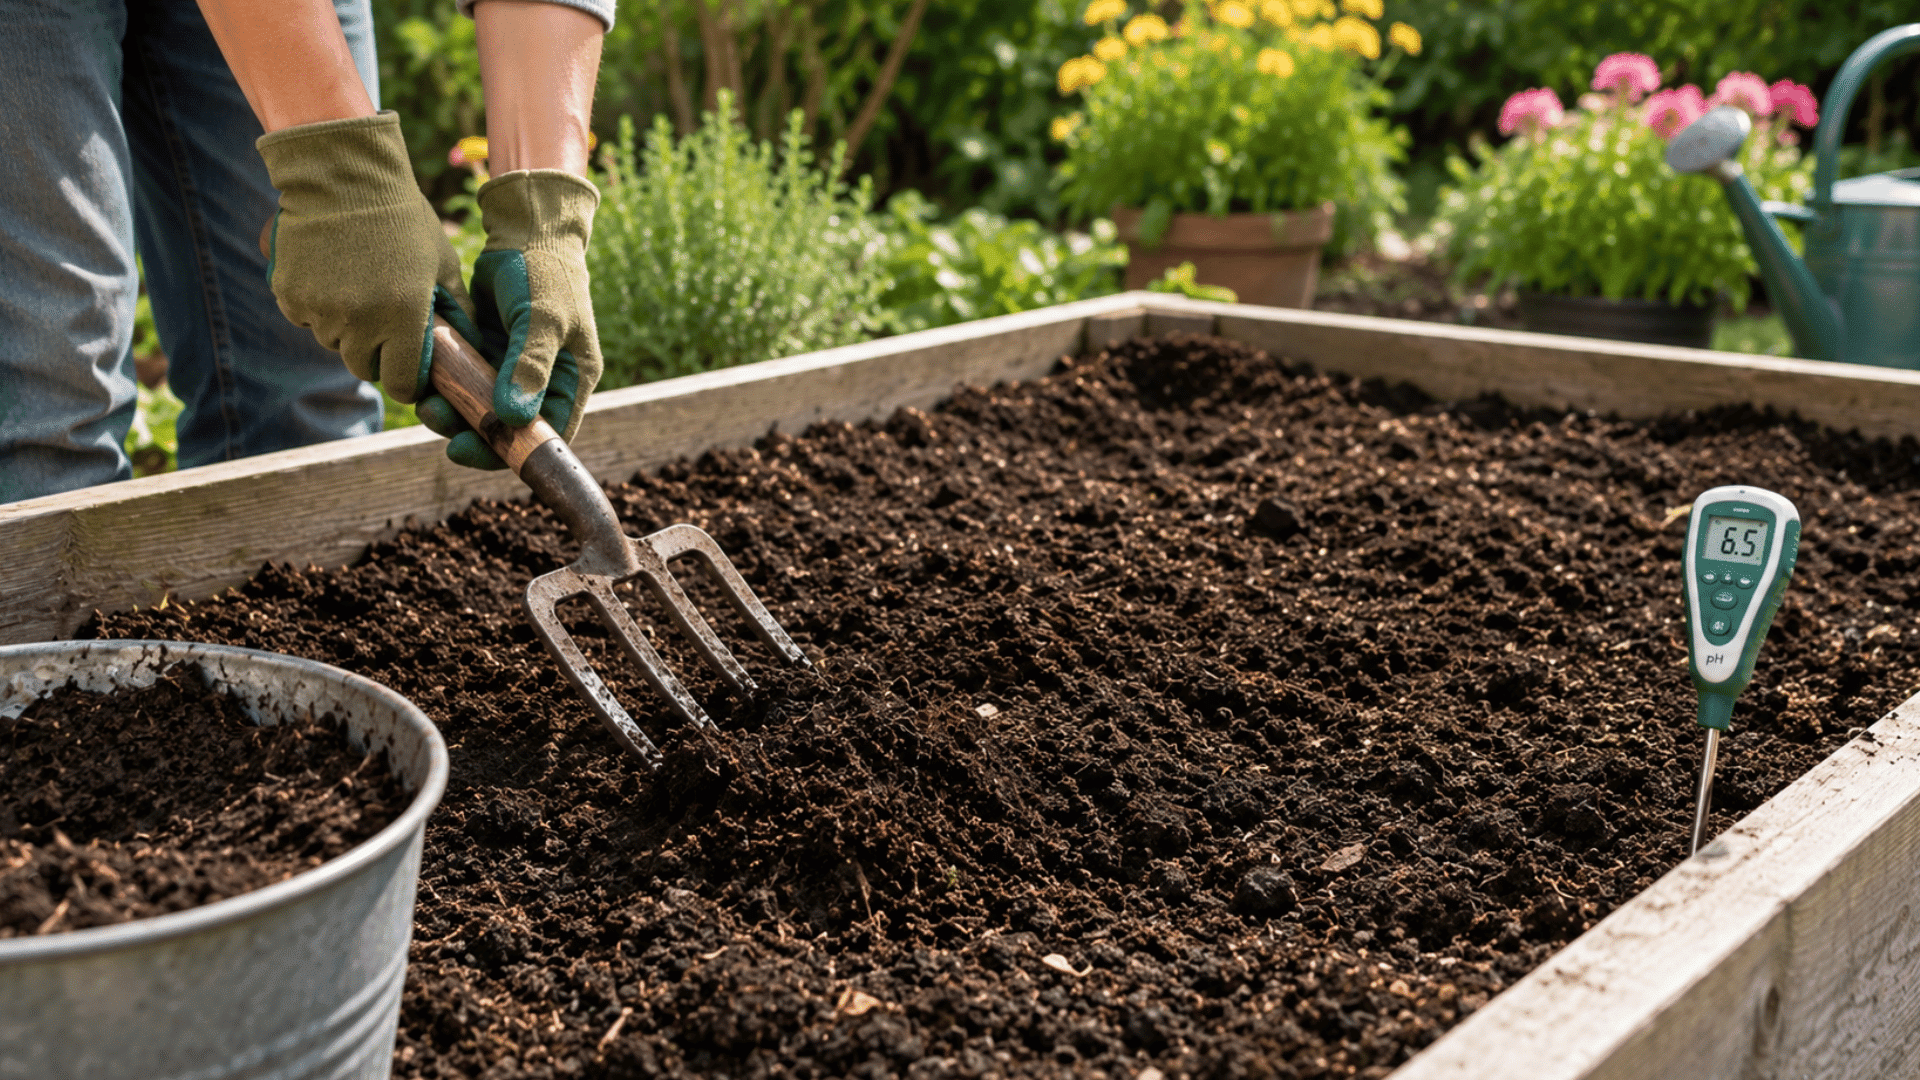
Loosen the soil with a garden fork or trowel before planting. Onions grow best in soft, well-draining soil because compact soil can block bulb growth. Mix in organic compost or a balanced fertilizer to add nutrients.
Use a pH tester if possible, as onions prefer slightly acidic to neutral soil. If your pH is too low, add lime to bring it up, and if it’s too high, mix in some sulfur to bring it back down.
Remove stones, weeds, and hard clumps so the bulbs have enough space to settle and grow without stress.
Step 3: Place the Bulbs Correctly
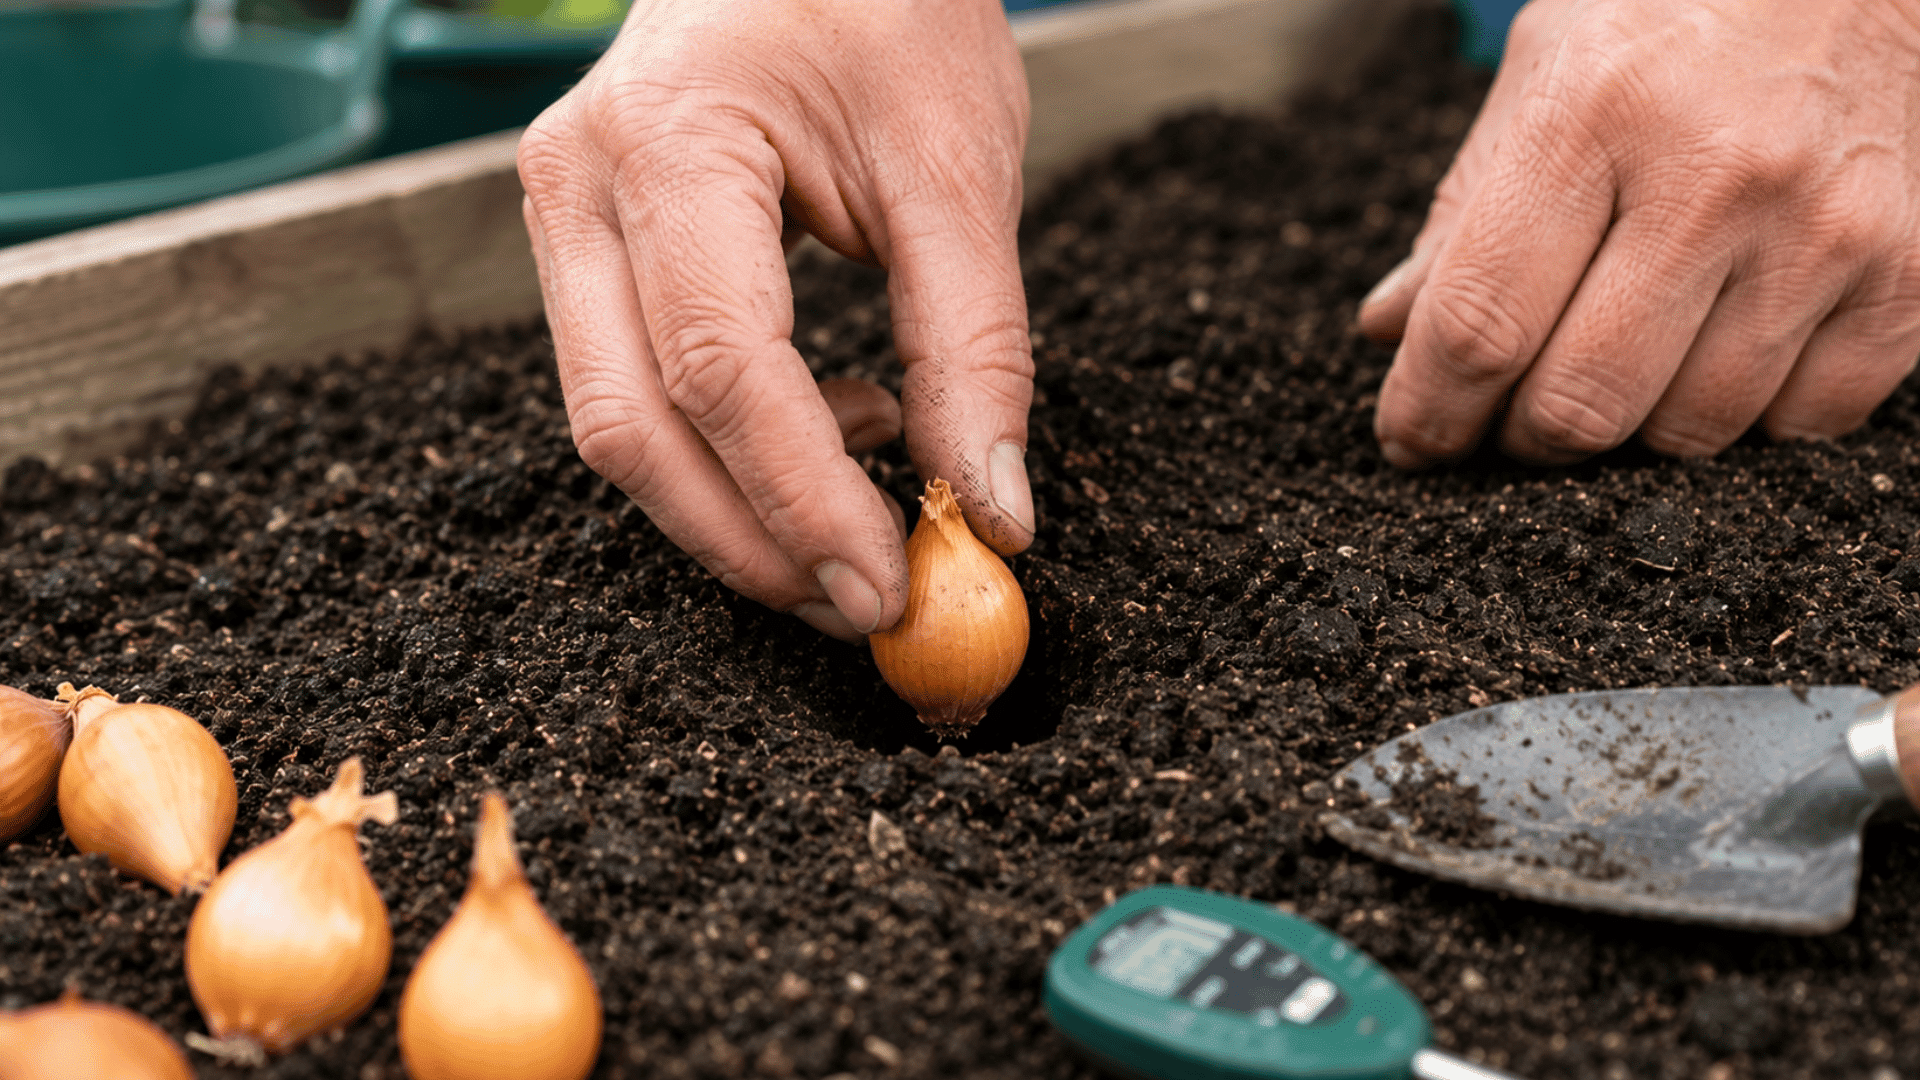
Set each onion bulb into the soil with the pointed end facing upward and the root side facing down. This helps the bulb grow in the right direction. Plant the bulbs about 1 inch deep, then cover them lightly with soil.
Do not bury them too deep, as this can affect bulb development. Keep the soil loose around each bulb, but press gently so they stay in place after watering.
Step 4: Space Each Bulb Evenly
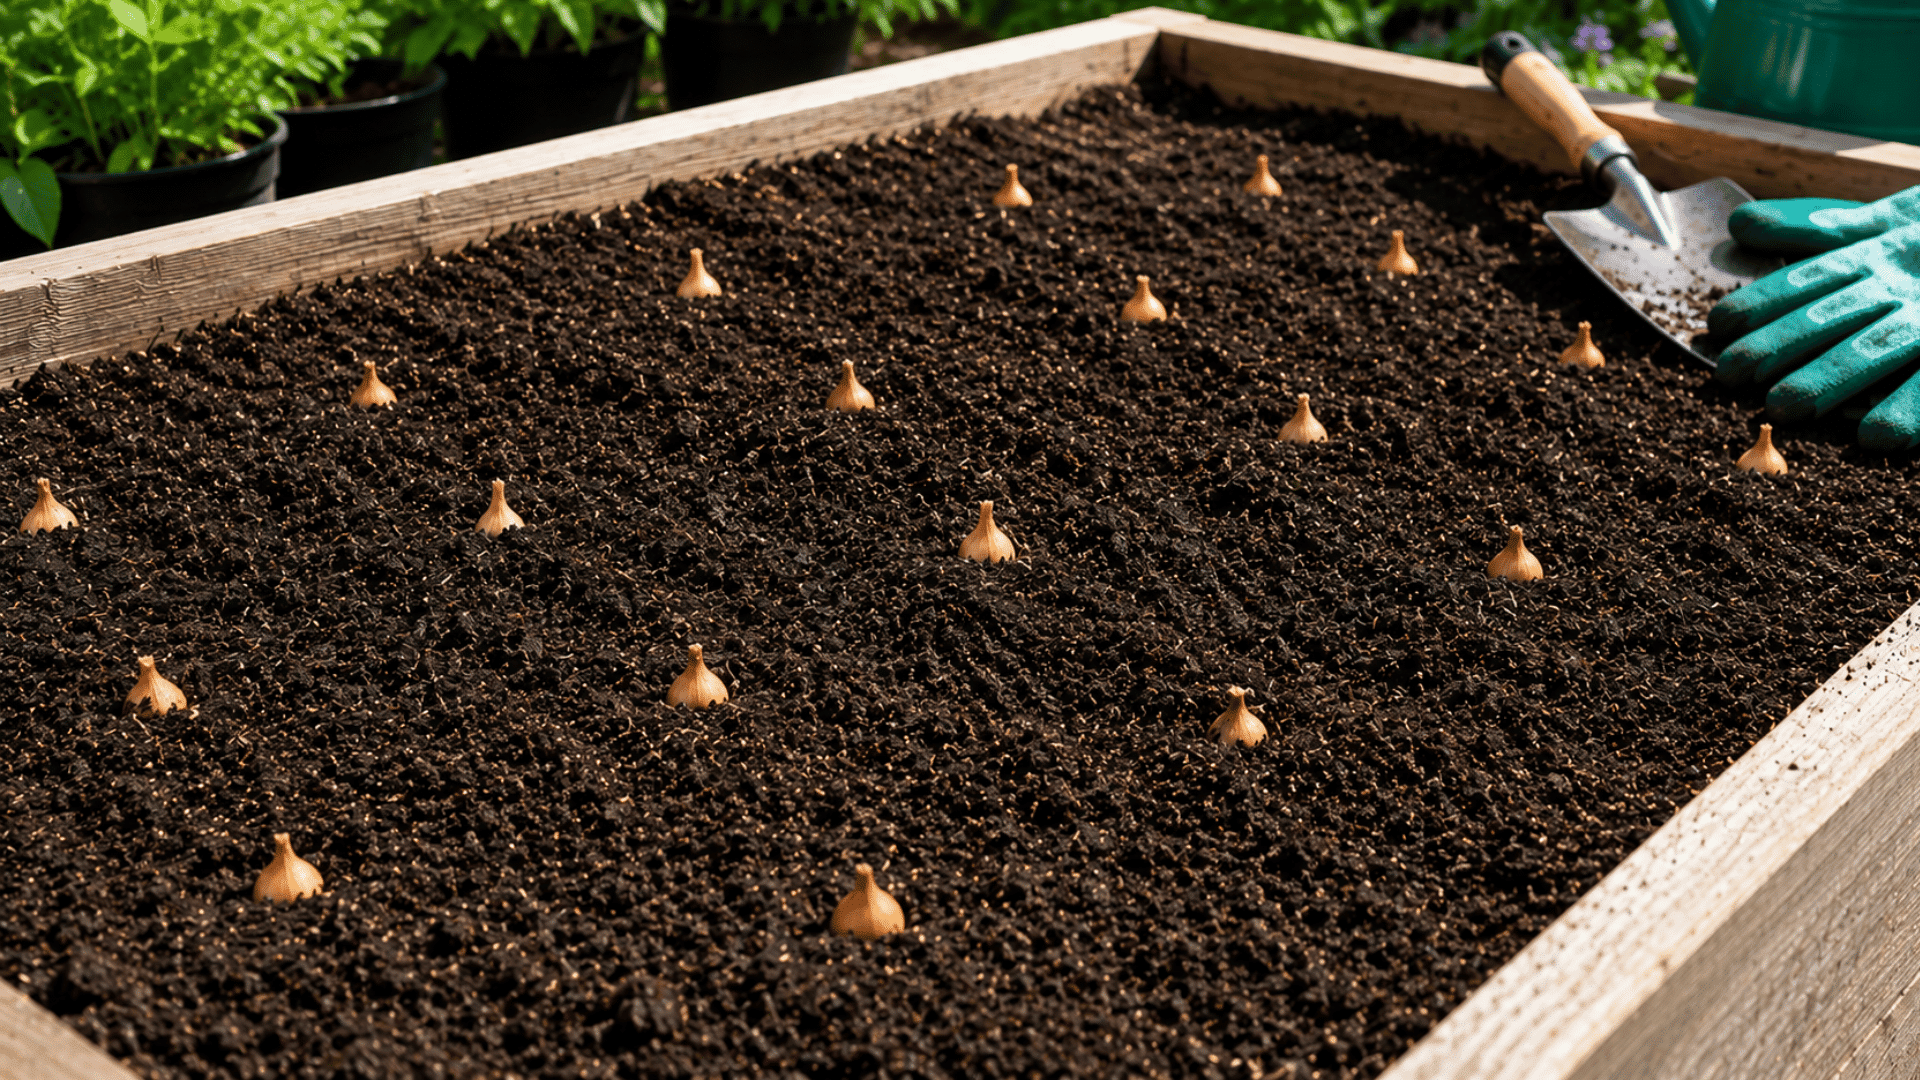
Leave enough room between onion bulbs so they do not compete for water, sunlight, and nutrients. For full-sized onions, space the bulbs about 4 to 6 inches apart.
Keep rows around 12 inches apart to make watering and weeding easier. If growing green onions, closer spacing can work.
Proper spacing helps air move between plants and gives each onion enough space to form a healthy bulb.
Step 5: Water and Care After Planting
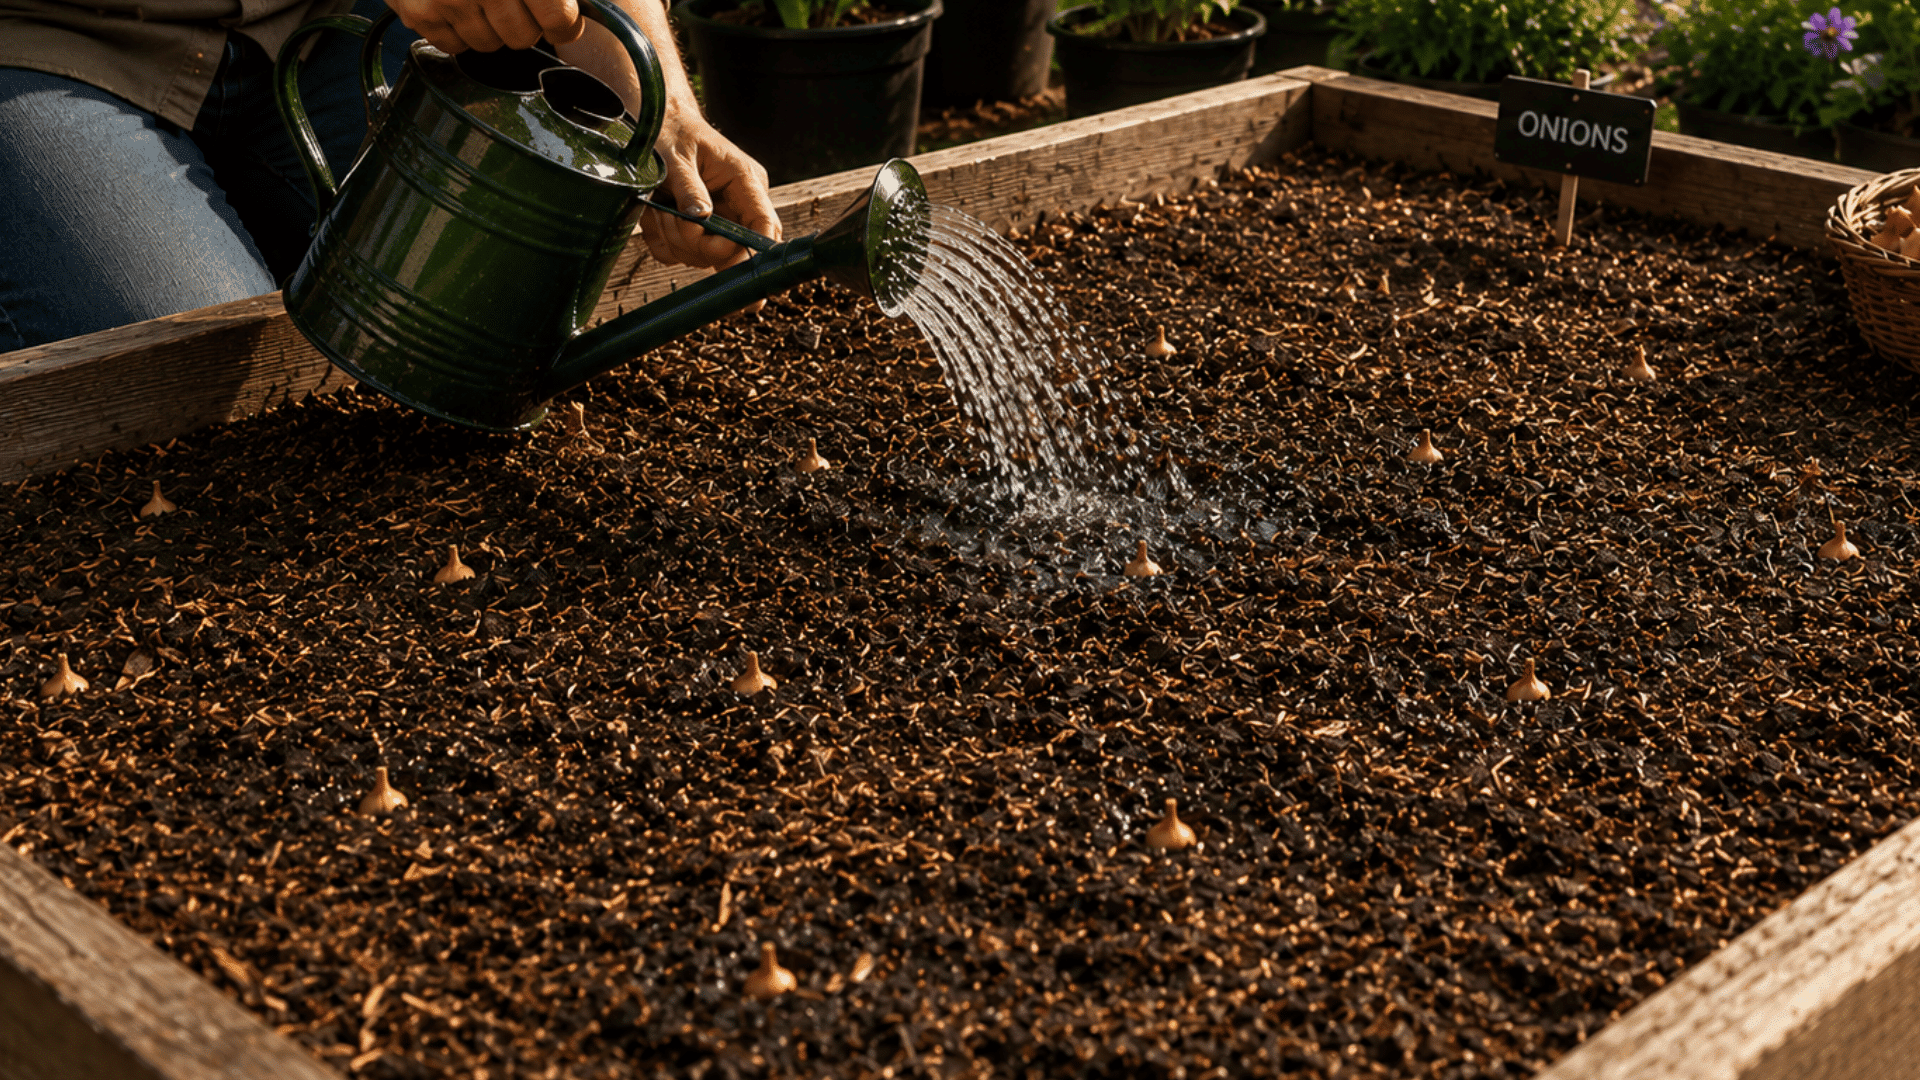
Water the soil well after planting to help the roots settle. Keep the soil evenly moist, especially during the early growing stage, but do not let it stay soggy. Onions usually need about 1 inch of water per week.
Add a light layer of mulch if needed to hold moisture and reduce weeds. Keep checking the bed often, and remove weeds gently so the onion roots are not disturbed.
Fertilizer for Bigger Onion Bulbs
Onions need regular feeding during their growing stage to develop bigger and healthier bulbs. Nitrogen-rich fertilizers are best during early growth because they help produce strong green leaves.
Some simple options that work well for home gardens include compost tea, fish emulsion, and balanced vegetable fertilizer. Apply fertilizer lightly and water the soil afterward for better absorption.
Once the bulbs begin swelling, reduce heavy feeding because too much nitrogen can affect proper bulb growth and overall harvest quality.
How to Harvest and Store Onions
Knowing when to harvest is just as important as knowing how to plant onion bulbs. Most onion bulbs take around 90–120 days to mature.
Once you see the tops turning yellow, leaves falling over, and bulbs pushing slightly above the soil, your onions are ready to come out.
Harvesting Tips:
- Pull the onions out gently from the soil after the tops have naturally fallen over
- Do not yank or force them out, as that can bruise the bulb
- Let them dry out in a warm, airy spot for about 1 to 2 weeks before storing
Storage Tips:
- Keep them in a cool, dry place with good air circulation
- Use a mesh bag or a basket so air can pass through easily
- Never store onions in plastic bags, as the trapped moisture causes them to rot much faster
Common Mistakes to Avoid
A few small mistakes can affect onion growth, bulb size, and storage life. Here are some common problems gardeners face and simple ways to avoid them.
- Overwatering: Too much water can cause yellow leaves, soft onions, and rotting bulbs.
- Using Large Onion Bulbs: Bulbs larger than a penny are more likely to bolt or flower early.
- Skipping Crop Rotation: Planting onions in the same spot year after year may increase the risk of soil-borne diseases.
- Harvesting After Rain: Wet onions usually store poorly, so harvest after a dry spell when possible.
- Overhead Watering: Watering from above can lead to neck rot and fungal problems if leaves stay wet too long.
- Ignoring Pests: Onion flies and thrips can damage plants; use netting or companion planting to protect plants.
- Temperature Stress: Sudden temperature changes may trigger early flowering and reduce bulb quality.
Final Thoughts
At the end of the day, learning how to plant onion bulbs is one of those skills that just keeps giving.
You do the work once, follow the basics, and your garden rewards you with something you can actually use in your kitchen every single day. It is not about being a perfect gardener.
It is about starting, making a few mistakes, and getting better each season. Onions are forgiving like that.
And once you get your first real harvest, you will genuinely wonder why you waited this long to try. So grab your bulbs, prep that soil, and get planting.