
Home » August 26, 2026
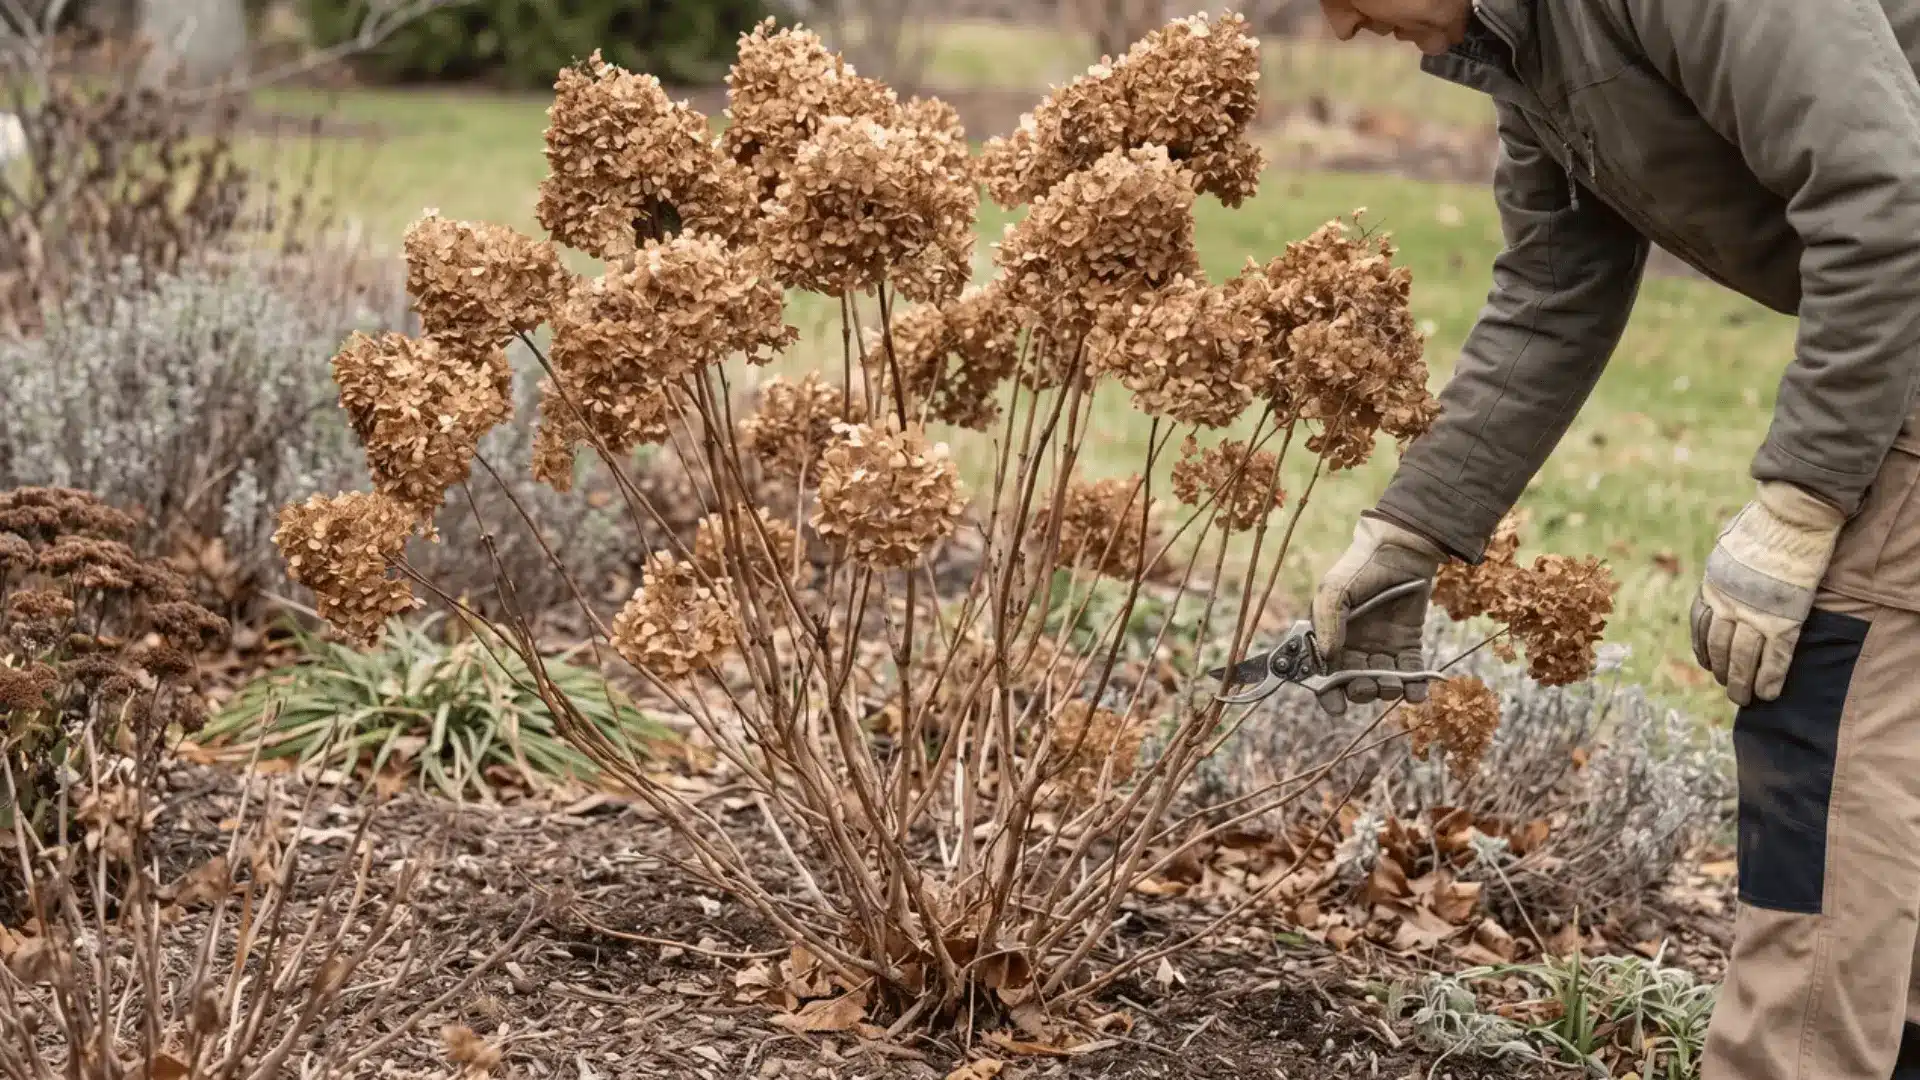
Pruning hydrangeas can feel risky when one cut might remove next season’s flowers. The good news is that the job gets much easier once
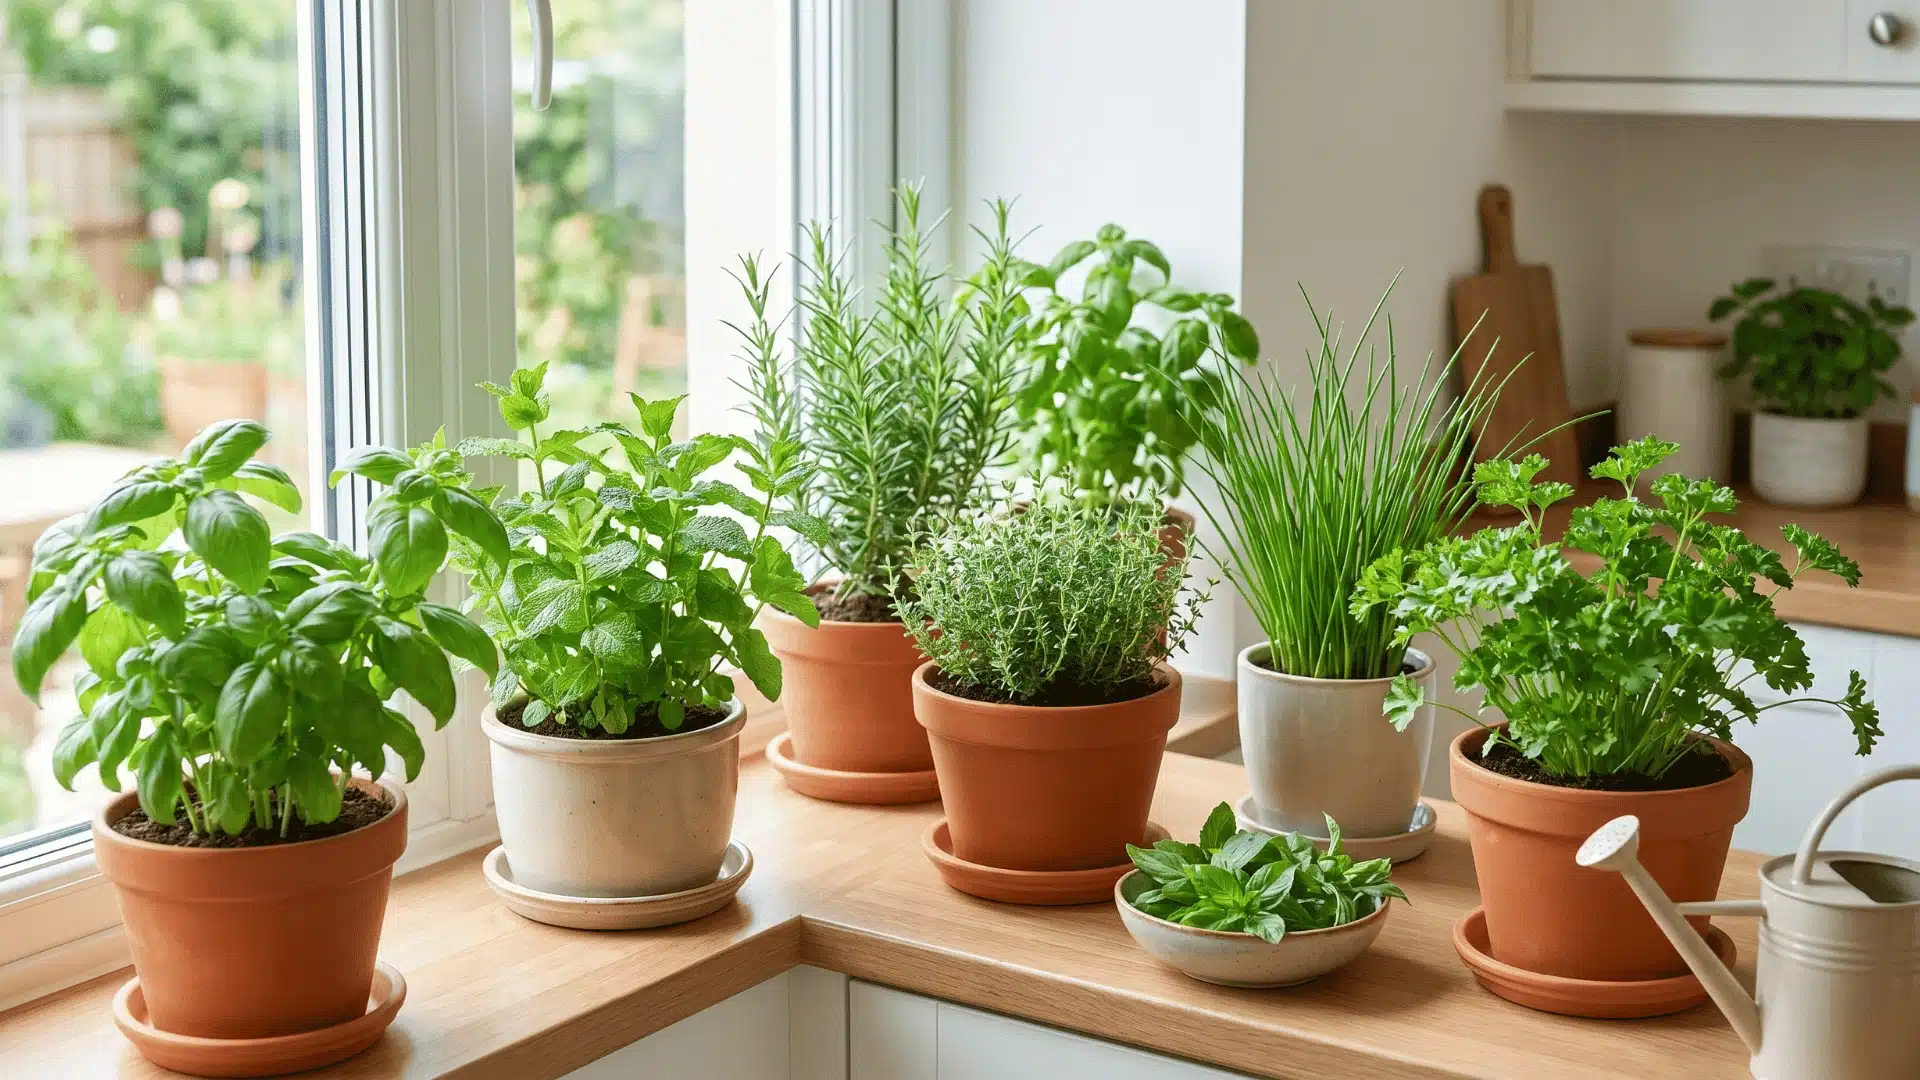
Fresh herbs are useful in the kitchen, but buying a whole bunch for one recipe often leads to waste. Growing them at home can fix that, especially if you only need a few leaves at a time. Learning how to

A humidifier that suddenly mists less, hums louder, or smells a little off usually hasn’t broken. It is coated in mineral scale you cannot see from the outside. That hidden buildup is the real reason so many units get replaced years before they need to be. Knowing how to descale humidifier parts the right way stops that slow decline before it reaches the transducer or heating element. The process itself is simple once you know which solution fits your humidifier type and how long to let it soak. Here is why that buildup matters more than it looks like it does. Why Descaling Your Humidifier is Important Humidifier descaling matters because minerals from tap water quietly accumulate inside the tank, base, and water pathways over time. The more you run it, and the harder your water, the faster that happens. What makes buildup easy to miss is where it starts. It usually forms as a thin white layer around the tank or base before spreading into water channels and internal components you cannot easily see. Over time, that scale restricts water flow, reduces mist output, and puts extra load on parts like the heating element and transducer. Mineral deposits on their own are not harmful to breathe. The bigger concern is that scale creates rough, porous surfaces inside the unit, where bacteria and mold take hold far more easily than on clean plastic. The EPA lists scale as a breeding ground for microorganisms in its own humidifier care guidance. How to Descale a Cool Mist Humidifier: Step-by-Step How to clean a humidifier with vinegar for a cold mist variant involves some crucial steps that are listed below: Tools and Materials Used Microfiber cloths Bottle brush Old toothbrush Pipe cleaner Scrub sponge or scrub pad White vinegar Dish soap Drying rack […]
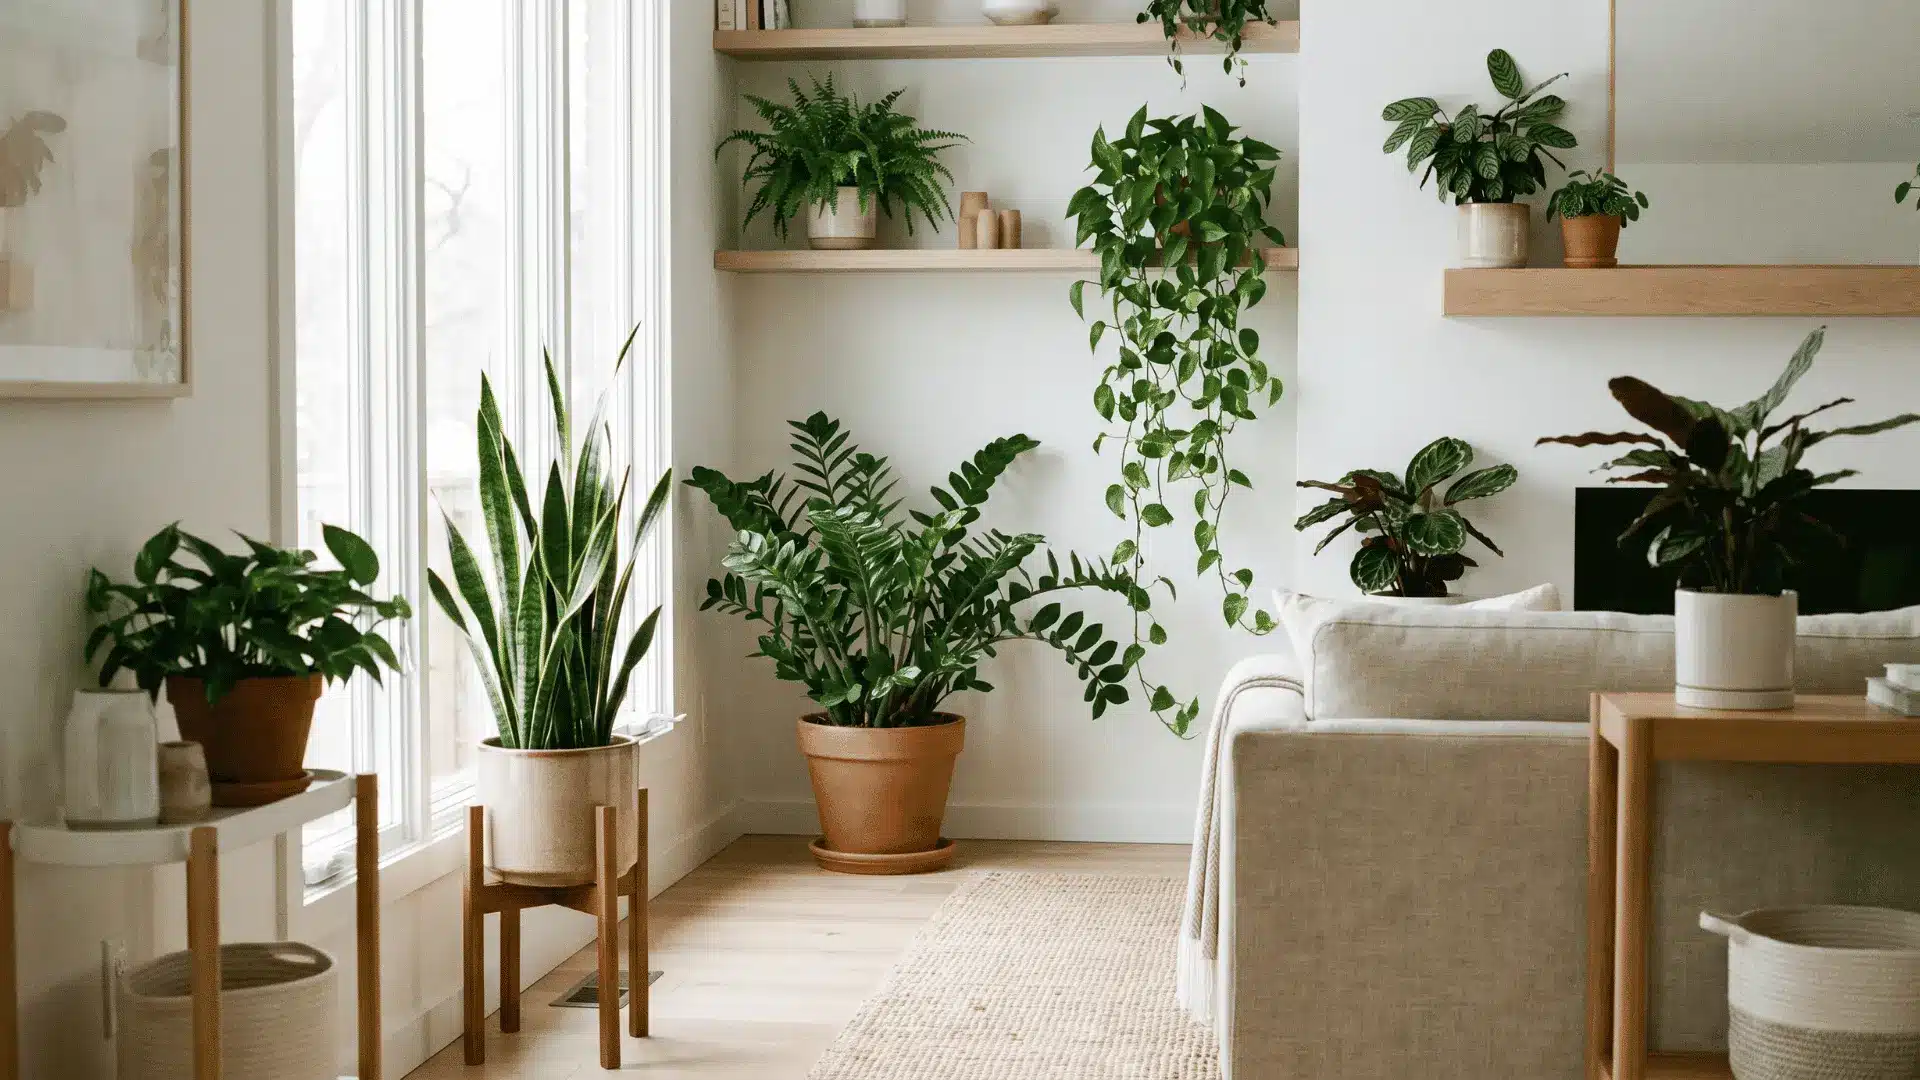
A dark corner can make plant shopping surprisingly frustrating. You bring home something beautiful, then watch it struggle because the room simply does not give it enough light. I want to help you avoid that mismatch. The best indoor plants for low light are not all the same. Some handle dry soil well, while others need more humidity, space, or attention. Your room size, window position, pets, and watering habits all matter. Here, you’ll find reliable options for desks, shelves, bedrooms, offices, and larger corners, plus simple guidance on what low light really means, a few ideas for styling an empty corner around your plant, and how to care for these plants without overwatering them. What Low Light Really Means Indoors Low light usually describes a room that receives limited indirect daylight rather than direct sun. A north-facing window, a shaded window, or a plant positioned several feet from a brighter window may fall into this category. You should still be able to see comfortably during daytime without relying entirely on artificial room lighting. Distance from a window matters. Light intensity falls quickly as a plant moves farther into a room, even when the area still looks reasonably bright to human eyes. Windowless bathrooms, hallways, and interior offices are different. Ordinary ceiling lights may not provide enough usable light for long-term plant growth. A grow light is usually the better solution in those spaces. Best Indoor Plants for Low Light Each plant below handles dim indoor conditions differently. The short paragraph explains why the plant stands out, while the bullets give only quick practical details such as placement, growth habit, or care considerations. 1. ZZ Plant The ZZ plant is popular because it stays attractive even when growth is slow. Its glossy, dark green leaflets hold their shape well on […]

Choosing exterior paint sounds simple until you start comparing formulas, finishes, siding materials, and weather conditions. A paint that performs well on shaded wood siding may not hold up as well on stucco exposed to intense afternoon sun. That is why finding the best exterior paint means looking beyond brand names alone. You need a coating that suits your home’s surface, climate, moisture exposure, and maintenance expectations. I have narrowed the options to reliable exterior paints for different budgets and conditions, including strong choices for sun, rain, humidity, and temperature swings. You will also see how paint type, sheen, primer, and preparation affect how long the finish lasts. What Makes Exterior Paint Perform Well? A good exterior paint needs to do more than provide an even color. It must remain bonded to the surface while dealing with sunlight, rain, humidity, temperature changes, and normal expansion and contraction. For most residential exteriors, high-quality 100% acrylic or acrylic latex formulas are strong choices because they combine flexibility with moisture and UV resistance. Look for paint that offers good adhesion, color retention, mildew resistance, and protection against cracking, peeling, and blistering. Sun-exposed walls also benefit from strong fade and chalk resistance. However, no single formula is ideal for every house. Wood needs flexibility and moisture management, while masonry may require a more breathable coating. The same sun, rain, and temperature swings also shape which wood holds up outdoors longest, whether it’s siding or a piece of patio furniture. The right choice ultimately depends on both the surface and the environment around the home. Best Exterior House Paints by Surface and Climate The 10 best exterior house paints are easier to compare when the surface, weather exposure, and project budget are considered together. Each option below includes a short overview followed by practical details […]
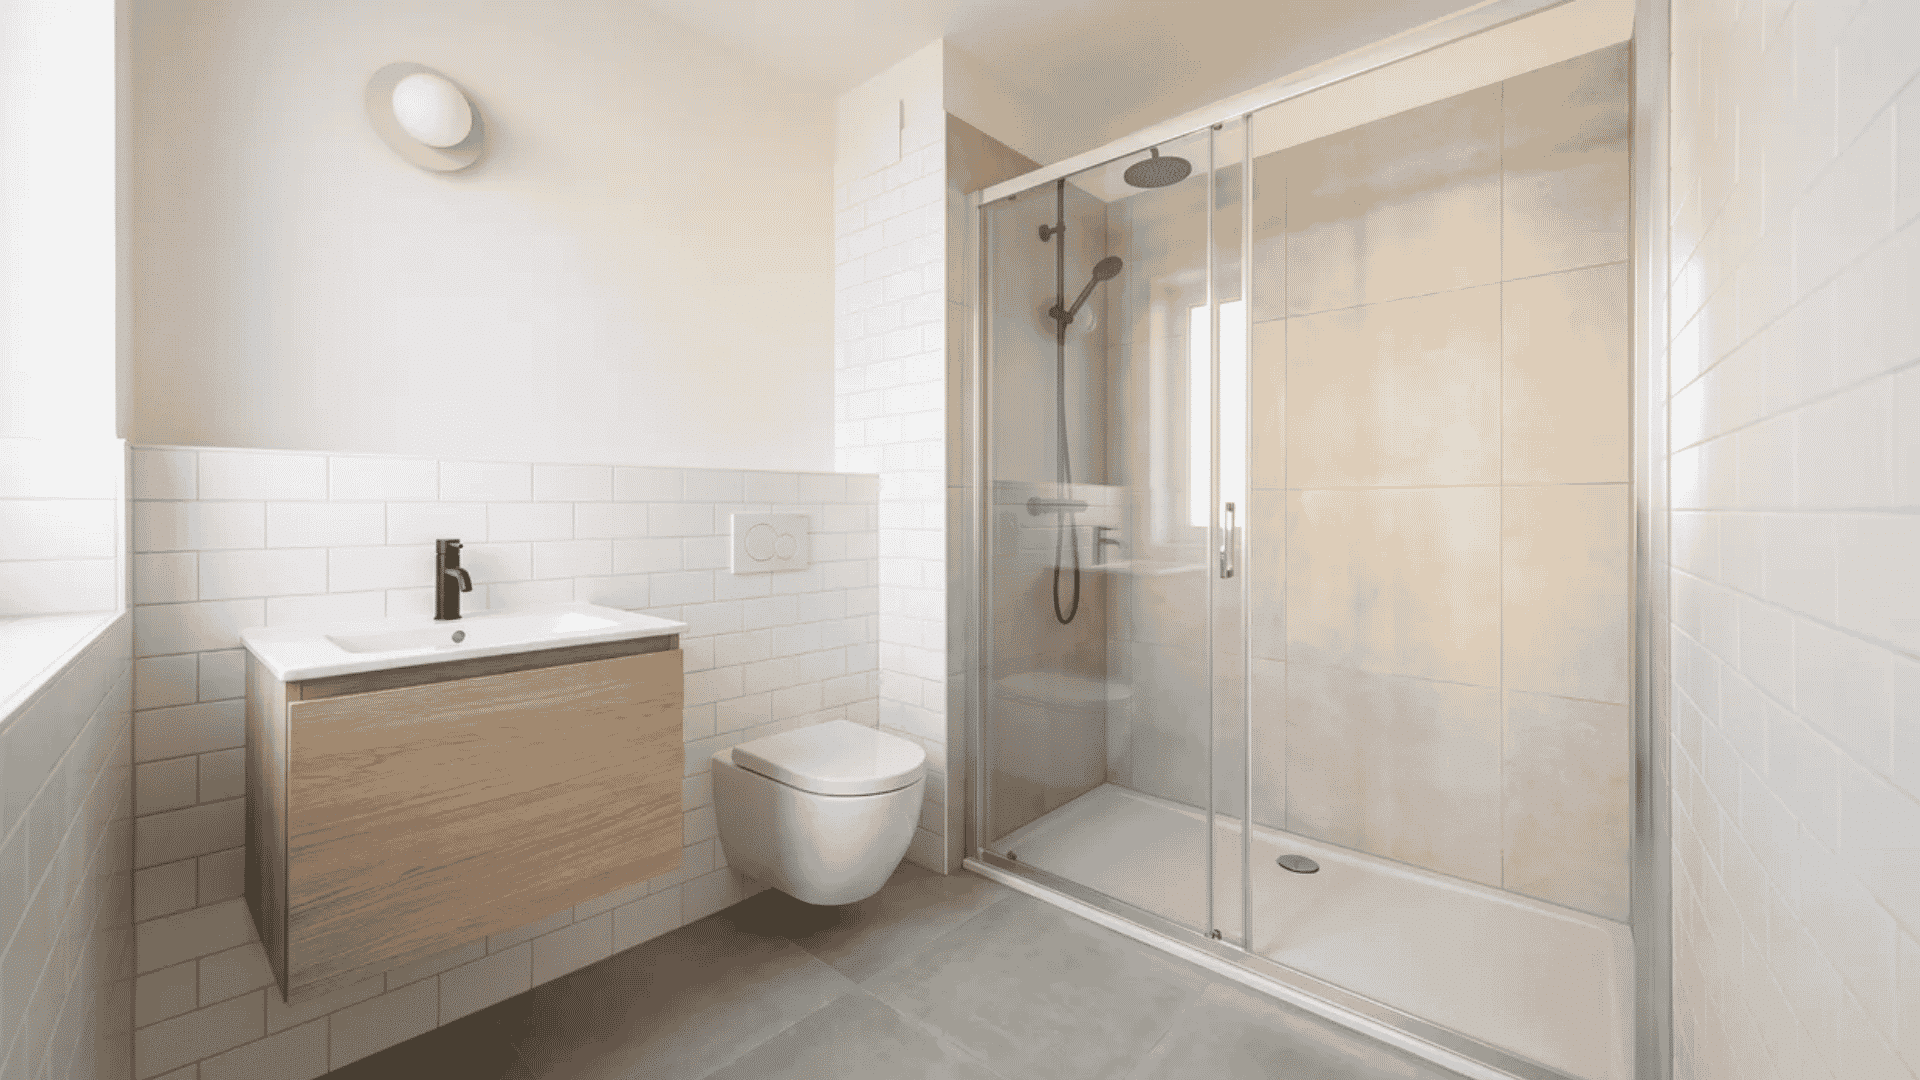
A small bathroom can feel frustrating when every fixture, door swing, and storage choice competes for space. The good news is that you do not always need a full renovation to make the room work better. The right small bathroom remodel ideas can improve movement, add storage, brighten the space, and make daily routines easier without adding square footage. Start by looking at what causes the most trouble, whether it is a bulky vanity, poor lighting, limited storage, or a cramped shower. From there, you can choose upgrades that solve real problems instead of filling the room with more features. How to Plan a Small Bathroom Remodel Before Starting A remodel goes wrong fast when you skip planning. I’ve seen homeowners tear out a vanity before measuring the space, then scramble to fit a replacement. Get your numbers right first. Measure every wall, corner, and fixture location before you pick materials or schedule contractors. Comparing your room against average bathroom sizes for your home’s age can help you spot where you’re working with less room than a standard layout assumes. Here’s what to work through before any demolition starts: Measure the existing bathroom accurately Identify problems with the current setup Decide which features need upgrading Create a realistic budget Plan plumbing changes carefully Choose durable flooring materials Select suitable wall and shower materials Pick the right vanity size Choose fixtures that fit the room Plan ventilation and moisture control Decide where to spend more and where to save Plumbing changes cost more than people expect. Keeping fixtures near existing lines saves money you can put toward materials or storage upgrades instead. Small Bathroom Remodel Ideas to Improve Space and Function Once your layout and budget are set, these ideas give you practical ways to open up the room. Each option solves a […]

A door lock that sticks or refuses to turn can turn a five-second task into a frustrating standoff every time you leave the house. The good news is that learning how to replace a door lock does not require a locksmith, special training, or a toolbox full of gear. Most swaps come down to two numbers and a handful of screws. Get those measurements right, and the rest of the job follows a clear, repeatable order that any homeowner can finish in an afternoon. Before you pick up a screwdriver, though, it helps to know when doing it yourself actually makes sense. DIY vs. Locksmith: What to Consider First Most people can swap a standard doorknob without professional help. It takes under 30 minutes with just a Phillips head screwdriver, and no special skills are required. The parts cost you the same either way. What you save by doing it yourself is the labor charge, which is often more than the cost of the lock itself. There are exceptions. If your door has a mortise lock, a bore hole that does not match standard door dimensions, or damage around the latch plate, the job gets more involved. Those situations may be worth calling a locksmith. For a standard residential lockset or deadbolt, though, this is one of the more straightforward home repairs you can do. How to Replace a Door Lock Step-By-Step? With the right replacement lock in hand, the installation follows a straightforward sequence. Work through each step in order, and the job stays simple. Step 0(a): What to Check Before You Buy Two measurements decide whether a replacement lock fits your door: backset and bore diameter. Backset: The distance from the door edge to the center of the hole. Measure it with a tape, from the edge to the hole’s […]
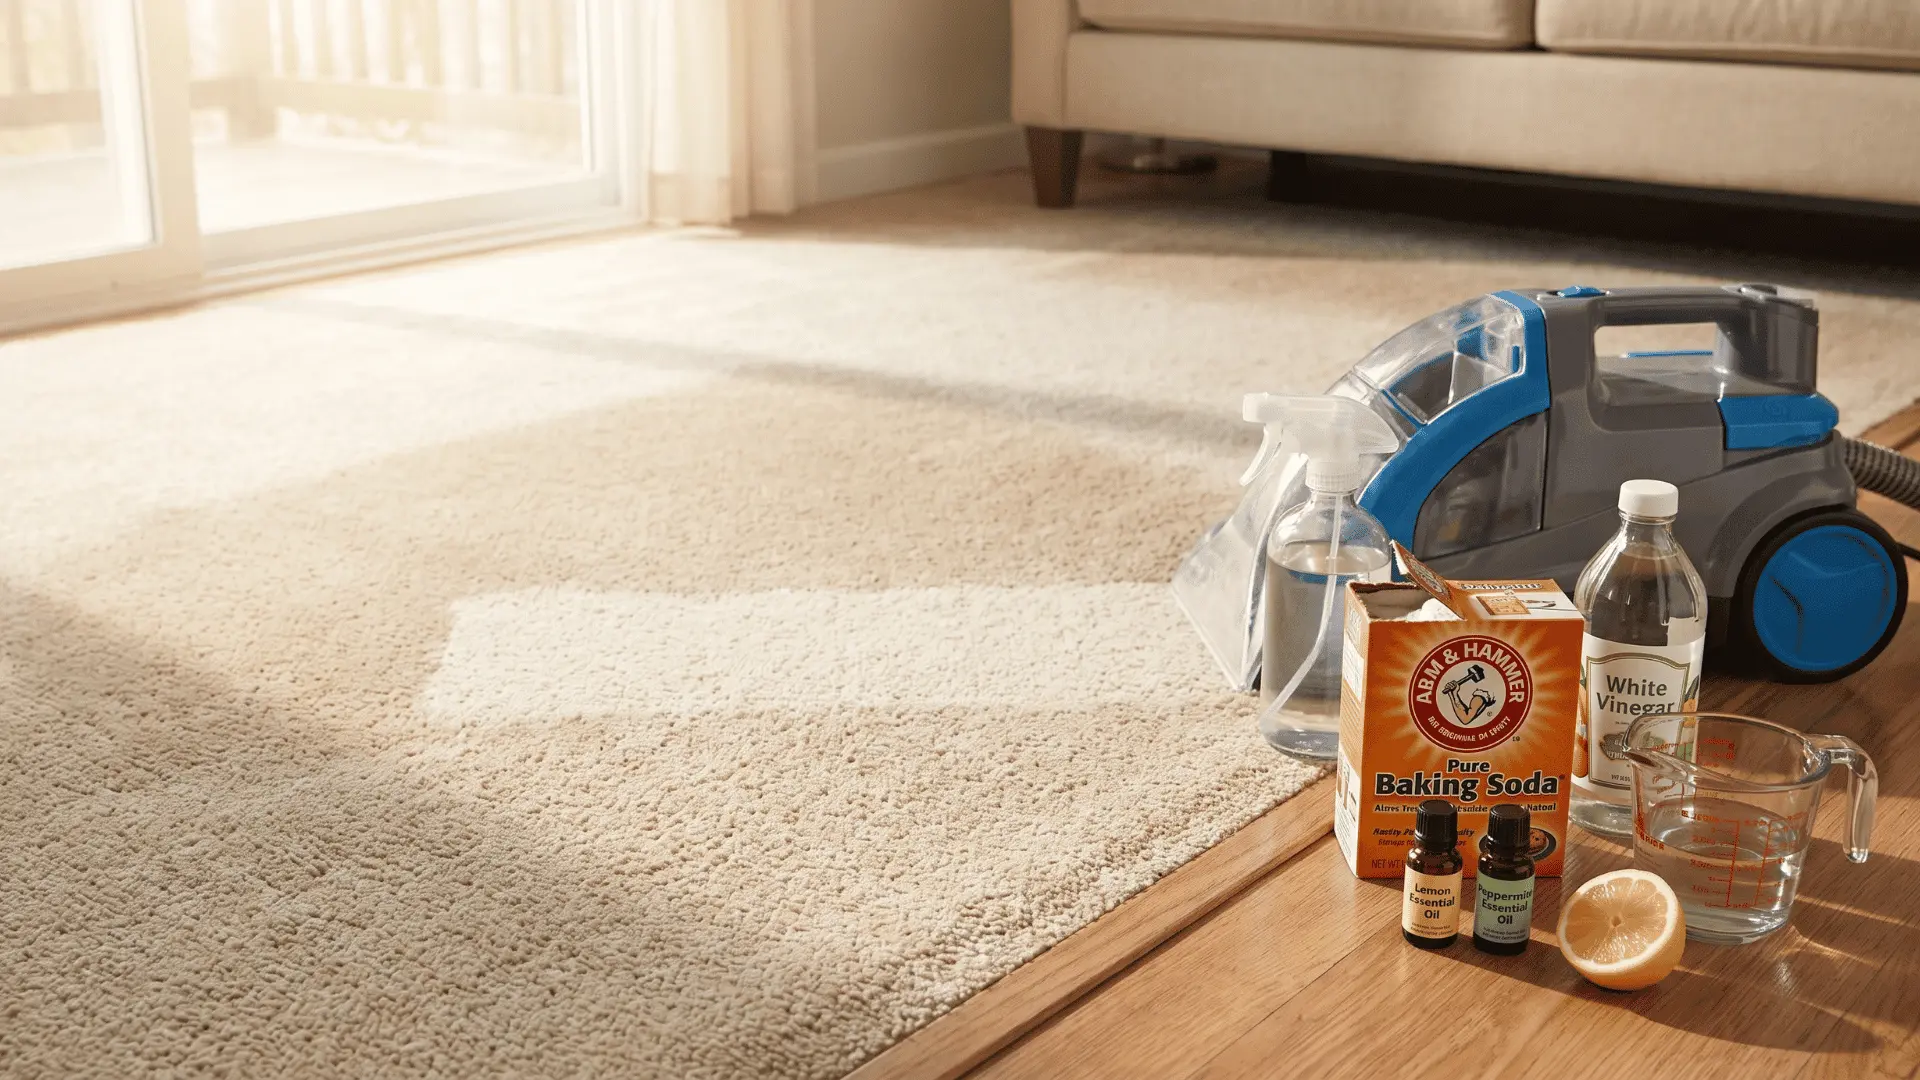
Finding the right DIY carpet cleaner isn’t about choosing the strongest mix. It’s about matching the formula to the stain type, carpet, and cleaning method used. Using the wrong solution can leave residue, spread the stain further, or even damage carpet fibers. Small formulation changes can significantly affect the final cleaning result. The chemistry is simple, but still important. Ingredient balance, dilution level, and application method all influence how effectively a stain lifts from carpet fibers. There is no single best option. The right choice depends on concentration needs, dwell time, and whether rinsing or machine extraction is required for proper cleaning. Which DIY Carpet Cleaner Formula Do You Need? The right formula depends on what you’re cleaning and how you’re cleaning it. Pick the one that best matches your situation before mixing anything to make an ideal homemade rug cleaner. Machine Cleaning: 1 gallon hot water, ½ cup white vinegar, 1 tablespoon dish soap, ¼ cup oxygen bleach. Fully dissolve the oxygen bleach before adding it to the reservoir. Spot Cleaning: 1 cup warm water, 1 cup white vinegar, 1 teaspoon dish soap. Use exactly 1 teaspoon of soap; more leaves residue that re-soils the carpet faster. Pet and Organic Stains: 1 cup warm water, ¼ cup 3% hydrogen peroxide, 1 teaspoon dish soap. Patch test first since peroxide can lighten some carpet dyes. If the stain came from a spill in the kitchen rather than a pet accident, our stain removal guide covers fabric-specific fixes too. Dry Deodorizer: 1 cup baking soda, ½ cup cornstarch, 5 to 10 drops essential oil. Leave overnight, then vacuum. For freshening between cleans, not stain removal. Each ingredient carries its own job. Vinegar loosens dirt and cuts odor, dish soap breaks up grime, and peroxide or oxygen bleach gets into stain compounds that soap […]

Get the latest home decor tips, DIY ideas, and design inspiration delivered straight to your inbox.





