


If you’ve ever thought about whether you can paint over stained wood, you’re not alone. Many homeowners want a fresh look without replacing the wood they already have.
Painting stained surfaces is possible, and the results can look clean and modern with the right approach.
In this blog, you’ll find a simple overview of what to check and how to get a smooth finish.
By the end, you’ll know how to handle stained wood confidently and get a result that looks polished and long-lasting.
Can You Paint Over Stained Wood?
Yes, you can paint over stained wood as long as you prep the surface the right way. Cleaning, light sanding, and using a stain-blocking primer help the paint stick and stop the stain from bleeding through.
With the right prep, you can get a smooth finish that holds up well and looks clean for years.
Things to Check Before You Start Painting:
- Type of Stain: Oil-based and gel stains are harder to cover and can bleed through. Water-based stains are easier to seal, but still need primer.
- Clear Coat on Top: Polyurethane or varnish creates a slick surface. You’ll need sanding or a bonding primer to help the paint stick.
- Gloss Level: The shinier the wood, the more prep you need.
- Freshness of the Stain: A Fresh stain can bleed into the paint. Make sure it’s fully dry before priming or painting.
Painting Over Stained Wood: Step-by-Step Guide
Painting over stained wood is easy when you prep the surface the right way. The steps below help the paint stick, cover the stain, and give you a smooth finish that lasts.
Step 1: Clean the Surface

Clean the wood with a mild cleaner to remove dirt, dust, and grease. A clean surface helps primer bond better and prevents paint from peeling later.
Make sure the wood is dry before moving to the next step for a smooth, even finish.
Step 2: Sand or Degloss
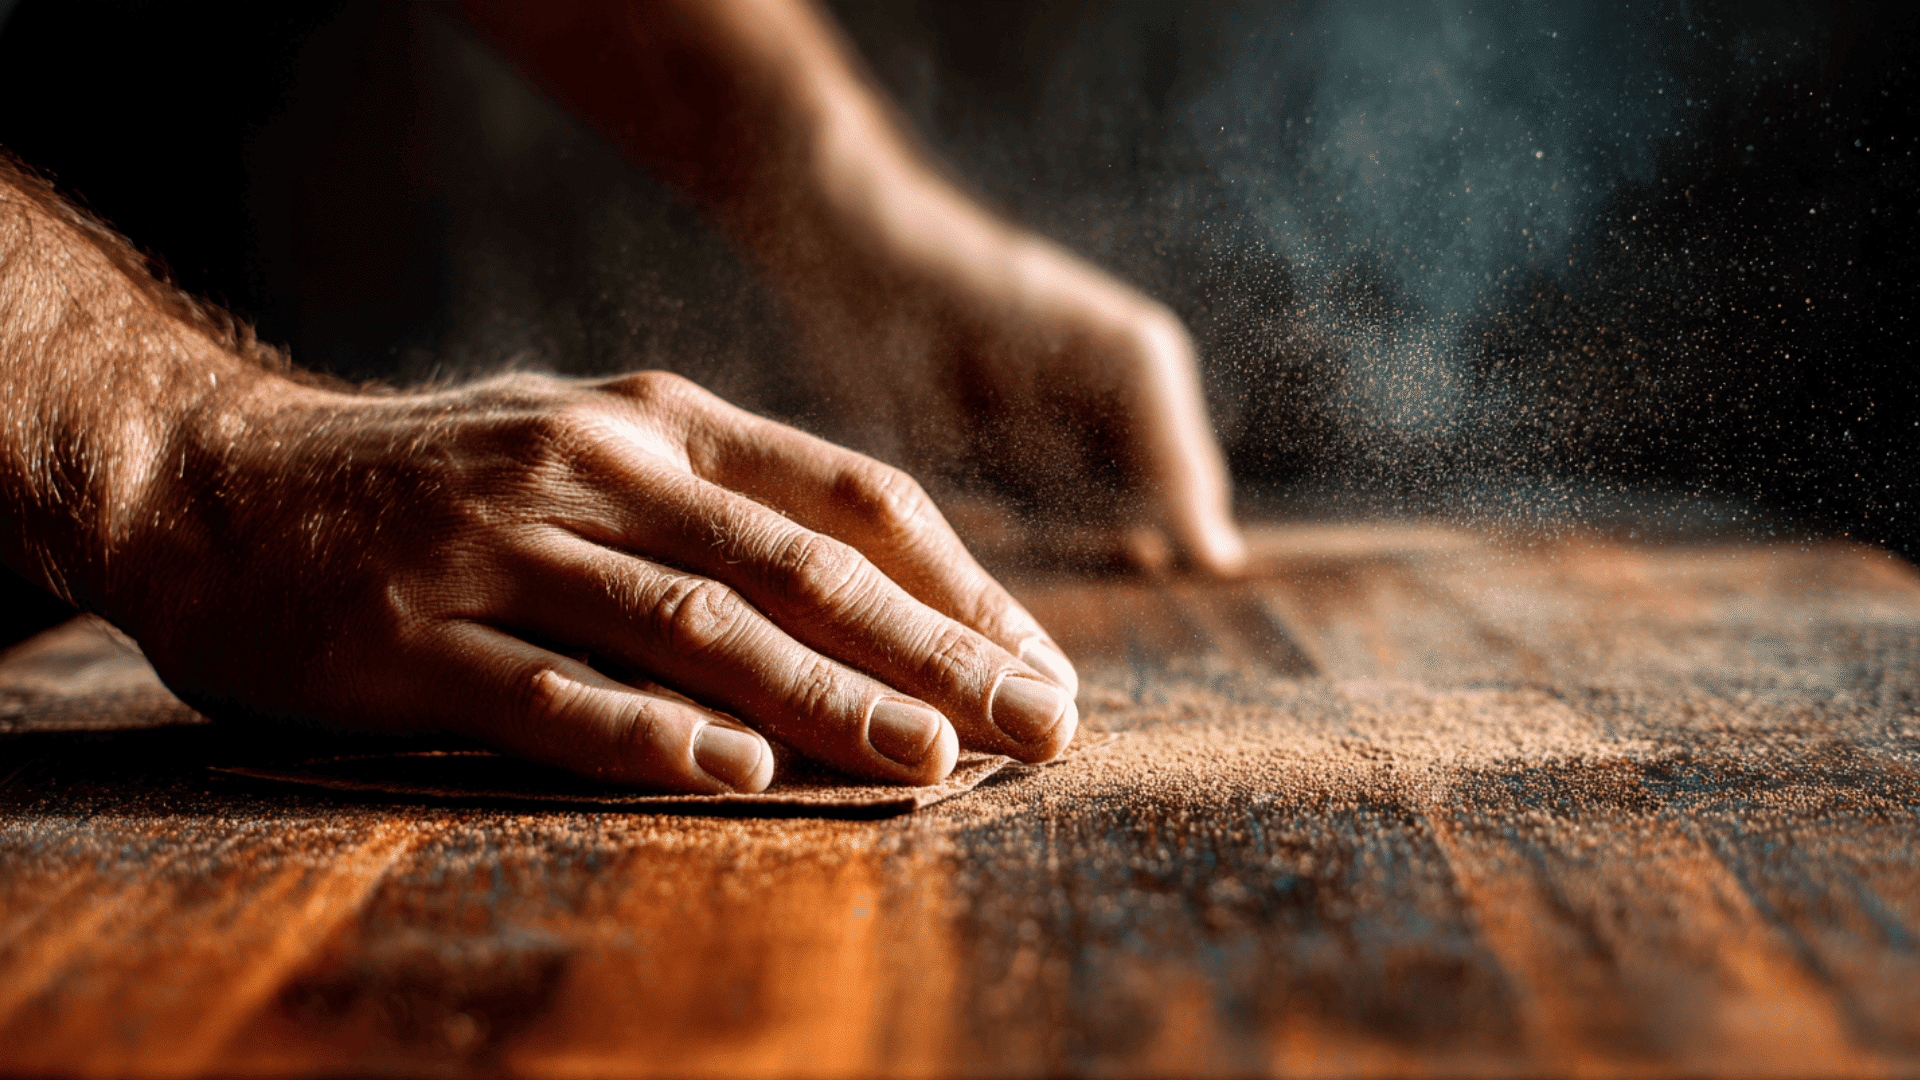
Lightly sand the surface or use a liquid deglosser to remove shine. This helps primer grip the wood instead of sliding off glossy areas.
You don’t need to remove the stain; just scuff the surface enough so the next layers can stick properly without peeling.
Step 3: Fill Cracks and Holes
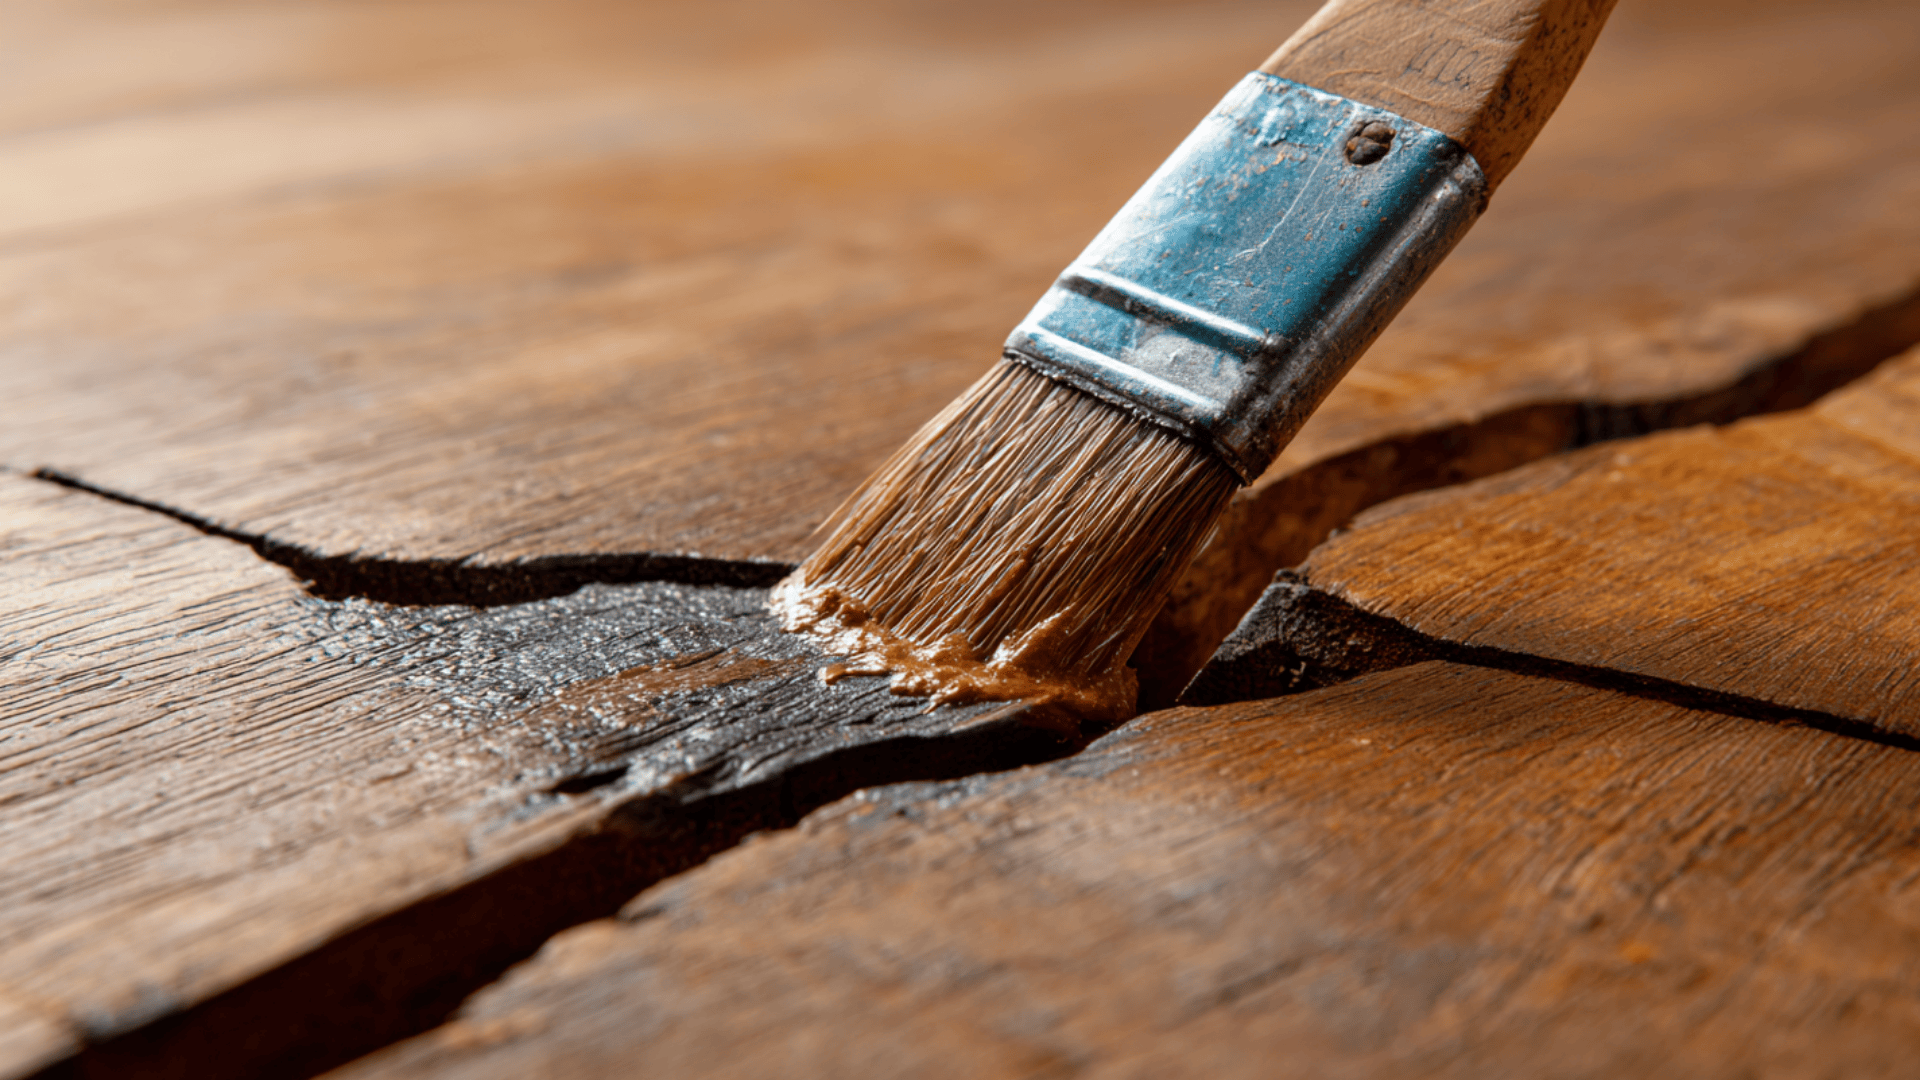
Use wood filler to patch dents, gaps, or holes for a smooth finish. Once the filler dries, lightly sand it to level the surface. This step prevents uneven spots from showing through the paint and helps the final coat look clean and polished.
Step 4: Apply Primer
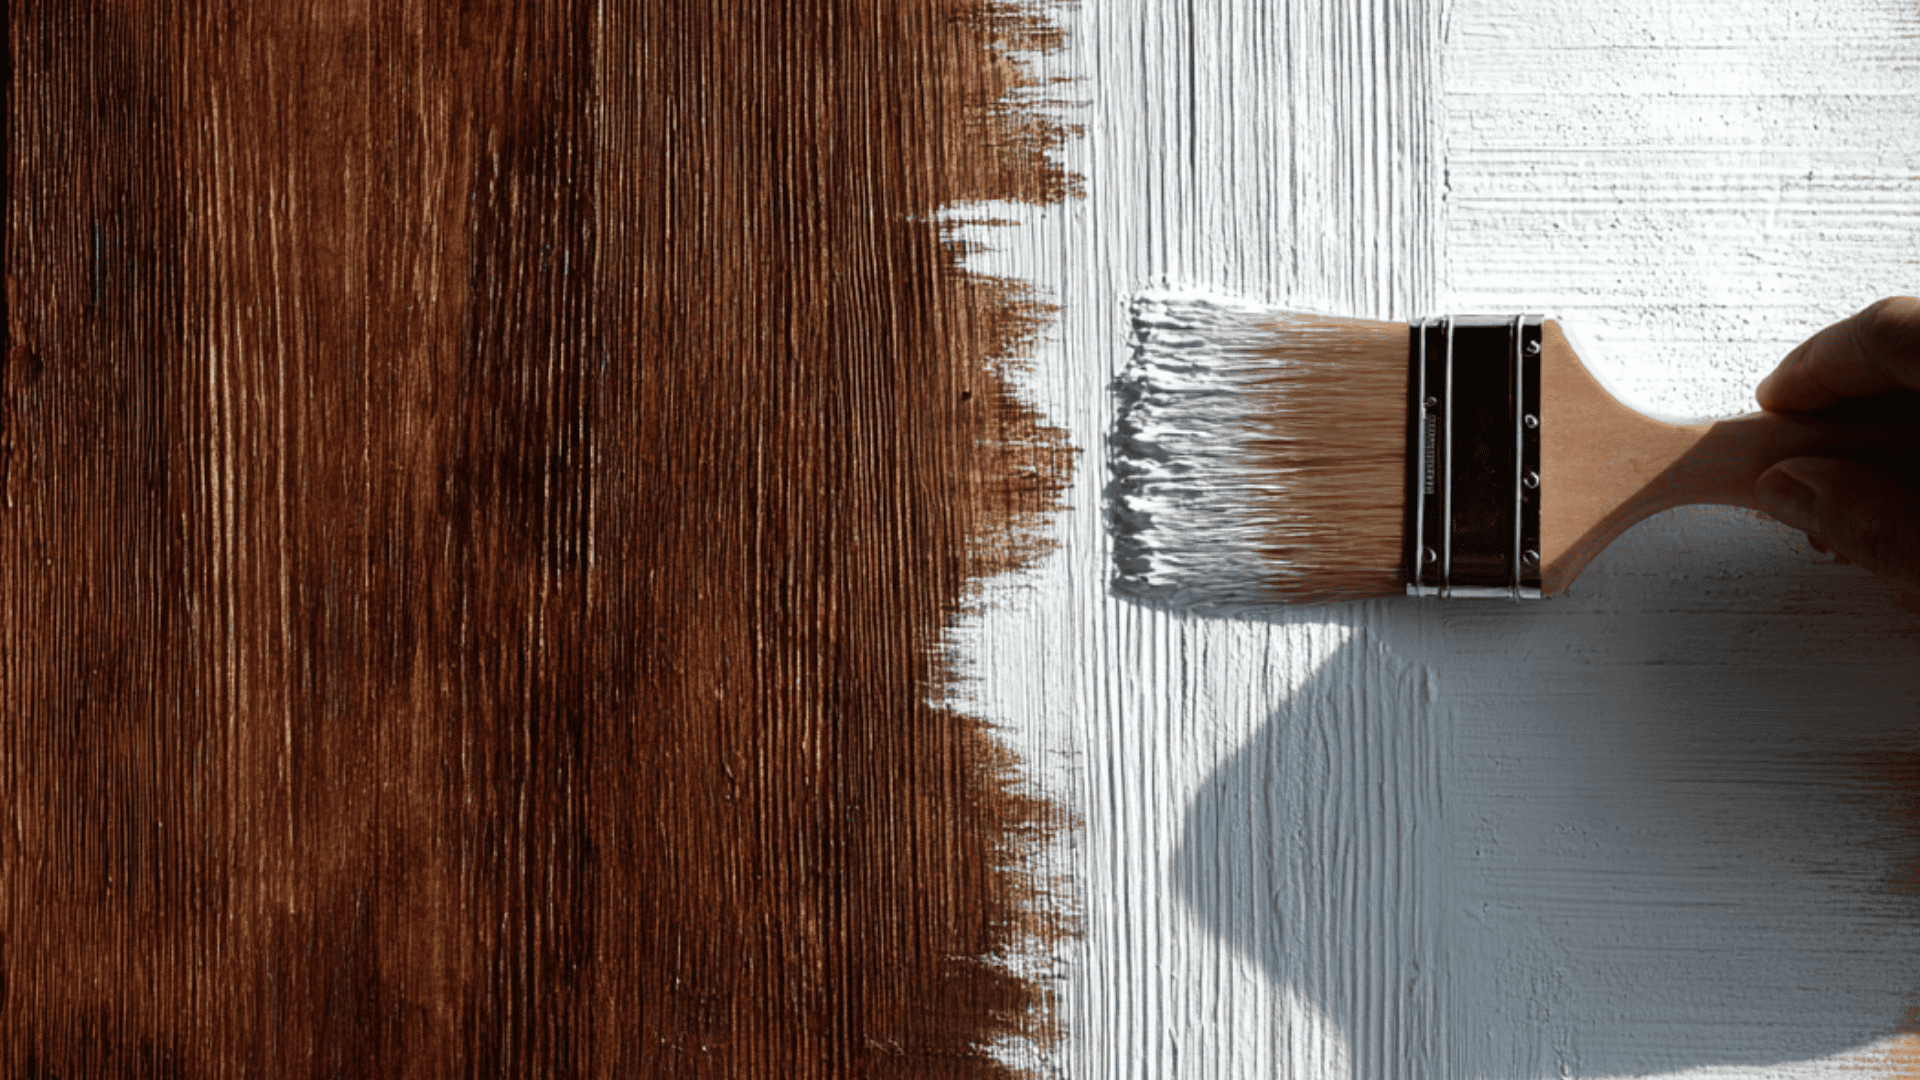
Apply a stain-blocking primer to seal the wood and stop stains from bleeding through. Primer helps paint stick better and improves durability.
Let it dry completely before moving on, and apply a second coat if the stain is dark or difficult to cover.
Step 5: Apply Paint
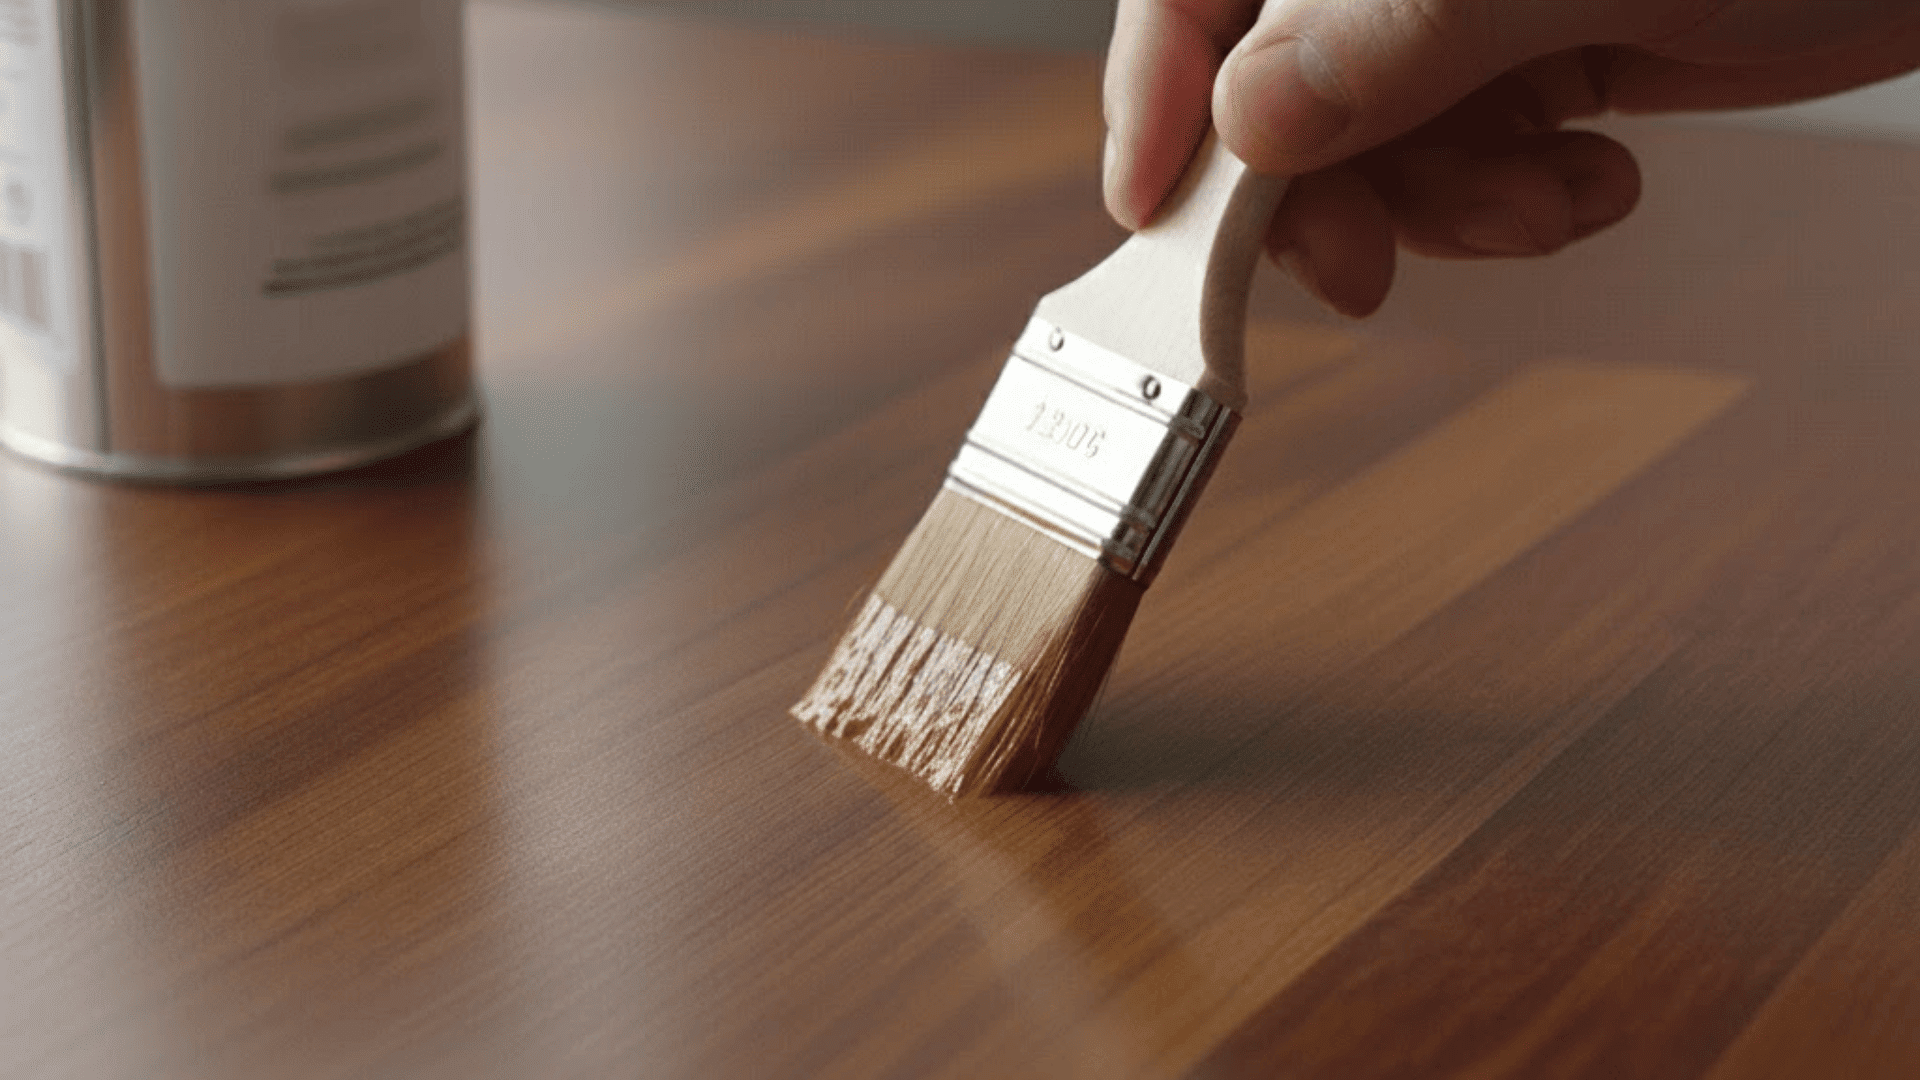
Brush or roll on thin, even coats of paint to avoid drips and streaks. Let each coat dry fully before adding the next.
Two coats usually give the best coverage and create a smooth, consistent finish that looks fresh and lasts longer.
Step 6: Add a Topcoat
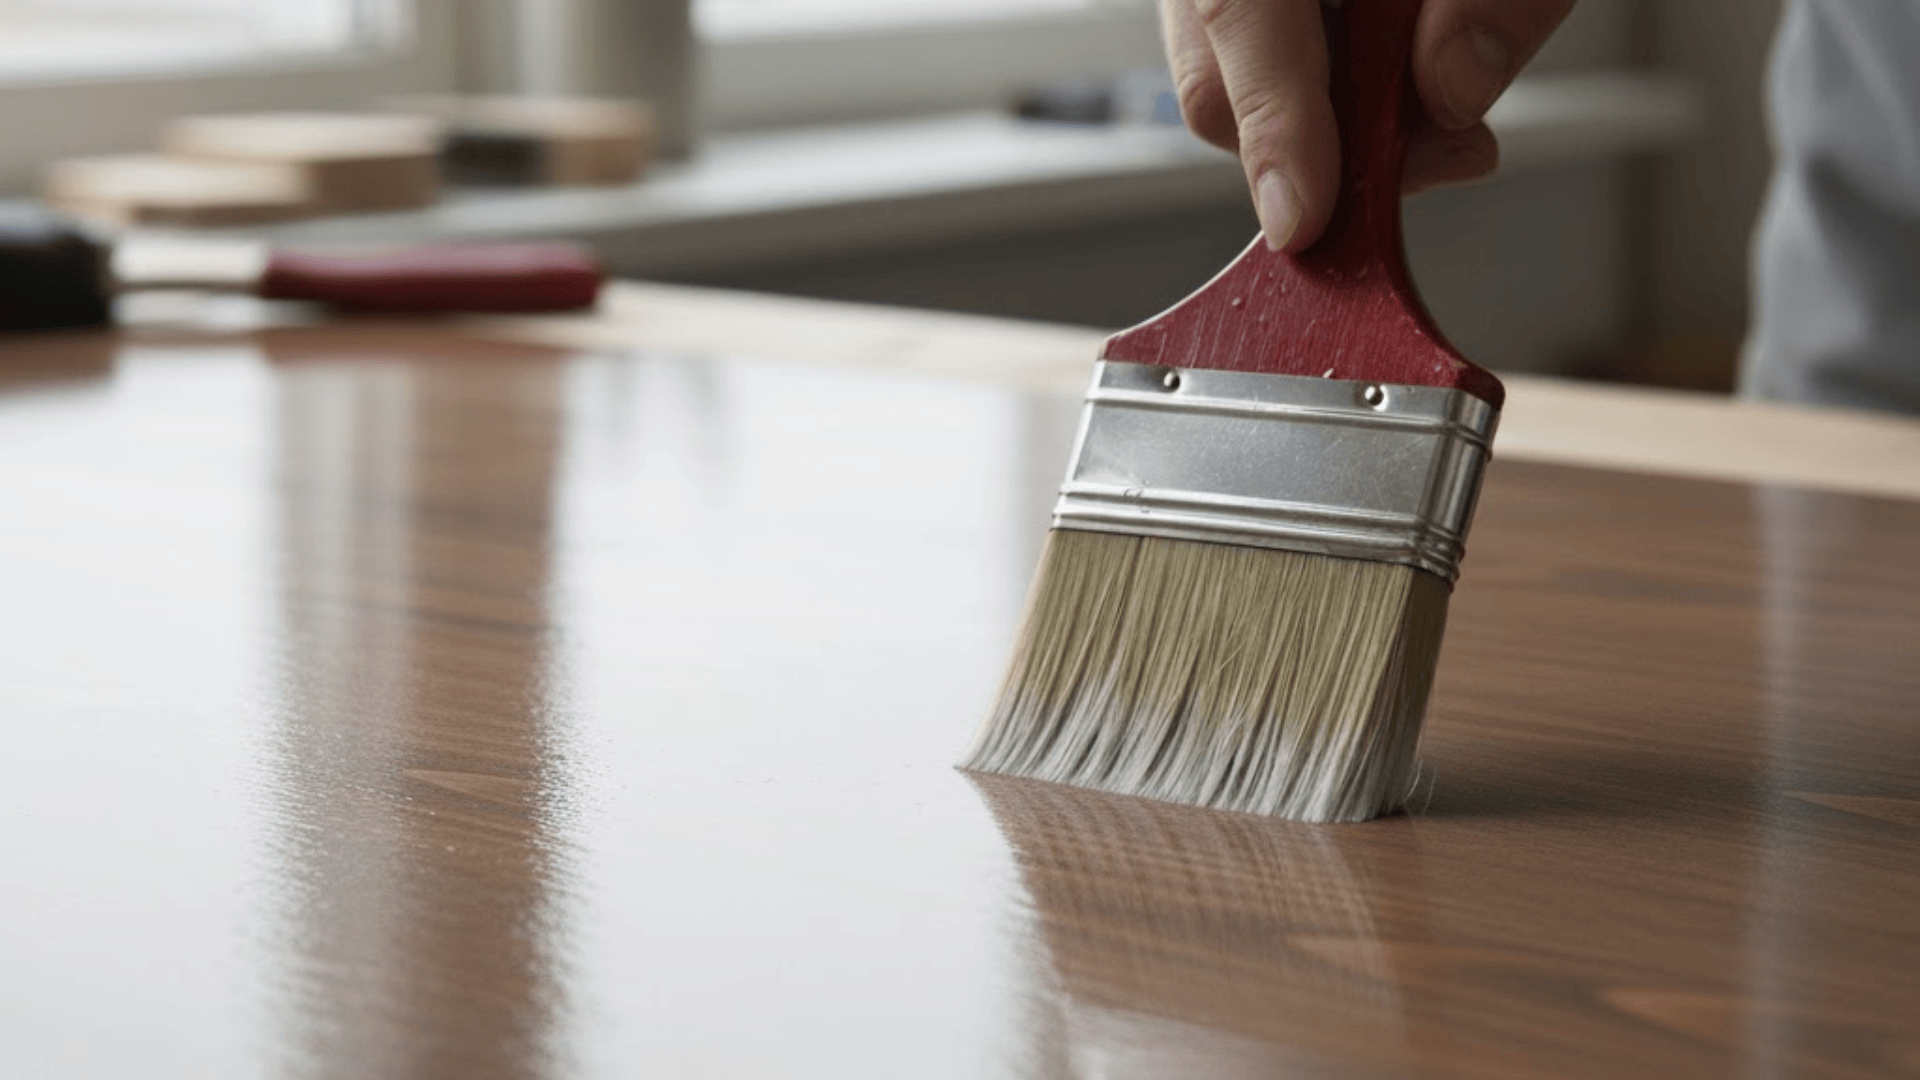
Finish with a clear topcoat for extra protection, especially on furniture or high-use surfaces. The topcoat shields the paint from scratches and helps it stay looking new.
It also makes cleaning easier and adds durability to your painted wood, preventing chipping and helping maintain a smooth finish.
Painting Solutions for Tough Stained Surfaces
- Painting Over Dark Stain: Use a shellac-based primer like Zinsser BIN to block out deep color and prevent bleed-through.
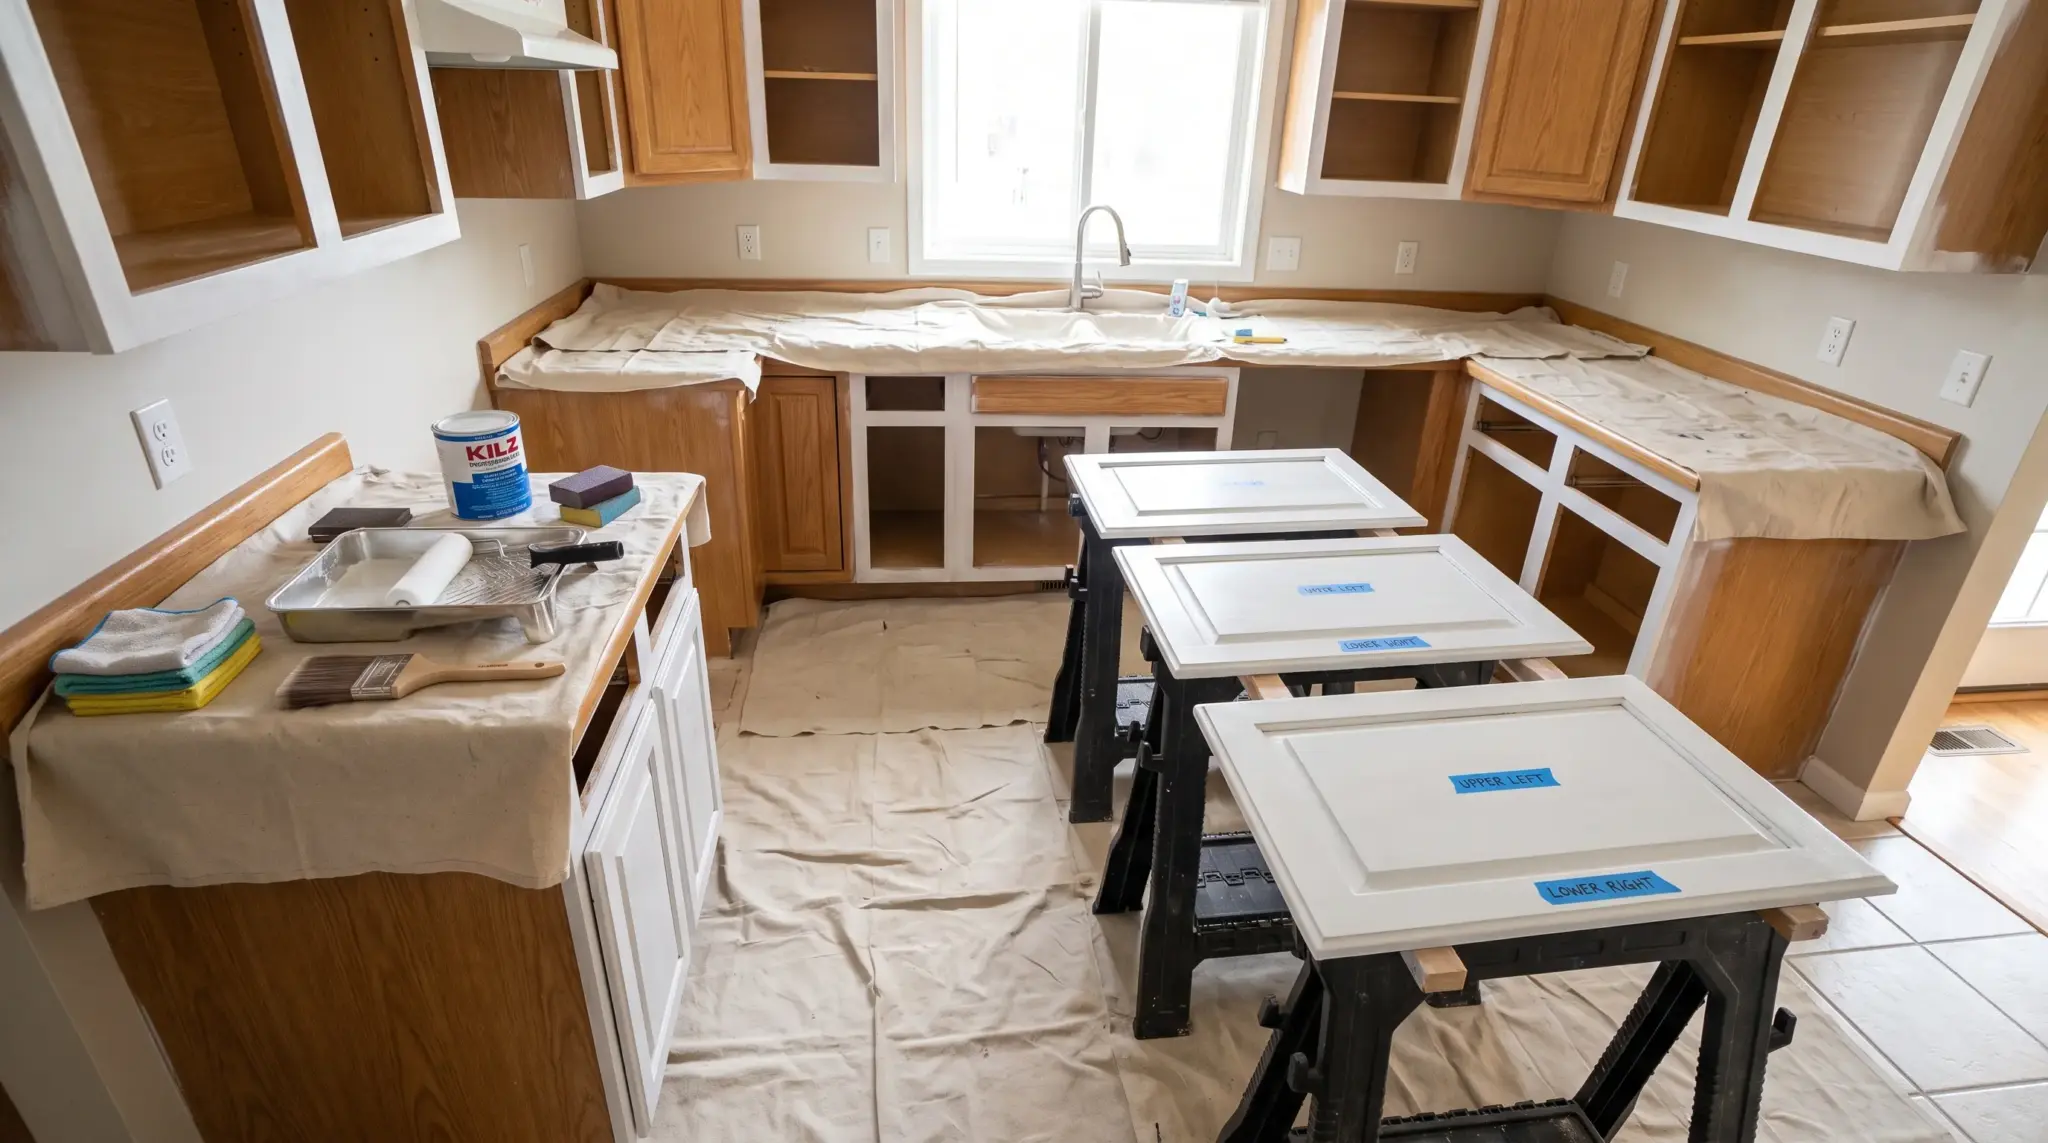
- Painting Over Polyurethane: Lightly scuff the surface and then apply an oil-based primer such as Kilz Original for strong adhesion on glossy finishes.
- Painting Exterior Stained Wood: Clean the surface thoroughly, then use an exterior-rated primer like Zinsser Cover Stain, followed by an exterior-grade paint for durability.
- Painting Stained Cabinets or Trim: .Clean the wood well, scuff sand, and apply a bonding primer like INSL‑X Stix. Finish with a high-quality acrylic enamel paint for a durable, smooth finish.
These product choices and prep steps make it easier to handle any stained surface, ensuring your paint job looks smooth and lasts longer.
Choosing the Right Paint for Stained Wood
- Latex Paint: Easy to use, dries fast, and cleans up with water. Great for walls, trim, and light-use furniture.
- Acrylic Enamel Paint: Dries harder and smoother than latex. Ideal for cabinets, doors, and trim since it resists chips and frequent cleaning.
- Chalk Paint: Sticks to stained wood with little prep and gives a soft, matte look. Common for furniture makeovers, but it needs a topcoat for protection.
- Spray vs. Brush vs. Roller: Spray paint gives the smoothest finish; a brush works best for details; a foam roller is great for flat areas. Choose based on your project size and the finish you prefer.
Choosing the right paint makes all the difference in how your project looks and lasts, so pick the one that fits your surface and style best.
The Best Primers for Painting Over Stained Wood
| Primer Type | Best For | Surface Compatibility | Stain Blocking Power | Dry Time |
|---|---|---|---|---|
| Shellac Primer | Heavy stains and dark wood | Works on glossy and sealed surfaces | Excellent blocks bleed through completely | Fast (30–45 mins) |
| Oil-Based Primer | General interior and exterior projects | Great on most stained wood | Very good seals, medium to dark stains | Medium (1–2 hrs) |
| Water-Based Primer | Light stains and quick indoor jobs | Best on matte or sanded surfaces | Fair not for deep stains | Fast (30–60 mins) |
This chart makes it easy to choose the right primer for your project based on surface type, stain level, and drying time.
Common Mistakes to Avoid
- Skipping primer: Without primer, the stain can bleed through, and the paint may peel.
- Using the wrong paint: Some paints don’t bond well to stained wood and can leave an uneven finish.
- Painting too soon after staining: Fresh stain needs time to dry, or it can bleed into the paint.
- Not sanding enough: A glossy surface needs a quick scuff to help paint adhere properly.
- Using water-based primer on dark stain: It won’t block deep color well; a shellac or oil-based primer works better.
These reminders help you avoid problems early and make sure your paint job looks smooth and holds up well over time.
Conclusion
Painting stained wood becomes much simpler when you understand what helps the paint stick and what stops bleed-through.
A little patience and the right materials can turn older wood into a smooth, bright surface that feels updated and fresh.
Think about the finish you want, choose your primer carefully, and give each coat enough time to dry. These small steps protect your work and keep the surface looking good for years.
If you’re ready to start your project, save this guide, gather your supplies, and begin your makeover today.