

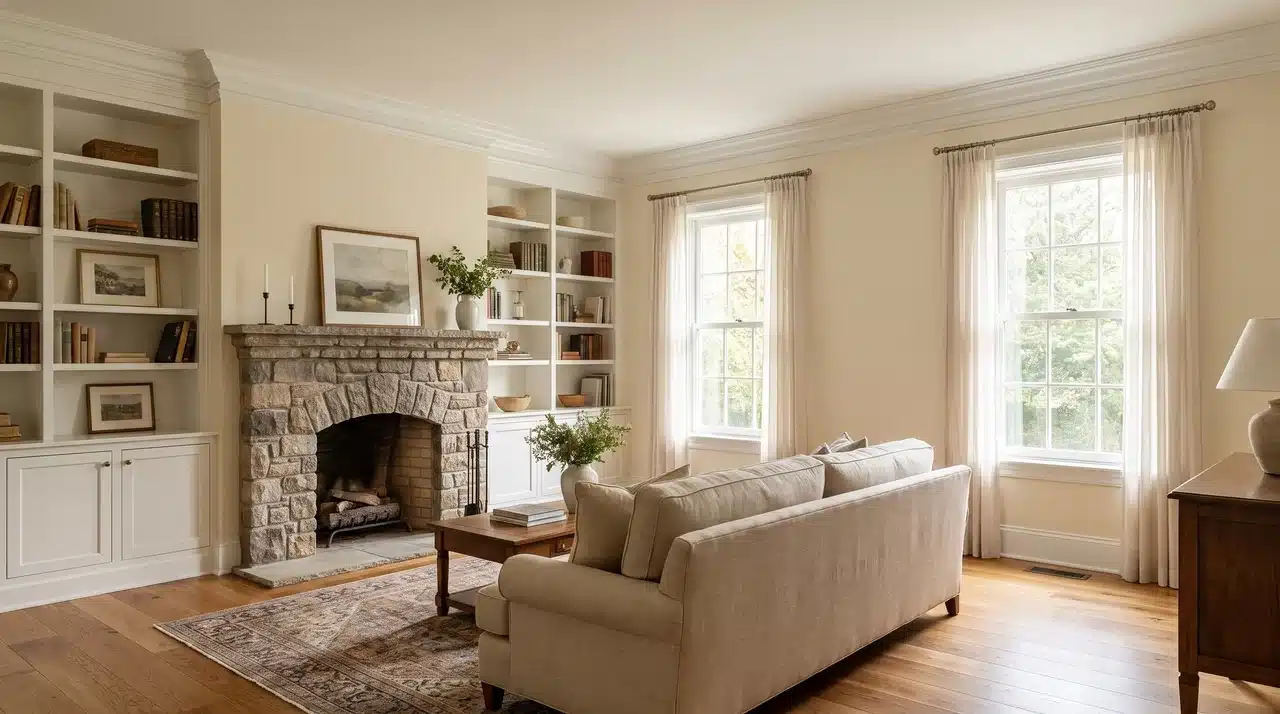
If you’ve ever looked at your kitchen and thought, “I could build that myself,” you’re absolutely right; and it’s easier than you might think.
Building DIY kitchen cabinets isn’t just about saving money; it’s about creating something that fits your space and style perfectly.
With some basic woodworking skills and a clear step-by-step process, you can turn raw materials into cabinets that truly feel custom.
In this guide, I’ll show you how to design, build, and finish your own cabinets so you can confidently take on a project that completely transforms your kitchen.
Planning Your Cabinet Design
Planning your cabinet design helps you stay organized and avoid mistakes later. Take time to map out every detail before starting the build.
- Measure your space: Record wall lengths, ceiling height, window, and appliance placements. Double-check all measurements for accuracy.
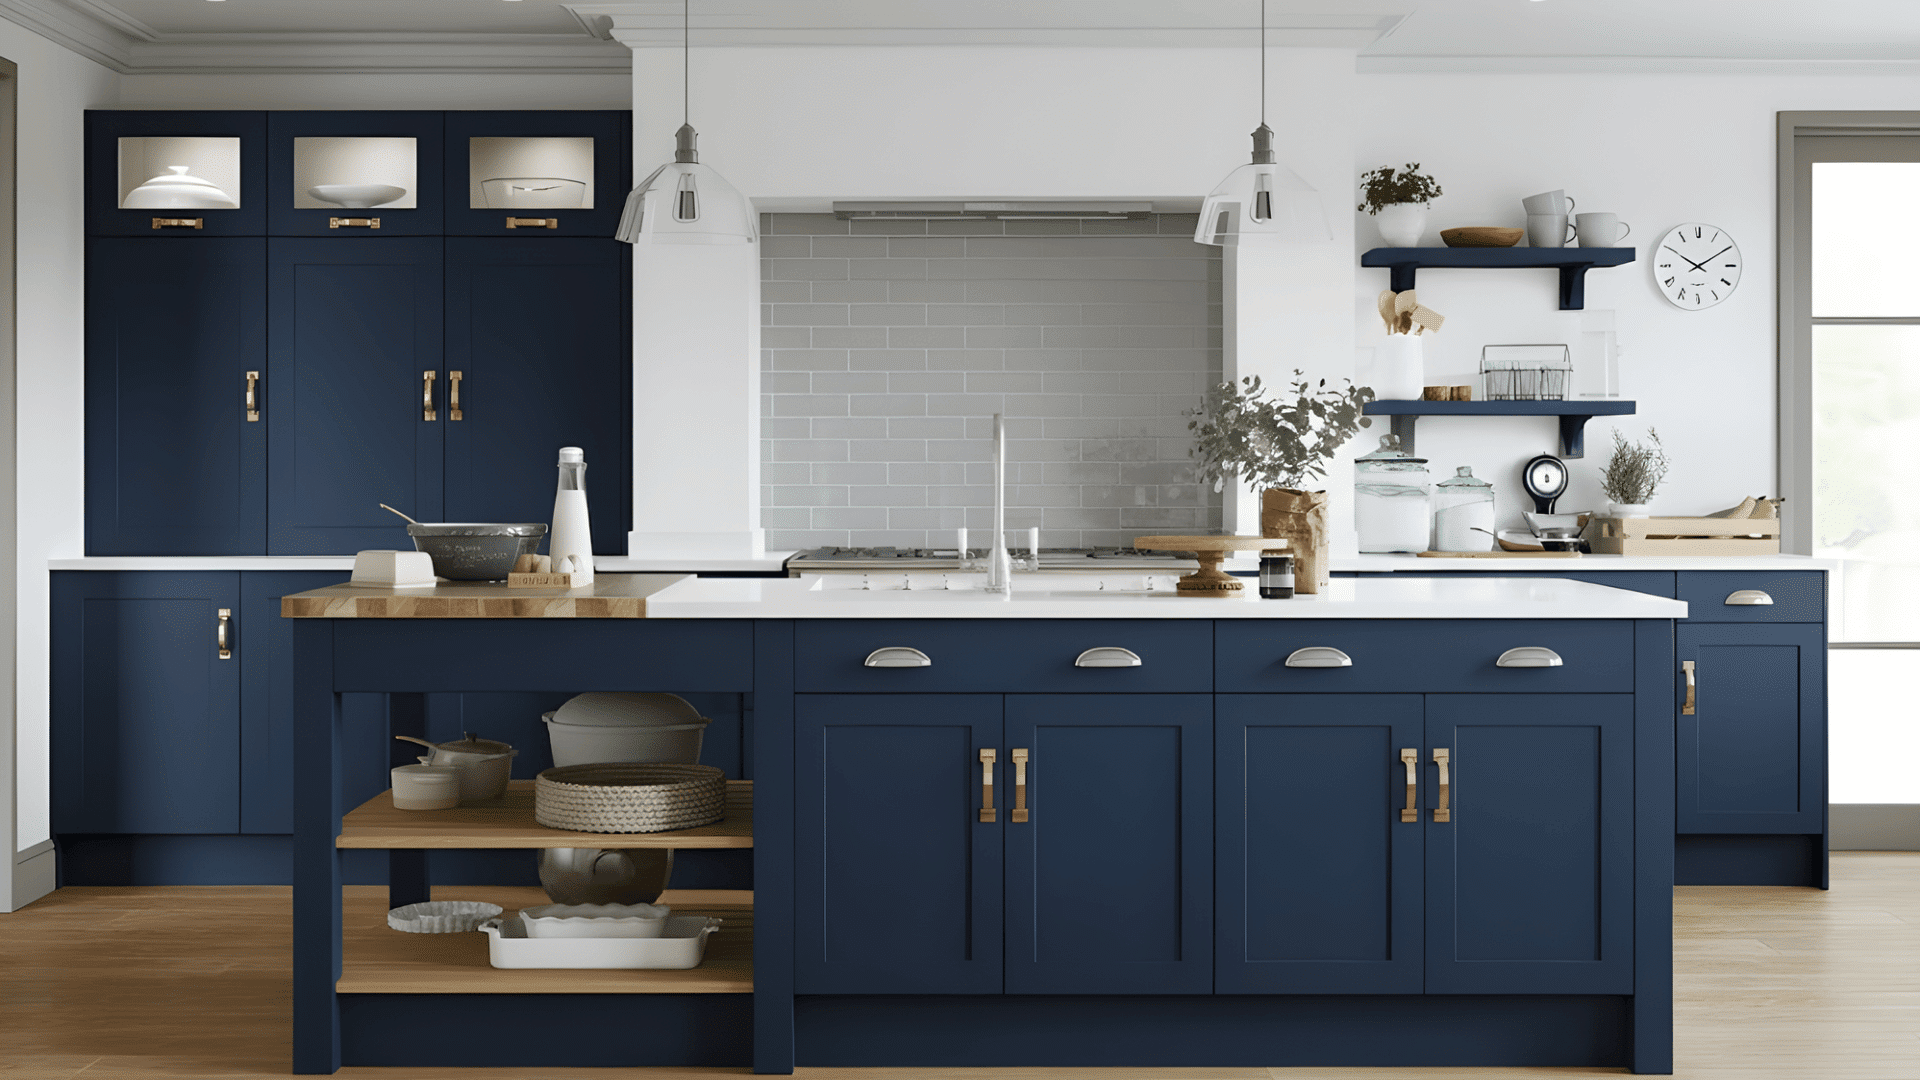
- Choose your cabinet style: Pick from shaker (classic), frameless (modern), or inset (custom built-in look).
- Plan your layout: Decide where the base, upper, and island cabinets will go to achieve balance and easy access.
- Create a design plan: Sketch it on paper or use a free 3D design tool to visualize your setup before building.
Good planning prevents mistakes and wasted materials. Once your layout and kitchen cabinet plans are set, you’ll have a clear guide for building.
How to Build Kitchen Cabinets: Step-by-Step Guide
Building your own kitchen cabinets takes patience, precision, and the right process. You just need the right materials and reliable kitchen cabinet plans.
Tools and Materials You’ll Need
- Table saw
- Circular saw with Kreg Accu-Cut Jig
- Jigsaw or hand saw
- Router with tongue-and-groove bit set
- Drill and pocket hole jig (Kreg Jig)
- Brad nailer (18-gauge)
- Clamps
- Tape measure and speed square
- Shelf pin jig and drill bits
- Orbital sander and sanding blocks
- Paint sprayer or roller
- 3/4-inch plywood
- 1/4-inch plywood
- Maple boards
- Pocket hole screws and brad nails
- Primer and cabinet enamel paint
- Drawer slides and hinges (soft-close)
- Cabinet pulls or handles
Step 1: Cut All Parts to Size
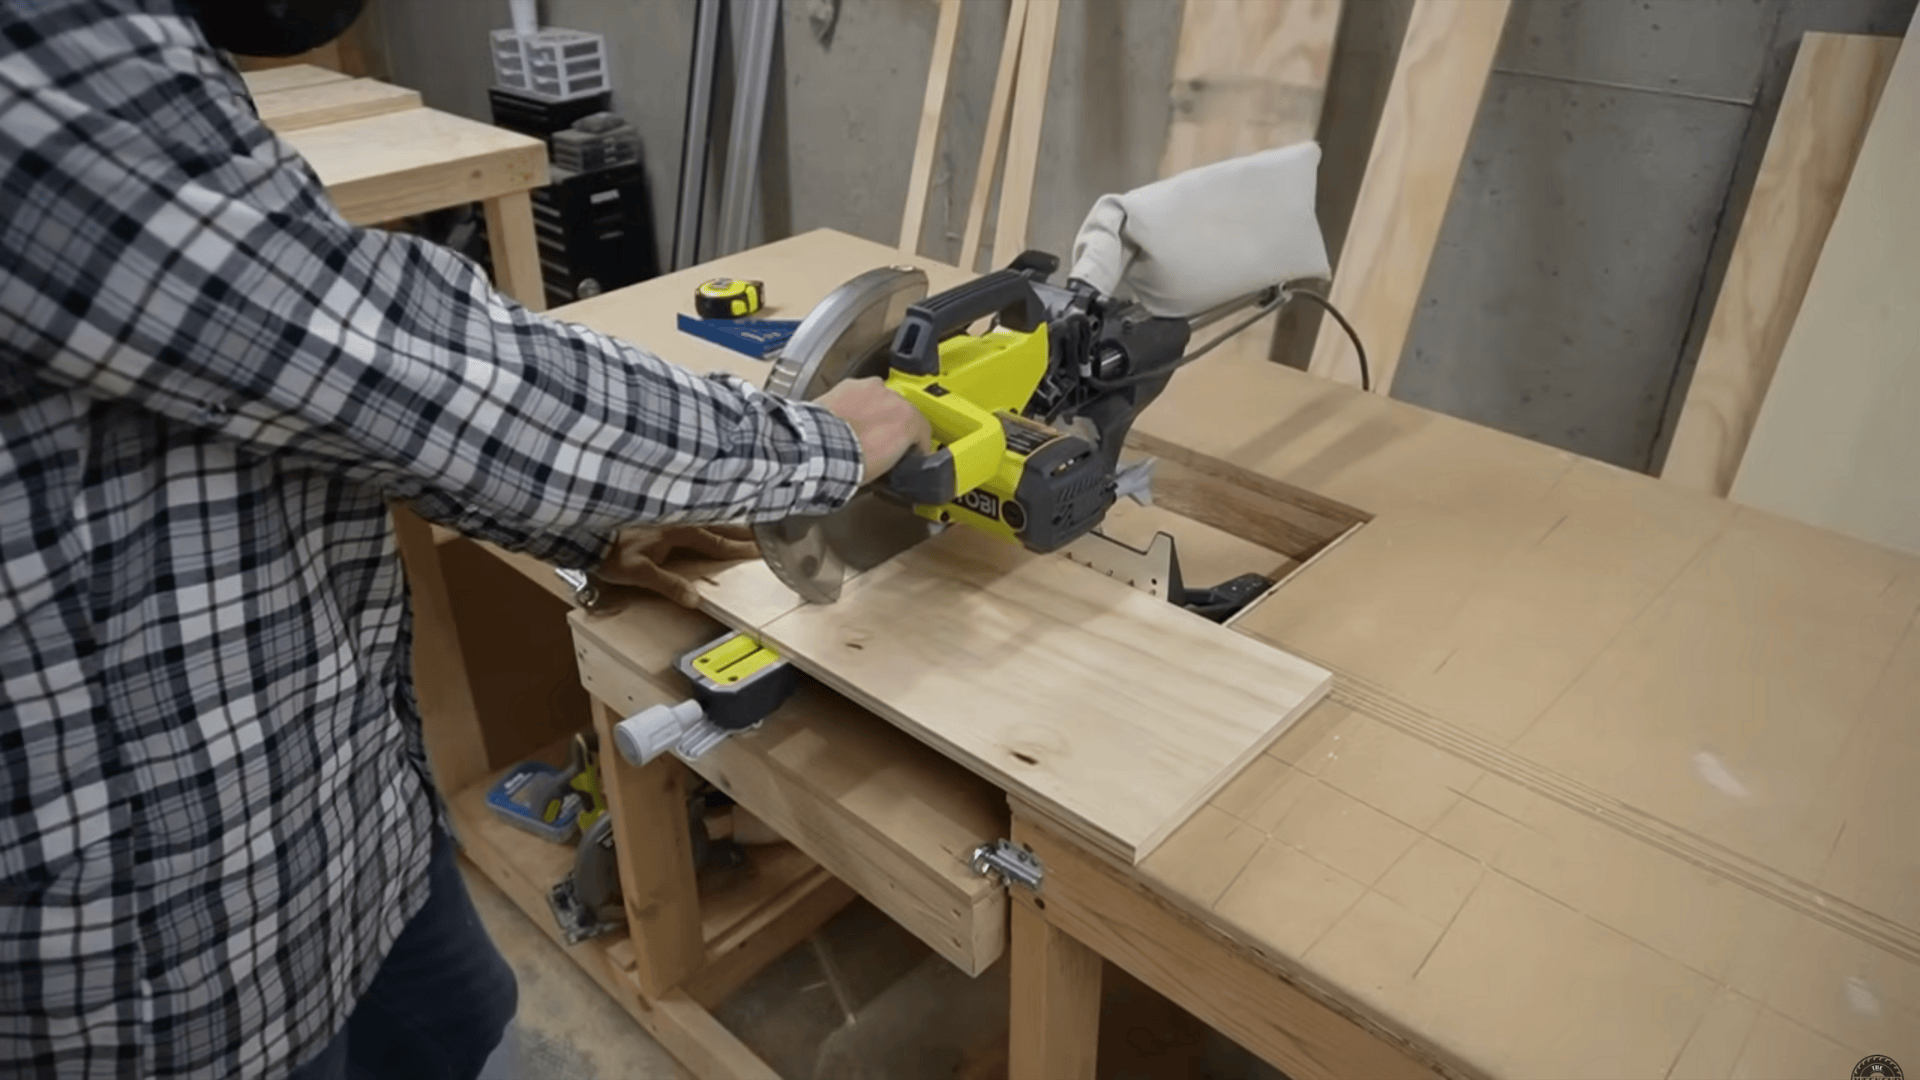
Cut all plywood pieces according to your measurements using a table saw for smaller parts and a circular saw with a guide for large sheets. Always double-check your cuts and allow for the slight thickness variation in plywood.
Cut toe-kick notches and route a ¼-inch groove for the back panel. Taking your time here ensures tight joints and a smoother assembly later, helping everything align properly during installation.
Step 2: Assemble the Cabinet Carcass
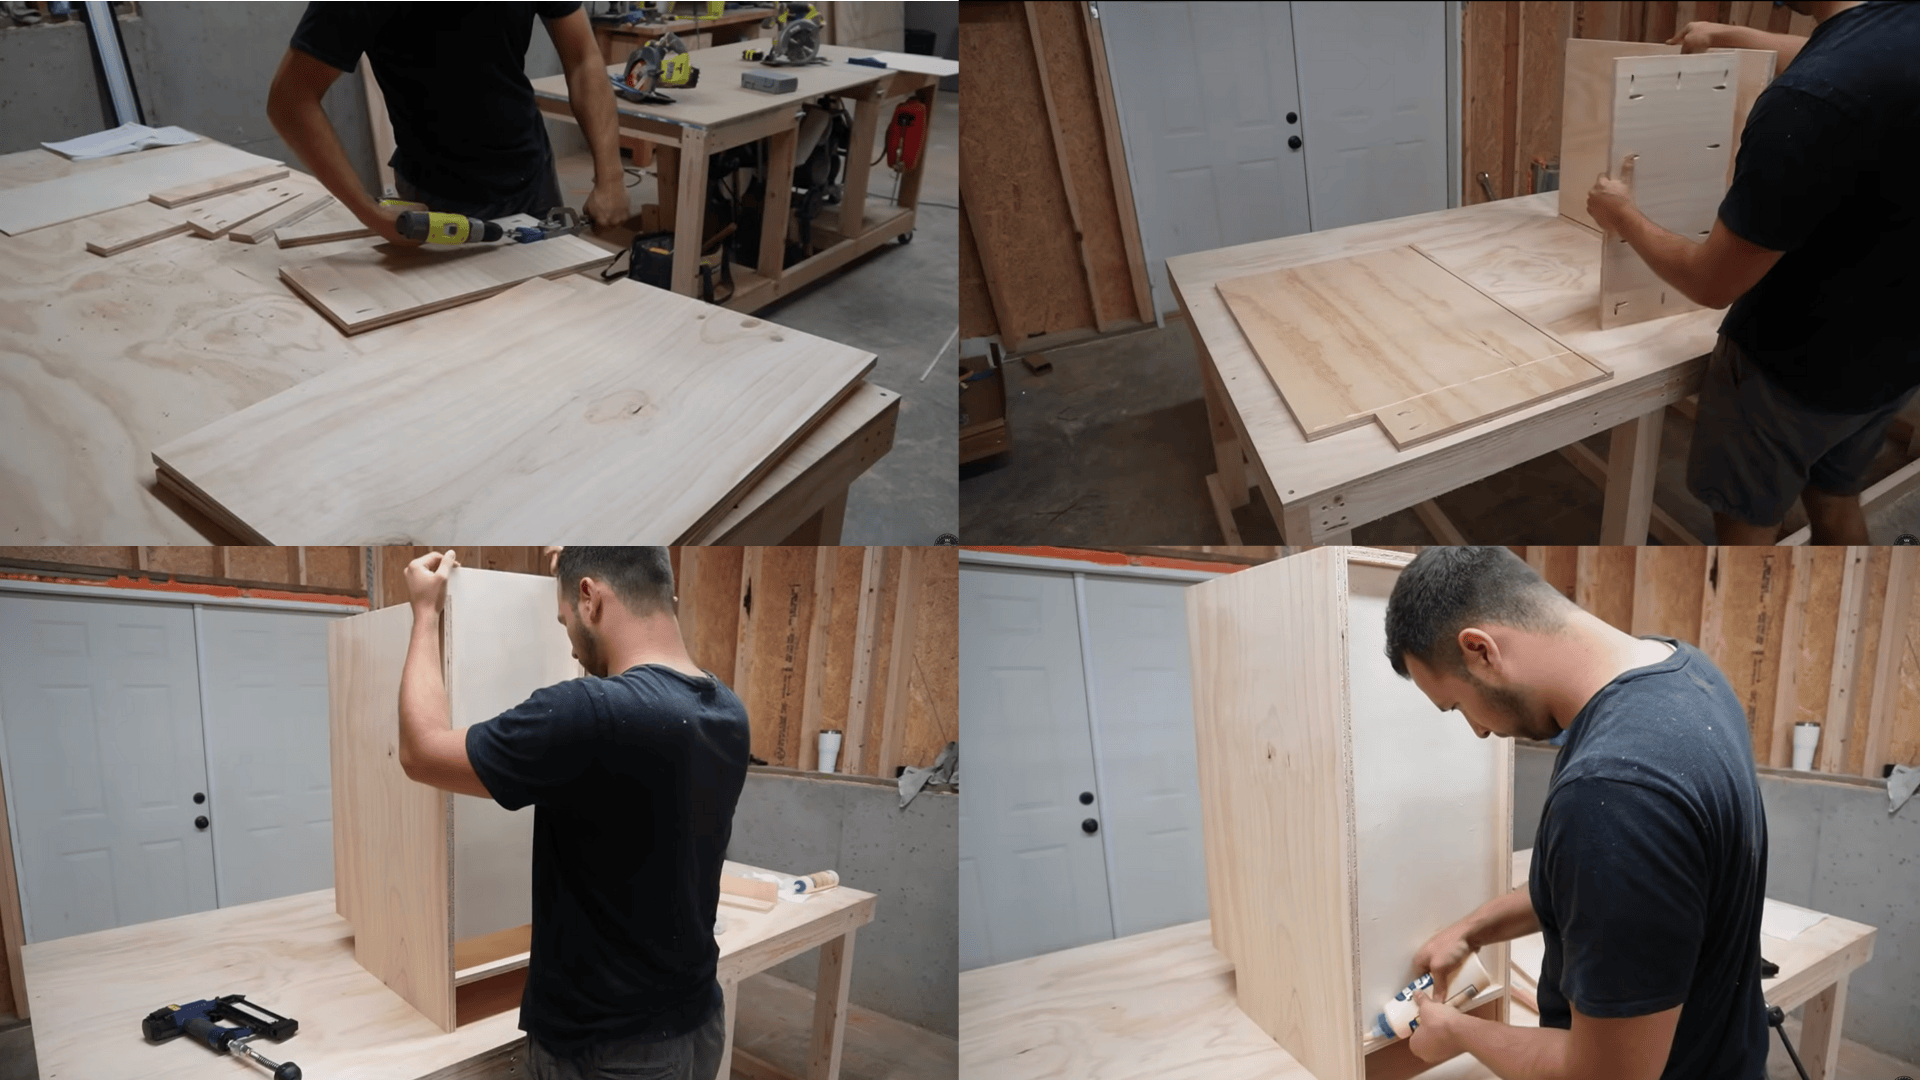
Start assembling by attaching the sides to the bottom using glue, clamps, and pocket screws. Insert the back panel into the groove and secure it firmly to the frame.
Add front and rear stretchers for support and check for square at every step. Finally, attach the toe-kick and let the glue dry before handling or moving the cabinet.
Step 3: Drill Shelf-Pin Holes
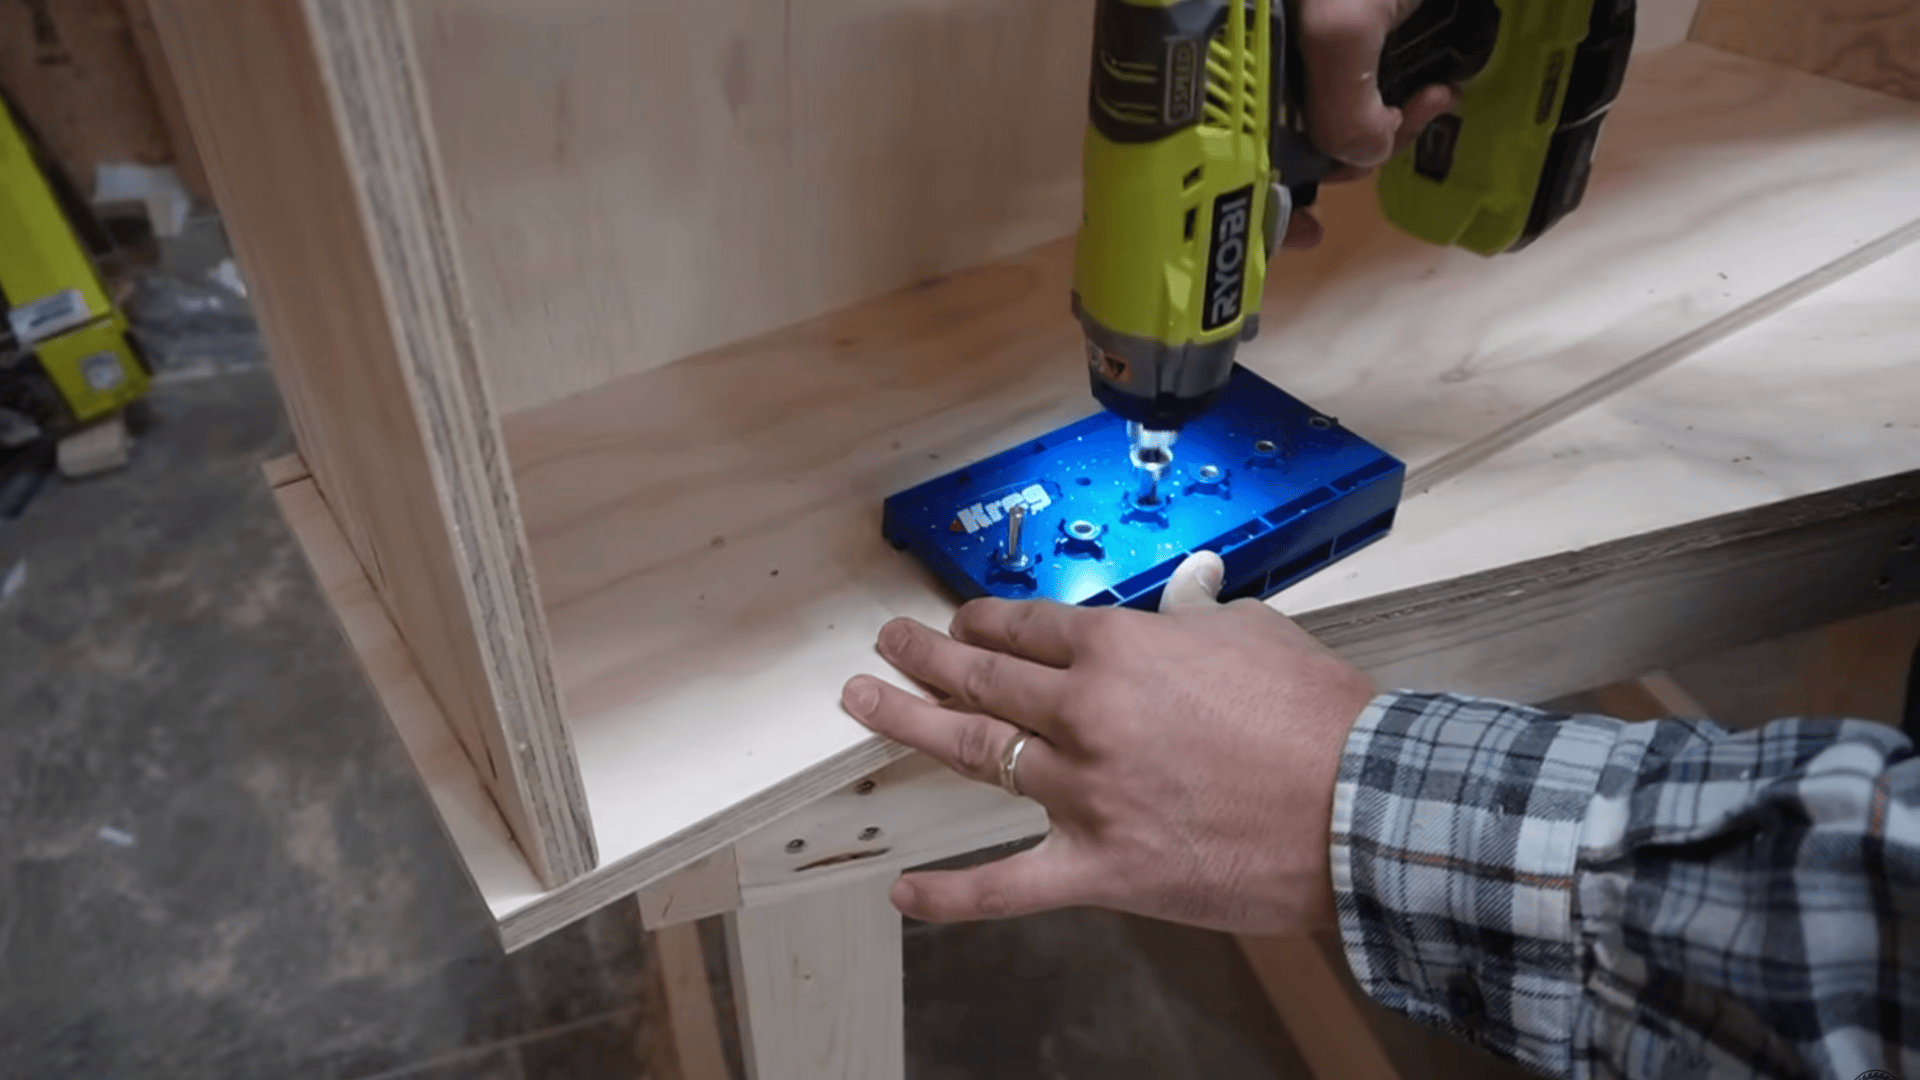
Use a shelf-pin jig to drill evenly spaced holes inside the cabinet box. These holes will support adjustable shelves, so accuracy is important.
Start from one reference point and move consistently to avoid misalignment. Repeat the process on both sides, keeping the hole depth even throughout.
Step 4: Build Face Frames
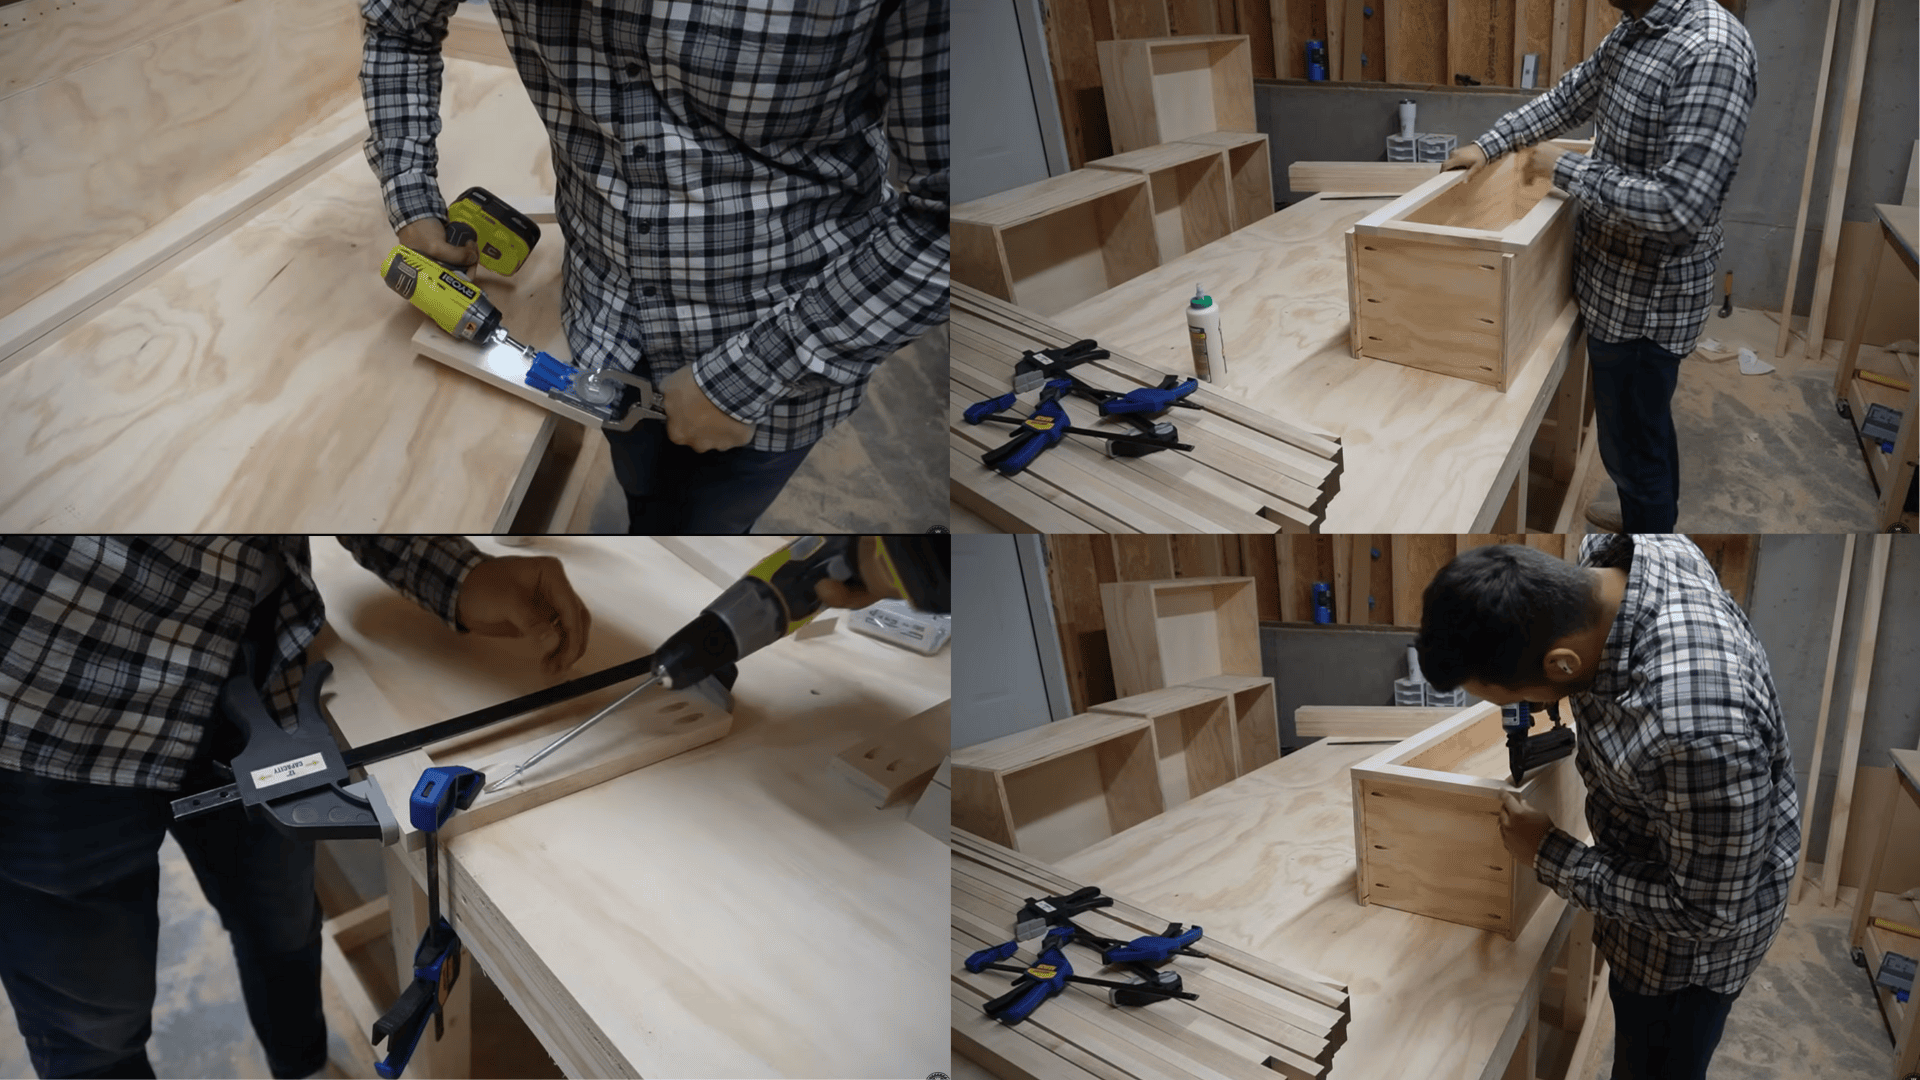
Cut maple rails and stiles, then join them using glue and pocket screws. Clamp each piece tightly to prevent gaps at the joints.
Once assembled, glue the face frame to the cabinet front and secure it with brad nails. Ensure it’s flush and level for a clean finish.
Step 5: Build and Fit Drawers

Cut drawer sides, fronts, backs, and bottoms from plywood. Route a dado to hold the bottom panel securely in place.
Assemble with glue and clamps, keeping the box square. Install slides using spacers so the drawers sit evenly and move smoothly.
Step 6: Make Shaker Doors
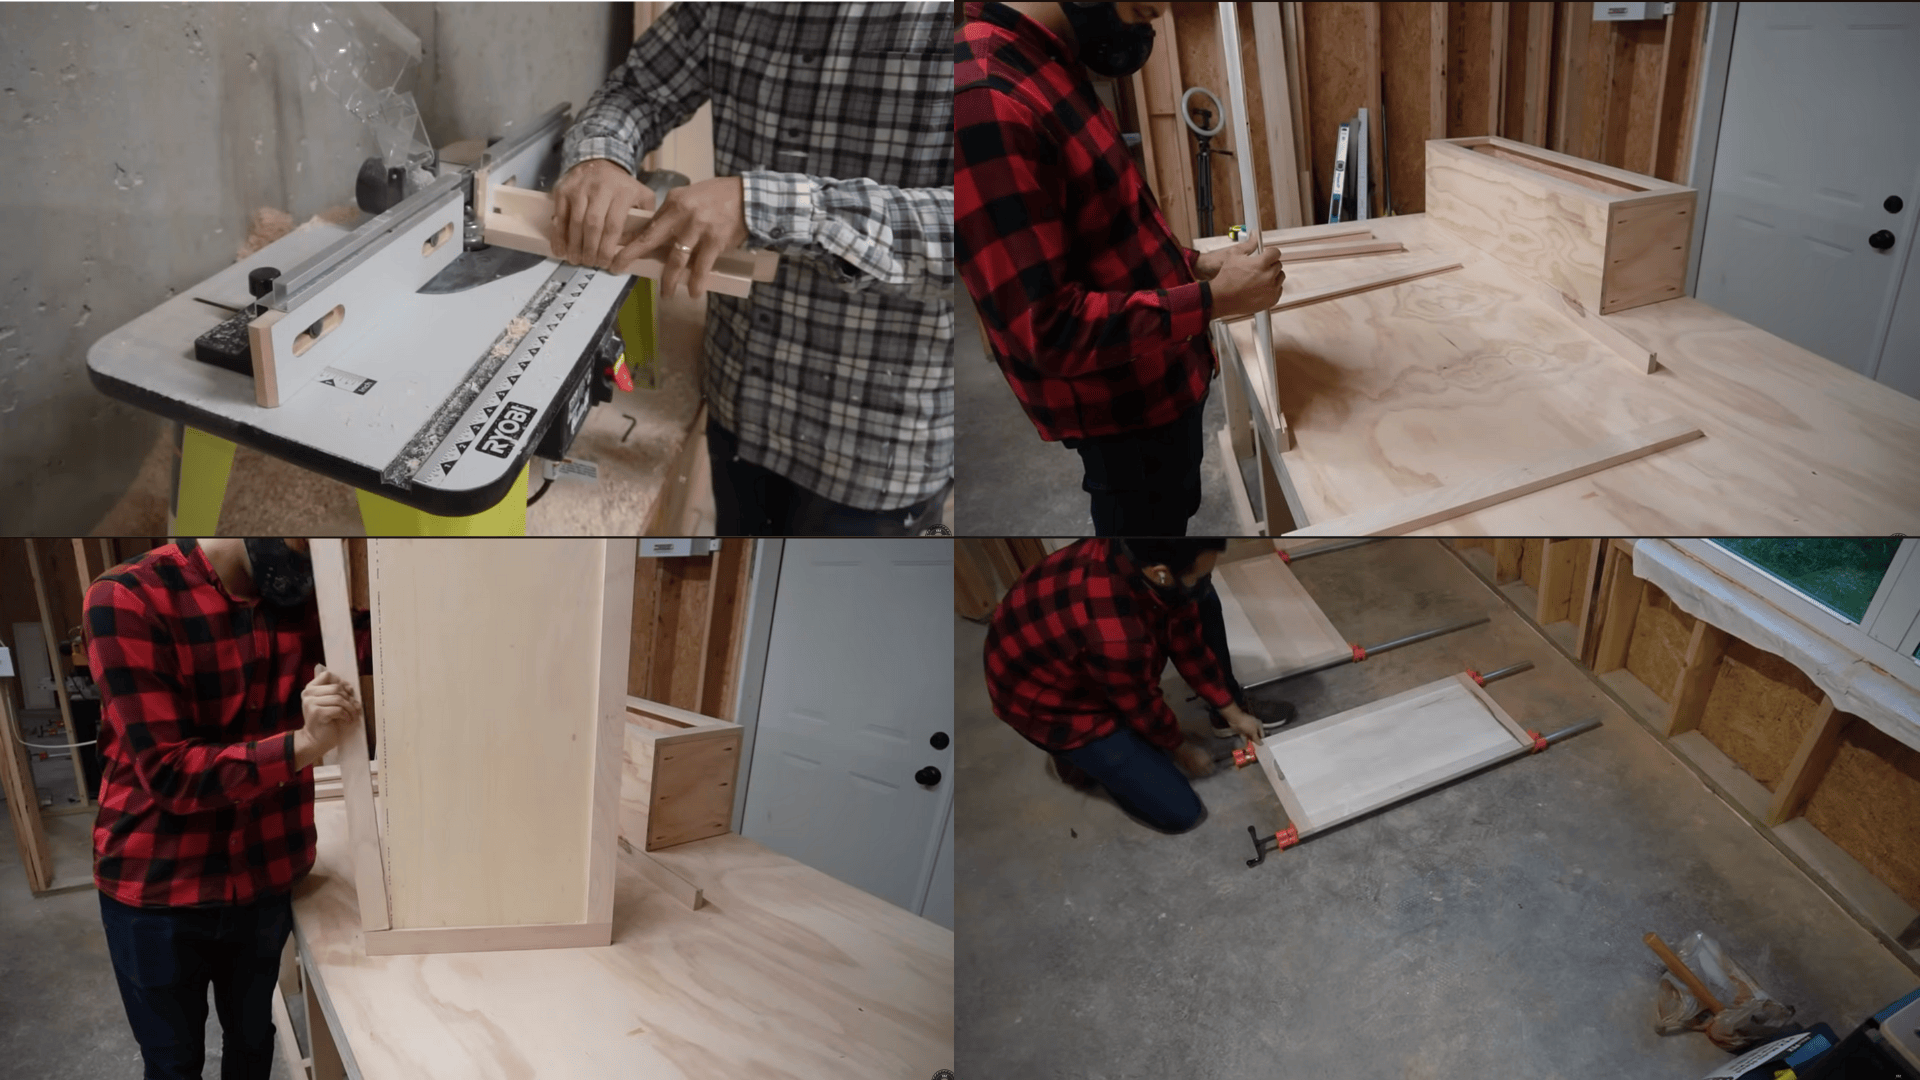
Cut the rails and stiles using a tongue-and-groove router bit. Dry-fit each piece before gluing to ensure proper alignment.
Add the plywood panel in the center and clamp everything lightly until it sets. Avoid over-tightening to prevent bending the wood.
Step 7: Prep the Cabinets for Finish
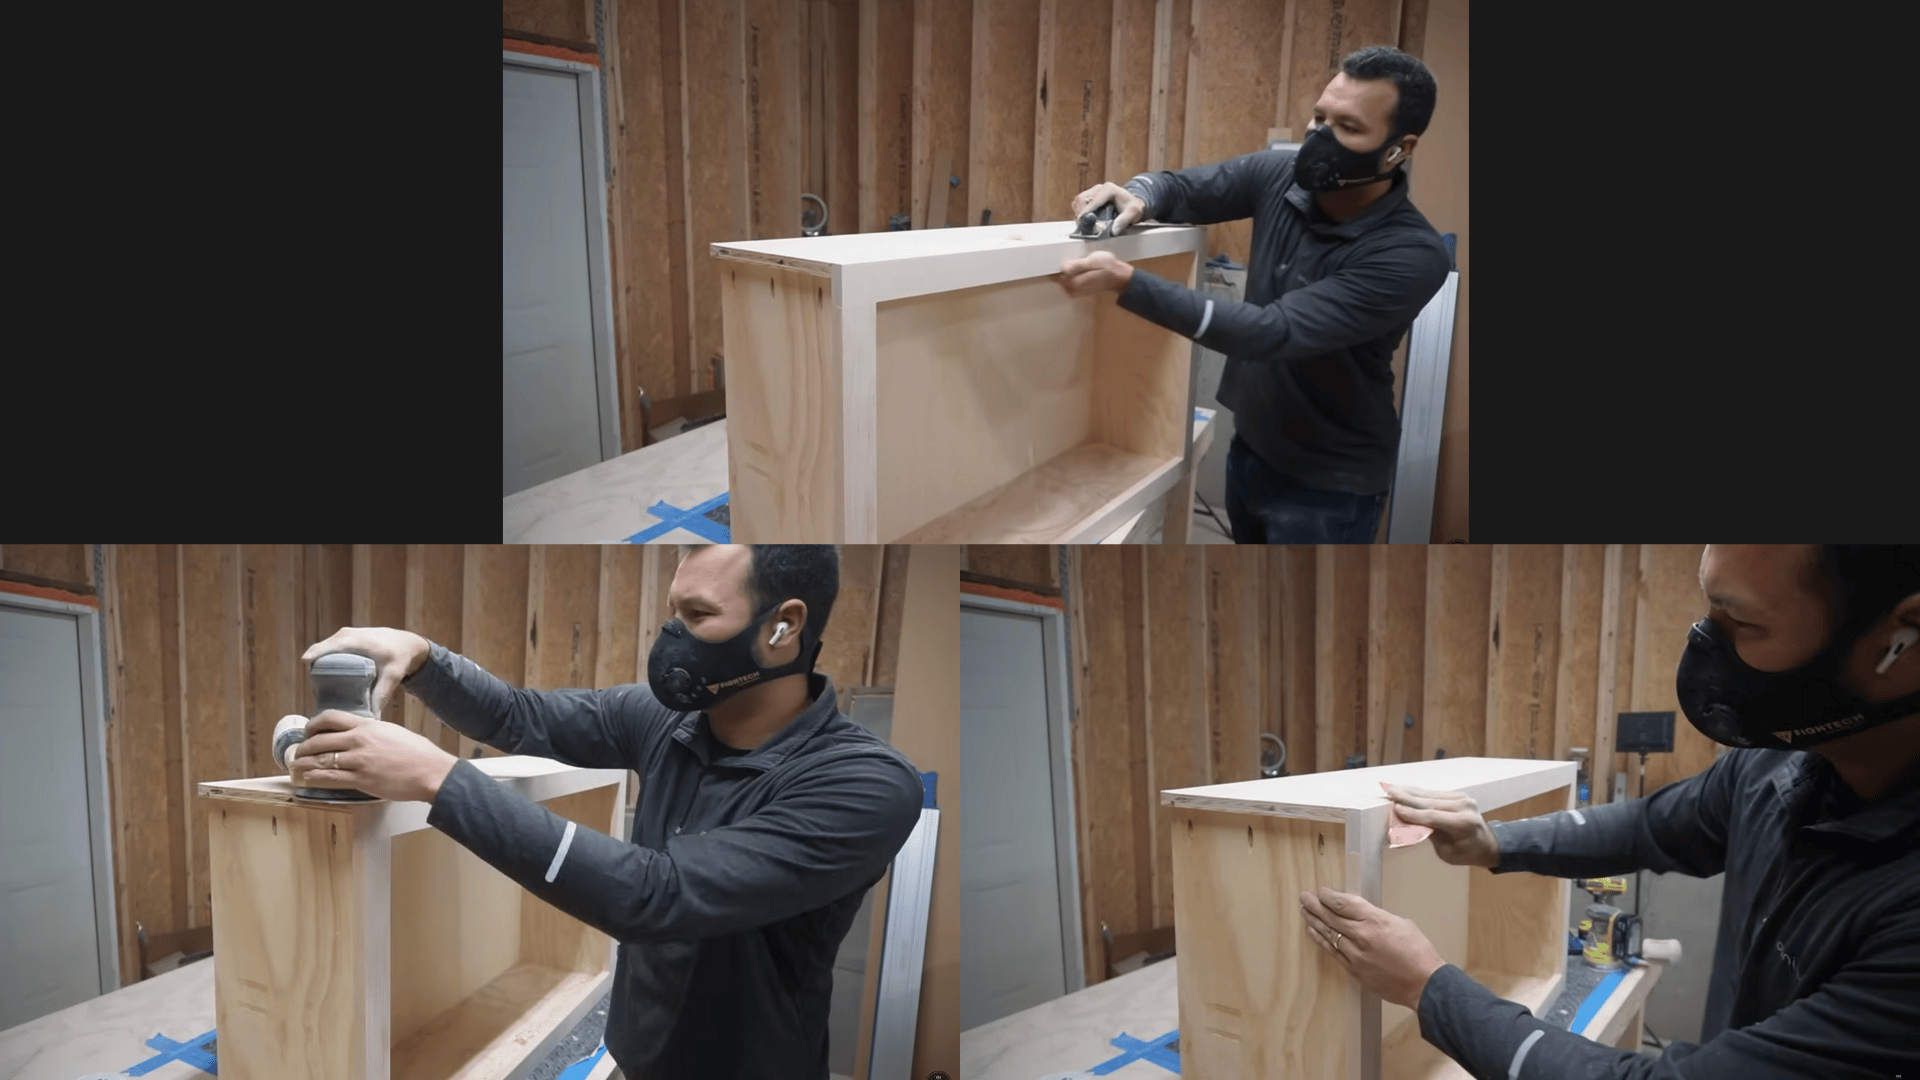
Fill any small nail holes or seams with wood filler and let them dry completely. Use a block plane to level the face frames with the sides.
Sand everything to 220 grit and round off sharp edges slightly. Wipe away dust to prepare for painting.
Step 8: Prime and Paint
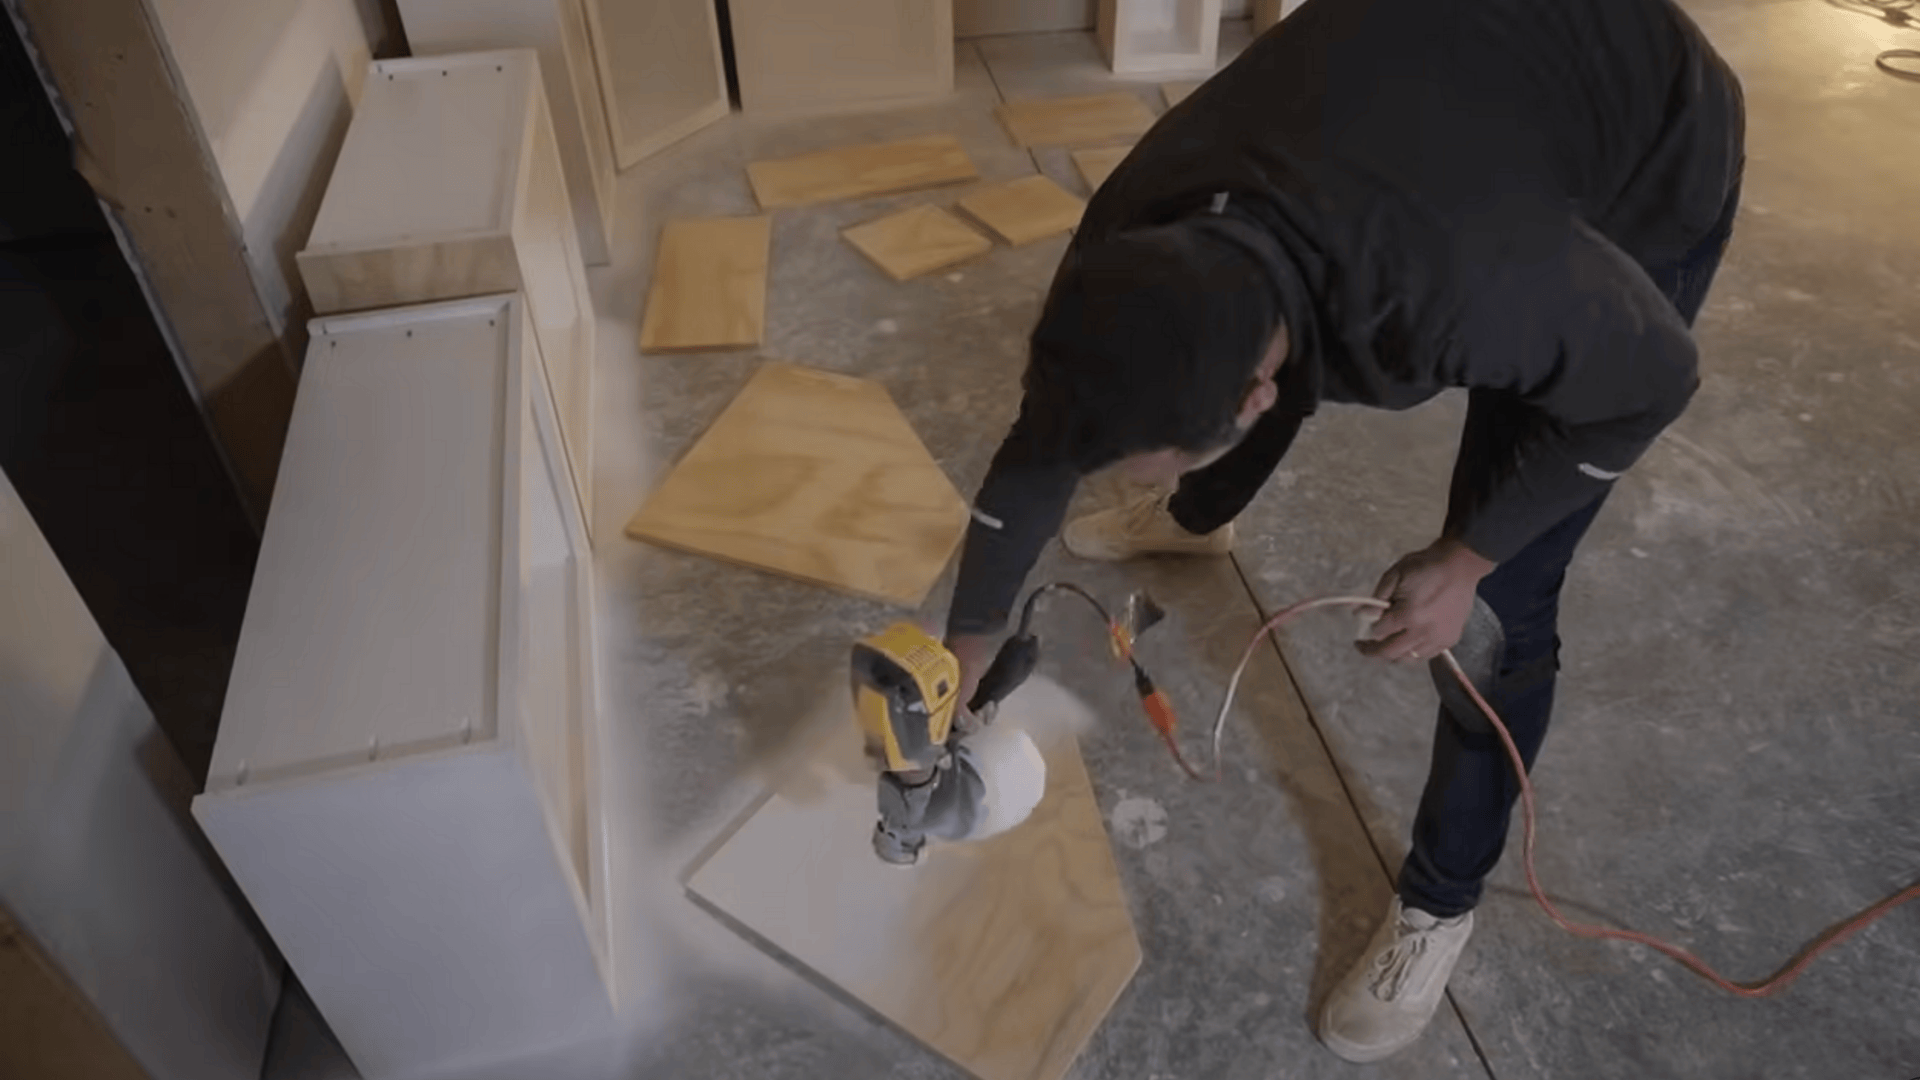
Apply a coat of primer to seal the wood and even out the surface. Let it dry before applying two coats of cabinet enamel.
A sprayer gives the smoothest finish, but a roller or brush works too. Allow each coat to dry thoroughly for durability.
Step 9: Install the Cabinets
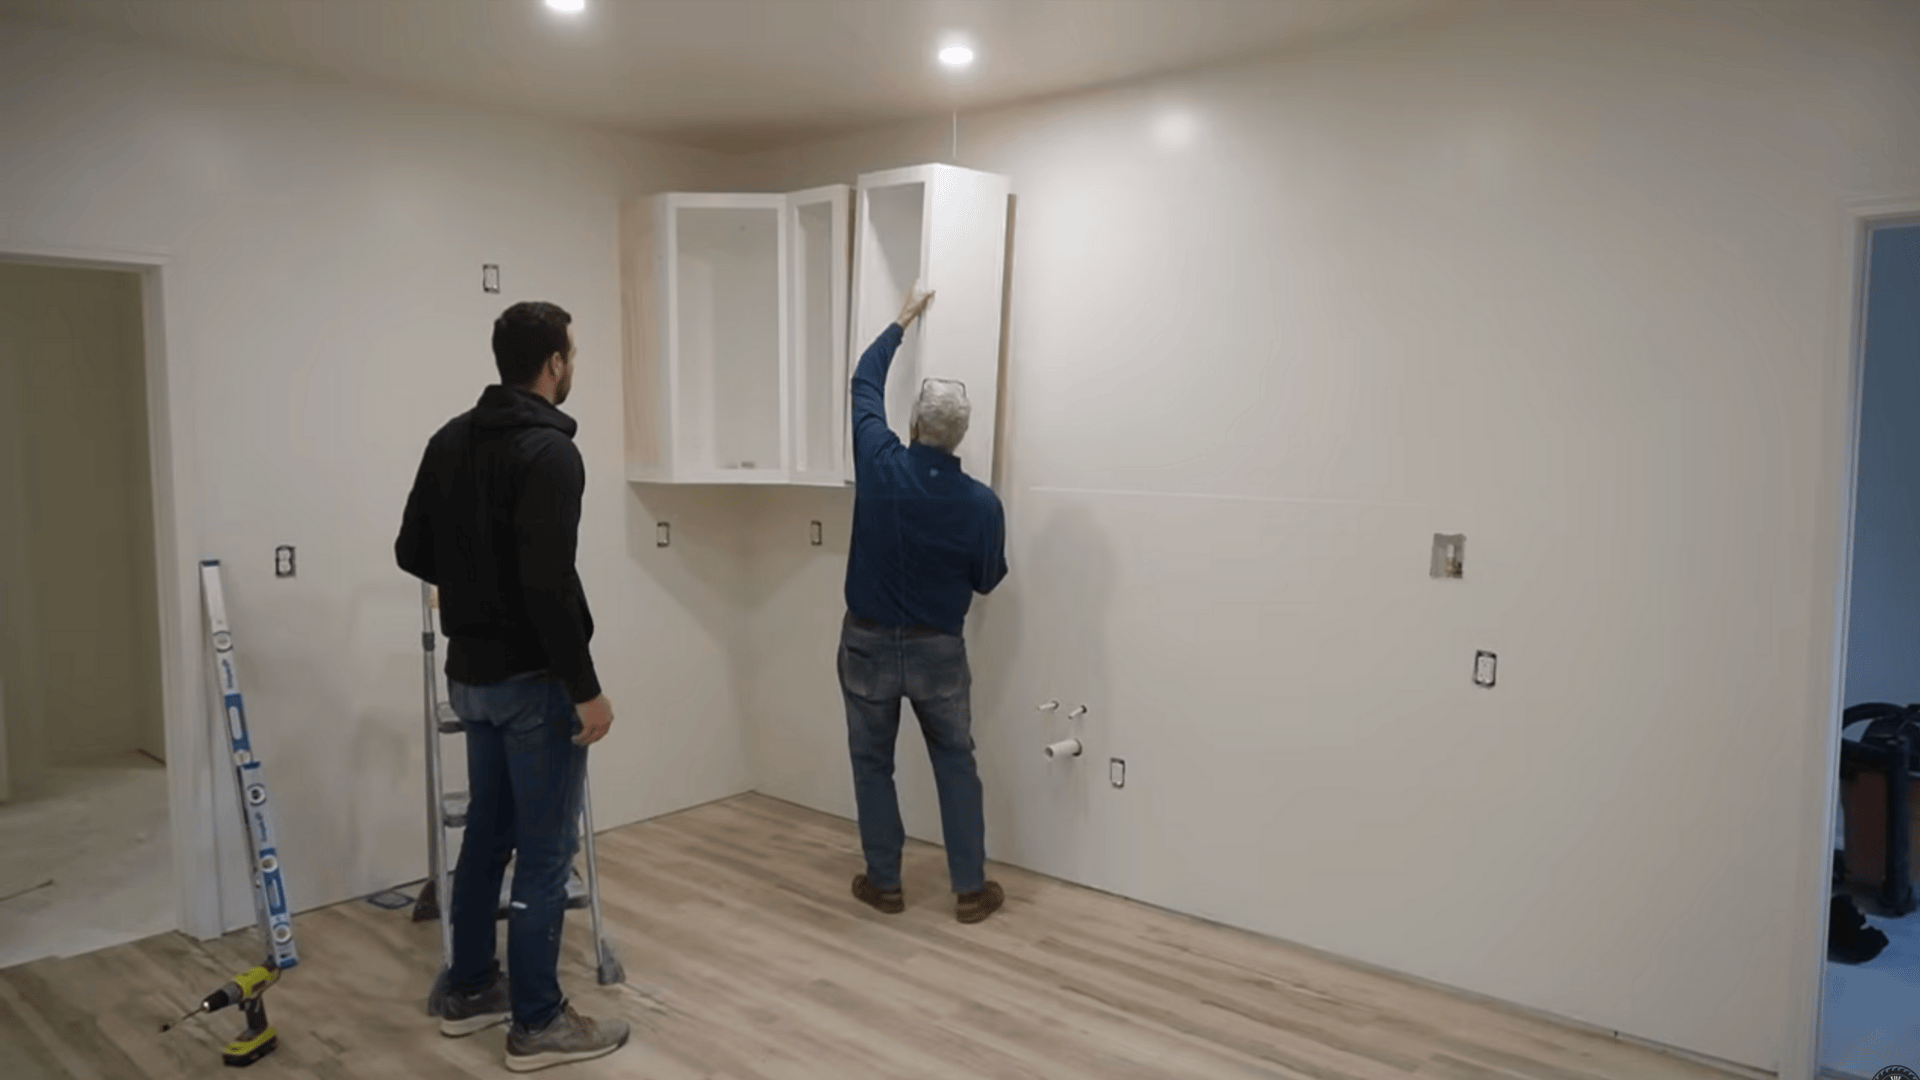
Start with the upper cabinets for easier handling, then move to the lower ones. Use a level to check alignment.
Secure them into wall studs with cabinet screws, then add drawers, doors, and hardware. Adjust everything for smooth movement and even spacing.
If you’d like to watch the full build in action, check out the full DIY video tutorial below:
Cabinet Makeover Ideas
If you already have cabinets in place, a few simple updates can give them a whole new look without rebuilding from scratch. These makeovers are budget-friendly and easy to customize:
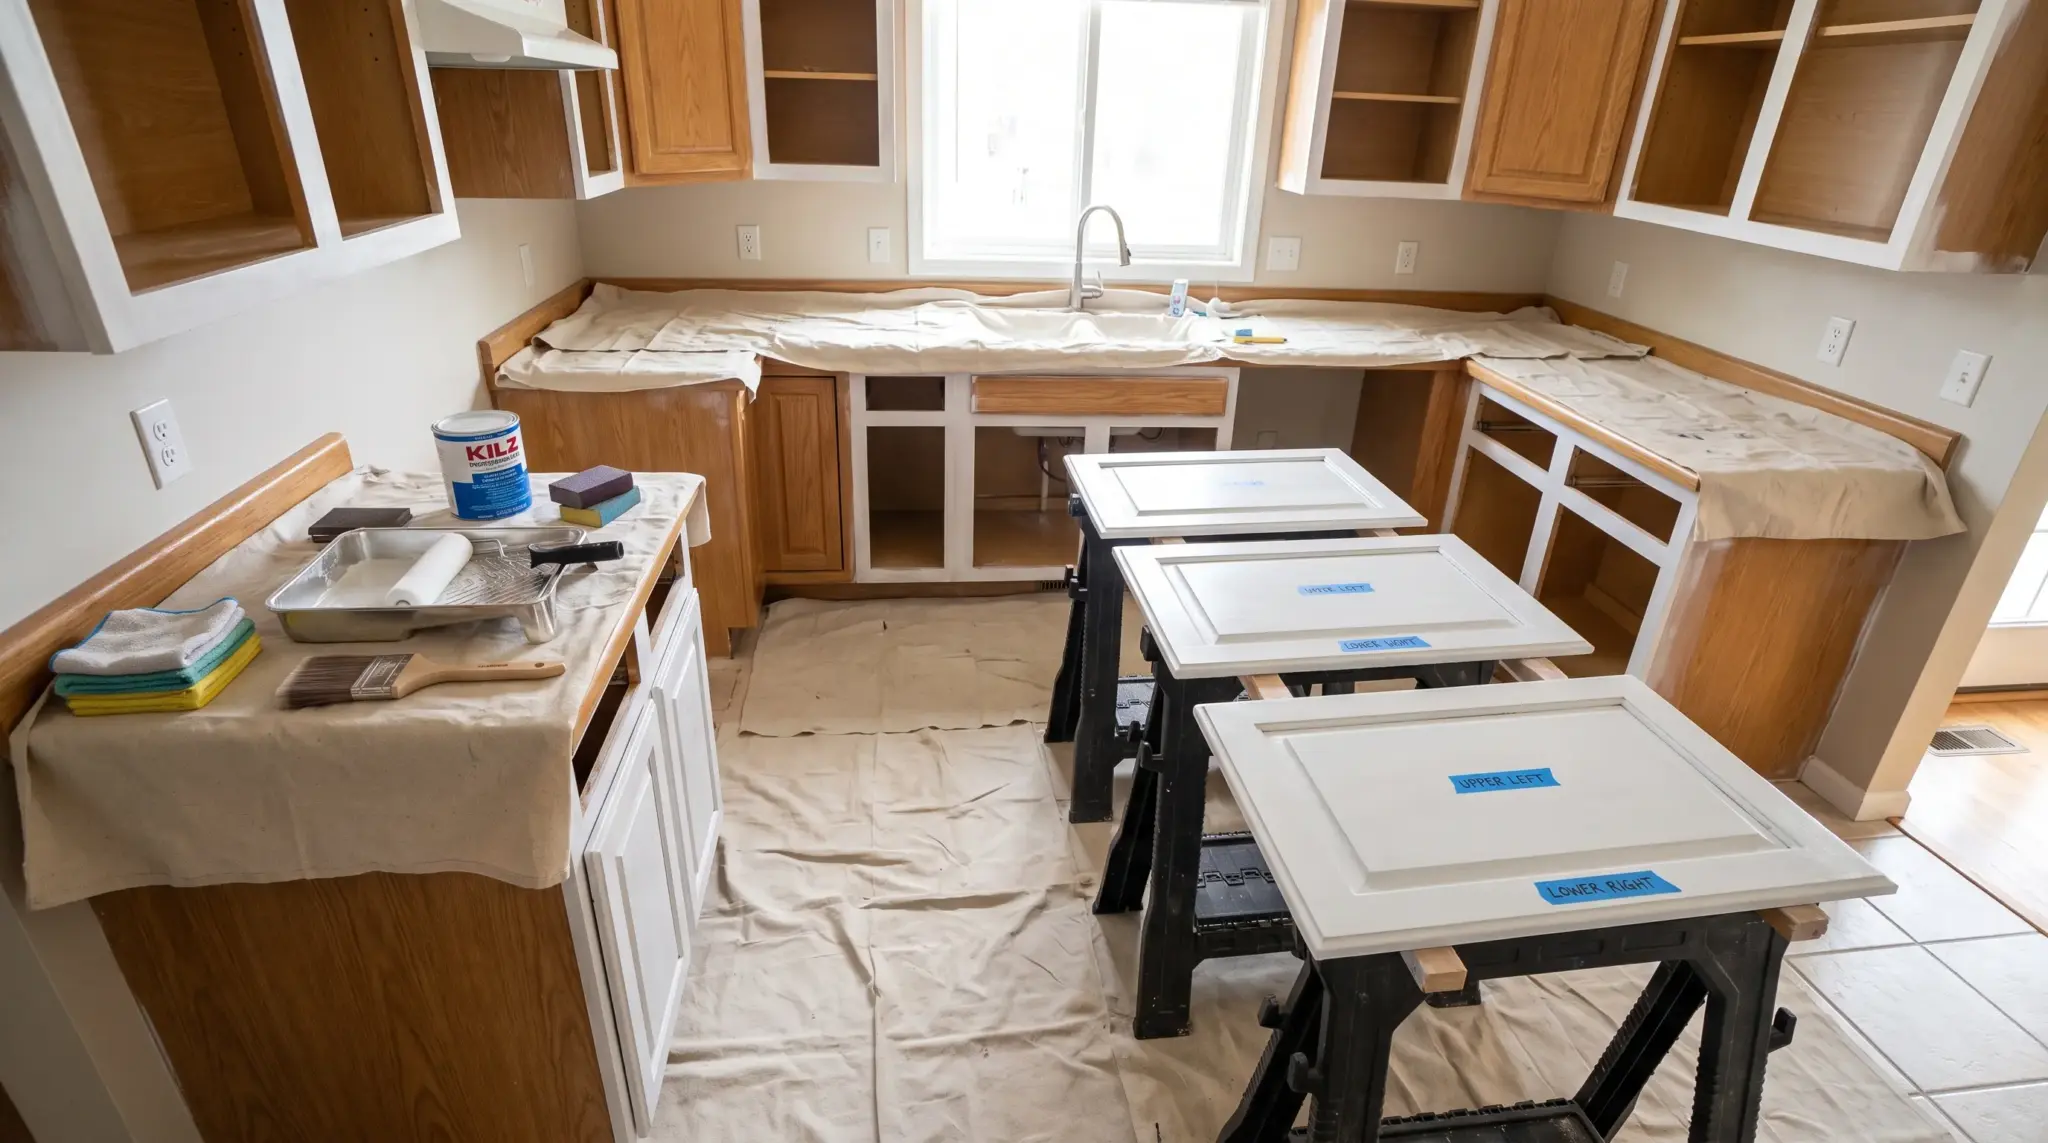
- Painting and refinishing: Sand, prime, and repaint old cabinets for an instant refresh. Neutral or bold colors can completely change the mood of your kitchen.
- Replacing doors or hardware: Swapping out handles, hinges, or even cabinet doors gives your space a quick upgrade with minimal effort.
- Open shelving conversions: Remove upper cabinet doors to create open shelves for a light, airy look. It’s perfect for displaying dishes or decor.
- Farmhouse, modern, and rustic styles: Choose your look with finishes- matte paint for modern, distressed wood for rustic, or white with black hardware for farmhouse feels.
Small updates like these can transform outdated cabinets into something fresh and personal without spending much.
DIY Kitchen Cabinets vs. Store-Bought
| Type | Average Cost Range | Pros | Cons | Best For |
|---|---|---|---|---|
| DIY Cabinets | $1,500 – $2,500 | Lowest cost, full control over design, high durability if built well | Time-consuming, requires tools and skills, potential for mistakes | Homeowners with woodworking experience and time to build |
| RTA Cabinets (Ready-to-Assemble) | $2,500 – $4,500 | Easier assembly, consistent quality, faster setup | Limited customization, medium durability | DIYers who want good value and quicker installation |
| IKEA Cabinets | $3,000 – $5,000 | Affordable, stylish designs, easy to install | Fixed sizes, less durable materials | Homeowners seeking modern looks on a mid-range budget |
| Custom Cabinets | $8,000 – $20,000+ | Perfect fit, professional craftsmanship, premium materials | Most expensive, long build time | Those wanting luxury finishes and long-term quality |
This comparison shows that DIY offers the most savings, RTA and IKEA balance cost and convenience, while custom cabinets deliver top quality at a higher price.
Tips for a Professional Finish
A few small details can make your DIY cabinets look polished and long-lasting. These finishing touches help your project look more like a custom build than a weekend project:
- Use high-quality paint or sealant: It provides a smoother finish and better protection against moisture and stains.
- Add trim or crown molding: This simple addition gives your cabinets a clean, built-in appearance.
- Install soft-close hinges: They make your drawers and doors close gently, adding a modern, high-end feel.
Review your kitchen cabinet plans before finishing to ensure all dimensions and door placements align correctly for a seamless look.
Common Mistakes to Avoid
Even small errors can affect how your cabinets look and function. Paying attention to details early saves time and money later:
| Mistake | Why It’s a Problem | How to Avoid It |
|---|---|---|
| Skipping measurements | Leads to poor fits, uneven gaps, and wasted material. | Measure twice and cut once. Double-check dimensions before cutting or assembling. |
| Using low-quality plywood | Causes warping, weak joints, and rough finishes over time. | Choose cabinet-grade plywood, such as birch or maple, for strength and stability. |
| Not sealing edges properly | Exposed edges absorb moisture and are easily damaged. | Apply edge banding or seal with primer and paint to protect against wear. |
Final Thoughts
Building DIY kitchen cabinets is more than just a weekend project; it’s a rewarding way to save money, customize your space, and learn real hands-on skills.
With the right tools, patience, and planning, you can turn raw plywood into beautiful, functional cabinets that fit your kitchen perfectly.
You now know the process, from cutting and assembling to painting and finishing, and how it compares to store-bought options.
If you’re ready to bring new life to your kitchen, start small, trust your plan, and enjoy the build. Once it’s done, you’ll feel proud knowing every detail came from your own hands!