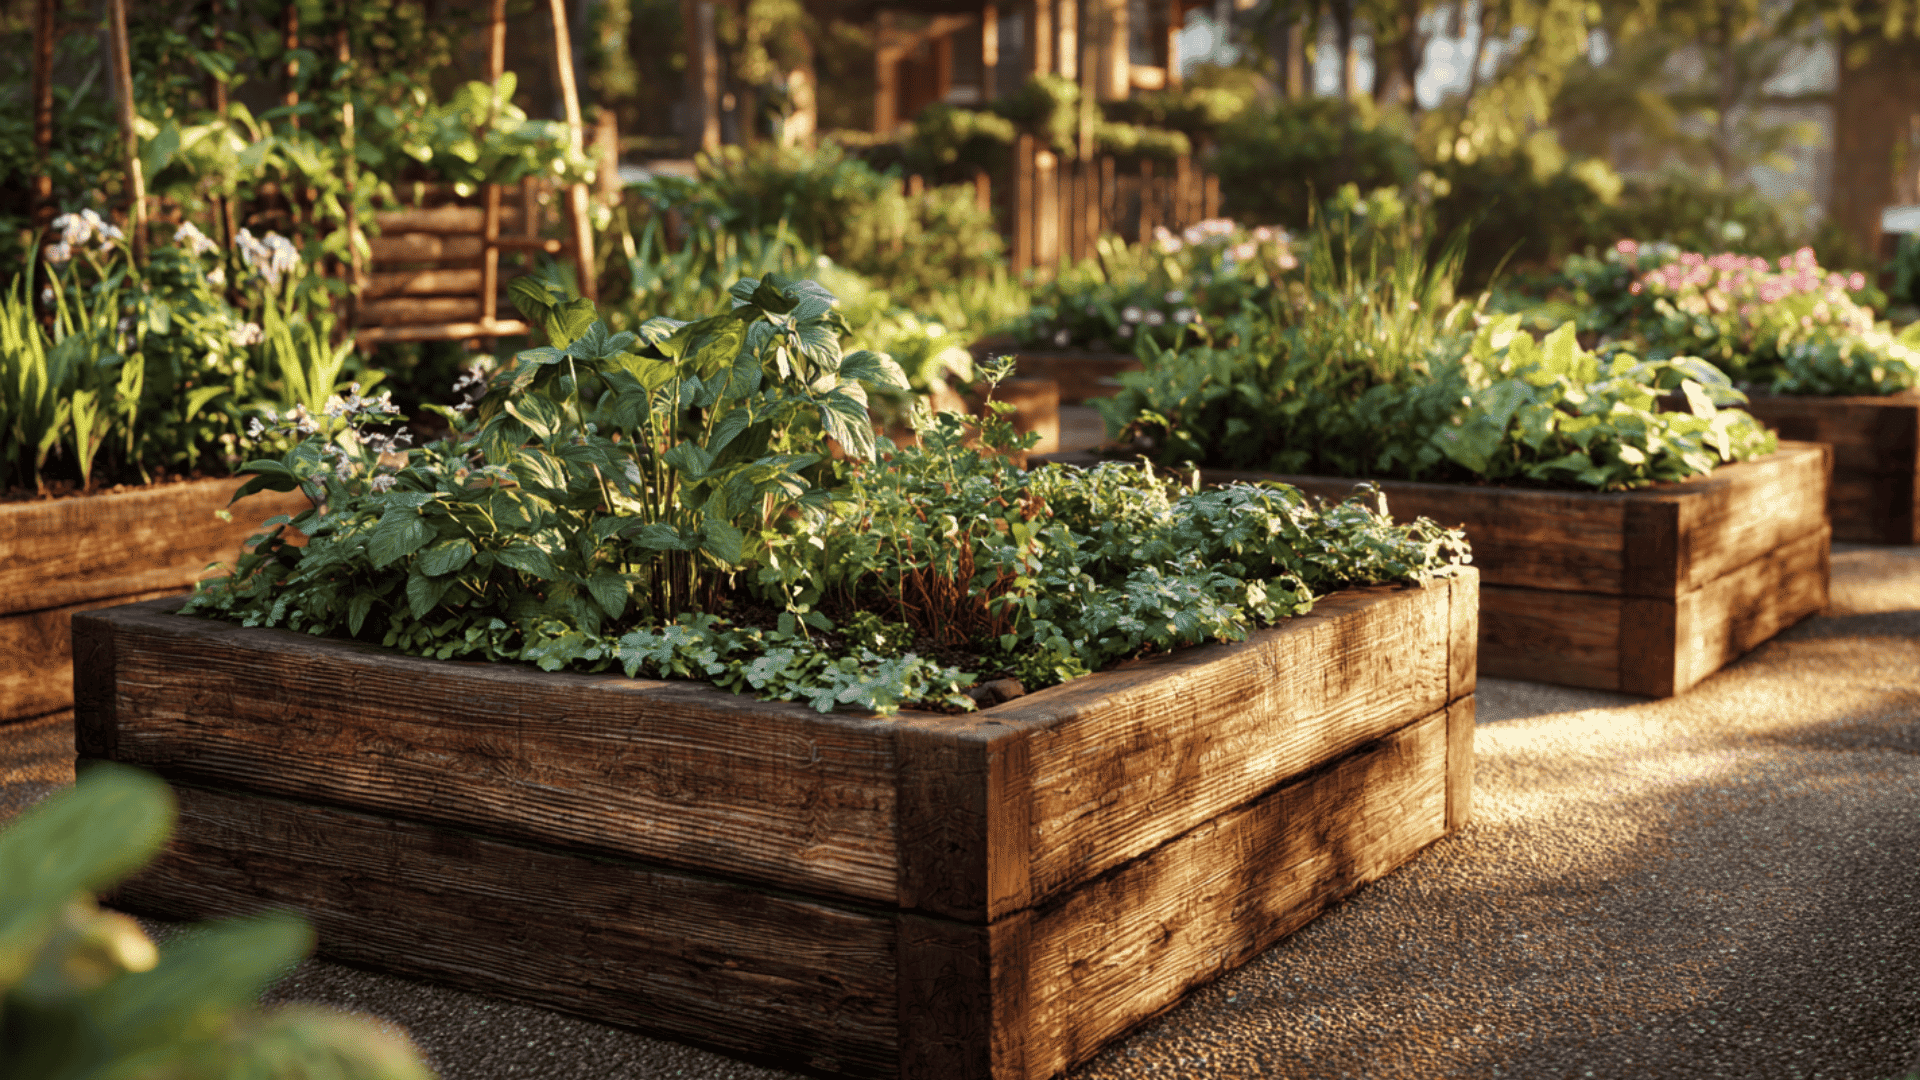




Layering isn’t just about stacking soil; it’s about creating a living system that drains well, stays fertile, and helps your plants thrive season after season.
If you’ve been searching for the easiest way to build a raised bed that truly lasts, this guide walks you through everything from how to start to how to use what you already have.
By the end, you’ll know exactly how to layer your bed right, save money, and grow stronger, healthier plants all without confusion or guesswork.
Why Layering Matters in a Raised Garden Bed
Layering makes a raised garden bed efficient and long-lasting. Each layer supports plant health in a specific way:
- Drainage: A base layer that lets water flow freely keeps roots from sitting in soggy soil.
- Nutrients: Compost and organic matter slowly break down to feed your plants.
- Air Flow: Small gaps between materials keep the soil light, so roots can breathe.
- Savings: Using free materials like sticks, leaves, and cardboard reduces how much soil you need to buy.
Using only topsoil causes compaction and poor drainage. Layering creates a balanced soil system that stays loose, fertile, and biologically active year after year.
The Layering Structure – Bottom to Top
Building your raised garden bed in layers helps you use materials wisely and create healthy, well-draining soil. Here’s a simple breakdown of what to include at each level for the best results:
| Layer | Purpose | Recommended Materials | Depth / Notes | Tips & Cautions |
|---|---|---|---|---|
| Base Layer (Bottom) | Provides drainage and prevents waterlogging. | Branches, logs, wood chips, or yard waste (Hugelkultur-style). | Use for deep beds; for beds under 12″, apply a thin layer or skip. | Avoid gravel or stones – they can cause poor drainage. |
| Middle Layer | Fills space cheaply and adds nutrients as it decomposes. | Partially decomposed compost, leaves, grass clippings, aged manure, cardboard, or newspaper. | Makes up most of the bed in deep setups; keep thin for shallow beds. | Keep materials slightly moist to help decomposition. |
| Top Layer (Planting Soil) | The main rooting zone provides plants with nutrients and structure. | High-quality topsoil mixed with compost; add perlite or vermiculite if needed. | 6–12 inches deep, depending on bed height and plant type. | Blend compost and soil well; local compost helps reduce cost. |
This layered setup keeps the soil loose, drains properly, and supports steady plant growth.
DIY Raised Garden Bed Layering Techniques
These advanced layering methods improve soil health, save water, and reduce waste. Each technique uses organic materials in a slightly different way to suit your space, soil, and gardening goals:
1. Hugelkultur Layering Technique
Hugelkultur uses logs and wood at the base of your bed to hold moisture and slowly release nutrients. It’s ideal for deep raised beds and long-term soil improvement.
Step 1: Base Layer – Wood and Branches
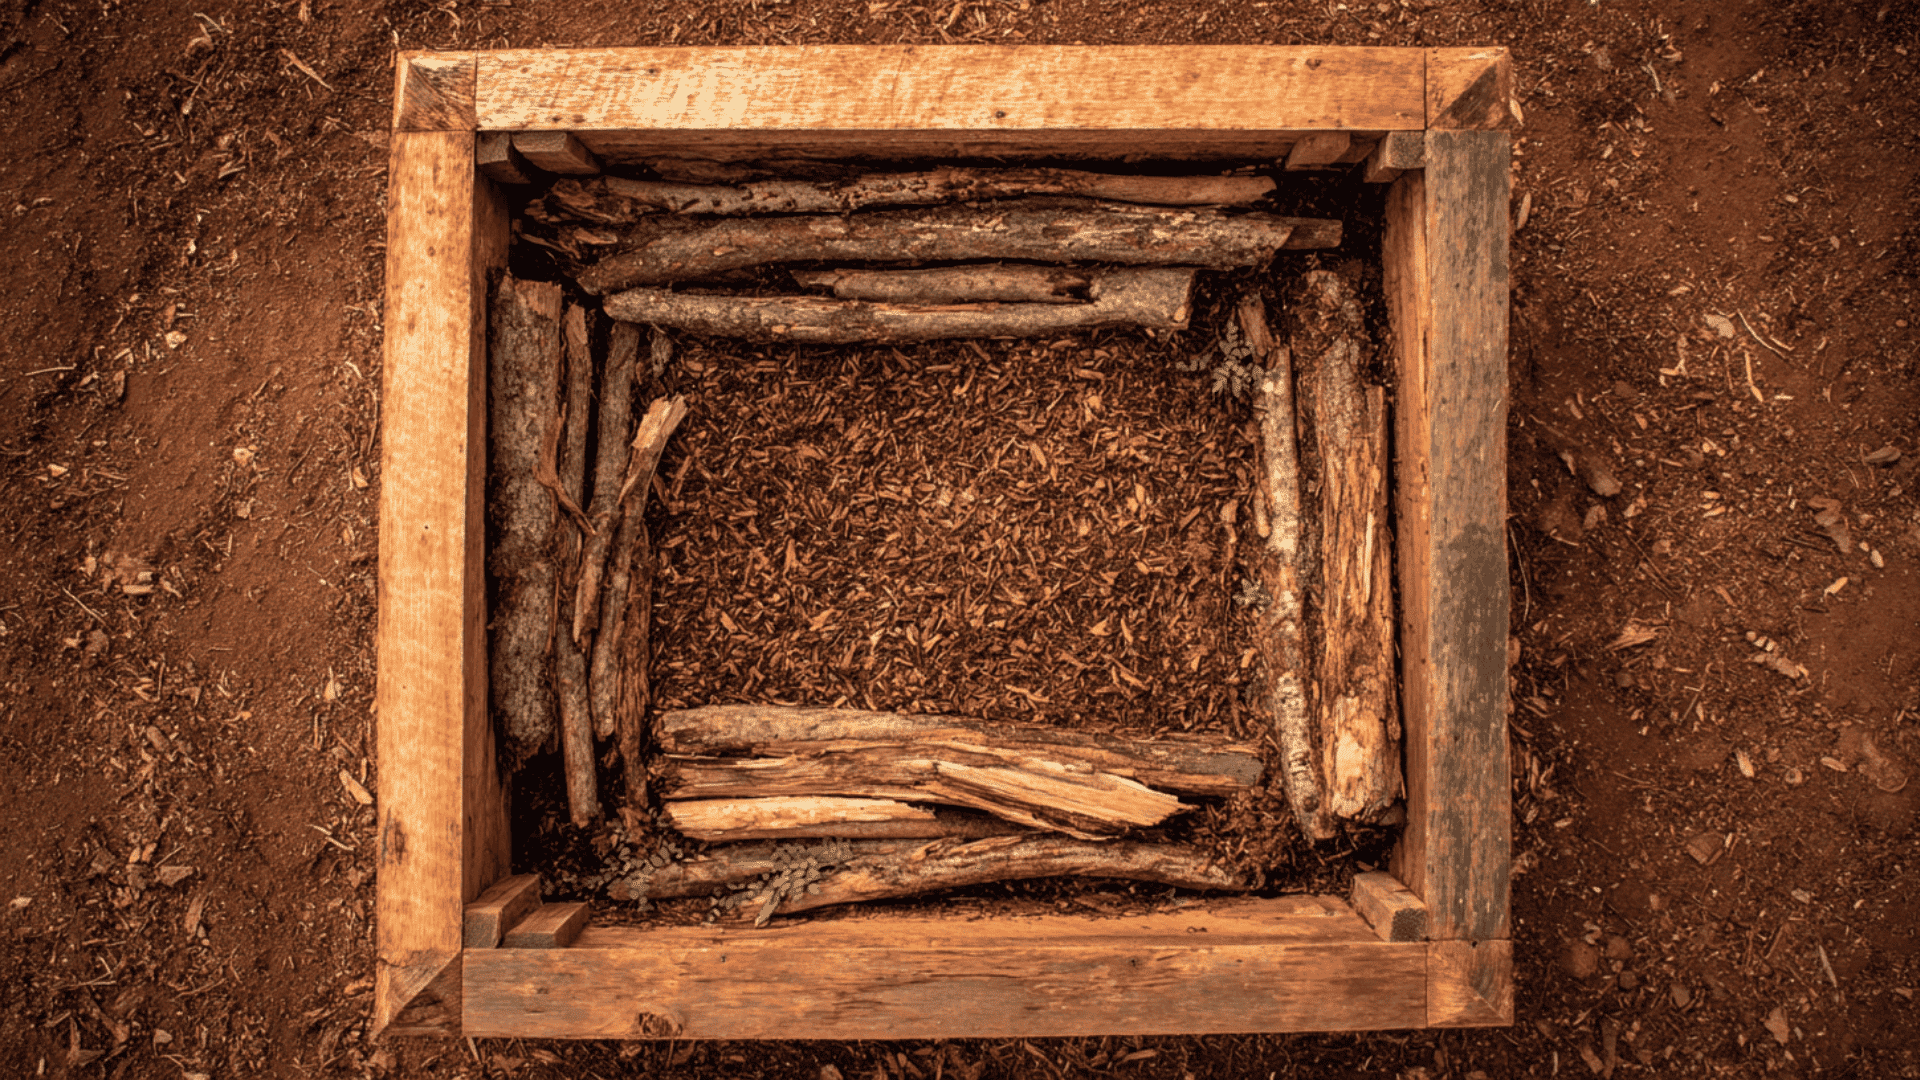
Lay down thick logs or branches at the bottom of your bed. These absorb and store moisture during rains, slowly releasing it when the soil dries out.
Add smaller sticks or wood chips to fill gaps between large pieces. This creates air pockets that improve drainage and prevent waterlogging at the base.
Step 2: Organic Matter Layer
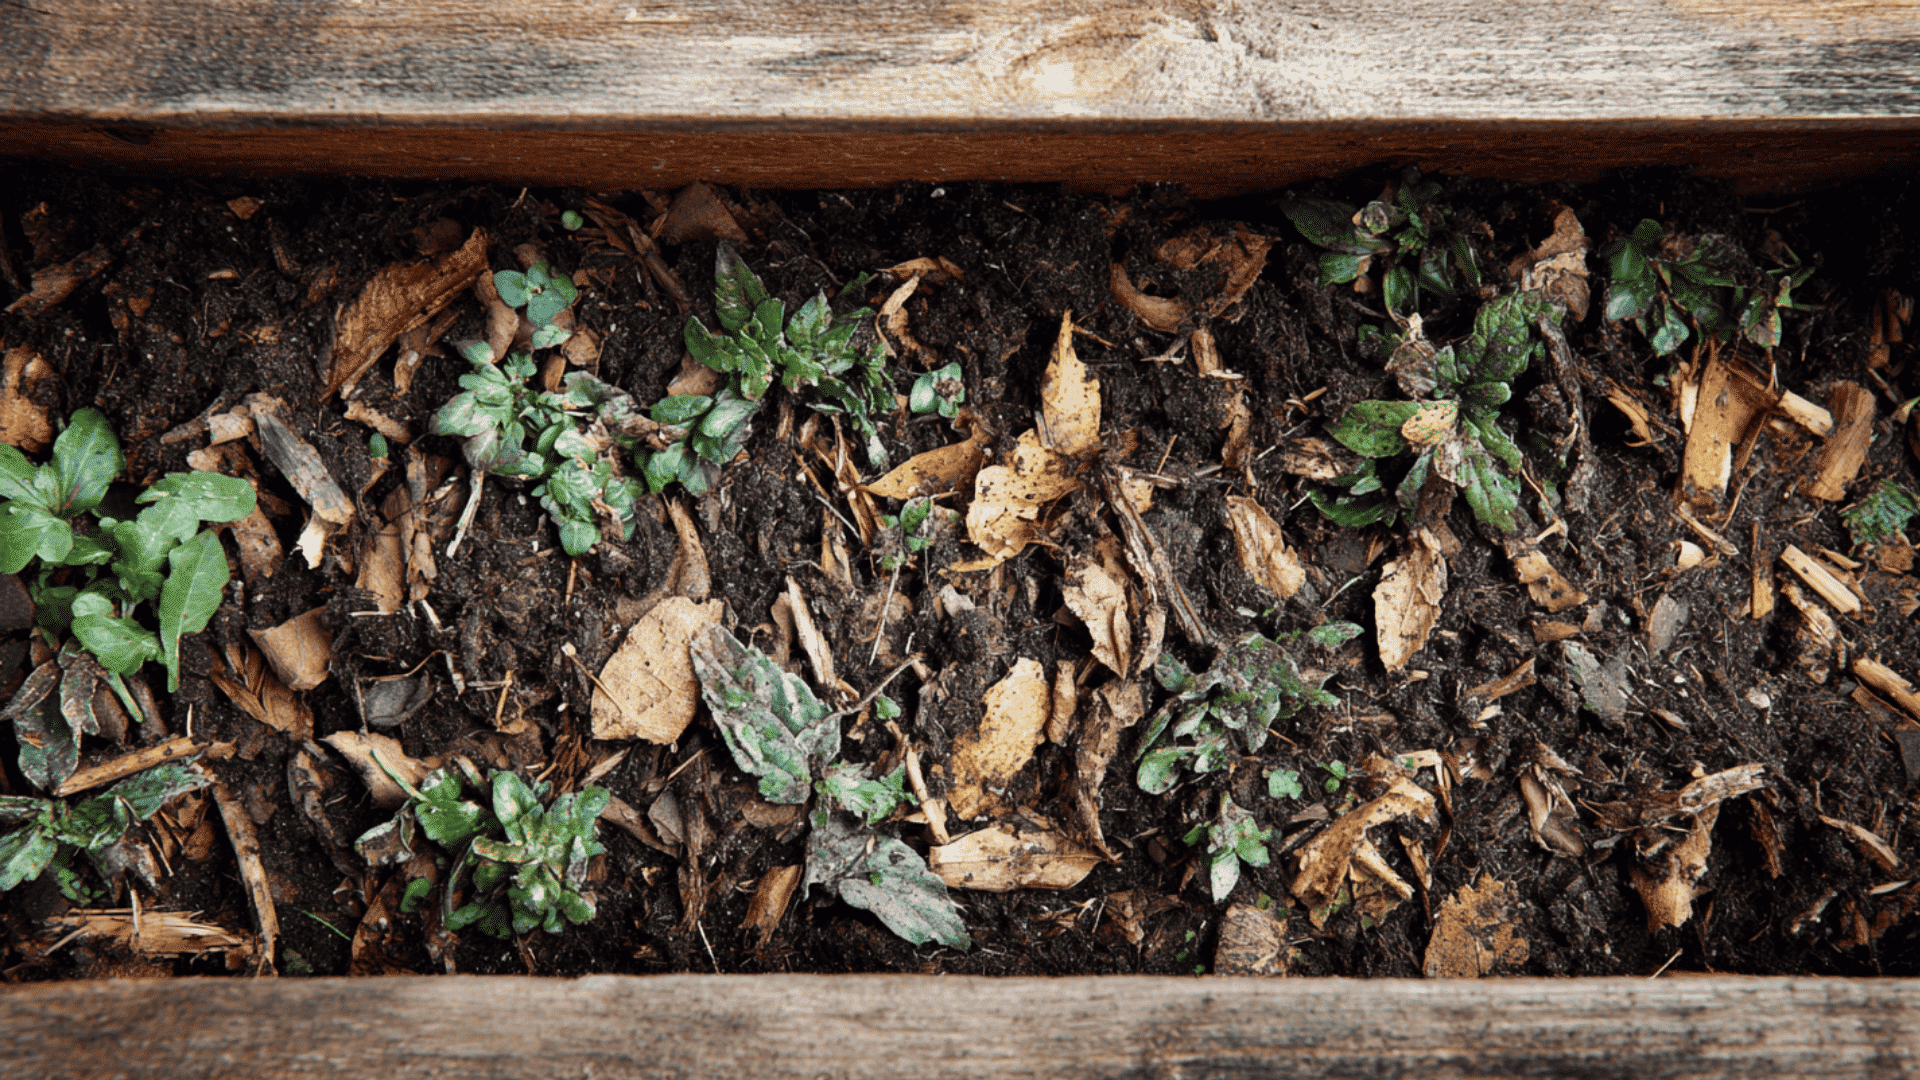
Place a layer of leaves, compost, or grass clippings over the wood. This helps fill spaces, adds nitrogen, and balances the carbon from the wood below.
The mix of greens and browns speeds up decomposition, turning the lower layers into rich, crumbly soil over time.
Step 3: Top Layer – Soil and Compost Mix
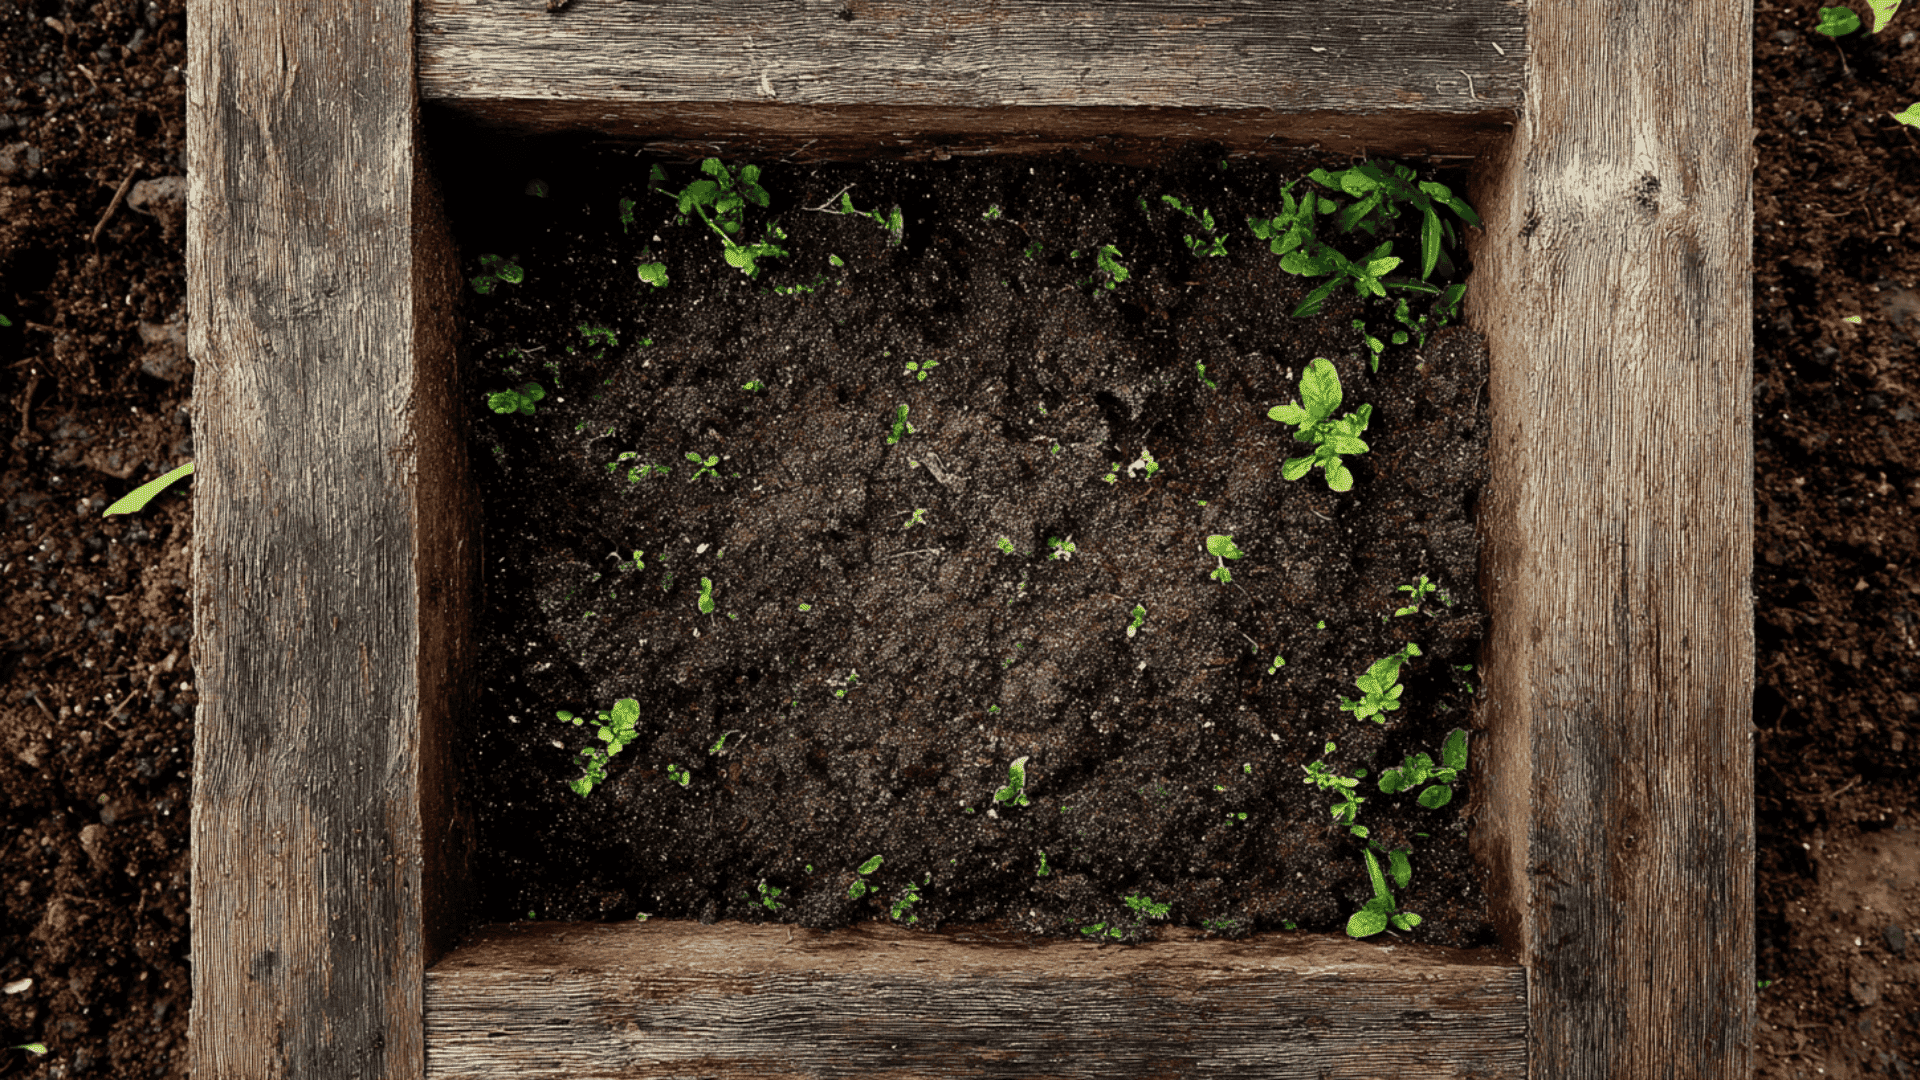
Finish with 6–12 inches of compost-rich soil. This layer provides a nutrient-rich base for plant roots to grow easily.
As the layers beneath break down, they continuously feed the topsoil, keeping it fertile for years without frequent replanting.
2. Lasagna or Keyhole Layering Technique
This compost-style technique builds a garden bed from layers of organic materials. It’s an efficient, low-cost way to turn waste into healthy soil.
Step 1: Bottom Layer – Cardboard or Newspaper
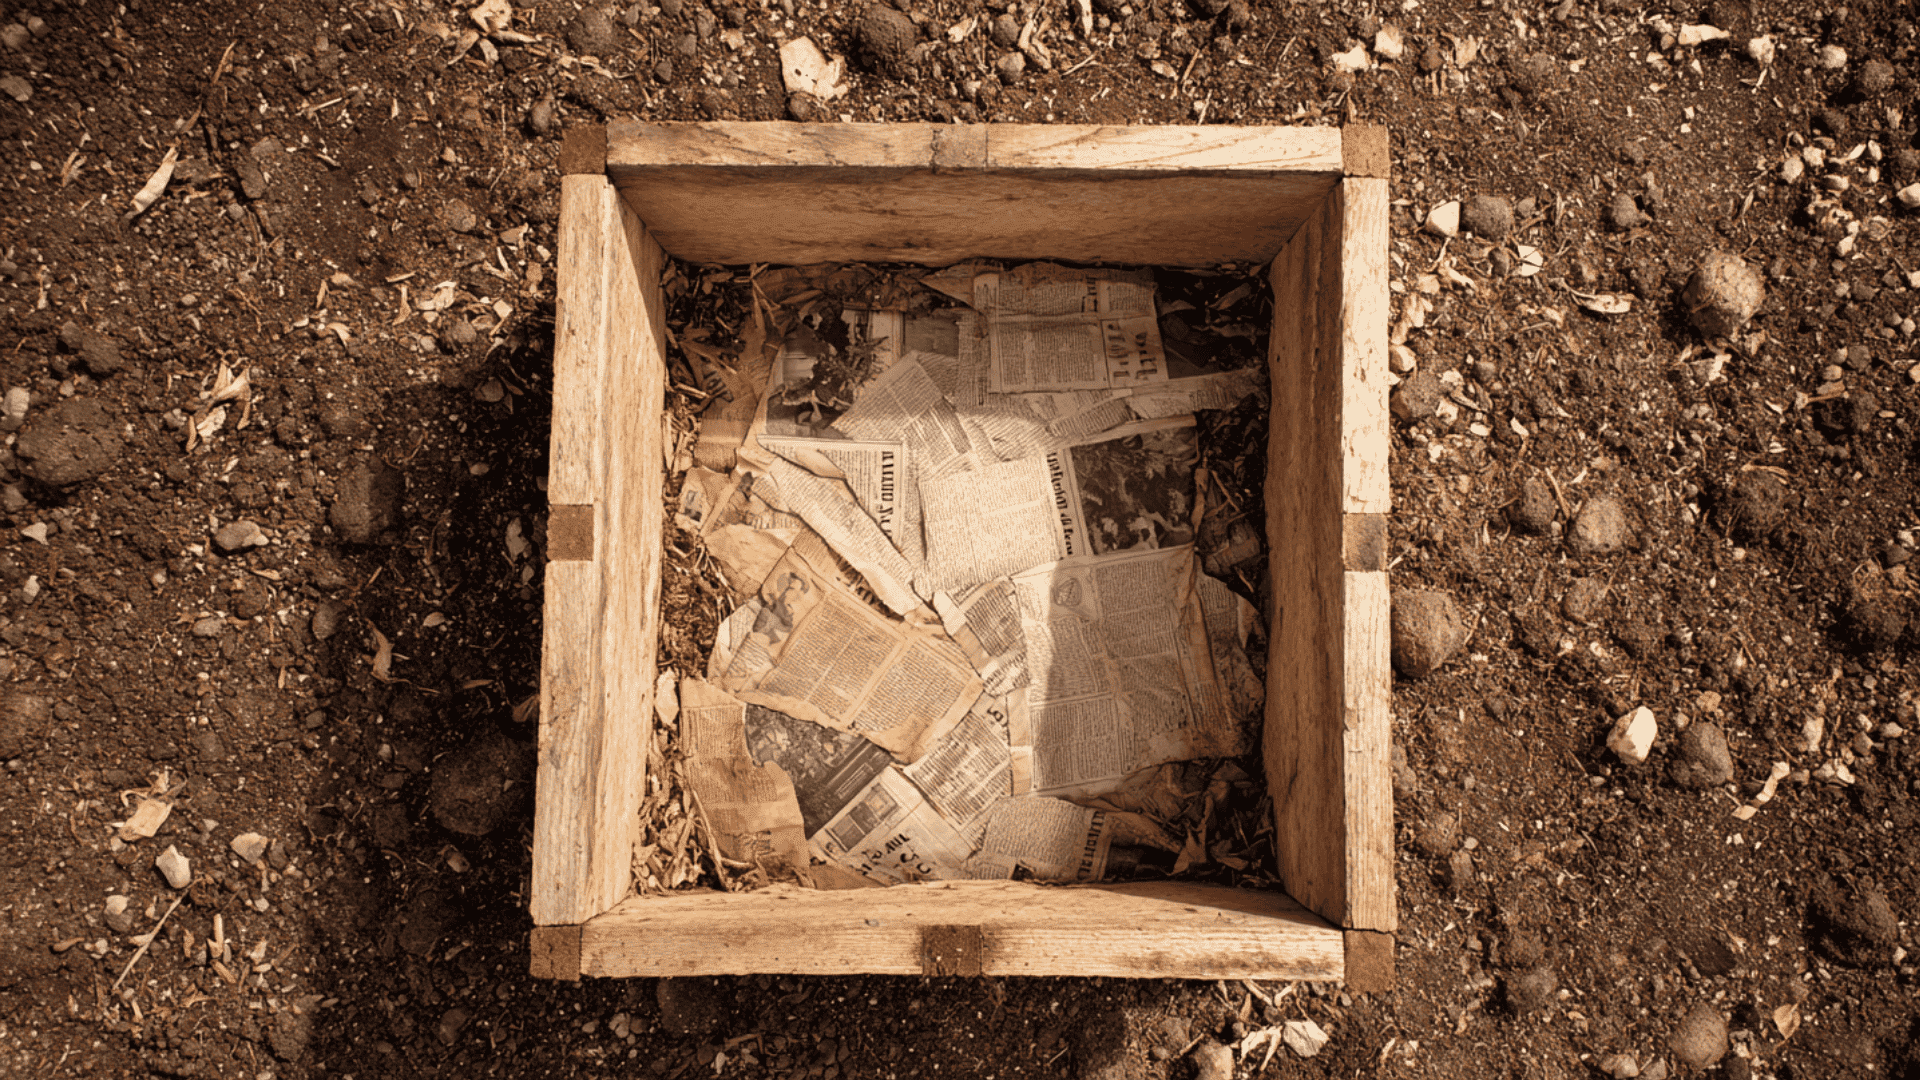
Lay down cardboard or newspaper sheets directly on the ground. This blocks weeds while letting air and water pass through easily.
Over time, the paper decomposes naturally, adding carbon and improving soil texture below the bed.
Step 2: Middle Layers – Browns and Greens
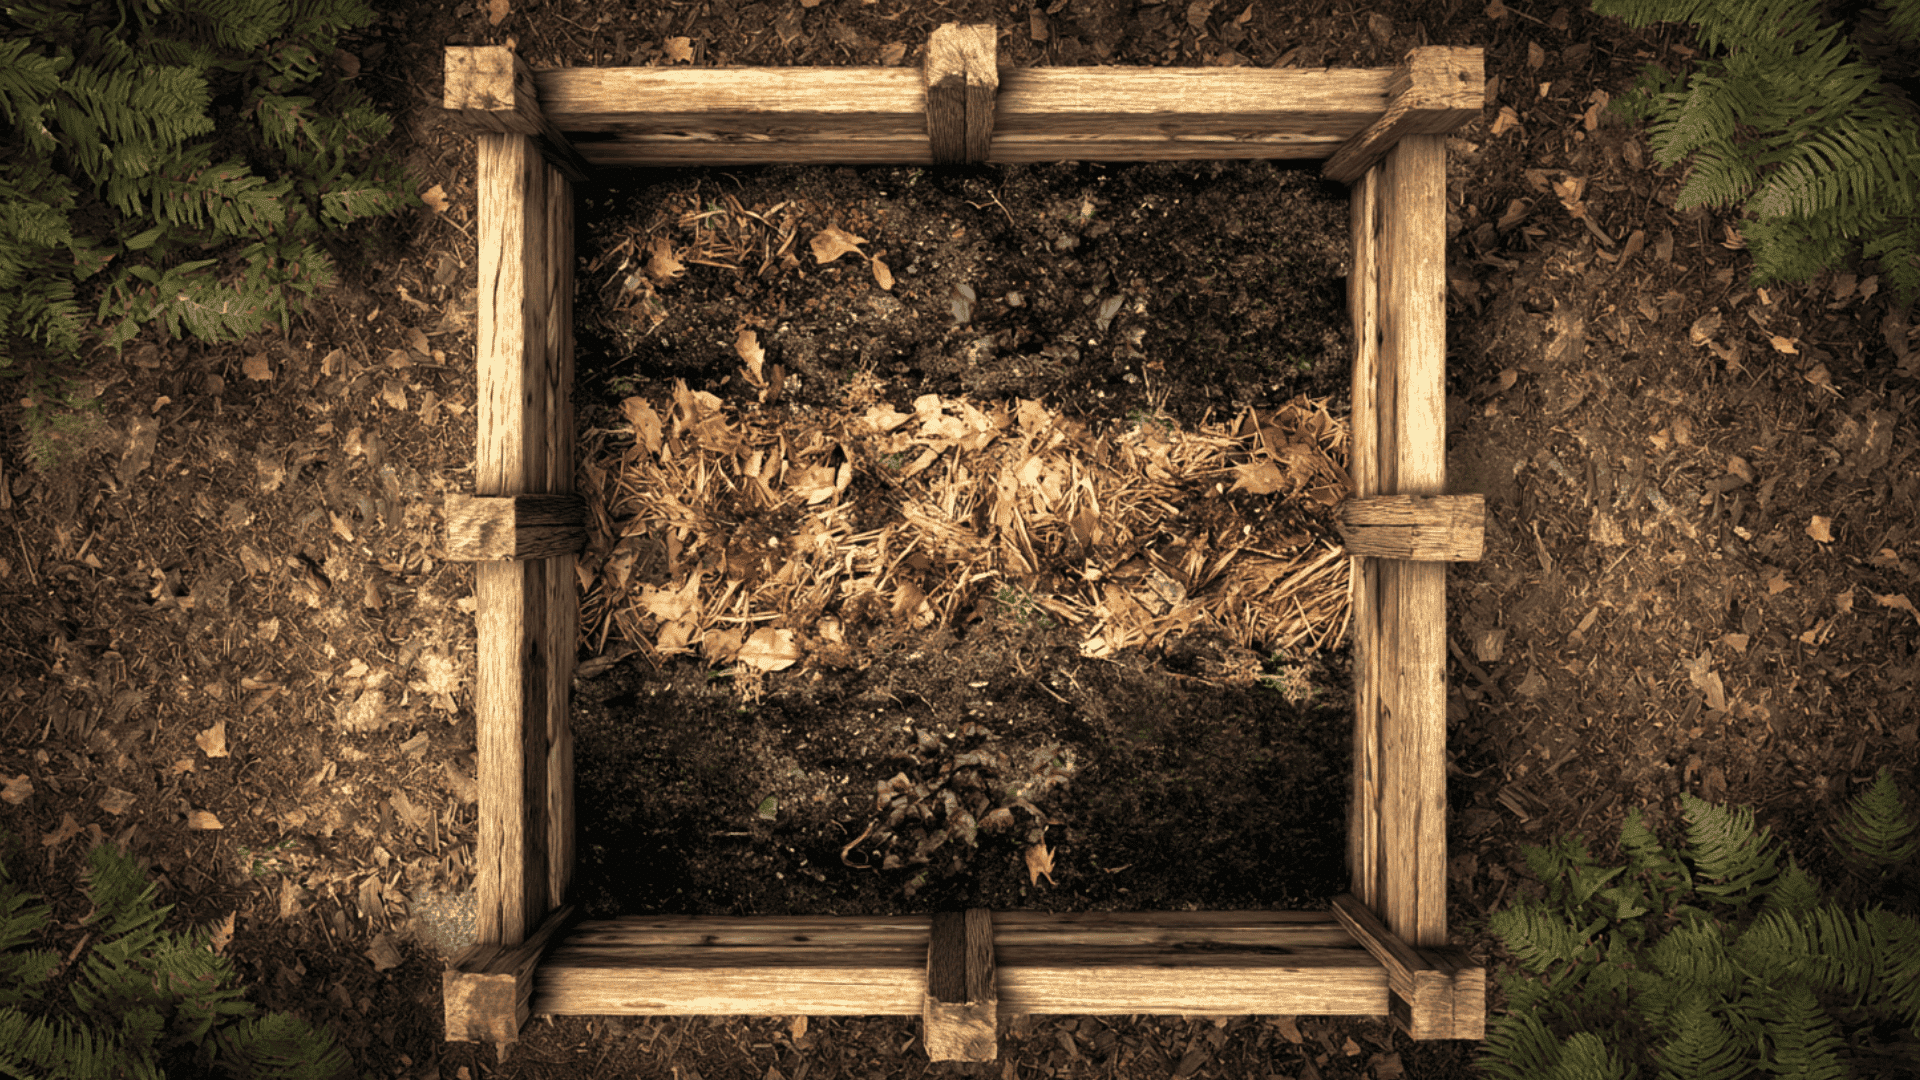
Alternate between dry “brown” materials, such as straw or leaves, and “green” materials, such as food scraps or grass clippings. This balance maintains the right composting temperature.
Each layer should be a few inches thick. Water lightly between layers to keep them moist but not soggy.
Step 3: Top Layer – Compost and Soil
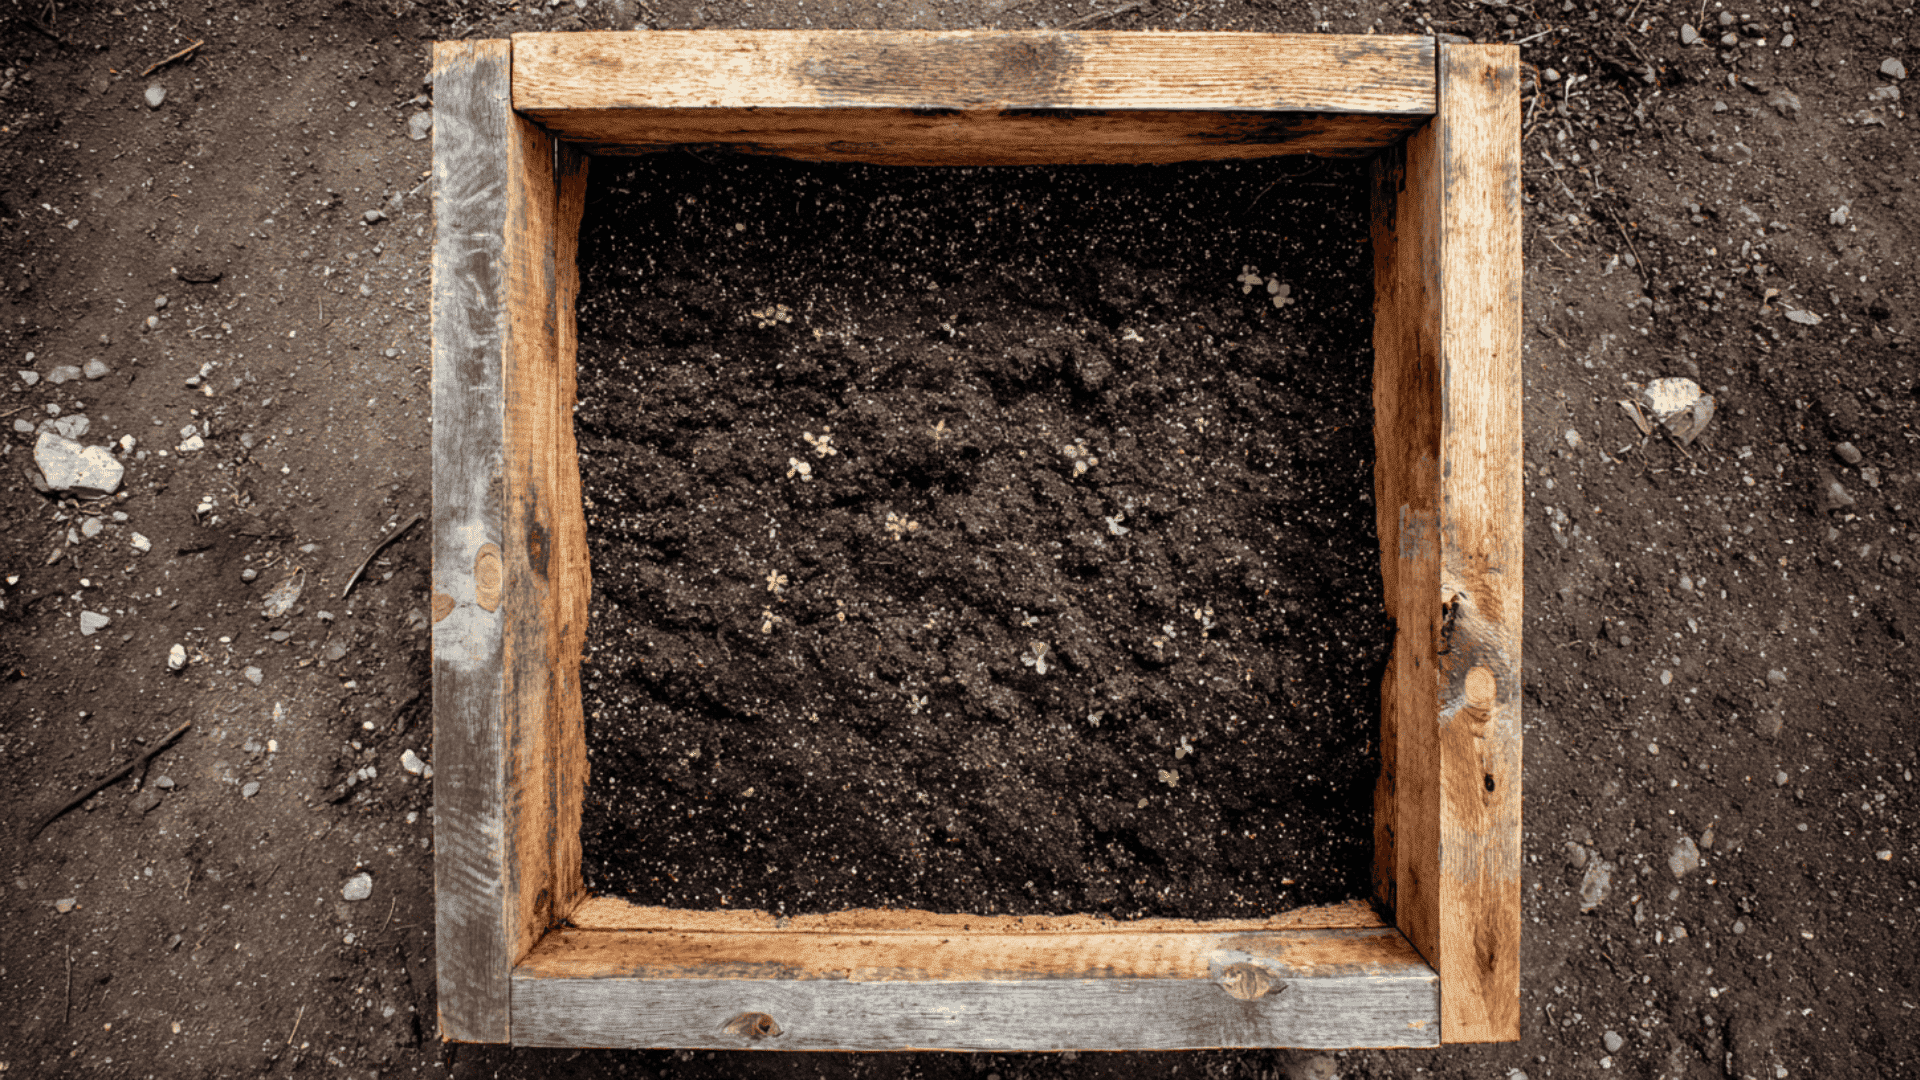
Add a final layer of compost mixed with soil. This is where your plants will root and access nutrients directly.
The lower layers continue to decompose beneath, creating a self-sustaining, nutrient-rich base that improves each season.
3. Urban or Compact Spaces Layering Technique
This method is perfect for small gardens, balconies, or raised planters where space and soil depth are limited.
Step 1: Base Layer – Drainage Material
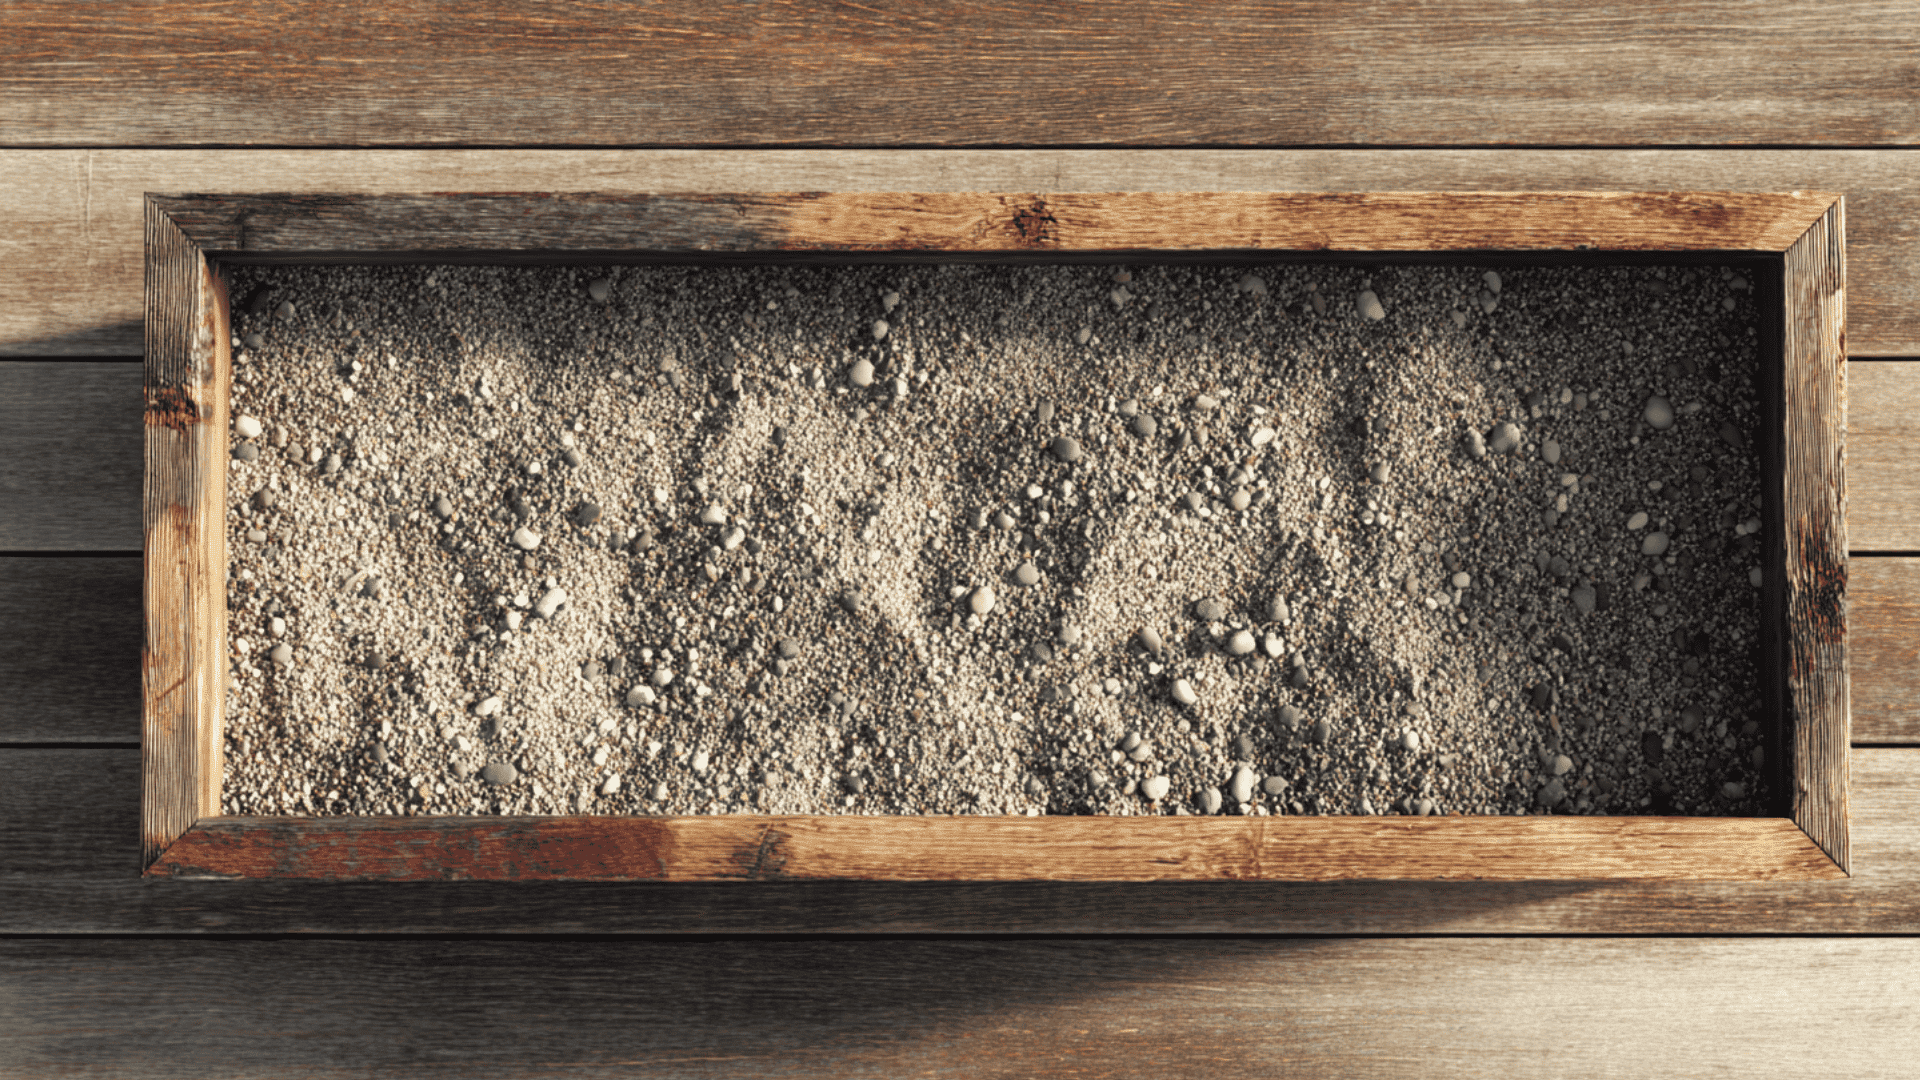
Add a thin layer of gravel, sand, or small pebbles at the bottom of your container. This helps water drain freely and keeps roots from sitting in water.
Even in small setups, good drainage prevents root rot and helps plants grow stronger.
Step 2: Middle Layer – Light Organic Matter
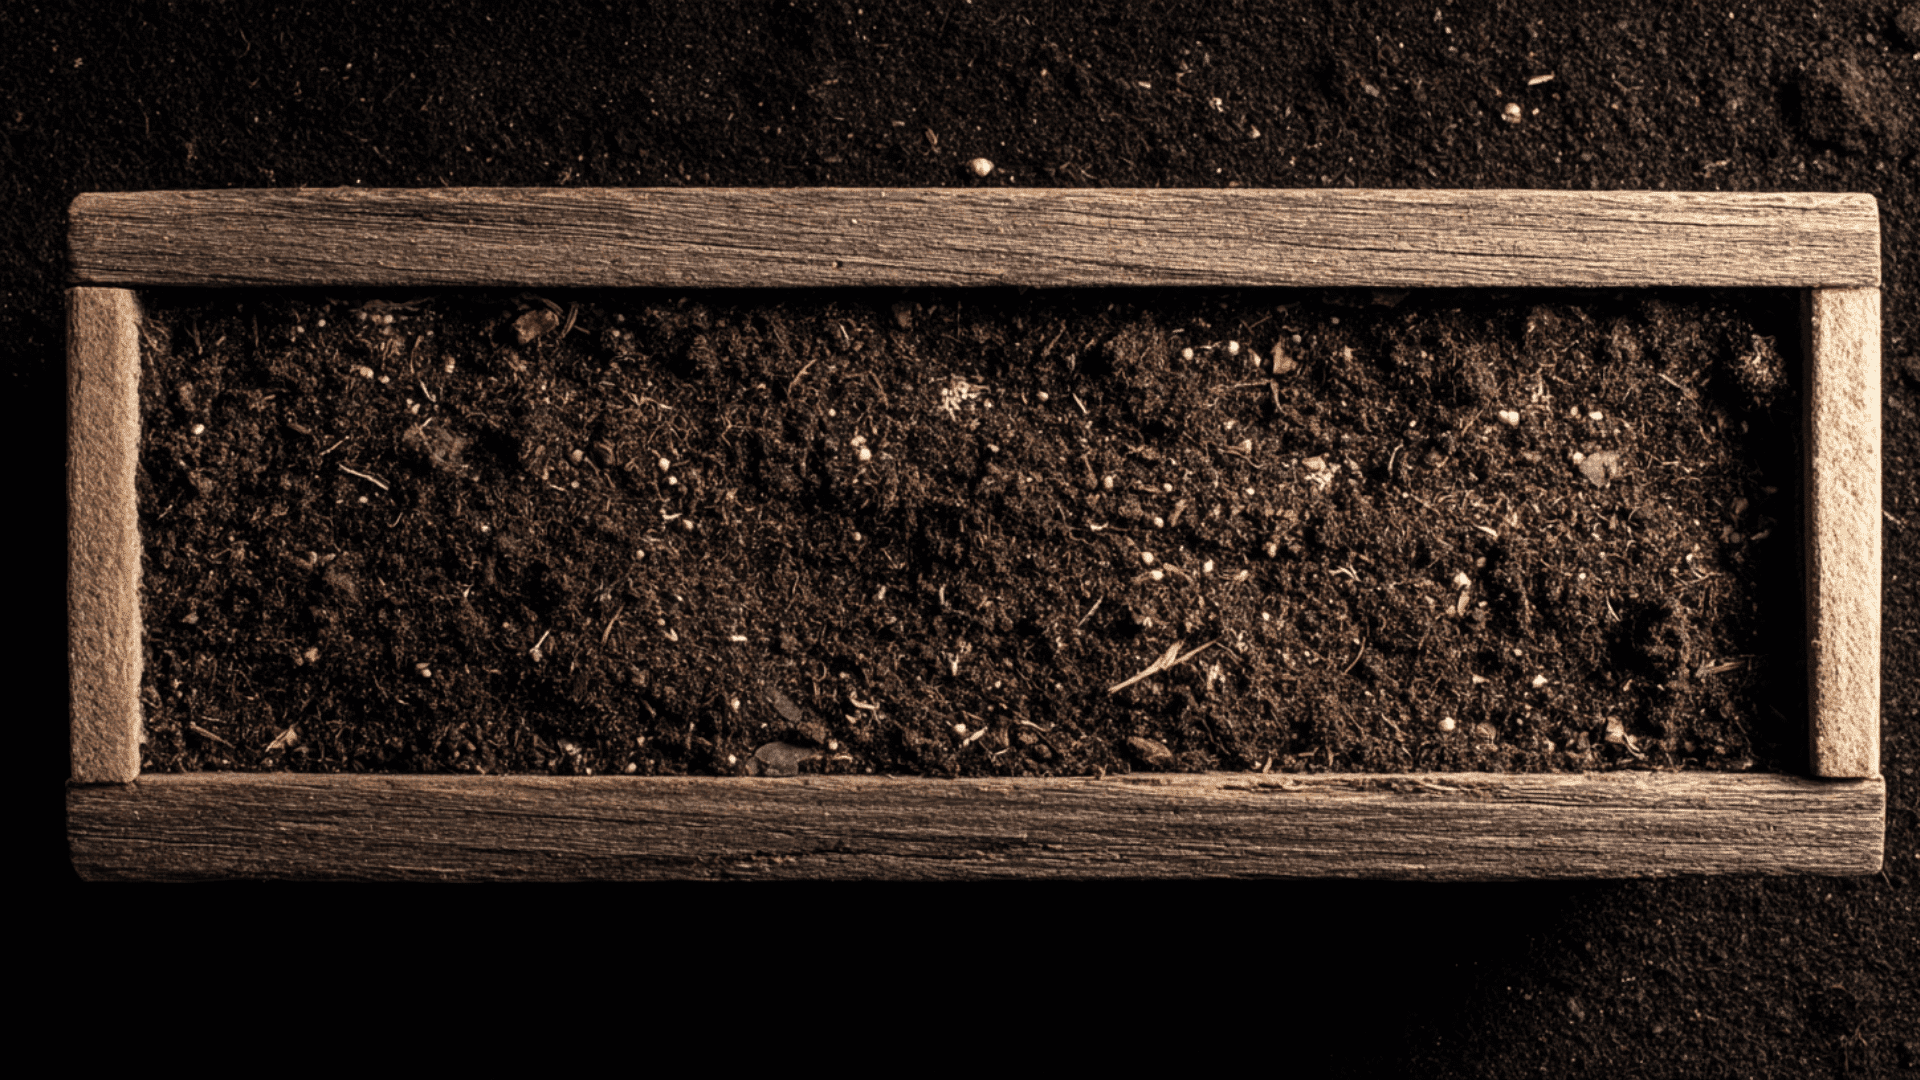
Use compost, coco coir, or decomposed leaves as a lightweight filler. These materials retain moisture without making the container heavy.
This layer also provides slow-release nutrients, helping roots stay healthy in shallow soil.
Step 3: Top Layer – Potting Mix
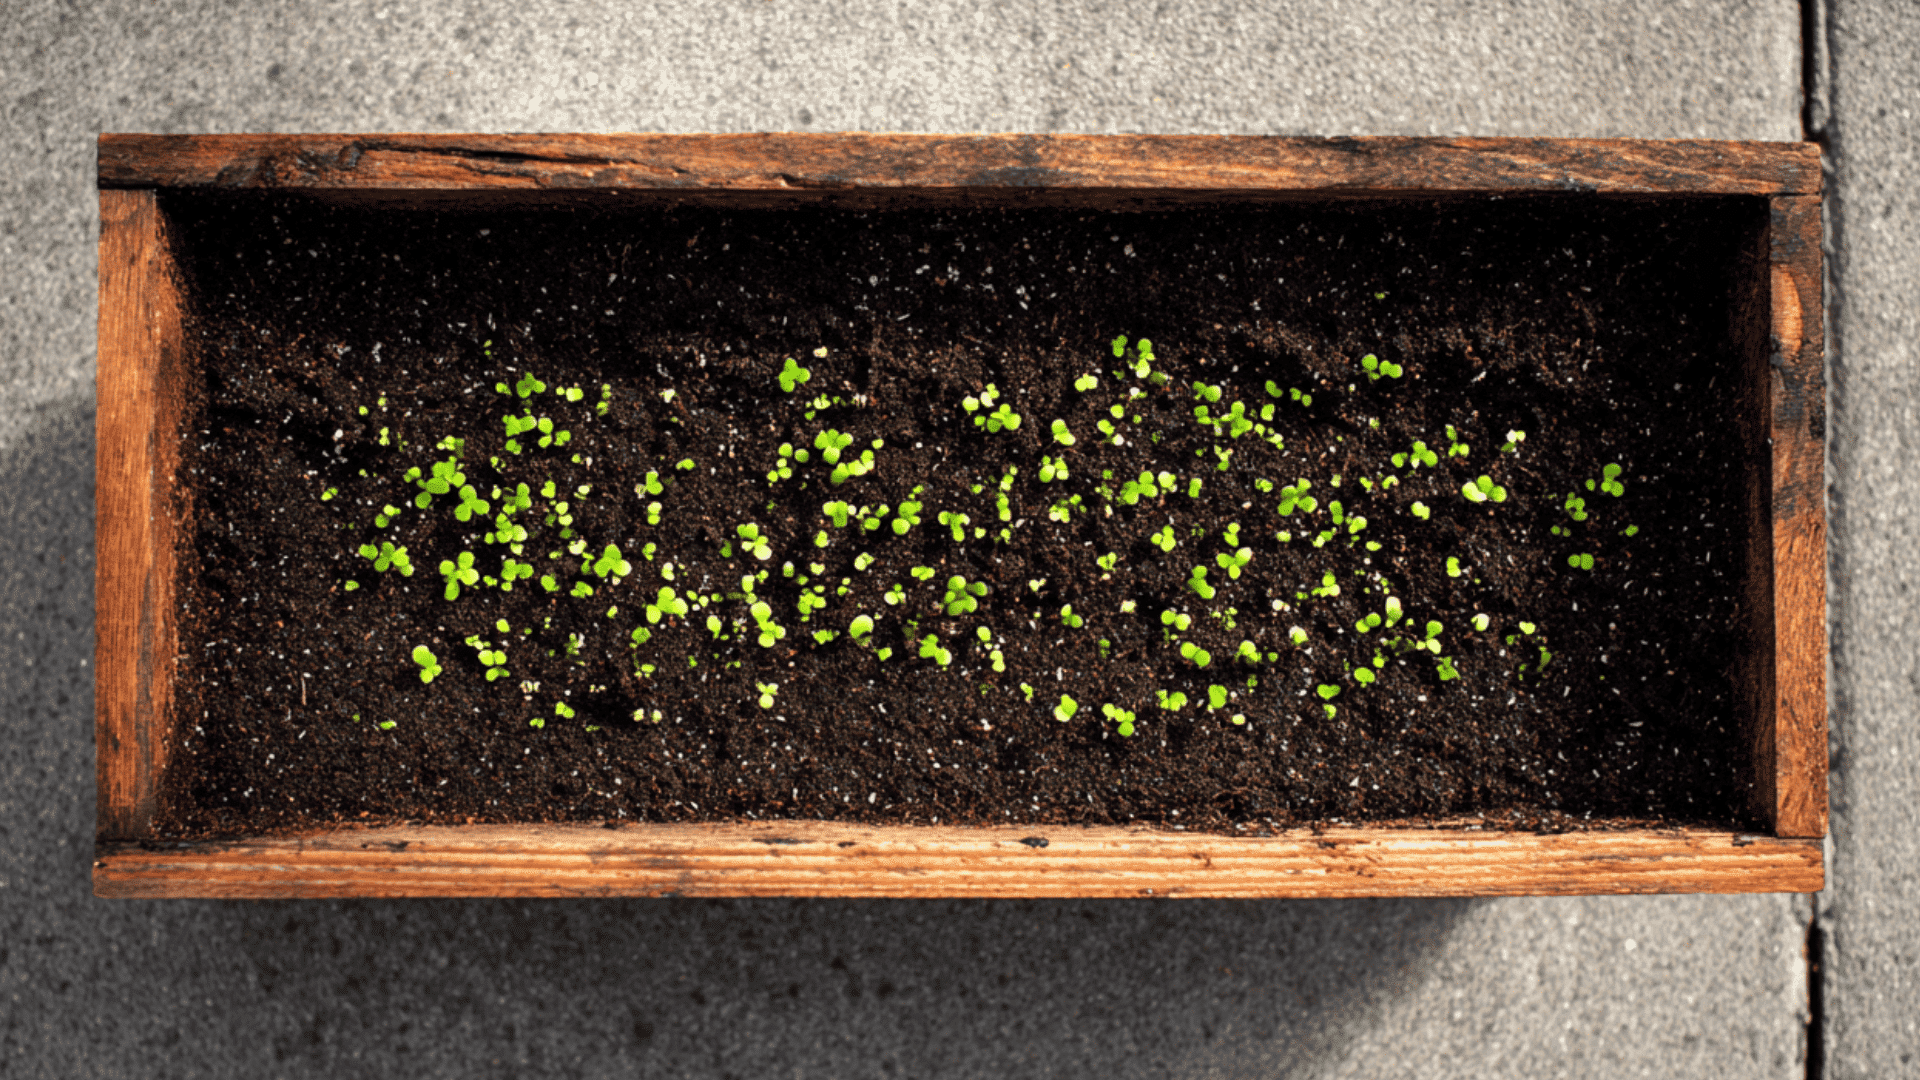
Top off with high-quality potting mix blended with compost. This creates a soft, nutrient-rich medium that supports fast root growth.
A well-blended mix gives your plants everything they need, even in limited space.
4. Sheet Mulching Layering Technique
Sheet mulching is a no-dig method used to create new beds over grass or weedy ground. It builds soil while naturally suppressing unwanted growth.
Step 1: Base Layer – Weed Barrier
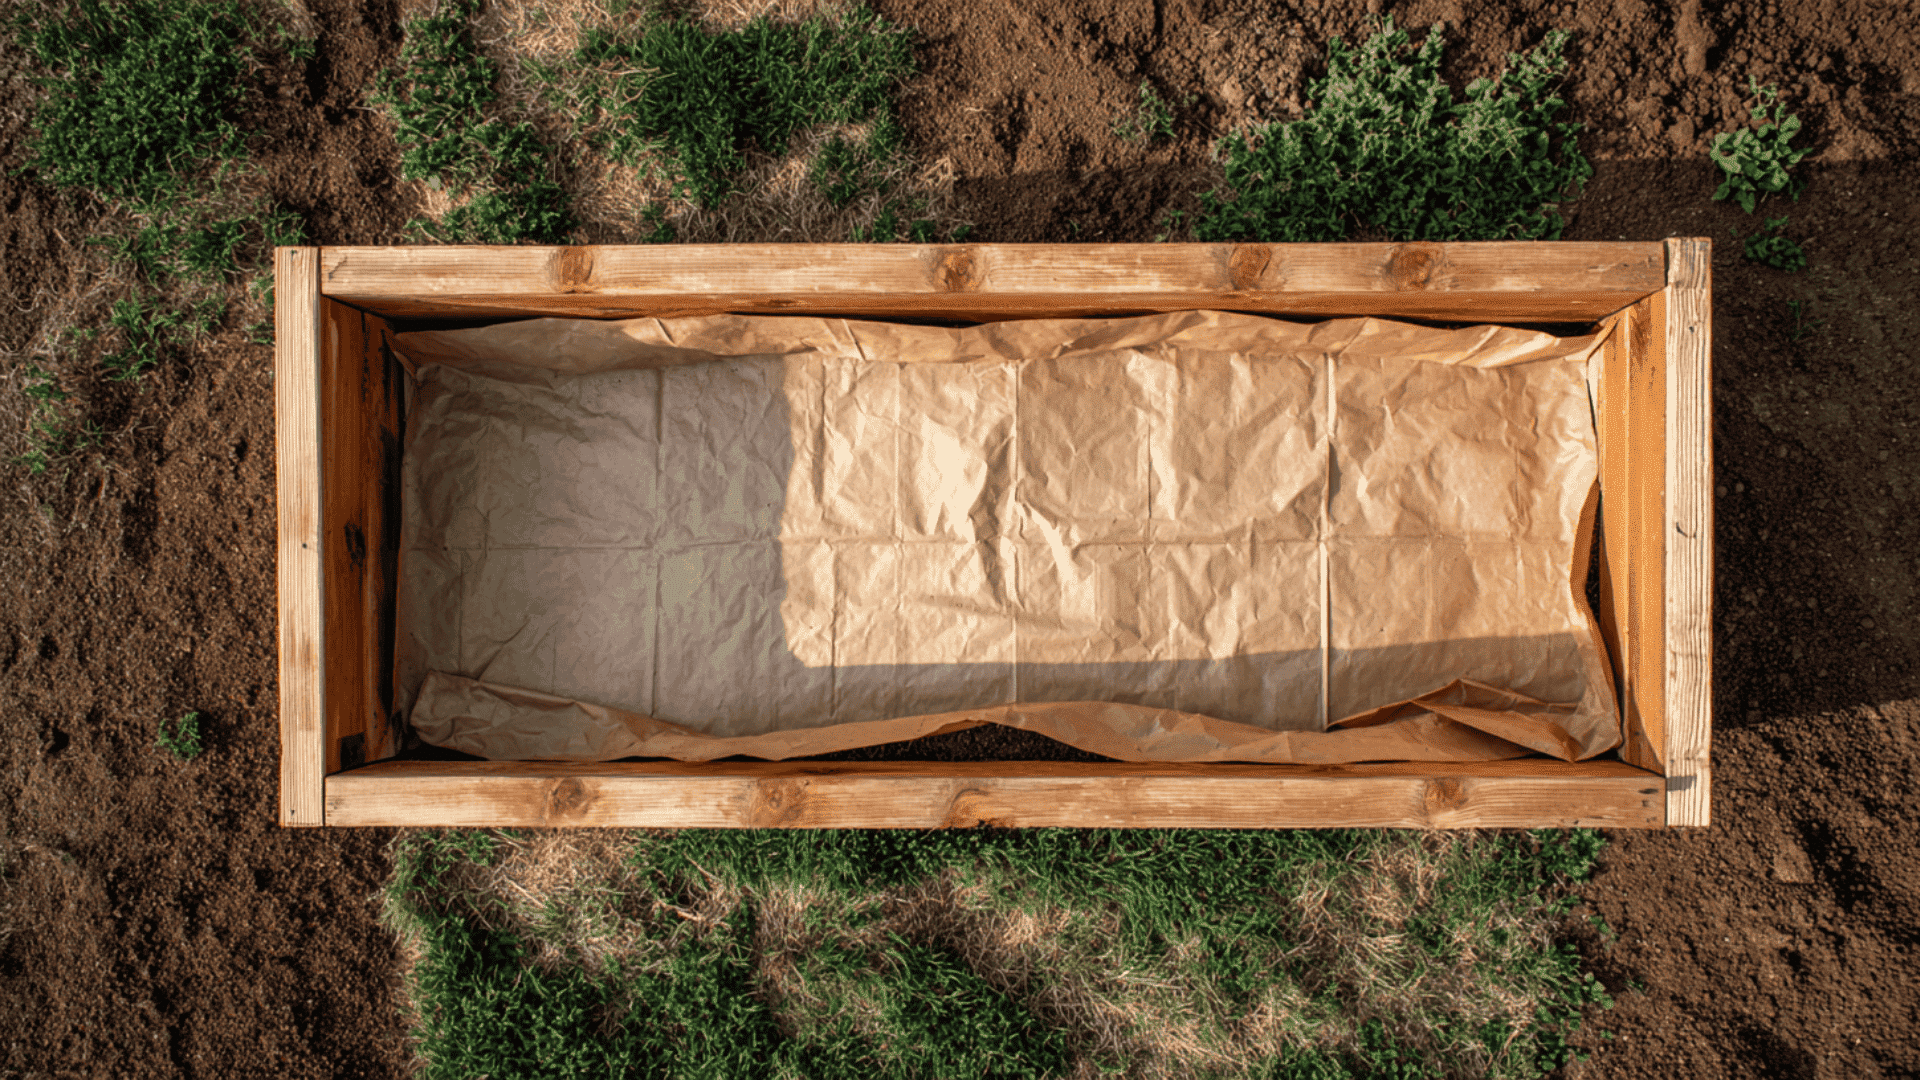
Lay cardboard, thick newspaper, or any thick brown paper sheets directly on the ground. This cuts off sunlight to existing weeds and helps retain soil moisture.
The barrier eventually breaks down, enriching the soil underneath without disturbing it.
Step 2: Organic Layers – Compost and Mulch
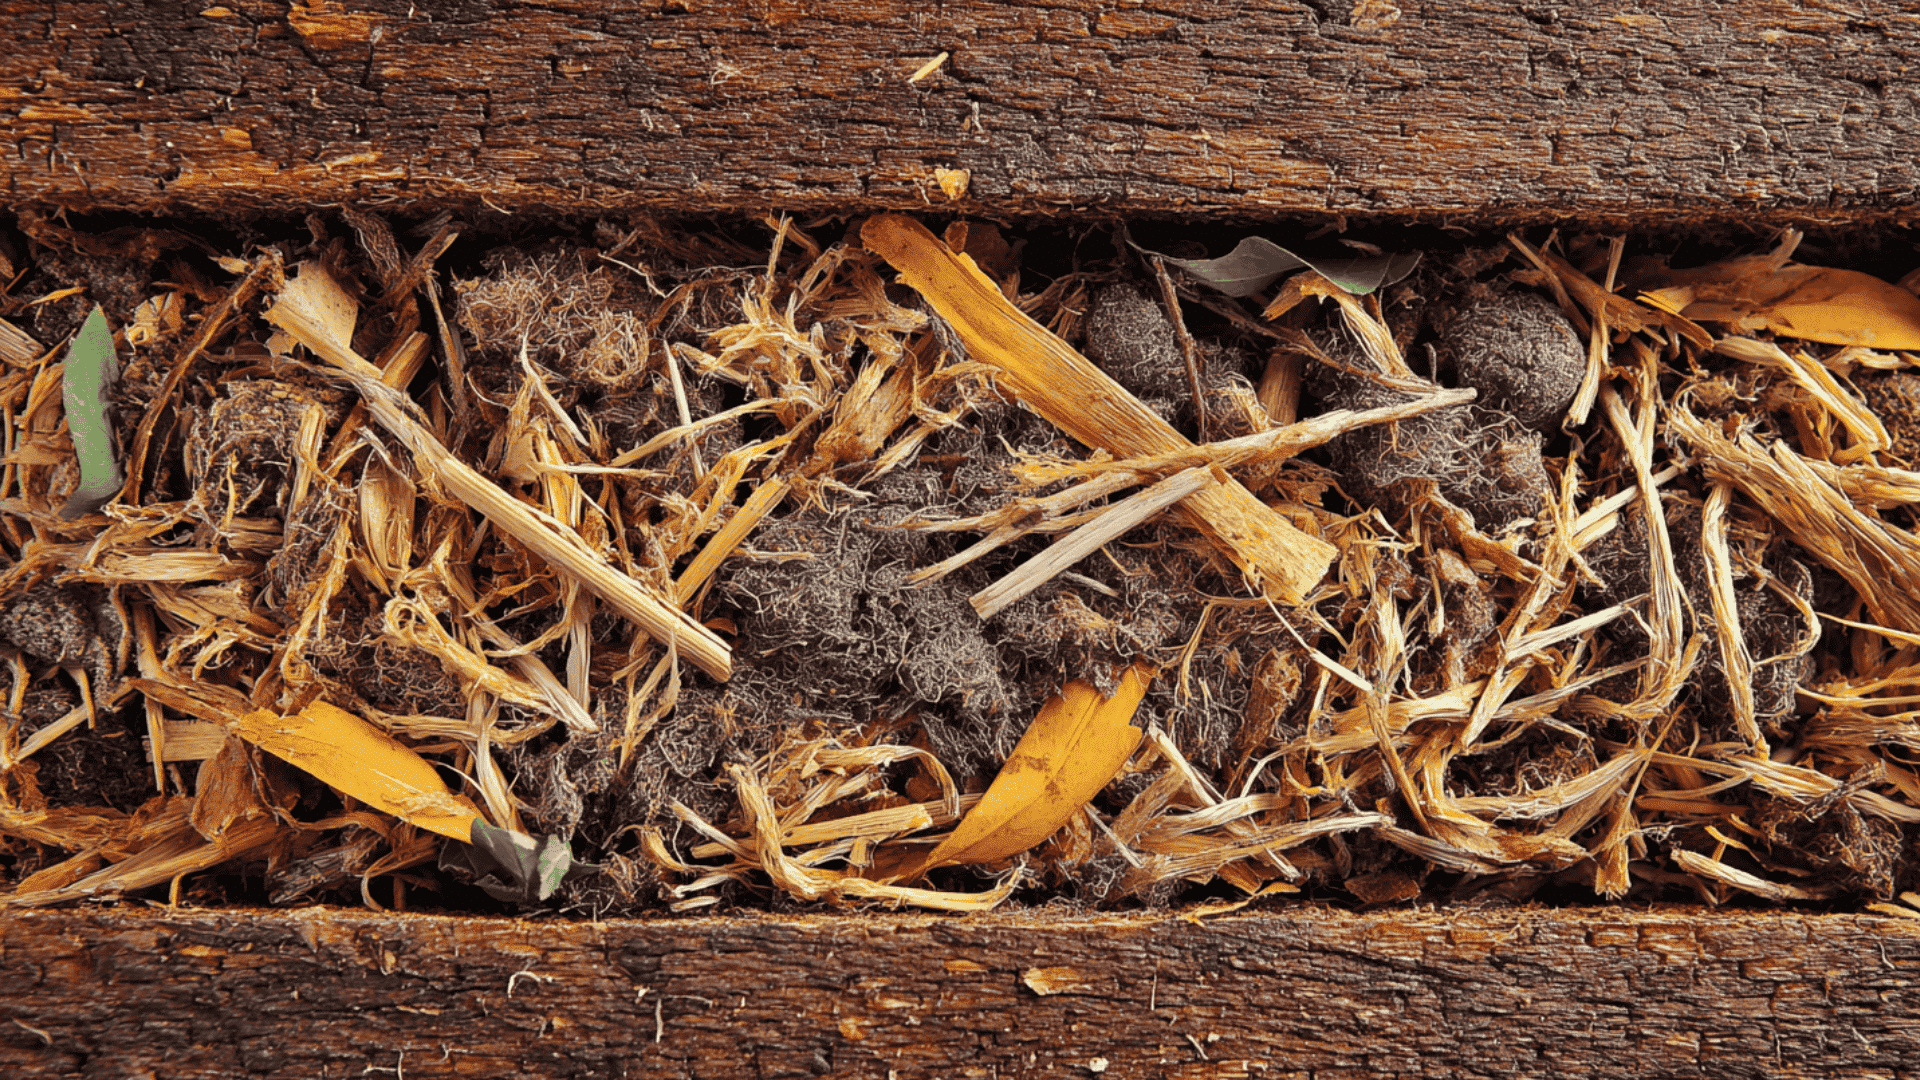
Add alternating layers of compost, leaves, and straw on top of the barrier. Each layer contributes nutrients and organic matter to the soil.
Water each layer lightly to start the decomposition process and keep it biologically active.
Step 3: Top Layer – Soil or Fine Compost
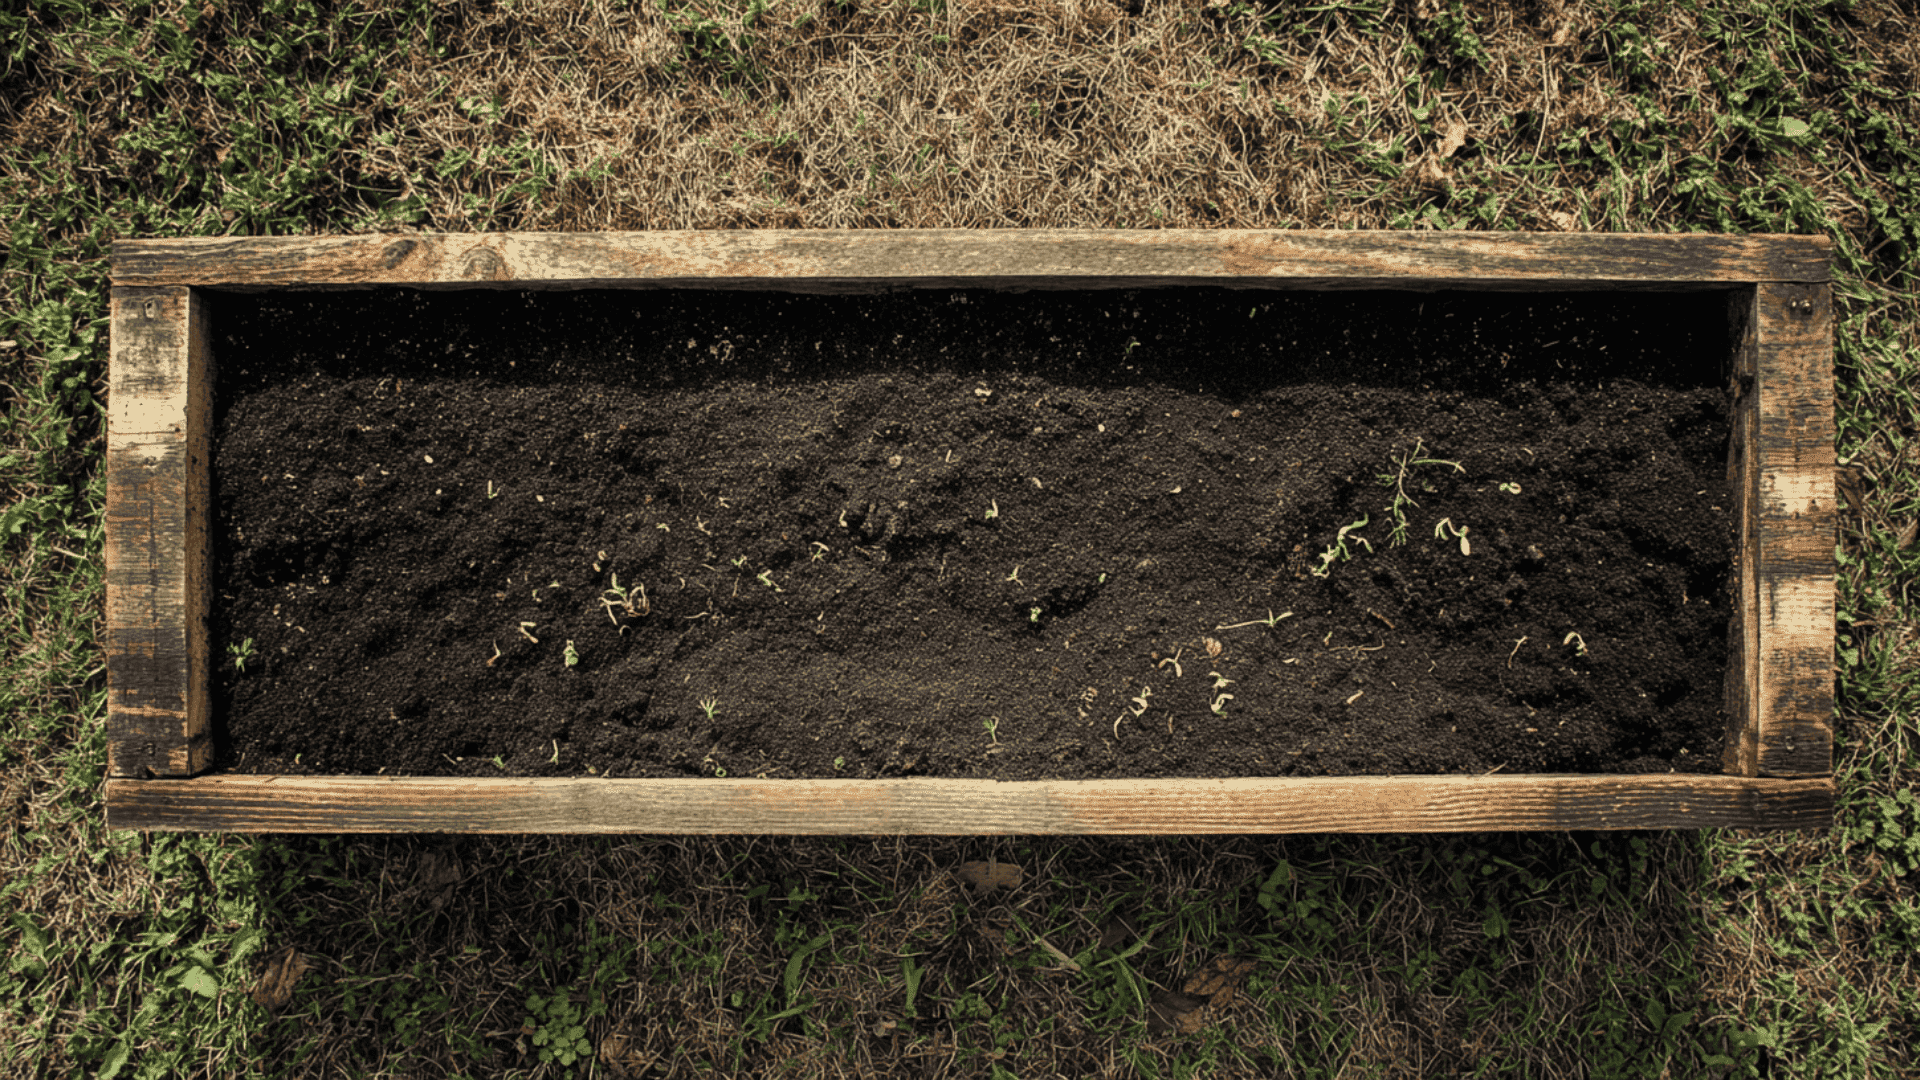
Finish with a few inches of fine compost or soil. This creates a smooth surface for planting seeds or seedlings.
Over time, the layers combine with the underlying ground, forming deep, fertile soil ready for long-term use.
Each of these techniques supports healthy, fertile soil using natural materials. Choose the method that matches your garden space, resources, and climate for the best long-term results.
Layering Variations for Different Garden Beds
Each raised garden bed needs a layering method suited to its depth, location, and plant type. The right variation controls how the soil drains, circulates air, and provides nutrients:
1. Deep Beds
Deep raised beds, over 18 inches high, need good drainage and a solid base. Start with logs, branches, or large wood chips to fill the space and create airflow.
These materials break down slowly, releasing nutrients over time and reducing the amount of soil you need.
Add compost or grass clippings above to fill gaps and boost fertility. Deep beds are best for root vegetables and perennials that need more depth to grow well
2. Shallow Beds
Beds that are less than 12 inches deep need lighter, more compact layering. Skip the bulky materials like logs, and instead use a mix of compost, straw, and topsoil.
This combination keeps the bed airy and nutrient-rich without crowding the roots.
Because shallow beds hold less moisture, regular watering is important. They work well for herbs, greens, and flowers with shallow root systems.
3. Container Beds or Beds with Legs
Container-style beds drain faster, so the layering must prevent water from building up. Add a few inches of gravel or coarse sand at the bottom to help excess water escape.
This layer also stops roots from sitting in damp soil, which can cause rot.
Above the drainage layer, use a mix of compost and potting soil. This maintains nutrient balance and prevents compaction in limited space.
4. Vegetable Beds vs. Flower Beds
Vegetables need rich, nutrient-heavy soil to support rapid growth and regular harvesting. Mixing in extra compost or aged manure helps meet these needs. The soil should stay loose so roots can spread easily.
Flower beds, on the other hand, prefer lighter, well-draining soil. Adding sand or fine mulch improves drainage and keeps roots dry enough to prevent fungus or rot.
Each variation works best when matched with your space and plant type. Adjust your layers to balance drainage, nutrient levels, and soil depth for long-lasting, productive garden beds.
DIY Hacks for Maximum Savings
You don’t need to spend much to build a great raised bed. With a little creativity, you can reuse everyday materials and save money while improving your soil:
- Use yard waste and fall leaves instead of buying filler materials. They break down naturally and add nutrients to the soil.
- Ask local landscapers for free wood chips; many are happy to give them away after tree trimming jobs.
- Compost kitchen scraps like vegetable peels and coffee grounds to create your own nutrient-rich compost.
- Upcycle old boxes or scrap lumber to build or line your raised beds, rather than purchasing new materials.
These simple hacks cut costs, reduce waste, and make your garden more sustainable year after year.
Common Mistakes to Avoid
Even simple raised bed projects can go wrong if you miss a few key steps. Here are some common mistakes to watch out for:
| Mistake | Why It’s a Problem | How to Fix It |
|---|---|---|
| Overfilling with non-degradable materials | Blocks root growth and prevents proper soil settling. | Use organic materials like wood, leaves, and compost that break down naturally. |
| Skipping the compost layer | Leads to poor soil fertility and weak plant growth. | Always include a compost layer to add nutrients and improve soil structure. |
| Using plastic or treated wood | It can leach harmful chemicals into the soil over time. | Choose untreated wood, cedar, or natural materials safe for food gardens. |
| Forgetting to water layers before planting | Leaves dry pockets that slow decomposition and hinder root growth. | Lightly water each layer as you build the bed to keep materials evenly moist. |
Building your bed carefully and avoiding these mistakes ensures better drainage, stronger roots, and a long-lasting, fertile garden bed.
Maintenance and Re-Layering Tips
Keeping your raised bed in good shape doesn’t take much work. Regular upkeep helps maintain healthy soil and better yields.
- Topping Up Soil: Add 2–3 inches of compost or fresh soil at the start of each growing season. This replaces what has settled and keeps the bed fertile.
- After One Growing Season: Remove old roots and mix in compost or aged manure before replanting. This restores nutrients and keeps the soil loose.
- Watching for Decomposition: Check for sunken spots or soft layers that indicate material breakdown. Add more compost or soil to refill and maintain depth.
- Quick Compost Refresh: Spread a thin layer of compost or worm castings on top and water lightly. This boosts soil microbes and gives plants a quick nutrient lift.
Regular care keeps your raised bed productive, balanced, and ready for every new planting season.
Conclusion
Learning how to layer a raised garden bed gives you a strong foundation for healthy soil and long-lasting growth.
When you understand why raised garden bed layering matters, it becomes easier to choose materials that drain well, hold nutrients, and support your plants through every season.
The real difference comes from building soil that improves over time instead of breaking down or compacting too quickly.
If you’re ready to upgrade your garden, gather your materials, map out your layers, and build your raised bed with confidence today.