



I’ve always loved saving flowers after special moments, but figuring out how to dry flowers without losing their shape or color took some trial and error.
Each method I tried taught me that drying isn’t just about removing moisture; it’s about preserving the beauty that made those blooms worth keeping.
In this guide, I’ll show you the best ways to dry flowers, what tools to use, and how to keep them looking bright for years. These steps are simple, beginner-friendly, and actually work.
Understanding the Flower Drying Process
Drying flowers is about slowing down nature’s decay while keeping their shape and color. When moisture leaves the petals too quickly, they curl or lose vibrancy, but if it lingers, they mold or turn brown.
The balance between airflow, temperature, and humidity is what makes drying work. Air-drying depends on time and space, while silica or heat methods speed things up by drawing out moisture gently from inside the petals.
Each flower reacts differently based on its thickness and water content. That’s why delicate pansies dry easily, while thick roses need support from silica gel or low heat to hold their form.
Harvest and Preparation Tips
Good results start with how you prepare your flowers before drying. Pick blooms in the morning after the dew has dried, when petals are firm and colors are richest.
Avoid flowers that are already wilting or fully open, as they tend to lose shape faster. Slightly under-bloomed flowers dry better and hold their form more naturally.
Remove extra leaves and trim stems to your preferred length before tying or placing them. Clean cuts help prevent moisture buildup that could lead to mold or discoloration later.
Finally, pat your flowers gently with a paper towel to remove surface moisture. This small step prevents slow drying and helps preserve color throughout the process.
Tools and Materials You’ll Need
- Snips or scissors: For cutting stems cleanly without crushing petals.
- Twine or rubber bands: To tie small bunches securely for air-drying.
- Airtight container: Used with silica gel to help flowers dry evenly.
- Silica gel: Ideal for thick blooms that need support to hold shape.
- Parchment paper and trays: Useful for oven or air-drying setups.
- Flower press or heavy books: Perfect for pressing flat flowers like pansies.
- Soft brush: Removes leftover silica or dust without damaging petals.
- Acrylic spray or artist’s fixative: Seals and protects dried petals from fading.
- Dehumidifier or hygrometer: Keeps the space dry and prevents mold during drying.
Flower Drying Methods Explained
Each method affects how flowers dry and last. Choose the one that best fits your flower type for lasting color and shape.
1. Air-Drying (Simple and Natural)

This is the easiest and most traditional method. Tie small bunches tightly and hang them upside down in a dark, dry, and airy place.
They usually take two to four weeks to dry fully. Keep away from sunlight to avoid fading, and use a fan or dehumidifier if the air is damp.
2. Silica Gel (Best for Shape and Color)
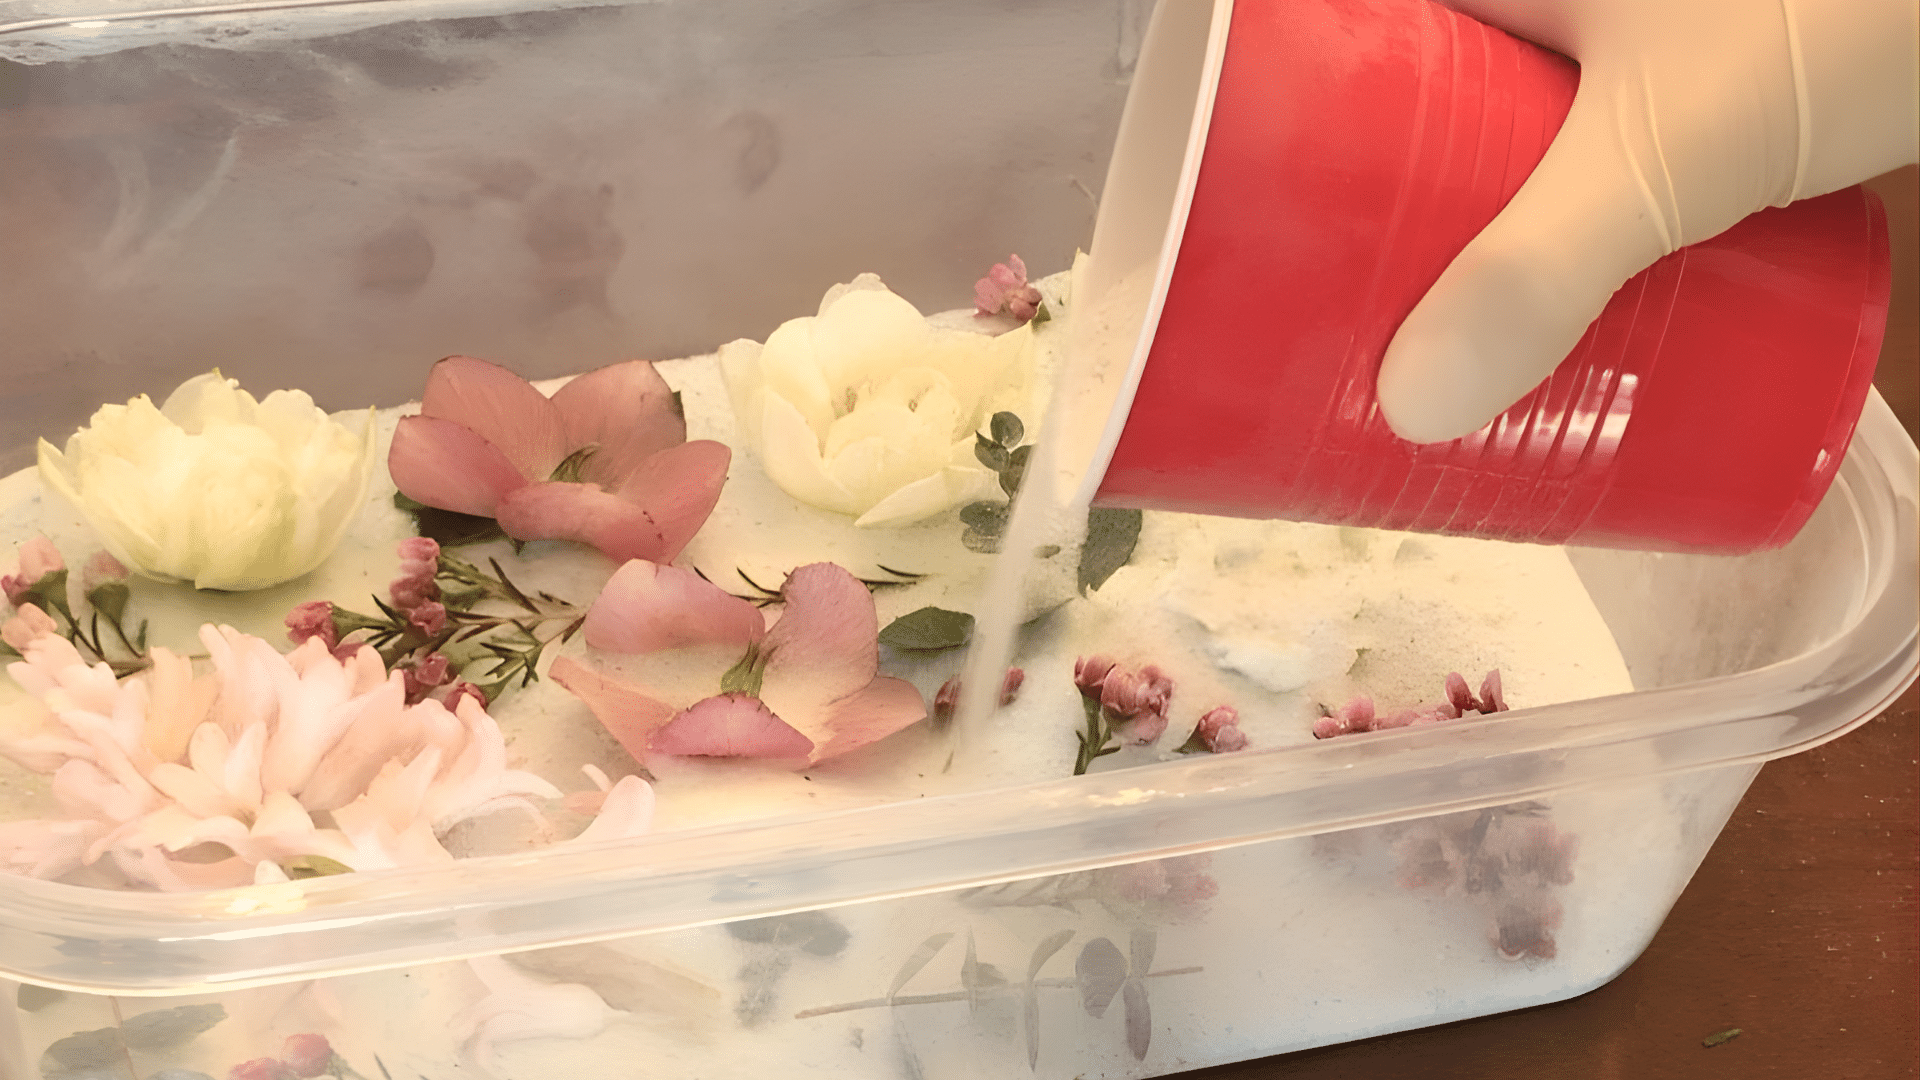
Silica gel is perfect for thick flowers like roses and dahlias. Pour a layer into a container, place the blooms face up, and cover them completely.
Seal and leave for two to seven days. You can speed it up by microwaving in short bursts with a cup of water and brushing off the crystals gently afterward.
3. Pressing (Flat and Colorful)

Pressing works beautifully for thin flowers like pansies or cosmos. Place them between absorbent paper inside a heavy book or flower press.
Change papers every few days to avoid mold. This keeps the colors vivid and creates perfect flat flowers for art or decoration projects.
4. Oven Drying (Quick but Risky)
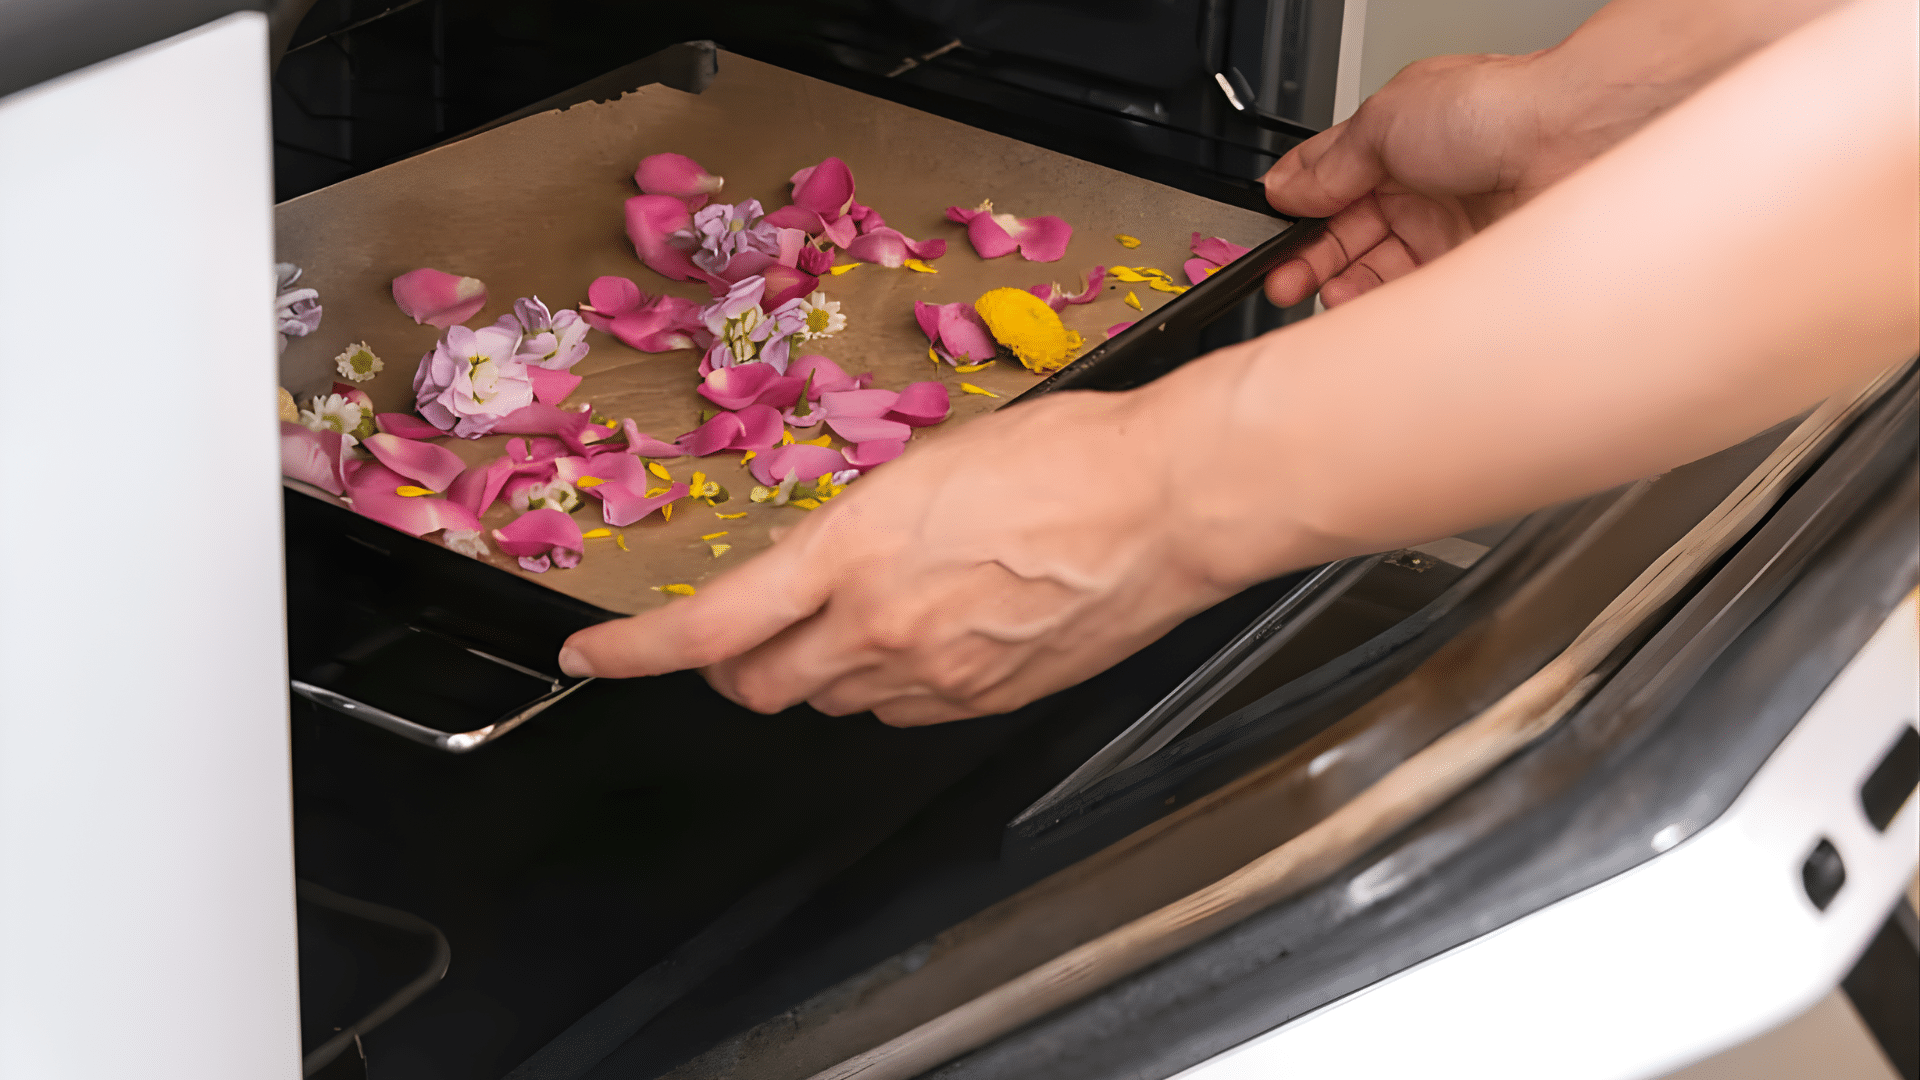
This method is best for sturdy flowers that dry fast. Line a tray with parchment paper and set the oven to 150–200°F (65–95°C).
Leave the door slightly open for airflow and check often. Remove the flowers as soon as the petals stiffen to prevent browning or dull color.
Finish, Seal, and Store for Longevity
Once your flowers are dry, a few final steps help them stay beautiful for longer. Handle them gently because dried petals are fragile and can break easily.
Use a soft brush to remove any dust or leftover silica from the surface. Then, spray a light coat of acrylic or artist’s fixative to seal and protect the petals.
If stems feel weak, wrap them with thin wire for support. This keeps arrangements upright and prevents bending or snapping over time.
Store your dried flowers in a tissue-lined box away from sunlight and moisture. A cool, dry place keeps them safe from fading and mold for months or even years.
Best Drying Methods by Flower Type
Every flower dries differently based on its thickness and water content. Some hold color well, while others keep their shape better with gentle methods.
| Flower Type | Recommended Method | Shape Retention | Color Retention | Time |
|---|---|---|---|---|
| Roses, dahlias, peonies | Silica gel | Excellent | Excellent | 2-7 days |
| Lavender, statice, strawflower | Air-drying | Very good | Good | 2-4 weeks |
| Cosmos, pansies, ferns | Pressing | Flat only | Good | 1-3 weeks |
| Sunflowers, zinnias | Silica or oven | Good | Fair | 2-7 days |
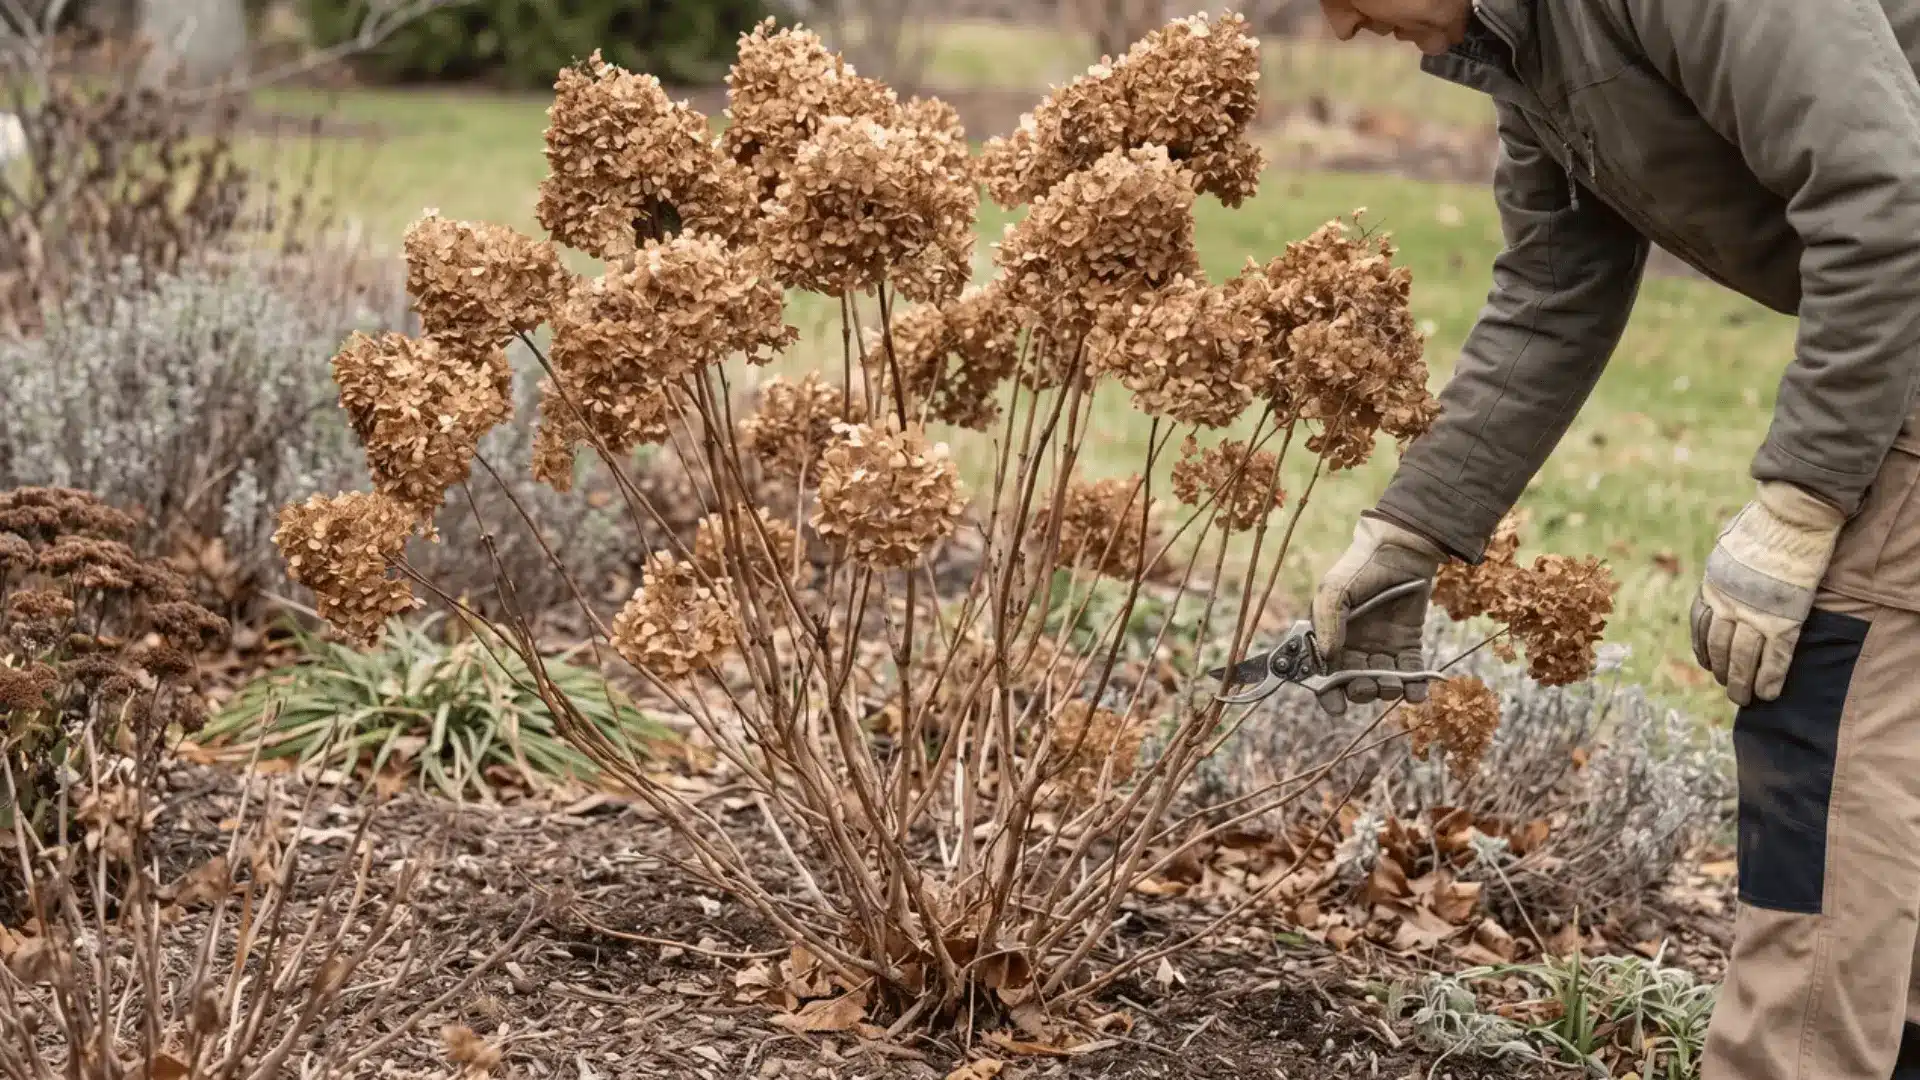
| Hydrangeas | Silica or vase-dry | Very good | Very good | 1-2 weeks |
Thick flowers like roses need silica for structure, while thin blooms like cosmos work best when pressed. Air-drying suits hardy flowers that already hold color well.
How to Preserve Flower Color Best
Color fades when flowers dry too quickly, get too much light, or retain moisture. Follow these simple steps to keep your blooms bright and natural:
- Dry in the dark: Always choose a shaded space to protect pigment.
- Avoid direct sunlight: It fades petals and causes uneven color.
- Use steady airflow: Gentle air helps moisture leave slowly and evenly.
- Skip high heat: Excess heat makes petals brittle and dull.
- Seal with acrylic spray: Use UV-protective sealant once flowers are fully dry.
- Store properly: Keep in boxes with silica packets to prevent humidity damage.
By controlling light, heat, and moisture, you can keep your dried flowers looking fresh, colorful, and natural for many months.
Common Mistakes to Avoid When Drying Flowers
Drying flowers is easy, but small errors can dull color or ruin shape. Keep these points in mind for better, lasting results.
- Drying in sunlight: Direct light fades petals fast and causes uneven color.
- Using wet flowers: Moisture leads to mold and soft, discolored petals.
- Overcrowding bunches: Tight spacing blocks airflow and slows drying.
- Rushing with high heat: Quick heat can make flowers brittle and brown.
- Skipping prep steps: Untrimmed stems or leaves trap moisture, hindering drying.
- Ignoring humidity: Always use a fan or dehumidifier in damp weather.
Avoiding these mistakes keeps your dried flowers crisp, colorful, and true to their natural form.
Creative Ways to Use Dried Flowers

Once you’ve mastered how to dry flowers, try using them in creative ways. They can add warmth, color, and texture to simple projects around your home.
- Framed art: Press and frame your favorite blooms for timeless wall décor.
- Handmade cards: Glue small petals onto greeting cards or bookmarks.
- Resin crafts: Encapsulate dried flowers in jewelry, keychains, or coasters.
- Potpourri or candles: Mix petals with essential oils for fragrance and charm.
- Table décor: Use dried arrangements for centerpieces or seasonal displays.
Conclusion
Learning how to dry flowers is simple once you know what works best for each bloom. The key is patience, gentle care, and a setup that keeps moisture and light under control.
When done right, your dried flowers can keep their color and shape for months or even years, becoming timeless pieces of your favorite memories.
Try one of these methods today, start with a few blooms, and see which technique suits your style best. You’ll soon find drying flowers as rewarding as growing them.