


Have you ever wondered how to make a cabinet door without needing a full workshop or advanced skills?
Many DIY beginners feel unsure about where to start, but the process is easier than it seems once you break it into clear steps.
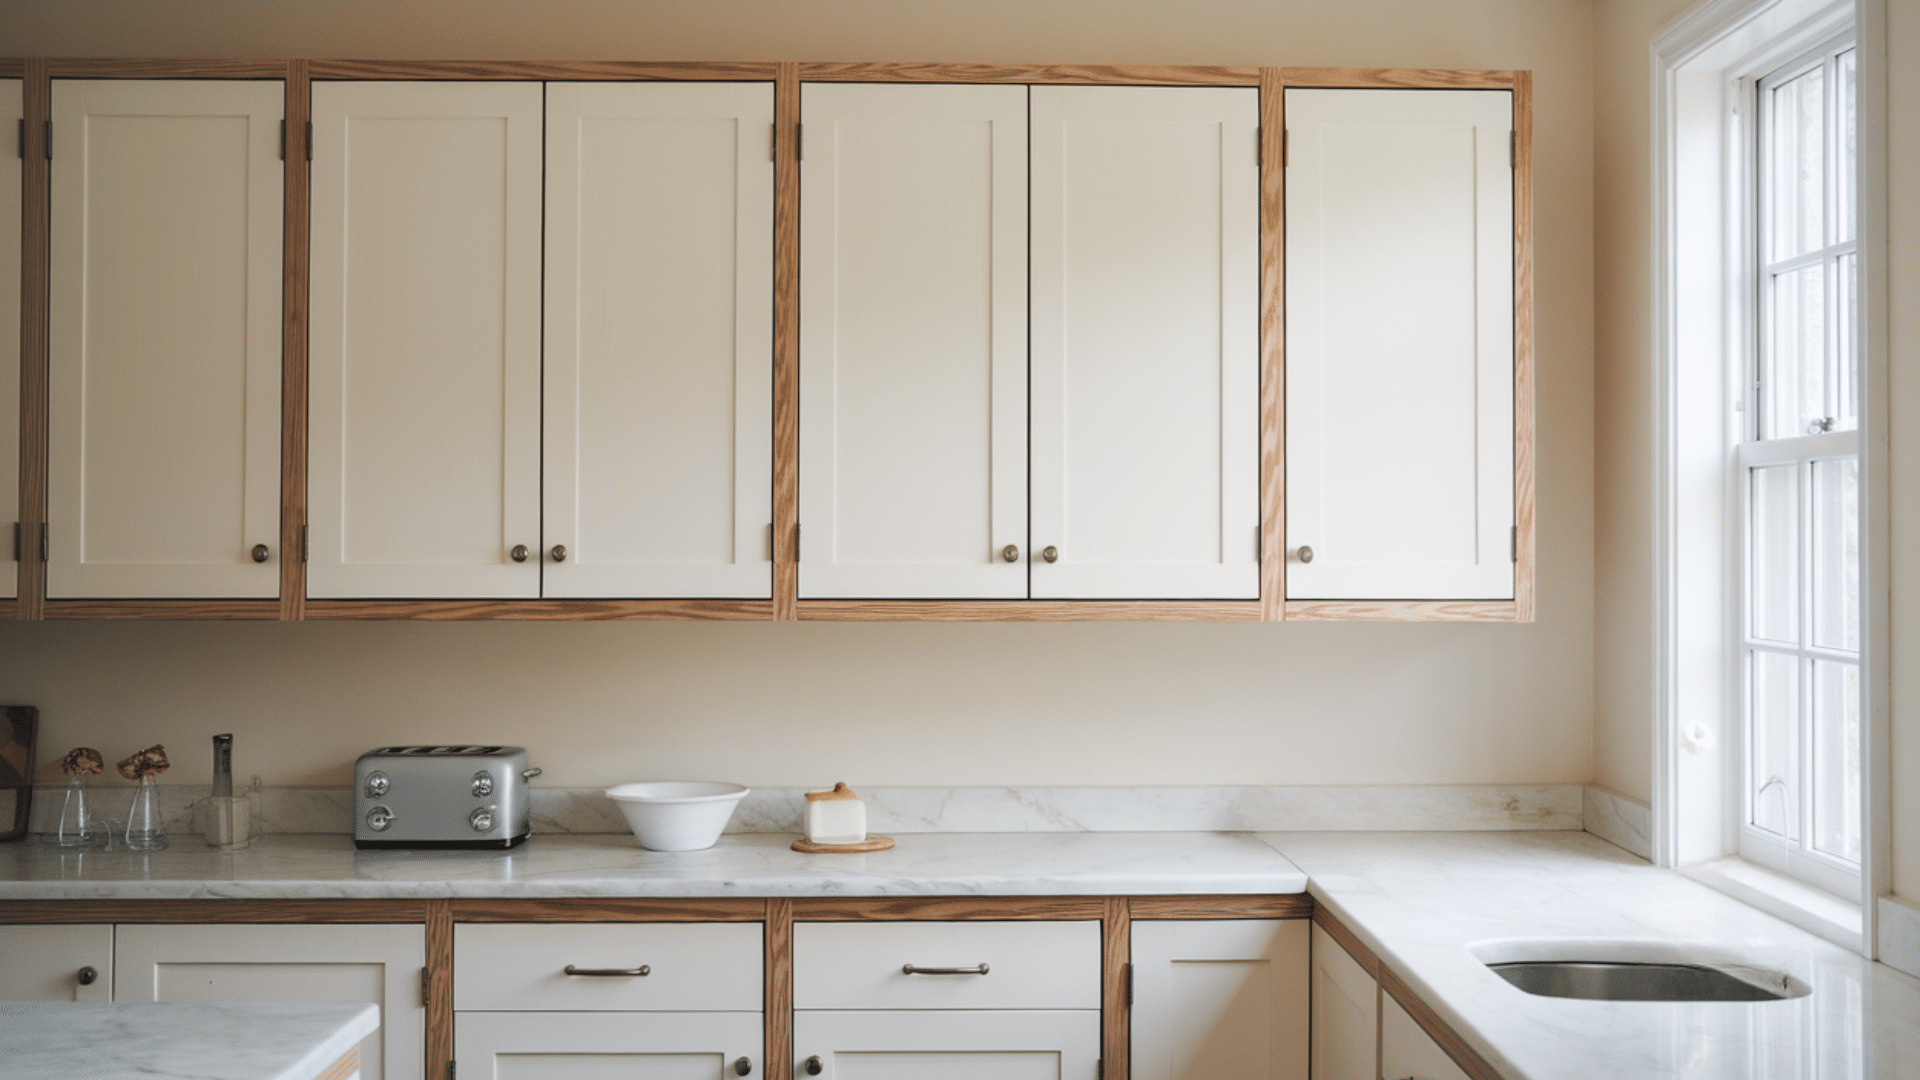
A basic Shaker door is simple, uses minimal tools, and gives you a clean, classic look that fits almost any space.
I once struggled with getting clean joints and smooth edges, so I know how helpful a straightforward guide can be. This tutorial shows you each step in order, so you can build a sturdy, good-looking cabinet door with confidence.
What You Need Before You Start
Before you begin making cabinet doors, gather everything you’ll need to work safely and efficiently. Having the right tools, materials, and protective gear ready will save time and help you get cleaner, sturdier results.
- ¾-inch hardwood or plywood boards (for rails and stiles)
- ¼-inch plywood or MDF sheet (for the center panel)
- Wood glue (interior grade)
- 1¼-inch wood screws or pocket-hole screws (optional for stronger joints)
- Wood filler (to fill gaps or cover screw holes)
- Sandpaper – 120, 150, and 180 grit
- Primer and paint or wood stain and clear sealer/polyurethane
- Tack cloth or microfiber rag (for cleaning dust)
- Cabinet hinges (concealed or surface-mount)
- Handles or knobs
- Edge banding (optional, for plywood edges)
- Clamps (bar or parallel clamps for assembly)
- Small brads or finish nails (optional for added strength)
Step-by-Step: Build a Basic Cabinet Door
If you’re building your first cabinet door, the Shaker style is the easiest to start with, simple design, few tools, and very forgiving to make.
Step 1: Cut the Frame Pieces (Rails and Stiles)
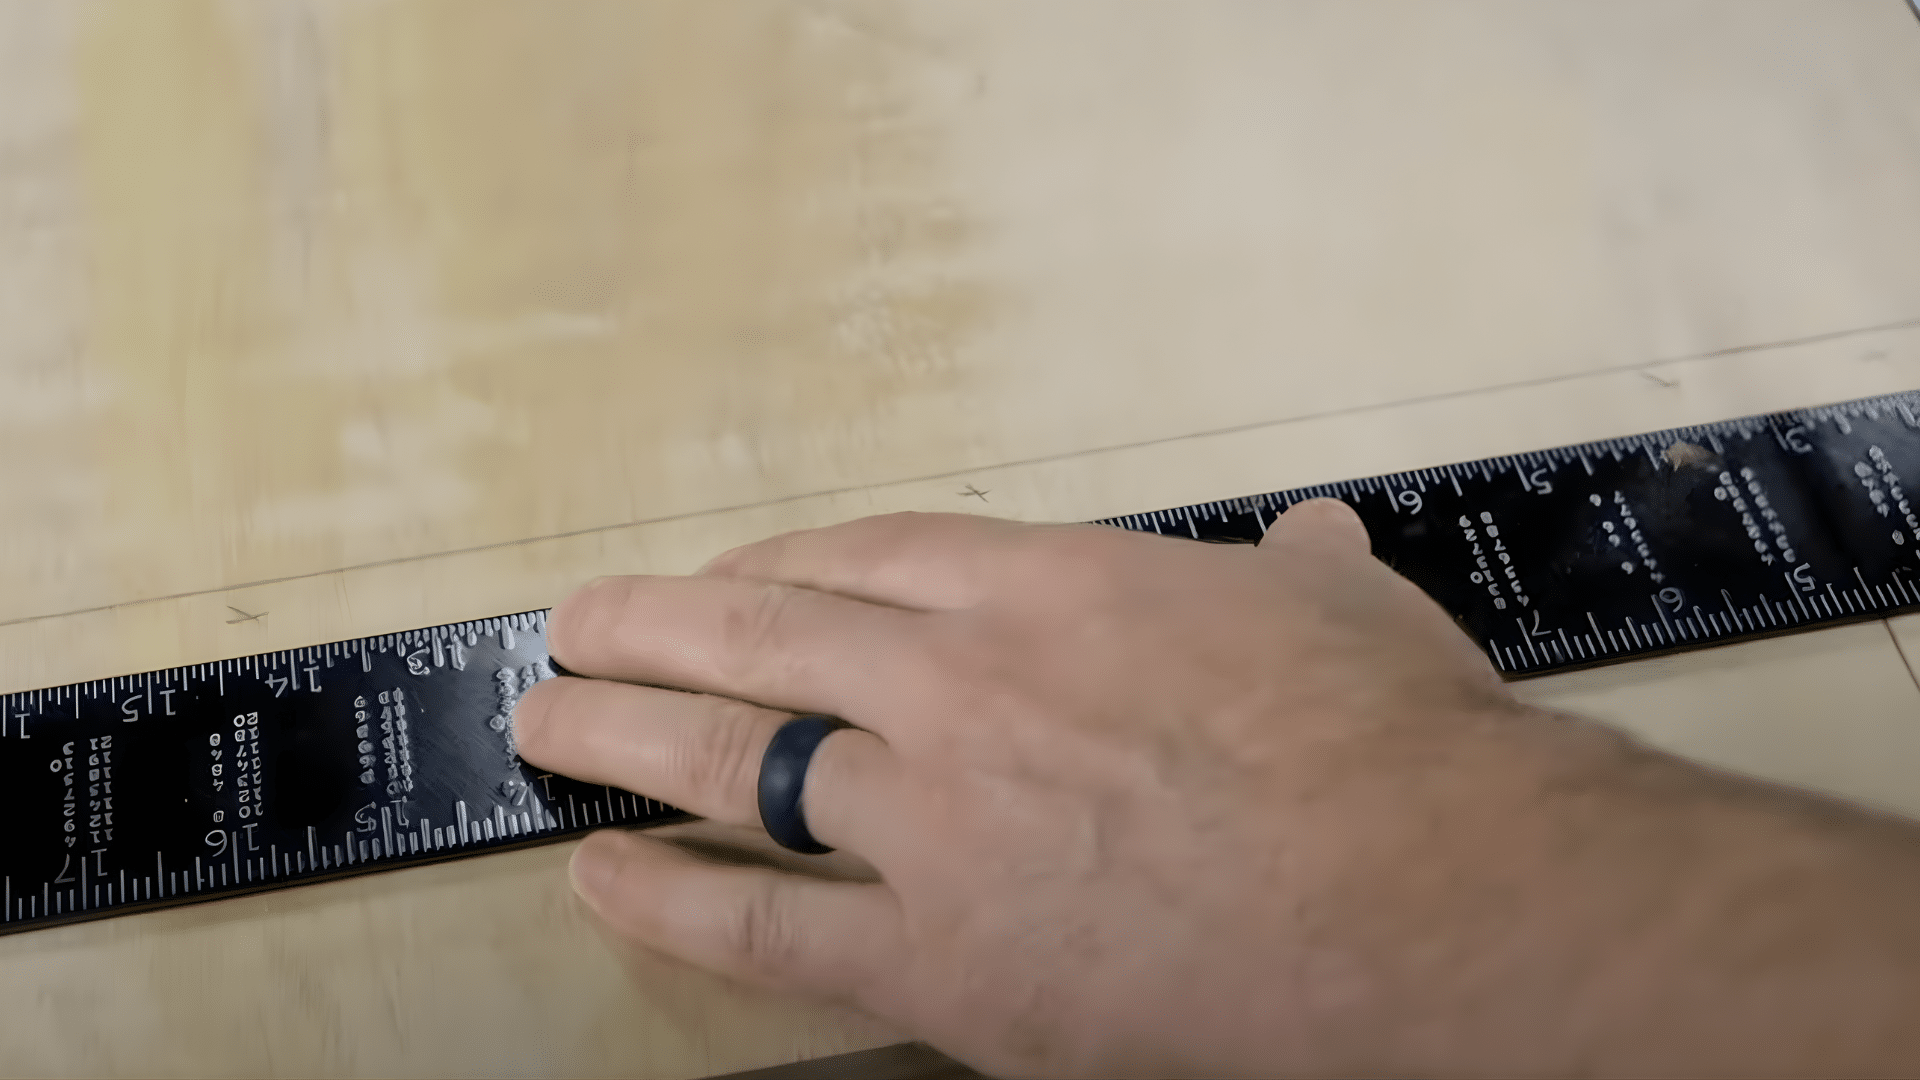
Start with ¾-inch boards for the stiles (vertical pieces) and rails (horizontal pieces).
Cut the stiles to the full height of the door and the rails to the needed width so the finished door fits your cabinet opening. Keep all cuts square and consistent; that’s key for smooth assembly later.
Mark each piece clearly so you don’t mix up rails and stiles. Take your time on this step because even small errors in length can throw off your final fit. A good rule is to measure twice and cut once.
Step 2: Cut Grooves and Prepare the Center Panel
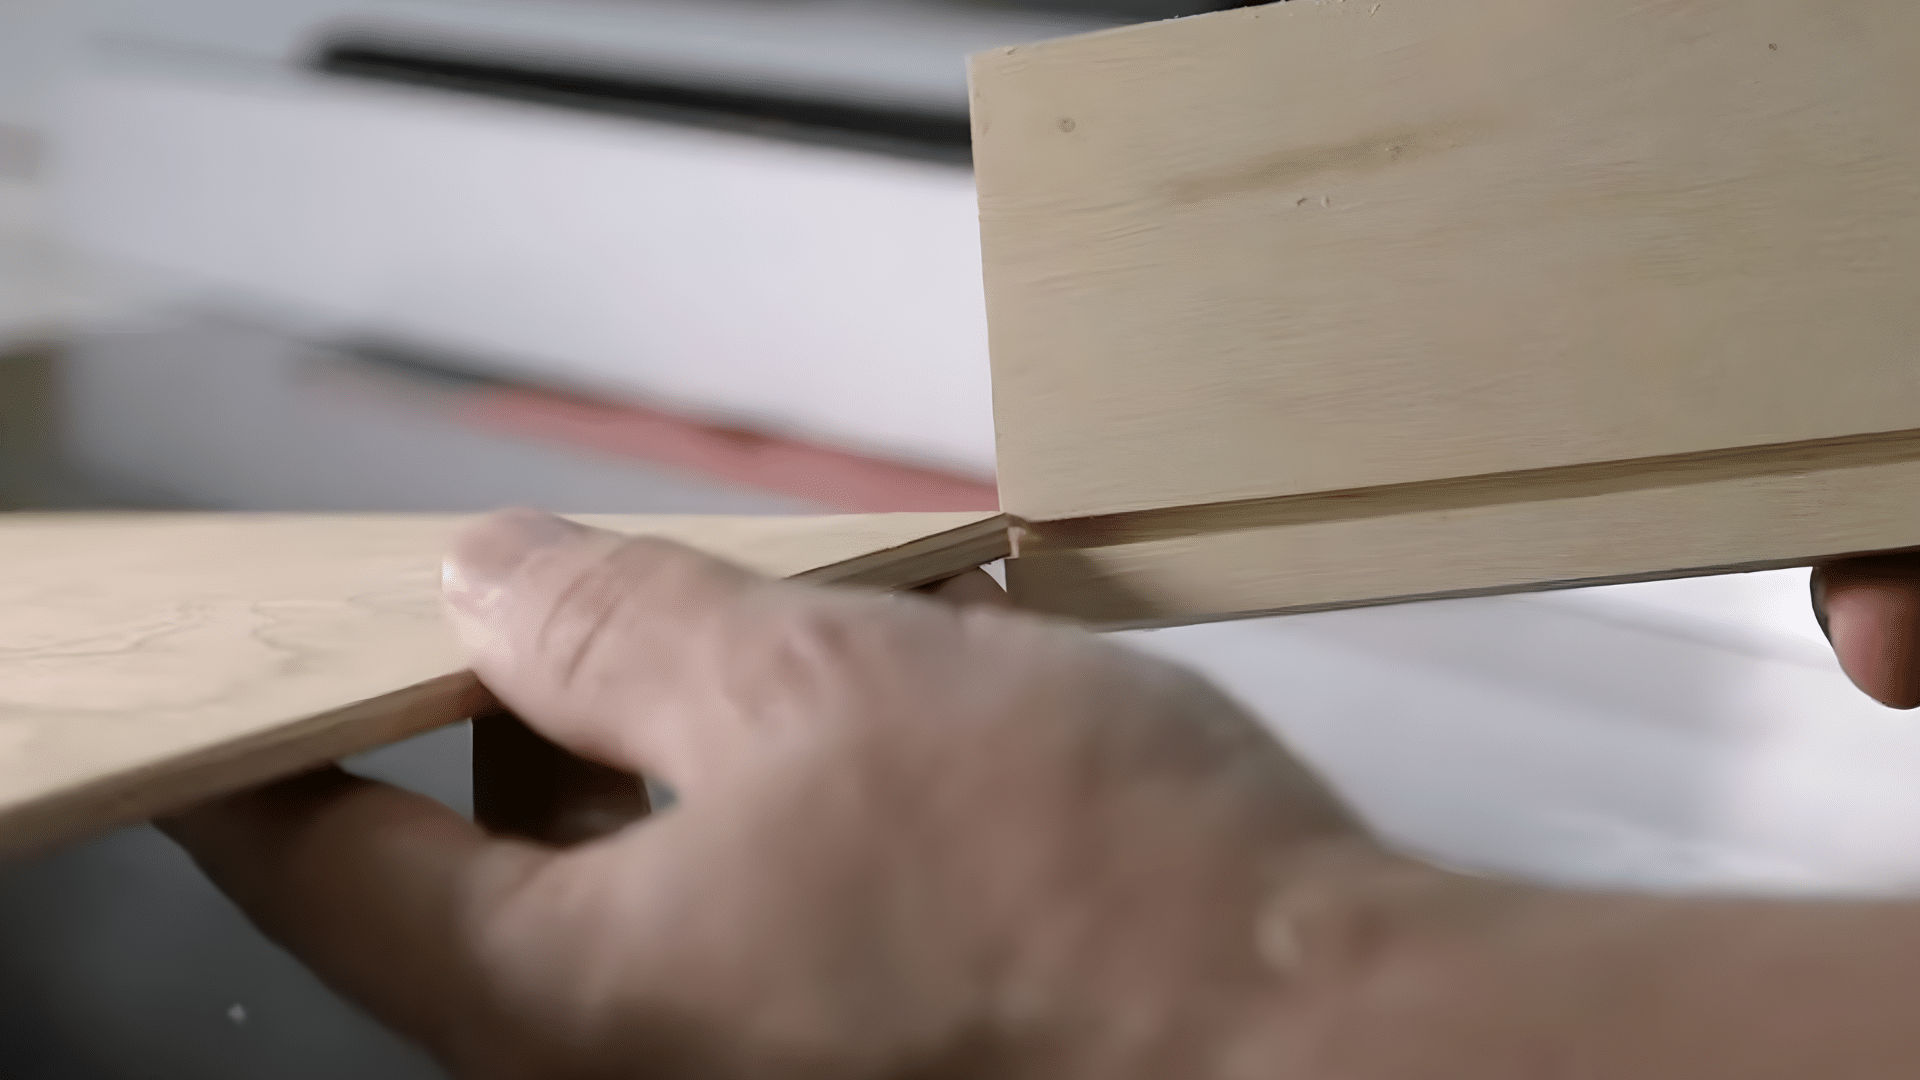
Use a table saw or router to cut a ¼-inch groove along the inside edge of each rail and stile. These grooves hold the center panel and define the shaker’s clean look. Keep the groove depth even for all pieces so the panel sits level when assembled.
Next, cut your center panel from ¼-inch plywood or MDF. It should slide easily into the grooves without forcing it. Leave a slight gap (about 1/16 inch) around the panel for expansion and contraction caused by changes in humidity.
Step 3: Dry-Fit and Assemble the Door Frame
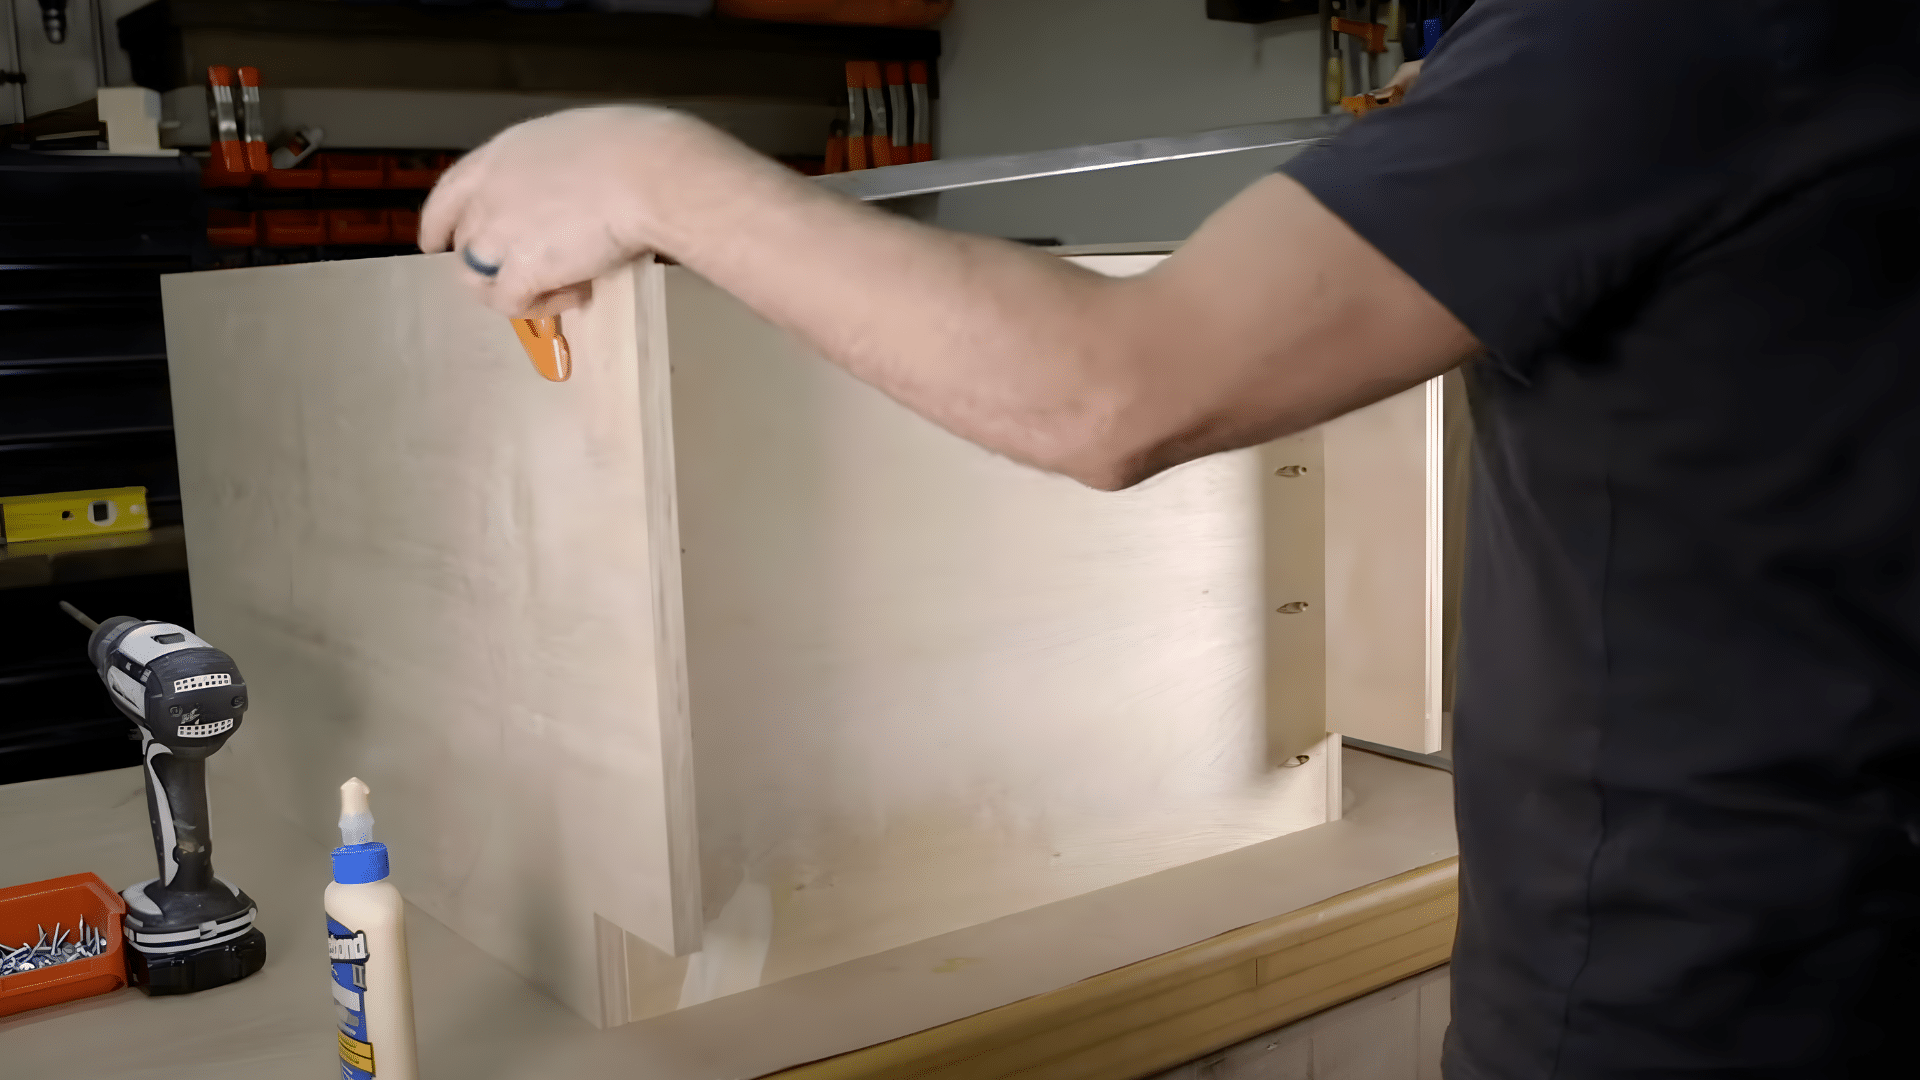
Before gluing, do a full dry fit to make sure everything aligns. Slide the panel into the grooves, connect the rails and stiles, and check the corners for square. Adjust any tight or uneven joints now to avoid problems later.
Once satisfied, apply glue to the rail-to-stile joints only, not inside the grooves. The panel must float freely to prevent cracking. Clamp the frame tightly, measure diagonals to ensure squareness, and let it dry for several hours.
Step 4: Sand and Ease the Edges
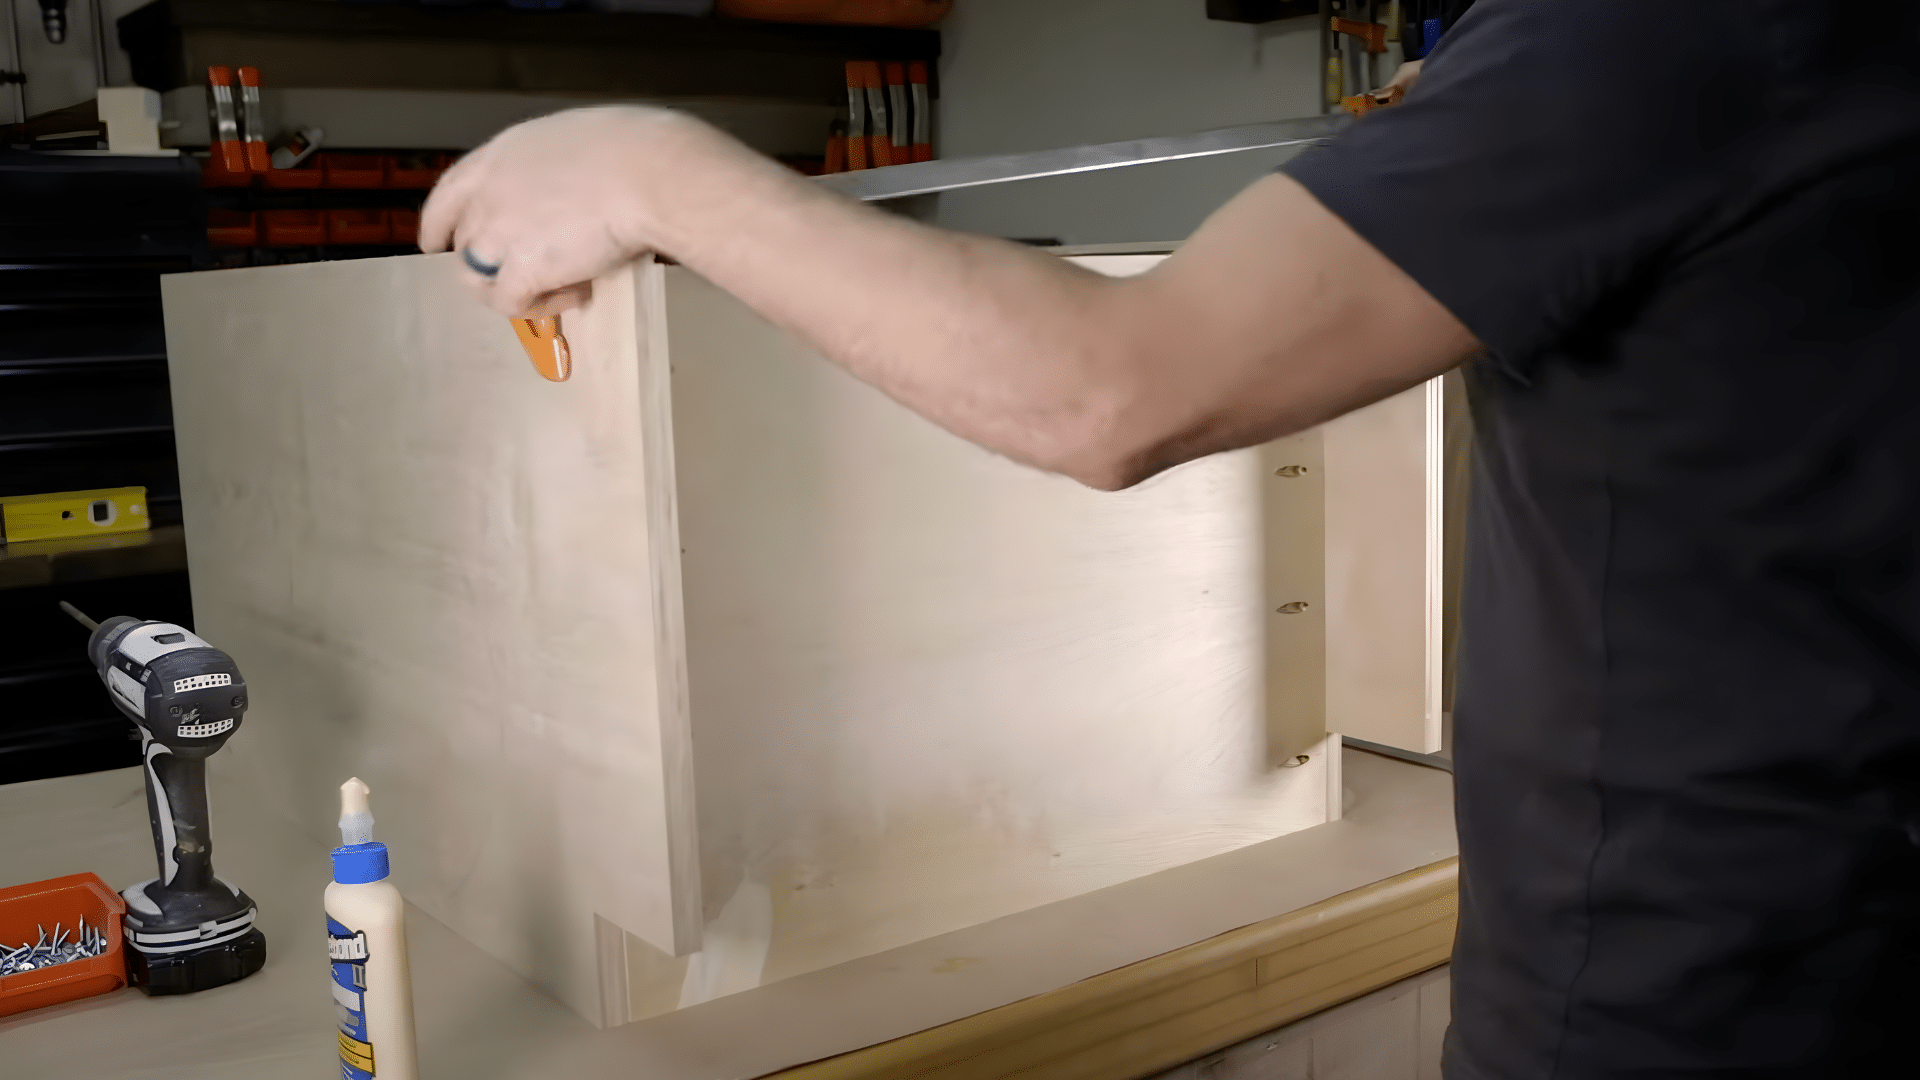
After the glue has dried, remove the clamps and begin sanding both faces. Use 120- to 180-grit sandpaper for smooth results. Pay attention to the joints and any glue residue. Clean sanding helps paint or finish go on evenly.
Lightly round or “ease” sharp edges with fine sandpaper. This small detail makes the door look finished and helps prevent paint from chipping along the corners.
Step 5: Finish and Install the Door
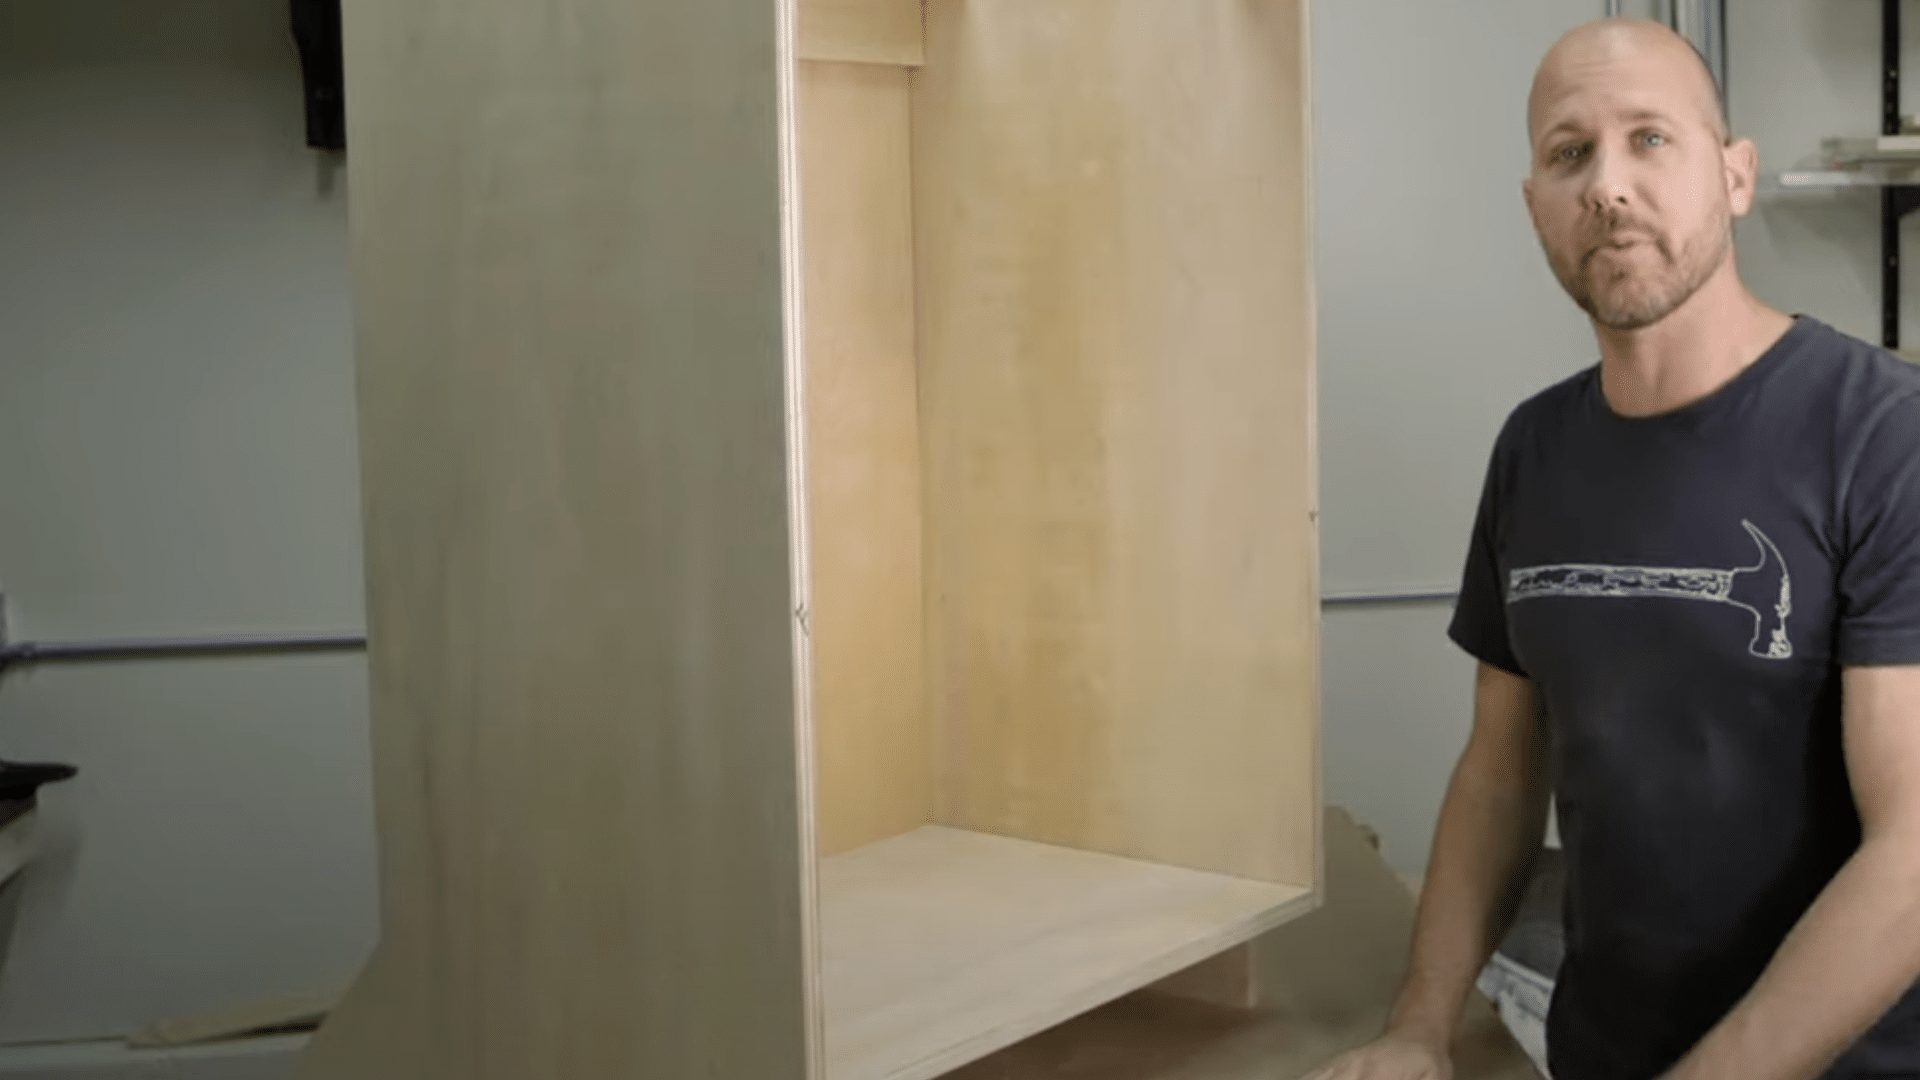
Wipe off all dust before painting or staining. For a clean, classic look, apply one coat of primer and two coats of paint, sanding lightly between coats. If you prefer a natural finish, stain the wood and add a clear sealer or polyurethane for protection.
When the finish is dry, attach your hinges and hardware. Hang the door, adjust the hinges until the gaps are even, and check for smooth opening and closing. You now have a sturdy, professional-looking Shaker cabinet door built from scratch.
Watch the full tutorial below and pause after each step to measure, cut, and check your fit.
Alternative DIY Methods
Not every cabinet door requires expensive tools or special equipment. These methods let you build doors easily using basic tools and materials you might already have.
- Without Router: Use MDF trim or hand tools to frame the panel; attach pre-cut trim pieces with wood glue and clamps for a clean, simple design.
- Using Scrap Wood: Repurpose leftover wood for rails, stiles, or panels; this method is sustainable, cost-effective, and great for small projects.
- Using Rail-and-Stile Router Bits: Ideal for decorative or raised panel doors; creates interlocking joints with smooth, detailed edges for a professional finish.
- Using Pocket Holes: Join rails and stiles with screws and a pocket hole jig; fast and sturdy without requiring grooves or heavy clamping.
- Using Flat Plywood Panels: Cut one sheet of plywood to size; sand edges, apply edge banding if needed, and finish with paint or sealant for a modern look.
Each of these alternatives can produce durable, stylish cabinet doors based on your available tools and design goals.
Cabinet Doors by Skill Level: From Beginner to Expert
The kind of cabinet door you build often depends on your skill level and tools. Start simple and work your way up as you gain confidence and precision.
1. Beginner: Shaker and Slab Doors
If you’re new to woodworking, Shaker and Slab doors are the best starting points. Shaker doors have a simple frame and a recessed panel. They use straight cuts, easy joints, and only a few tools.
Slab doors are even simpler, just flat panels cut to size, great for practice or modern designs. Both styles are forgiving and teach you the basics of accurate measuring, gluing, and finishing.
2. Intermediate: Raised Panel and Beadboard Doors
Once you’re comfortable with cuts and assembly, try Raised Panel or Beadboard doors. Raised panel doors involve routing the center panel edges for added depth and design.
Beadboard doors use narrow tongue-and-groove strips for a cottage-style look. These require more precise cutting and joining, but help you build control over shaping and detail work.
3. Advanced: Glass-Front and Lattice Doors
For experienced builders, Glass-Front or Lattice doors bring both challenge and elegance. Glass-front designs need exact sizing and careful framing to hold glass panels securely.
Lattice or decorative cutout doors demand precision cutting and strong joinery for intricate patterns. These projects combine design skill, patience, and advanced tool handling, ideal for custom cabinetry or statement pieces.
4. Expert: Custom and Inset Doors
At the expert level, you can create custom inset or architectural-style doors with advanced joinery. Inset doors fit perfectly flush with the cabinet frame, requiring exact measurements and alignment.
Custom styles may blend materials, curves, or special moldings, showcasing mastery in both function and form. These projects highlight craftsmanship and are often used in high-end furniture or built-in cabinetry.
DIY vs. Store-Bought: Cost and Time Comparison
Choosing between DIY and store-bought cabinet doors depends on your budget and how much time you can invest.
| Factor | DIY Cabinet Doors | Store-Bought Cabinet Doors |
|---|---|---|
| Average Cost (per door) | $40–$120 (materials + supplies) | $100–$300 (ready-made) |
| Tools Required | Basic tools or power tools | None |
| Time Investment | 3–6 hours per door (including finishing) | None – ready to install |
| Customization | Fully customizable (size, style, finish) | Limited to available designs |
| Skill Level | Moderate woodworking knowledge | None required |
| Durability | Depends on materials and craftsmanship | Consistent factory quality |
| Satisfaction | Highly personalized and hands-on | Moderate – convenient but generic |
DIY cabinet doors can save you 30–60% in costs while allowing you to control every detail from dimensions to finishes. Store-bought options are faster and easier but often come with limited design choices and higher price tags.
Common Mistakes to Avoid
Avoiding a few common errors can save you time, materials, and frustration when making cabinet doors.
- Skipping dry fit causes misaligned joints and uneven panels once glued.
- Over-gluing joints leads to messy squeeze-out and weak connections.
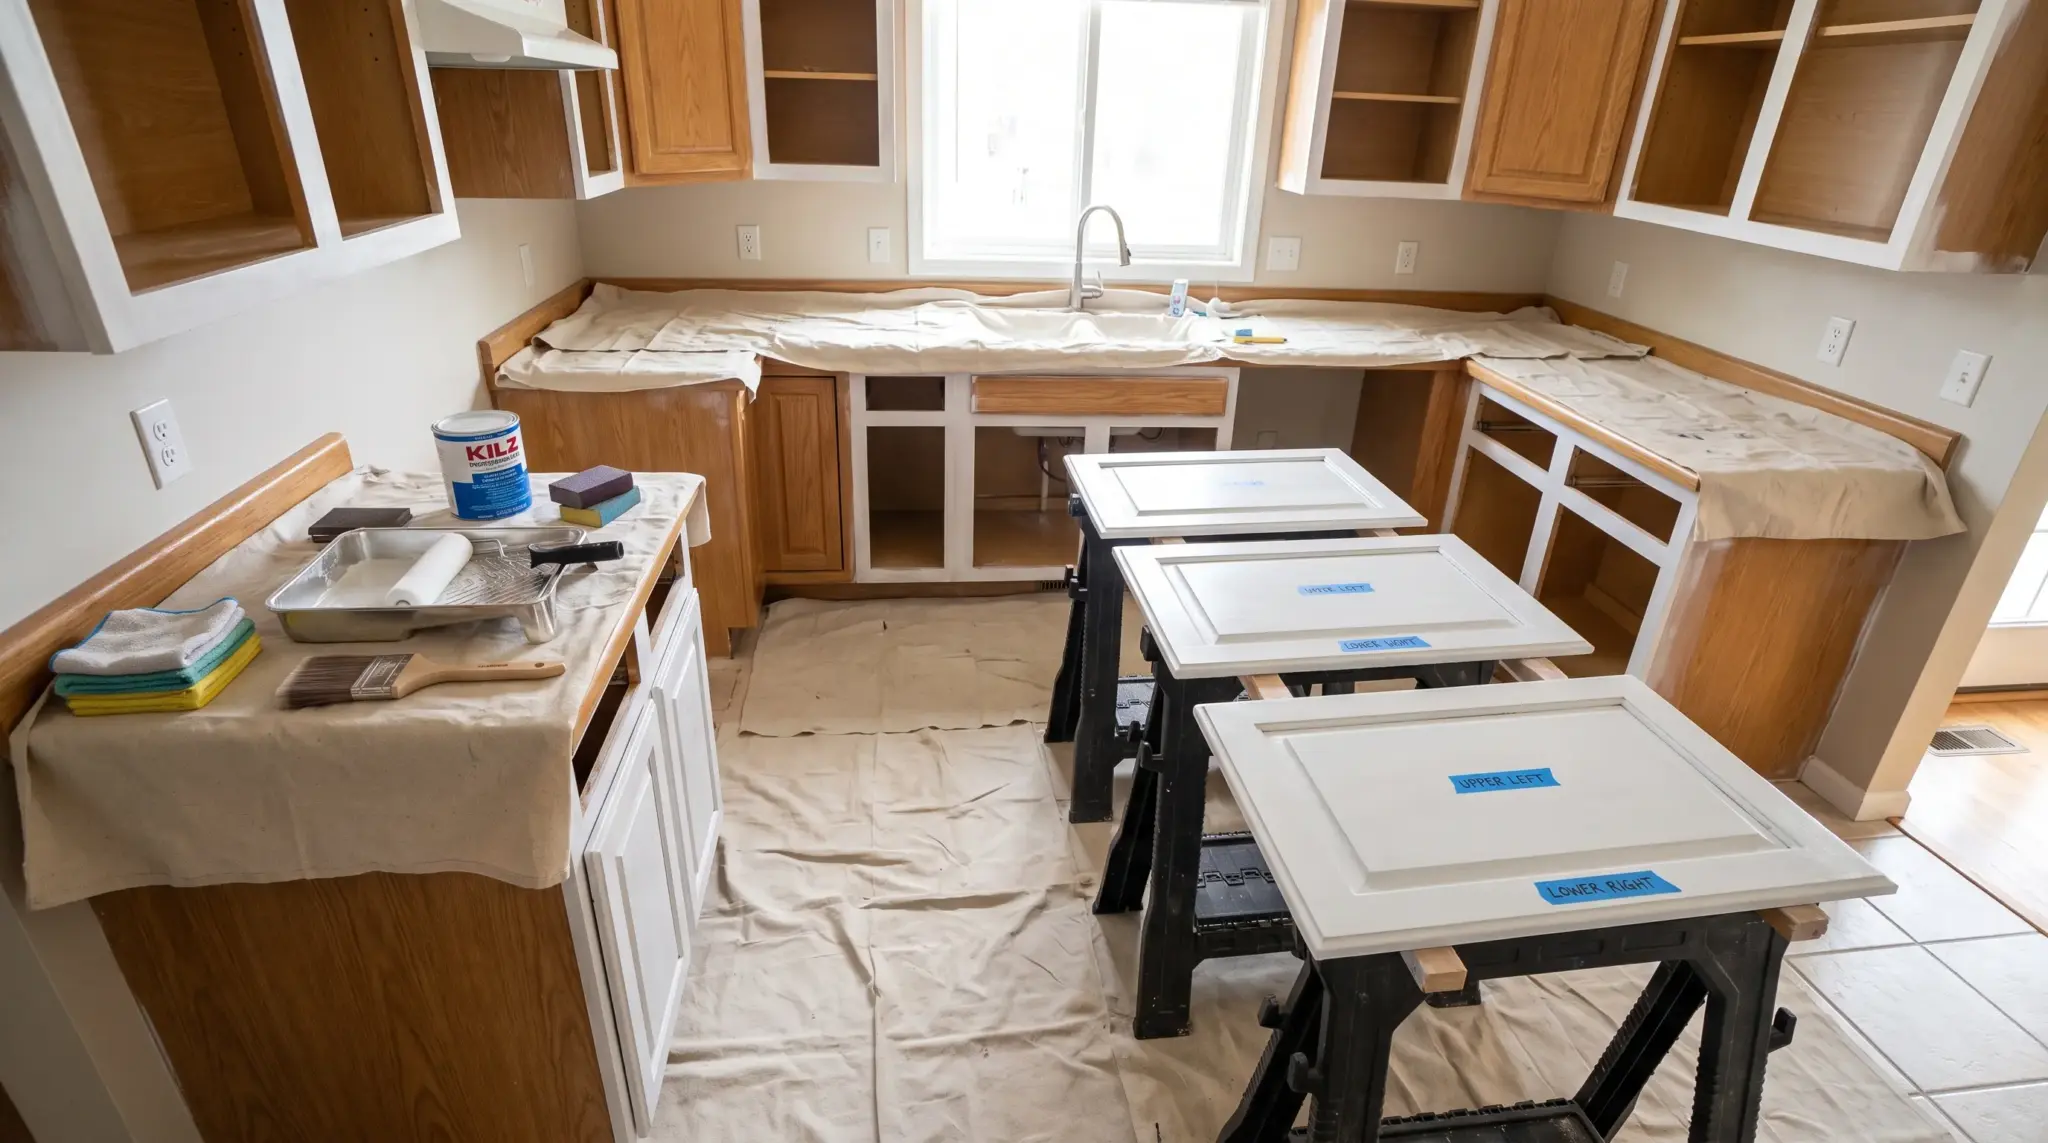
- Forgetting to label door orientation can result in reversed hinges or uneven hardware placement.
- Ignoring humidity or expansion may cause the wood to swell, stick, or crack later.
- Rushing the sanding process leaves rough spots that show through paint or stain.
- Skipping primer before painting results in blotchy finishes and poor paint adhesion.
Conclusion
Learning how to make cabinet doors gives you control over the look, size, and quality of your cabinets. With the right steps and a little patience, you can build doors that fit your space and match your style.
I’ve seen that starting with simple designs, checking your measurements, and working slowly can make the whole process easier and more enjoyable.
If you’re ready to start, gather your materials, set up your workspace, and follow the steps in this guide.
Take your time with each cut and check your fit as you go. Your cabinet doors will turn out cleaner, stronger, and more professional.